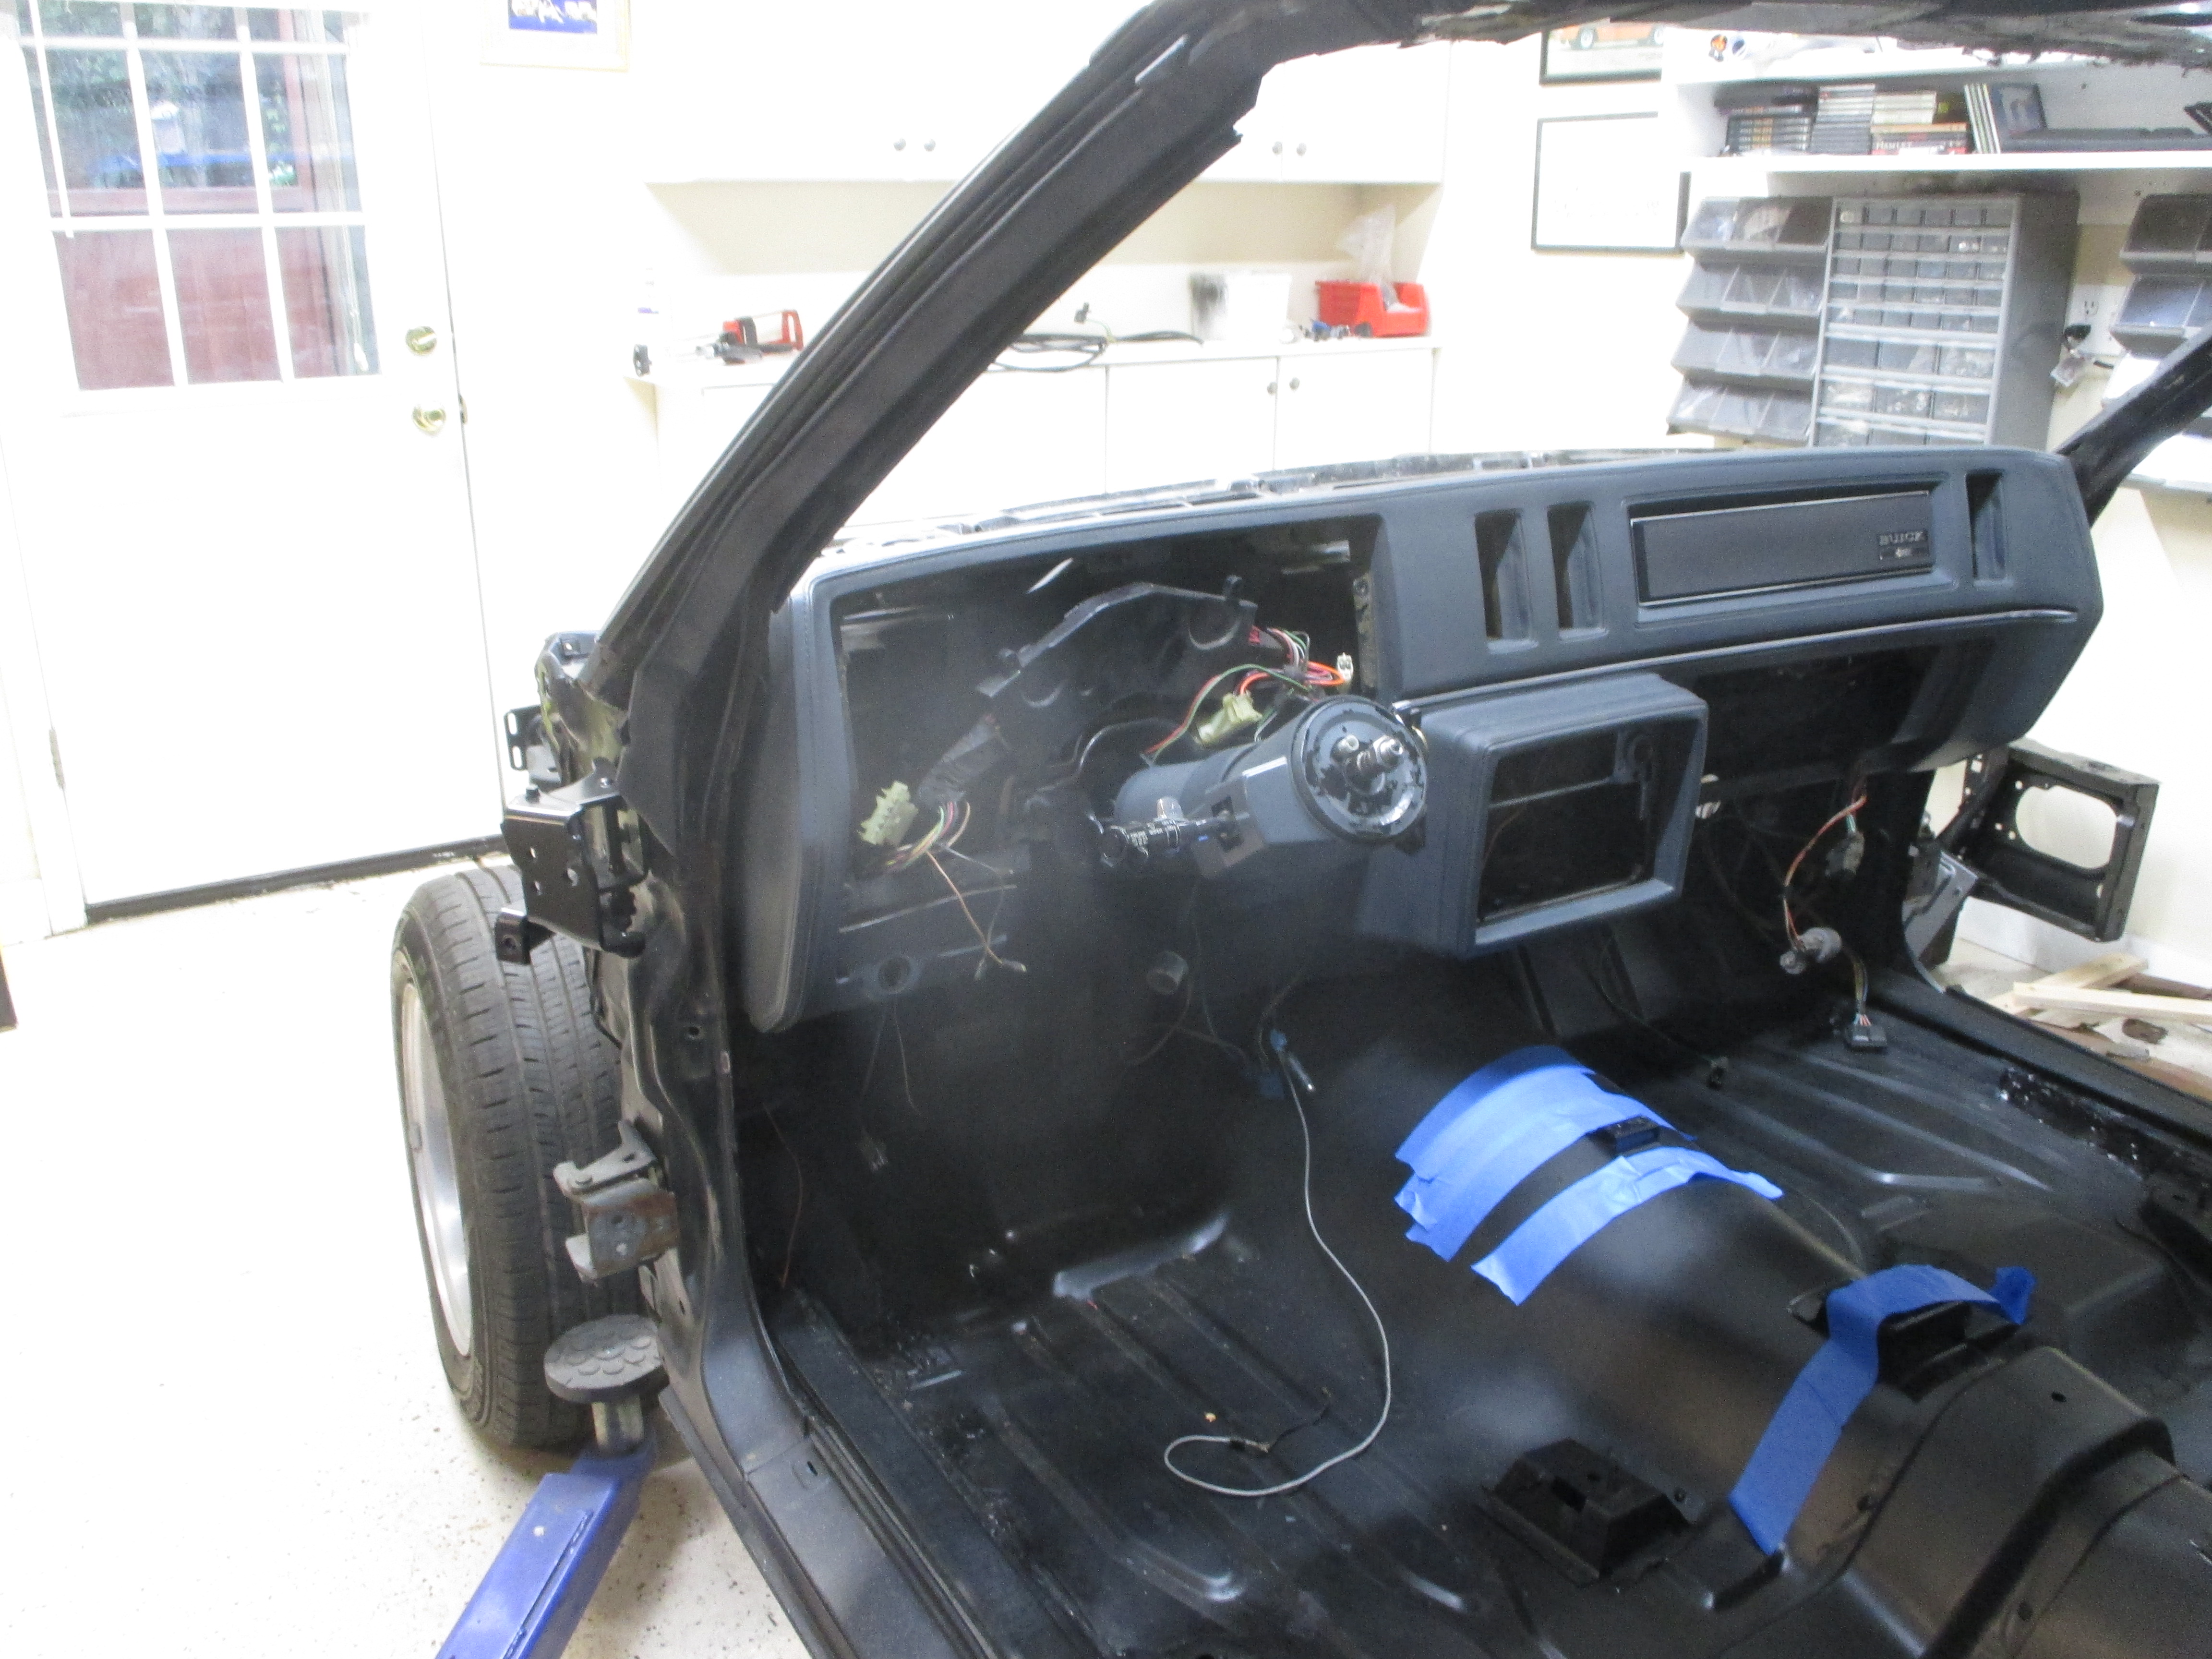
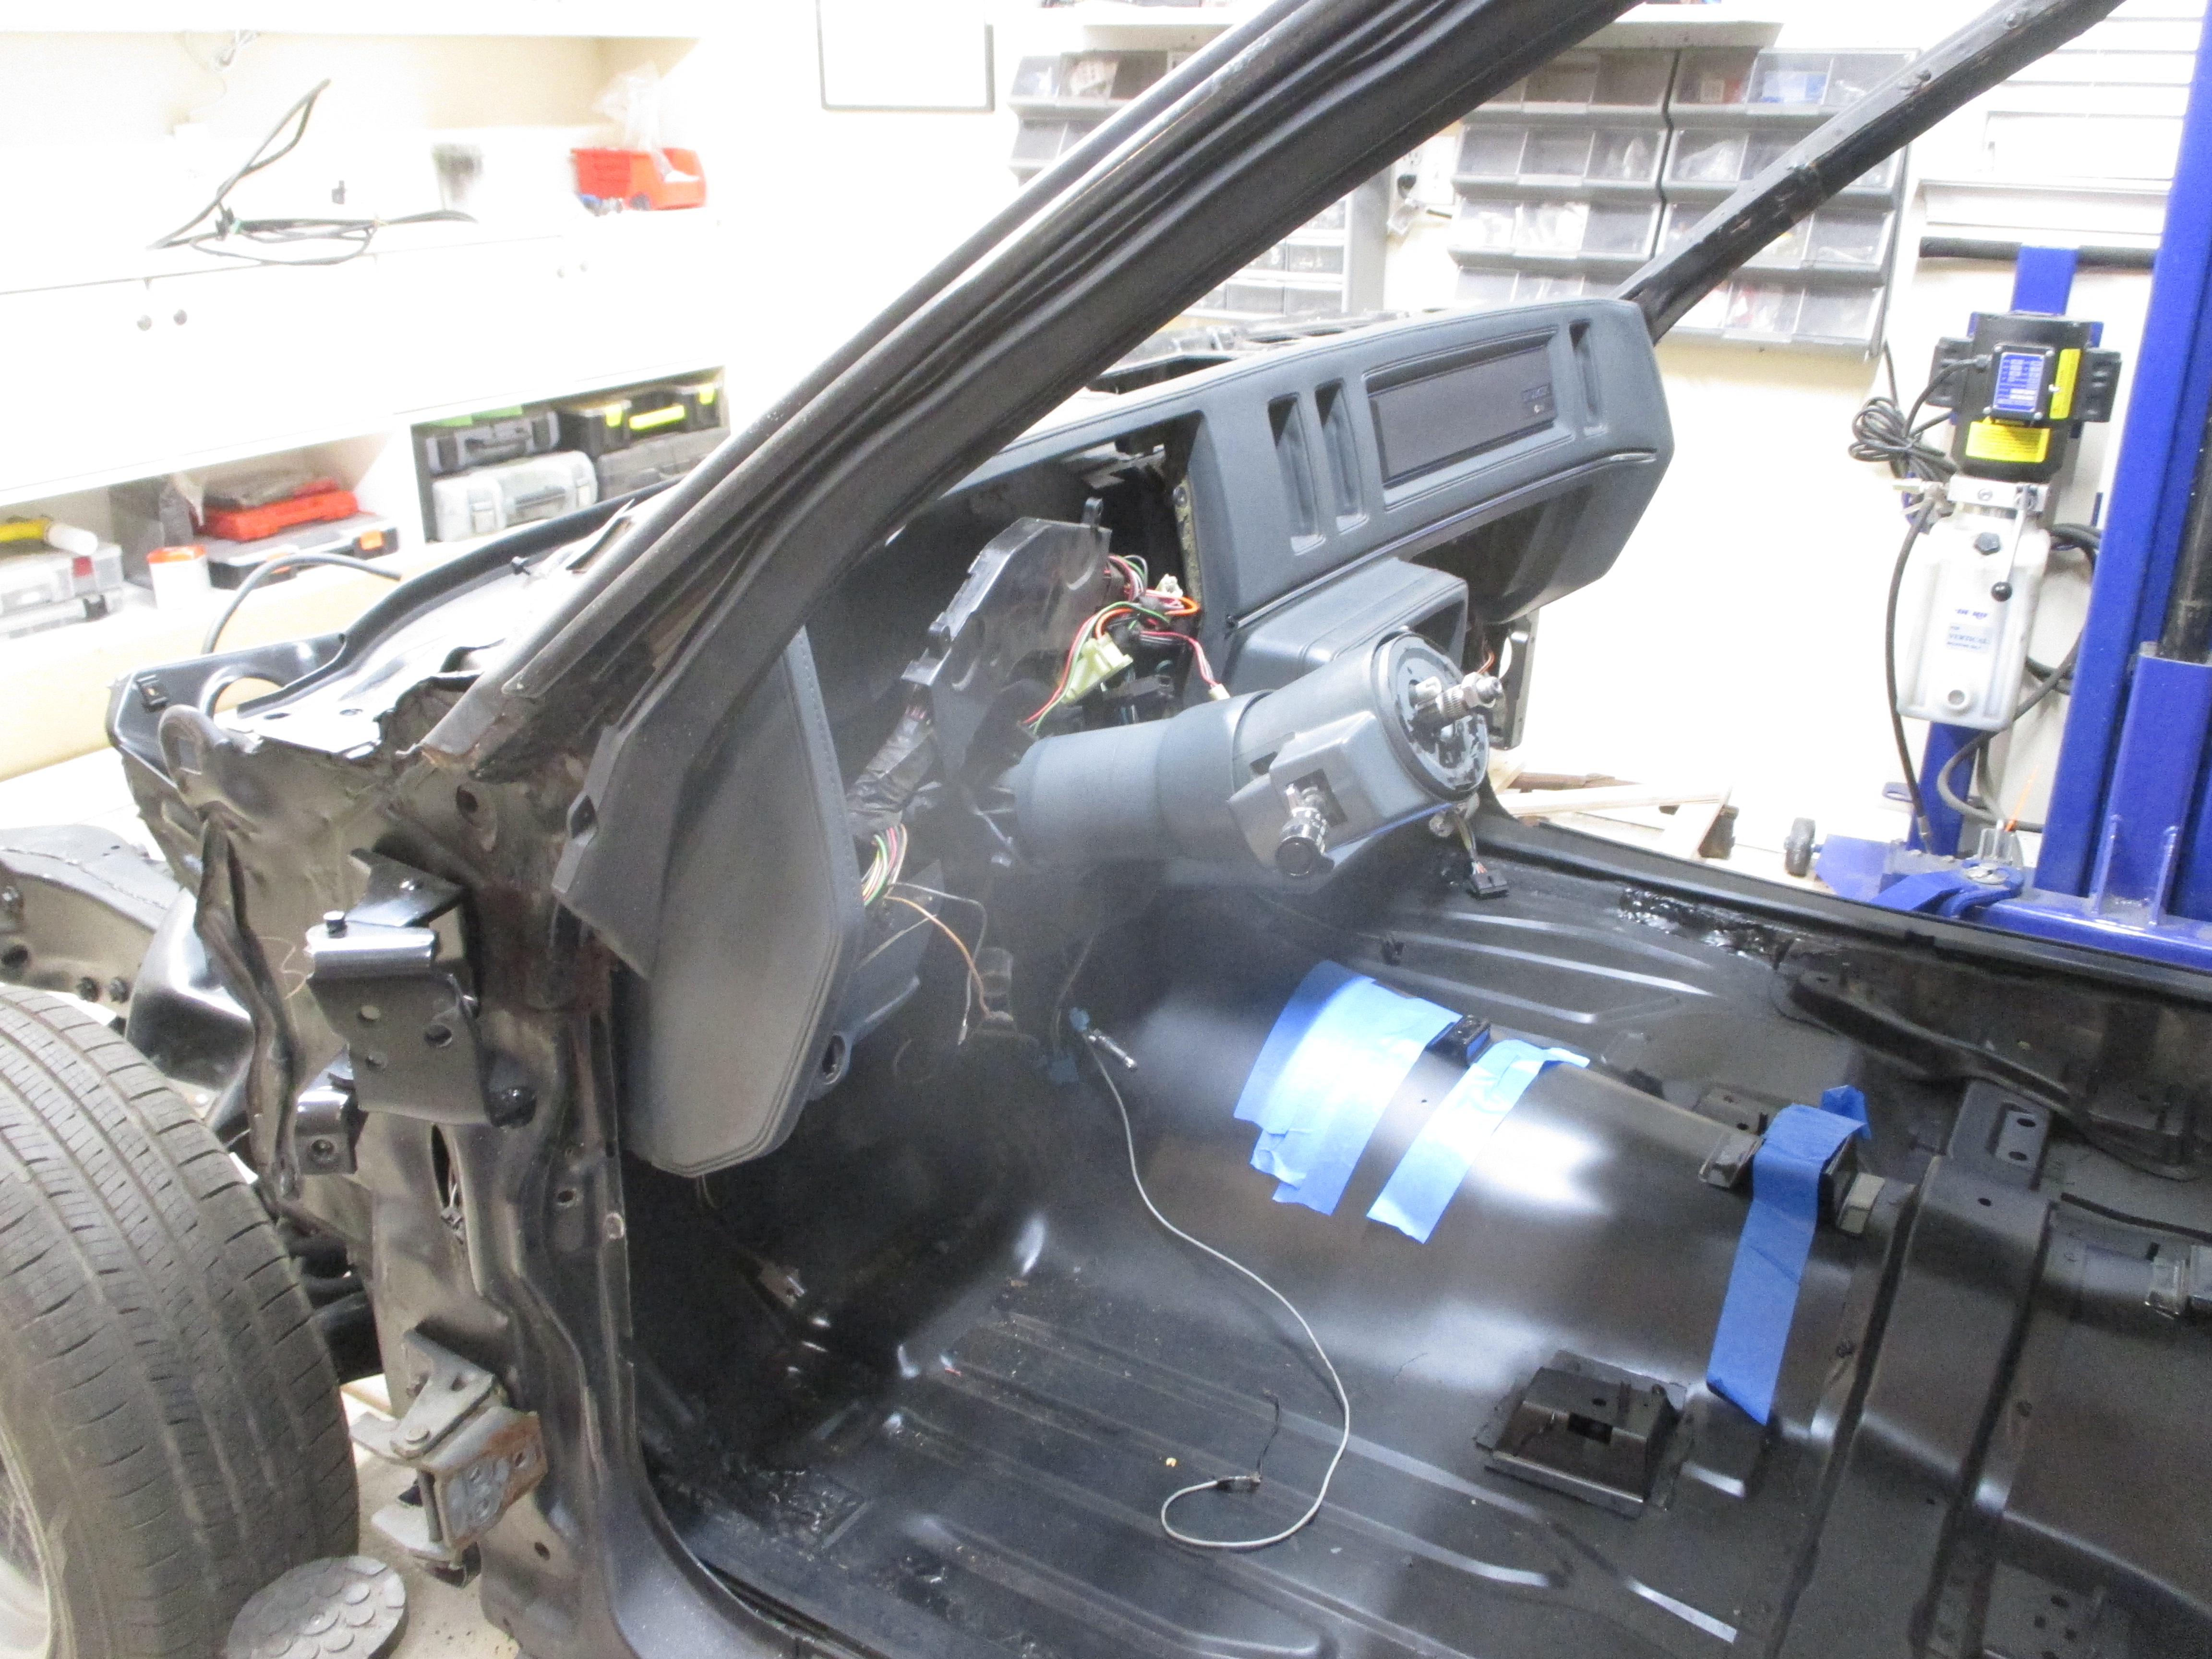

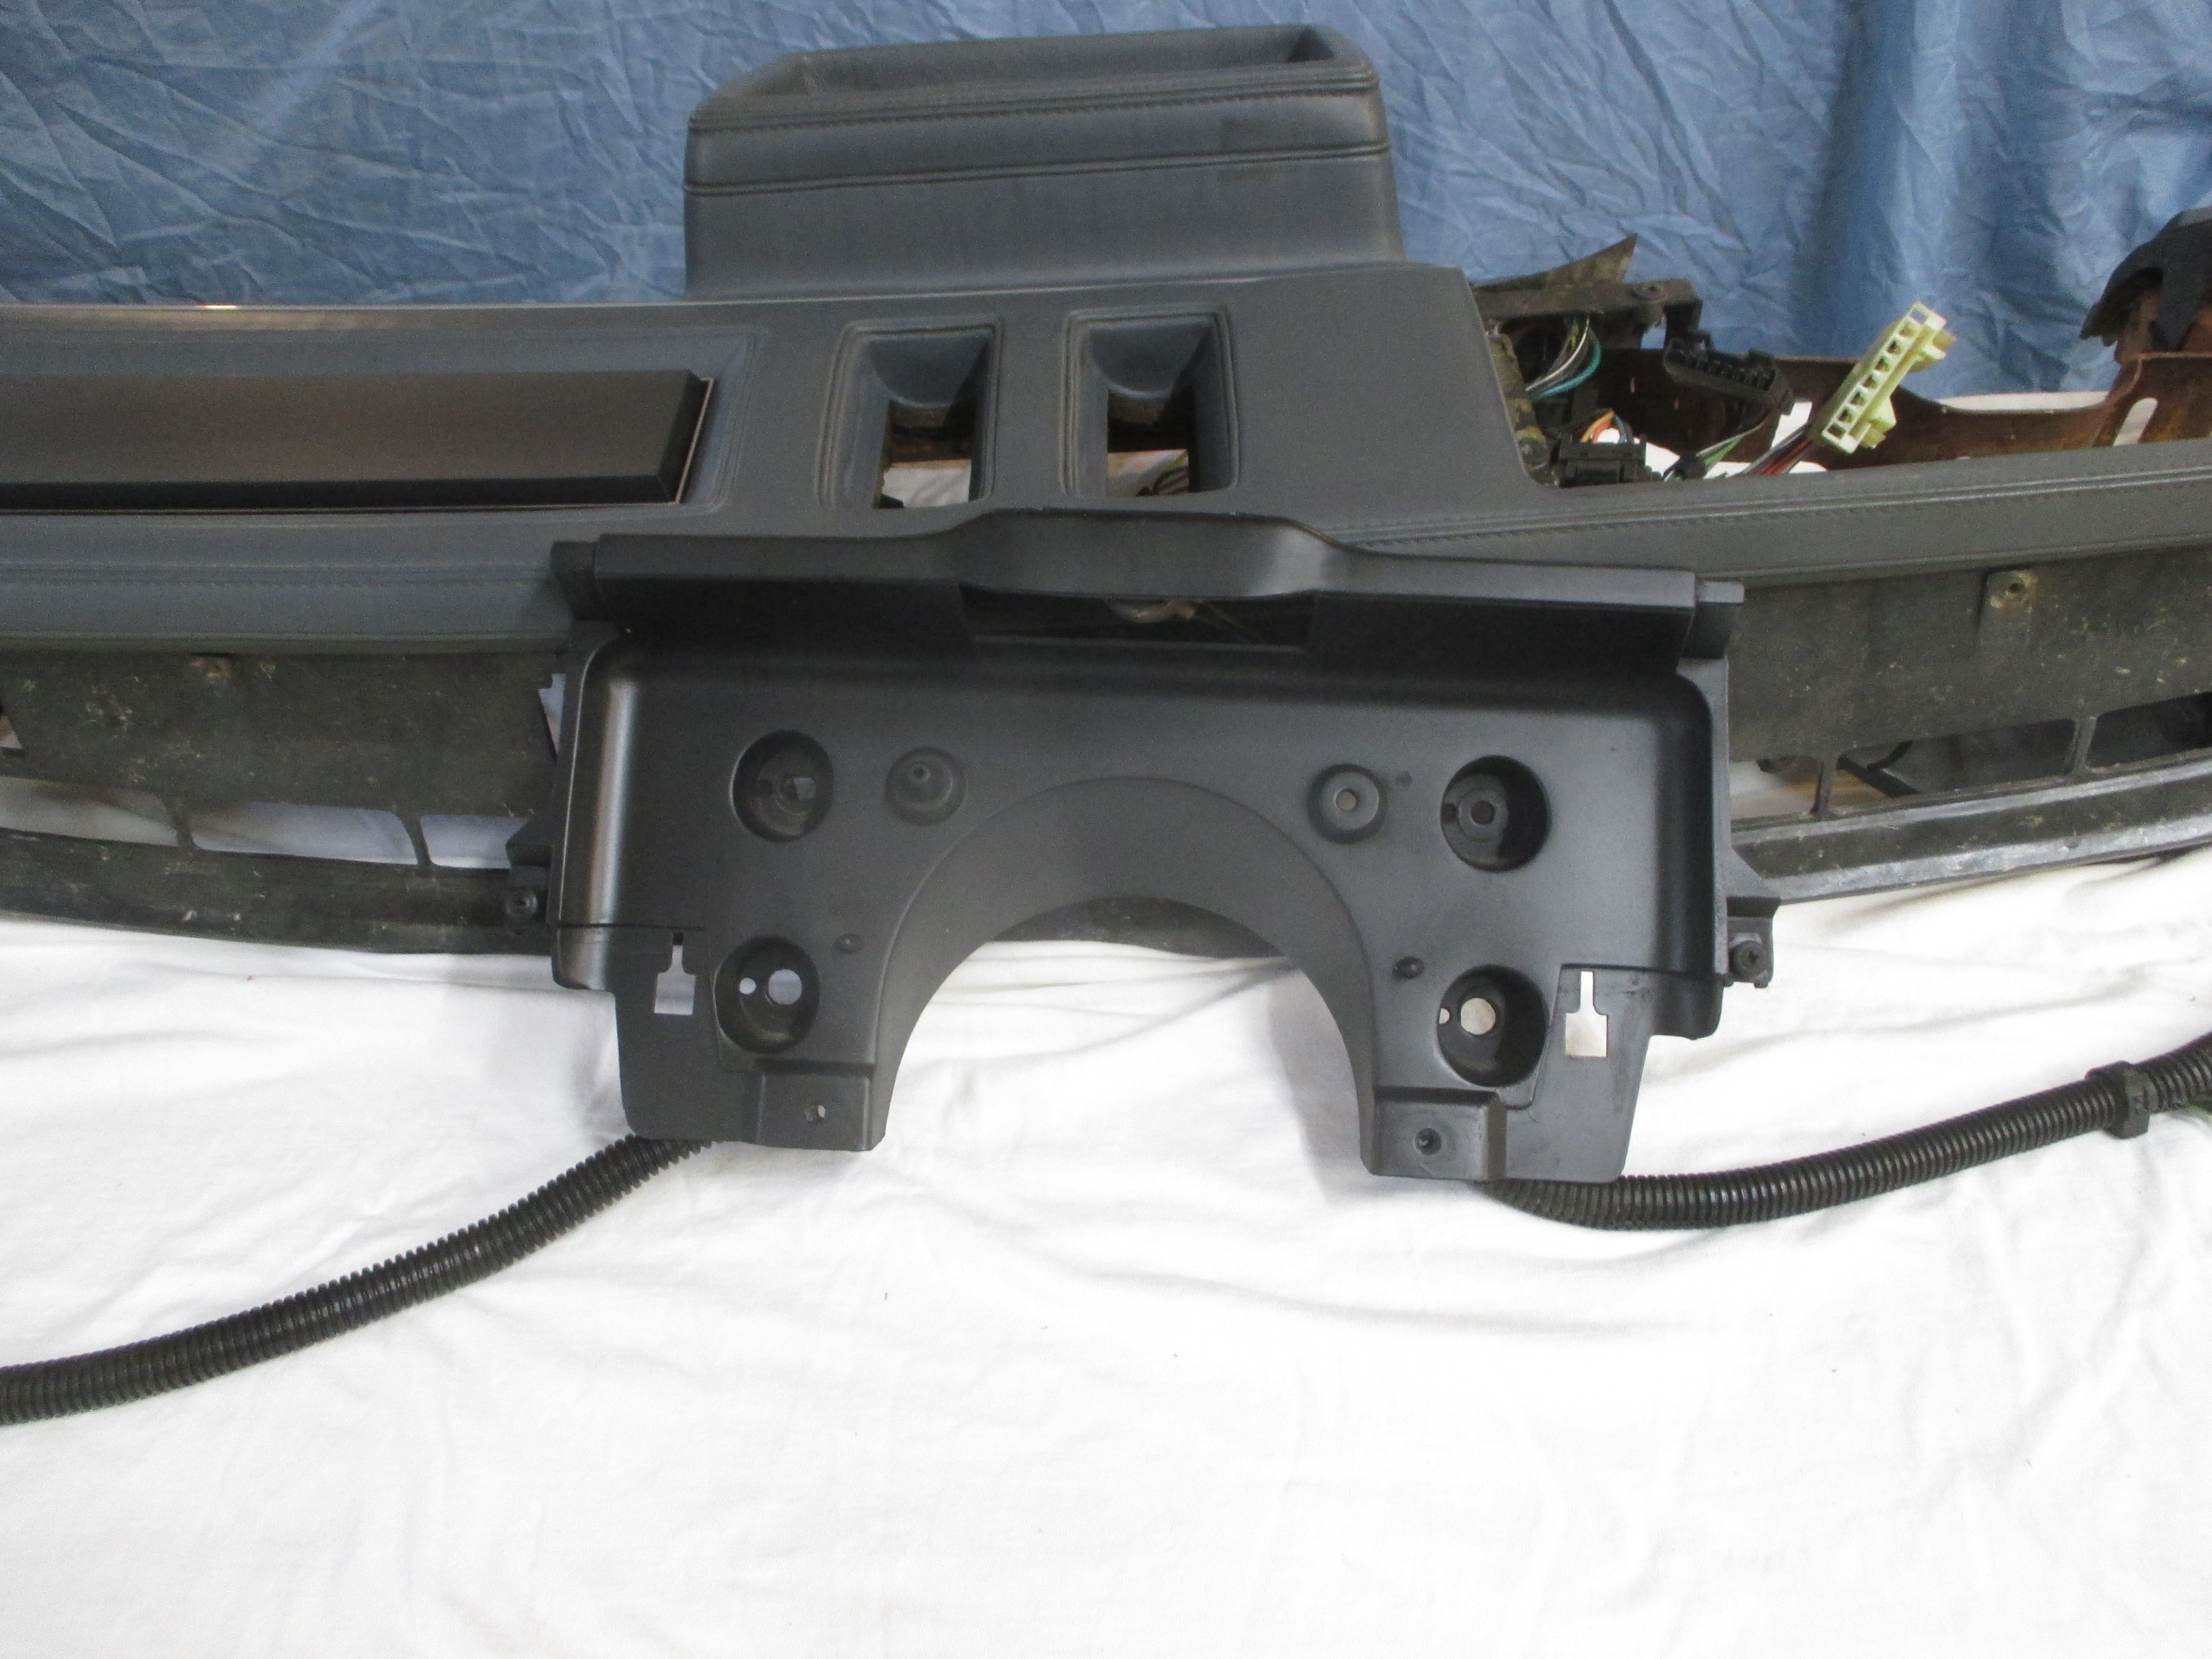
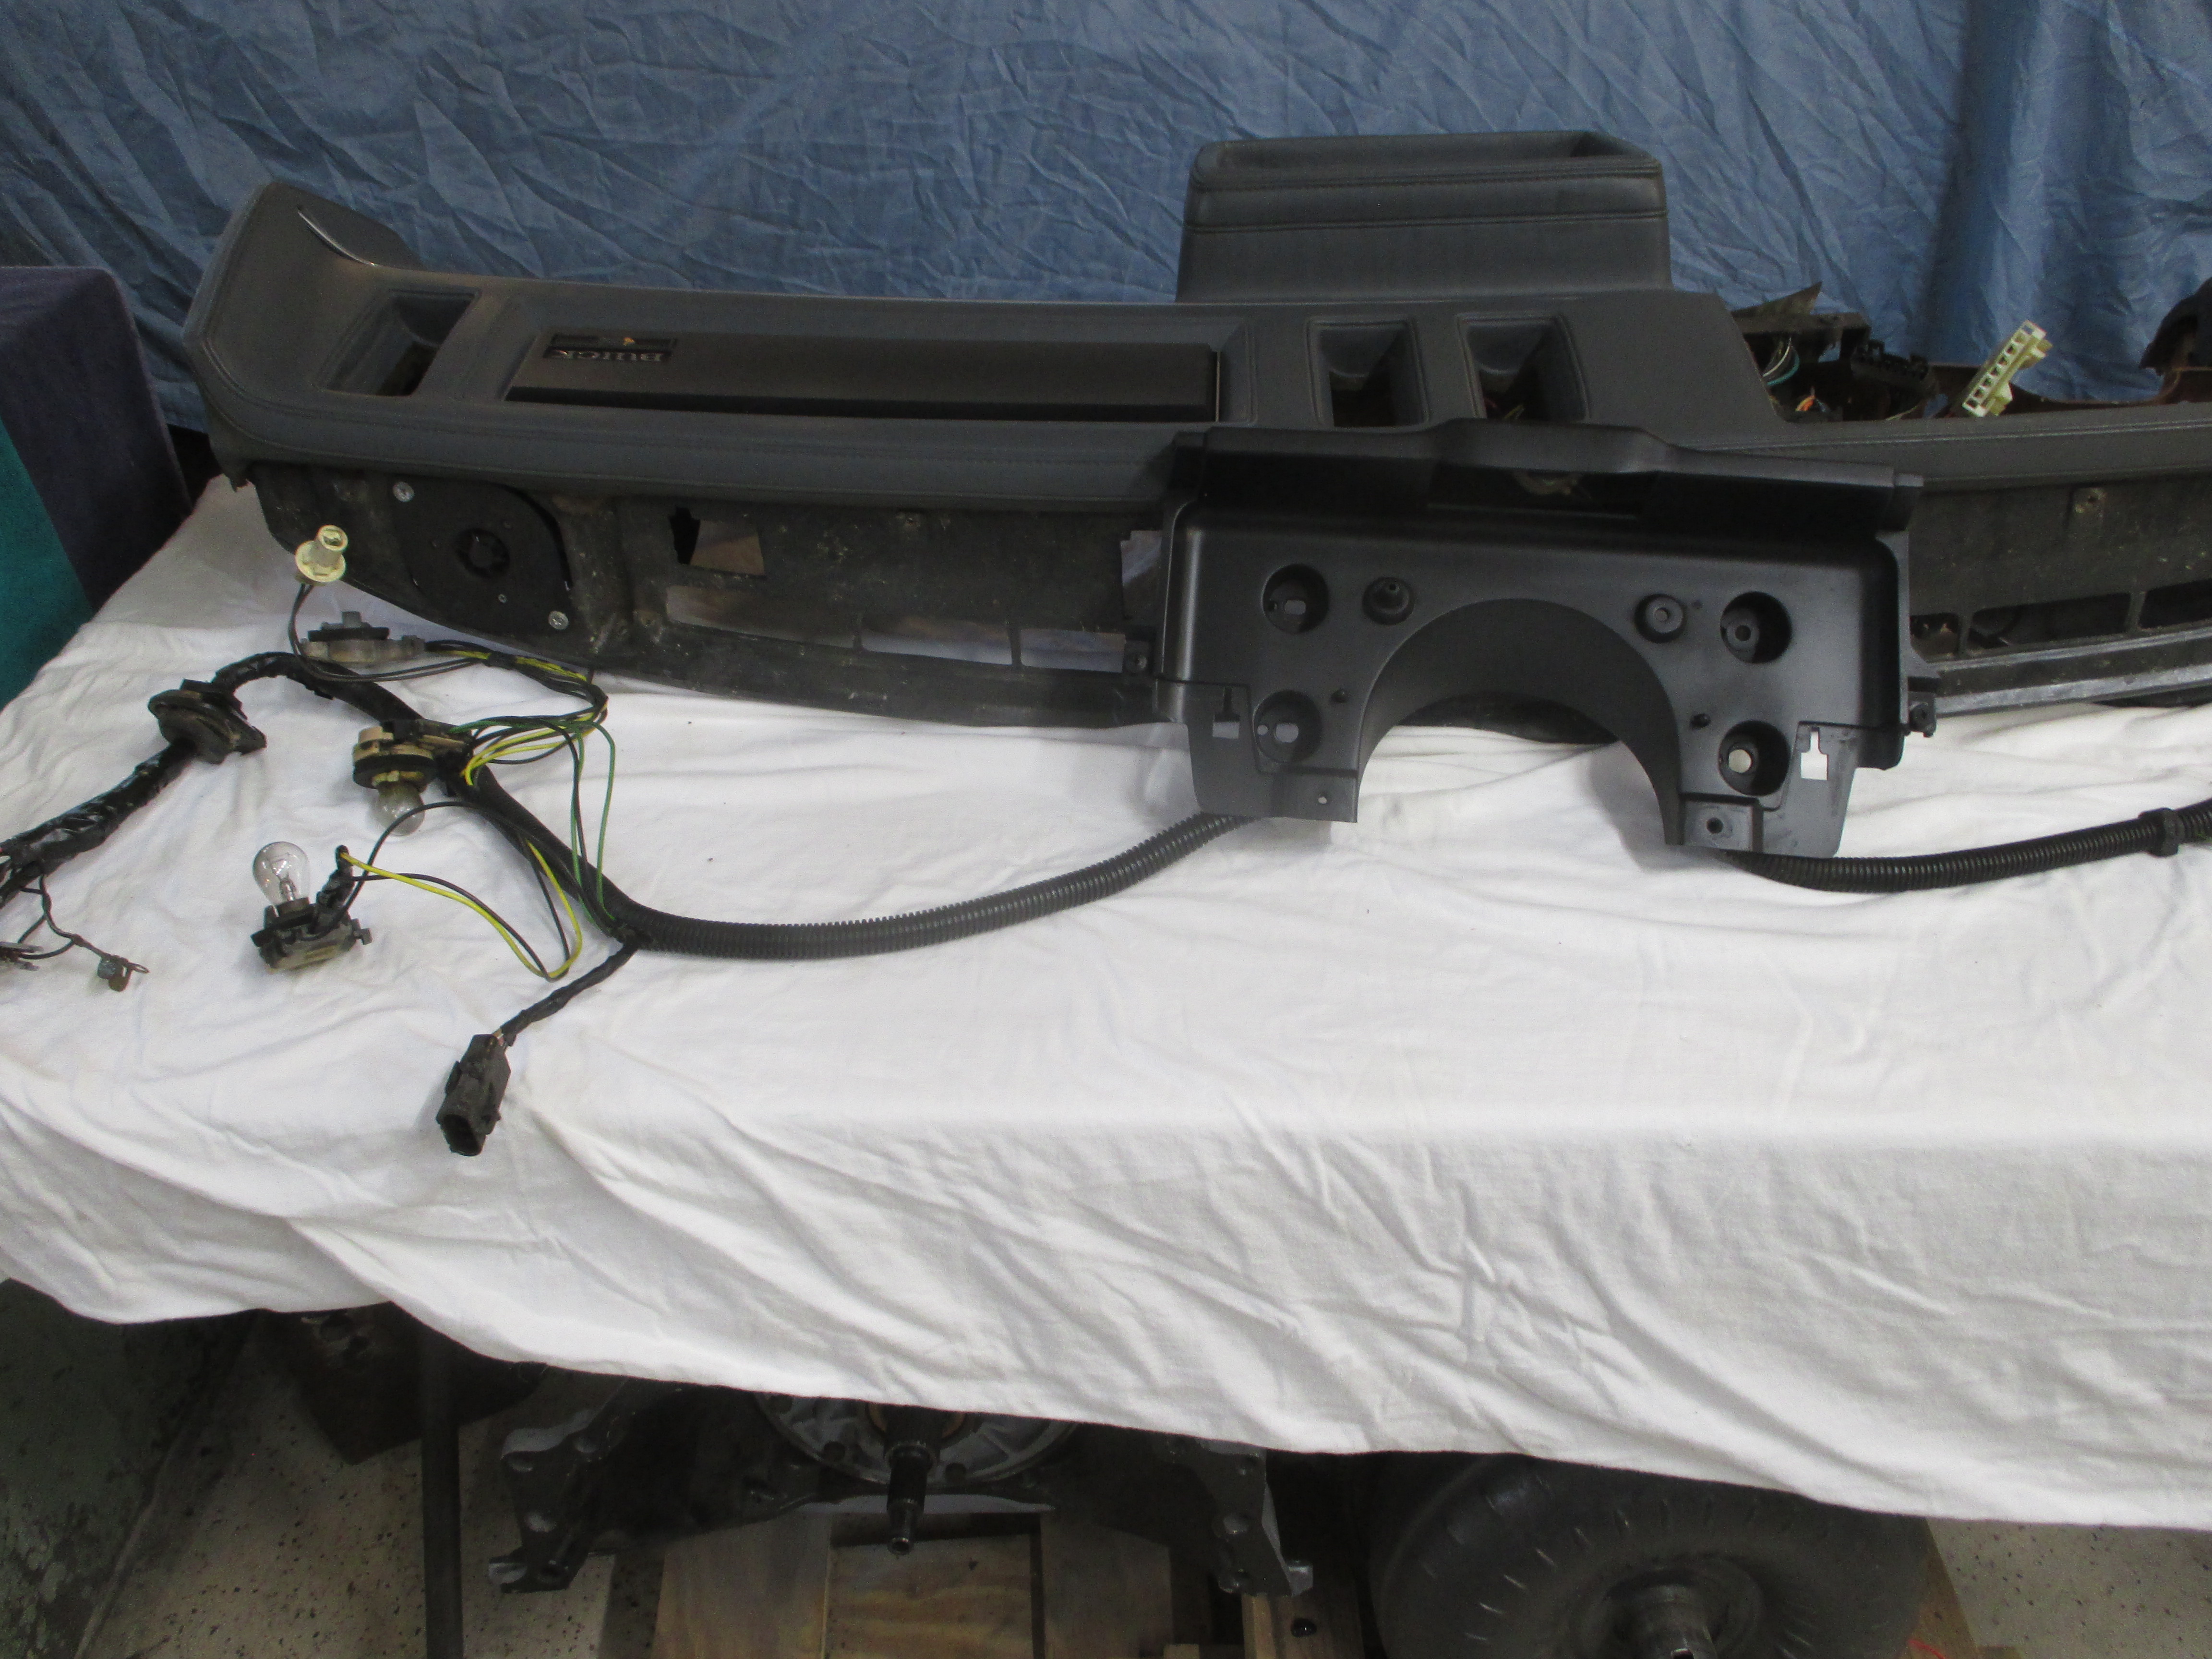
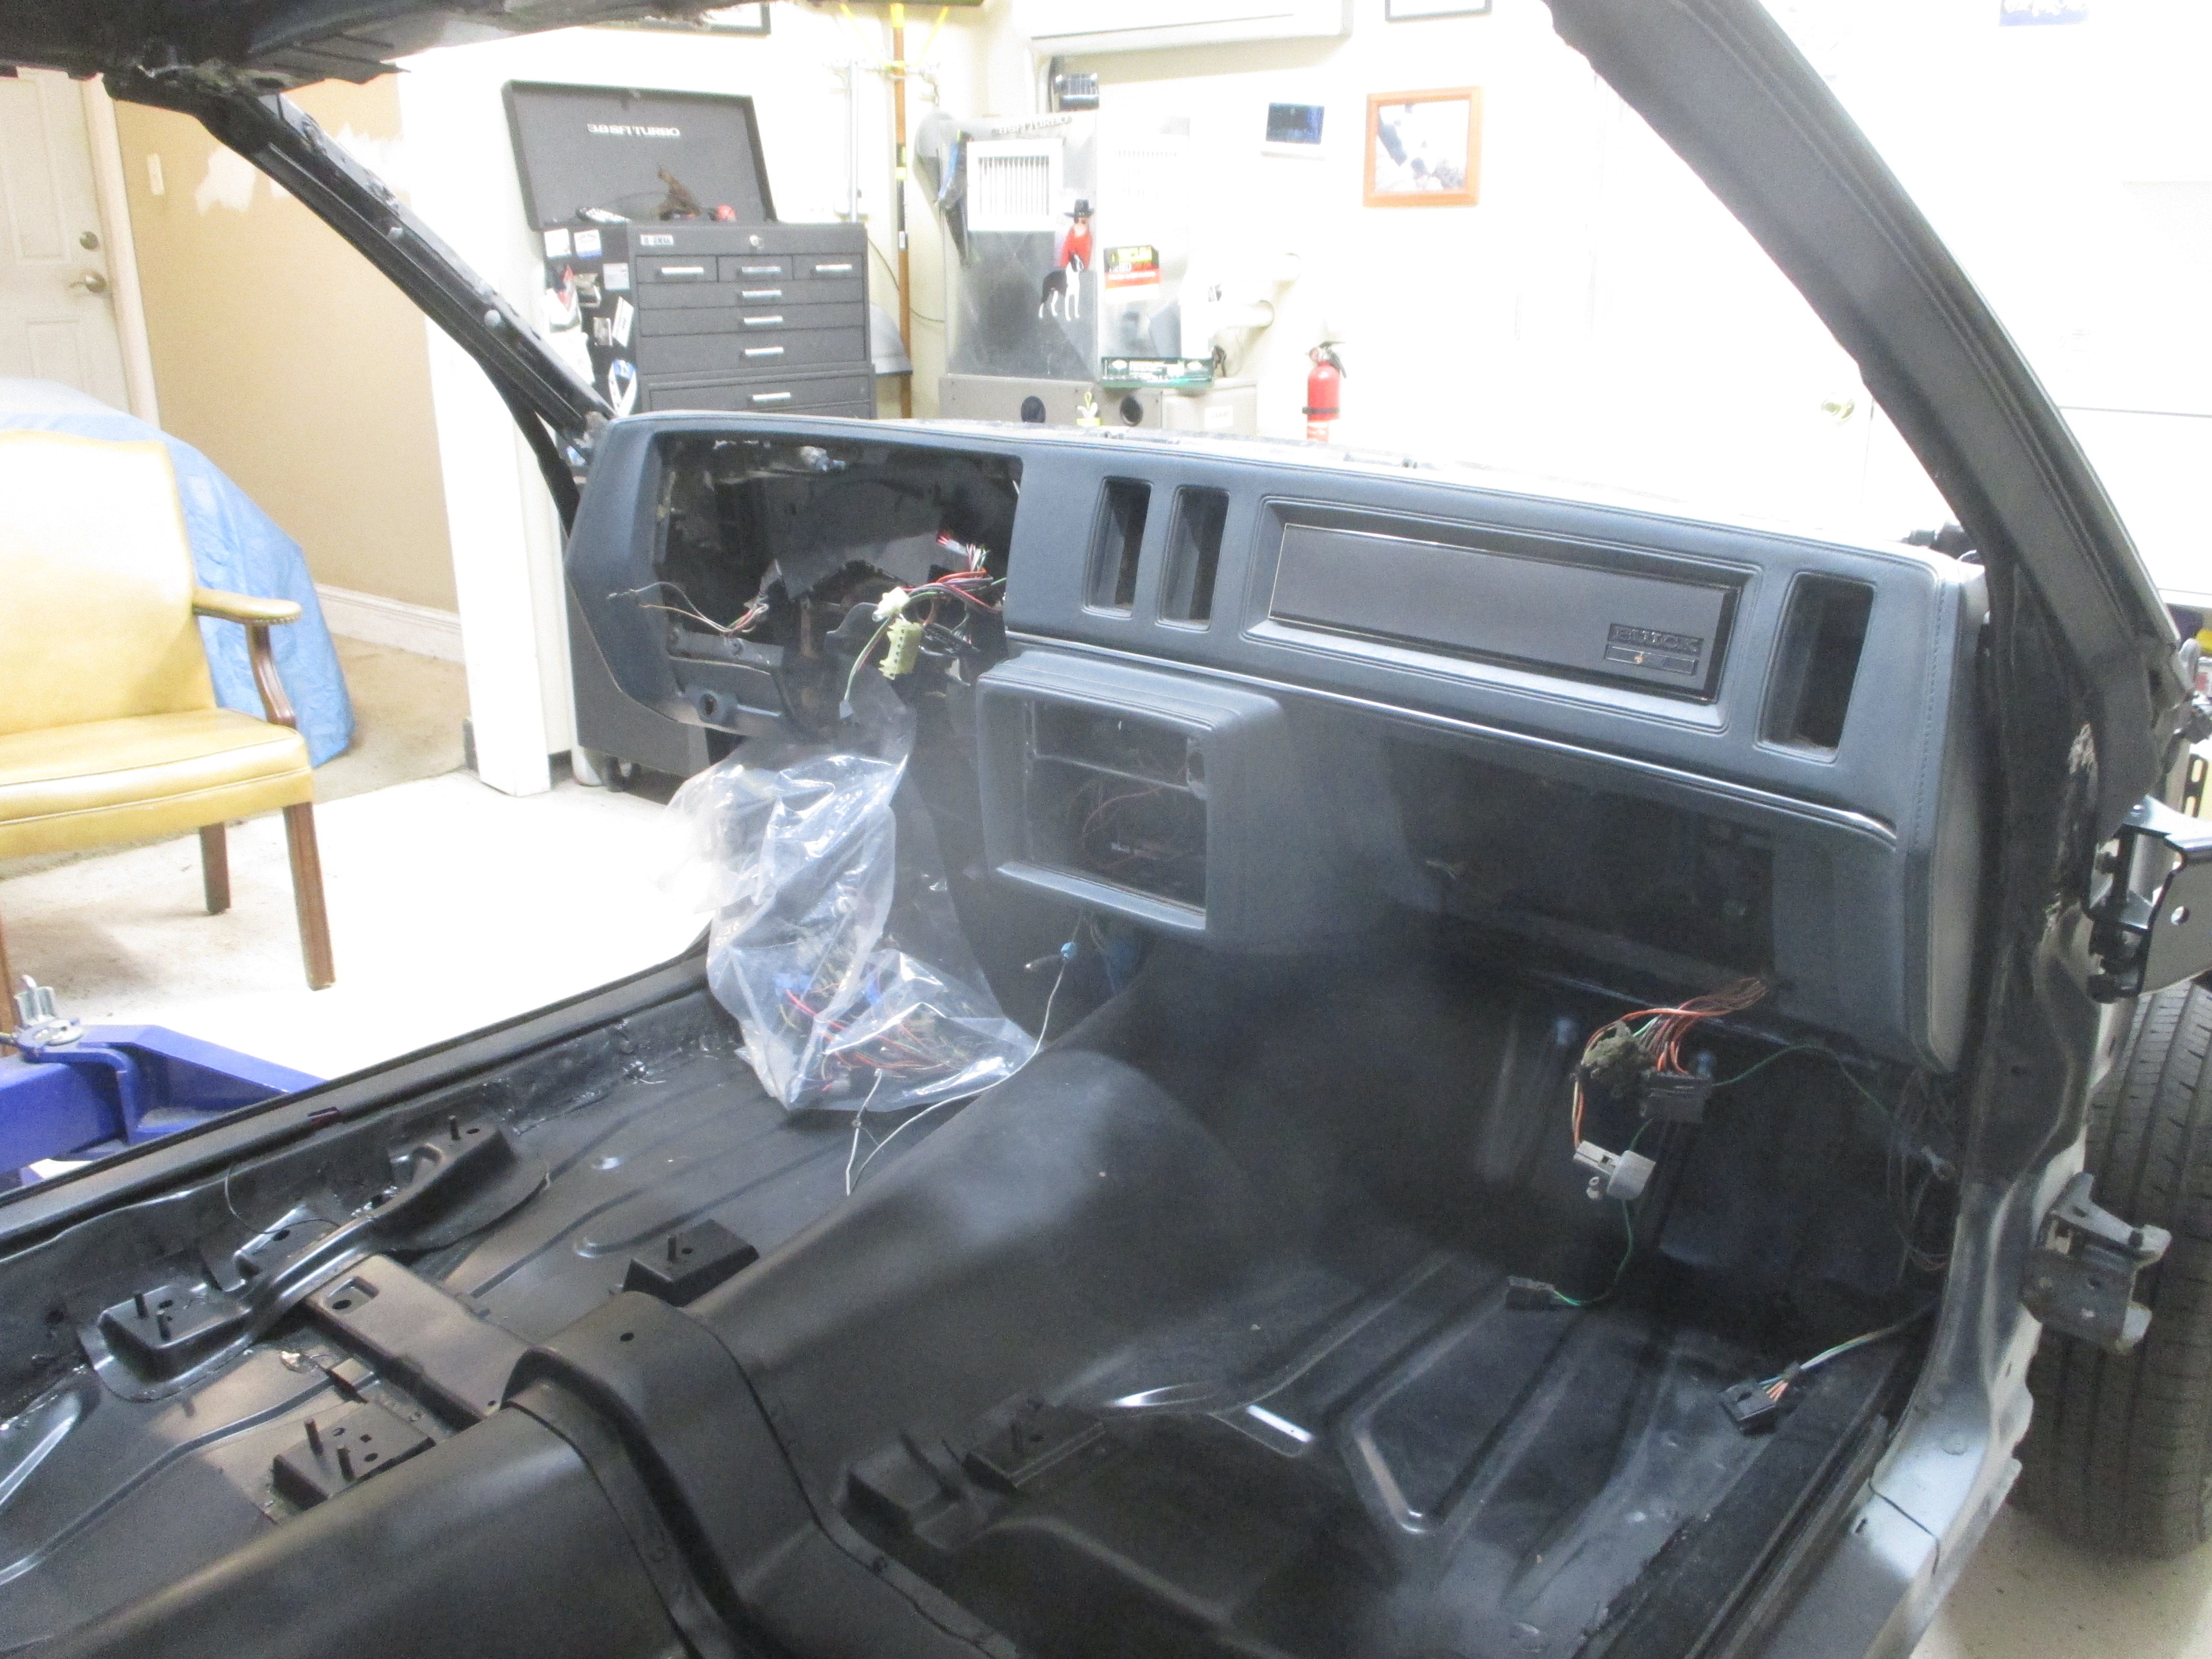
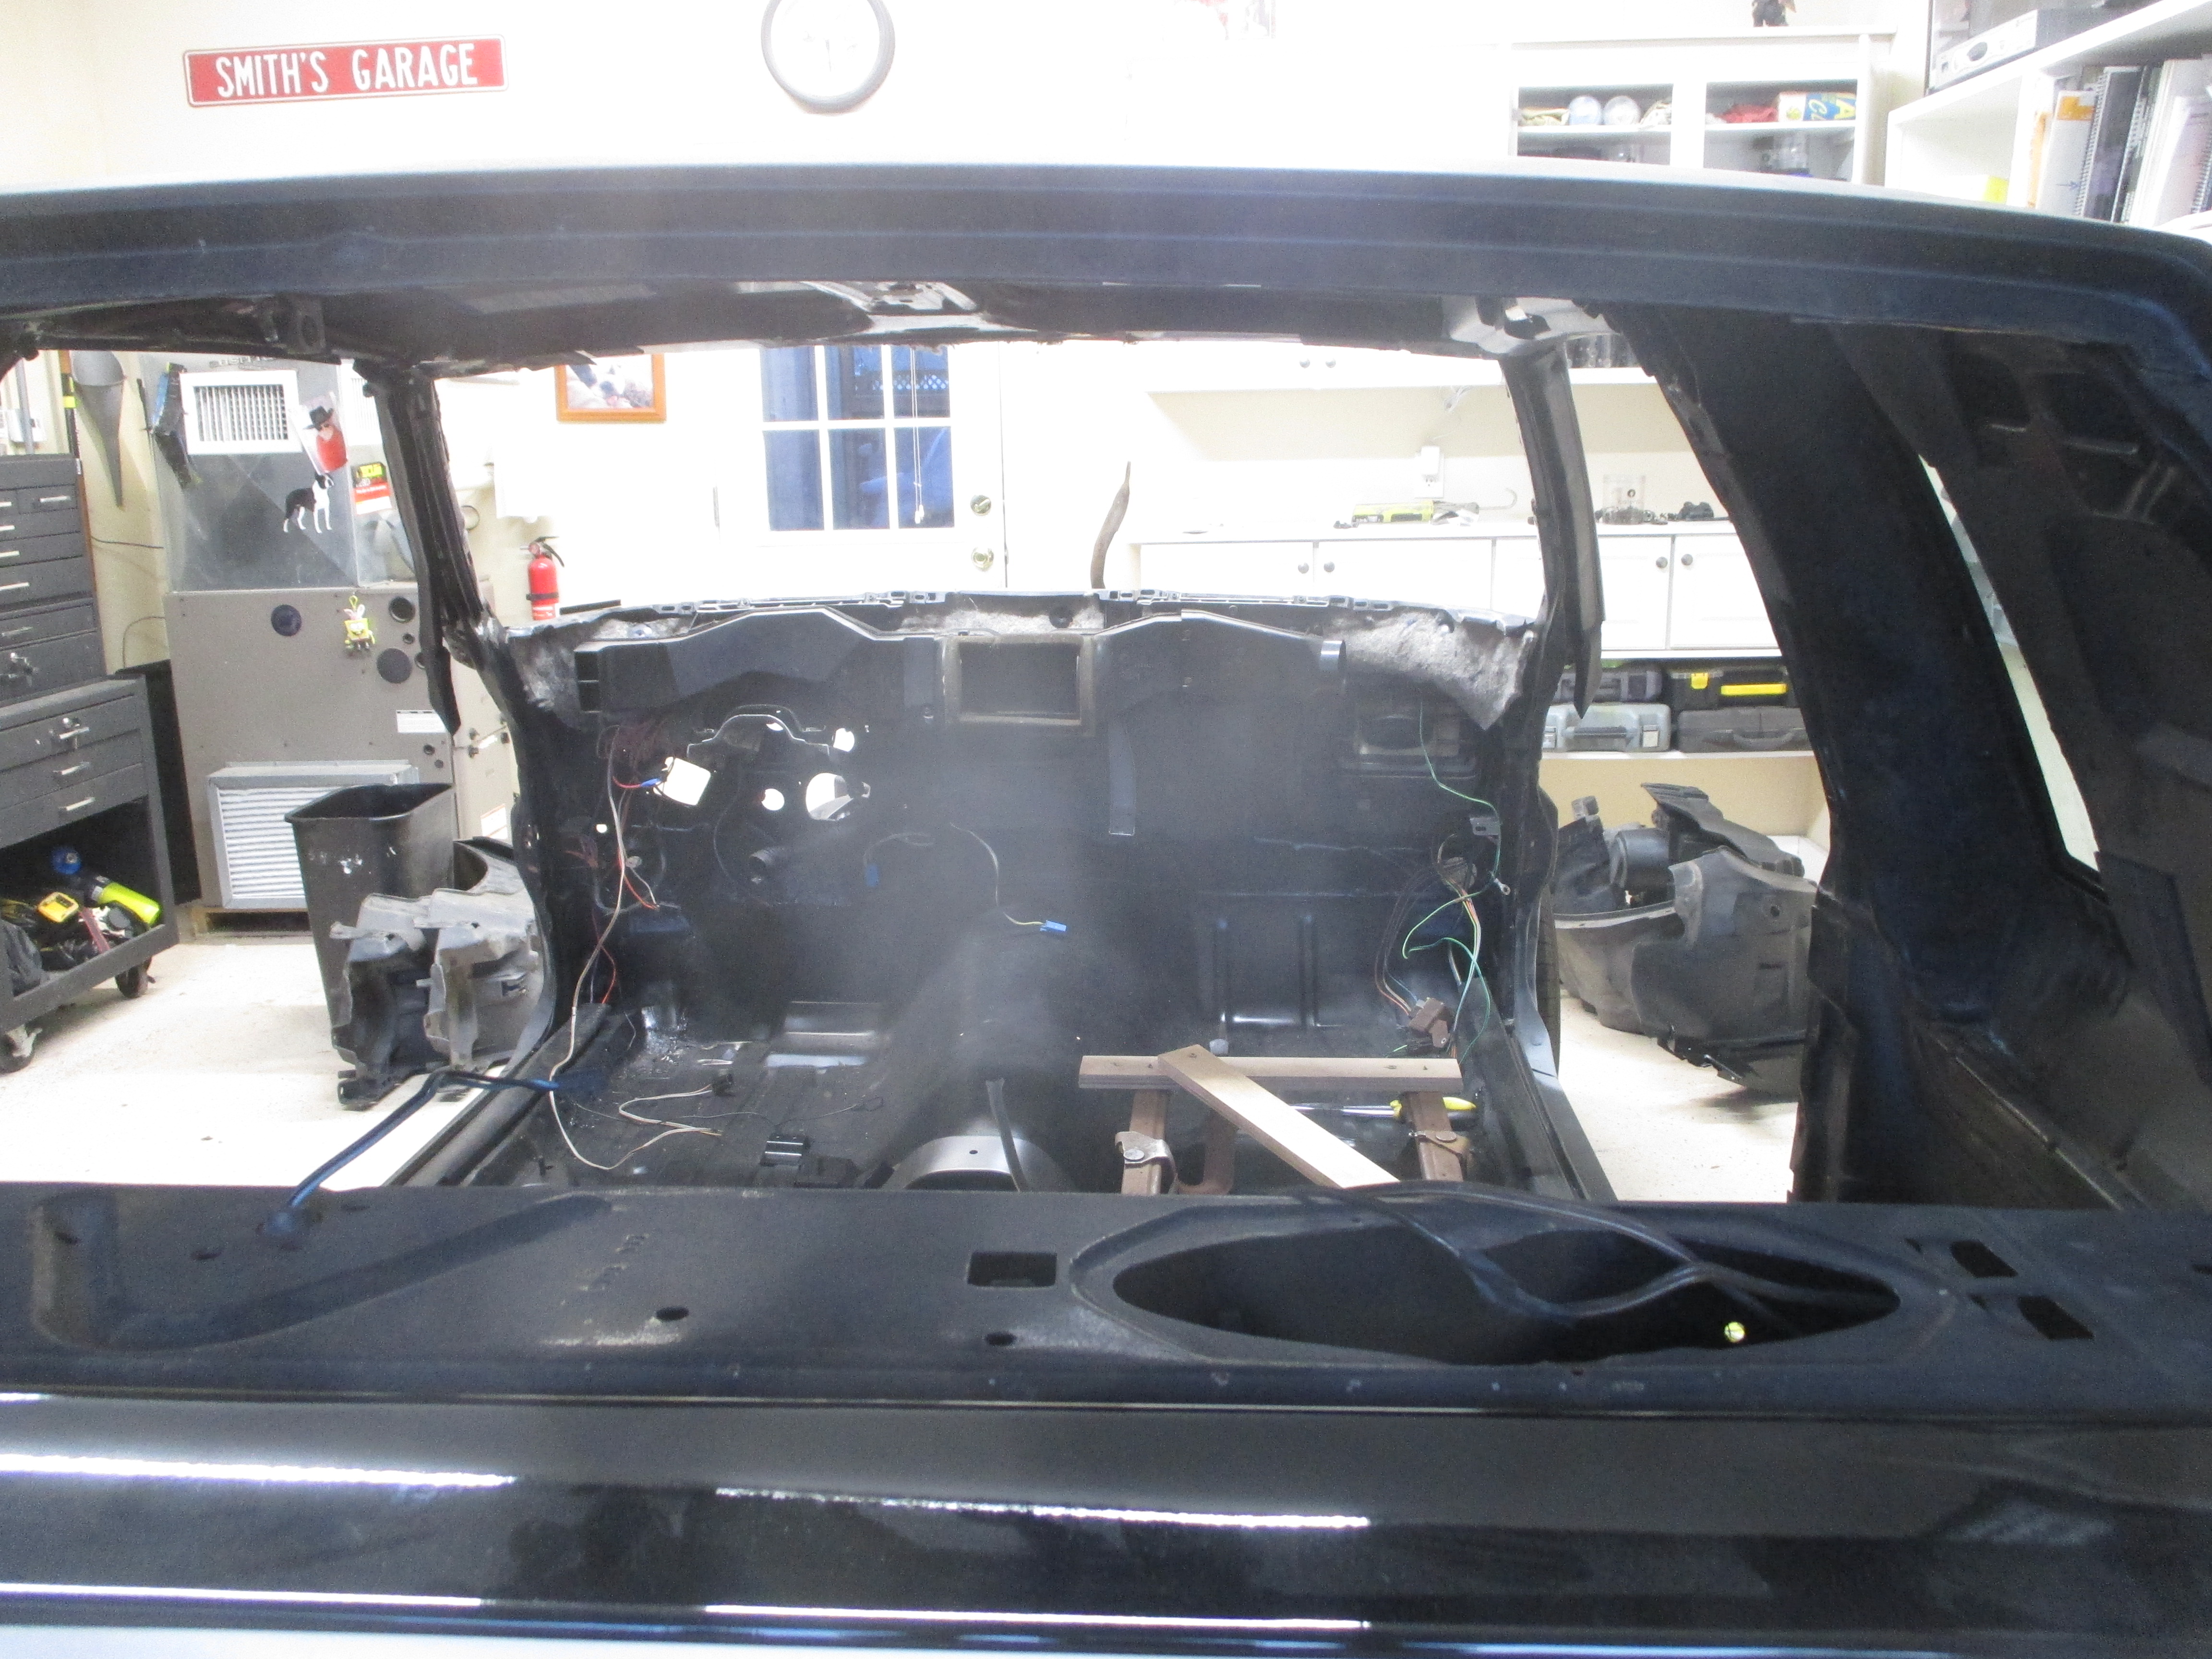
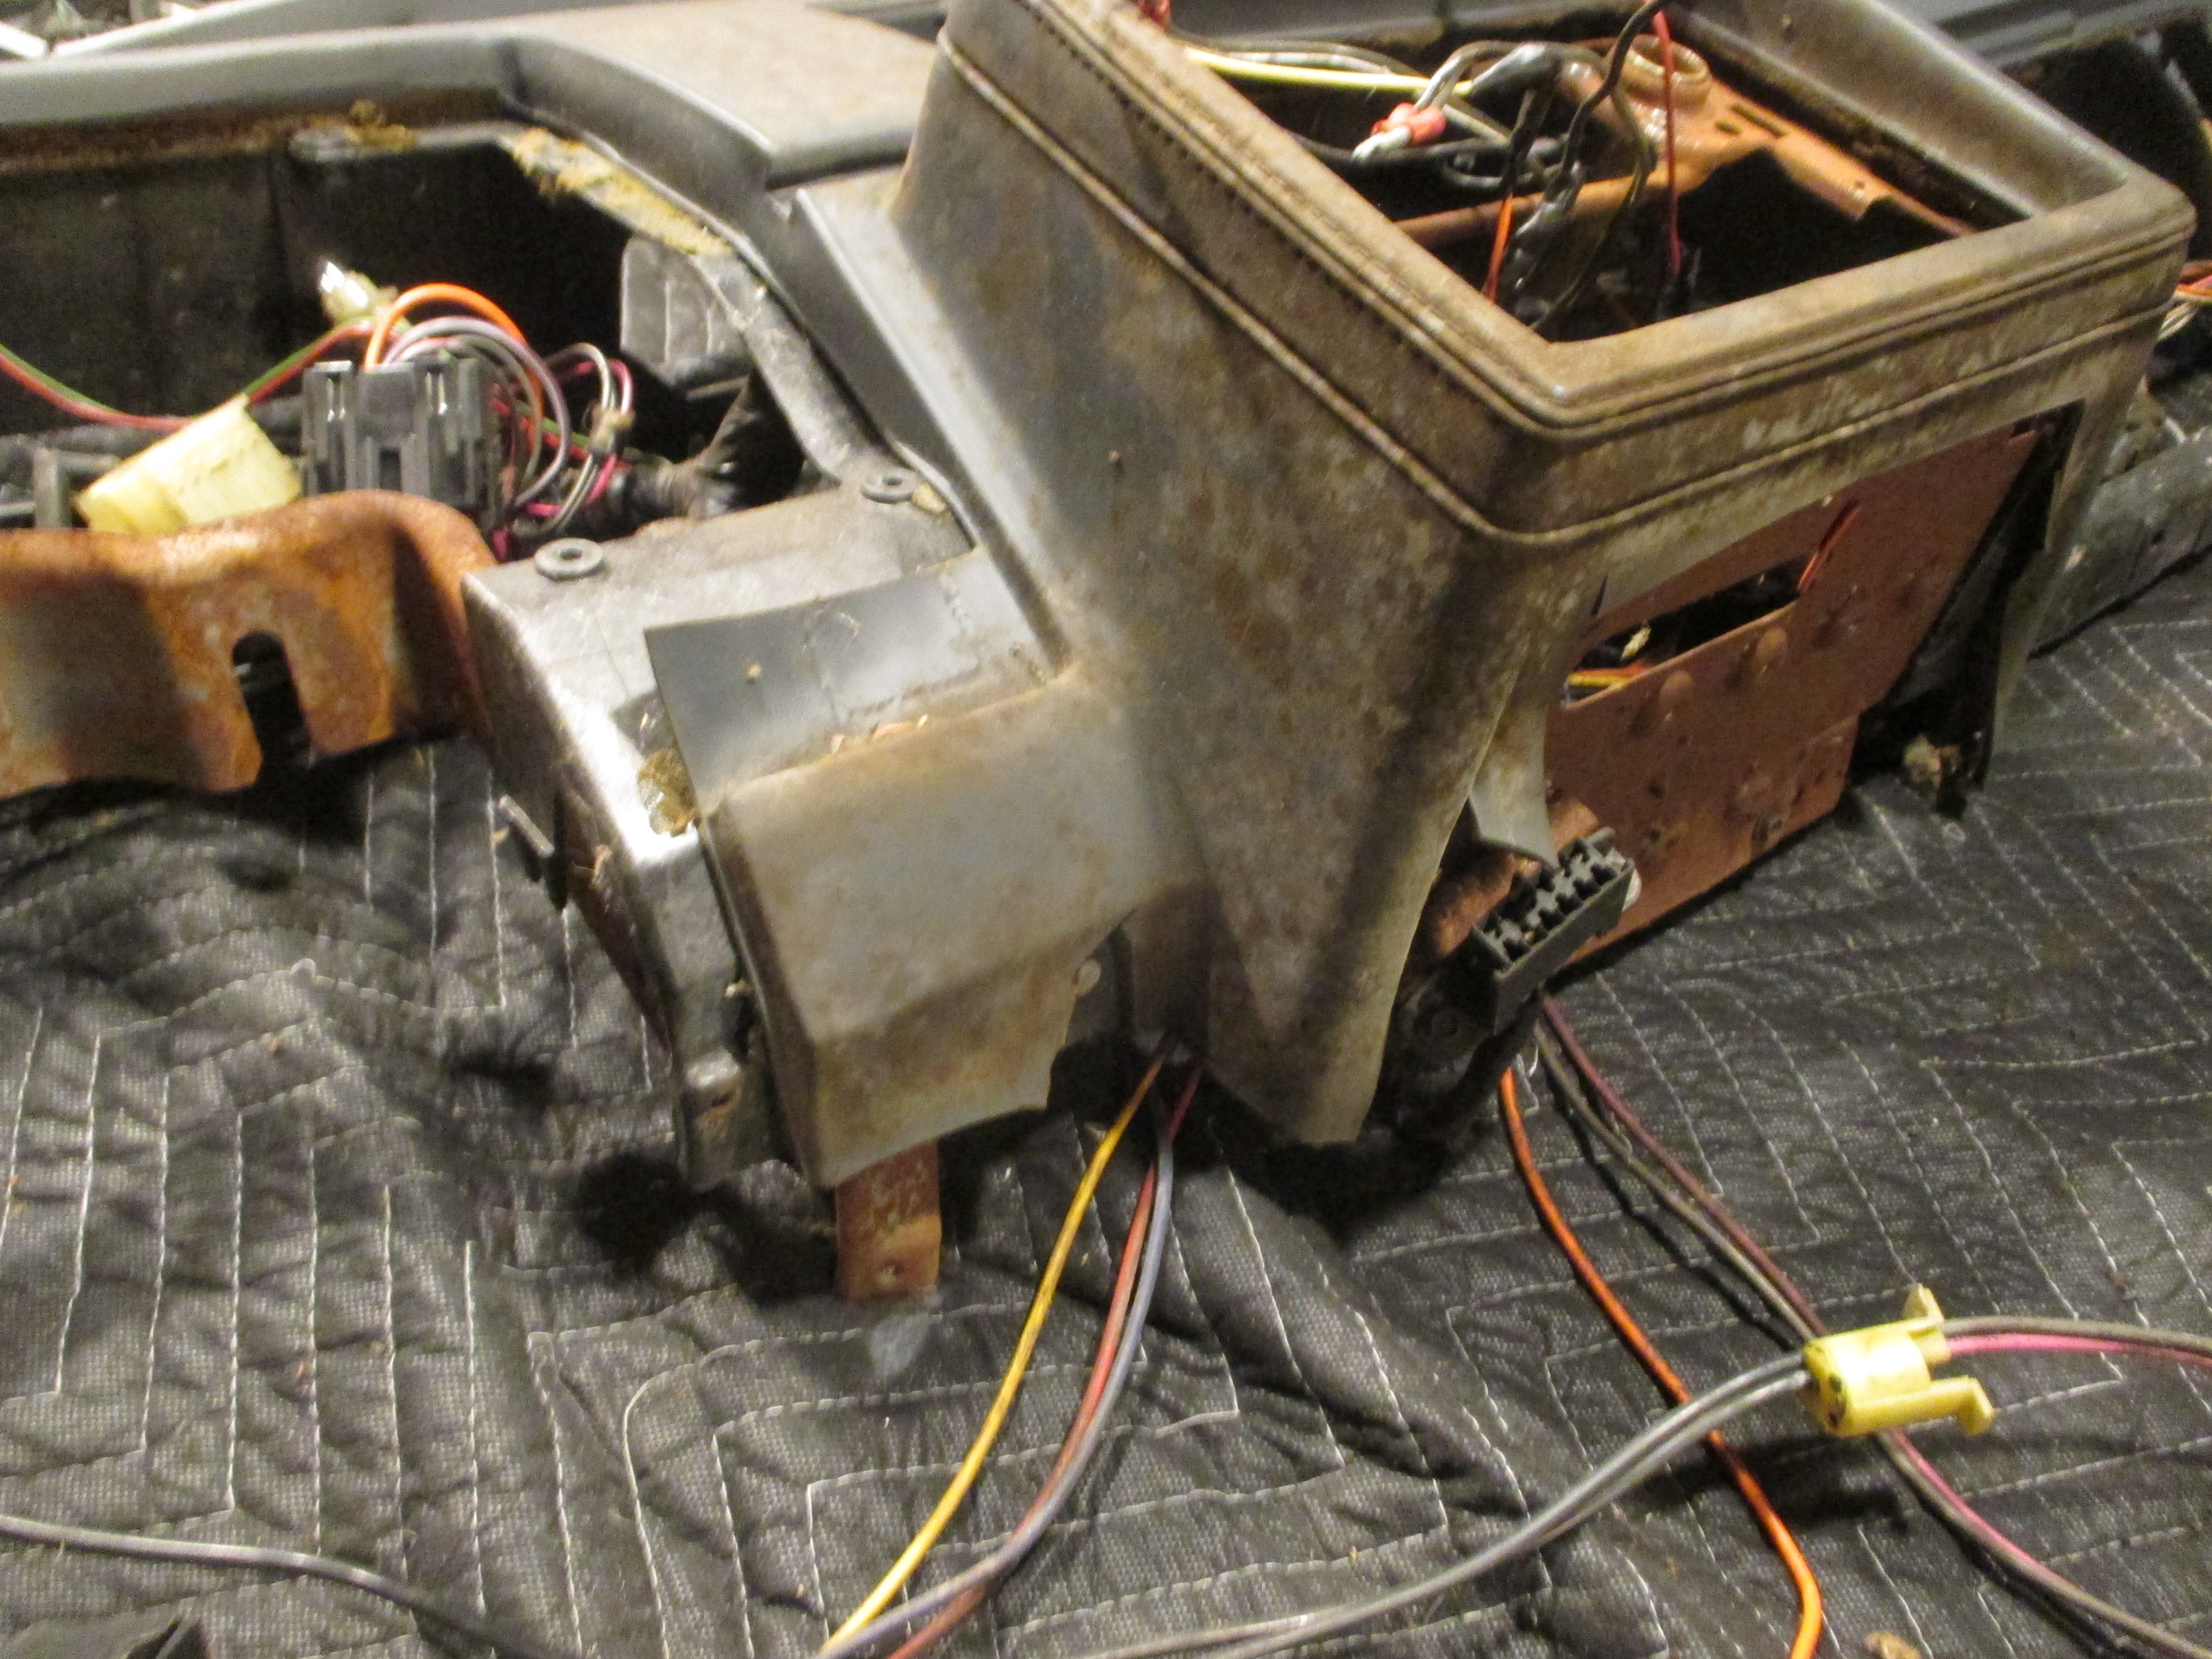
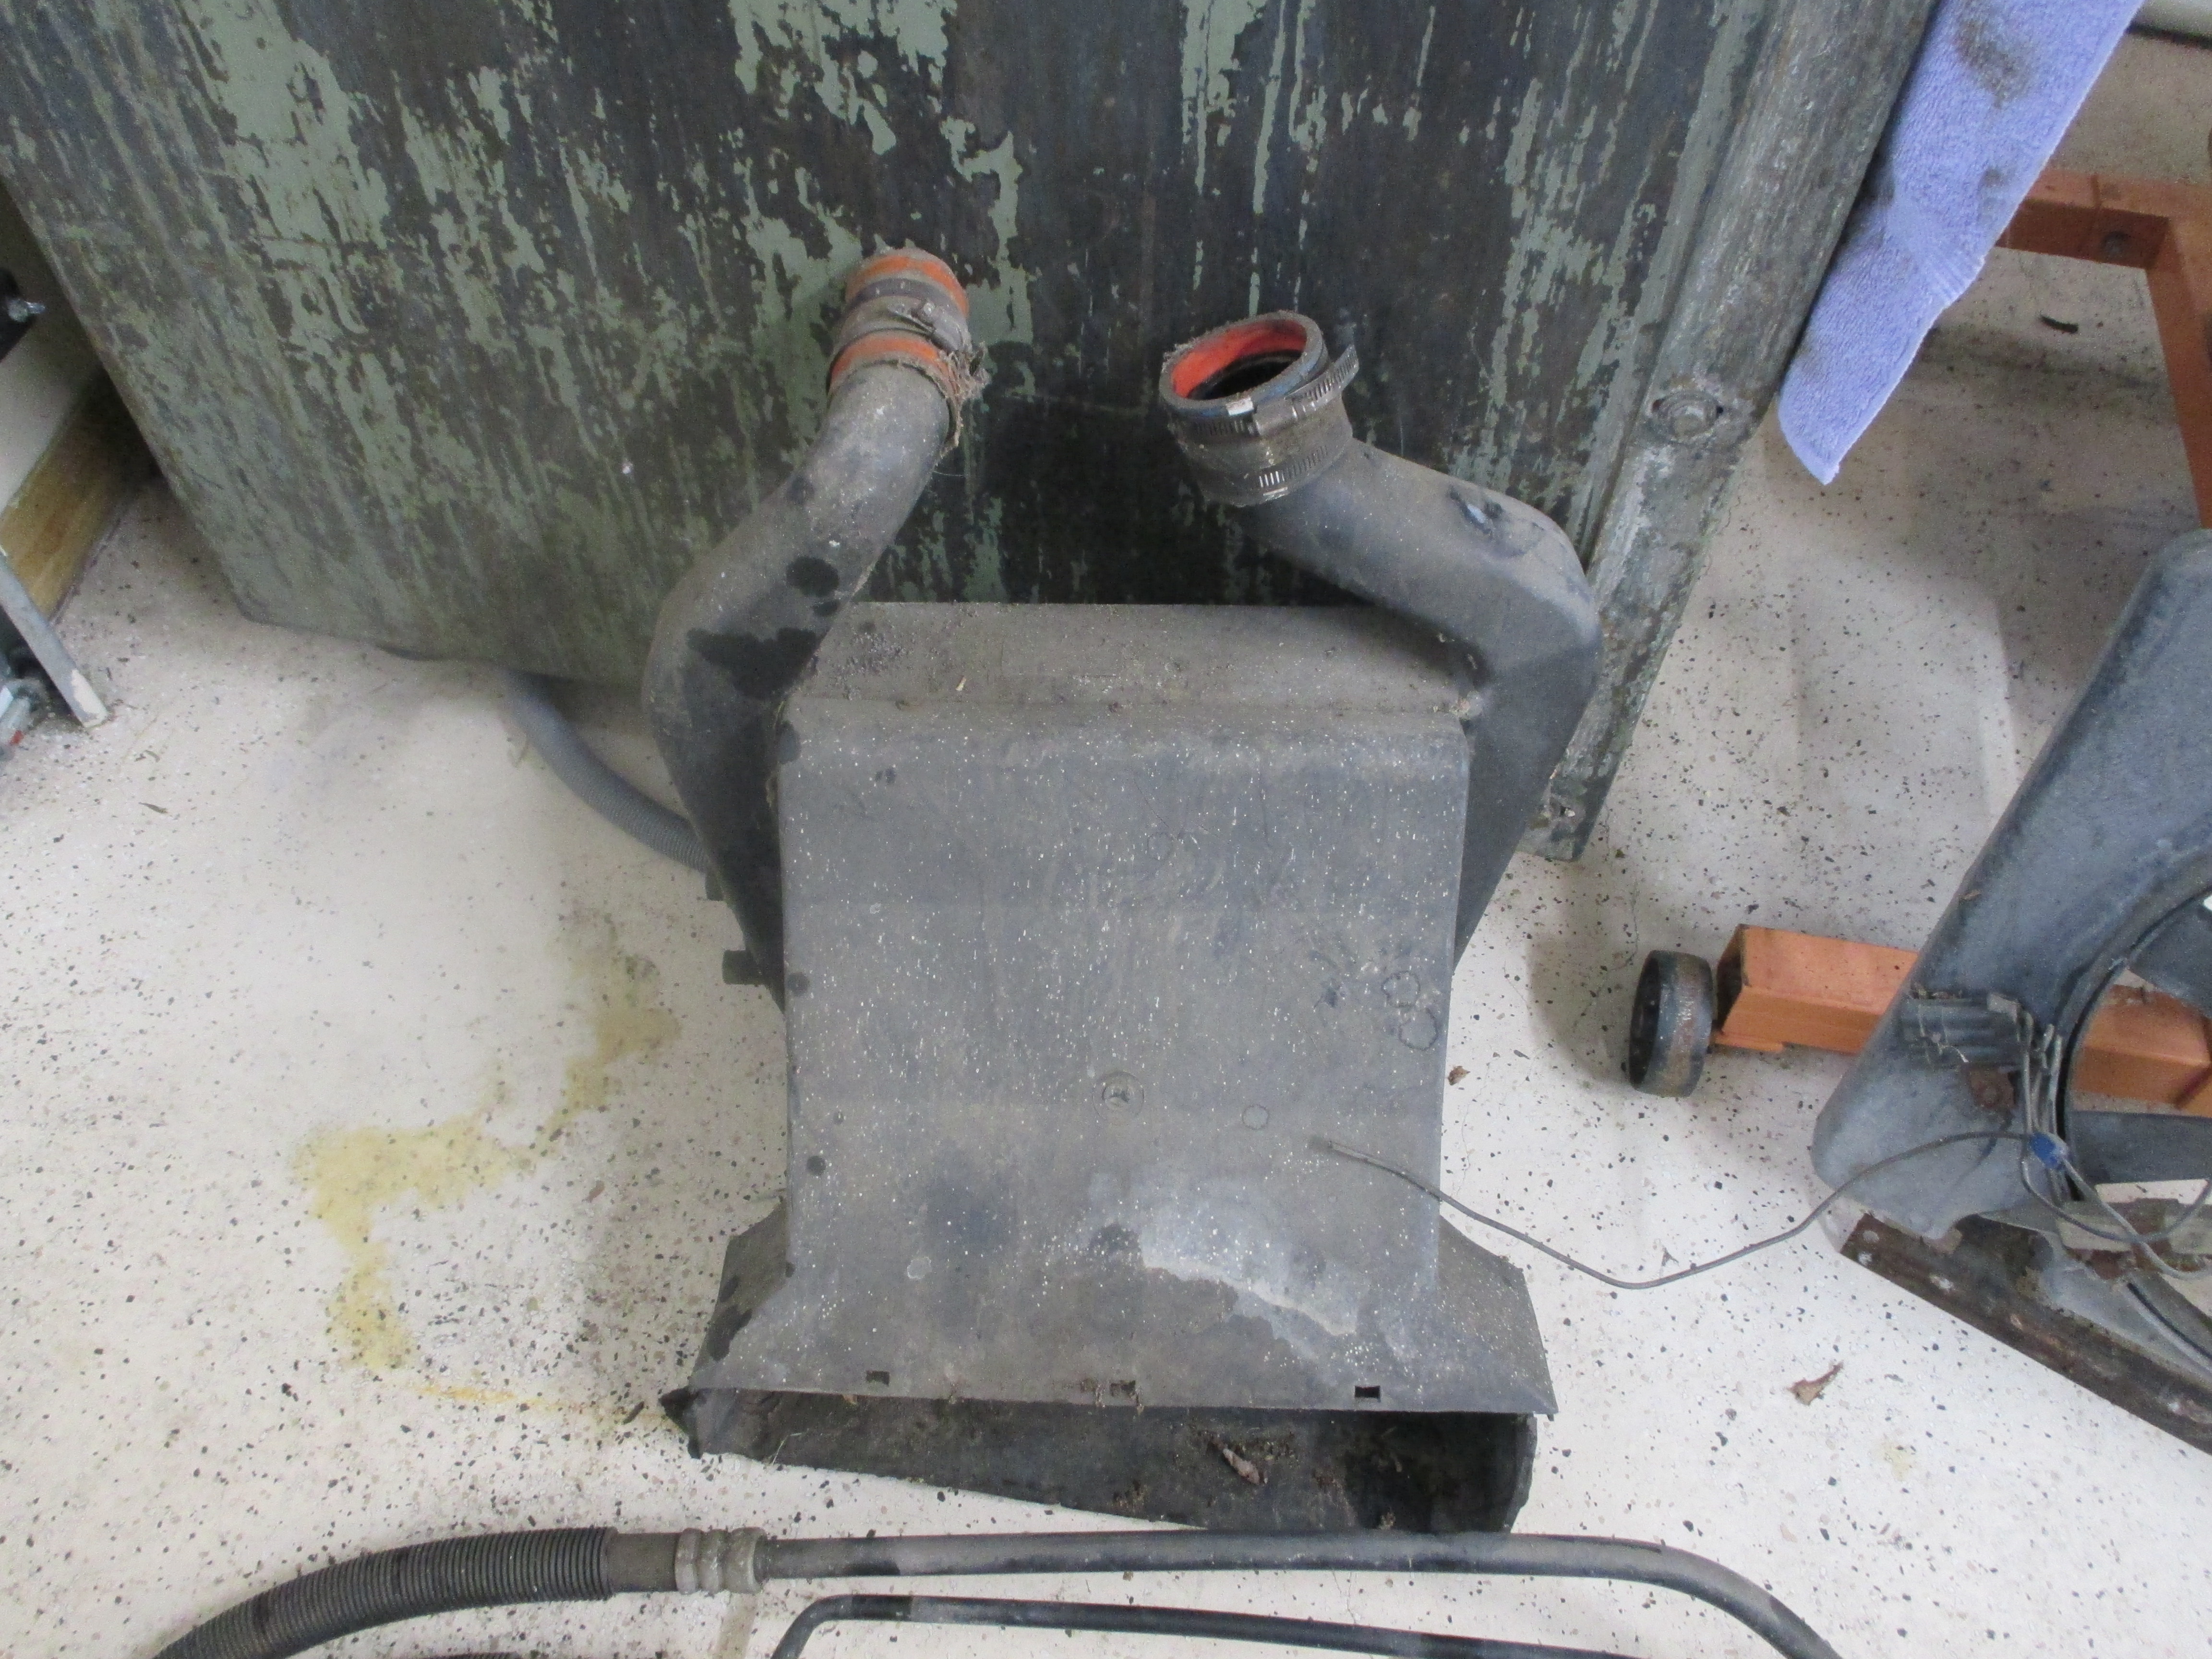
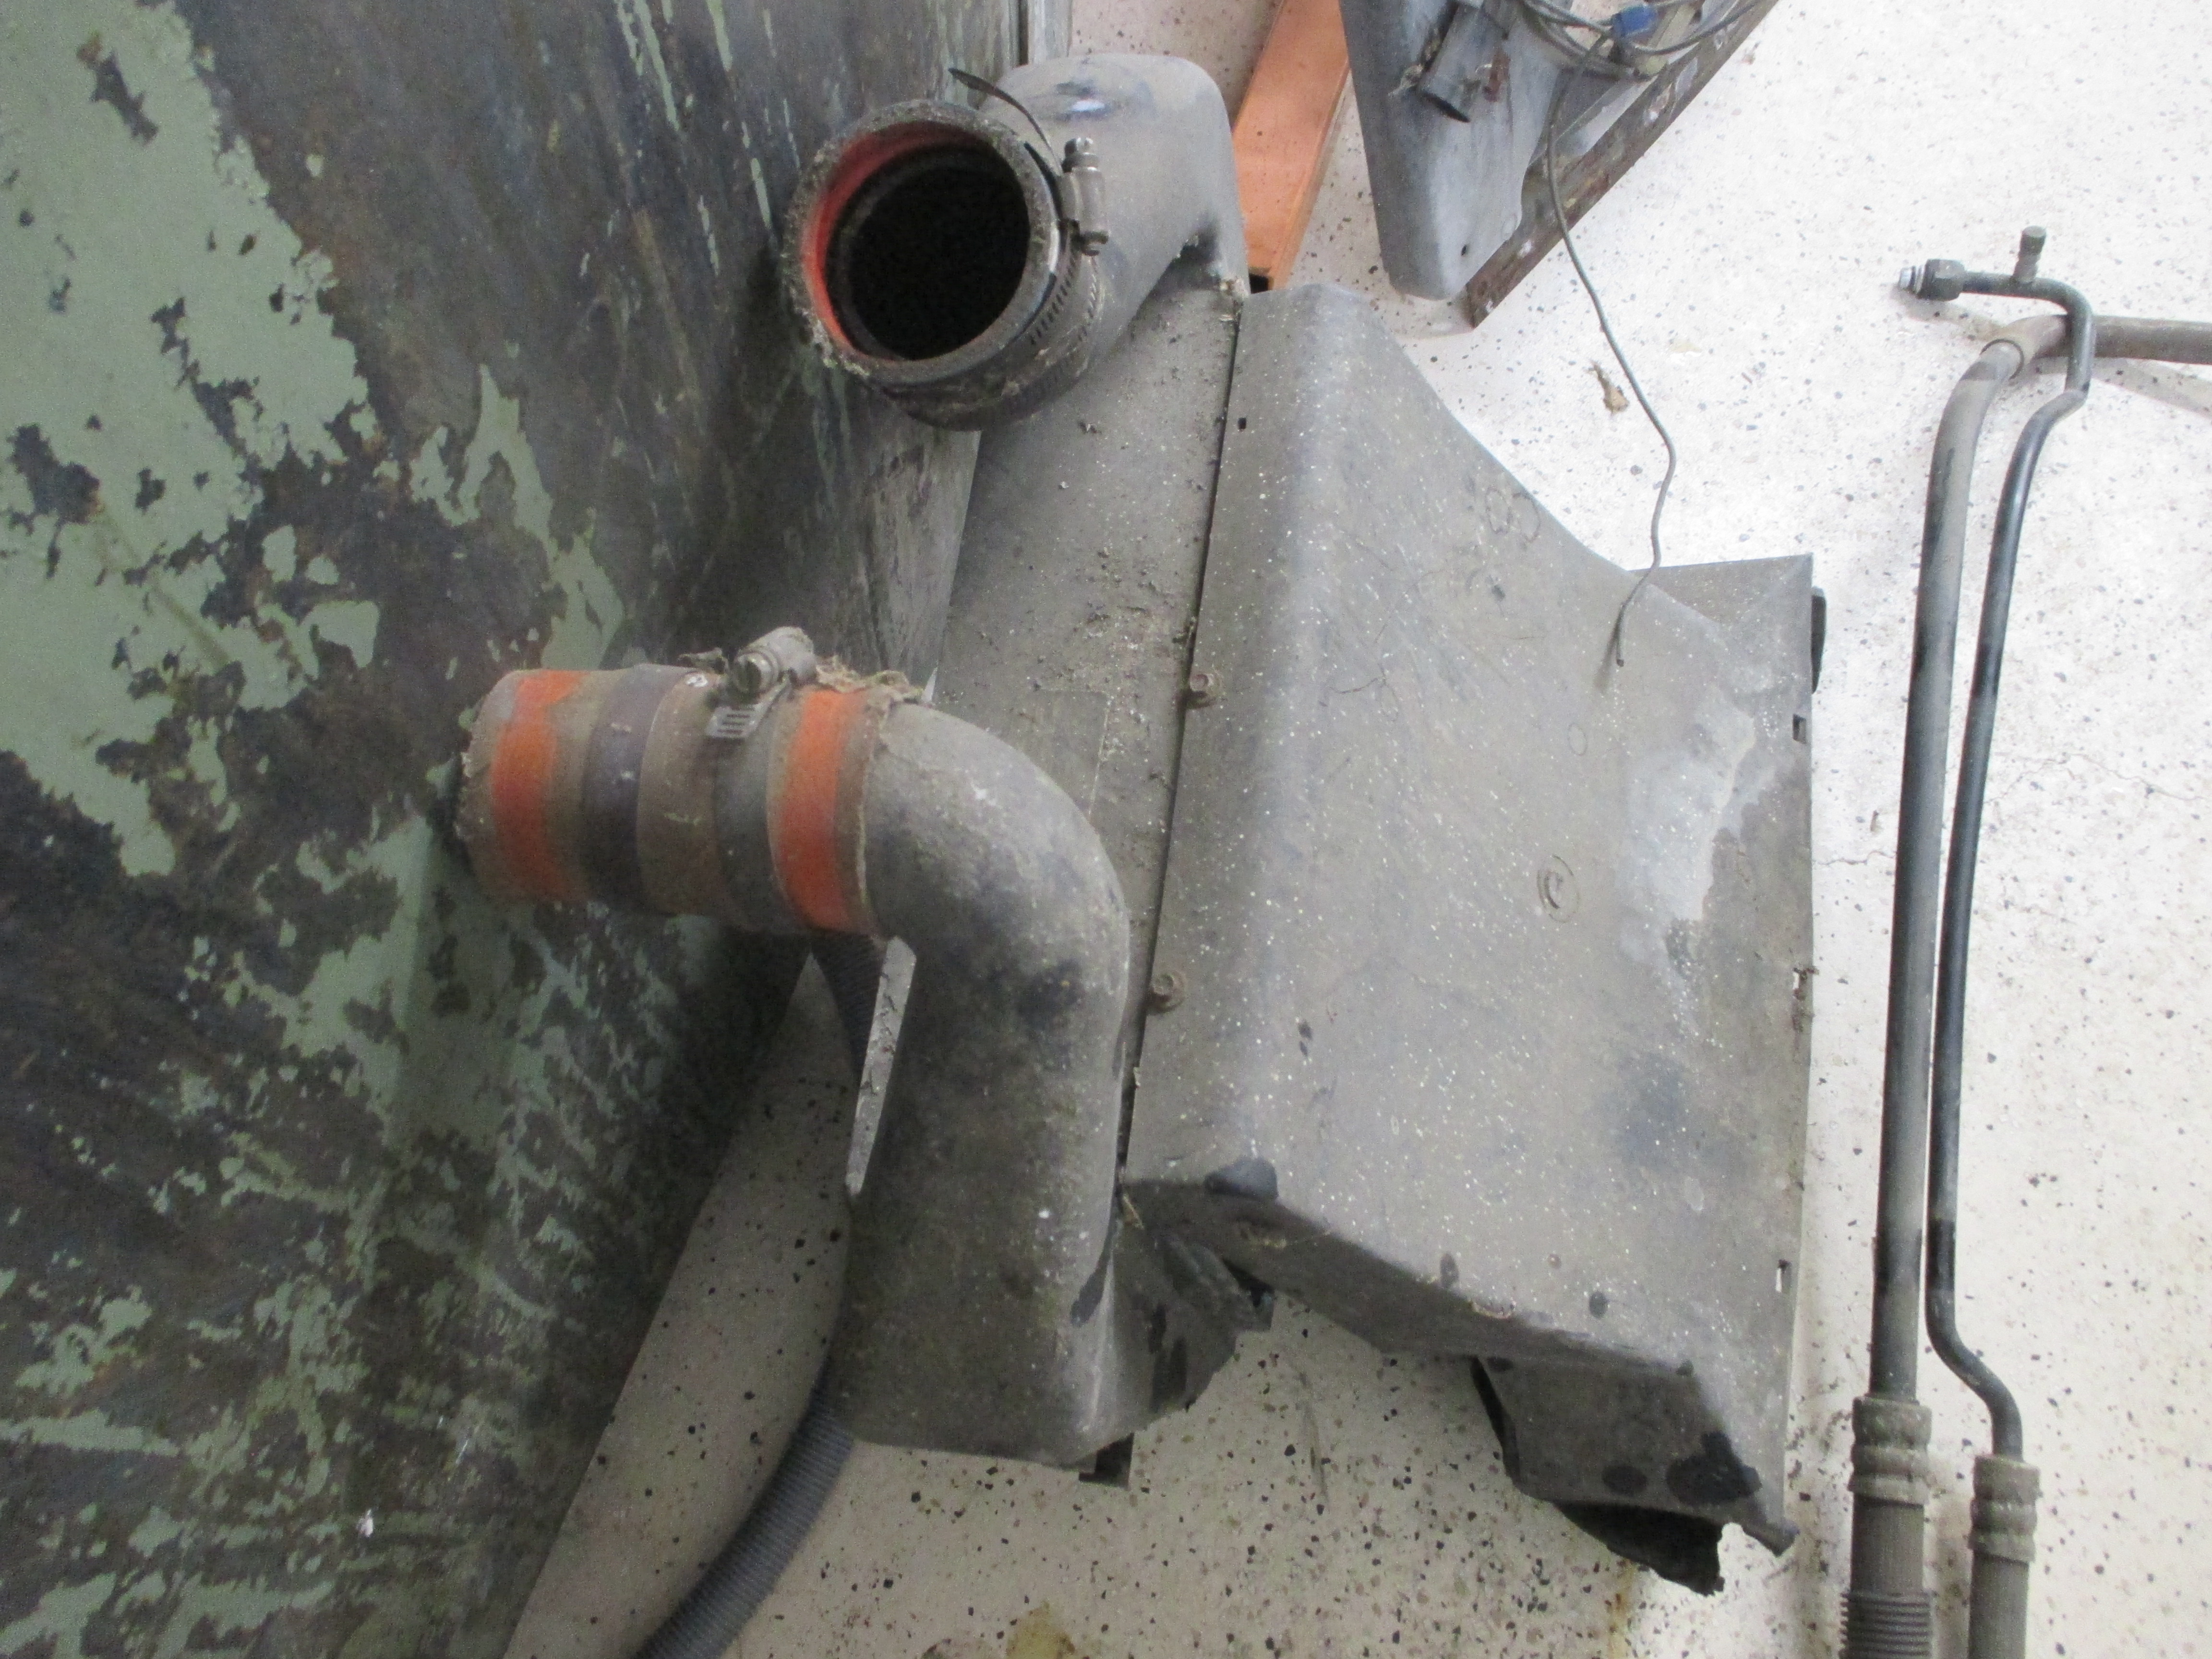
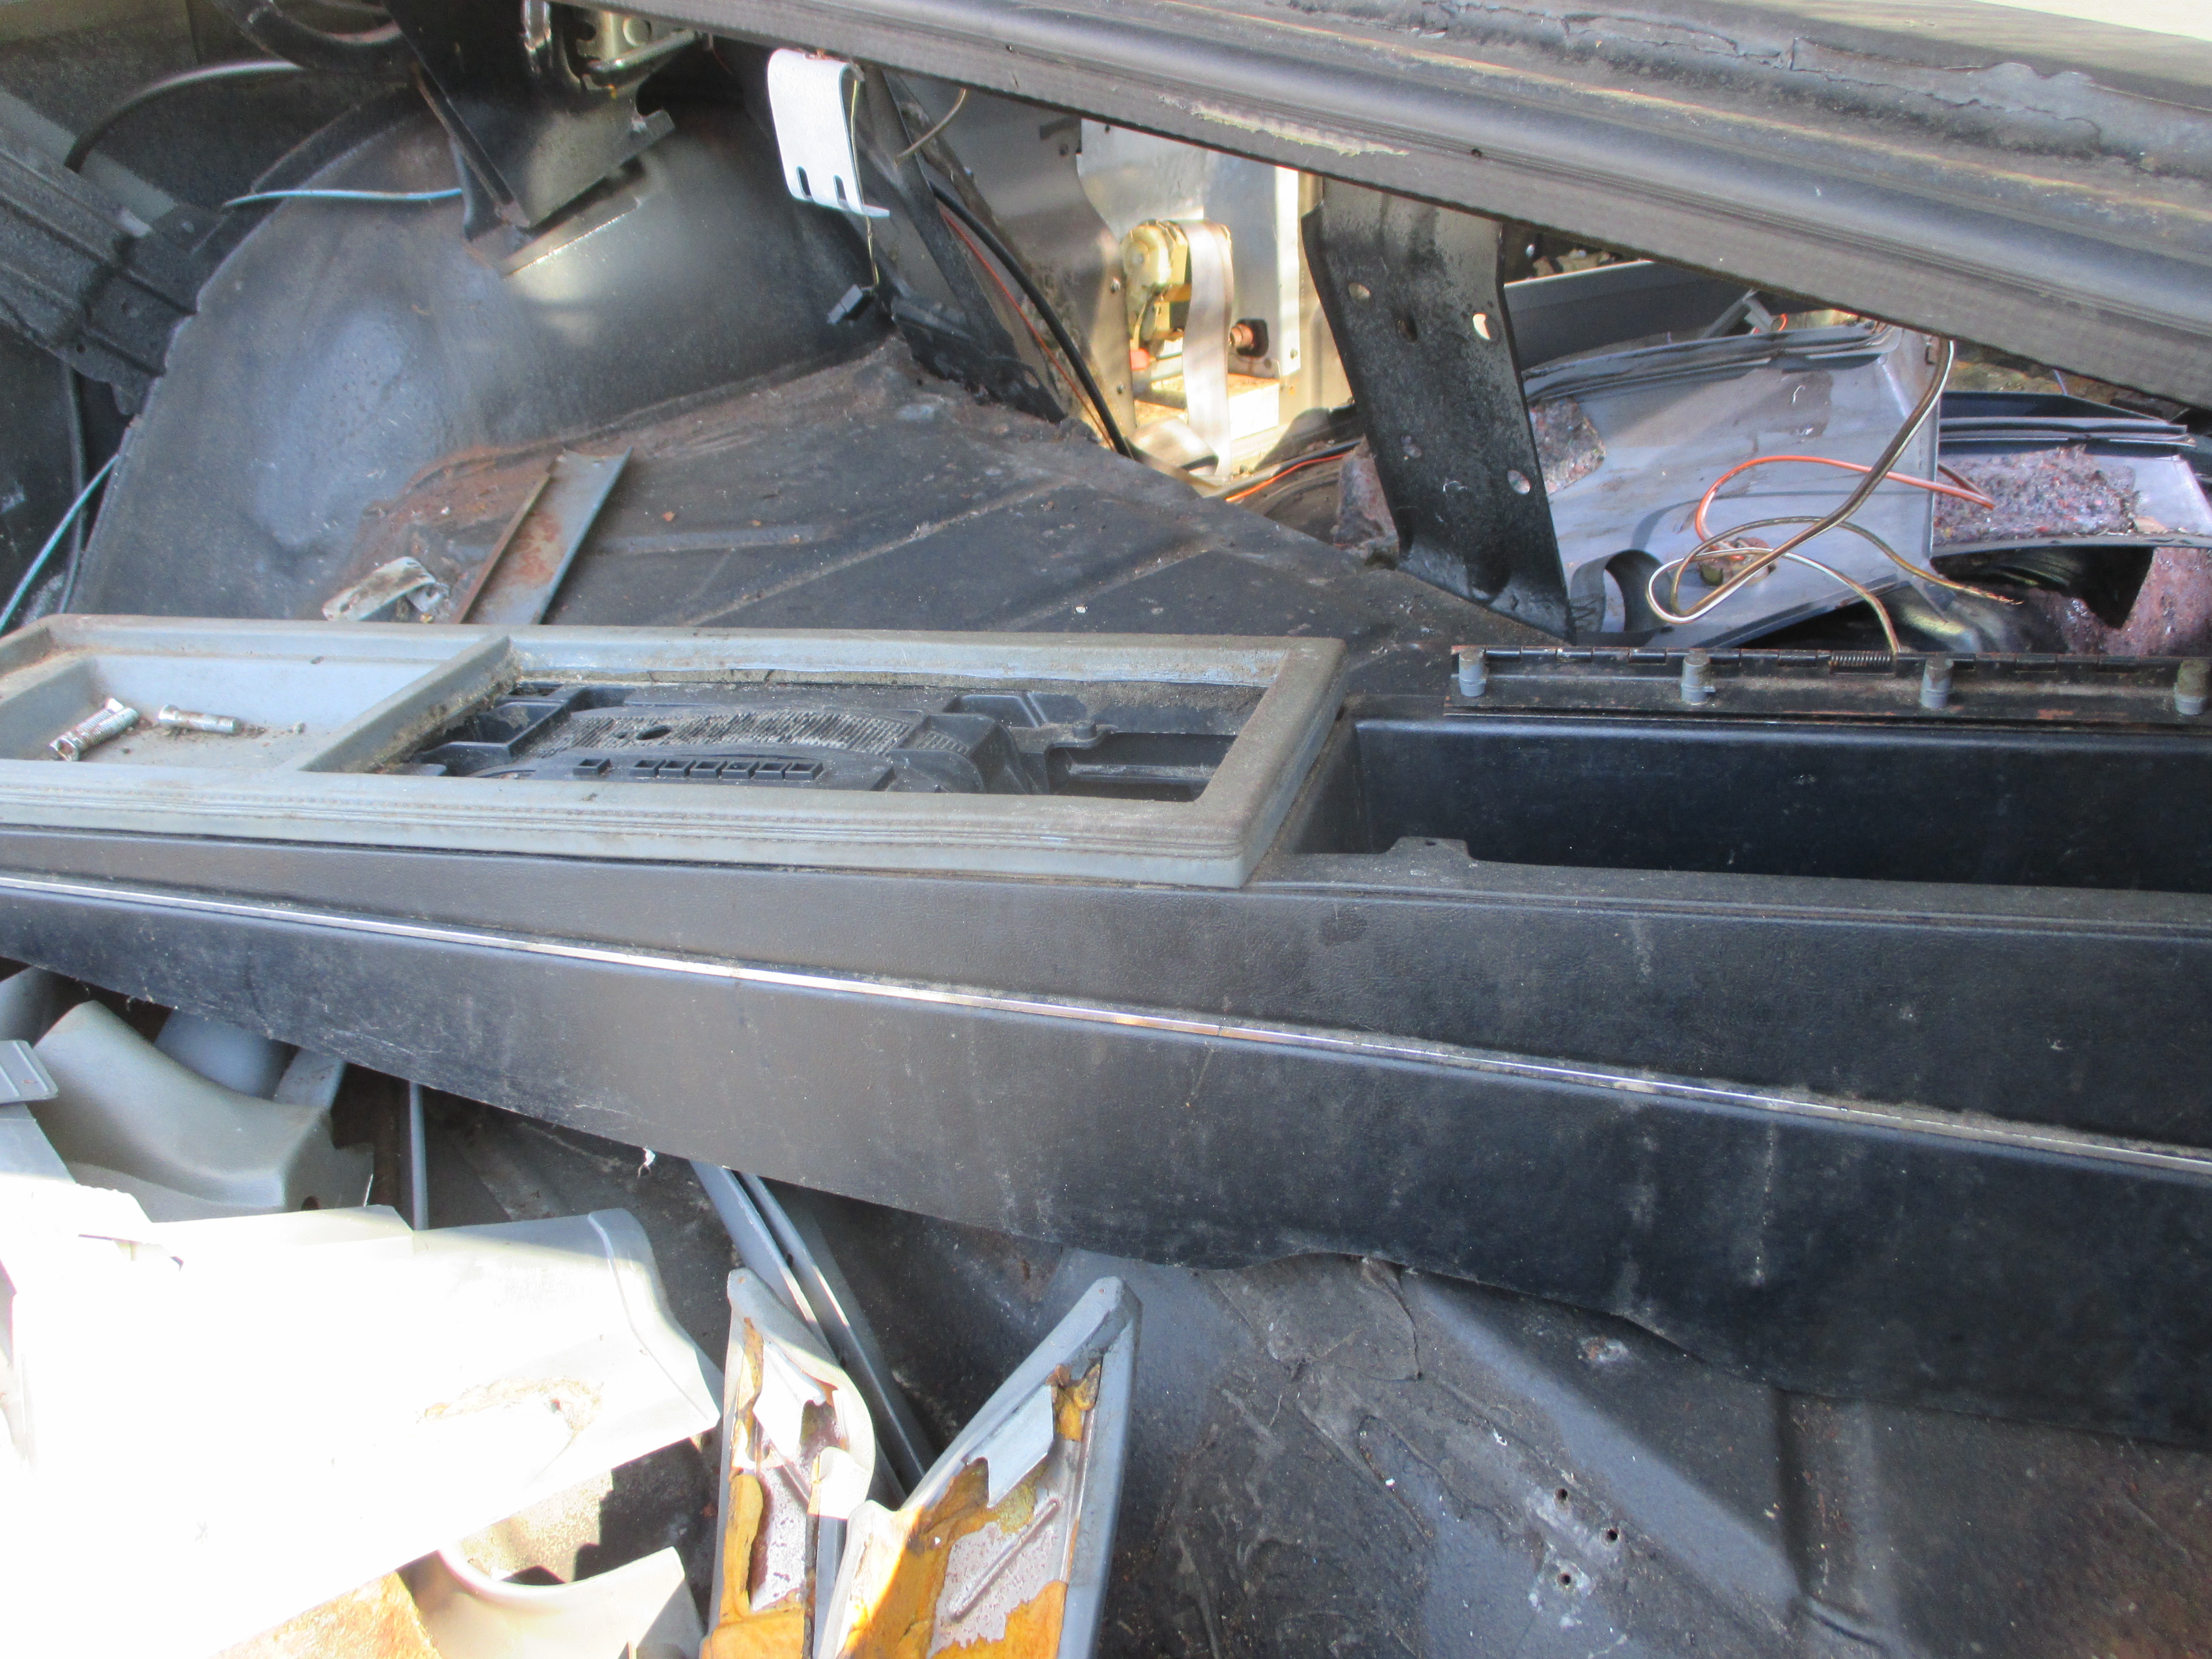
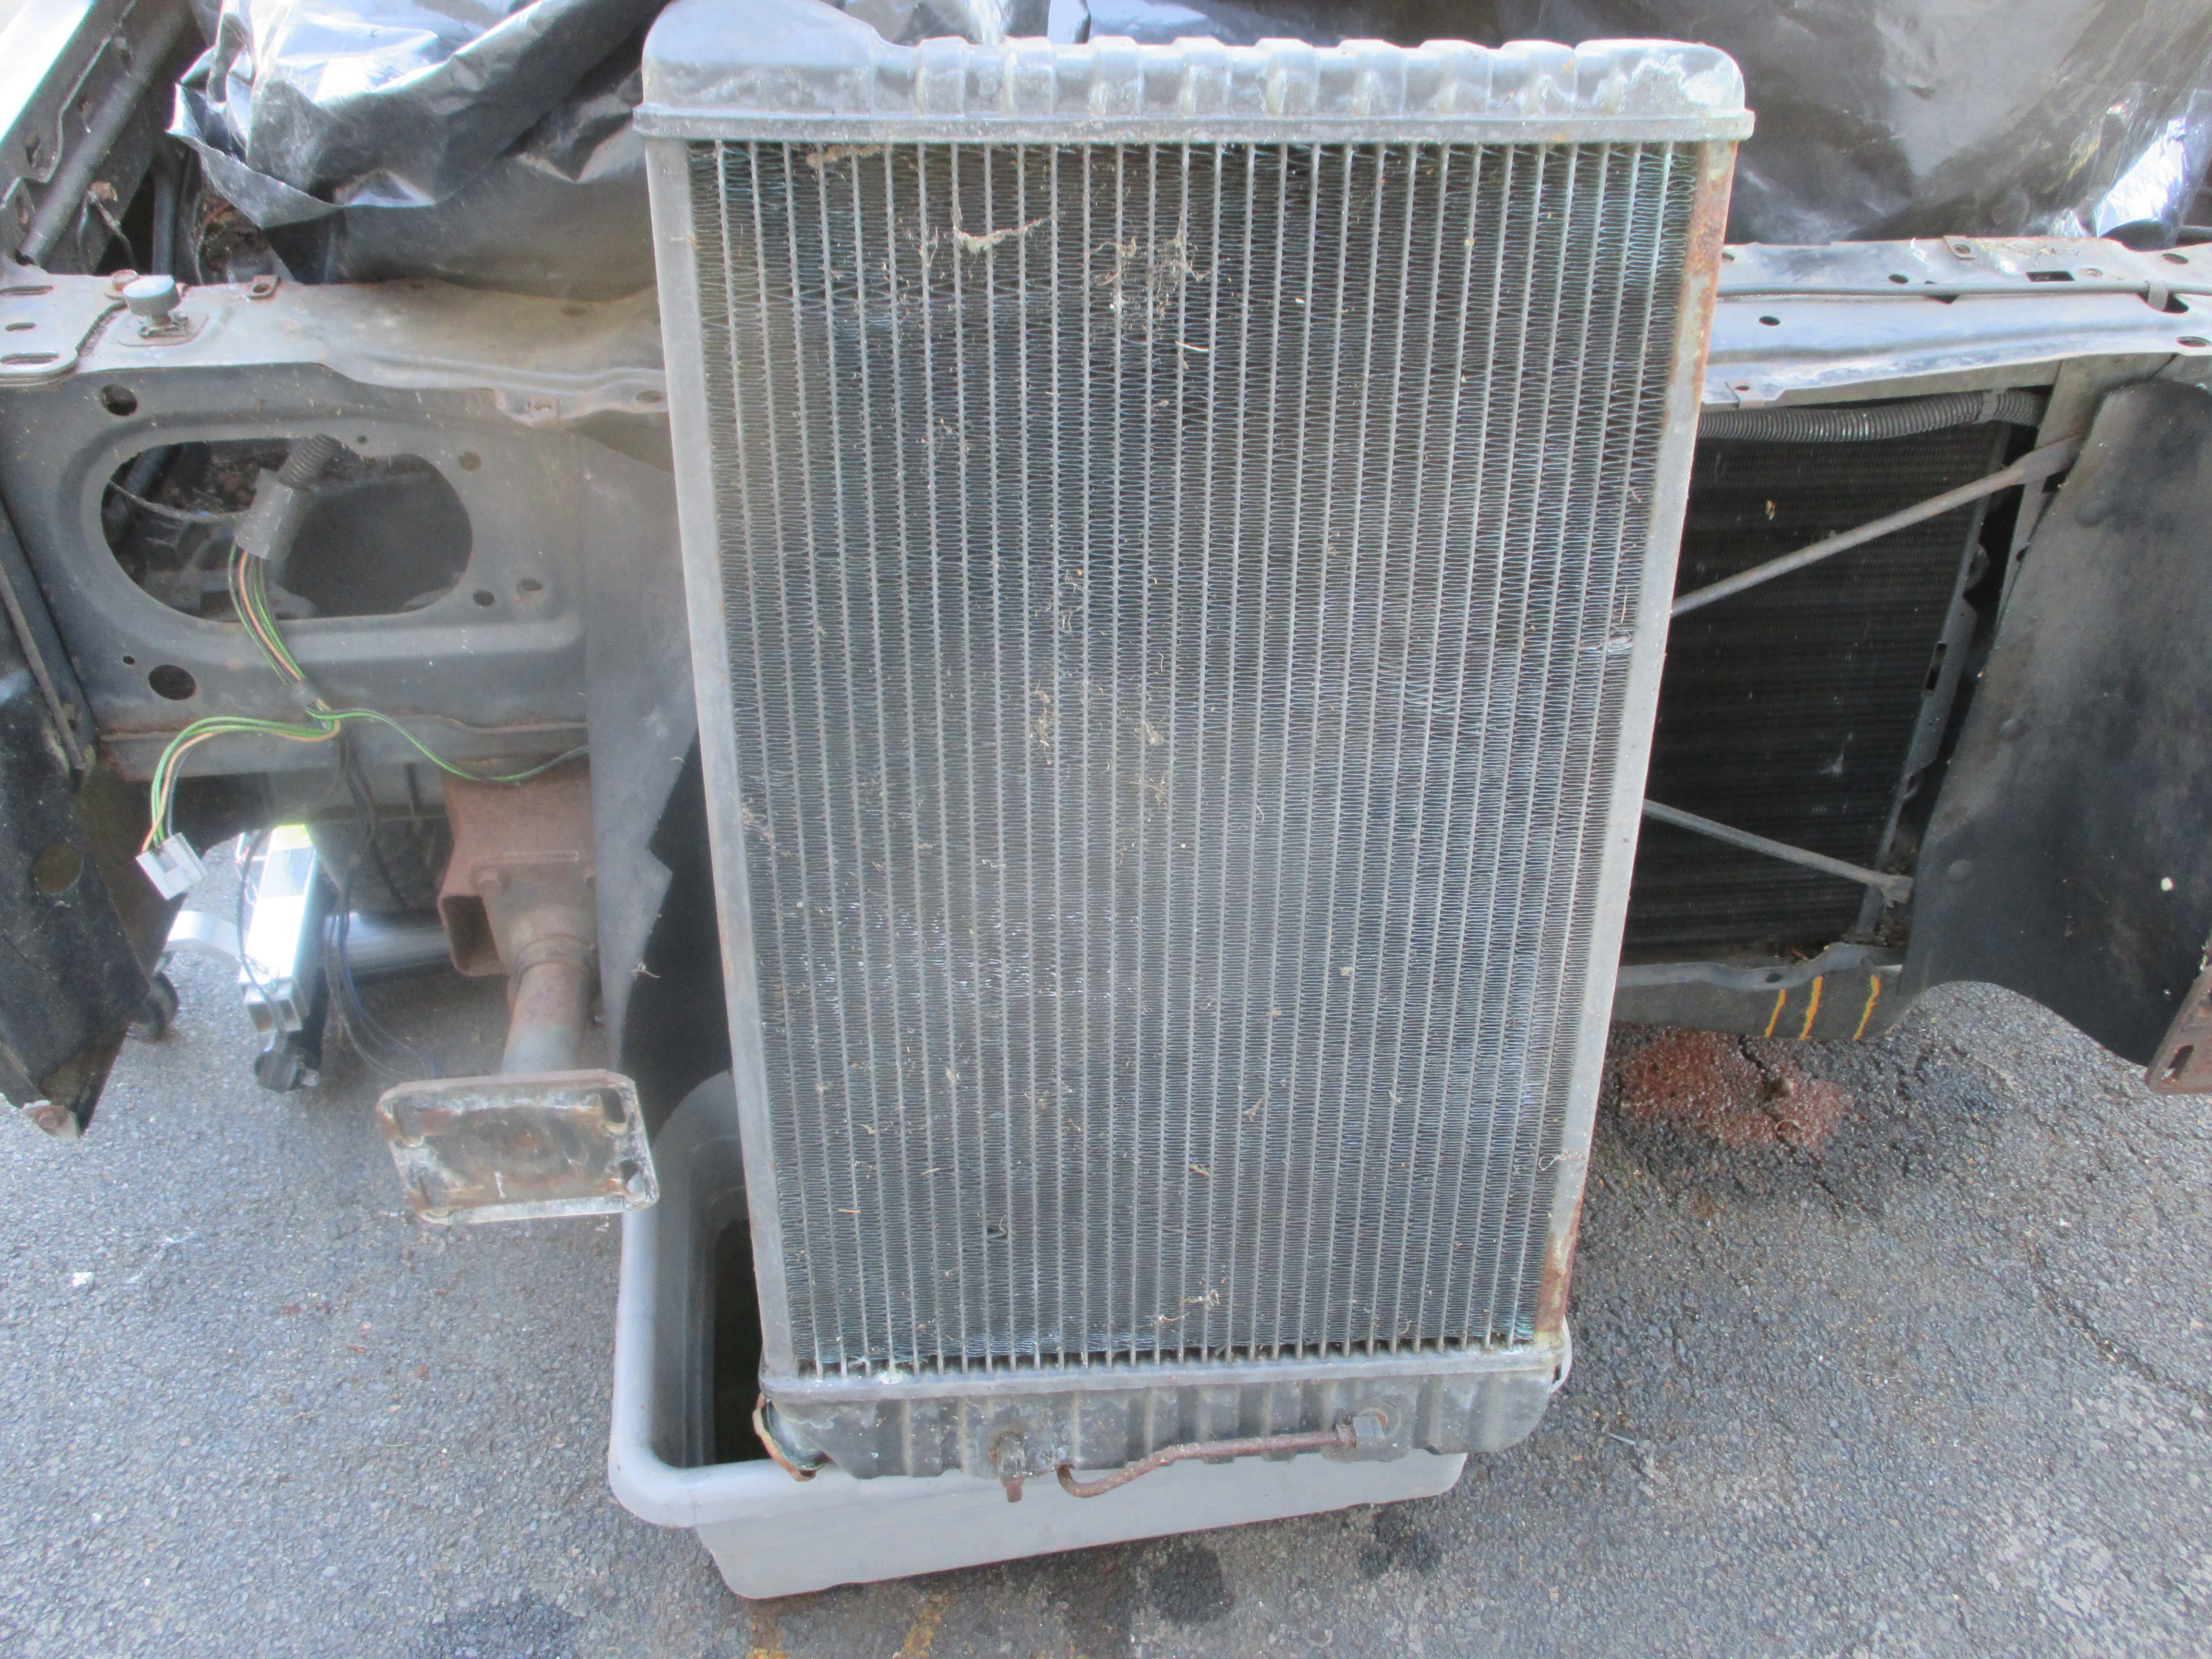
Before, this is what we started with
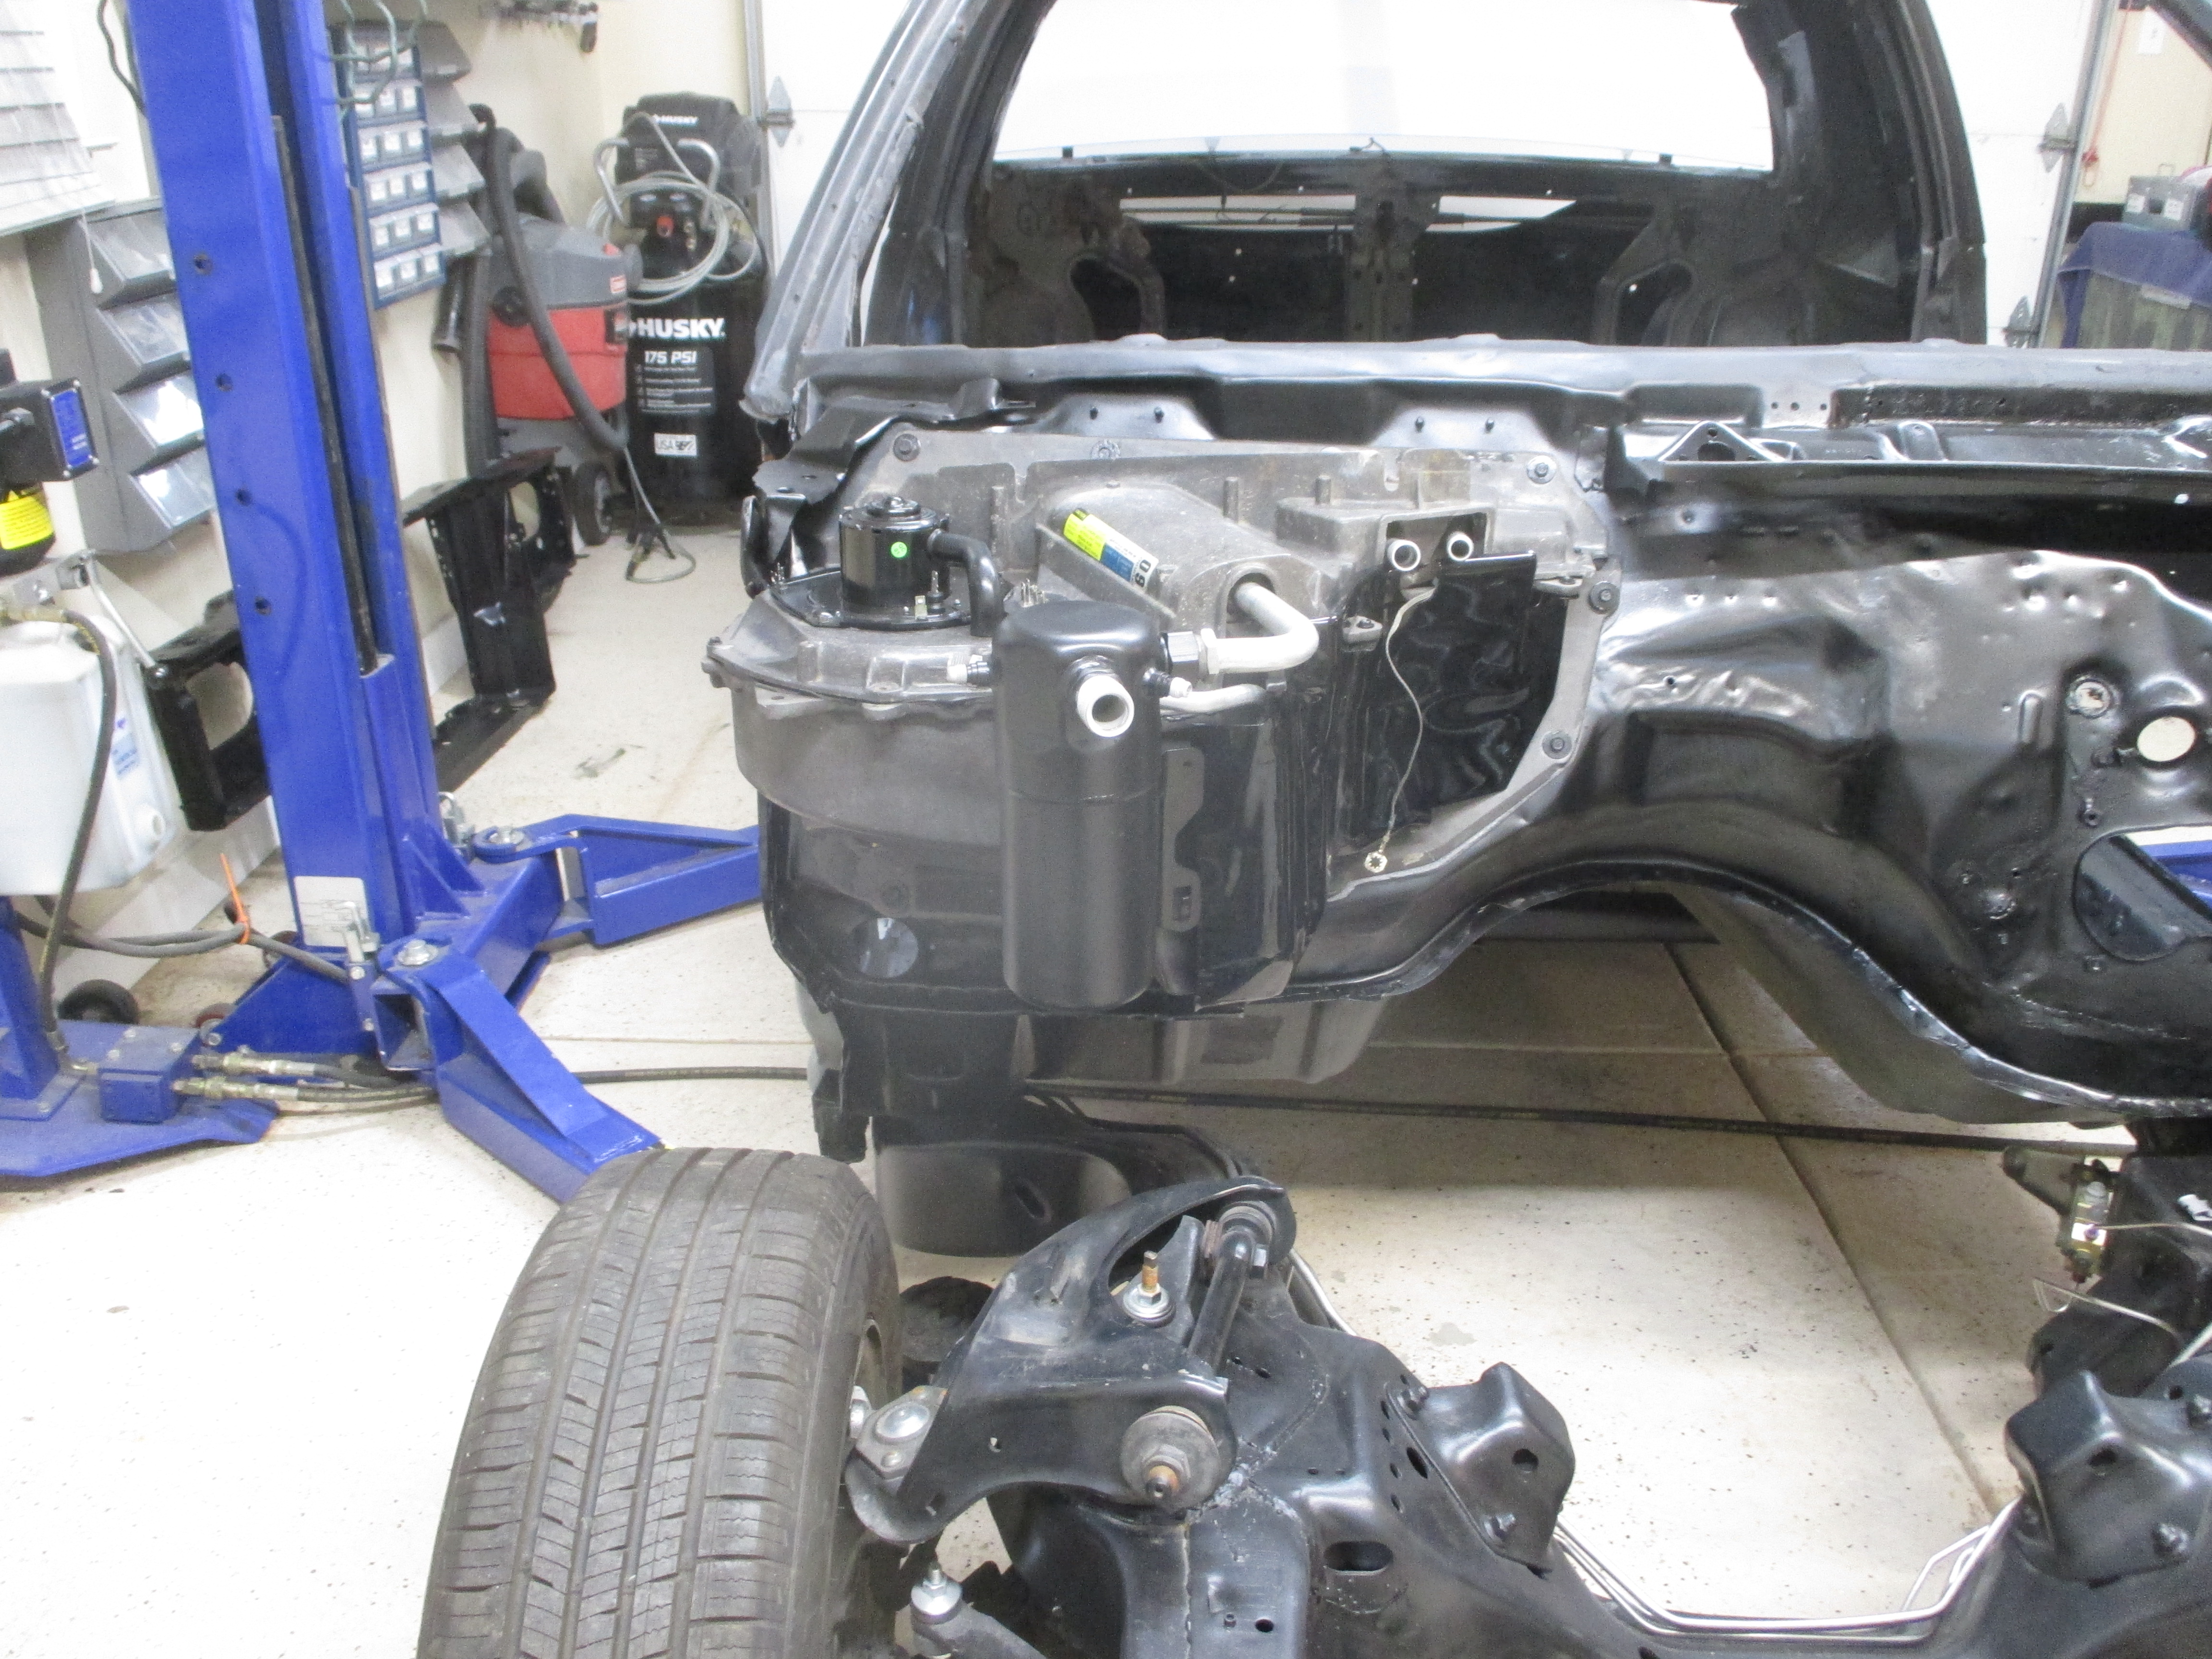
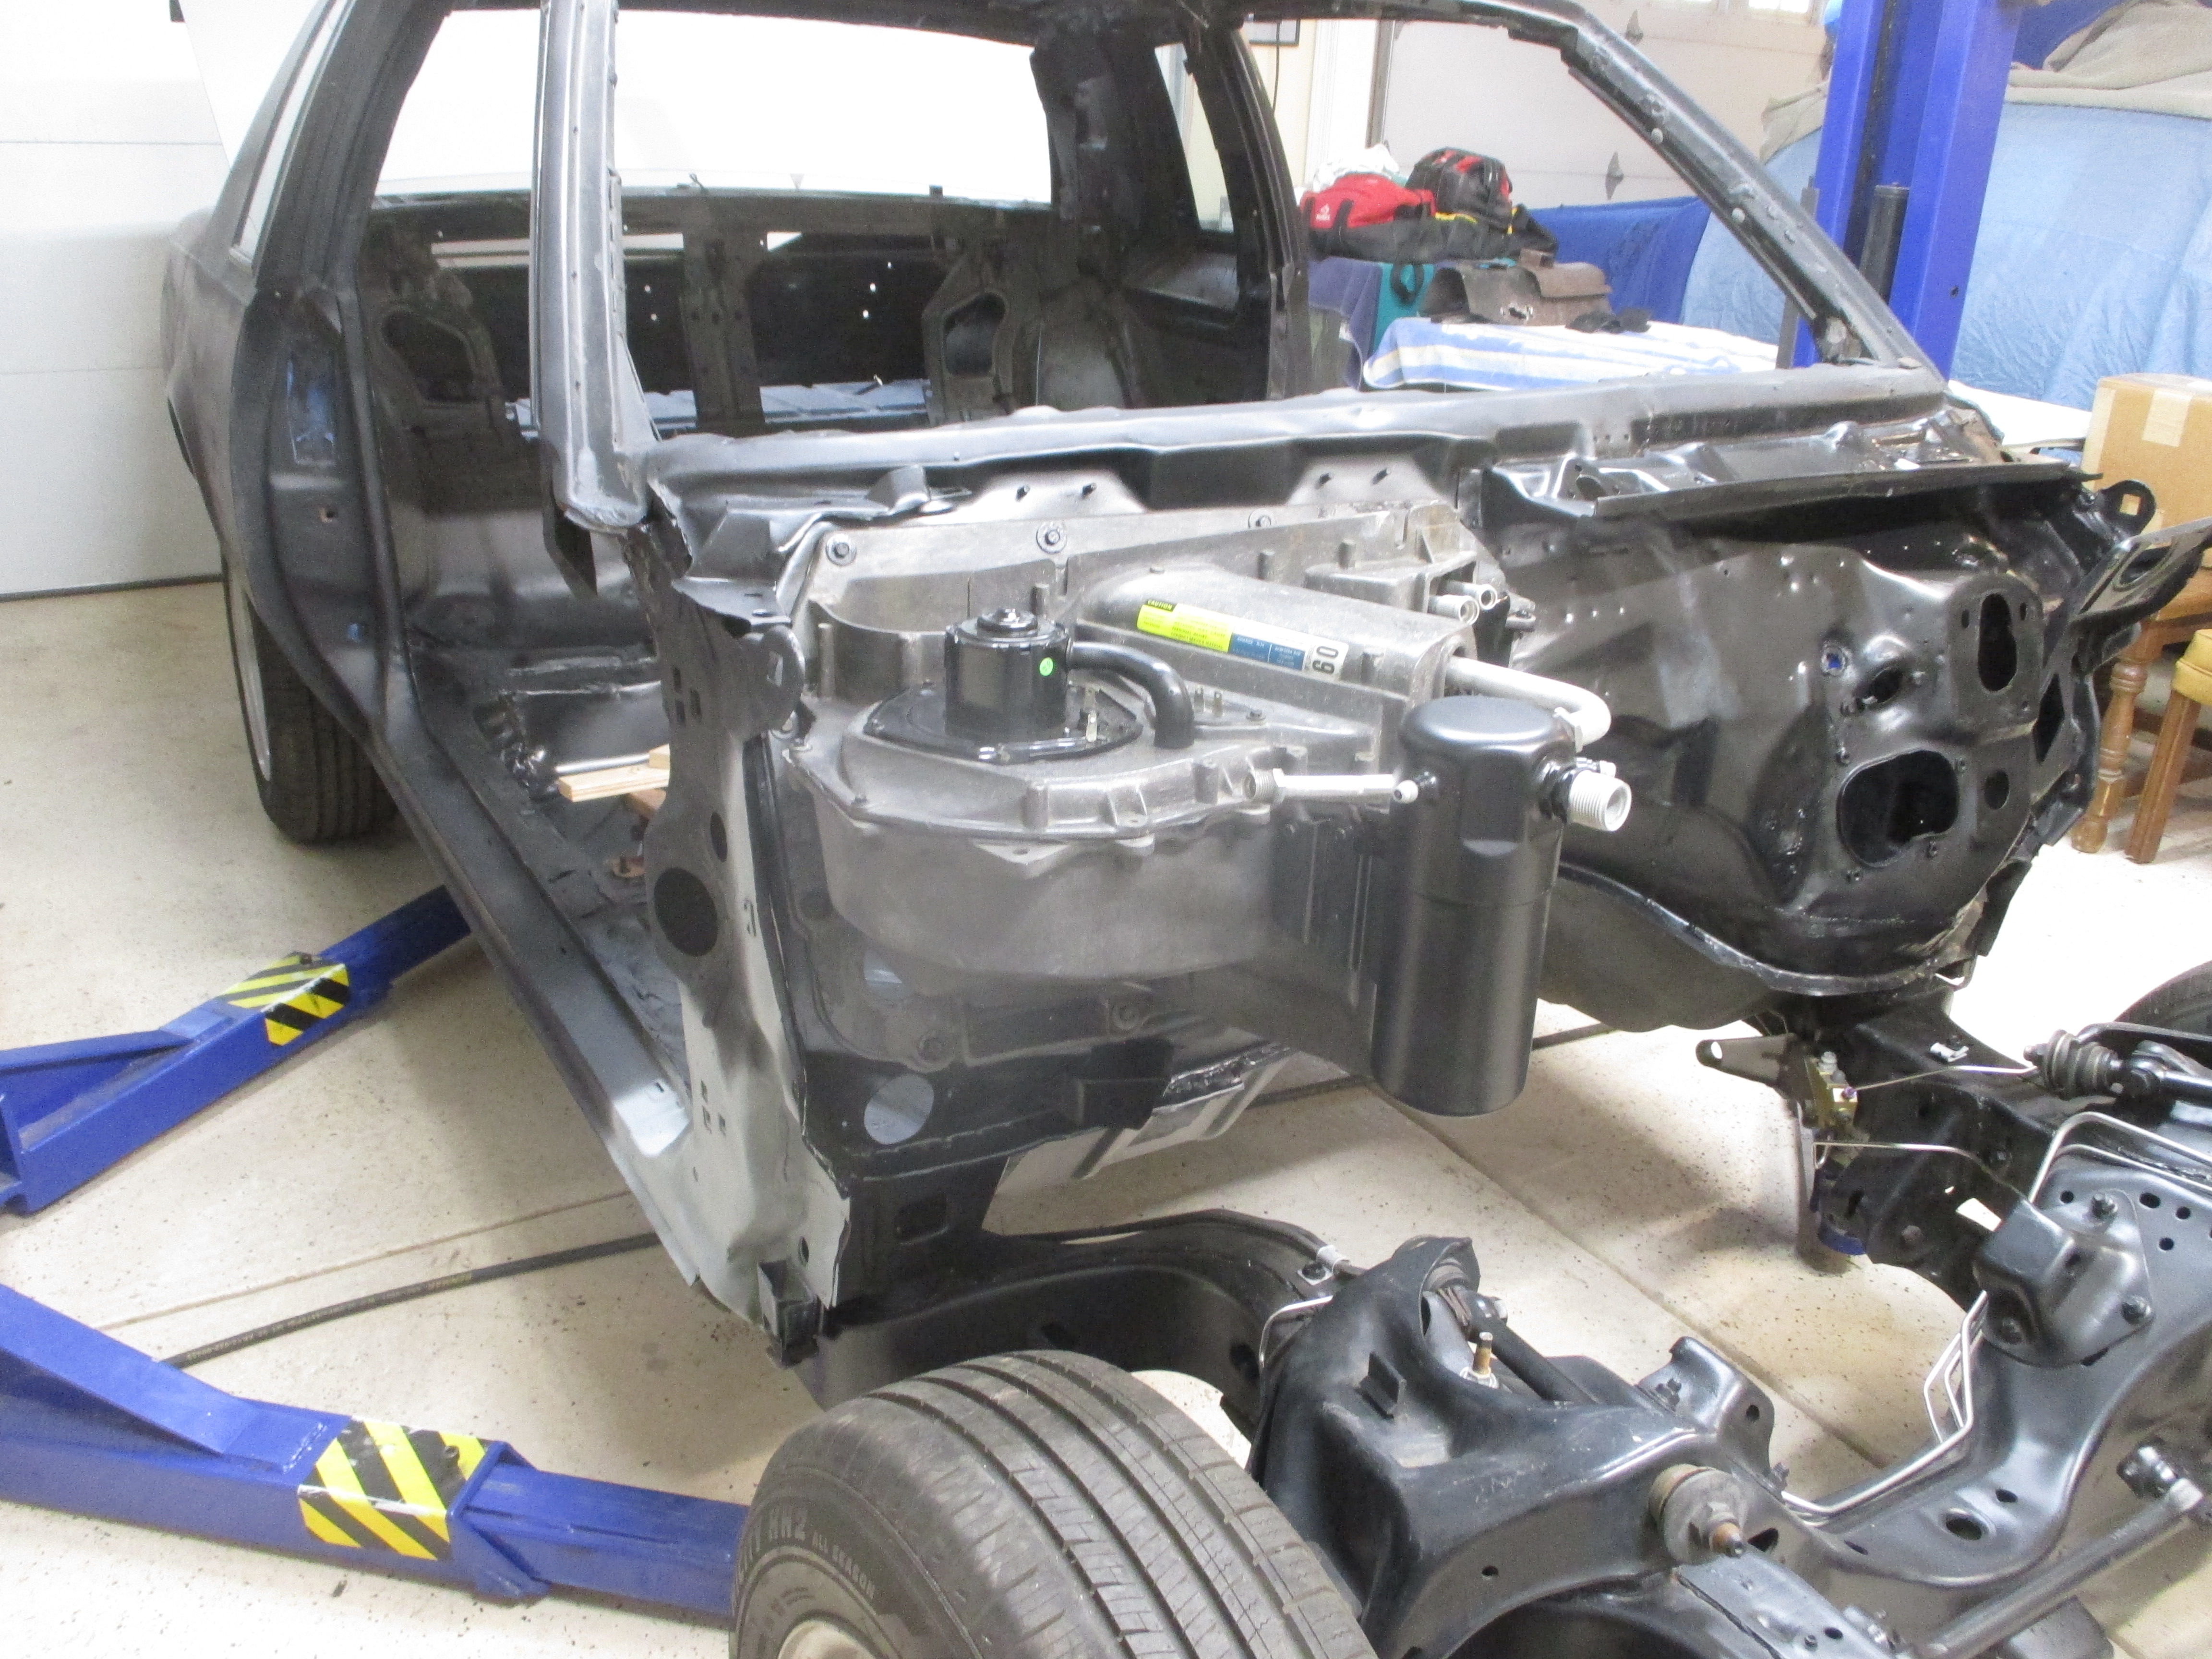
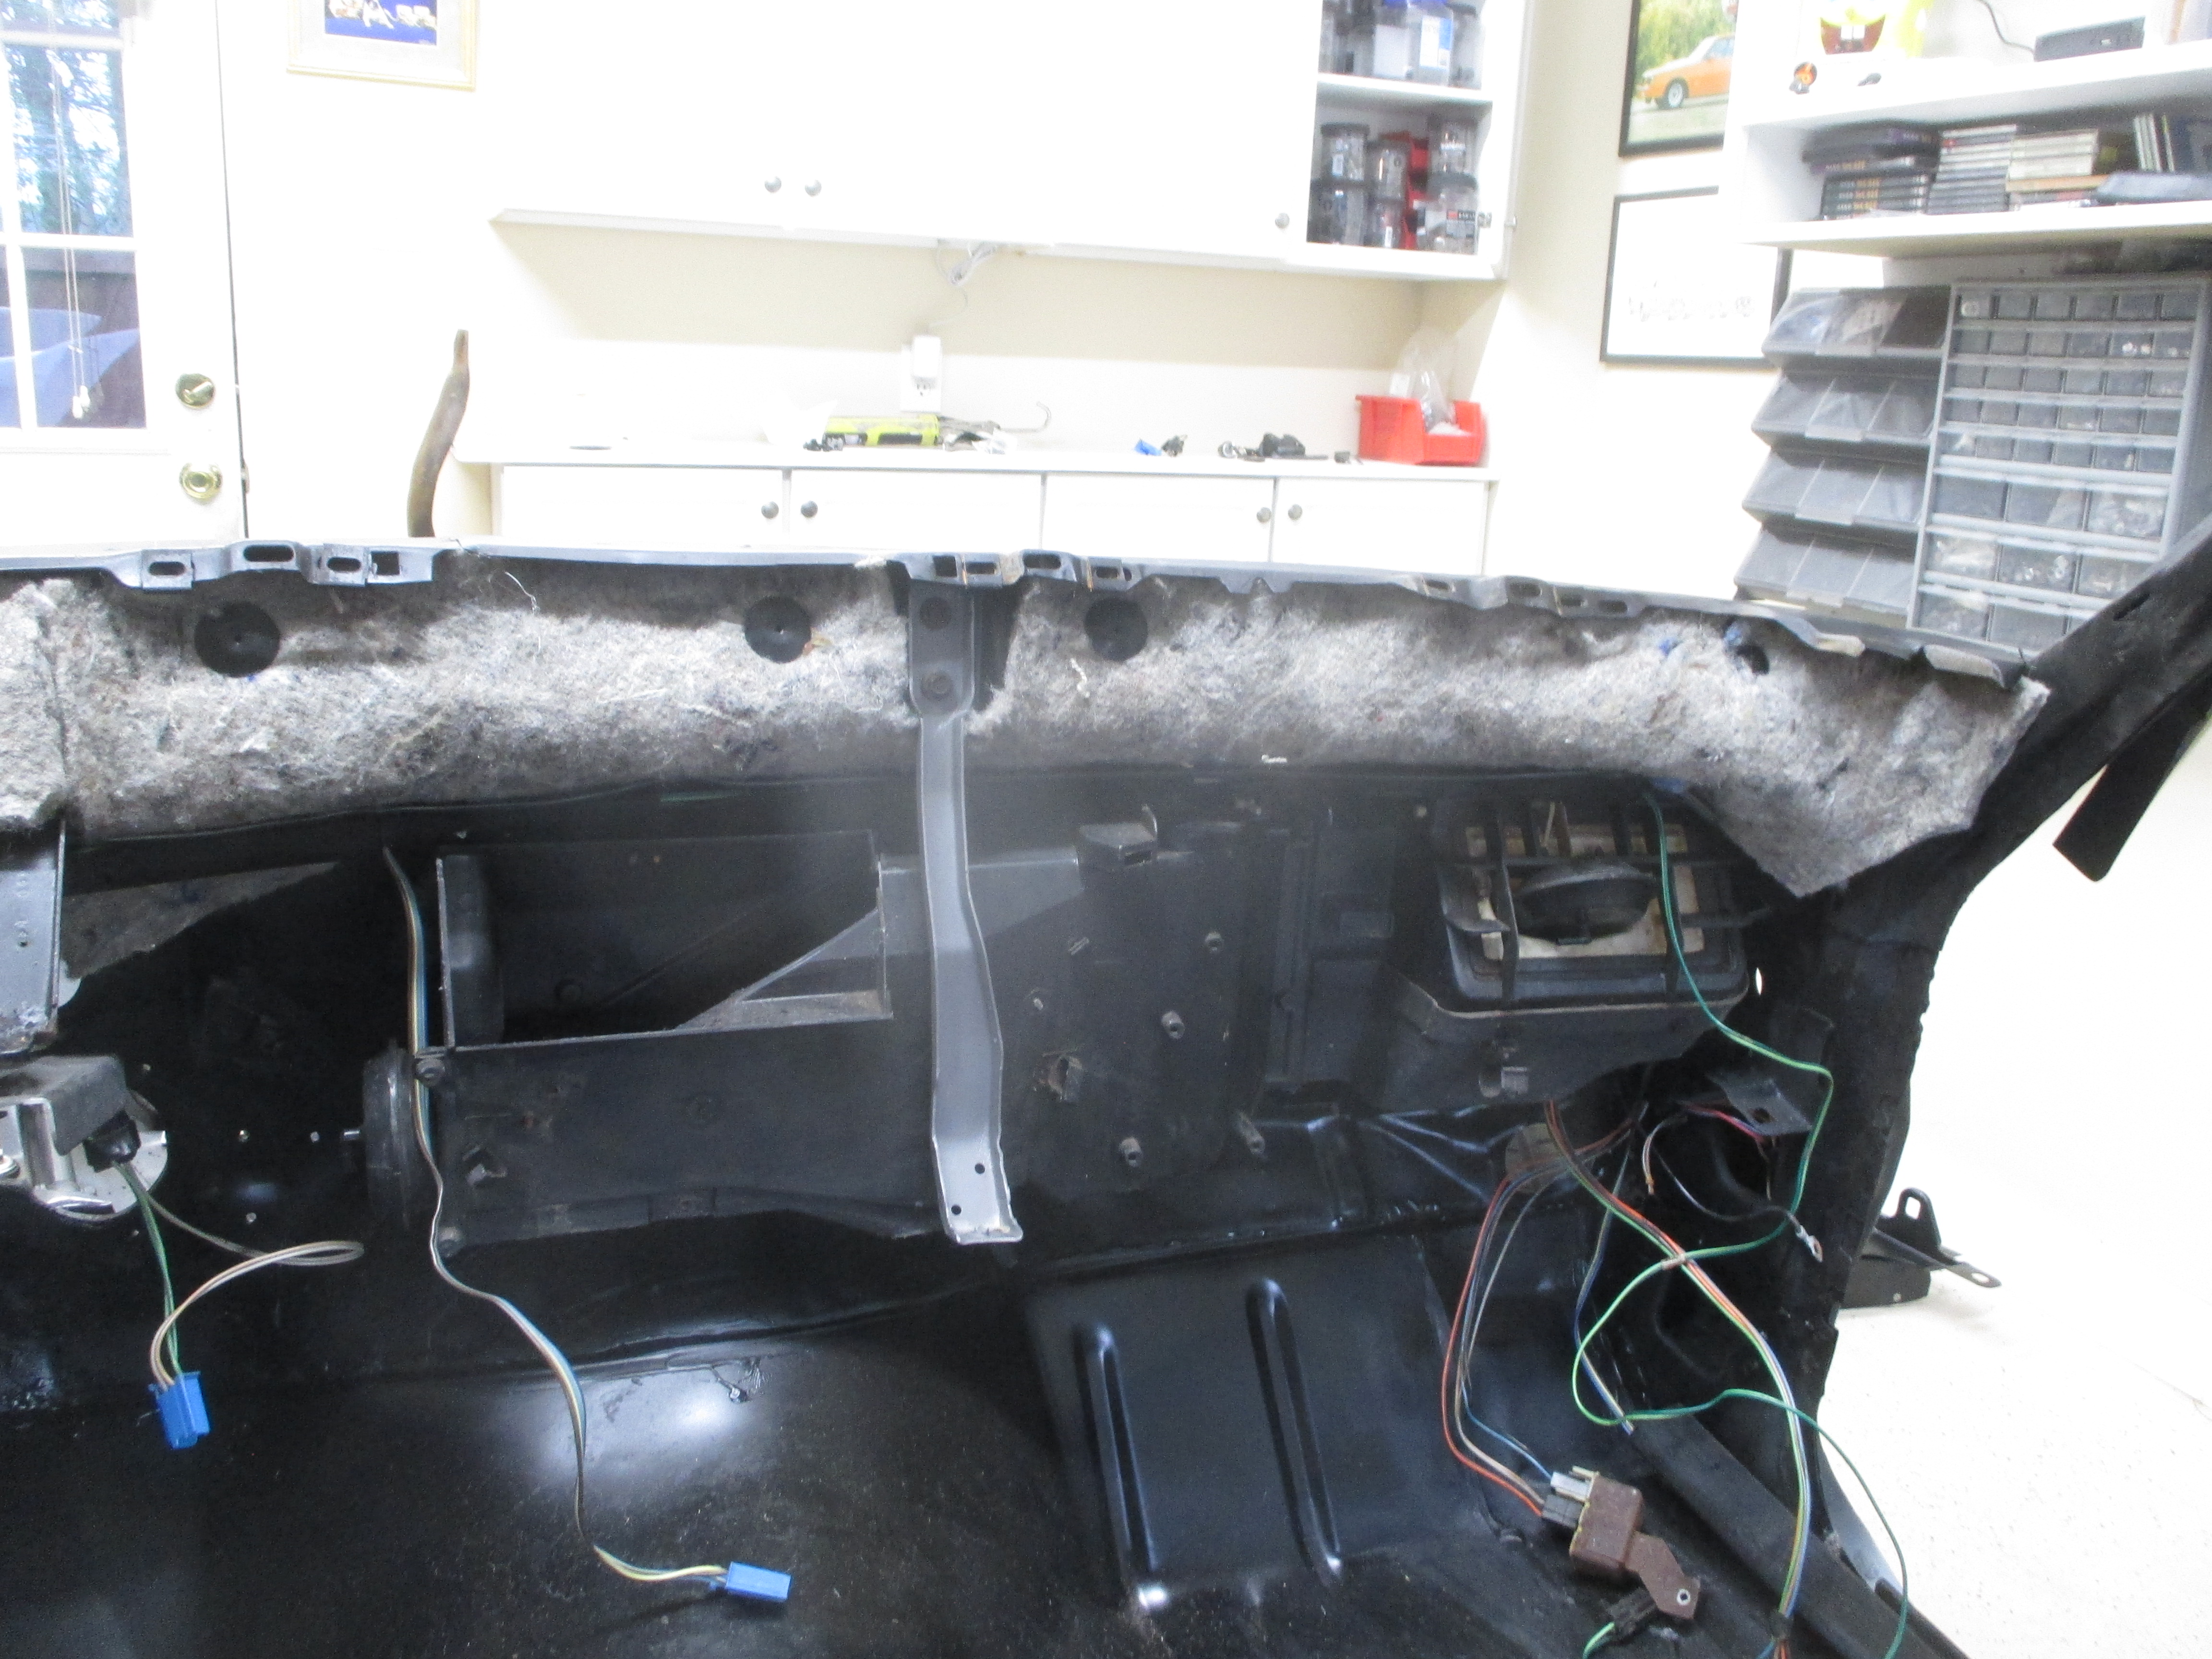
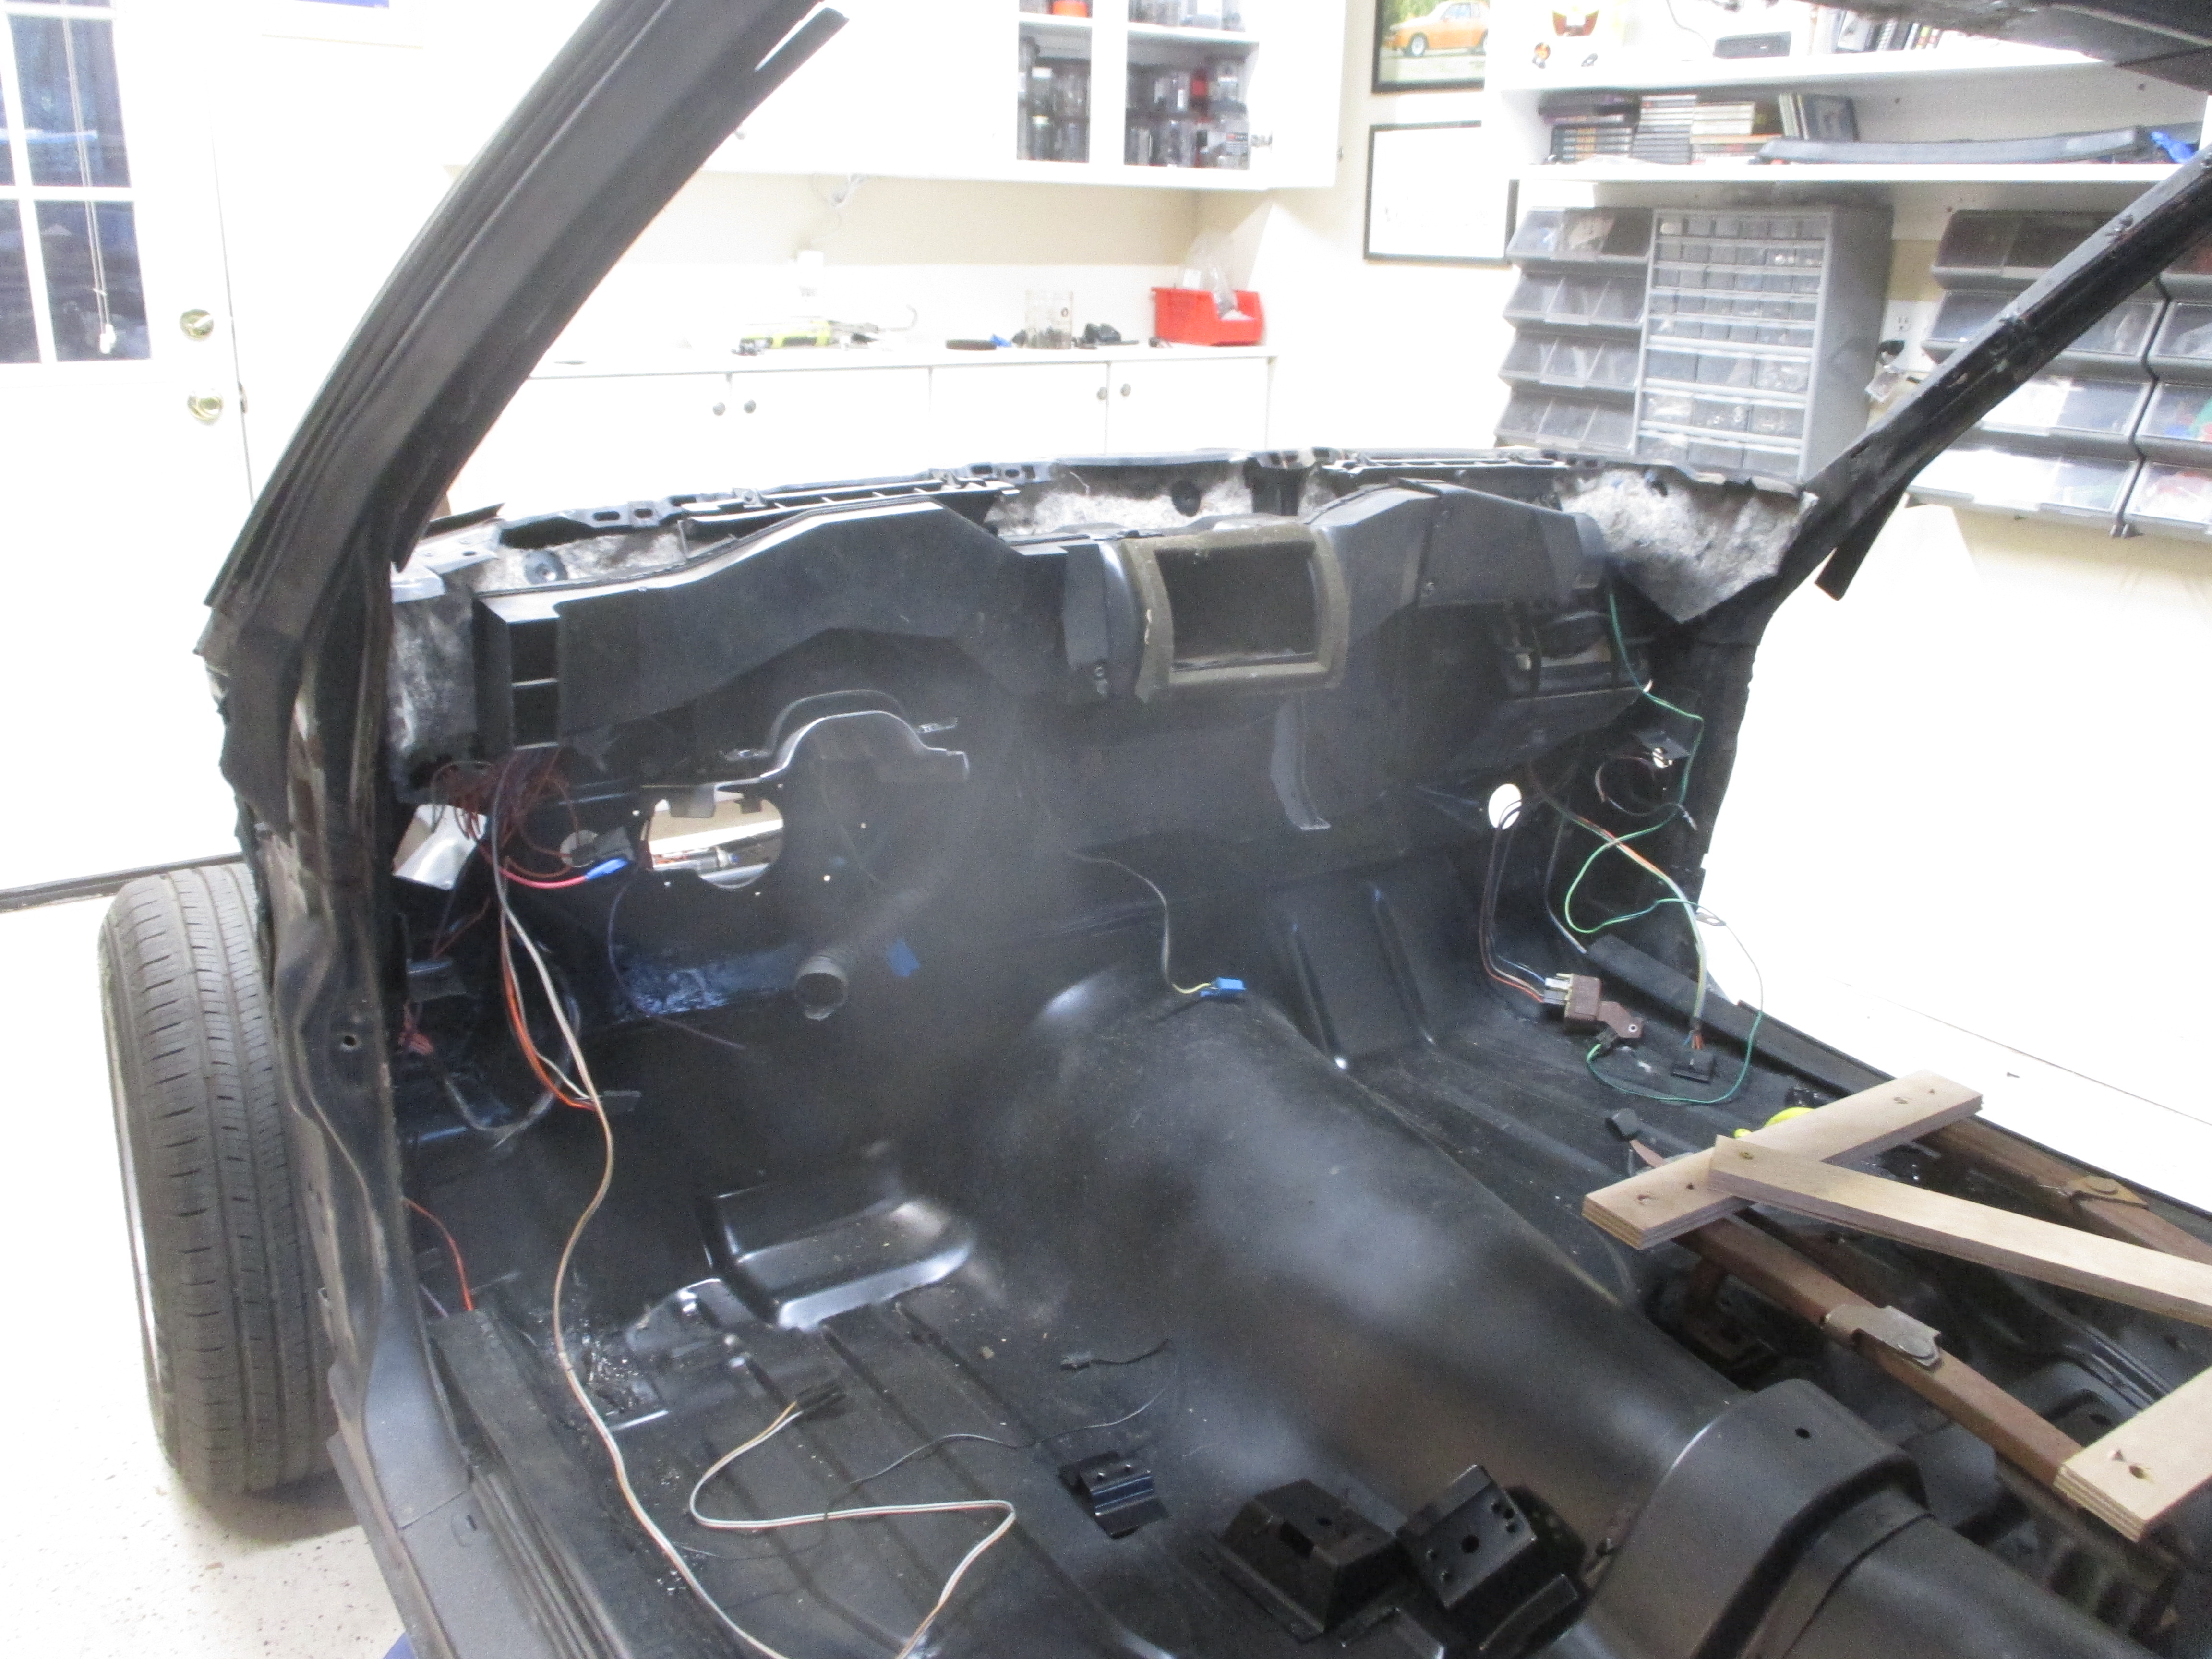
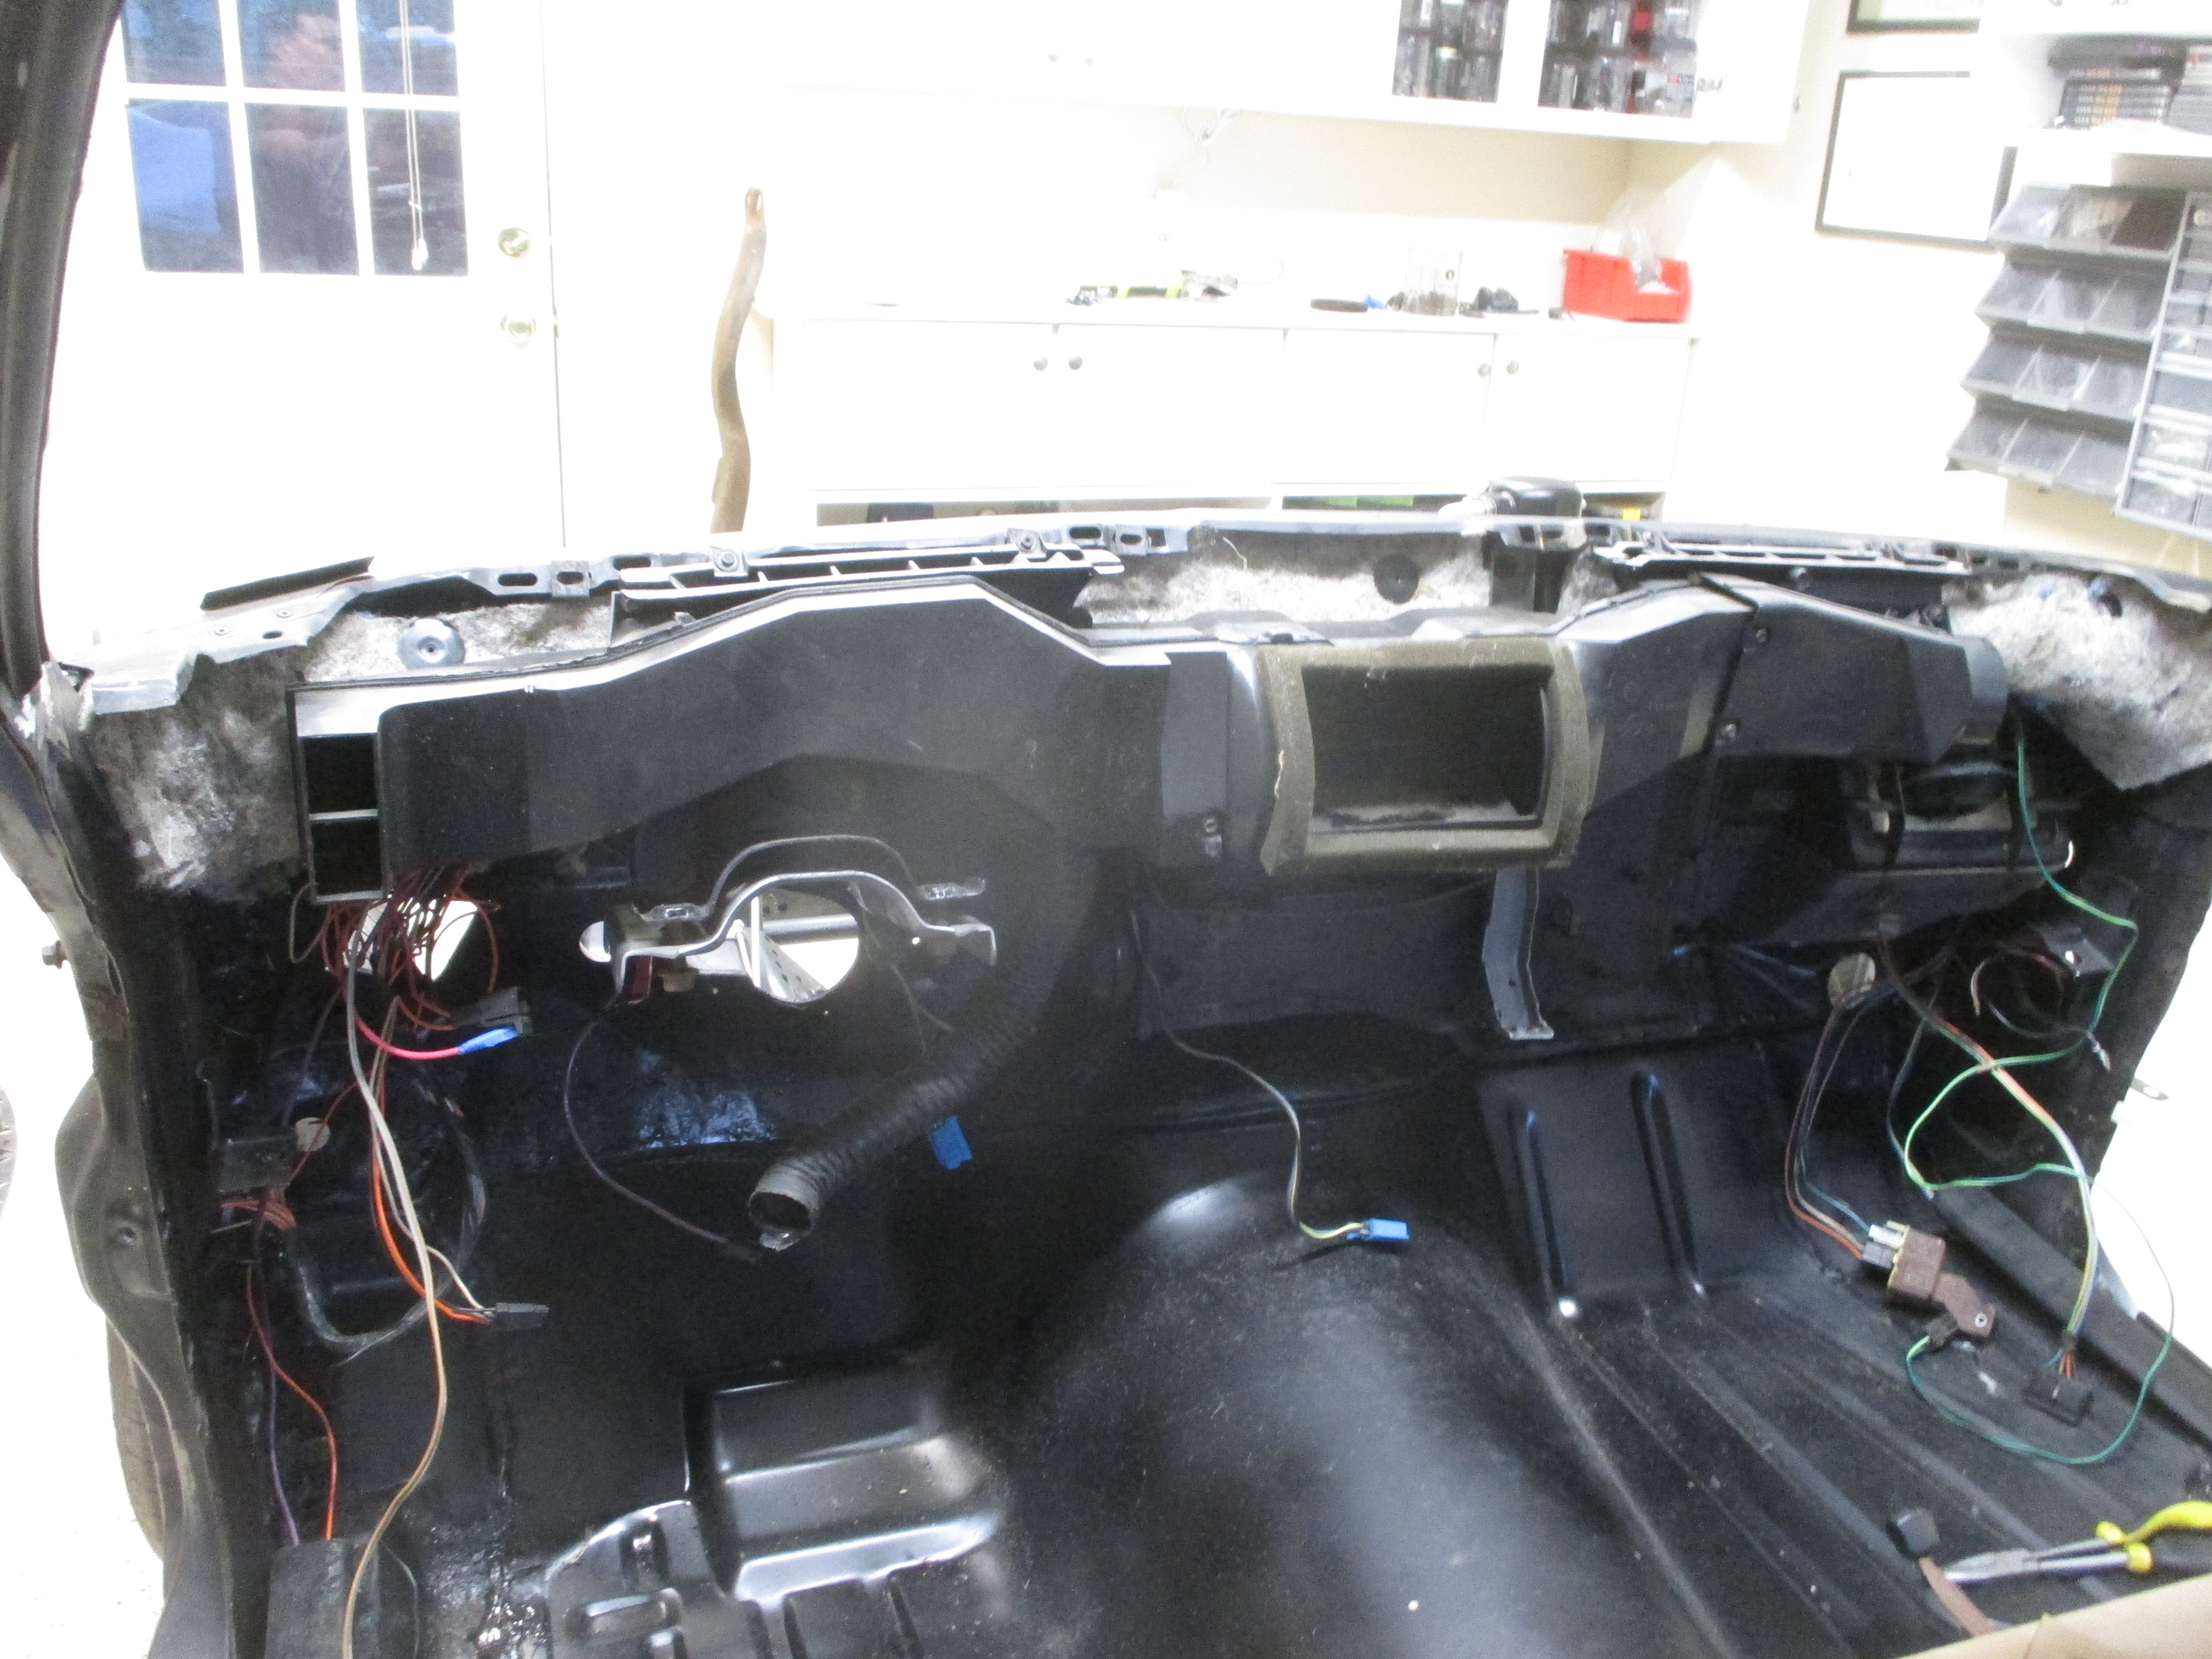
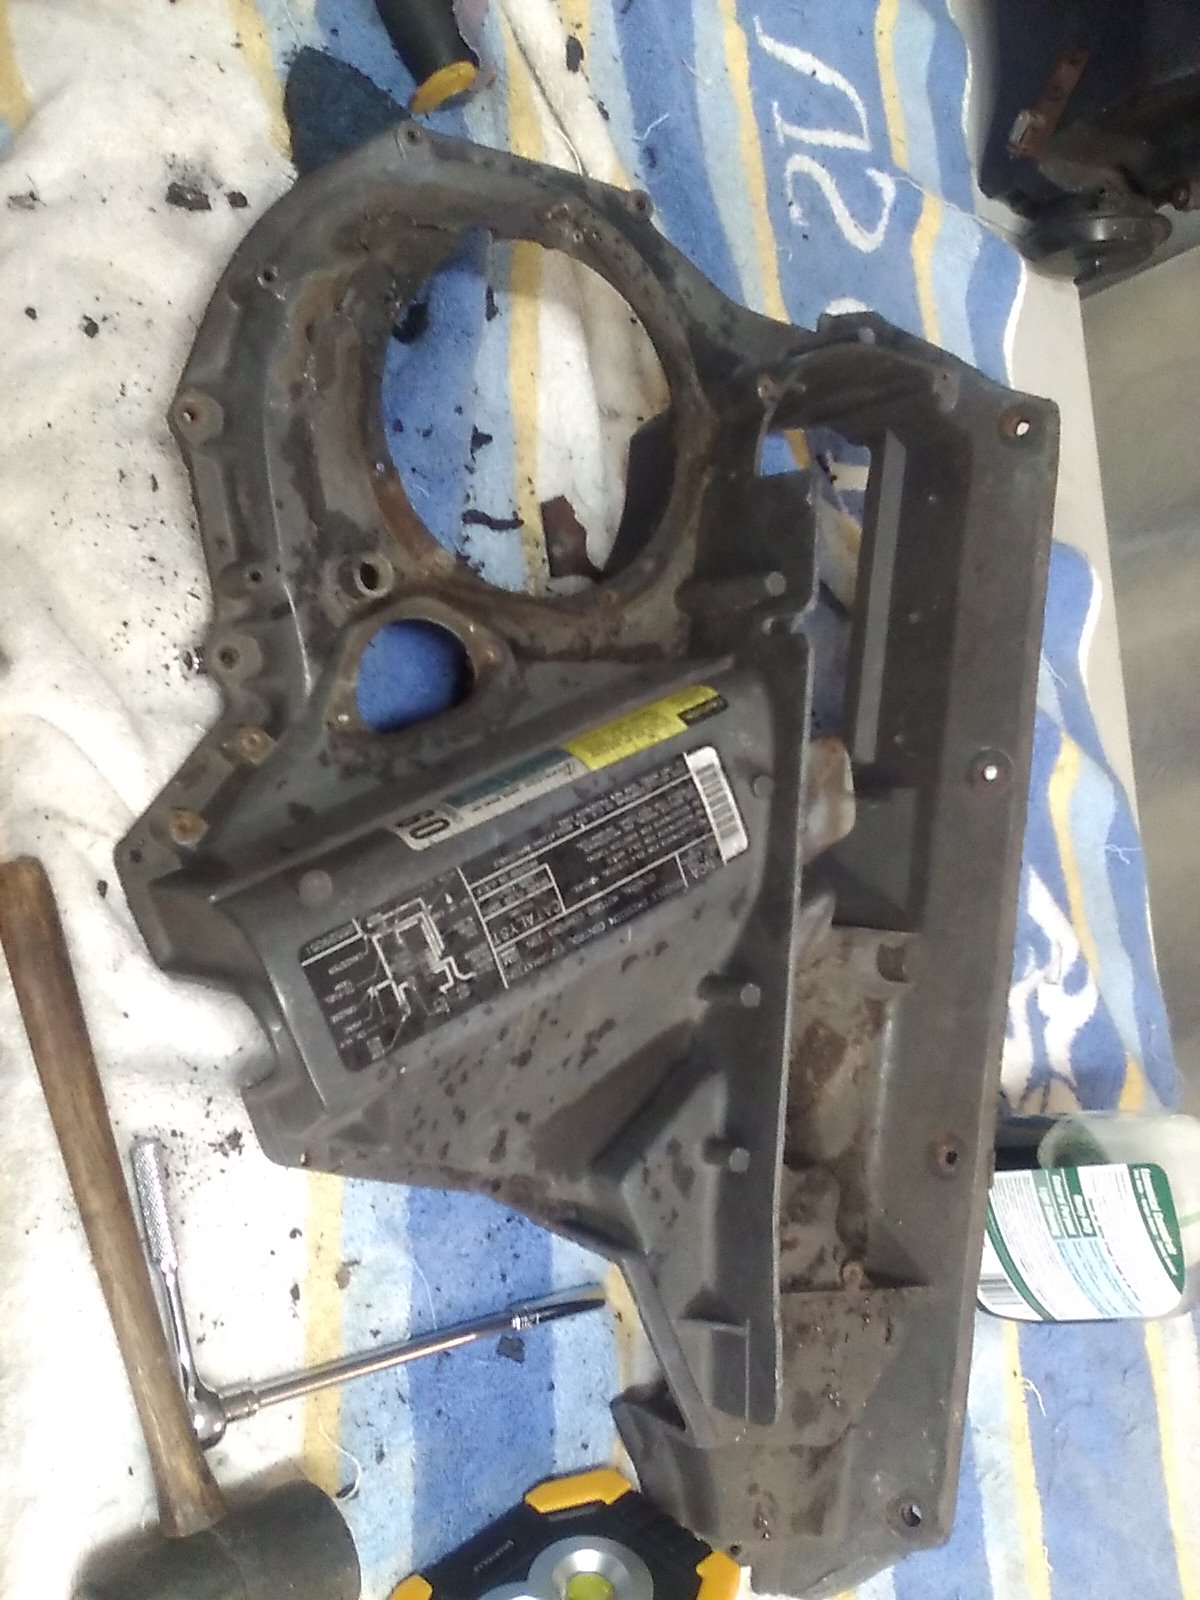
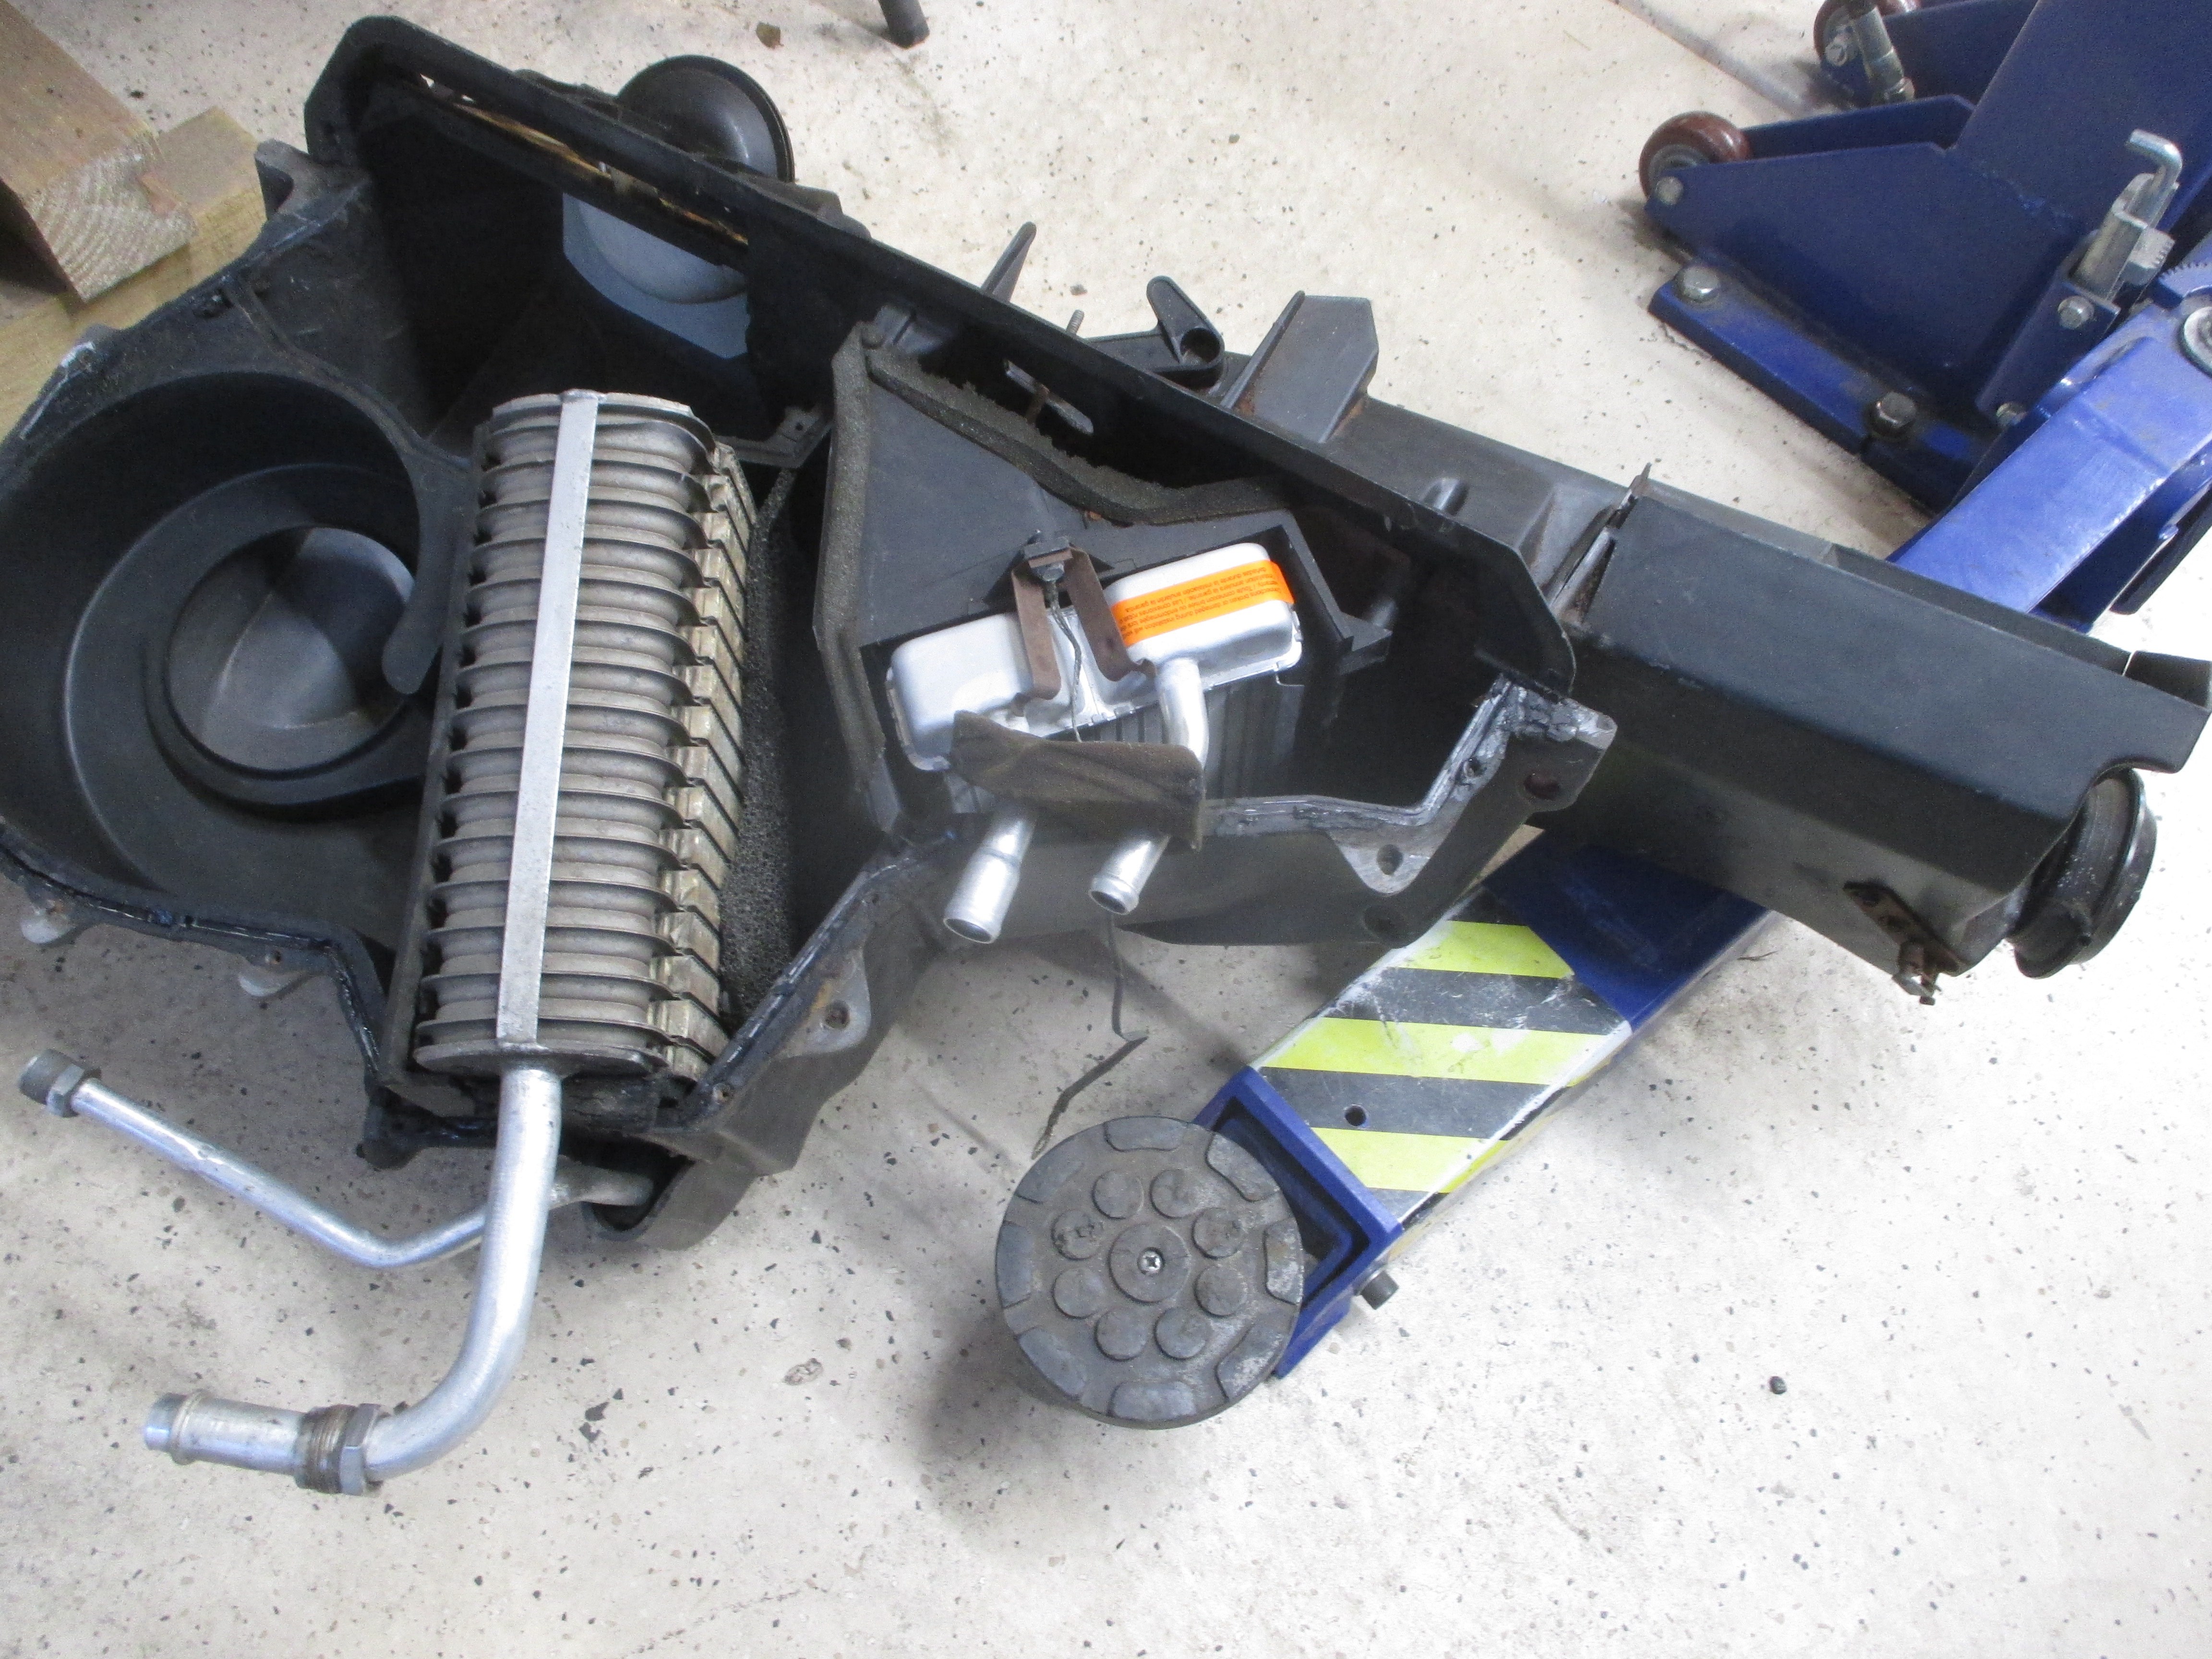
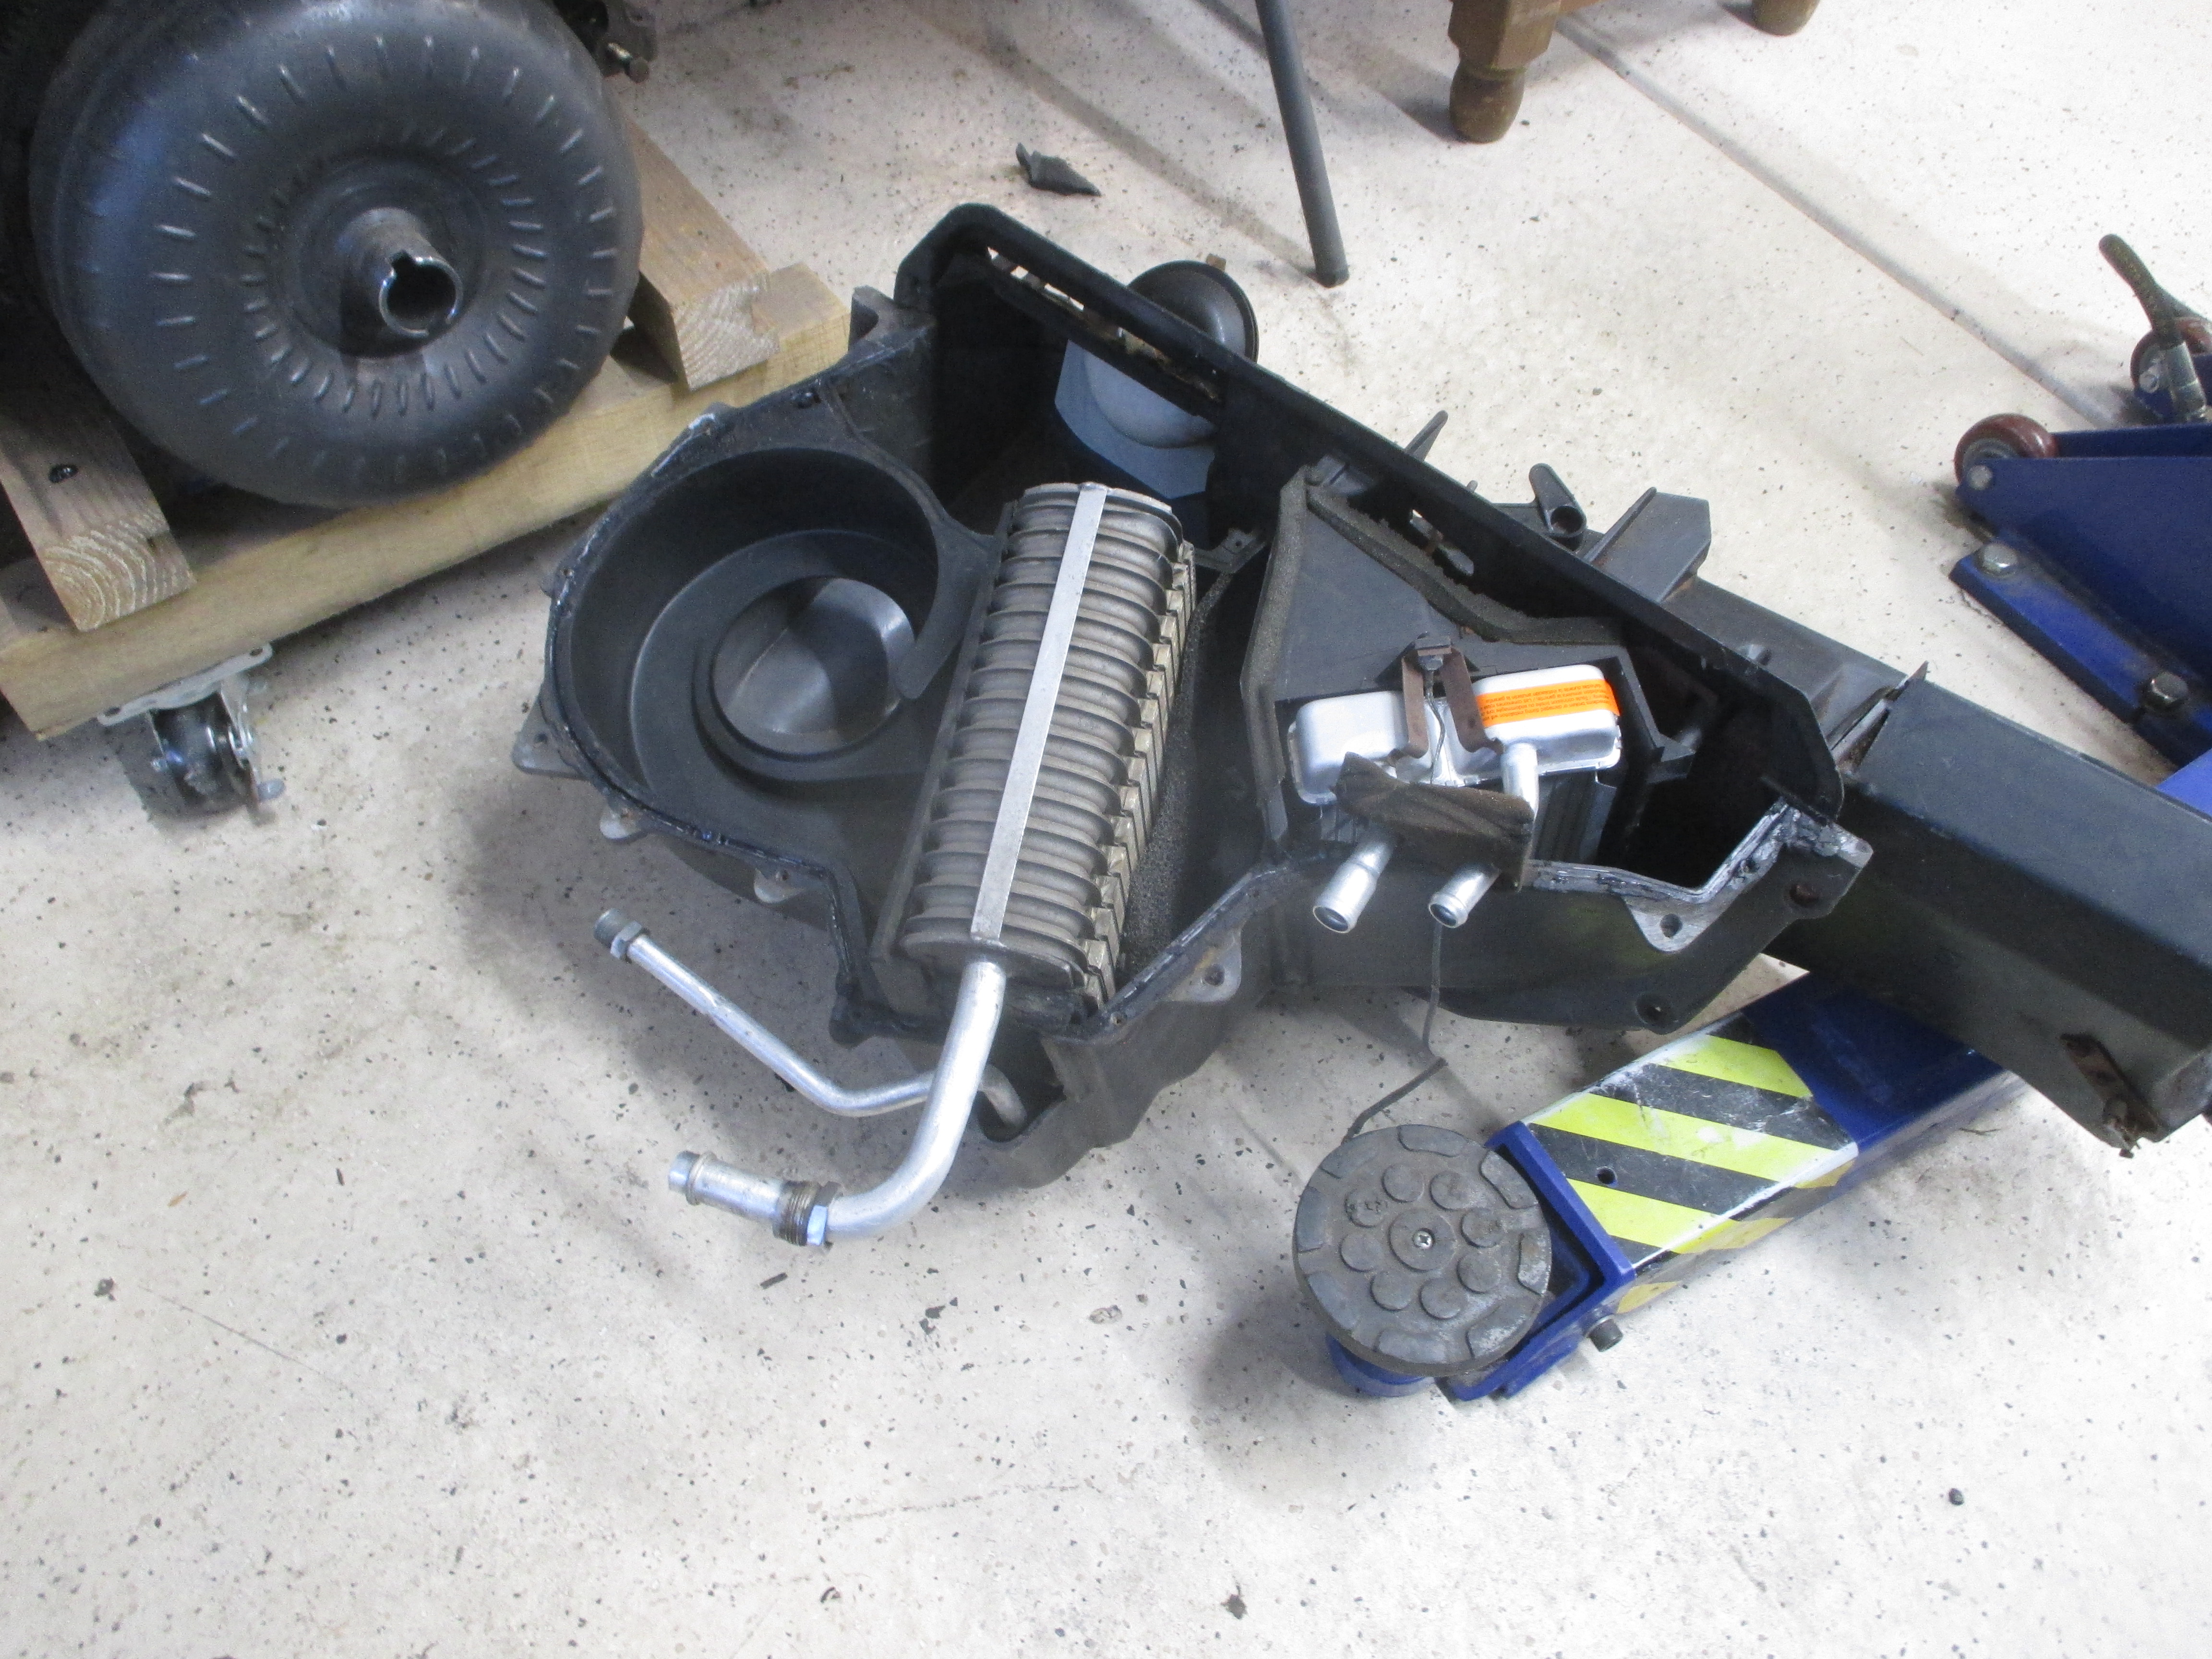
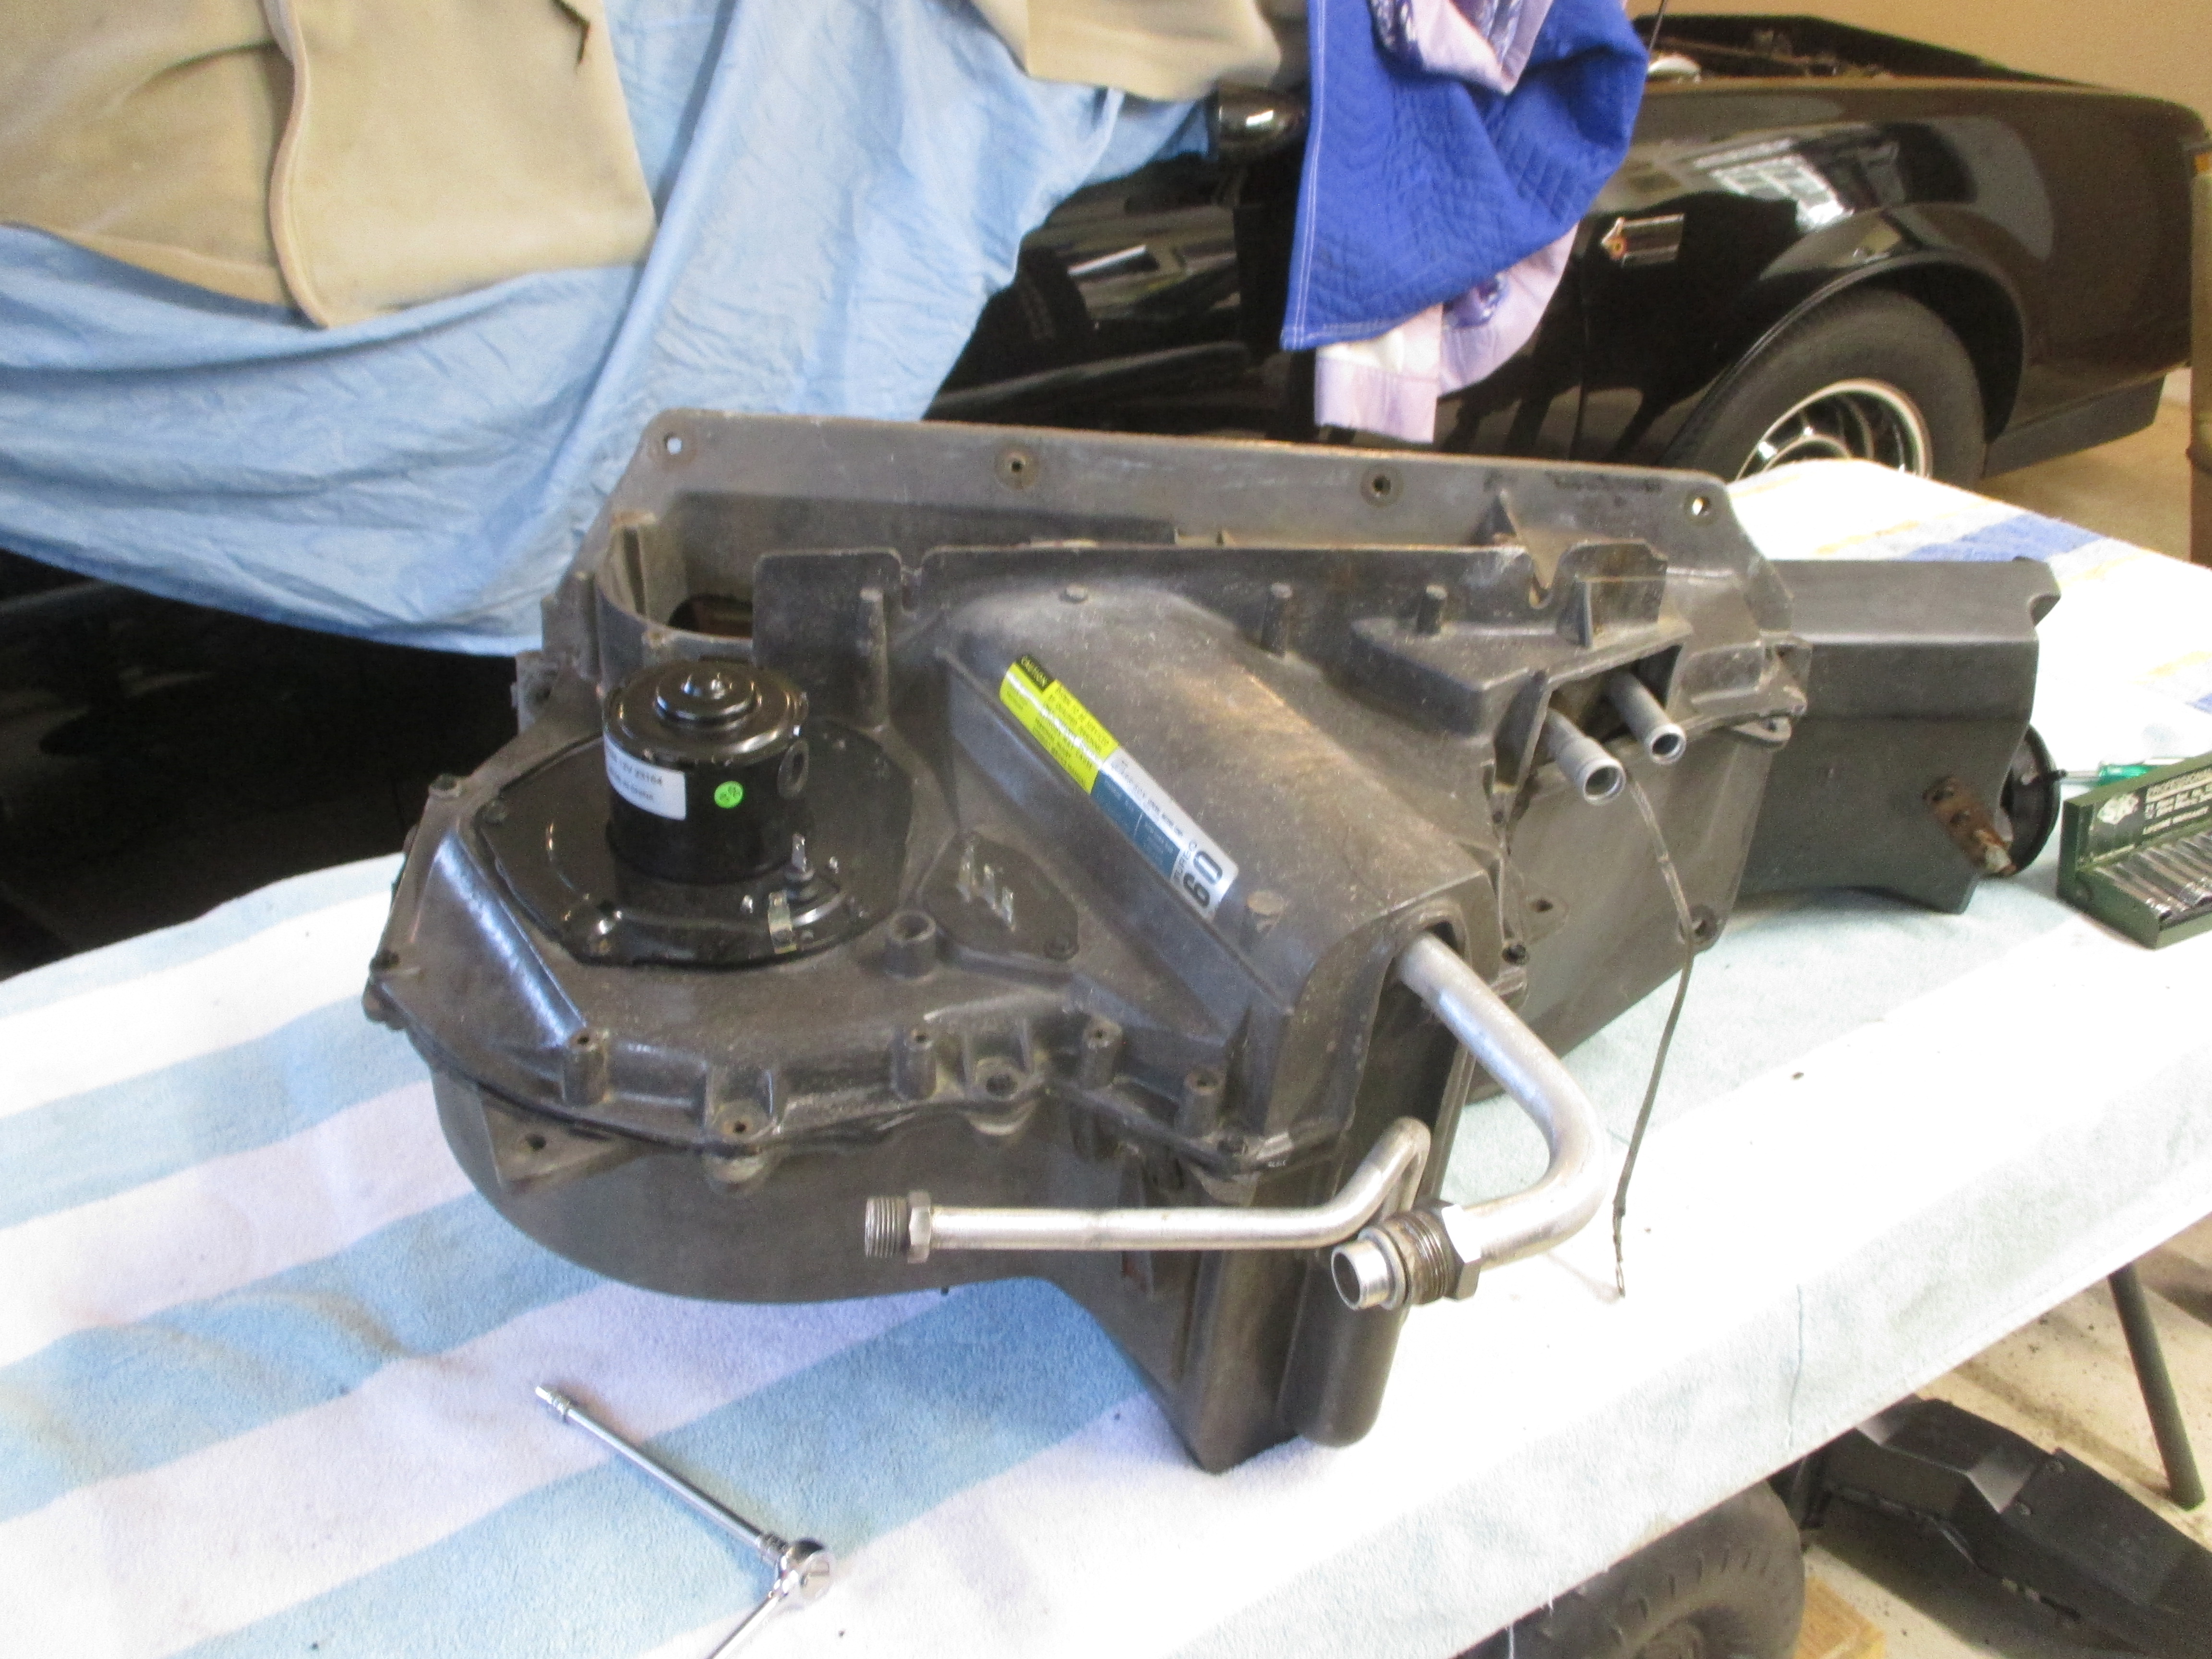
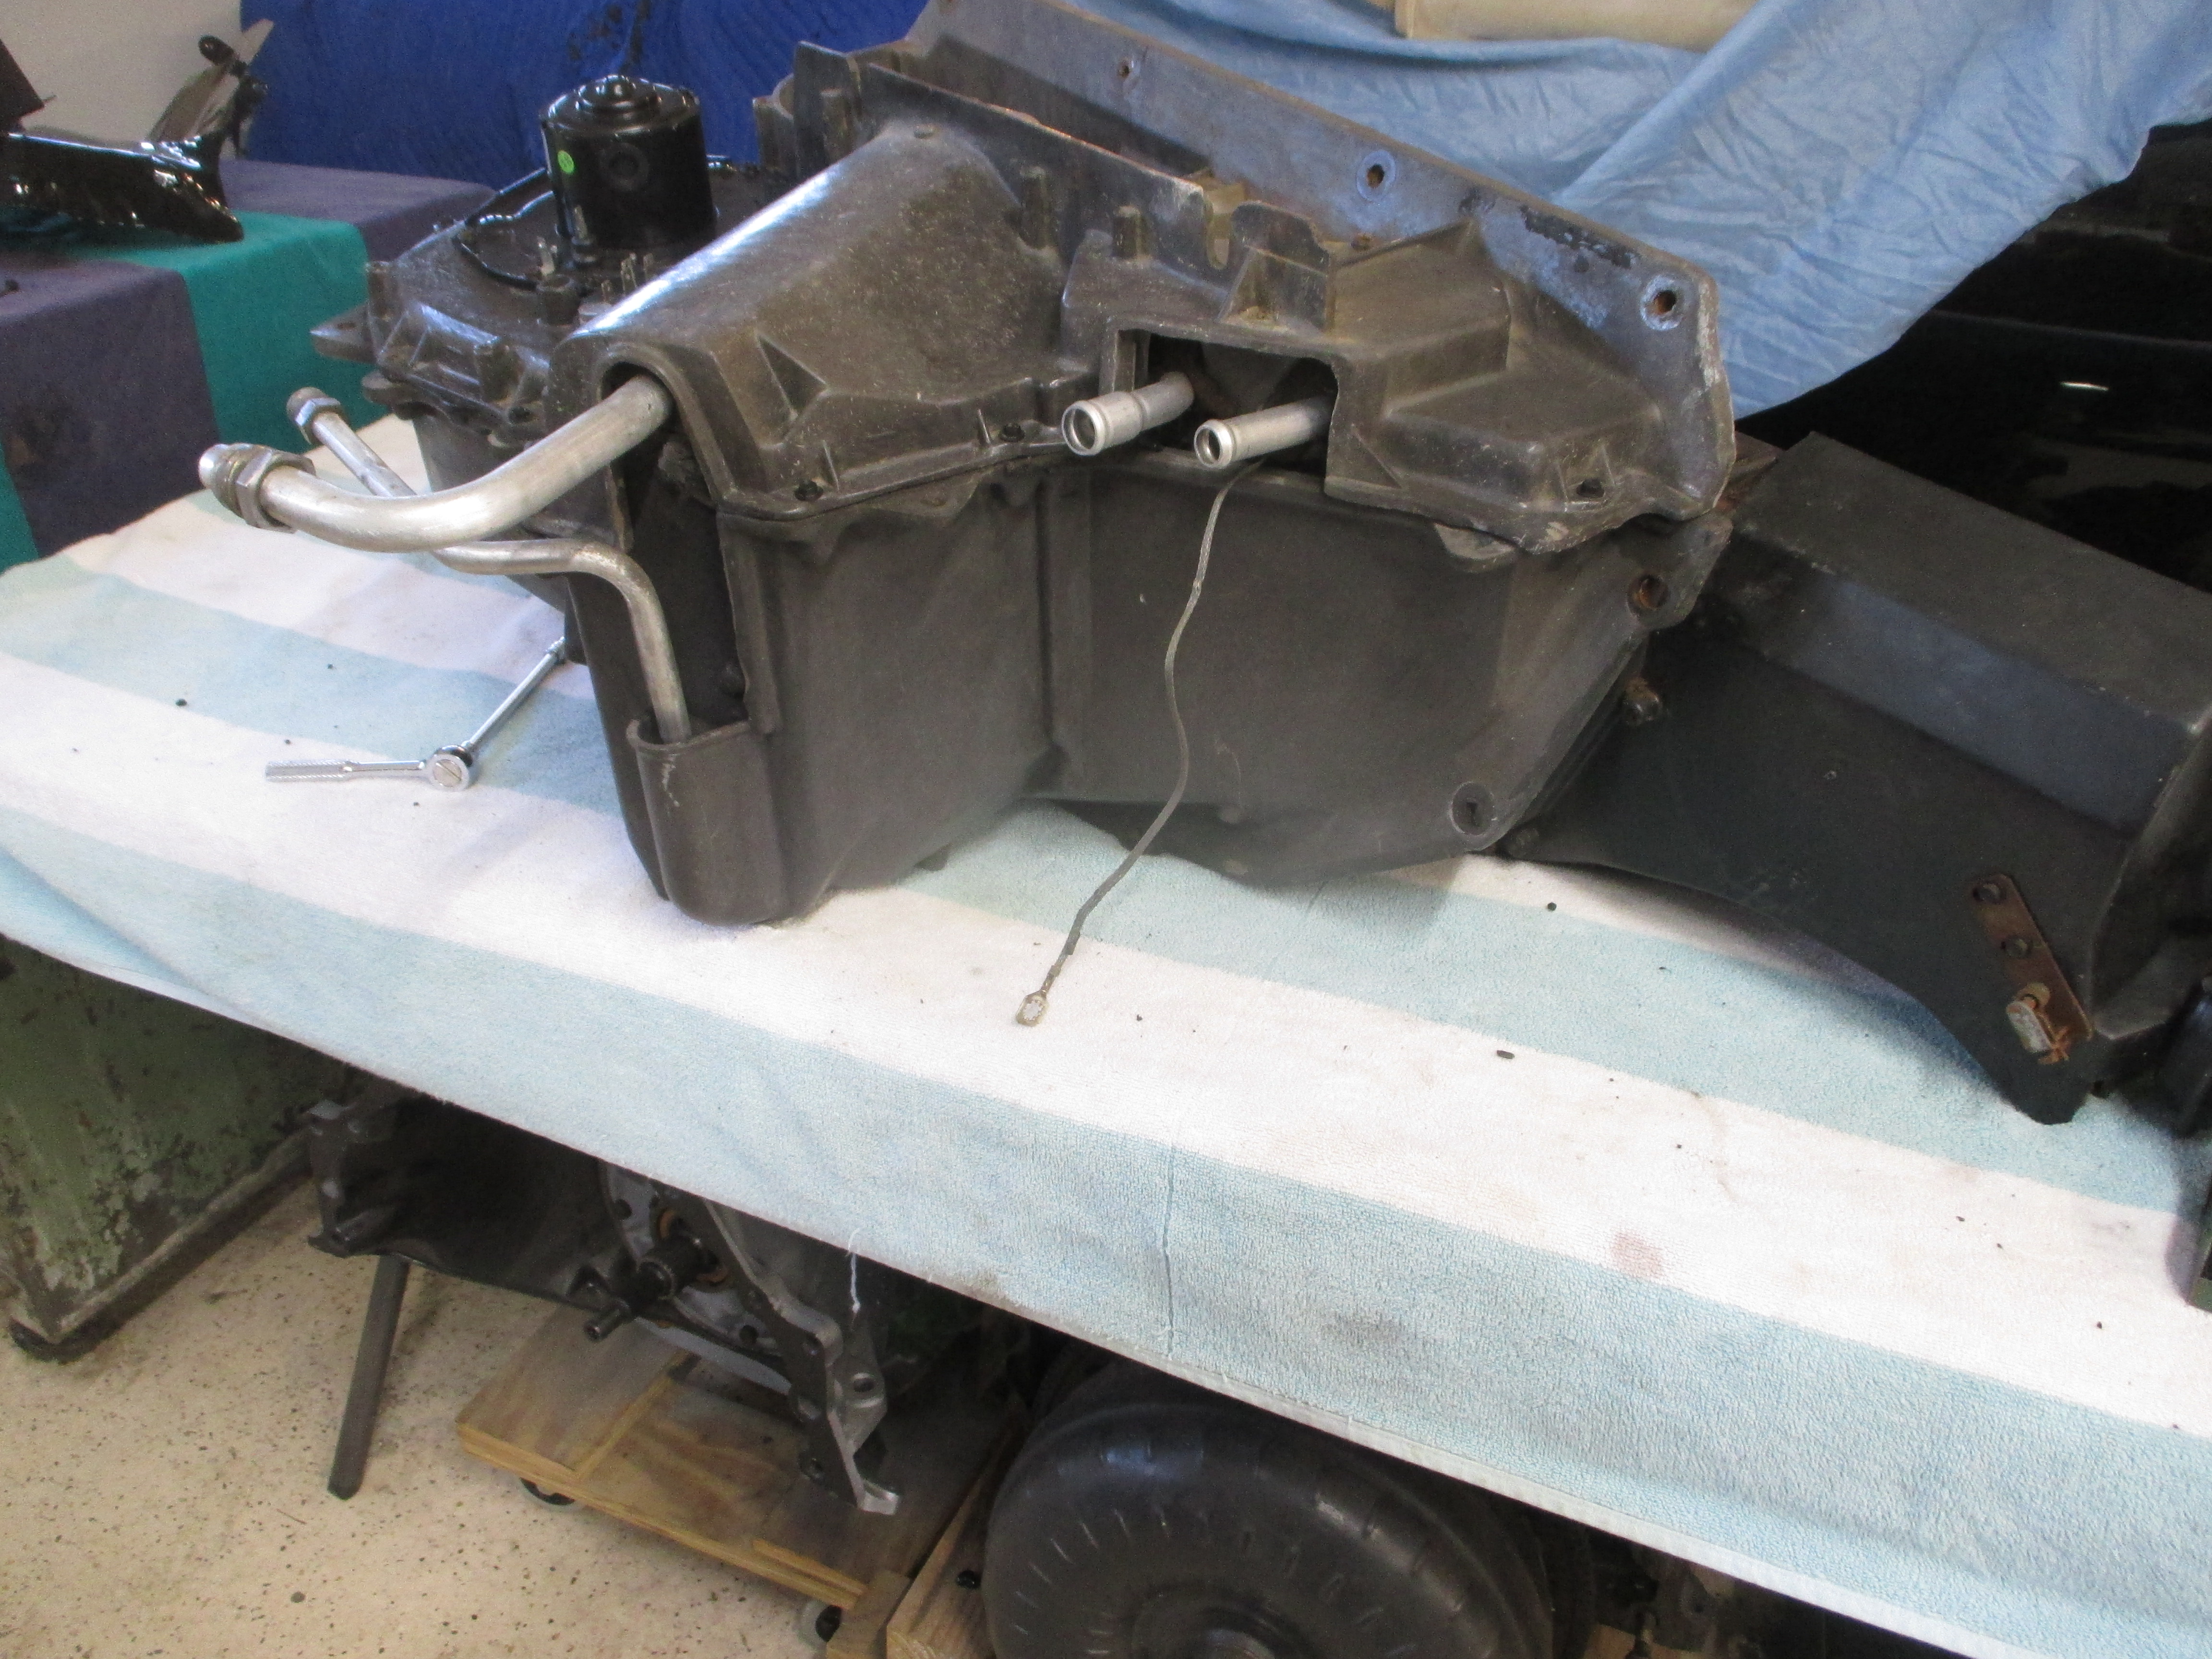
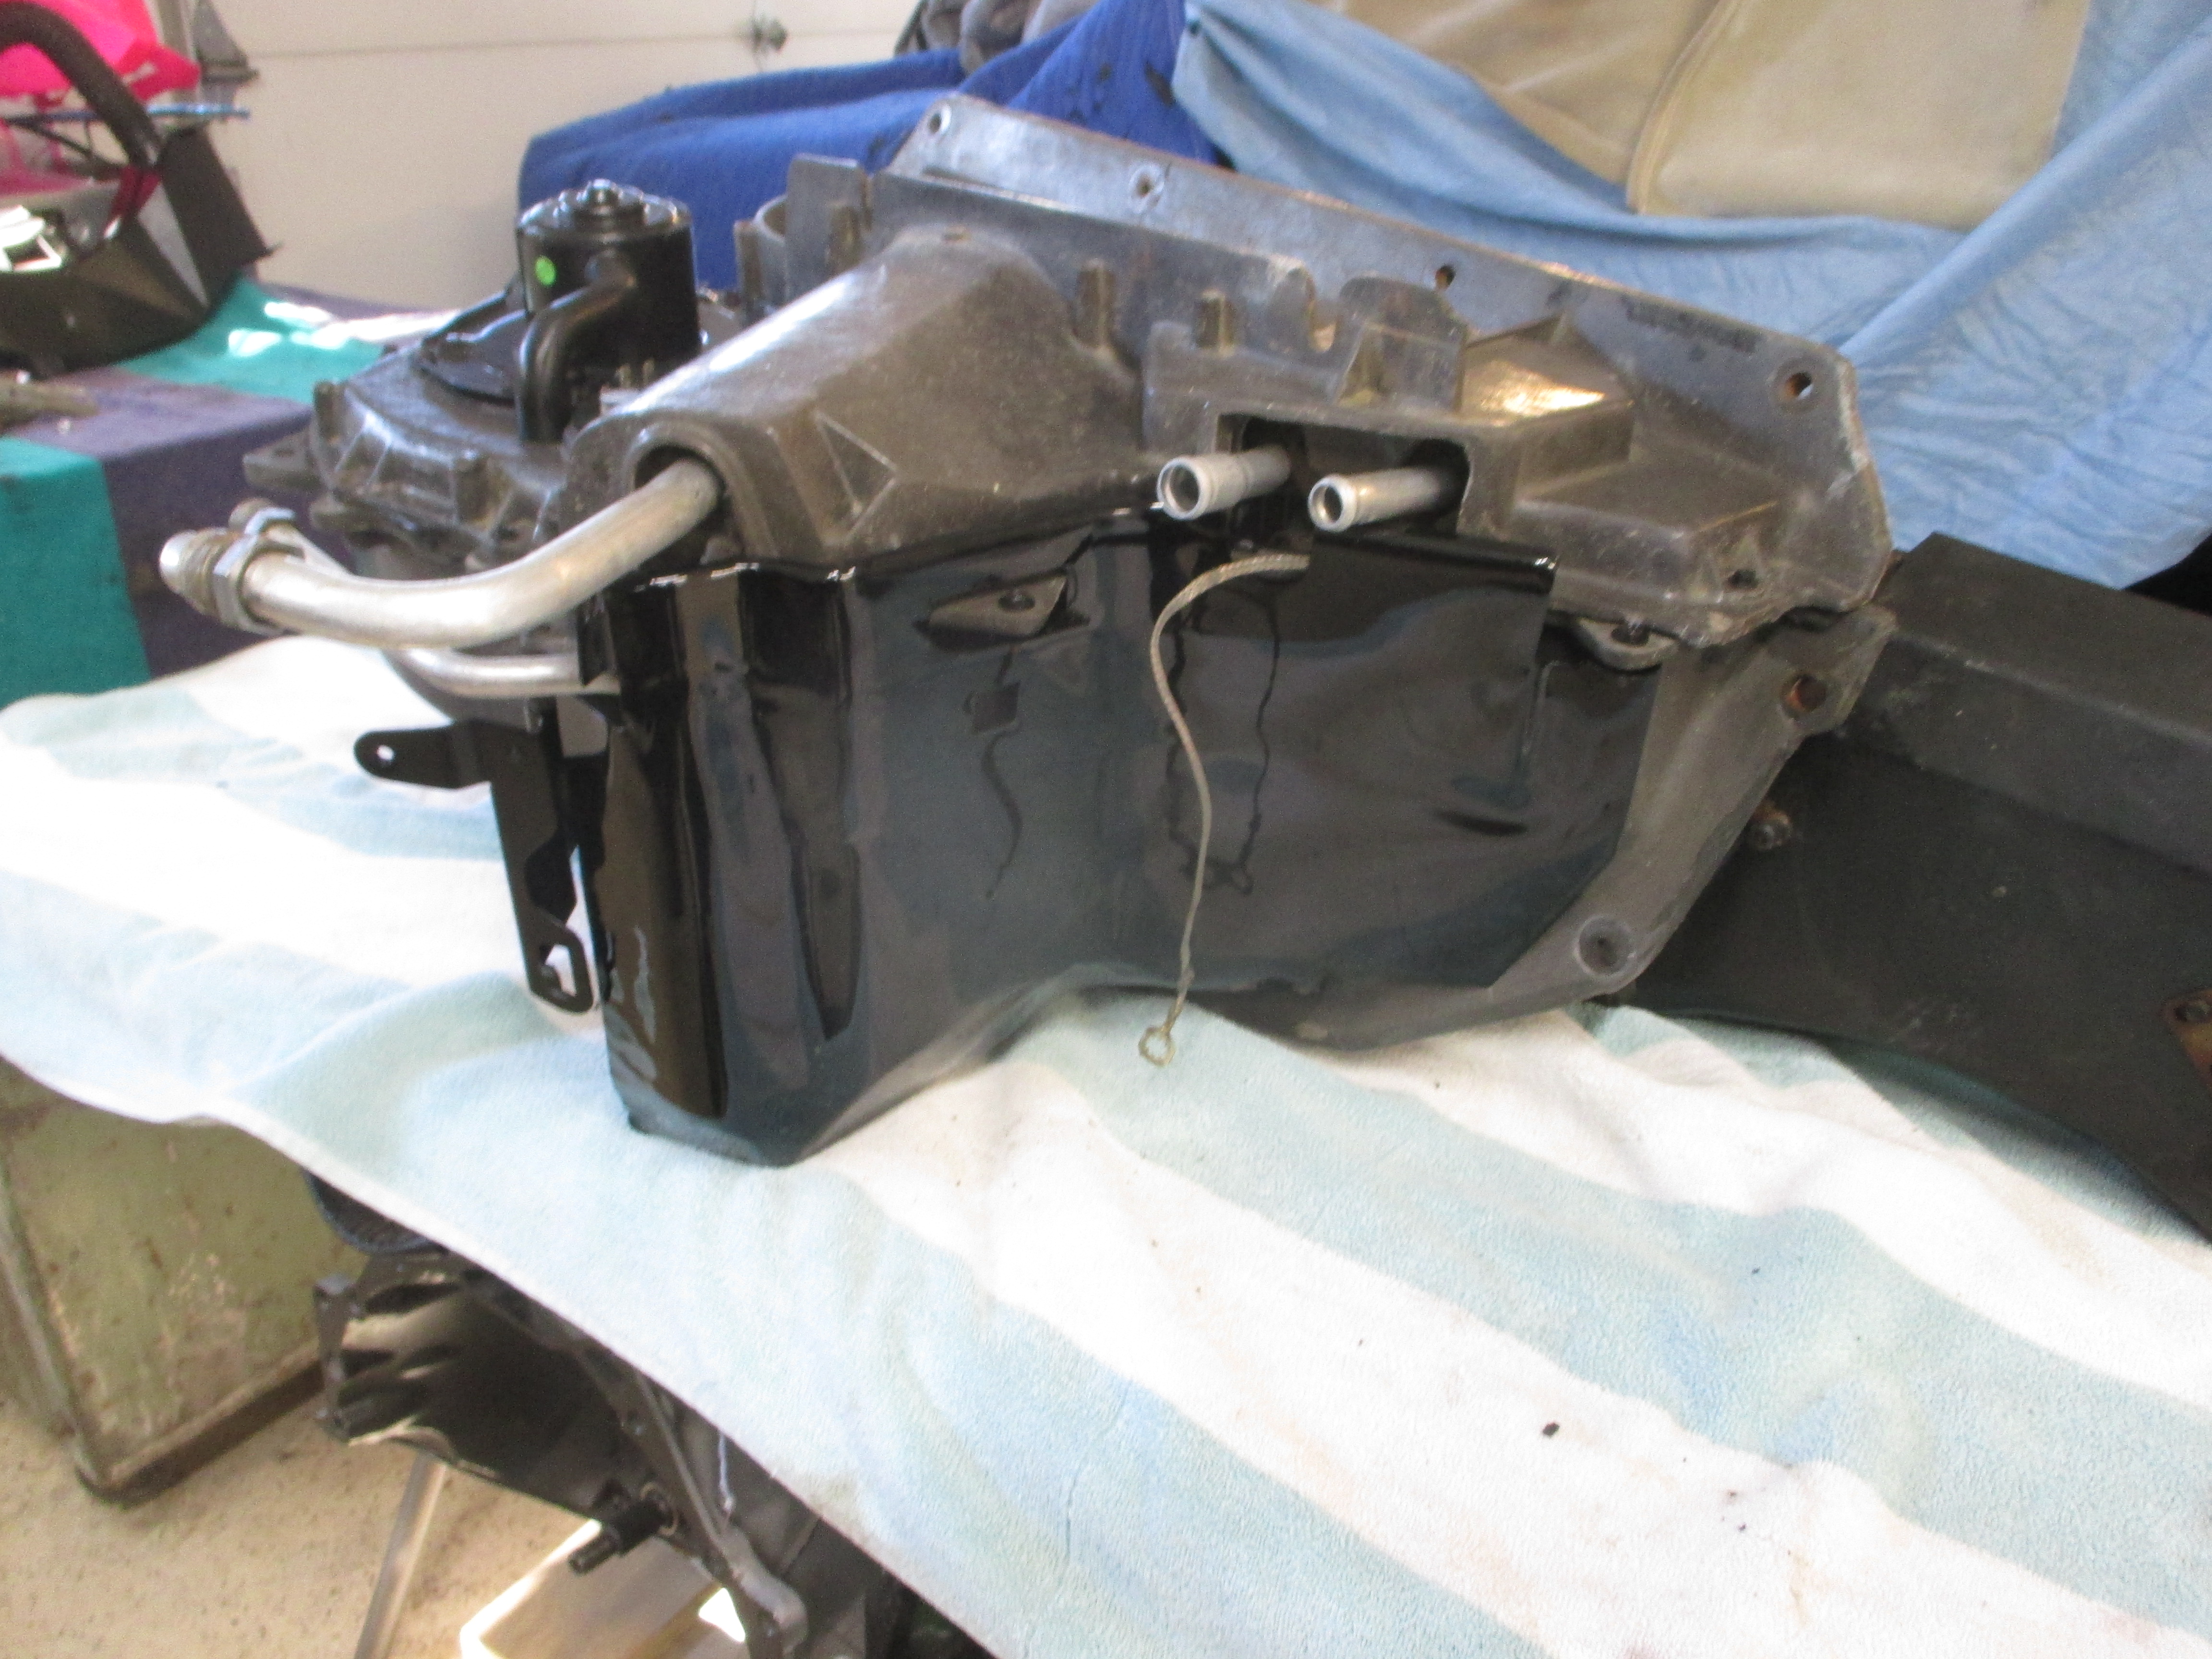
Heater/ A/Cbox
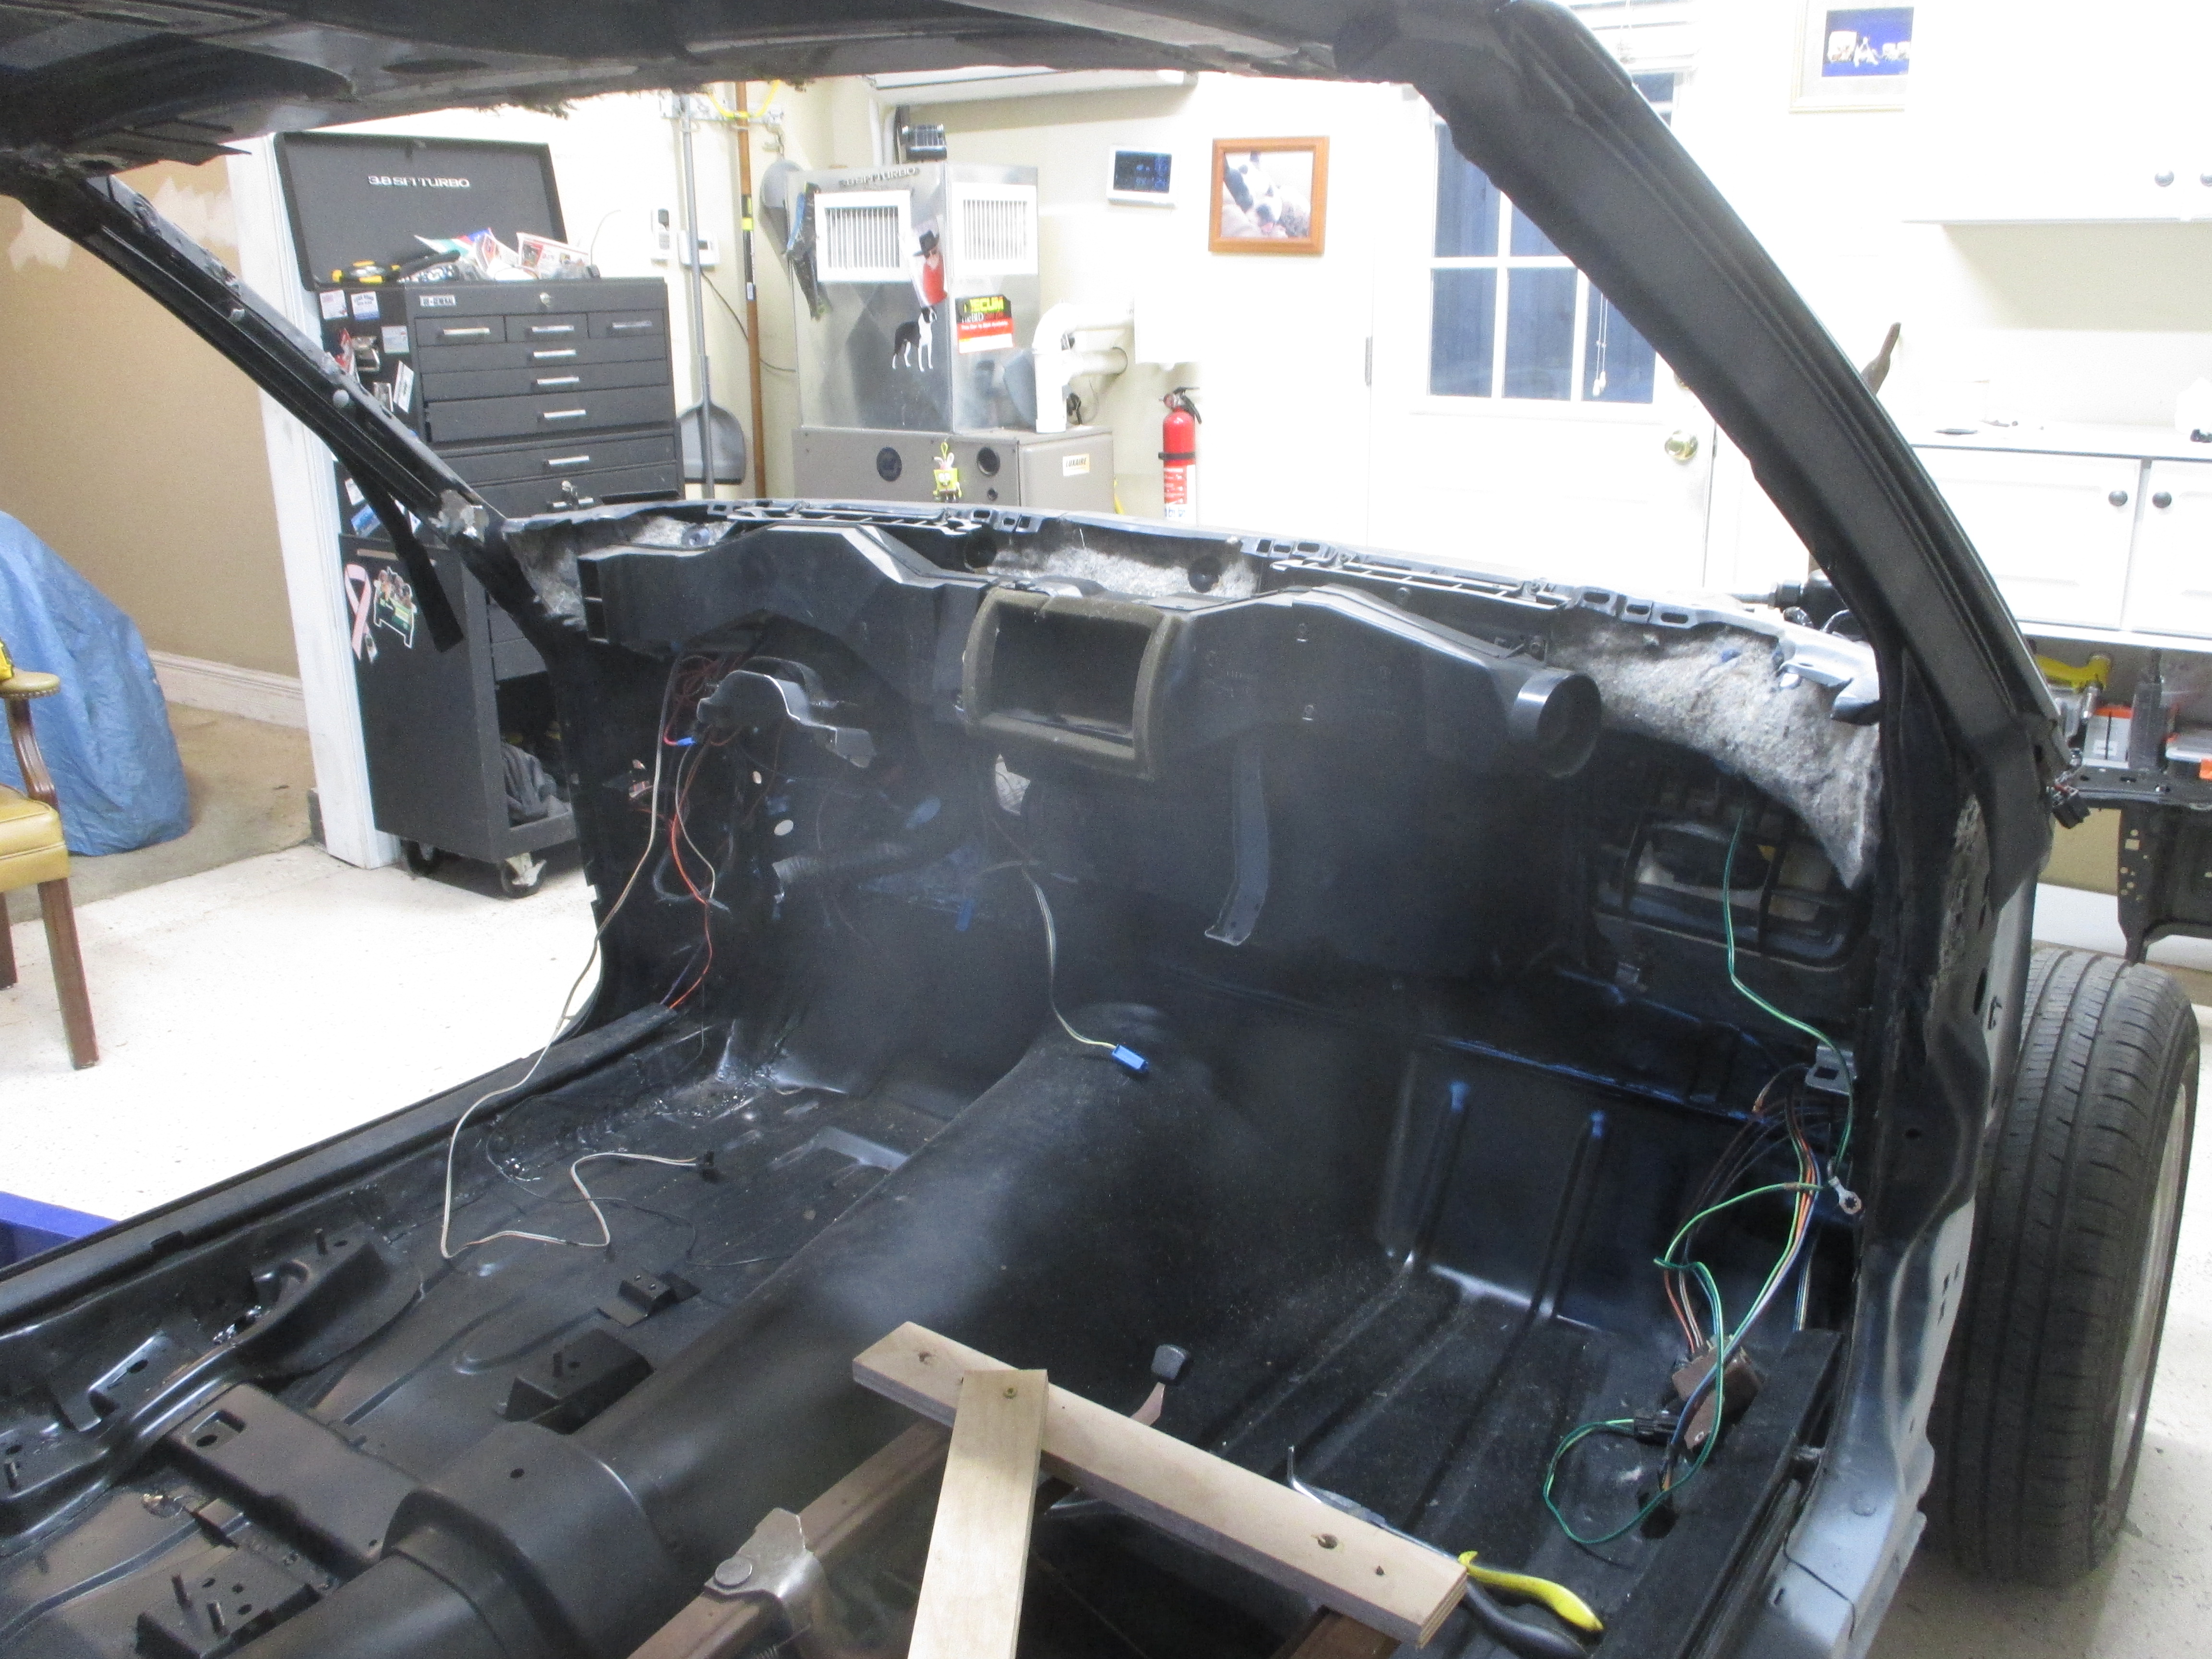
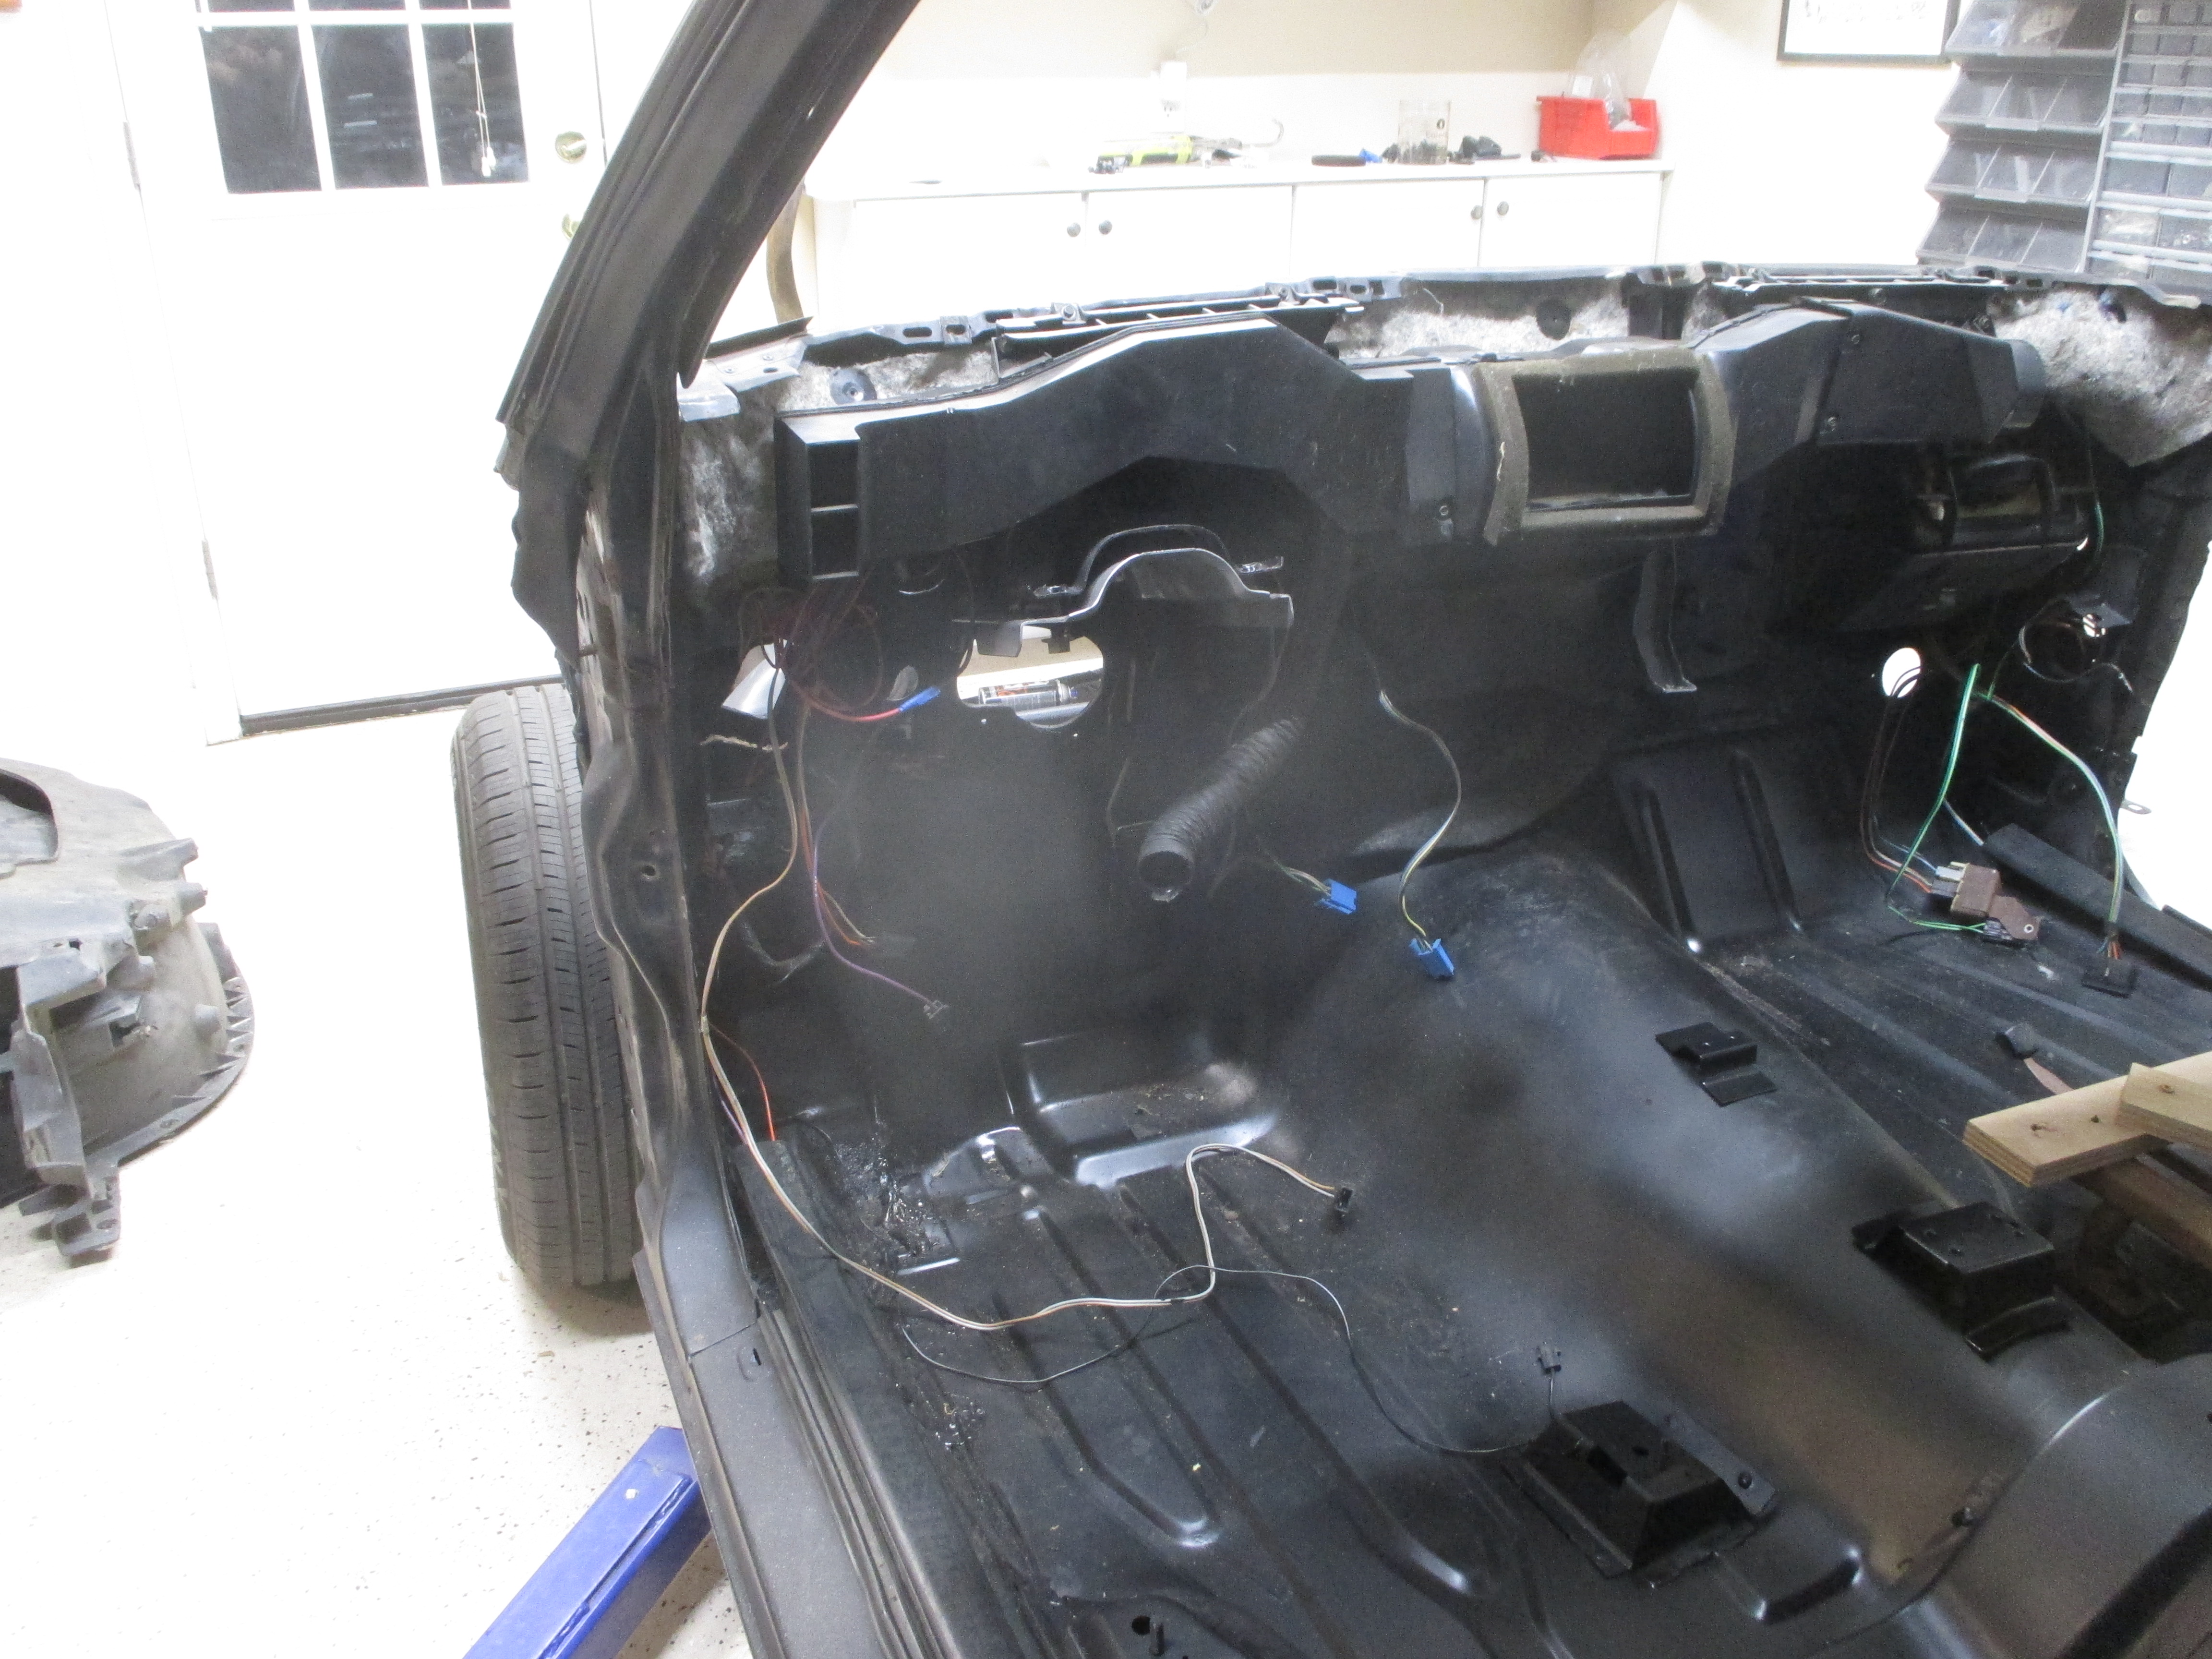
Before, not much left
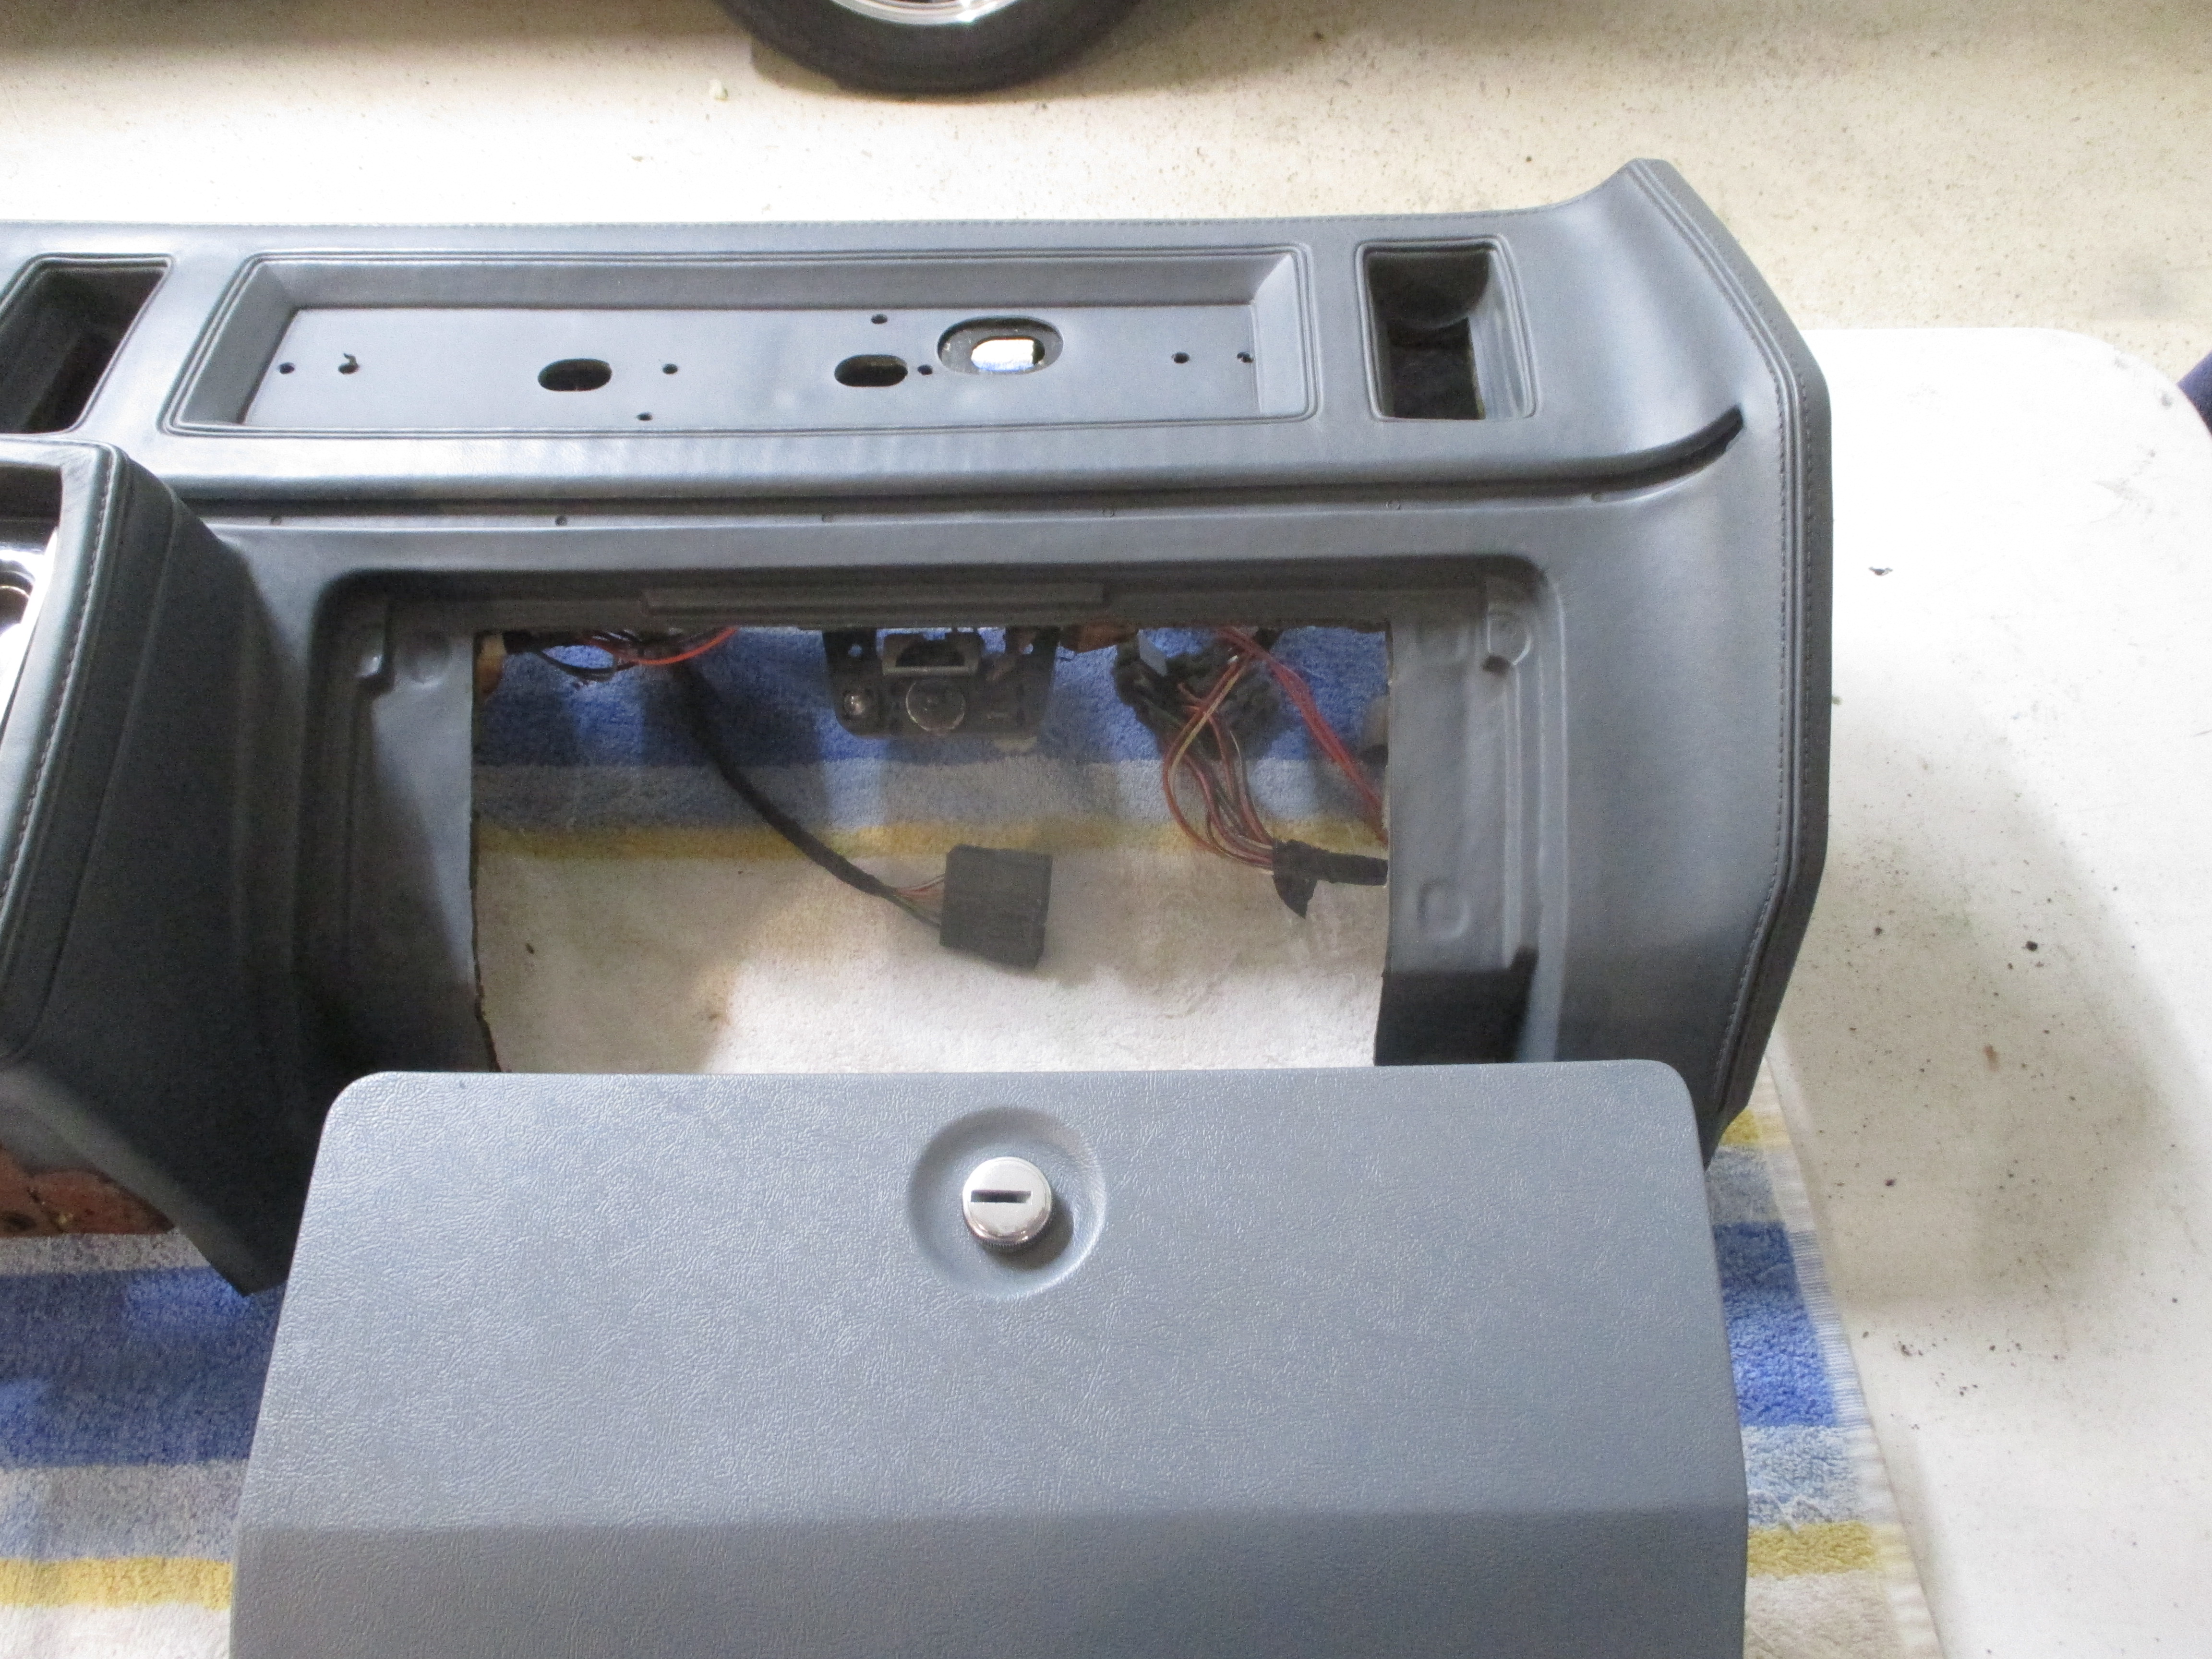
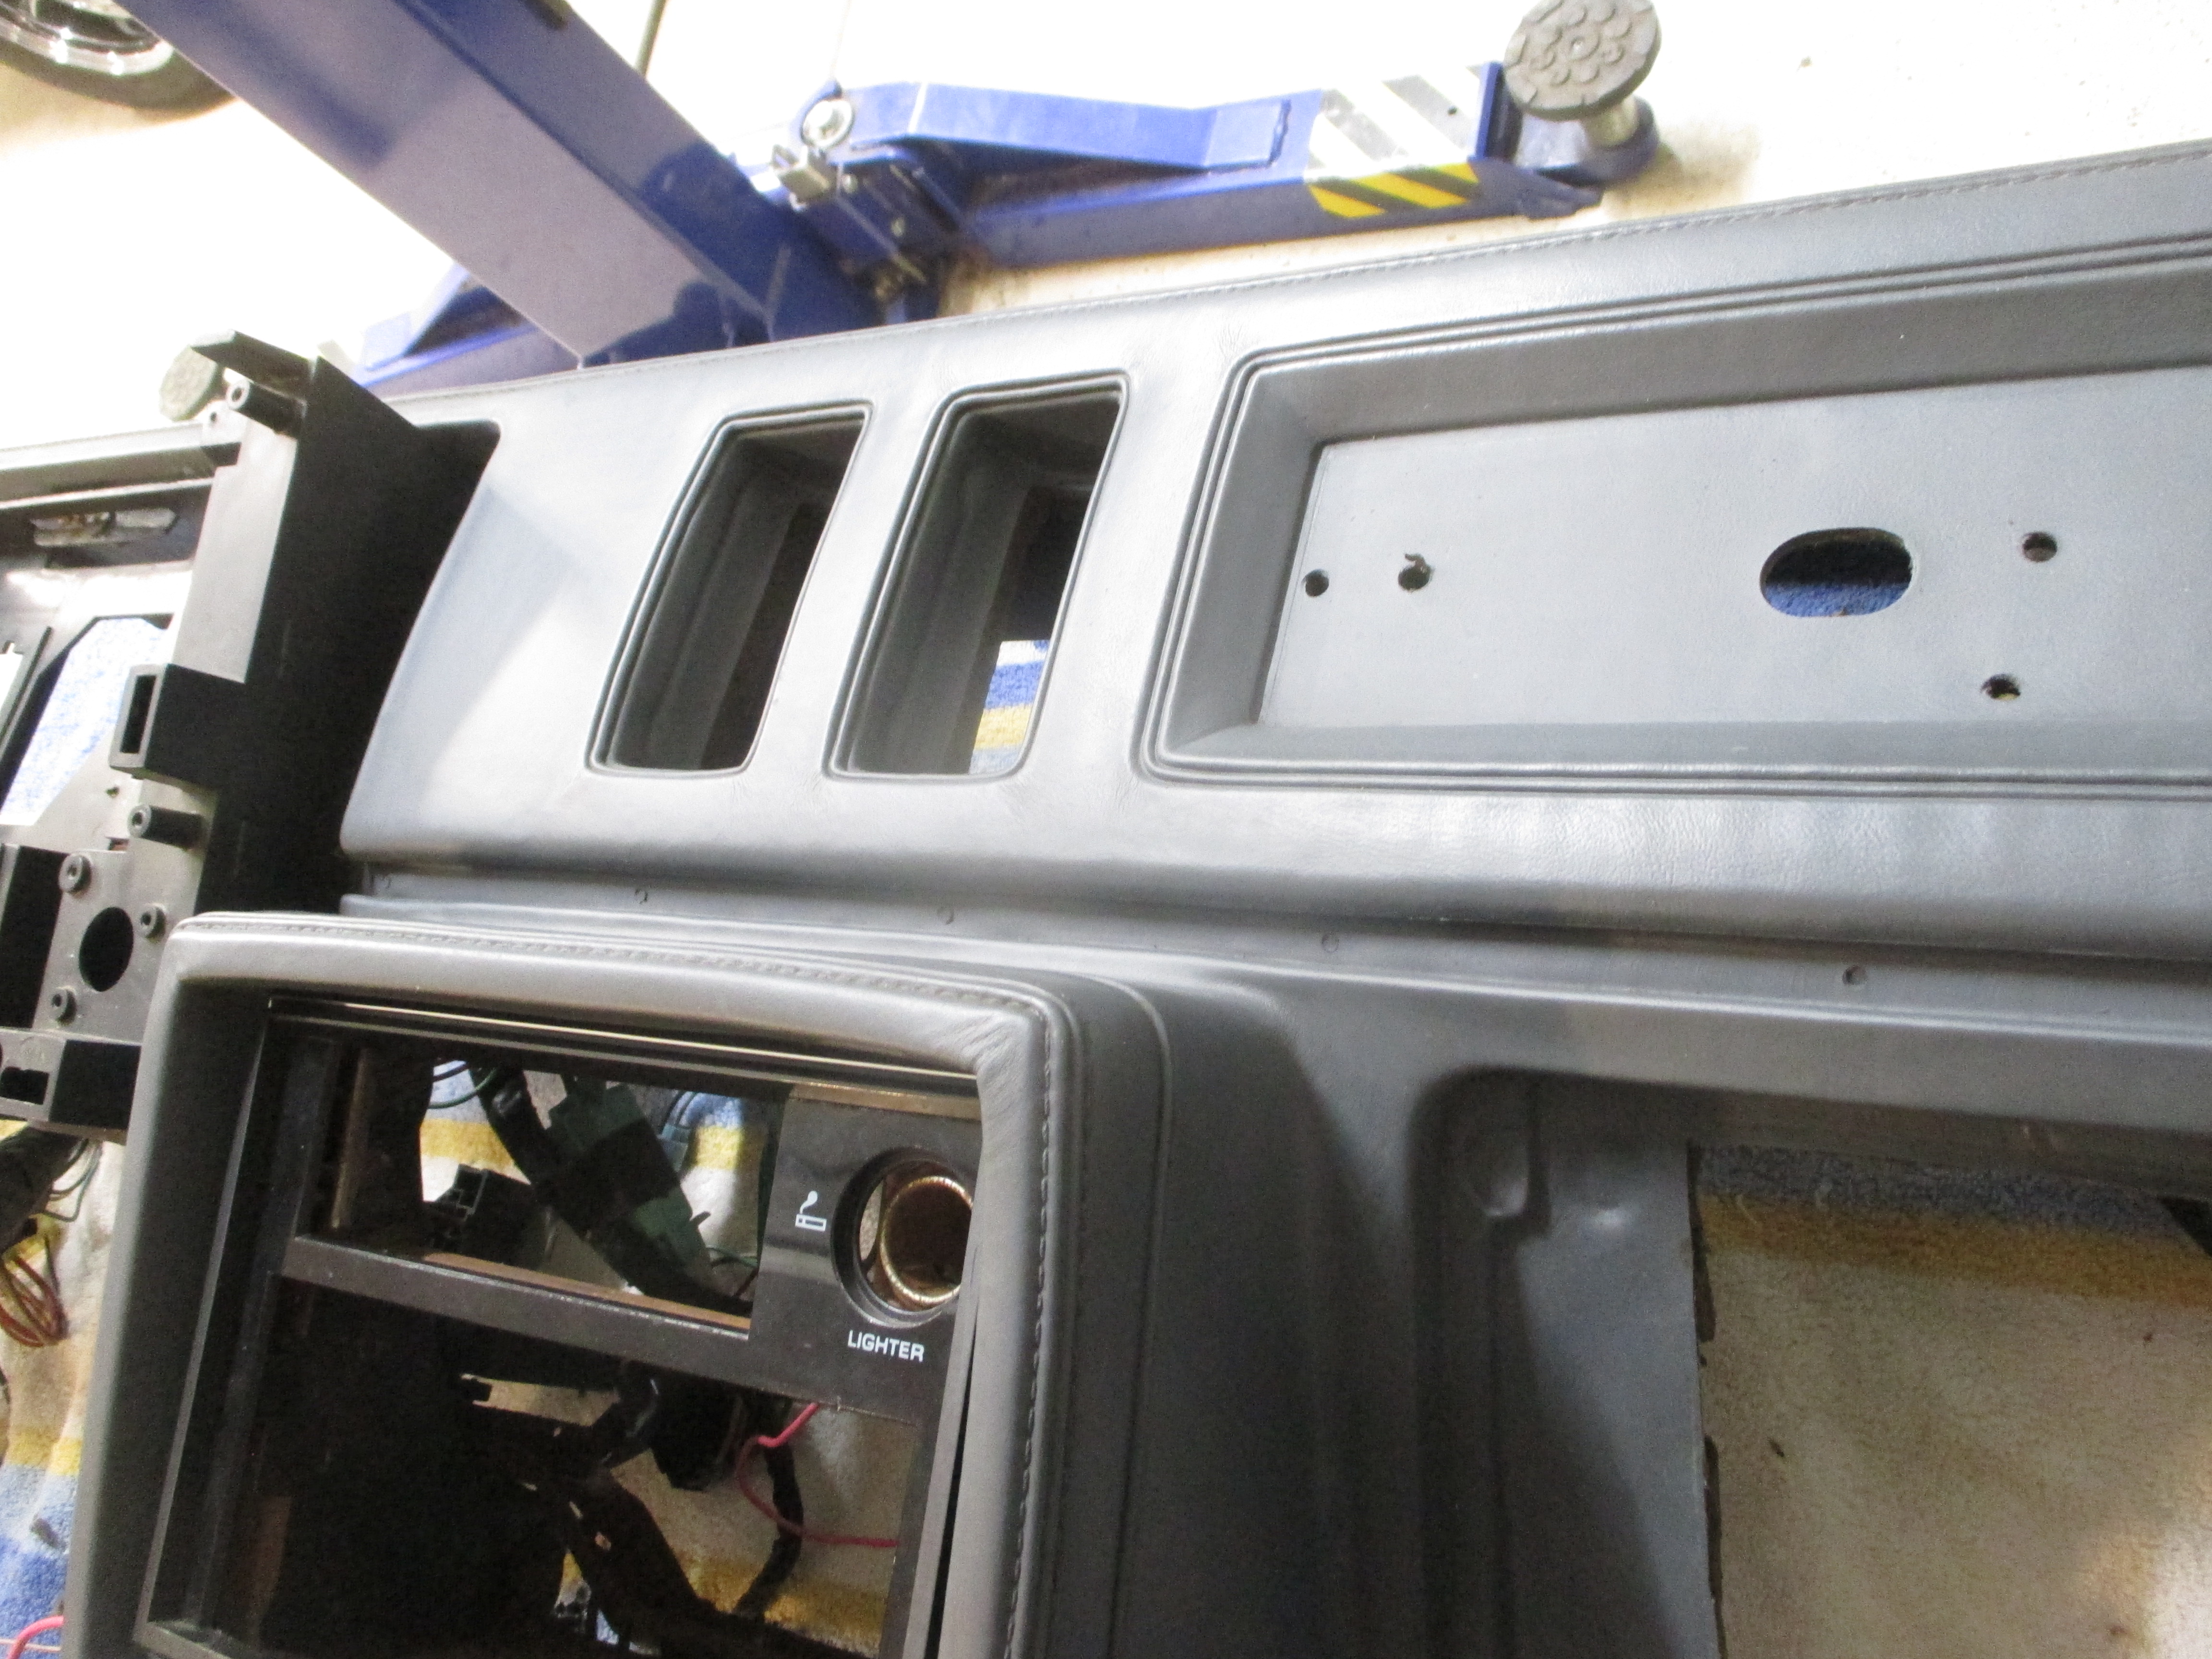
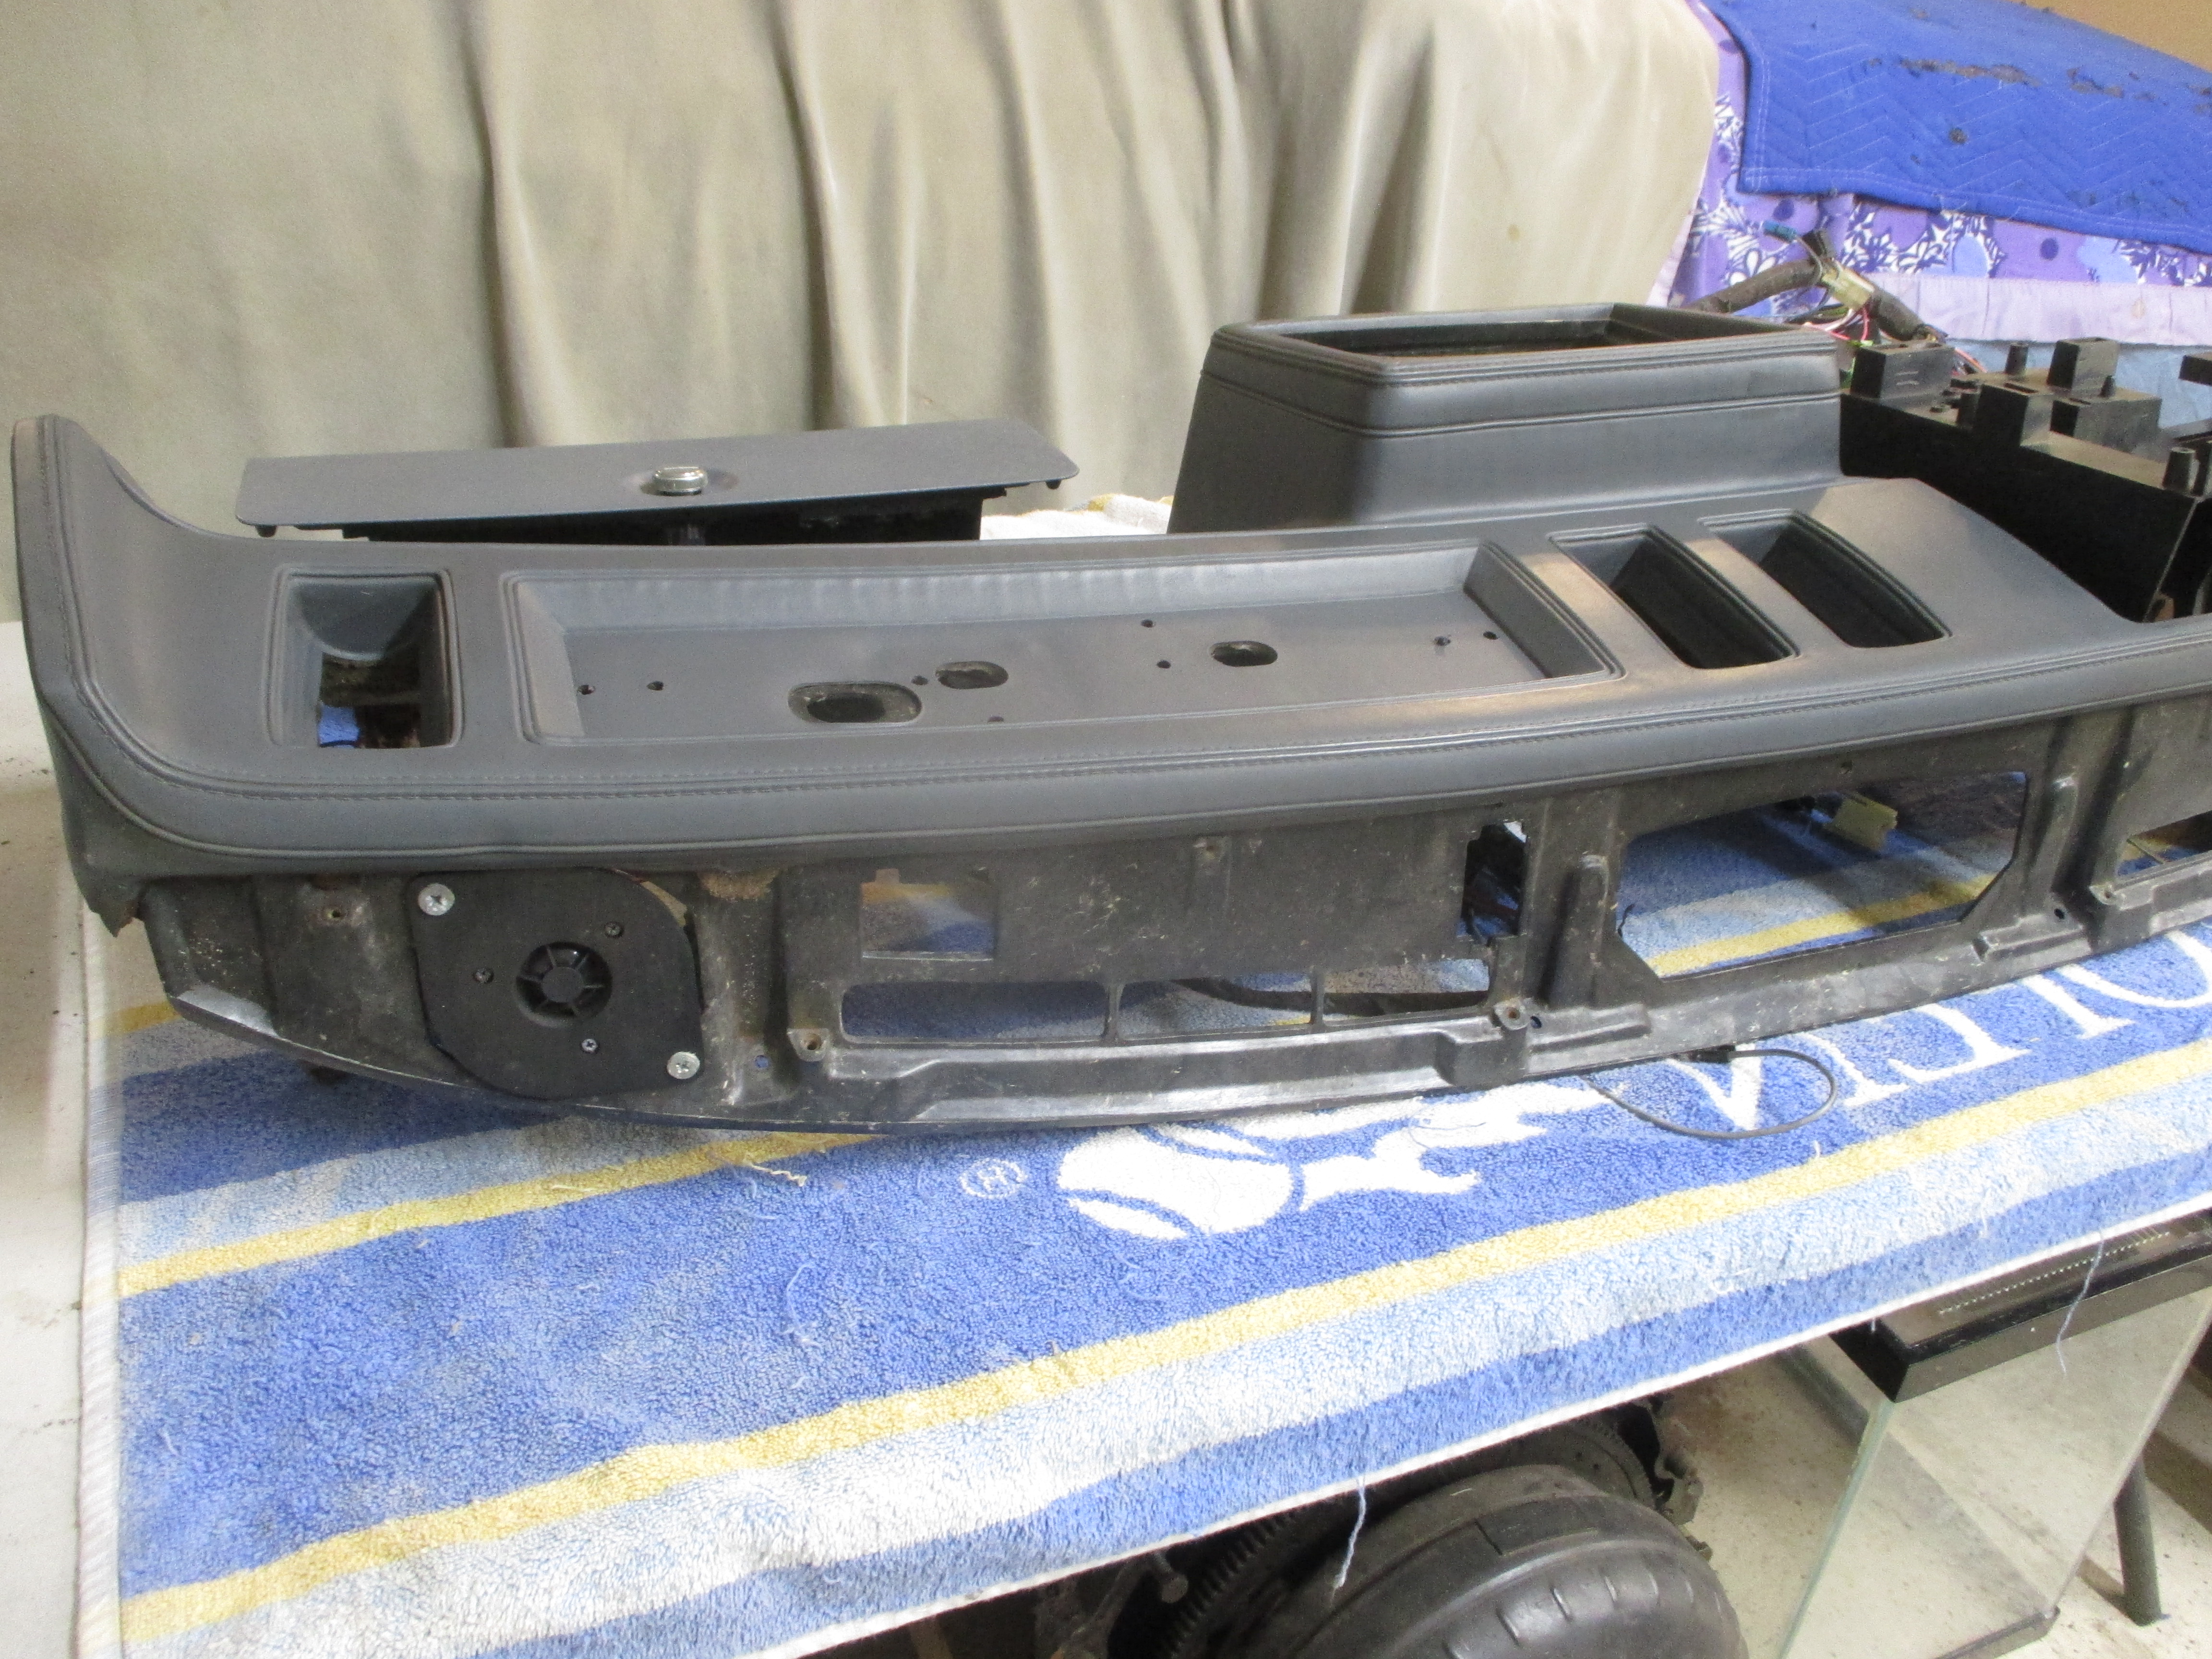
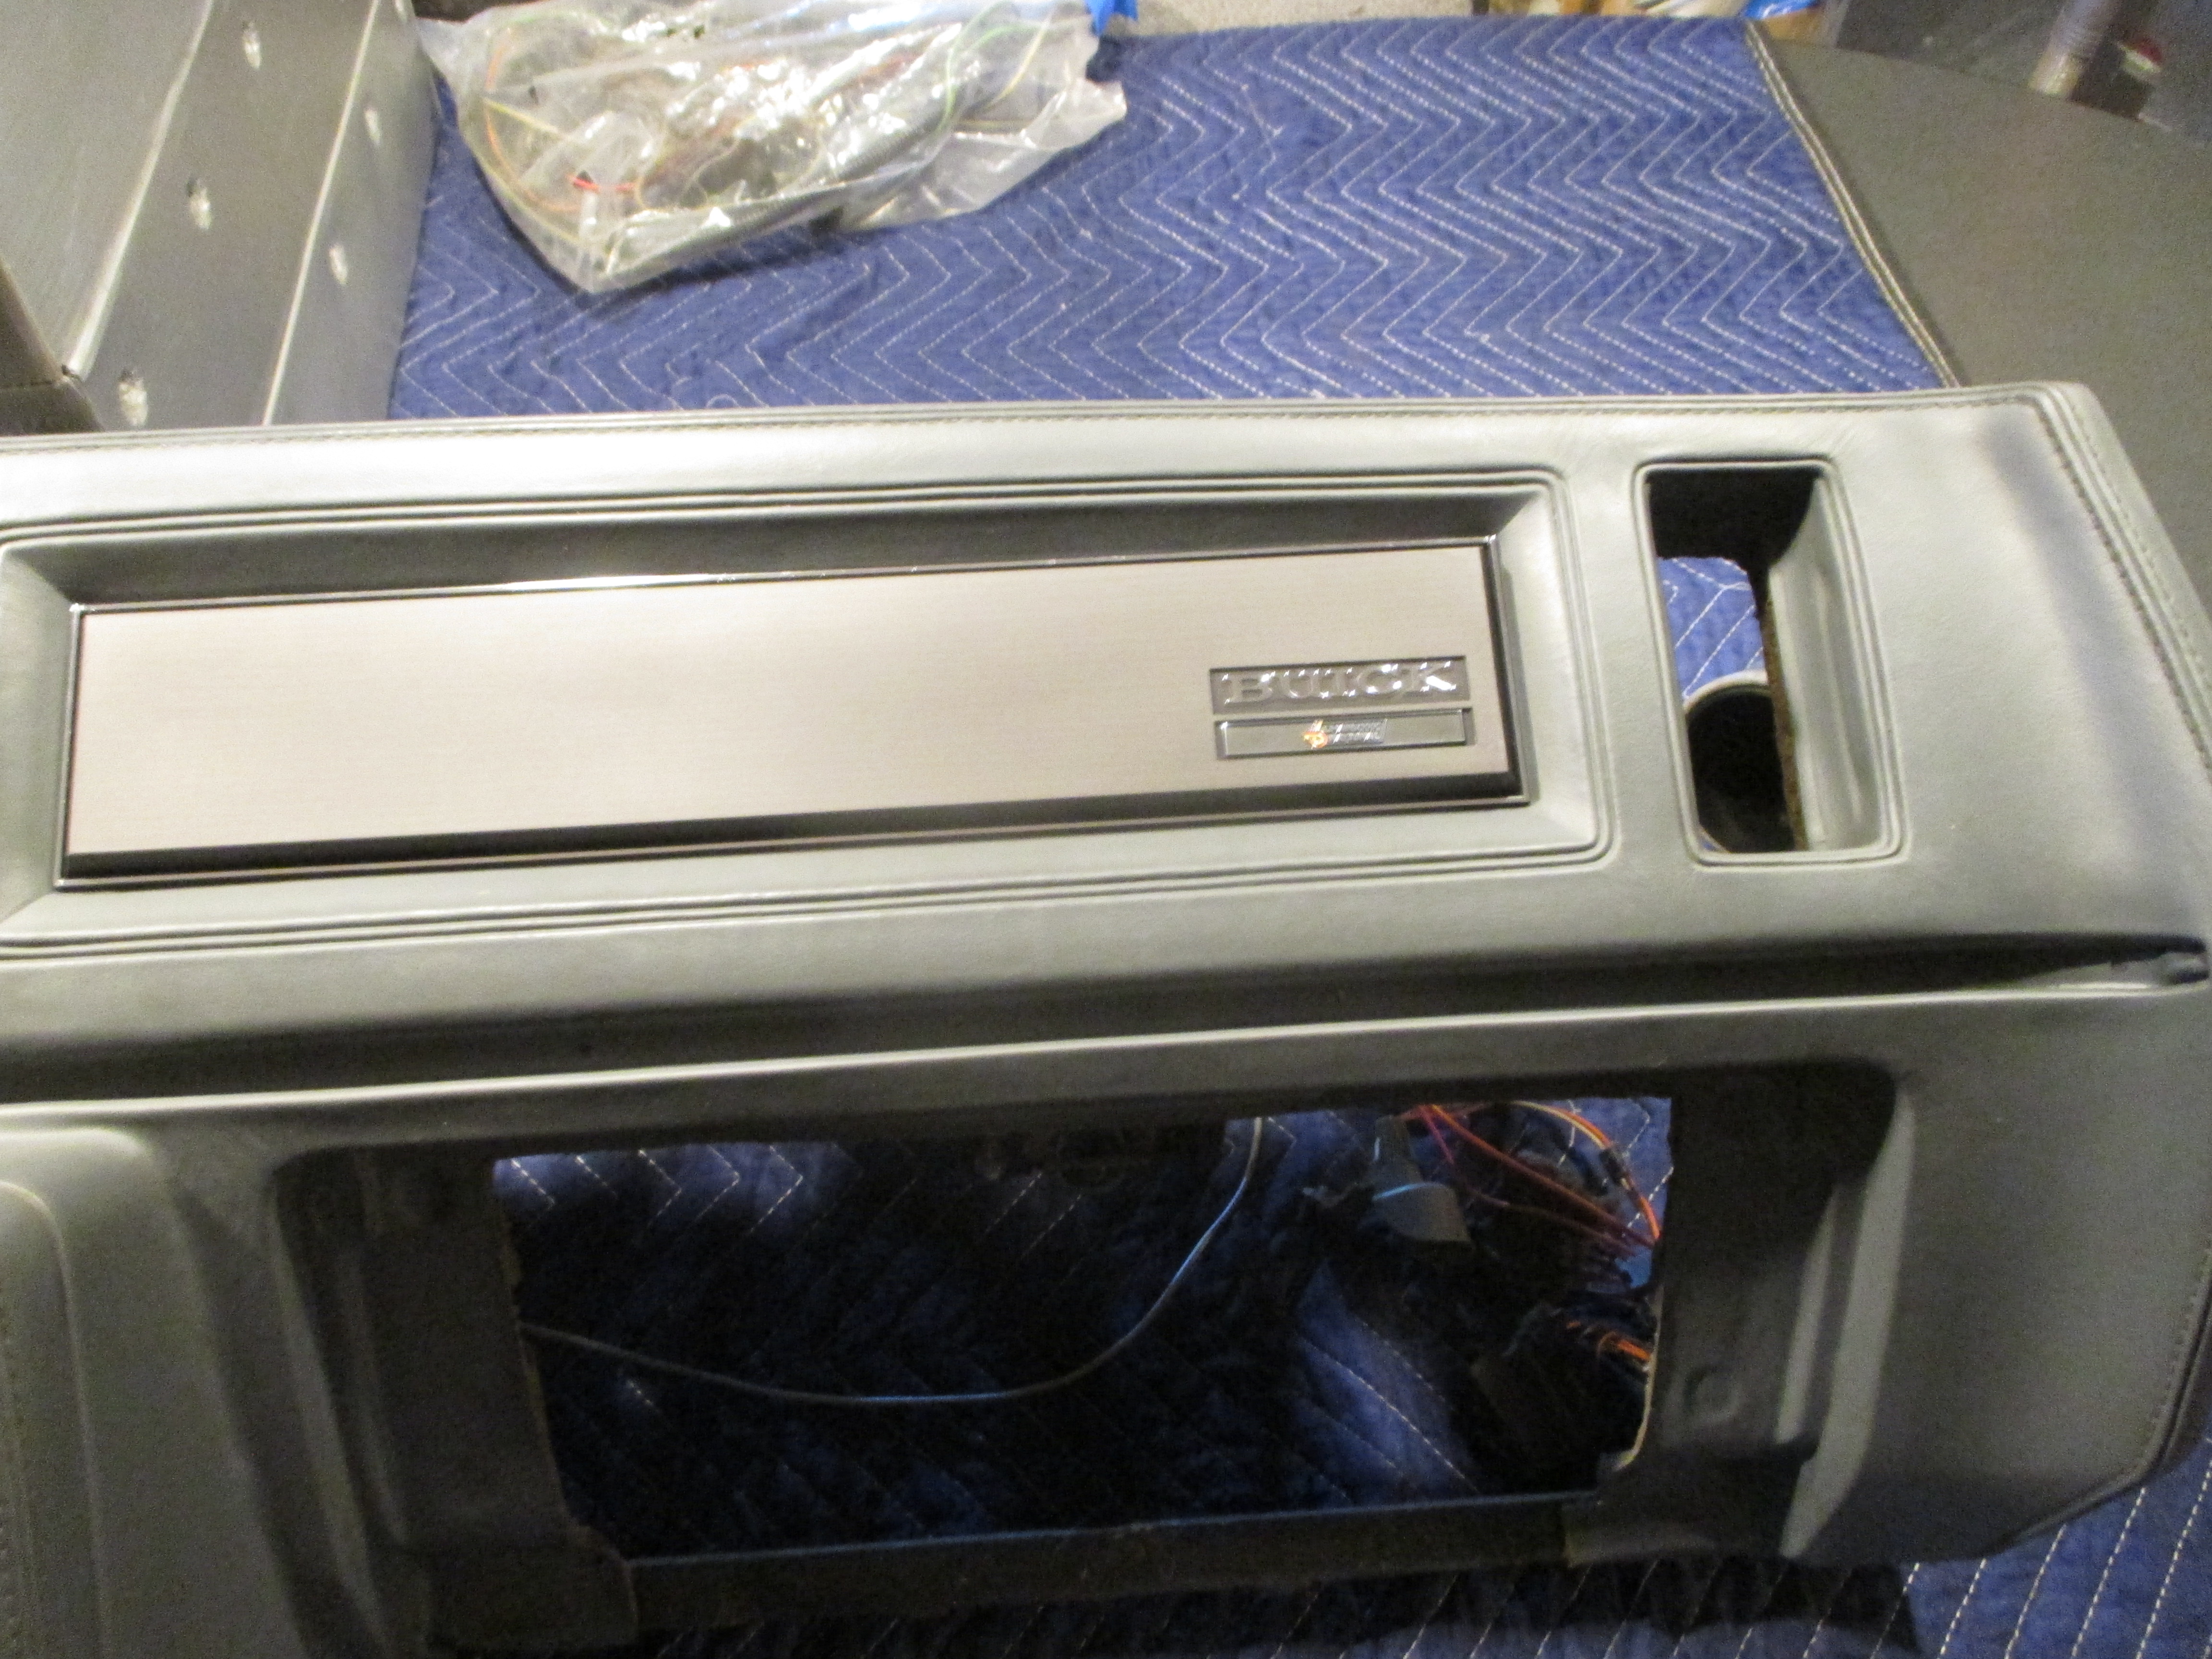
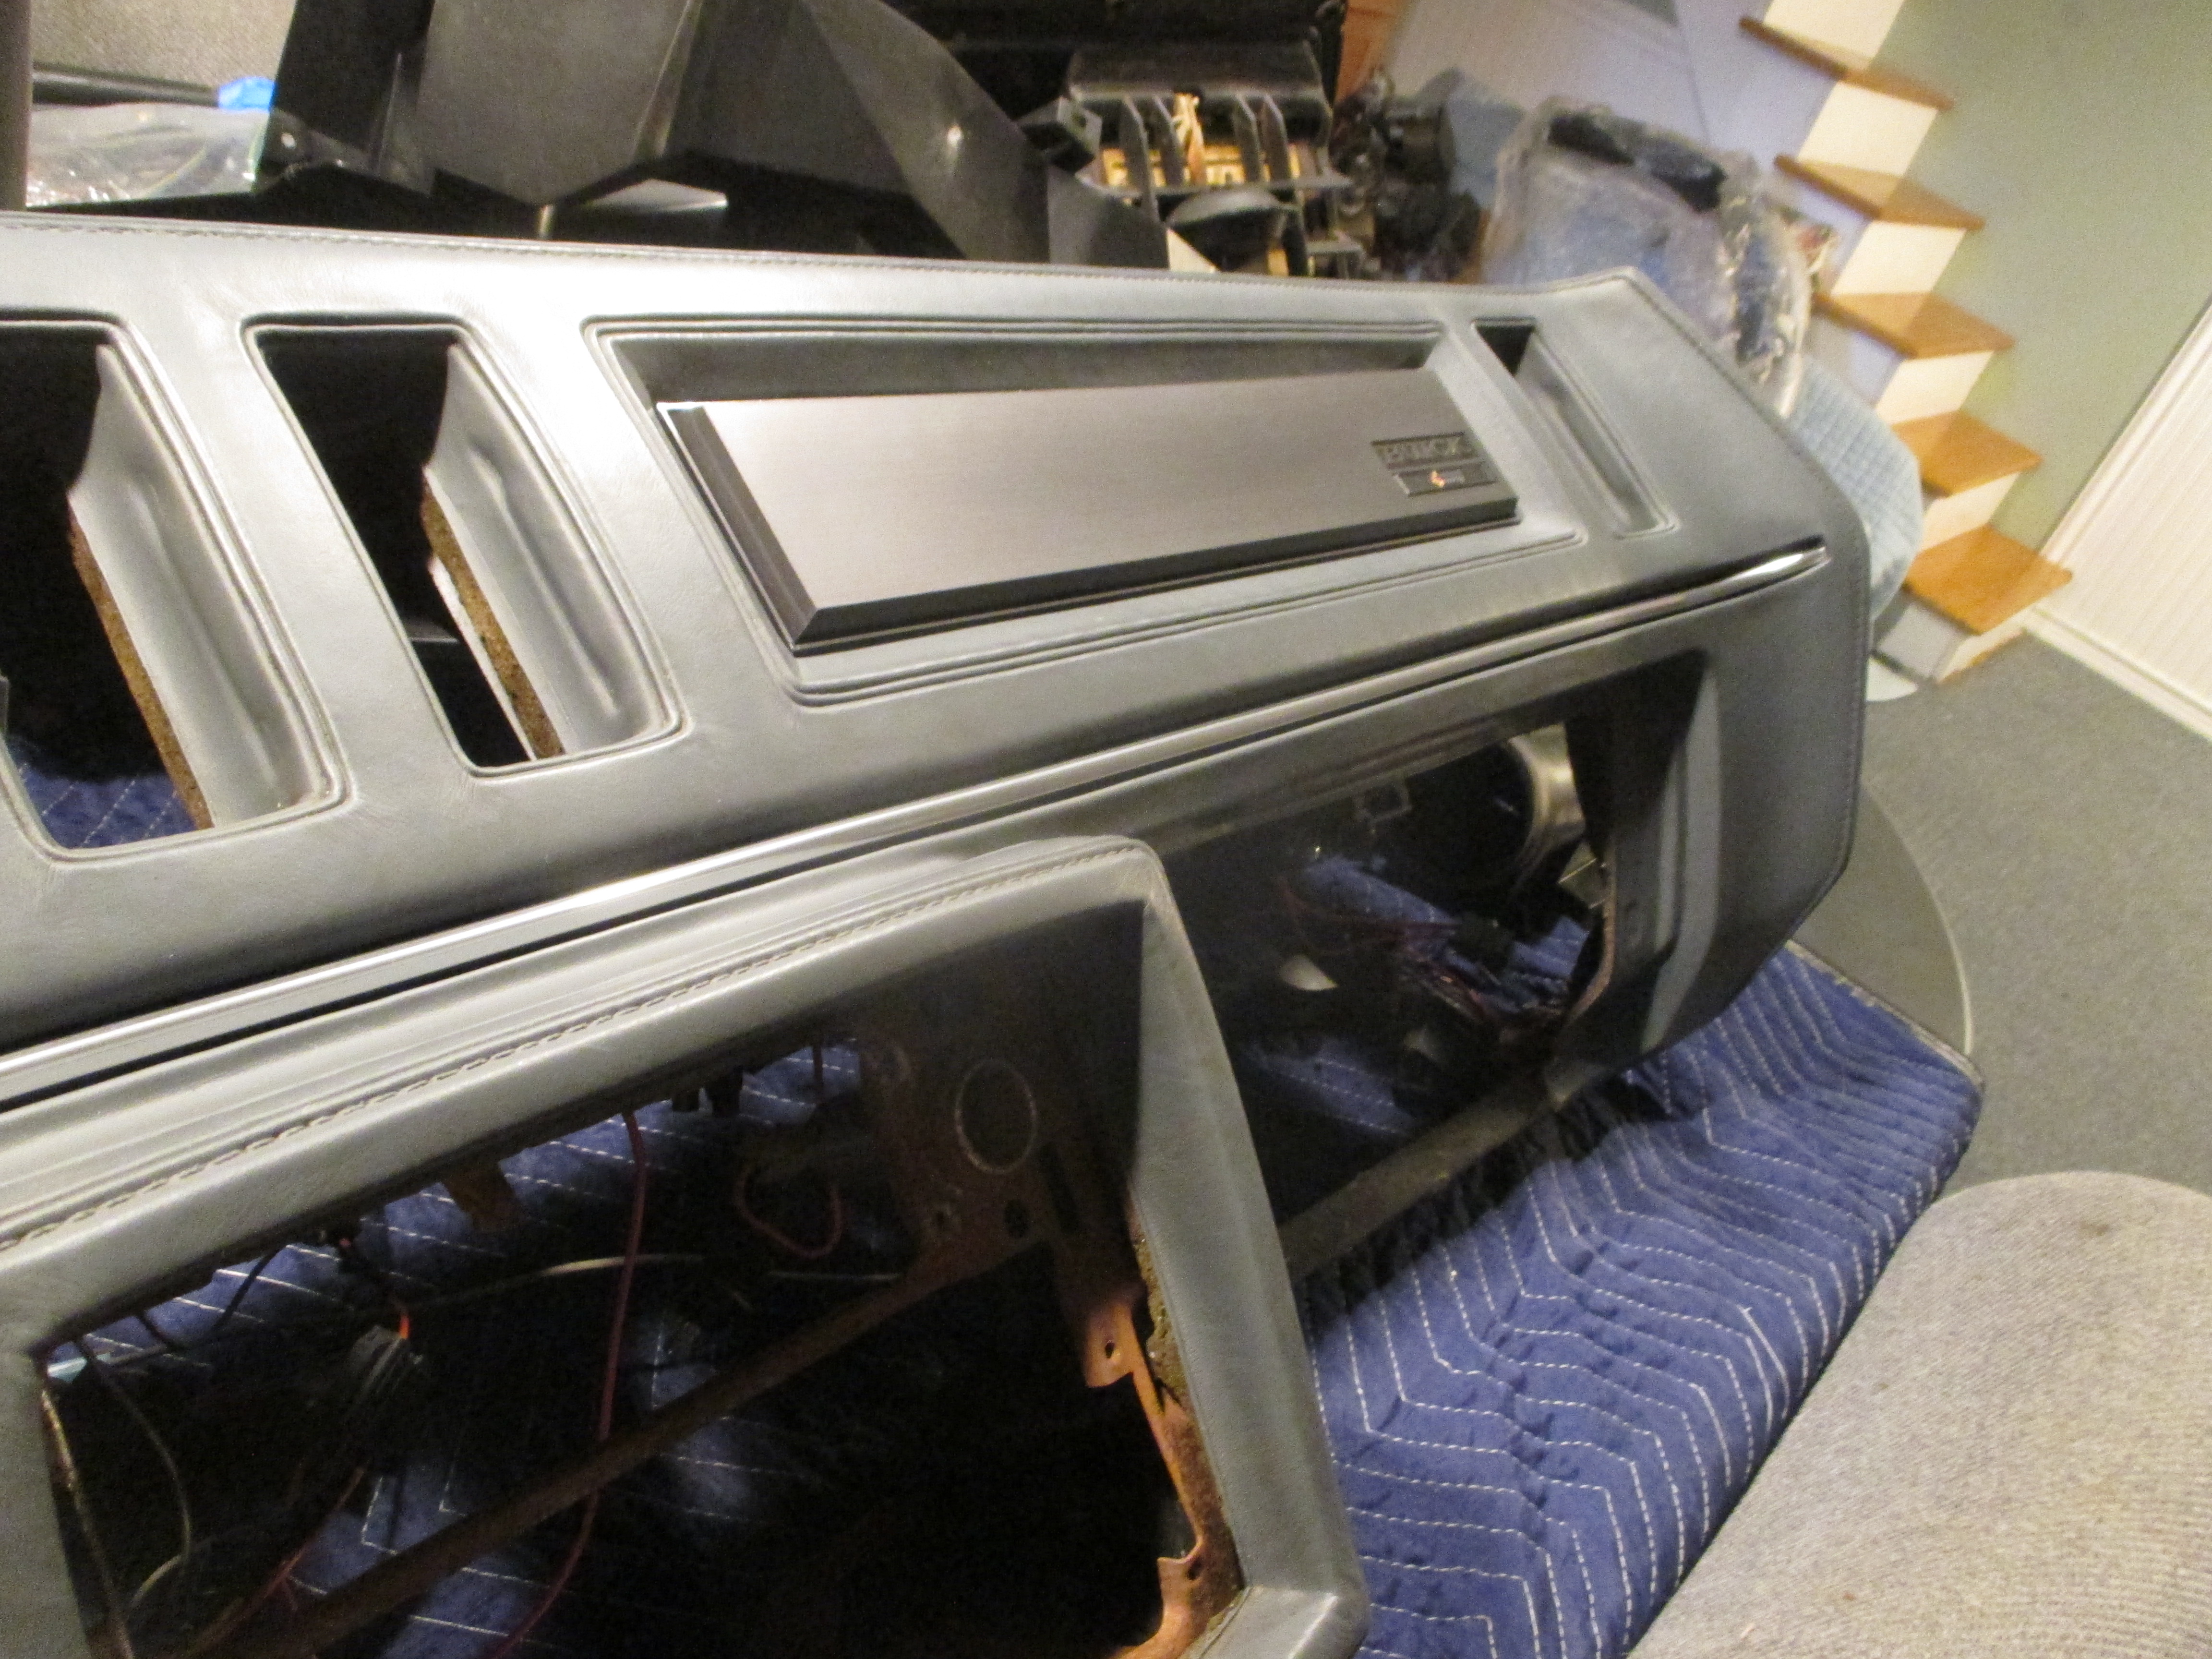
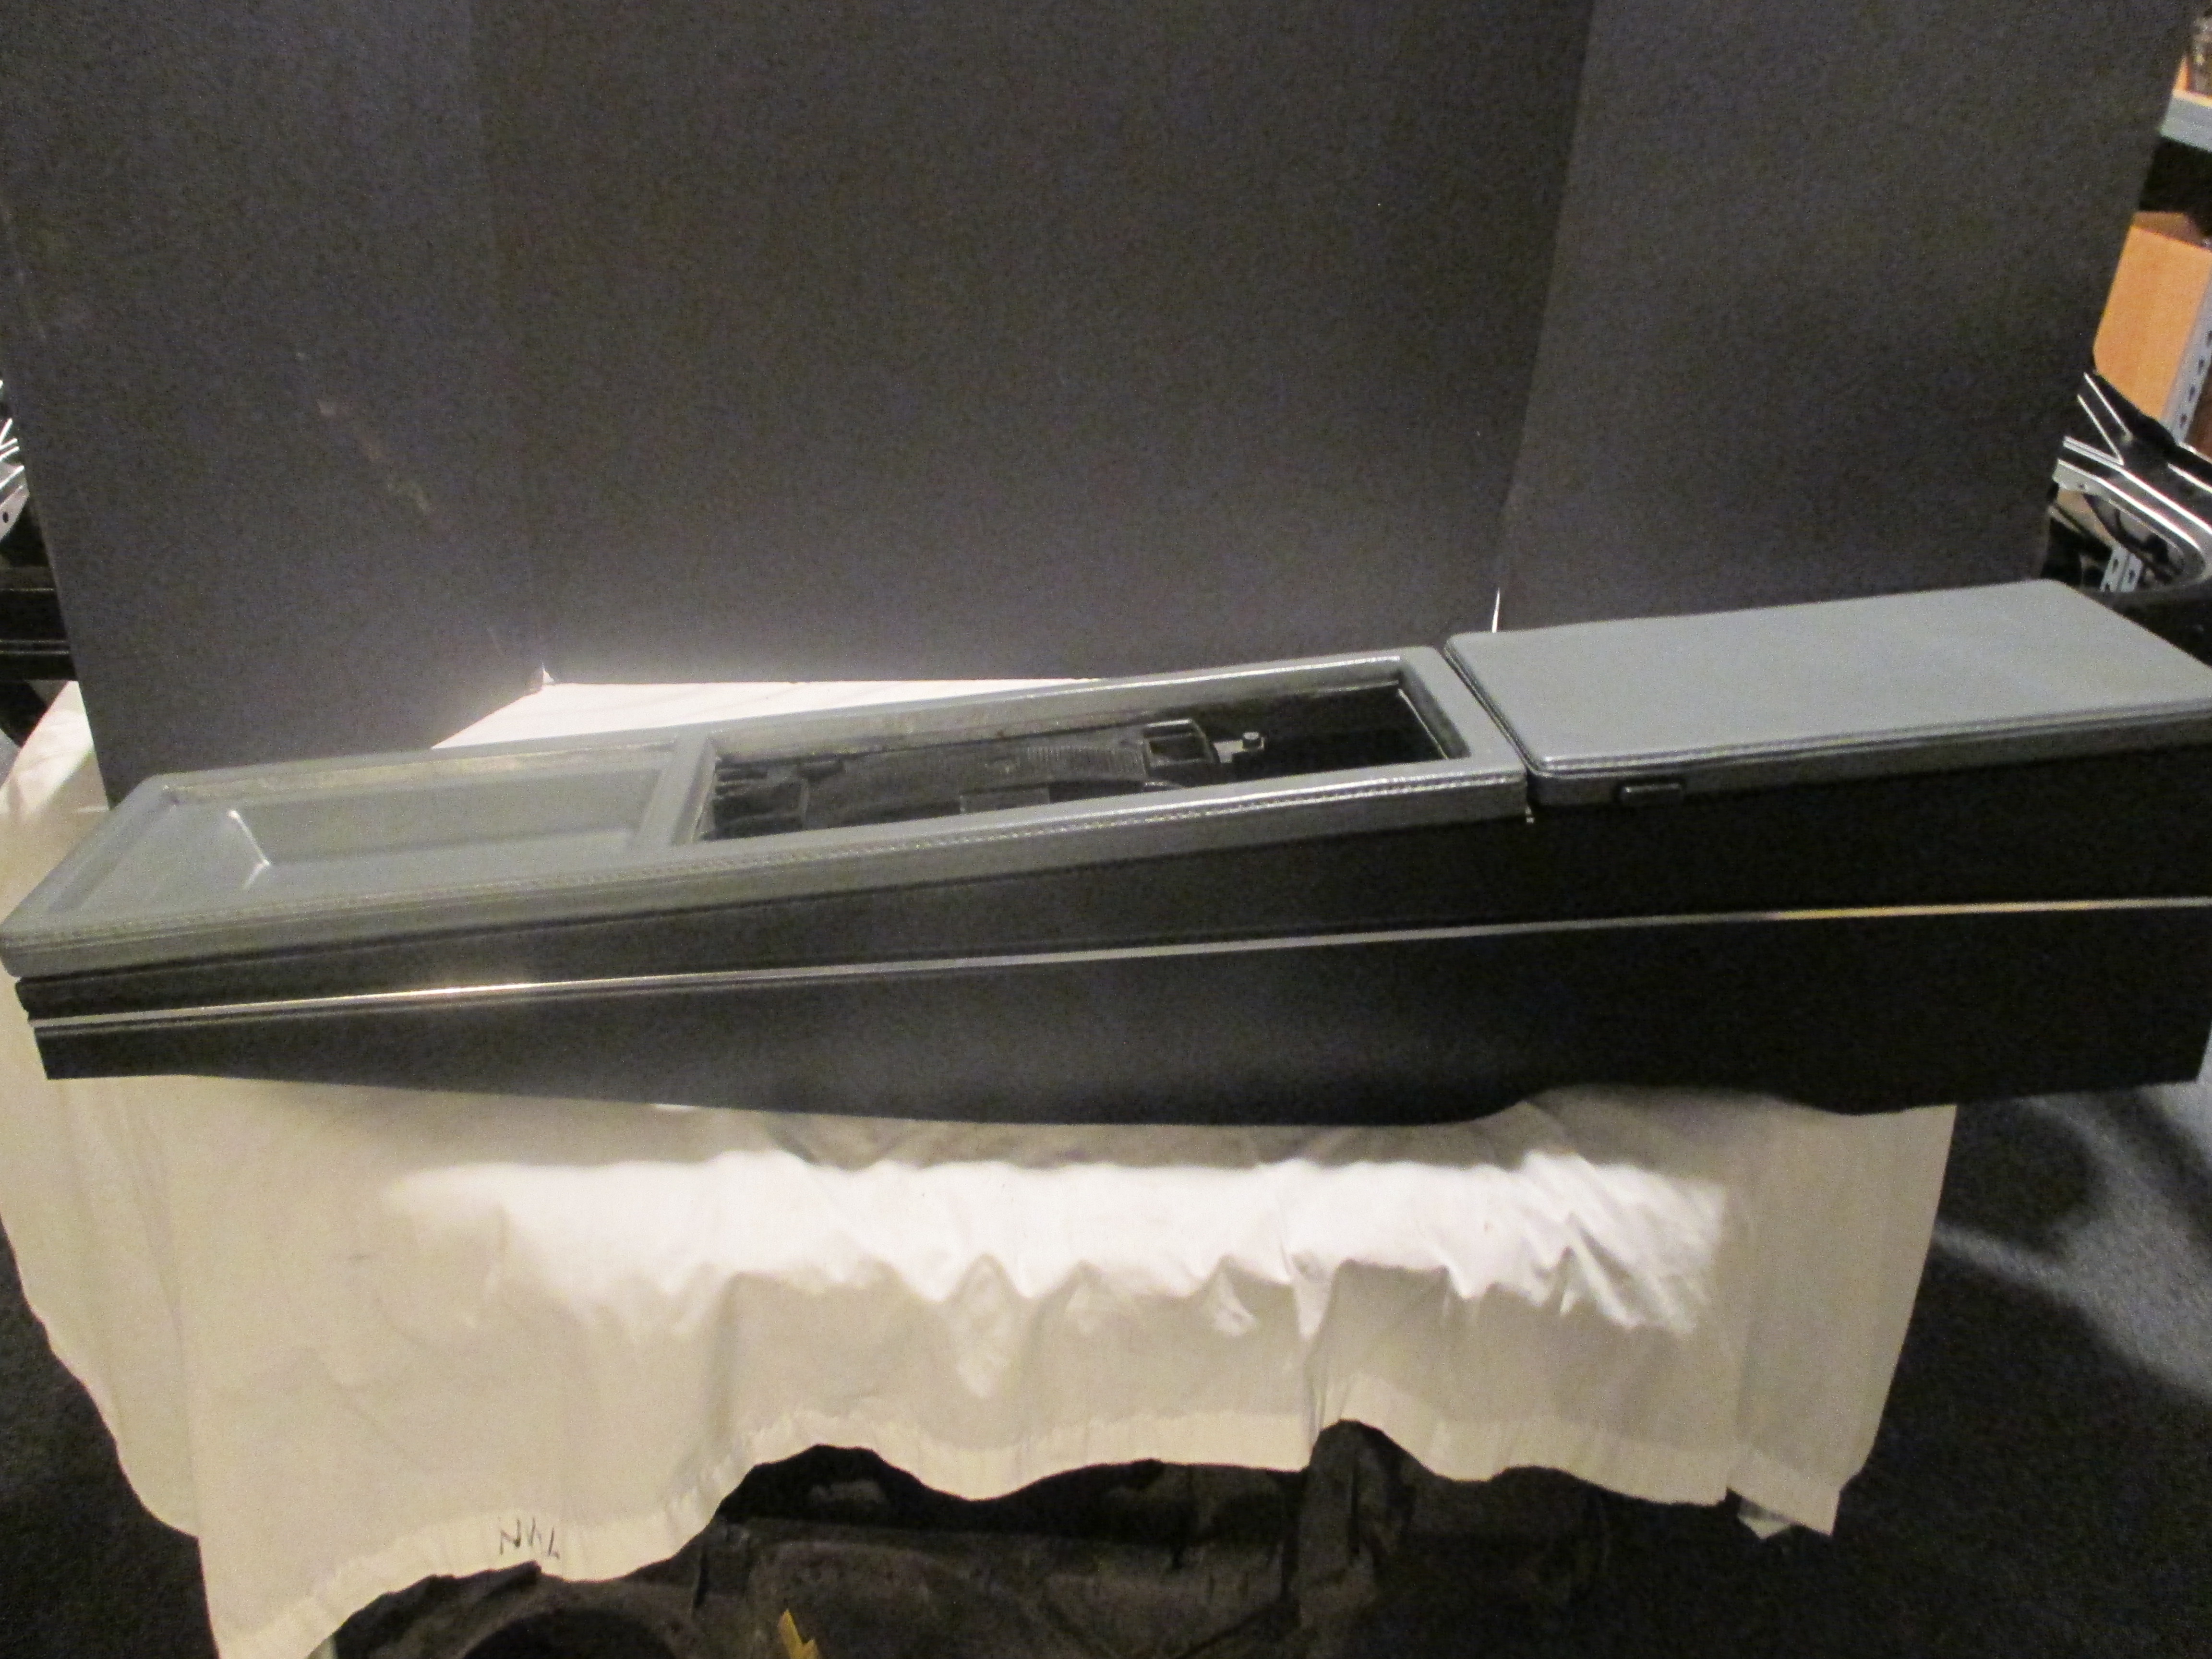
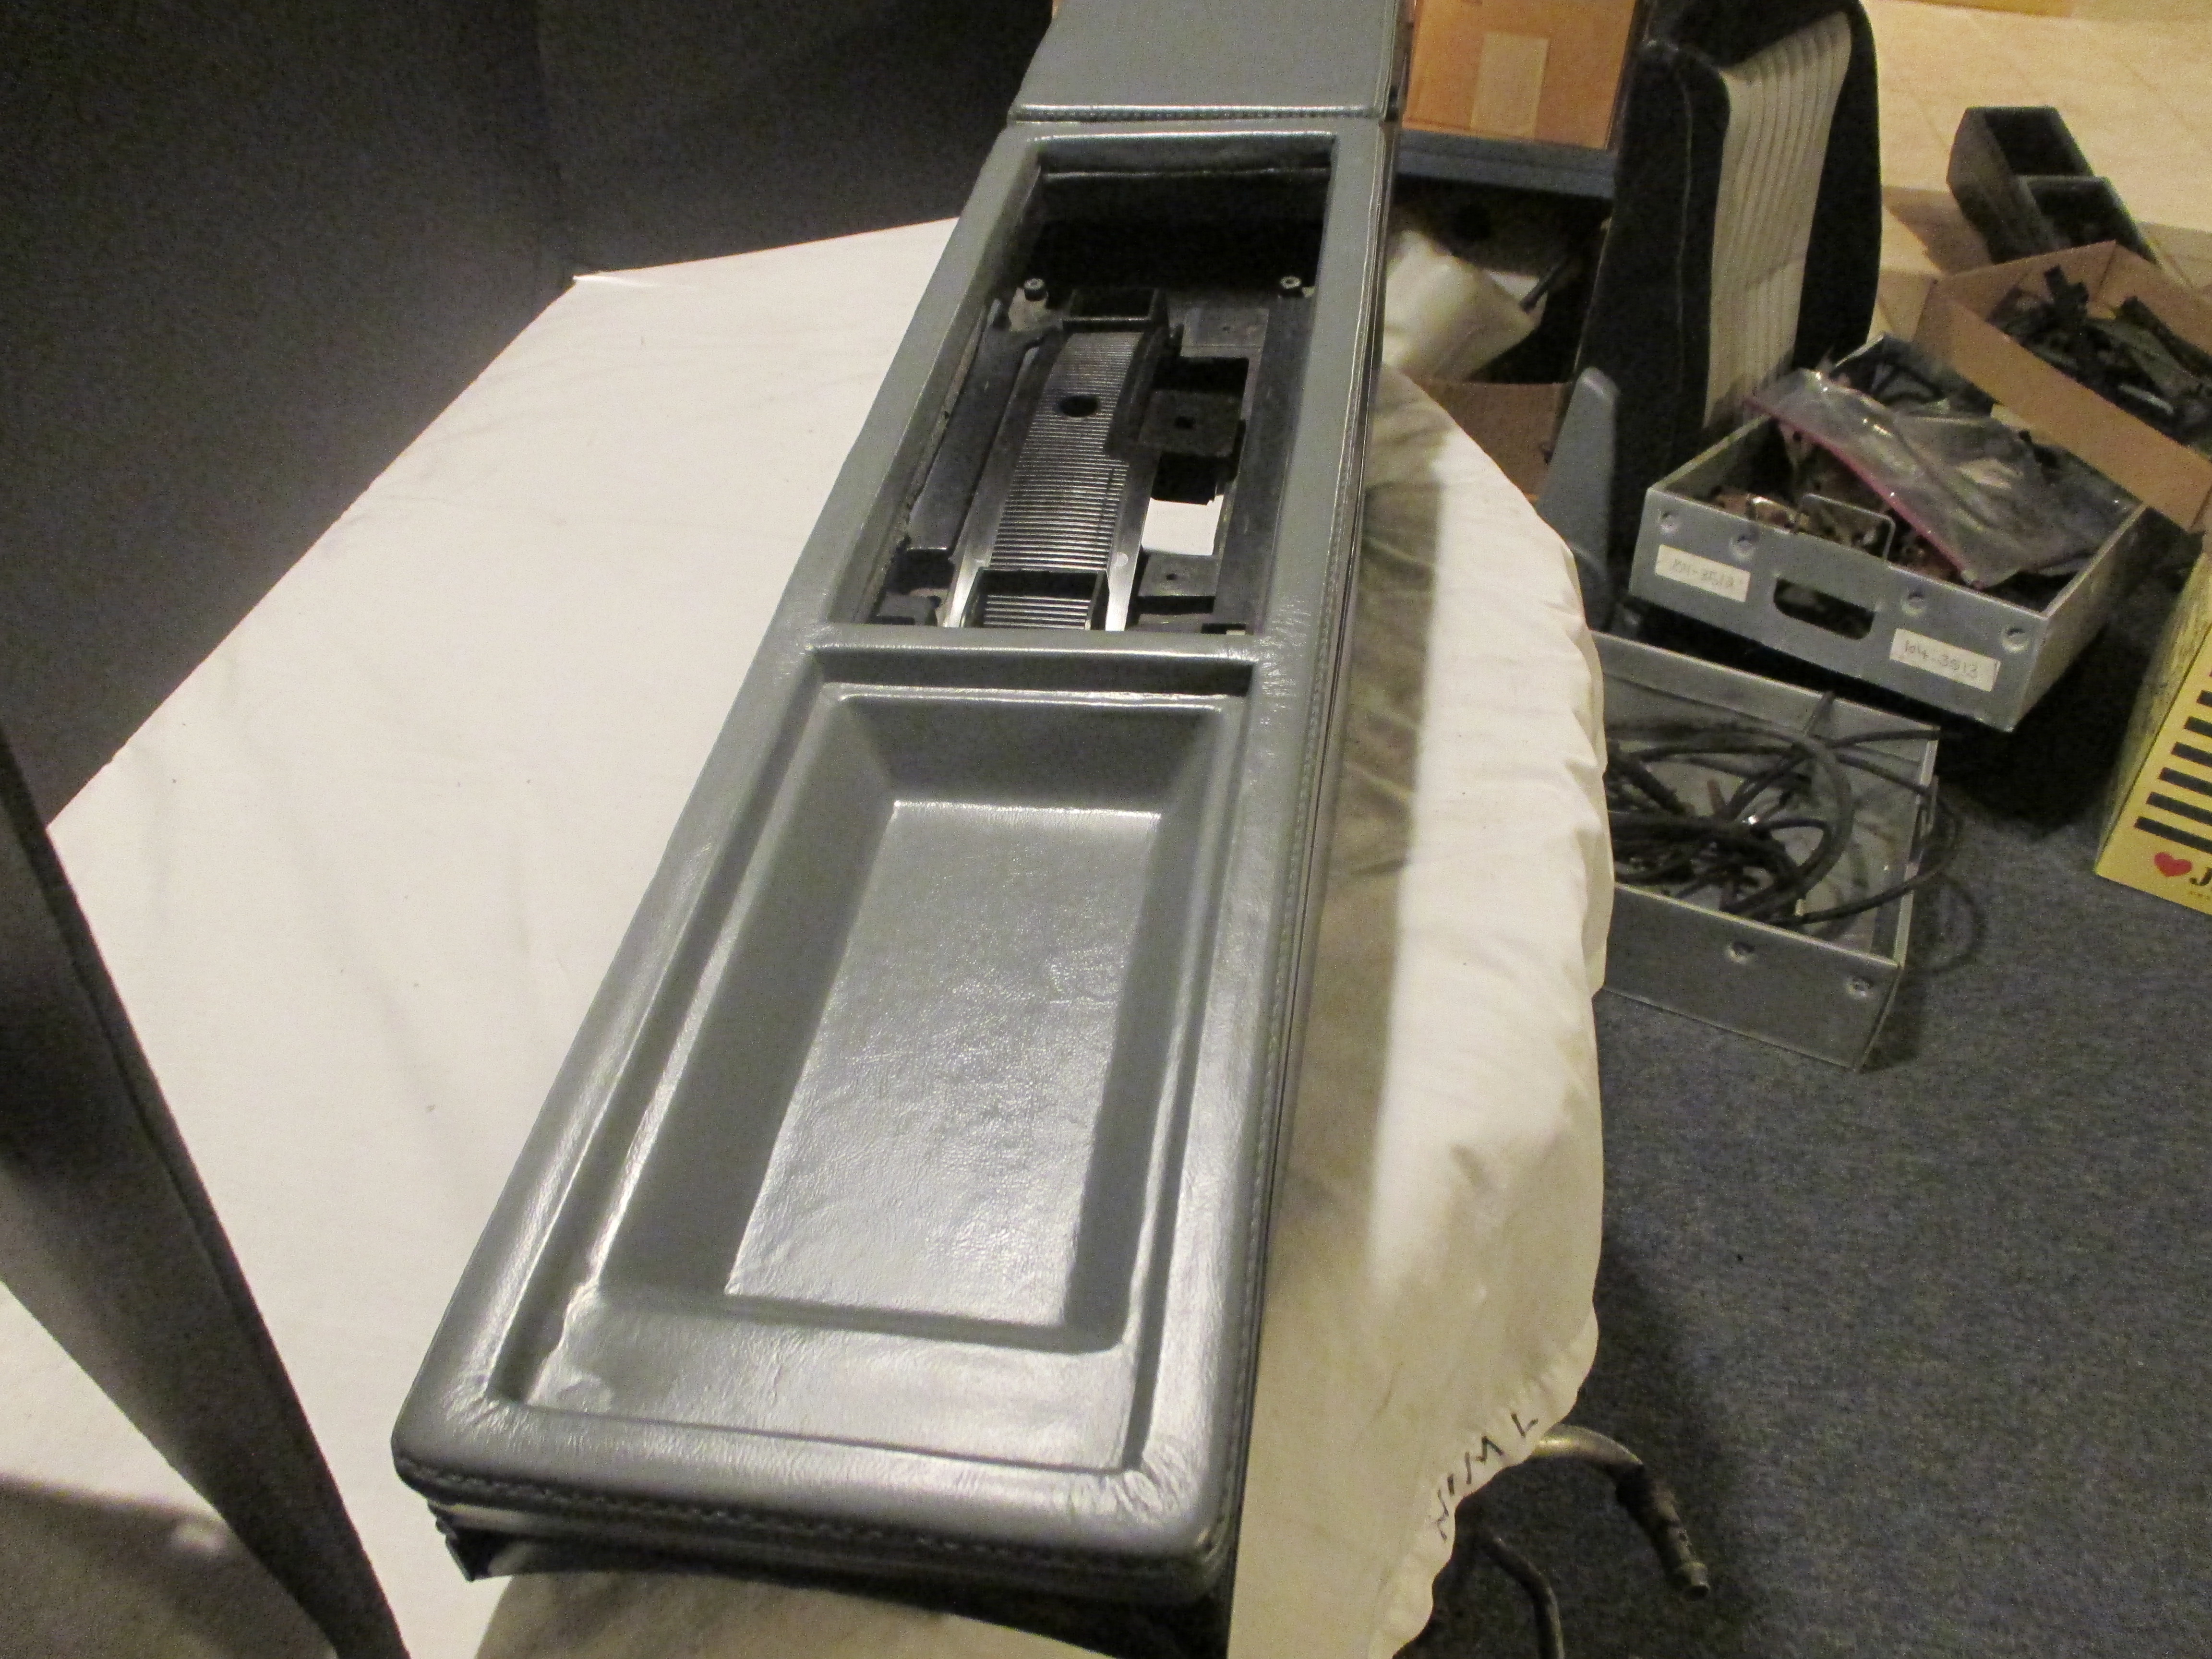
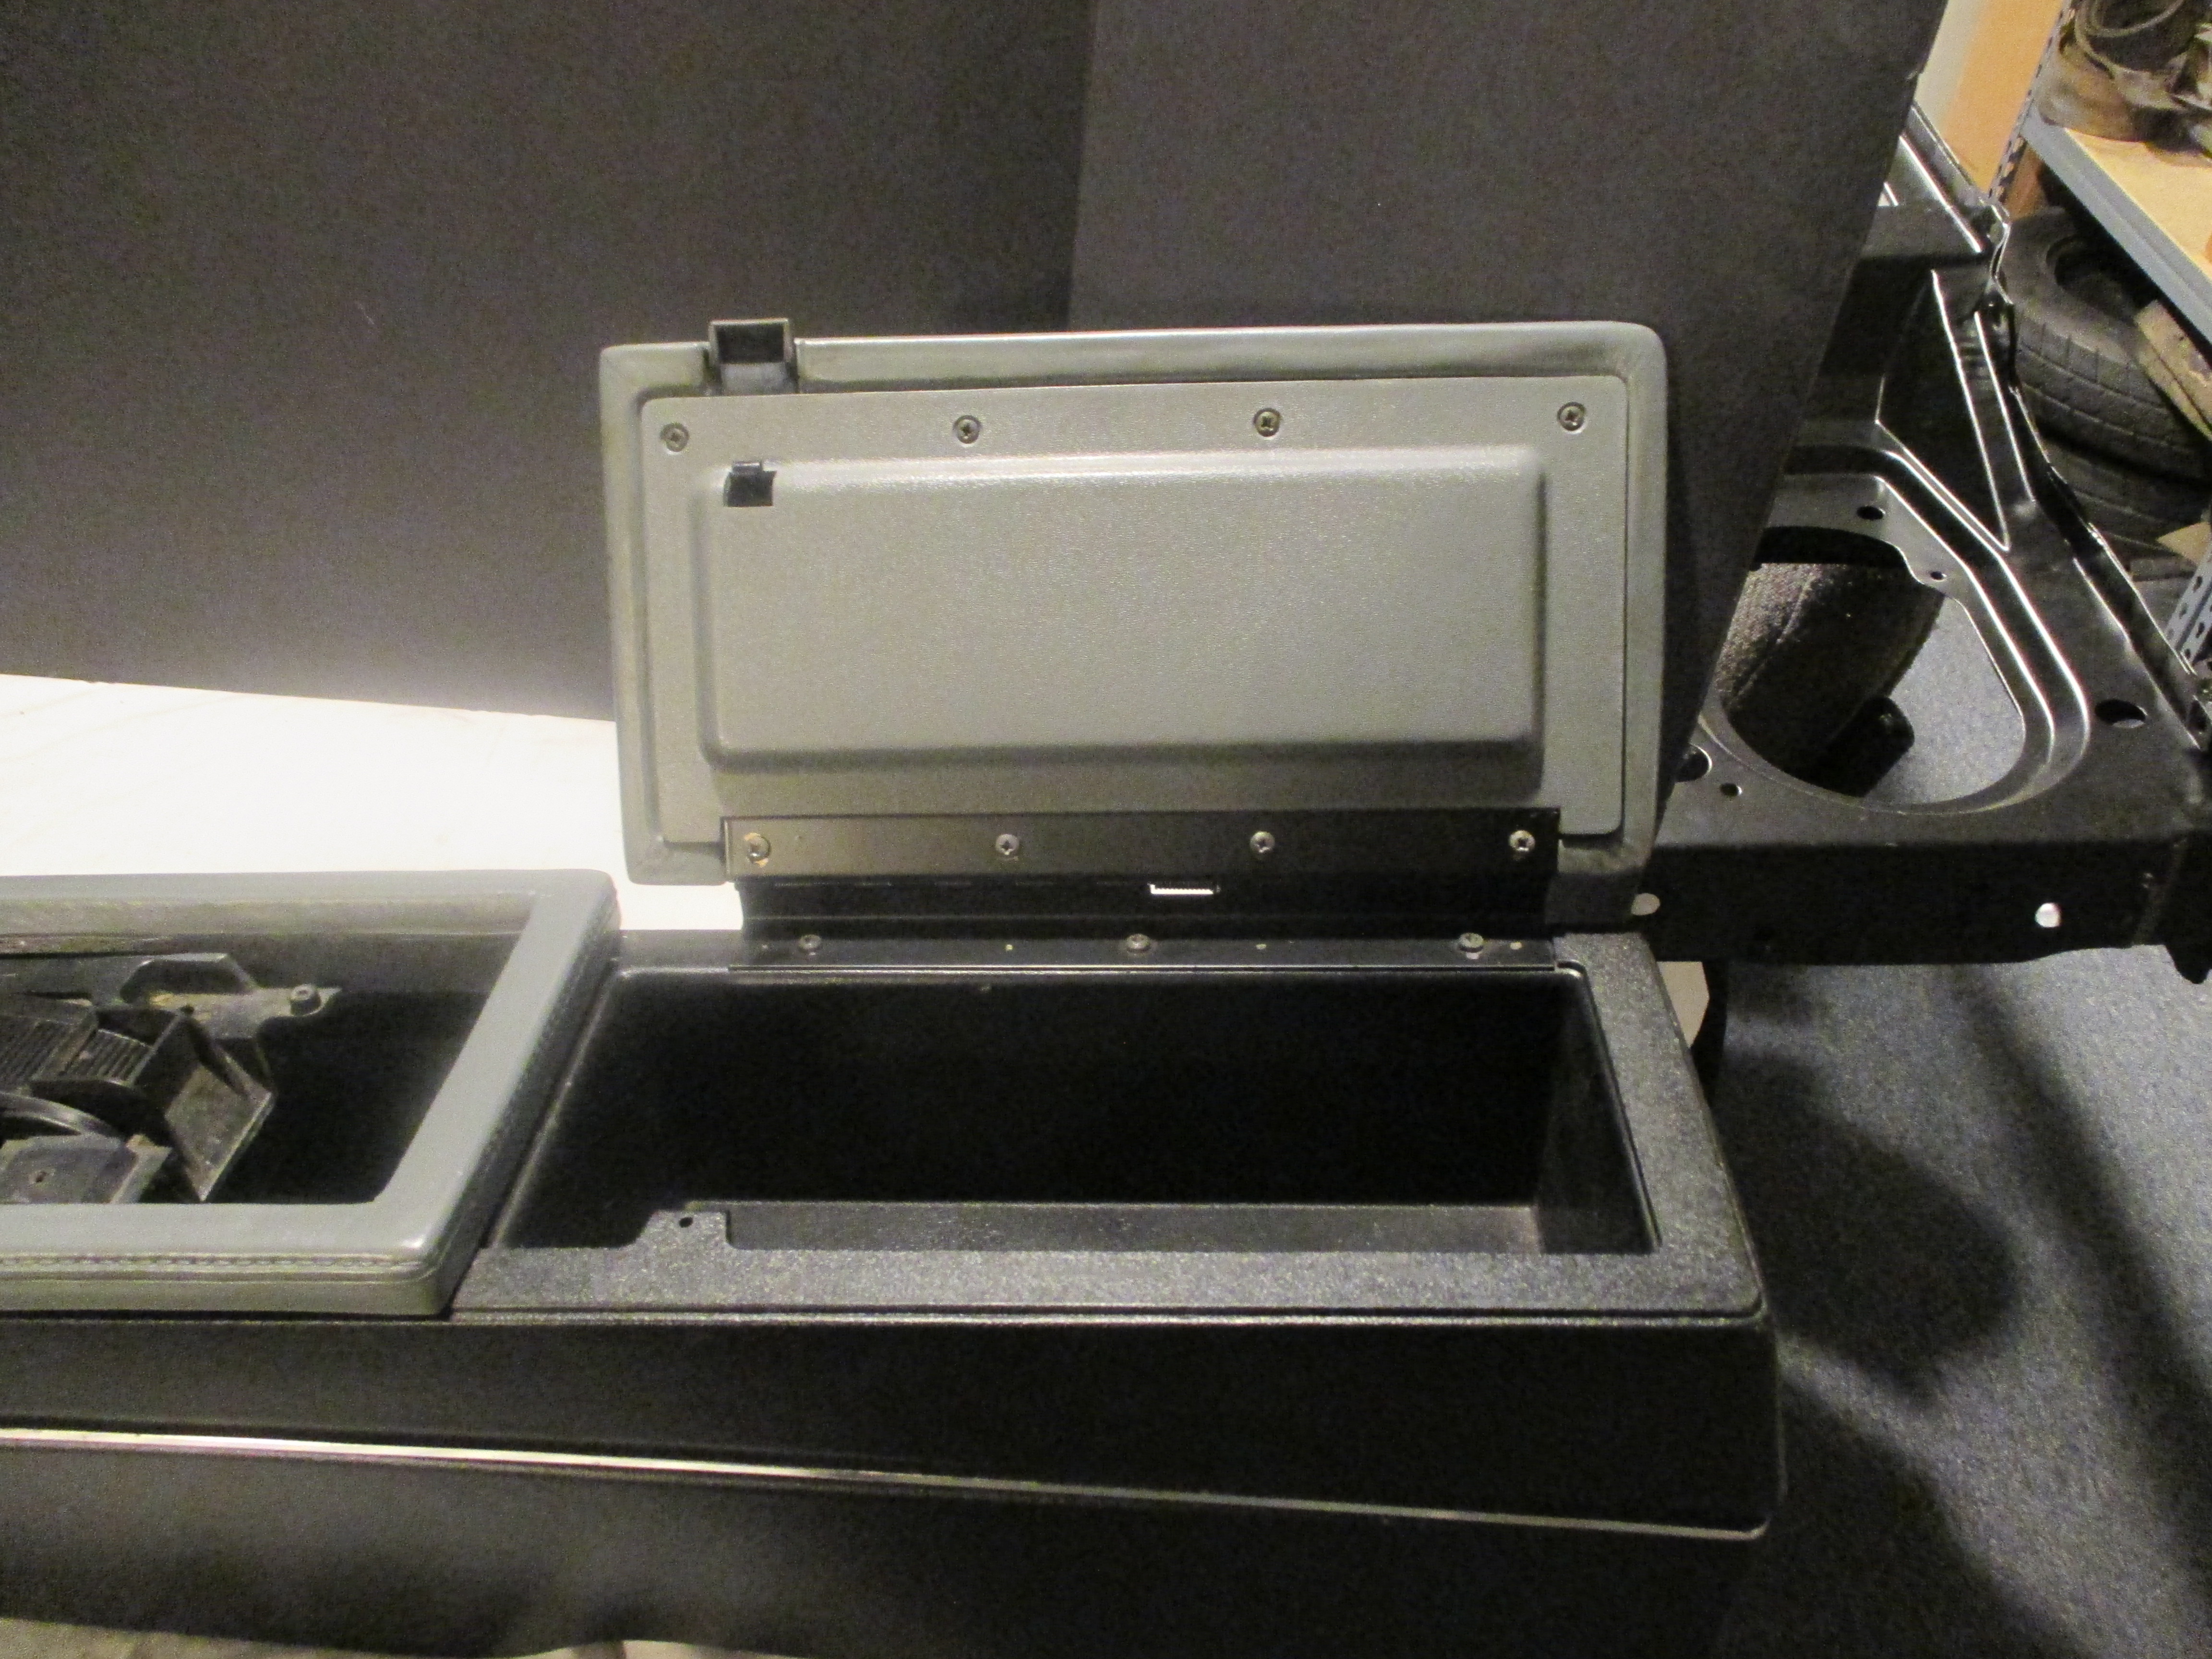
Restored
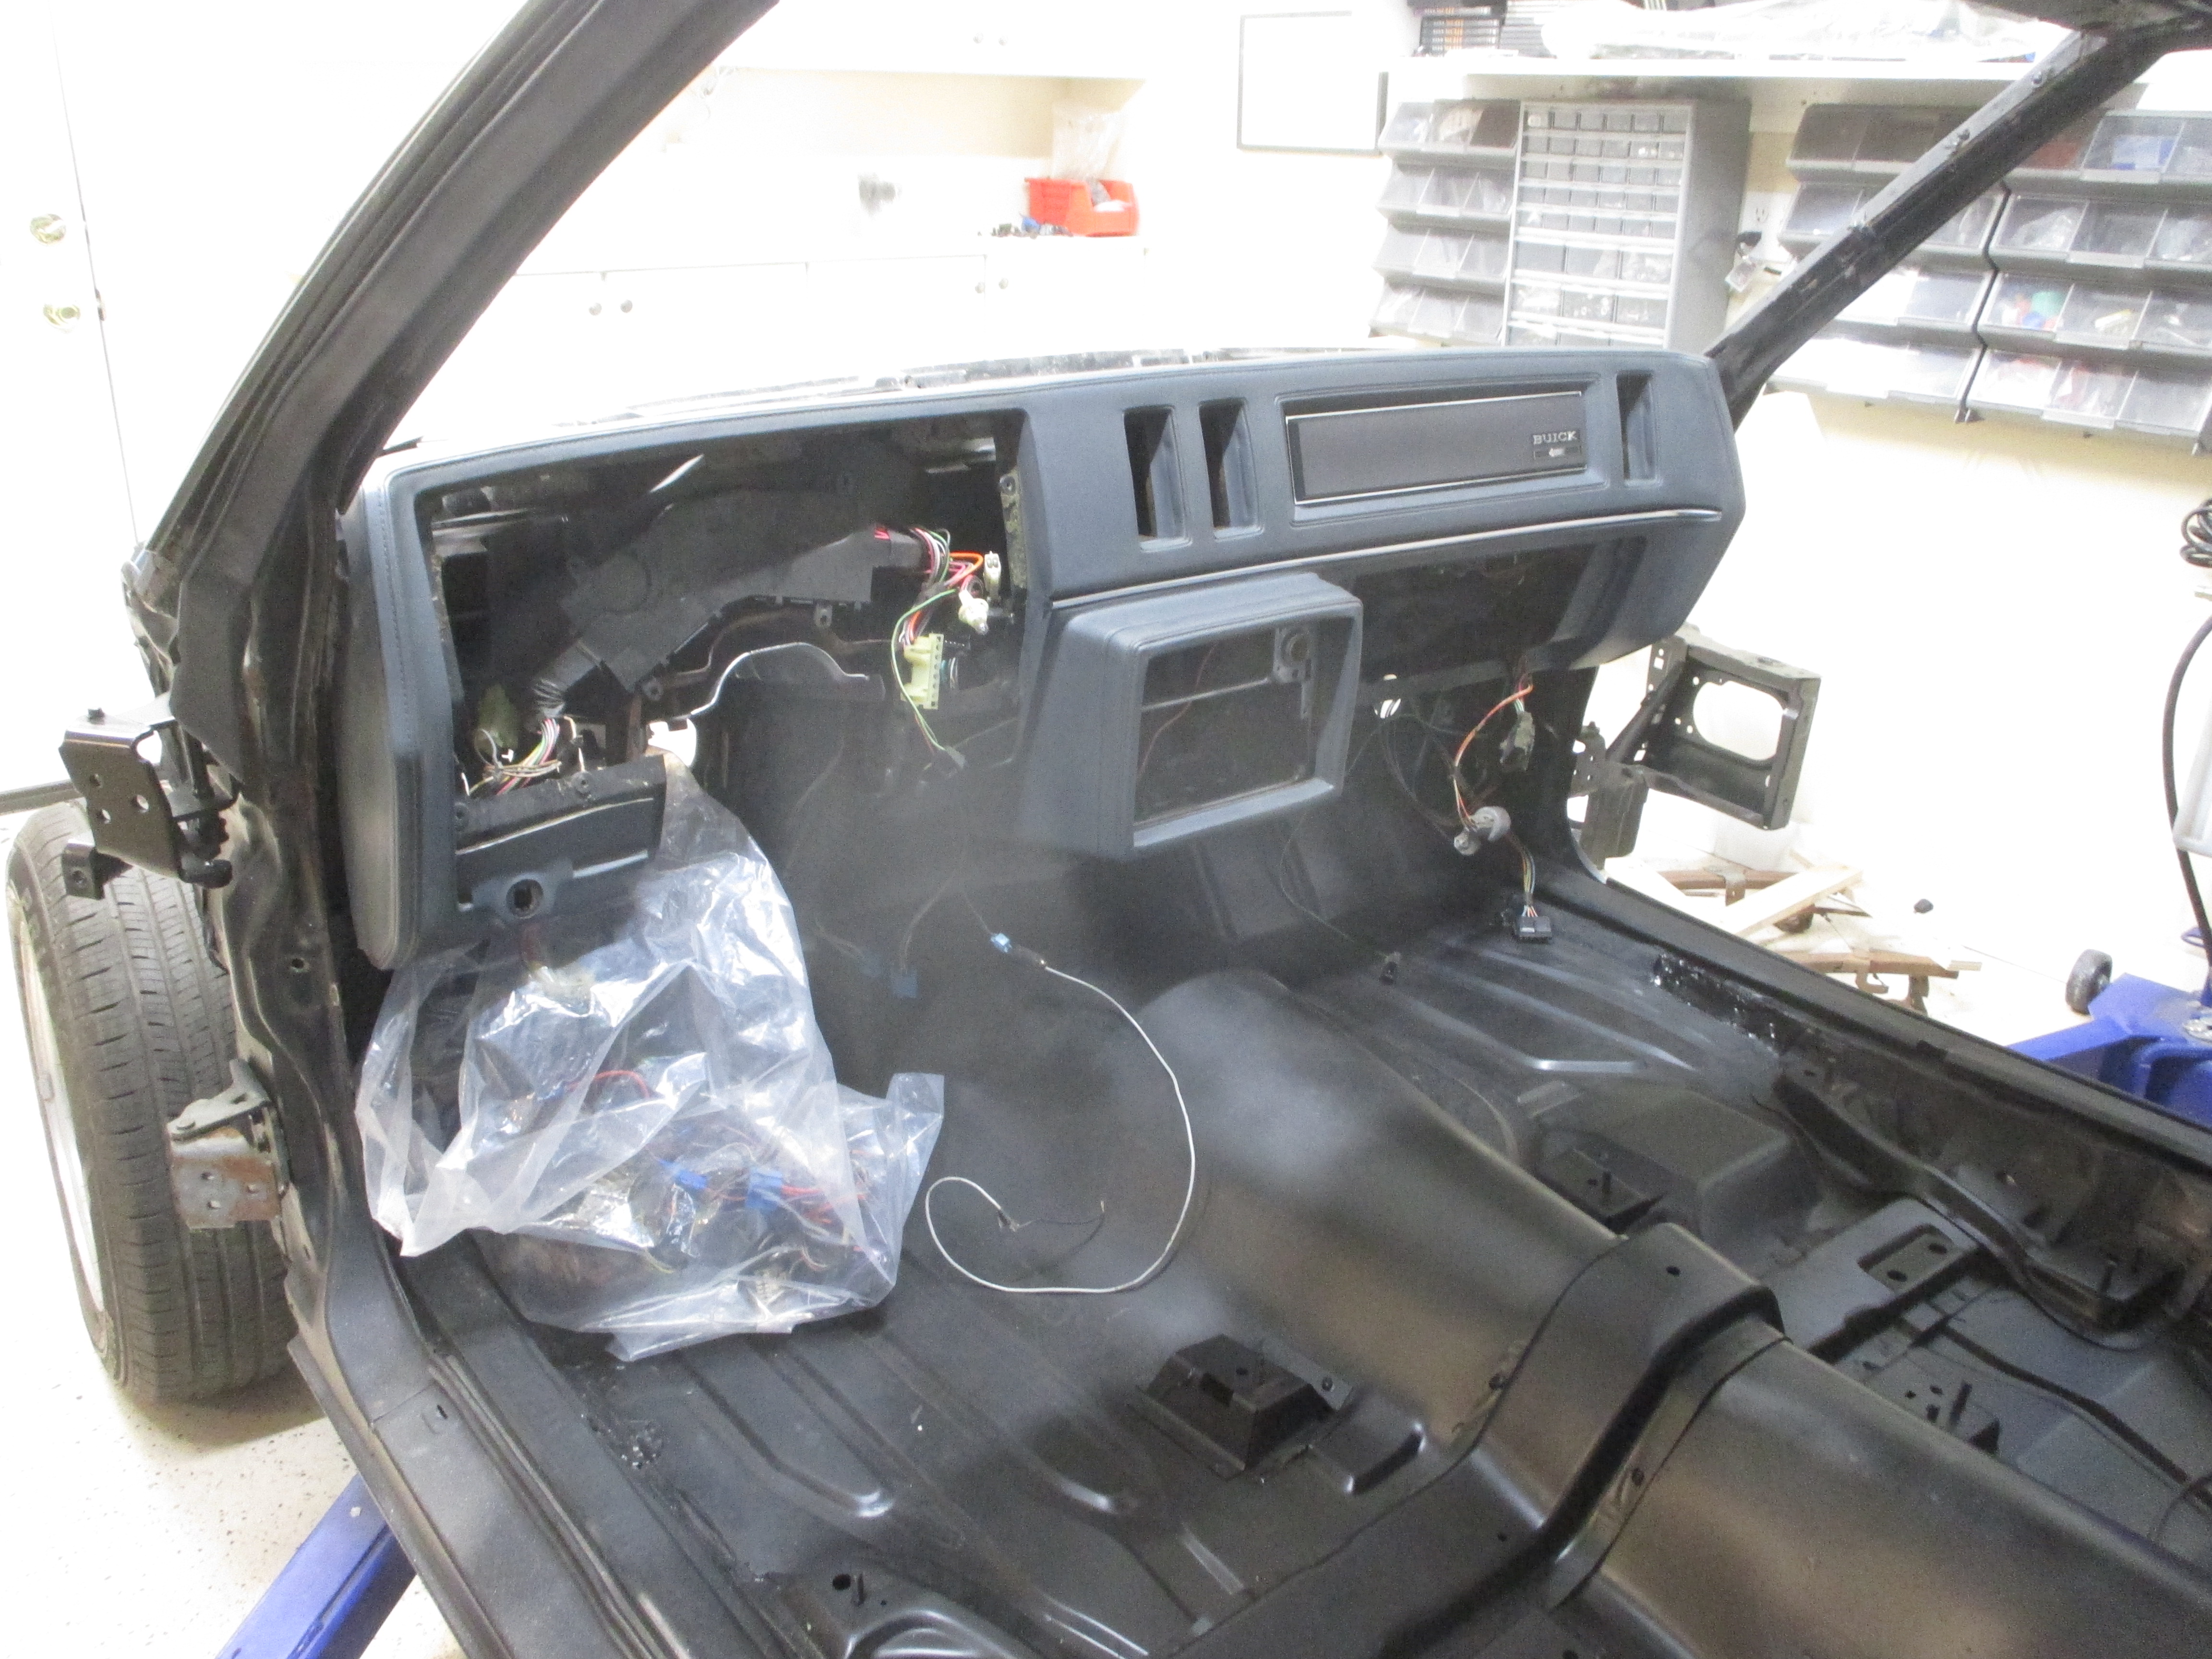
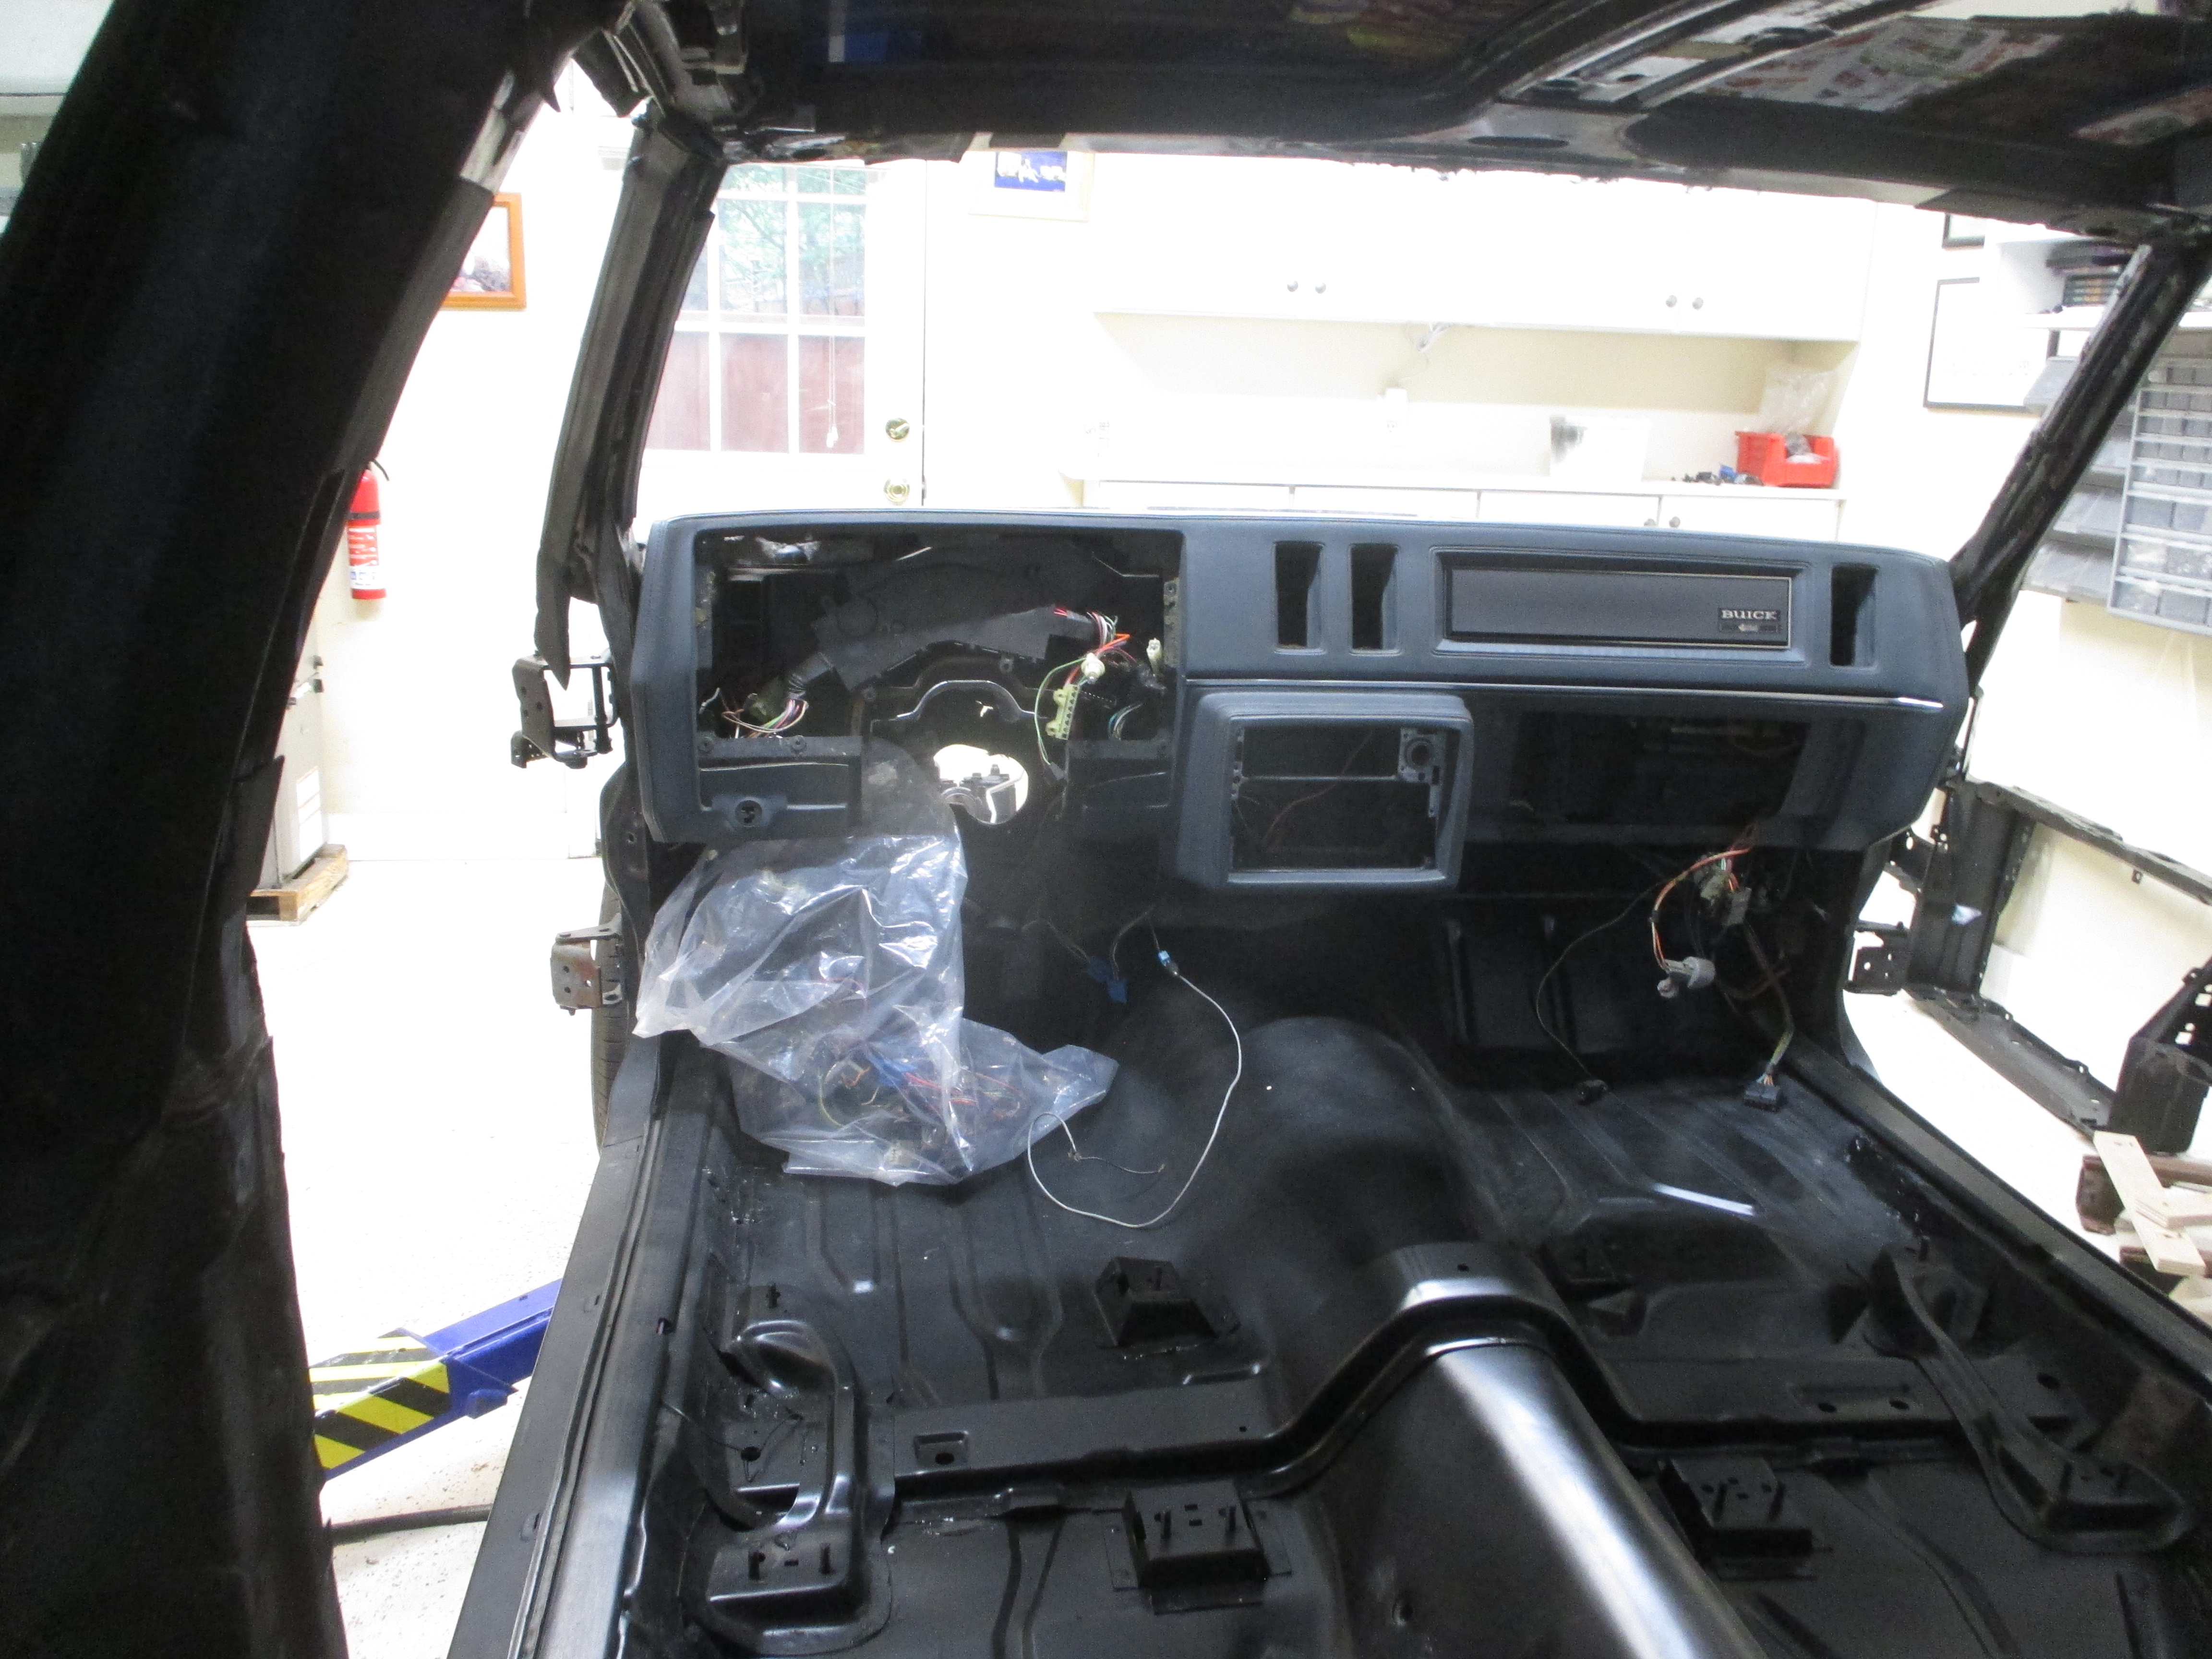
Before and after dash

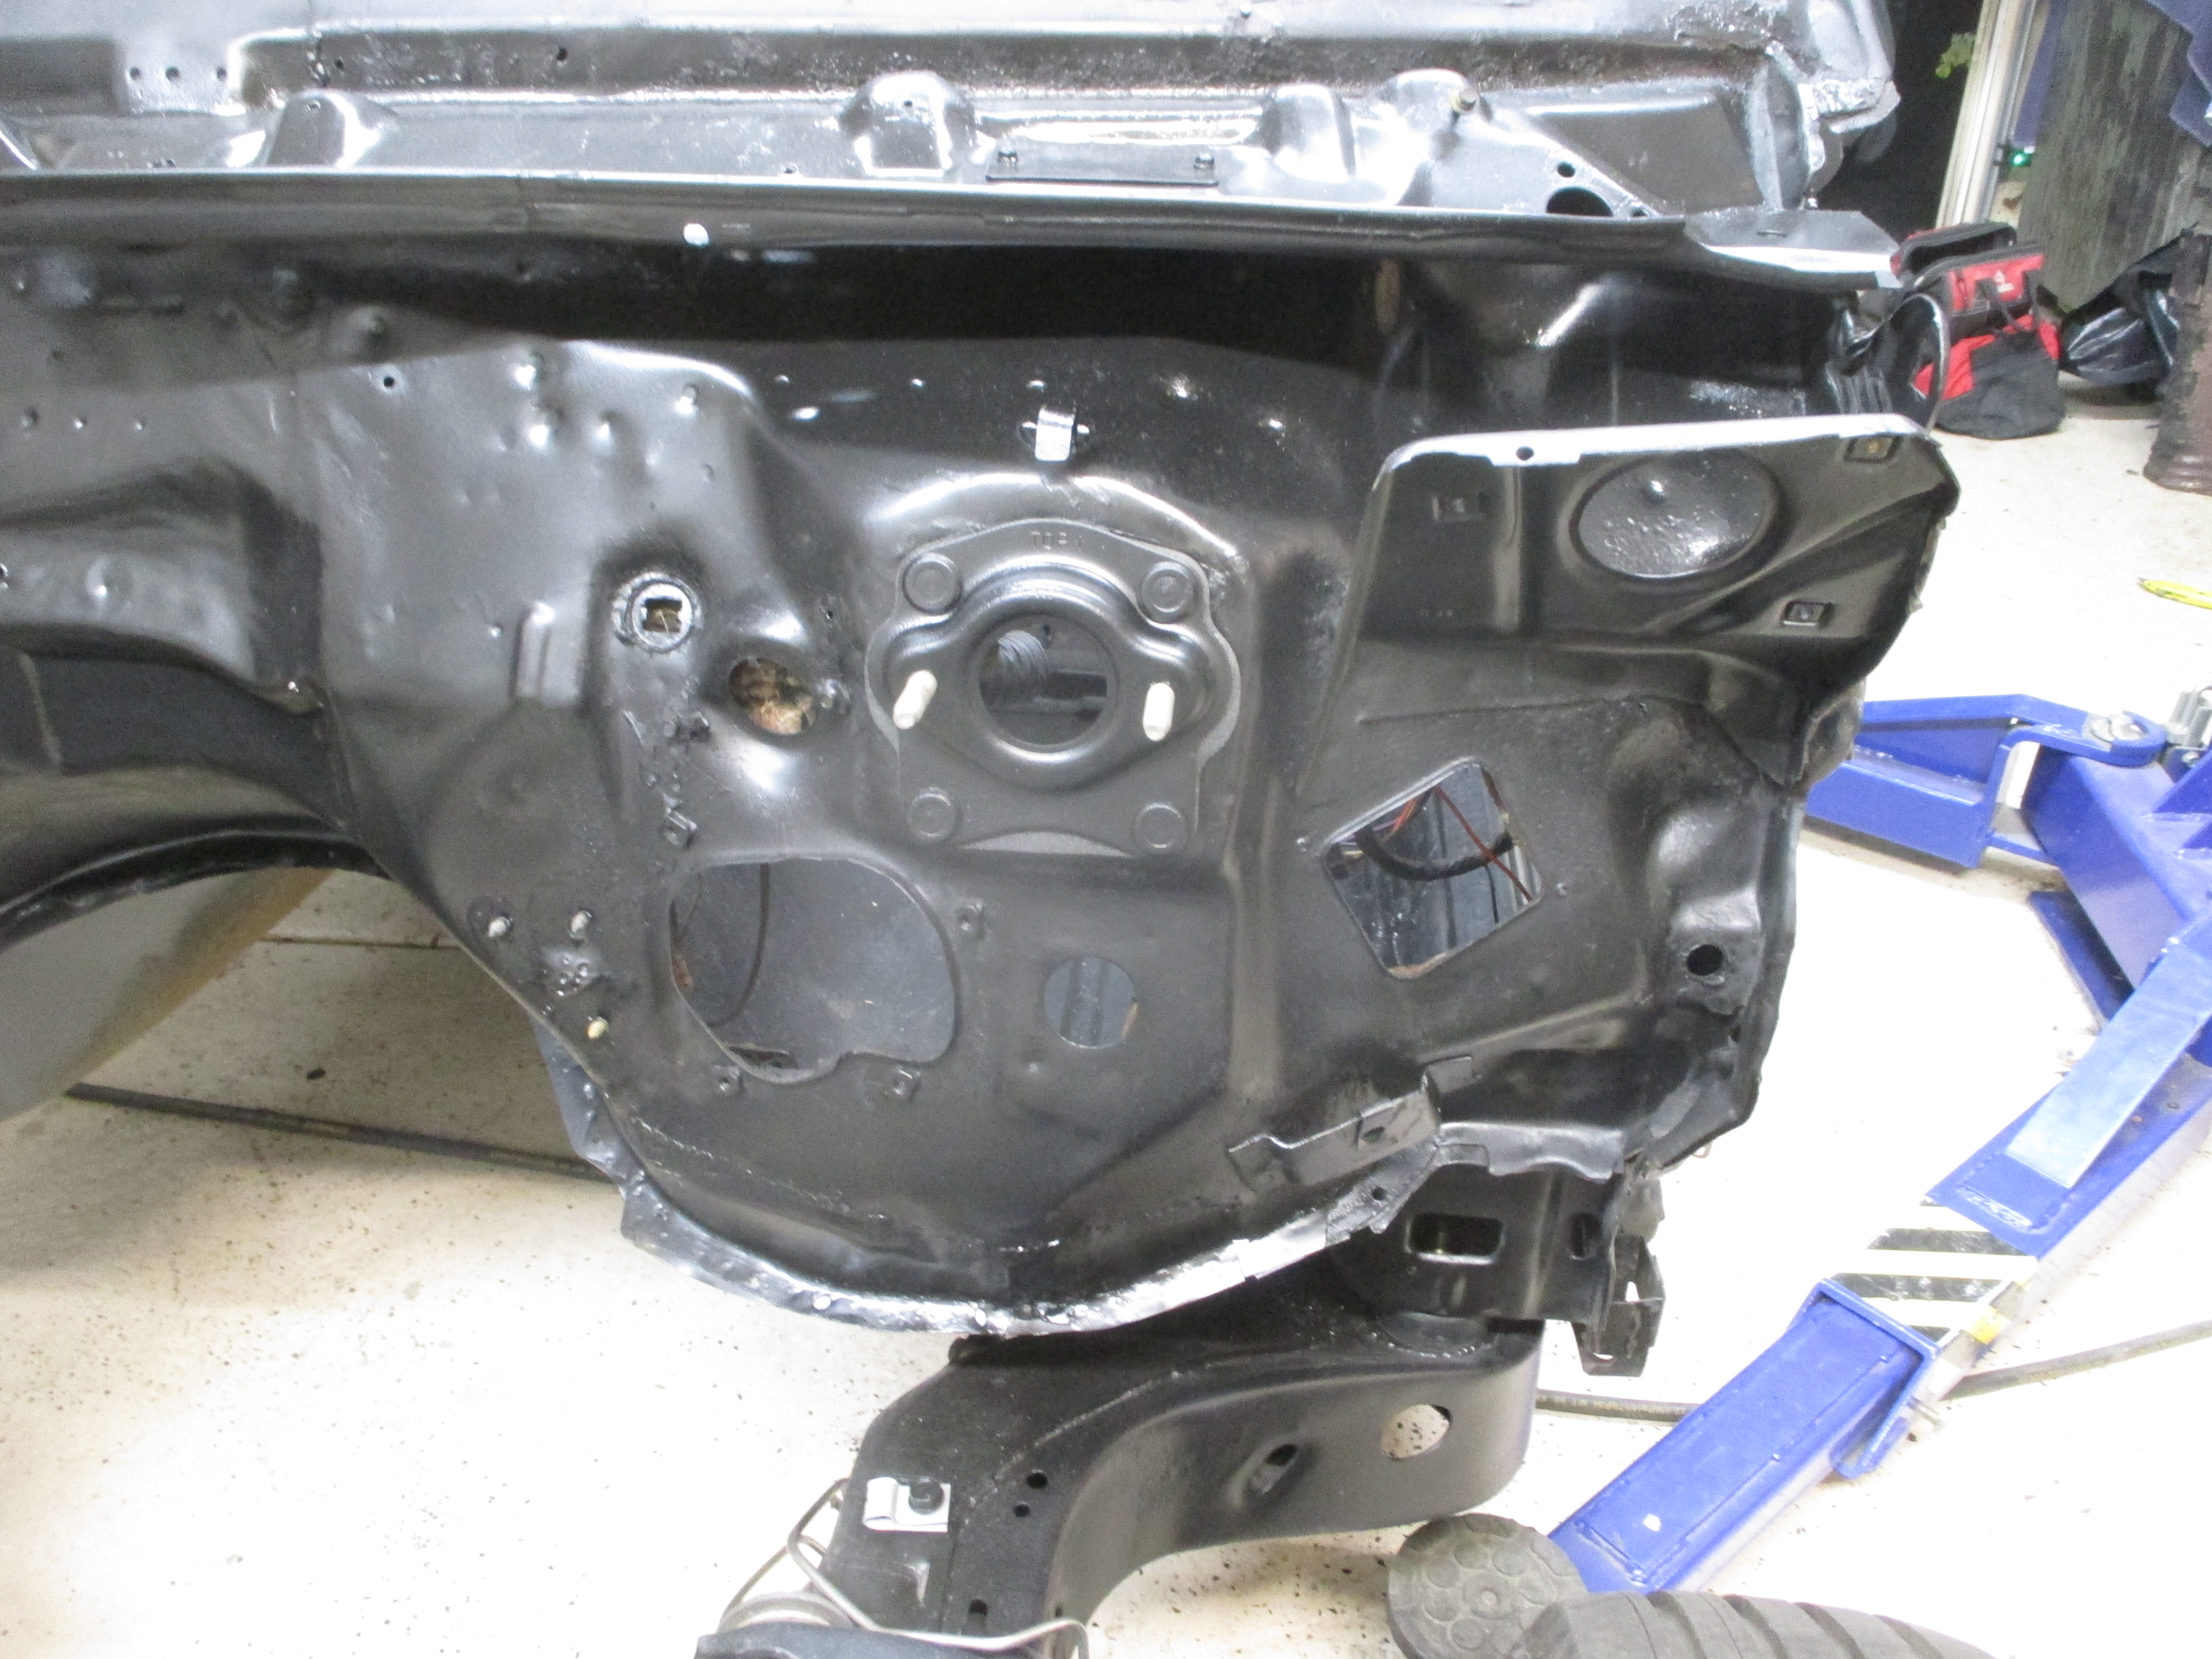
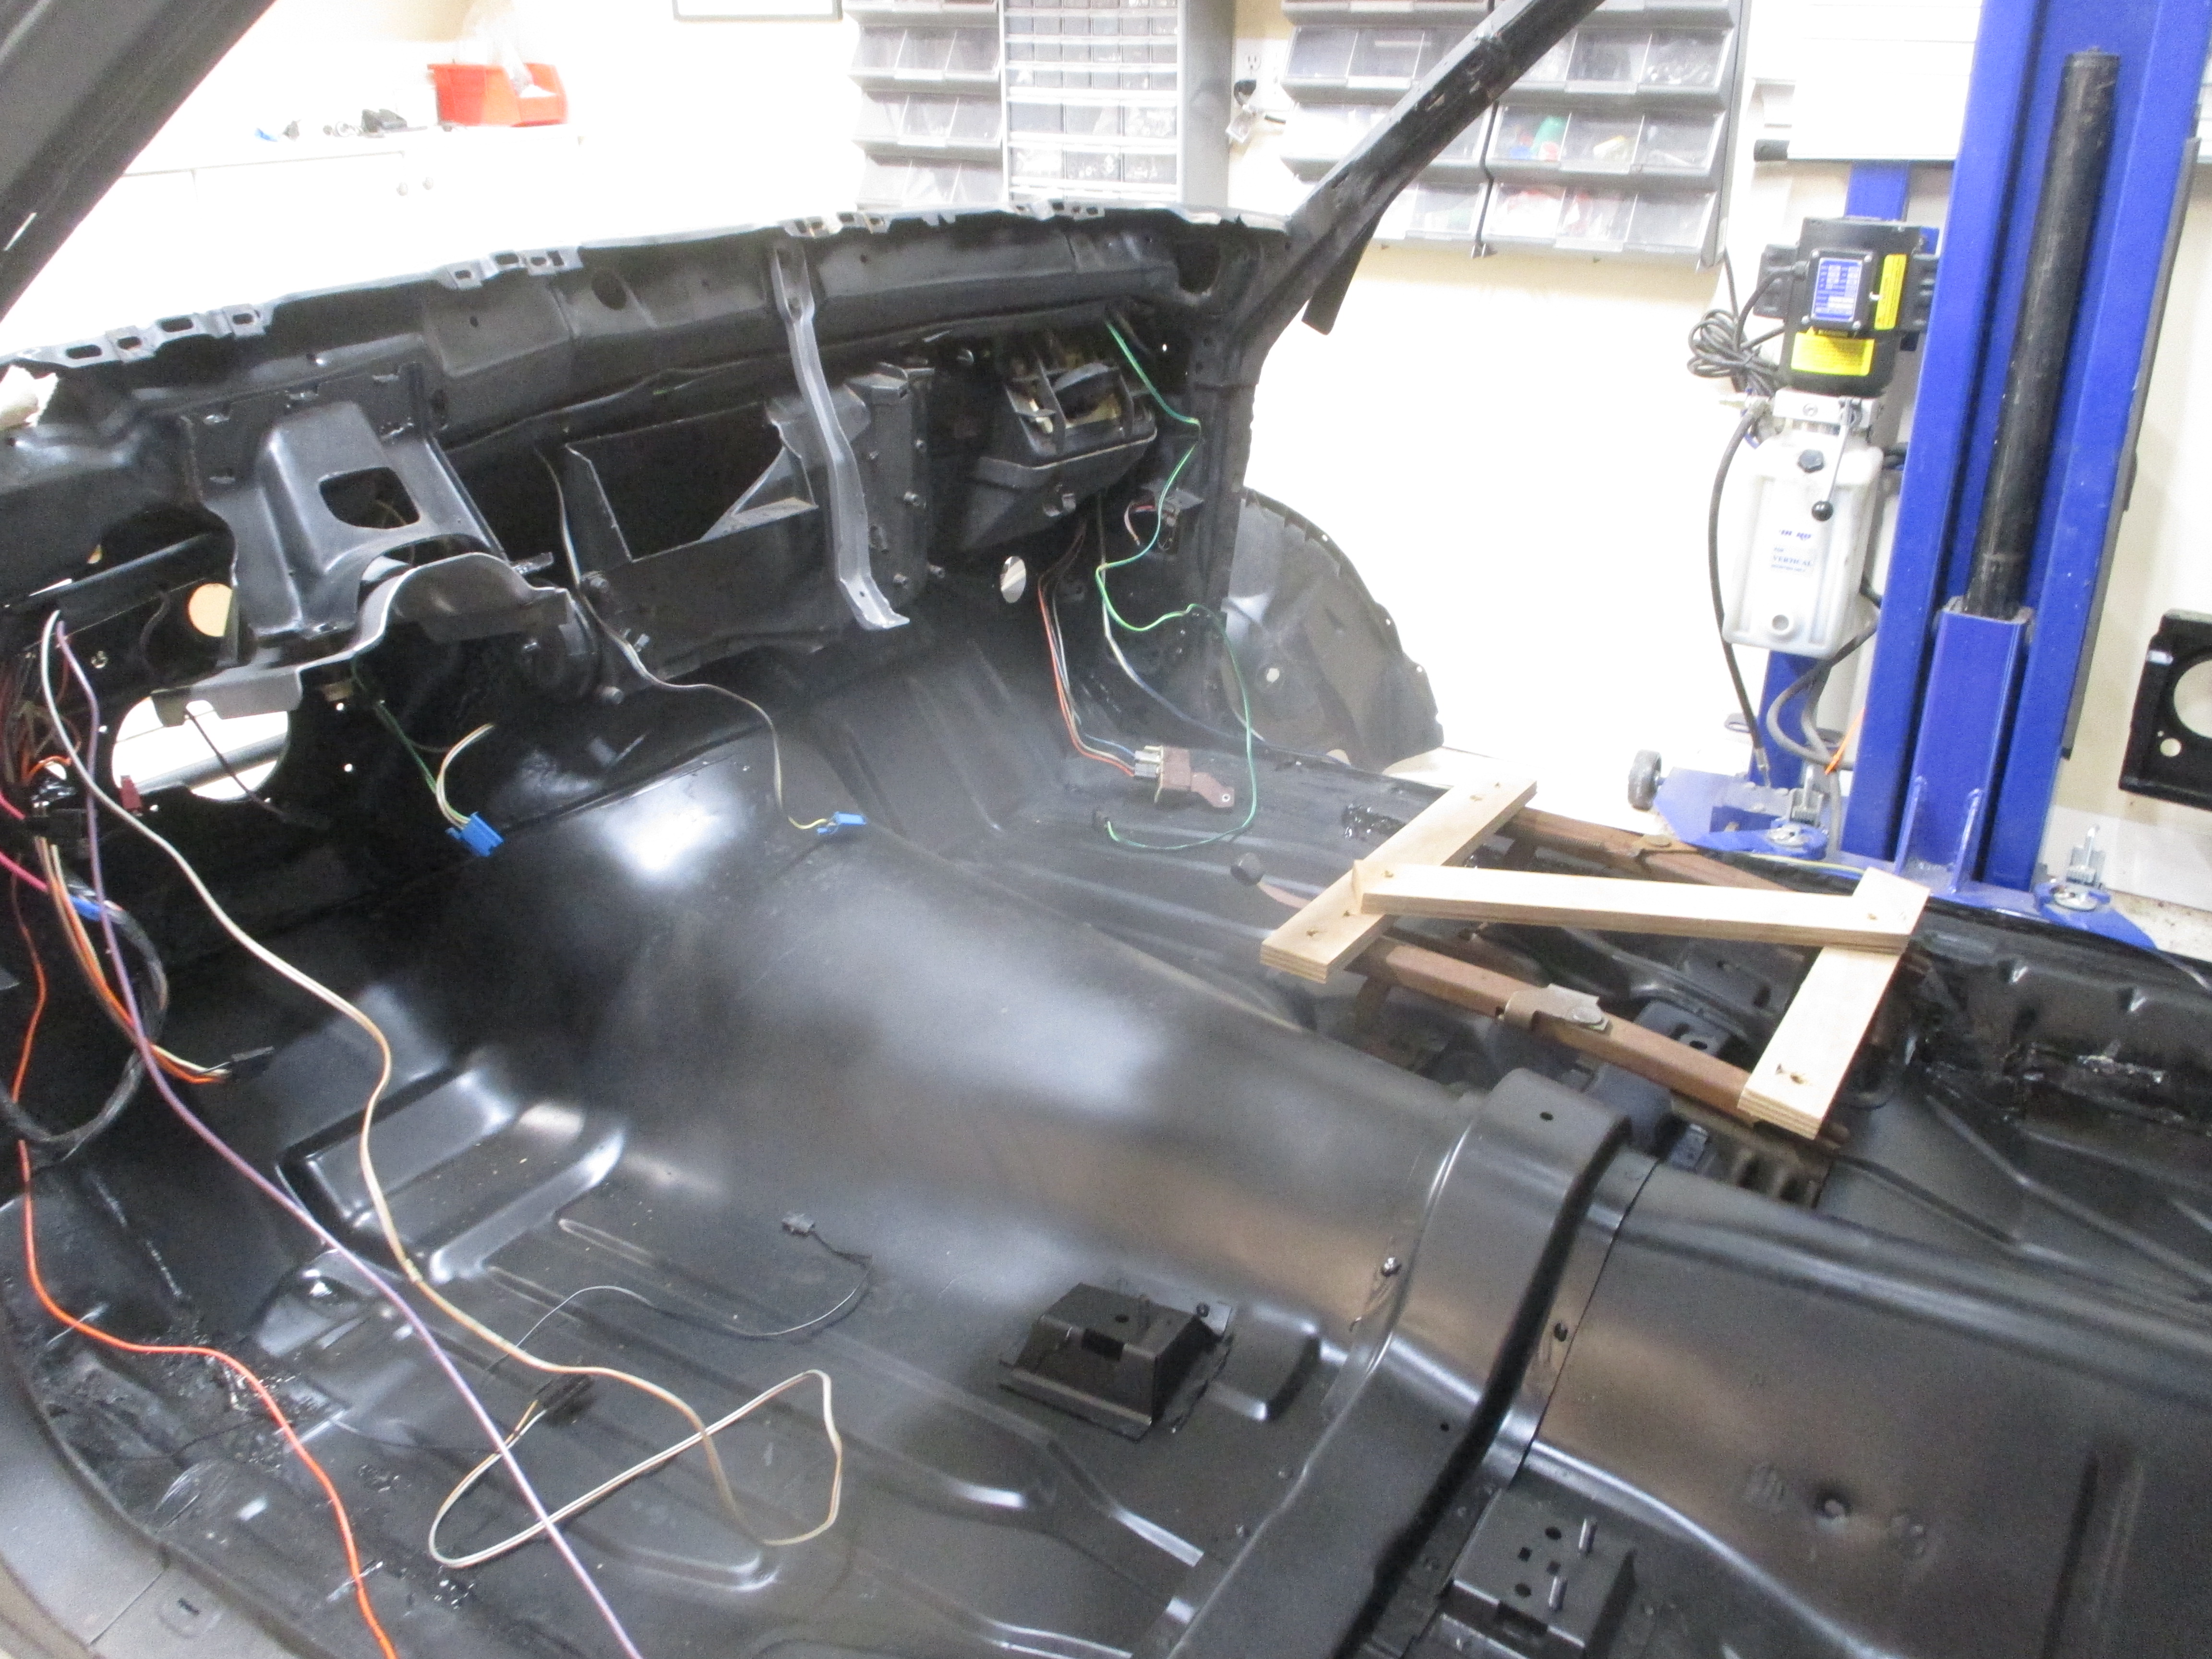
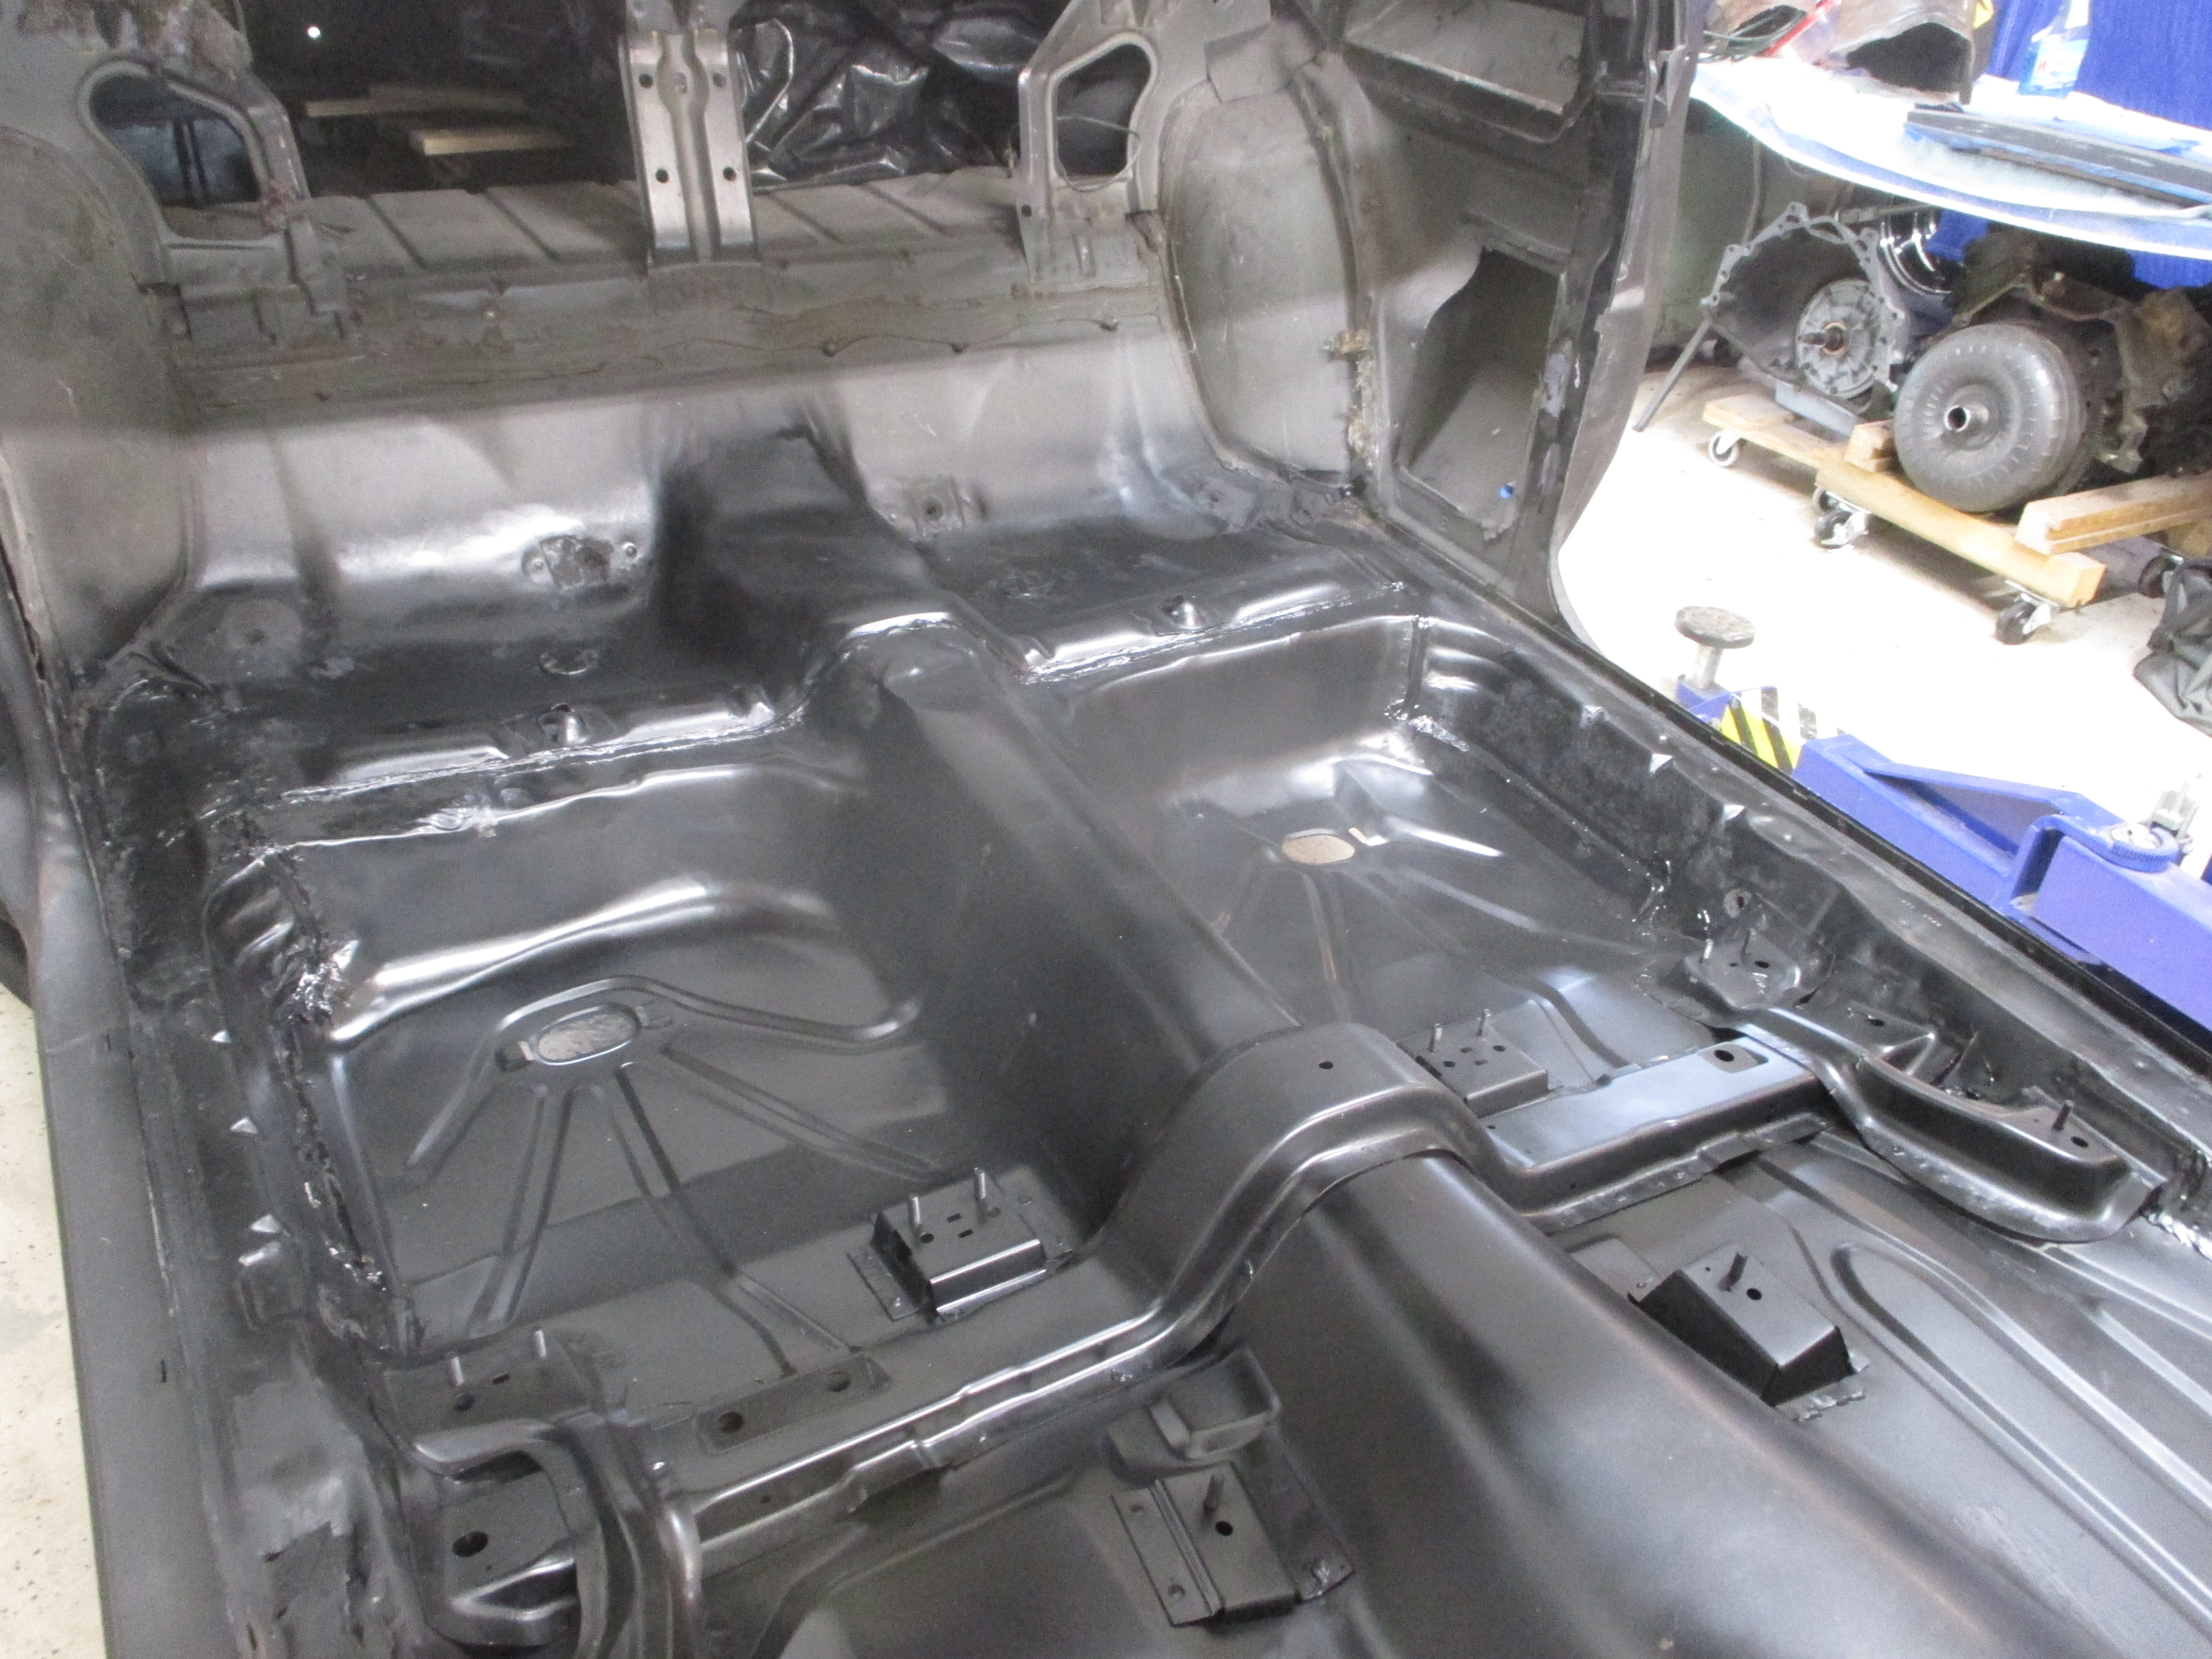
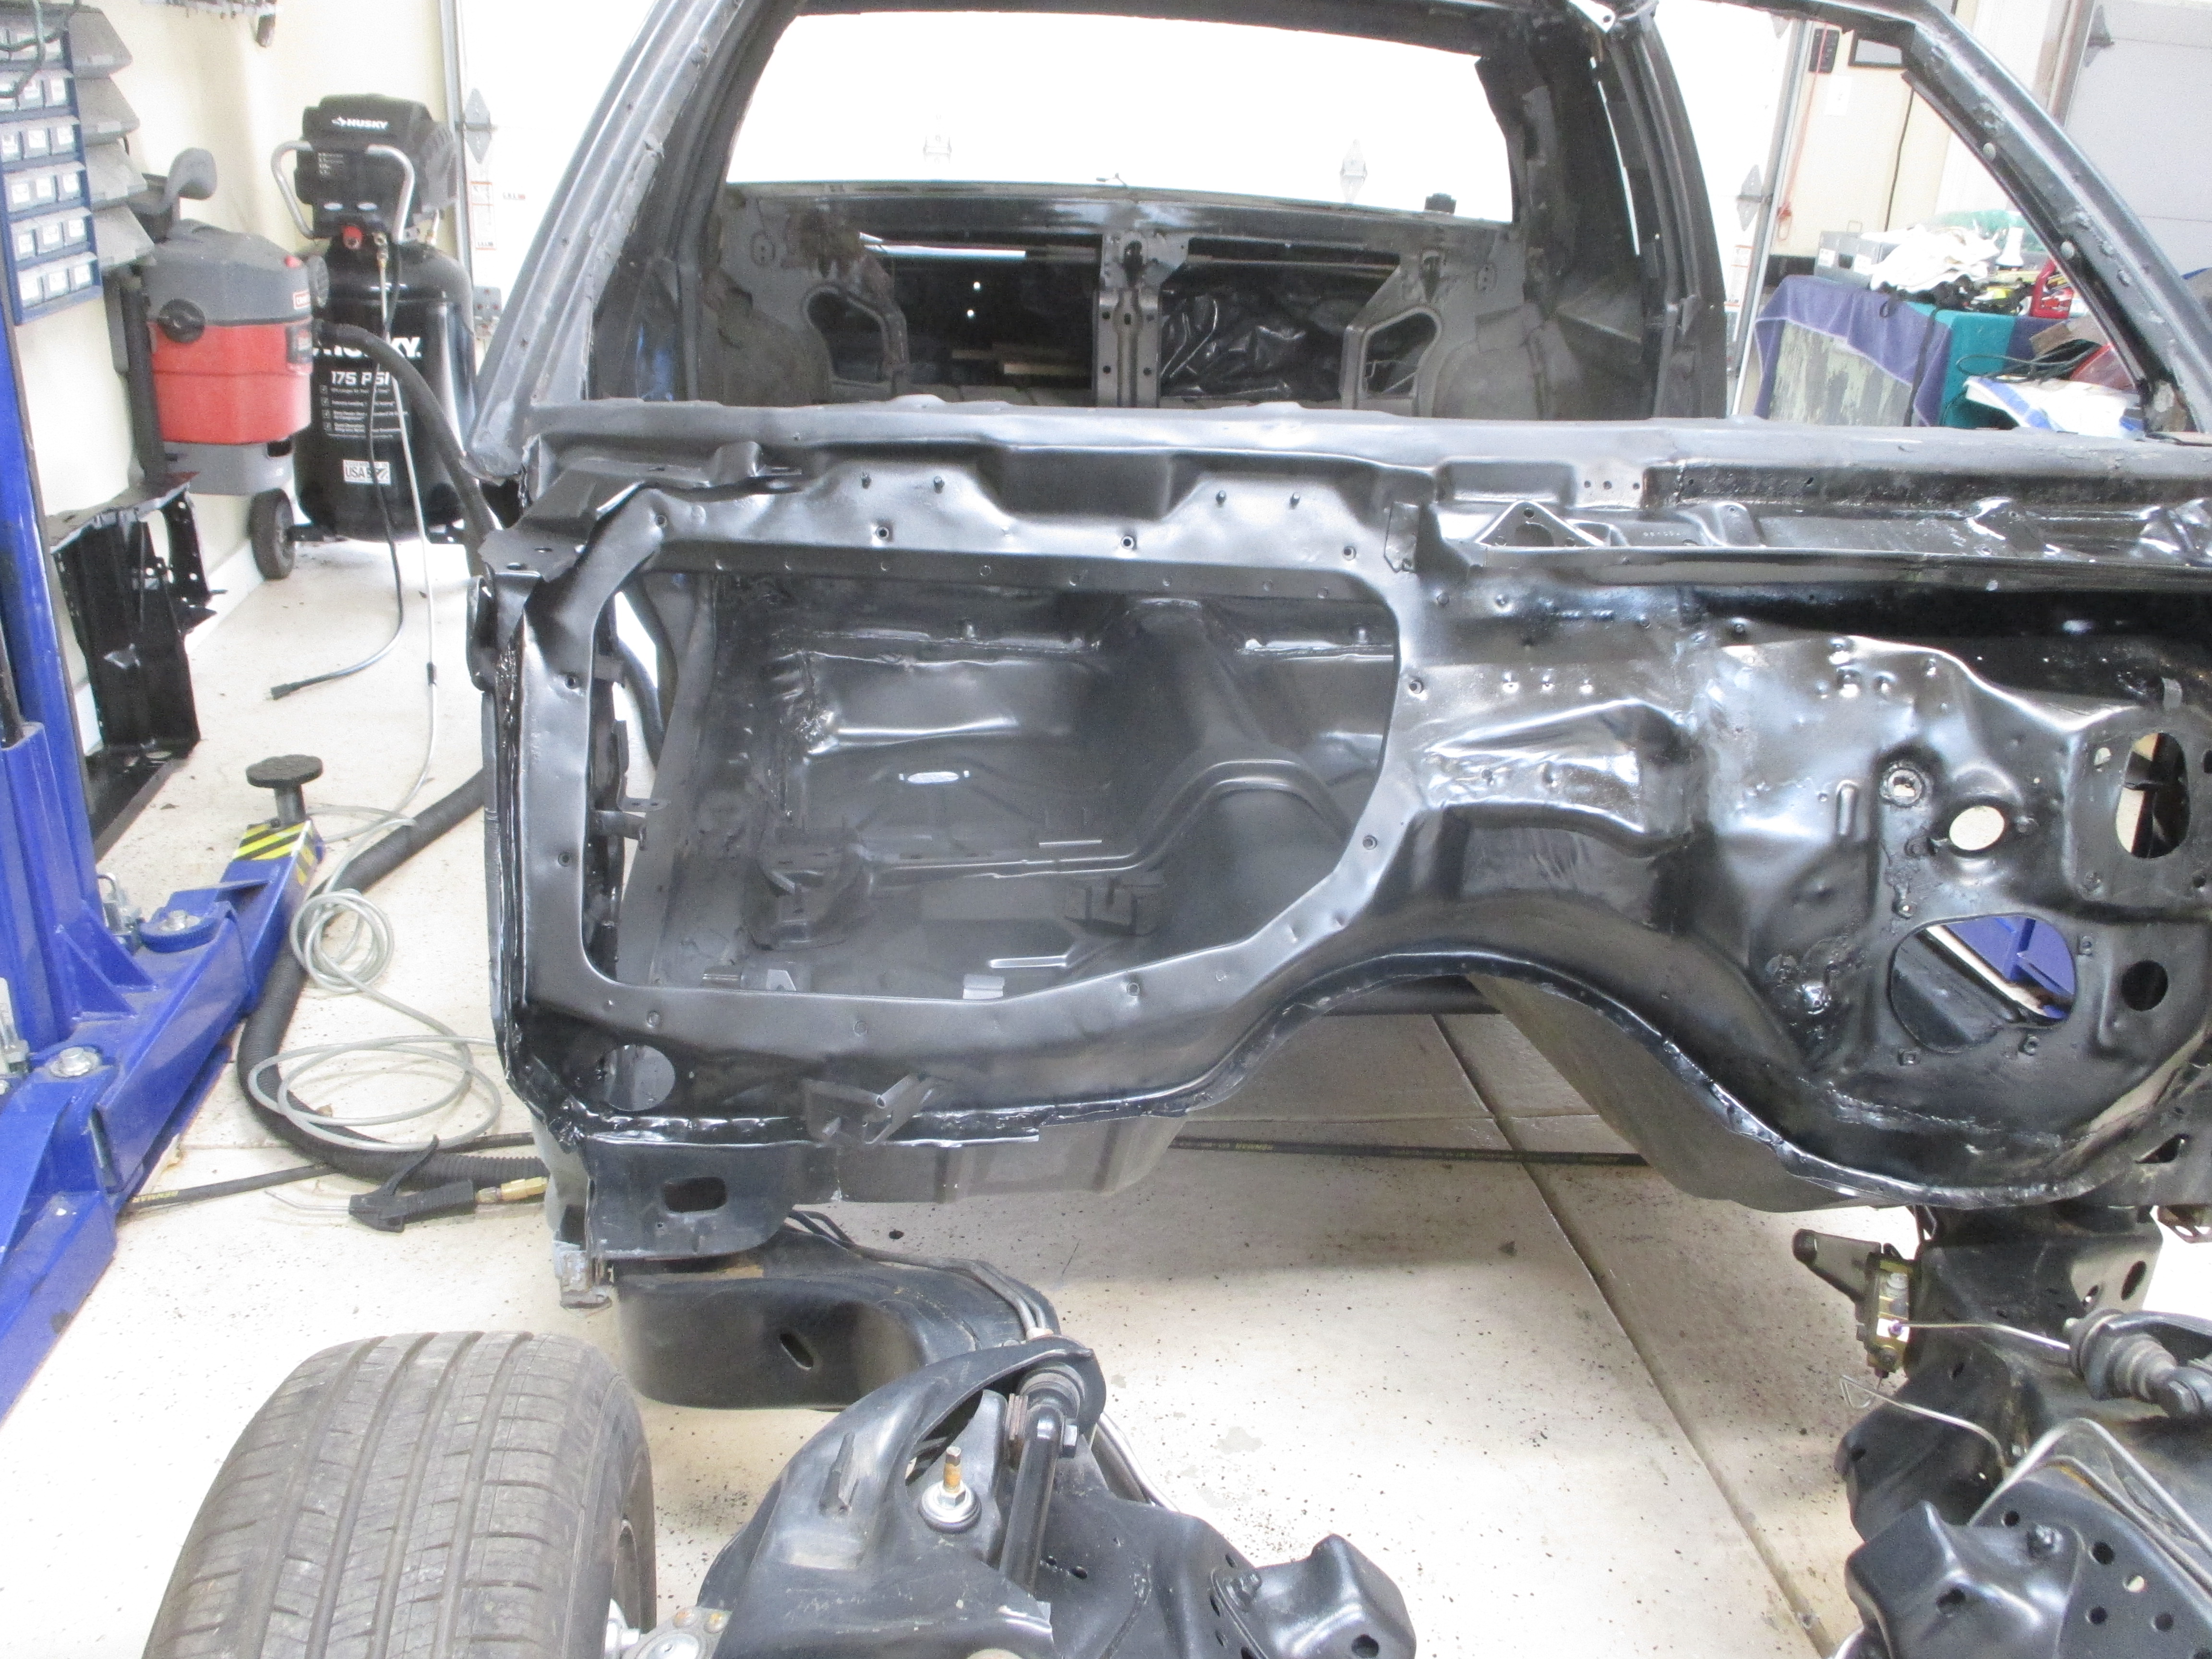
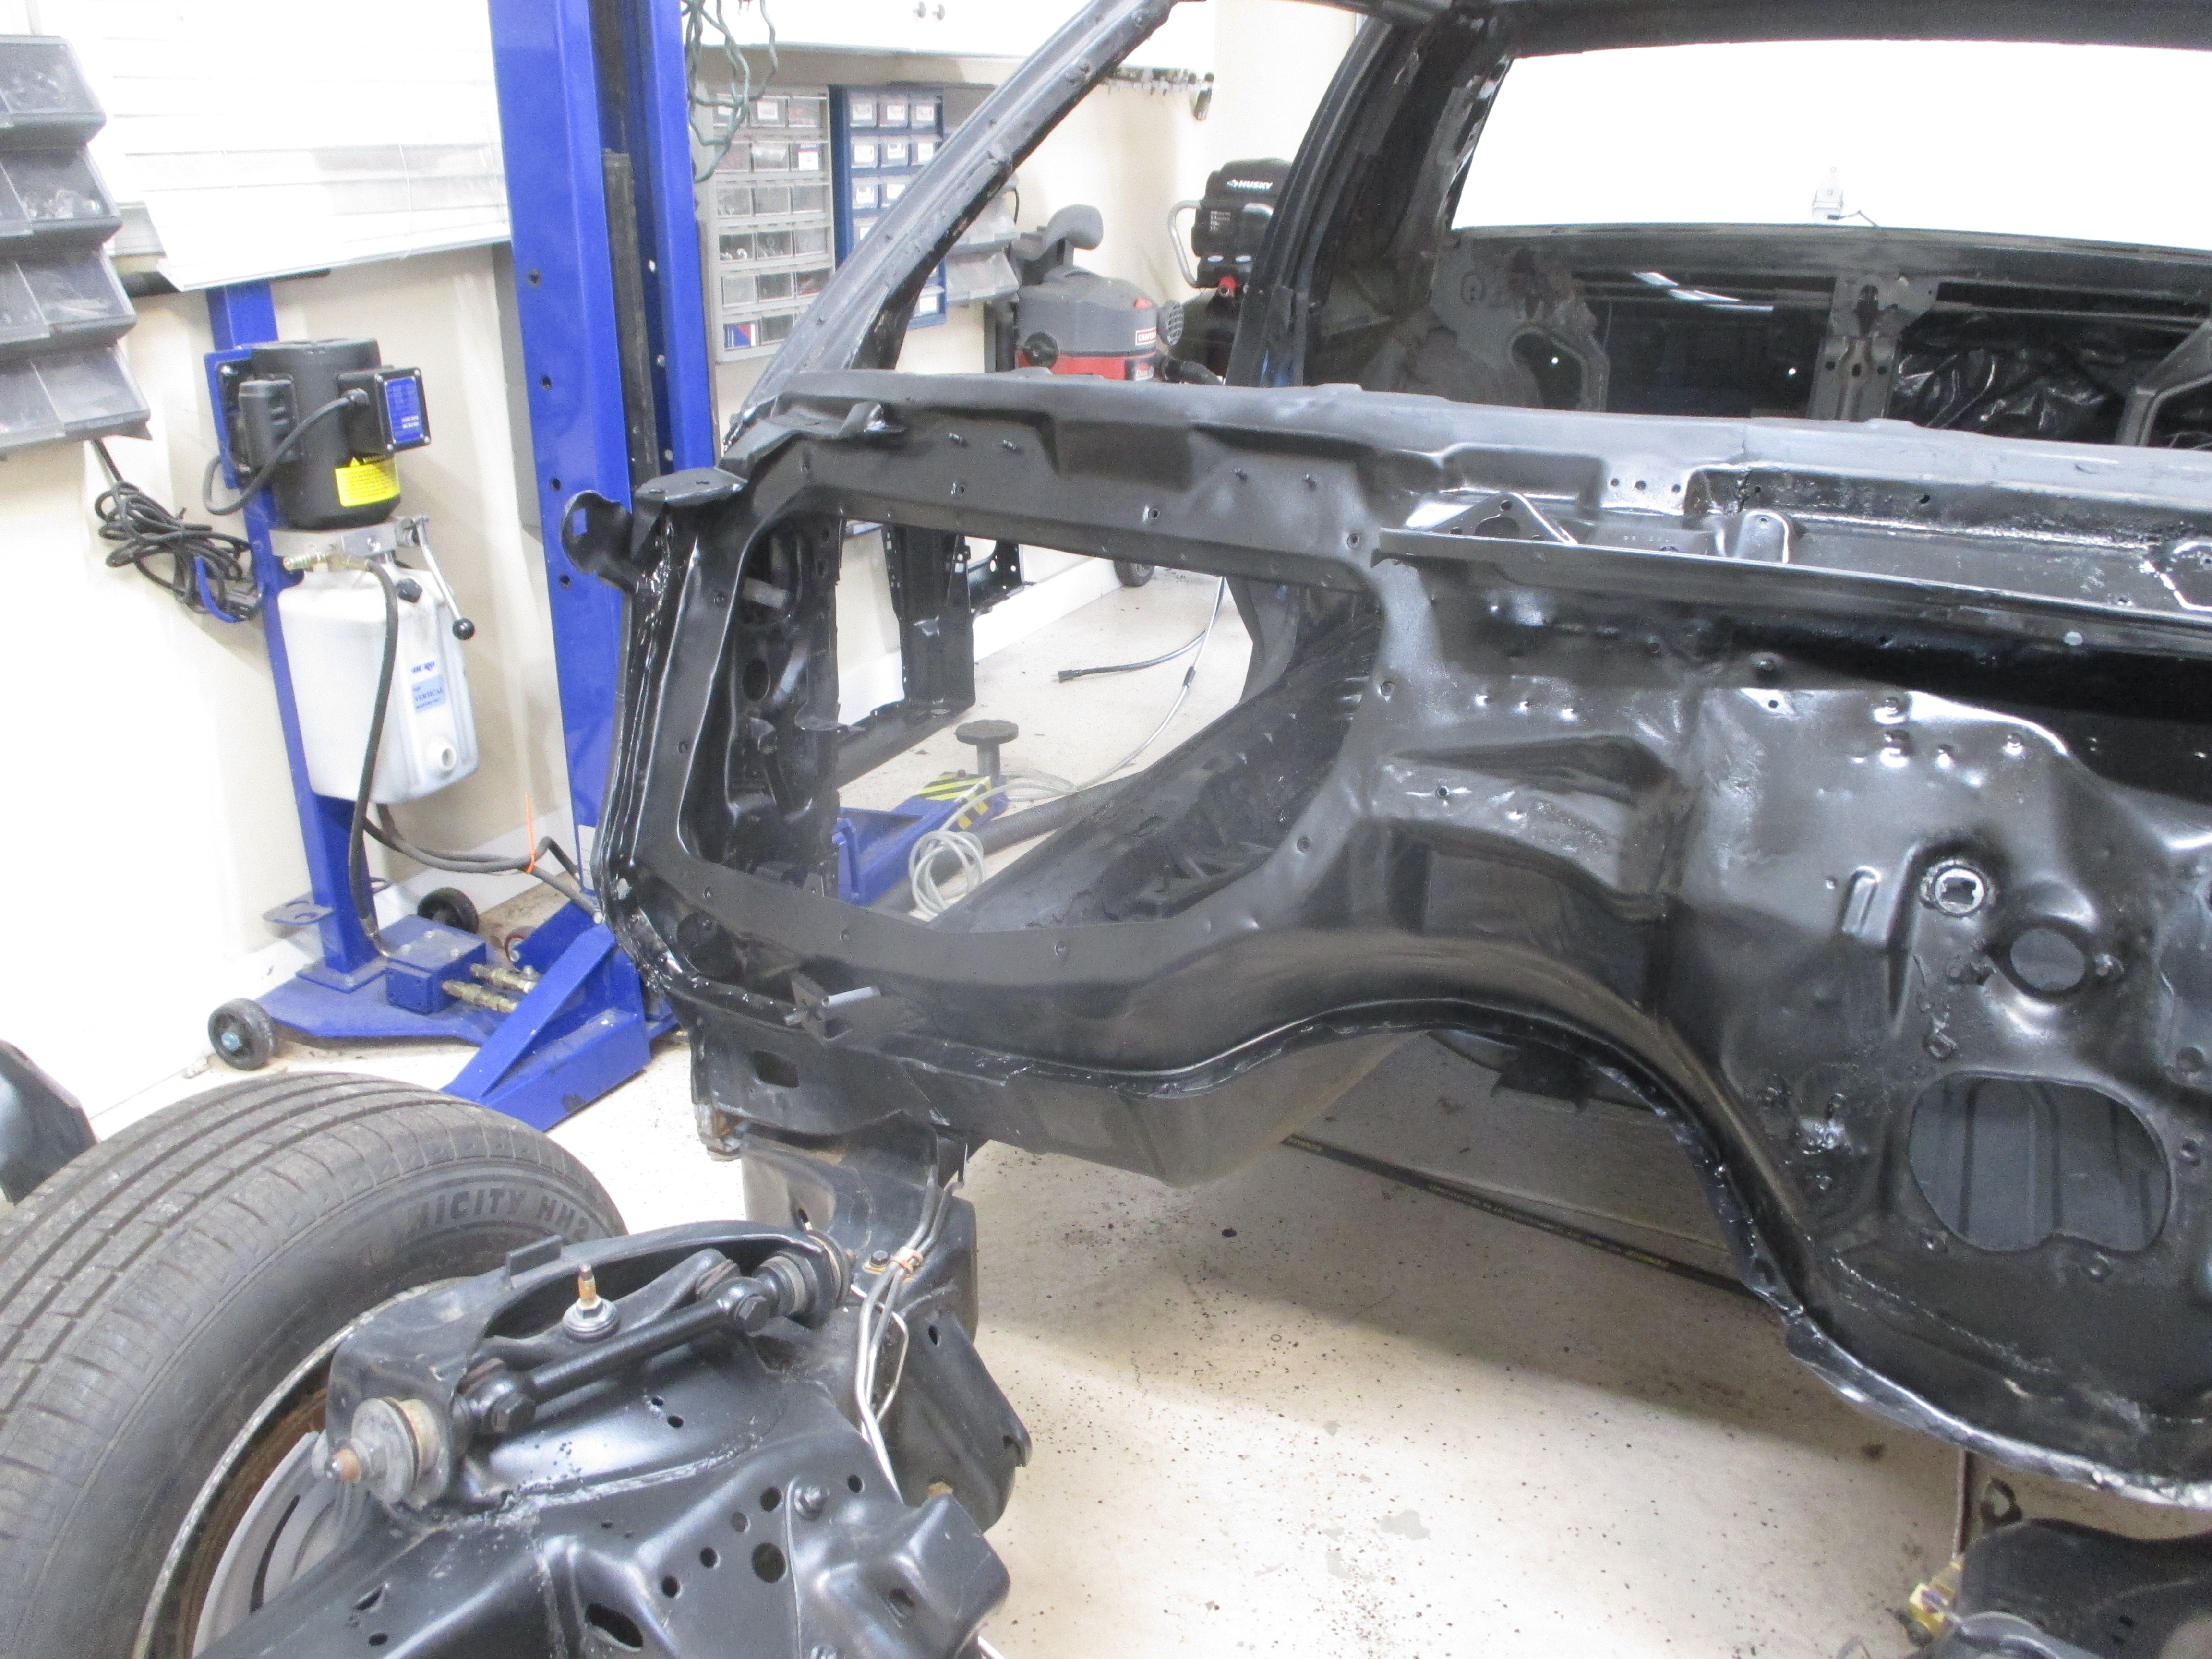
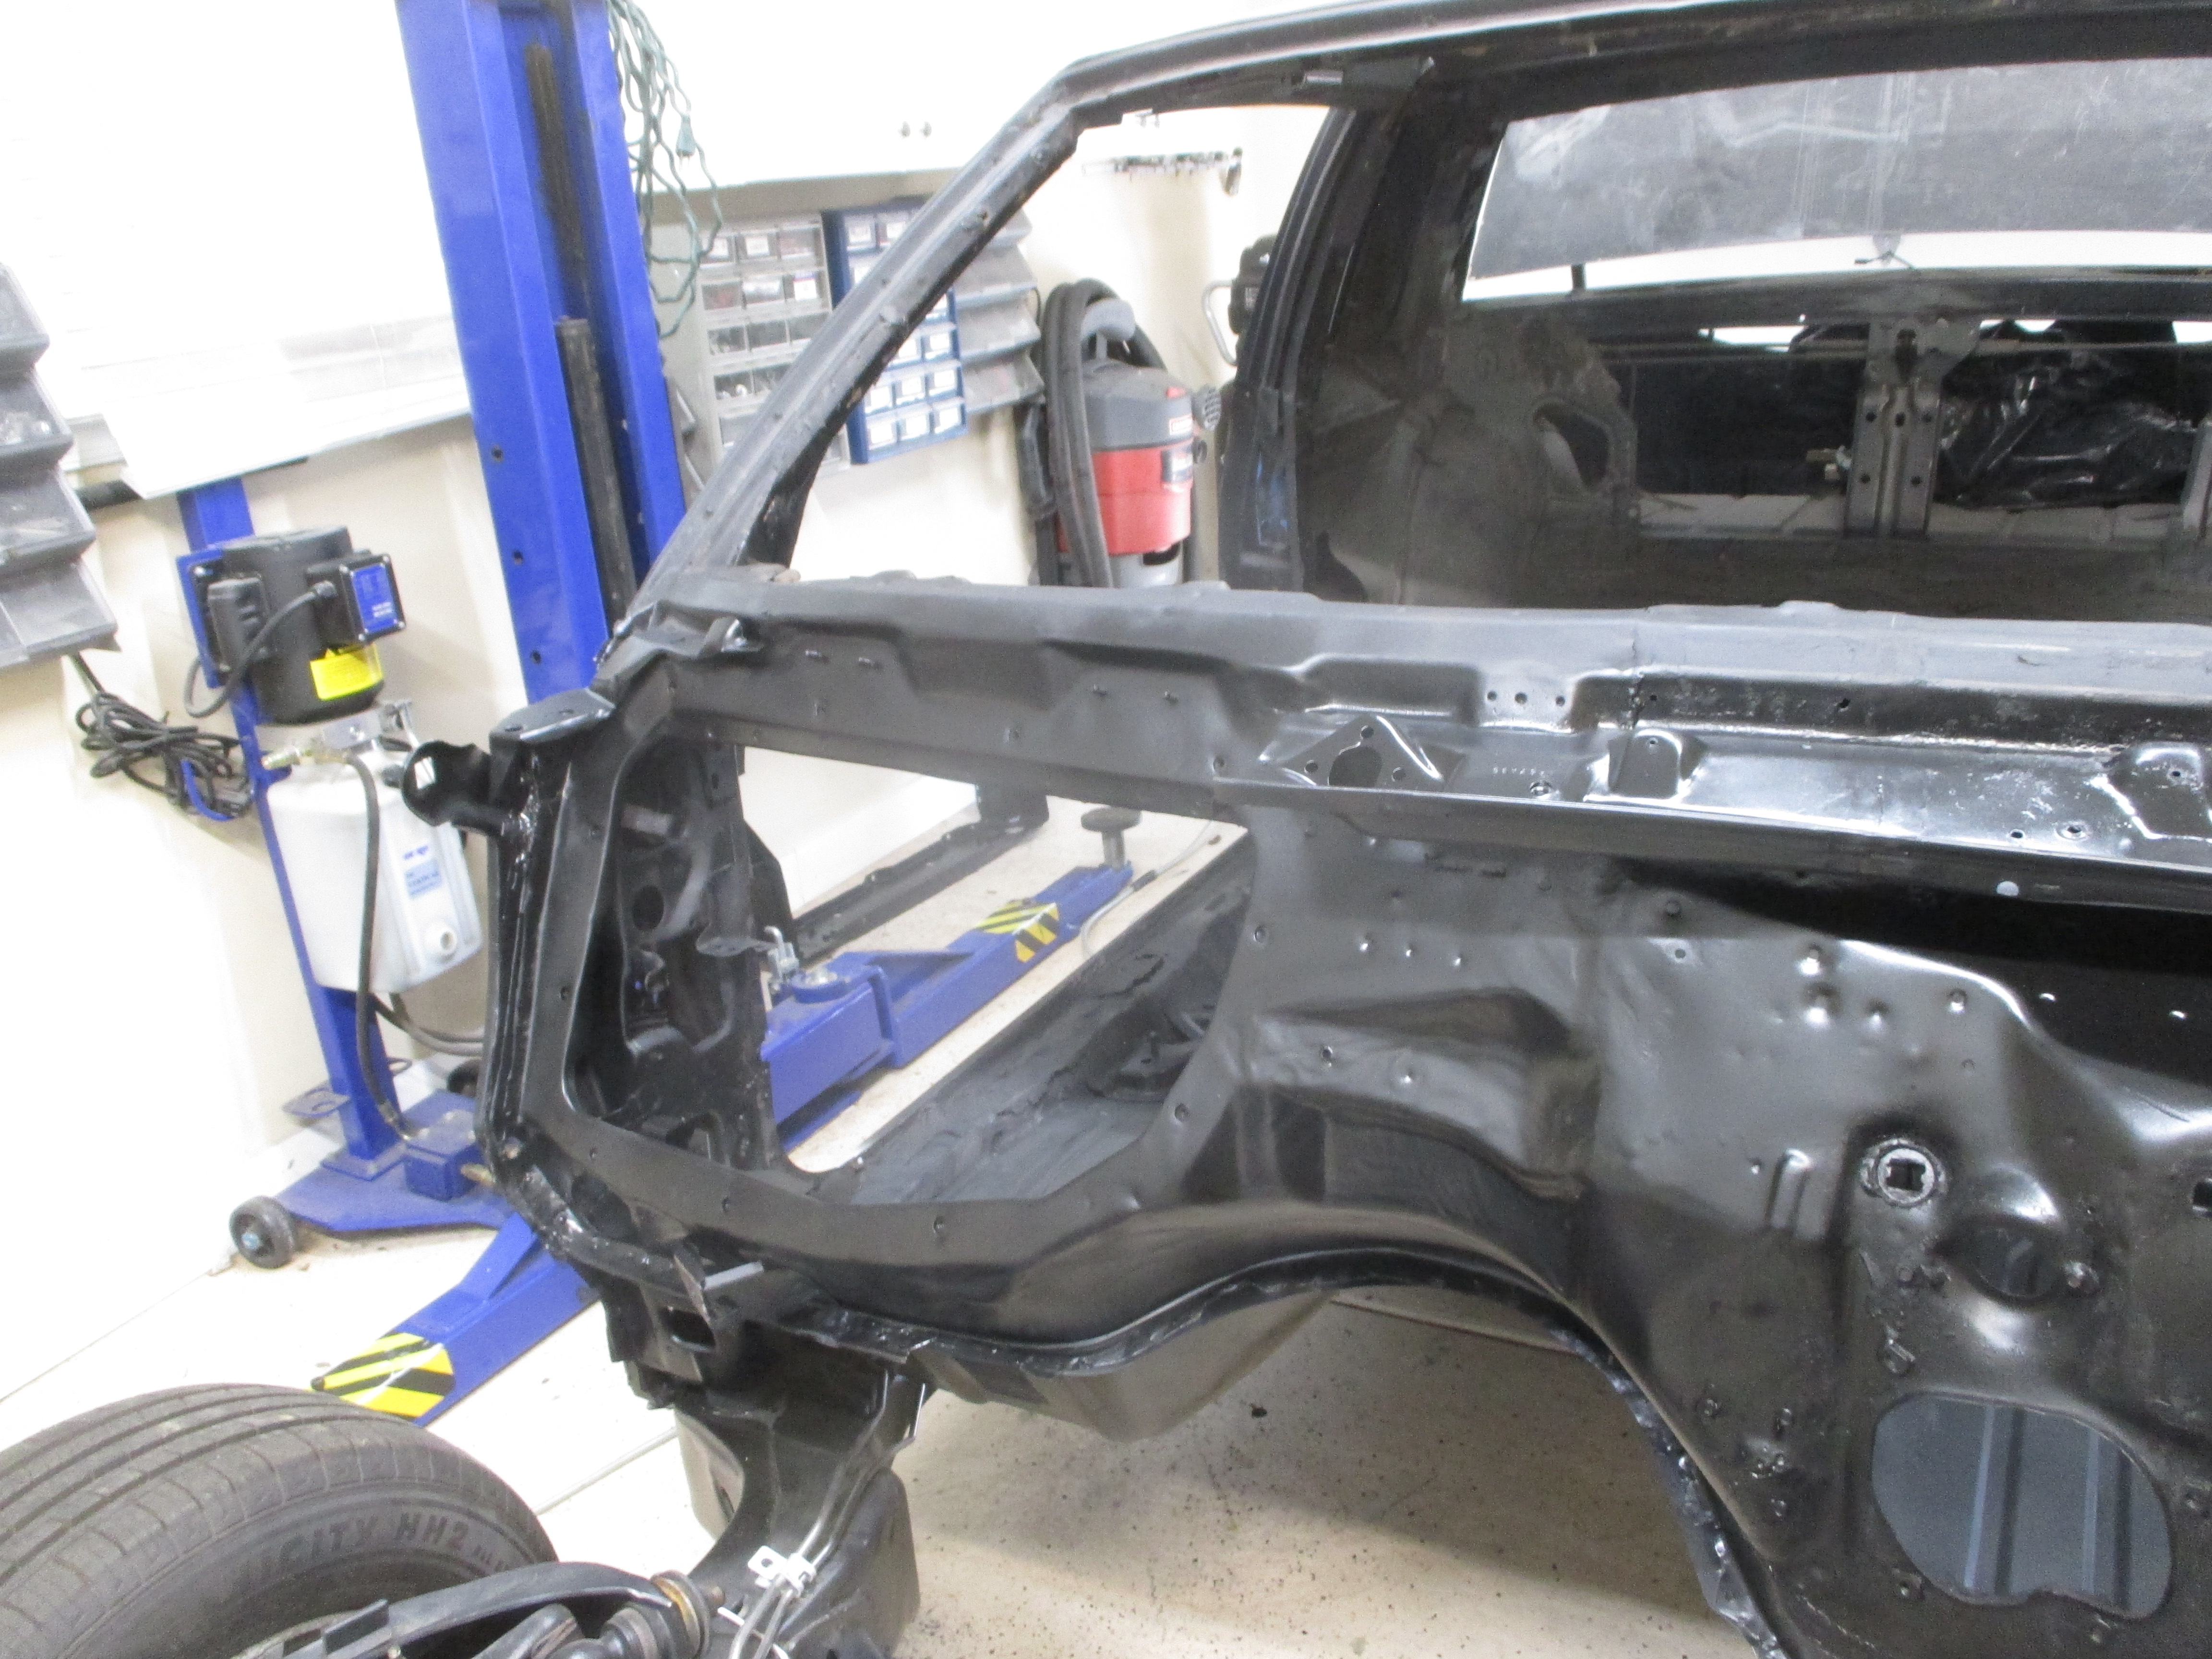
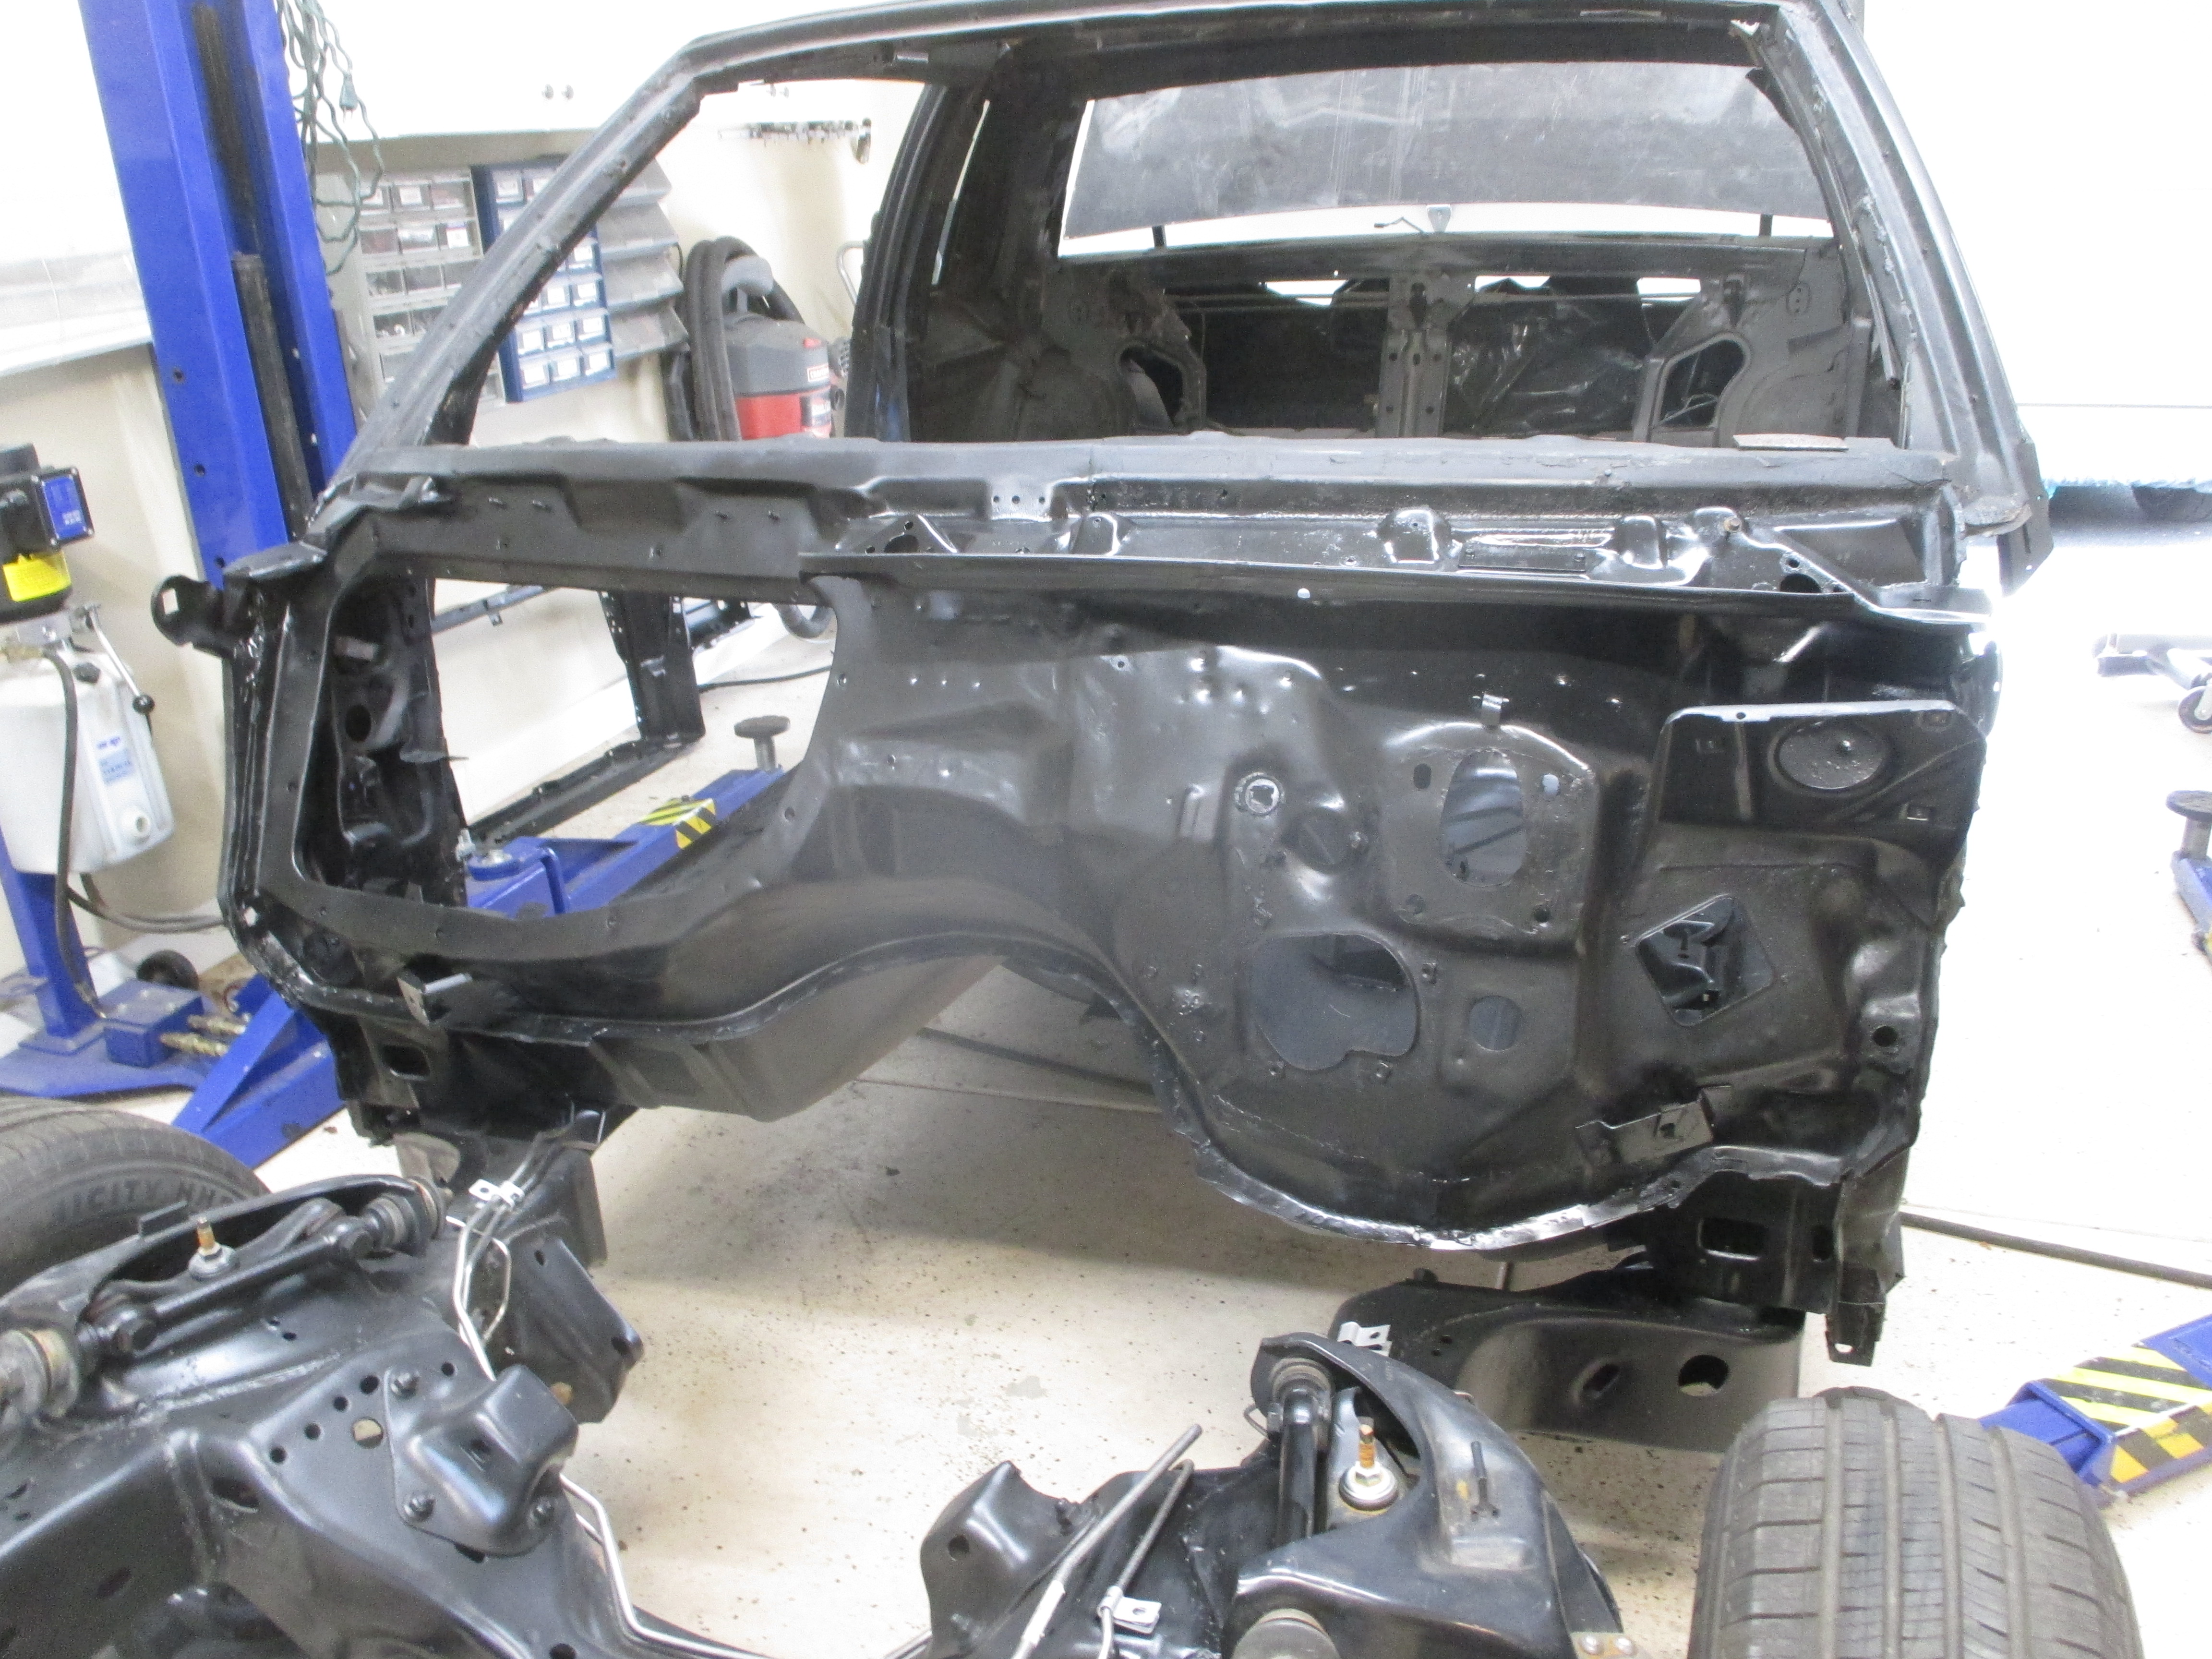
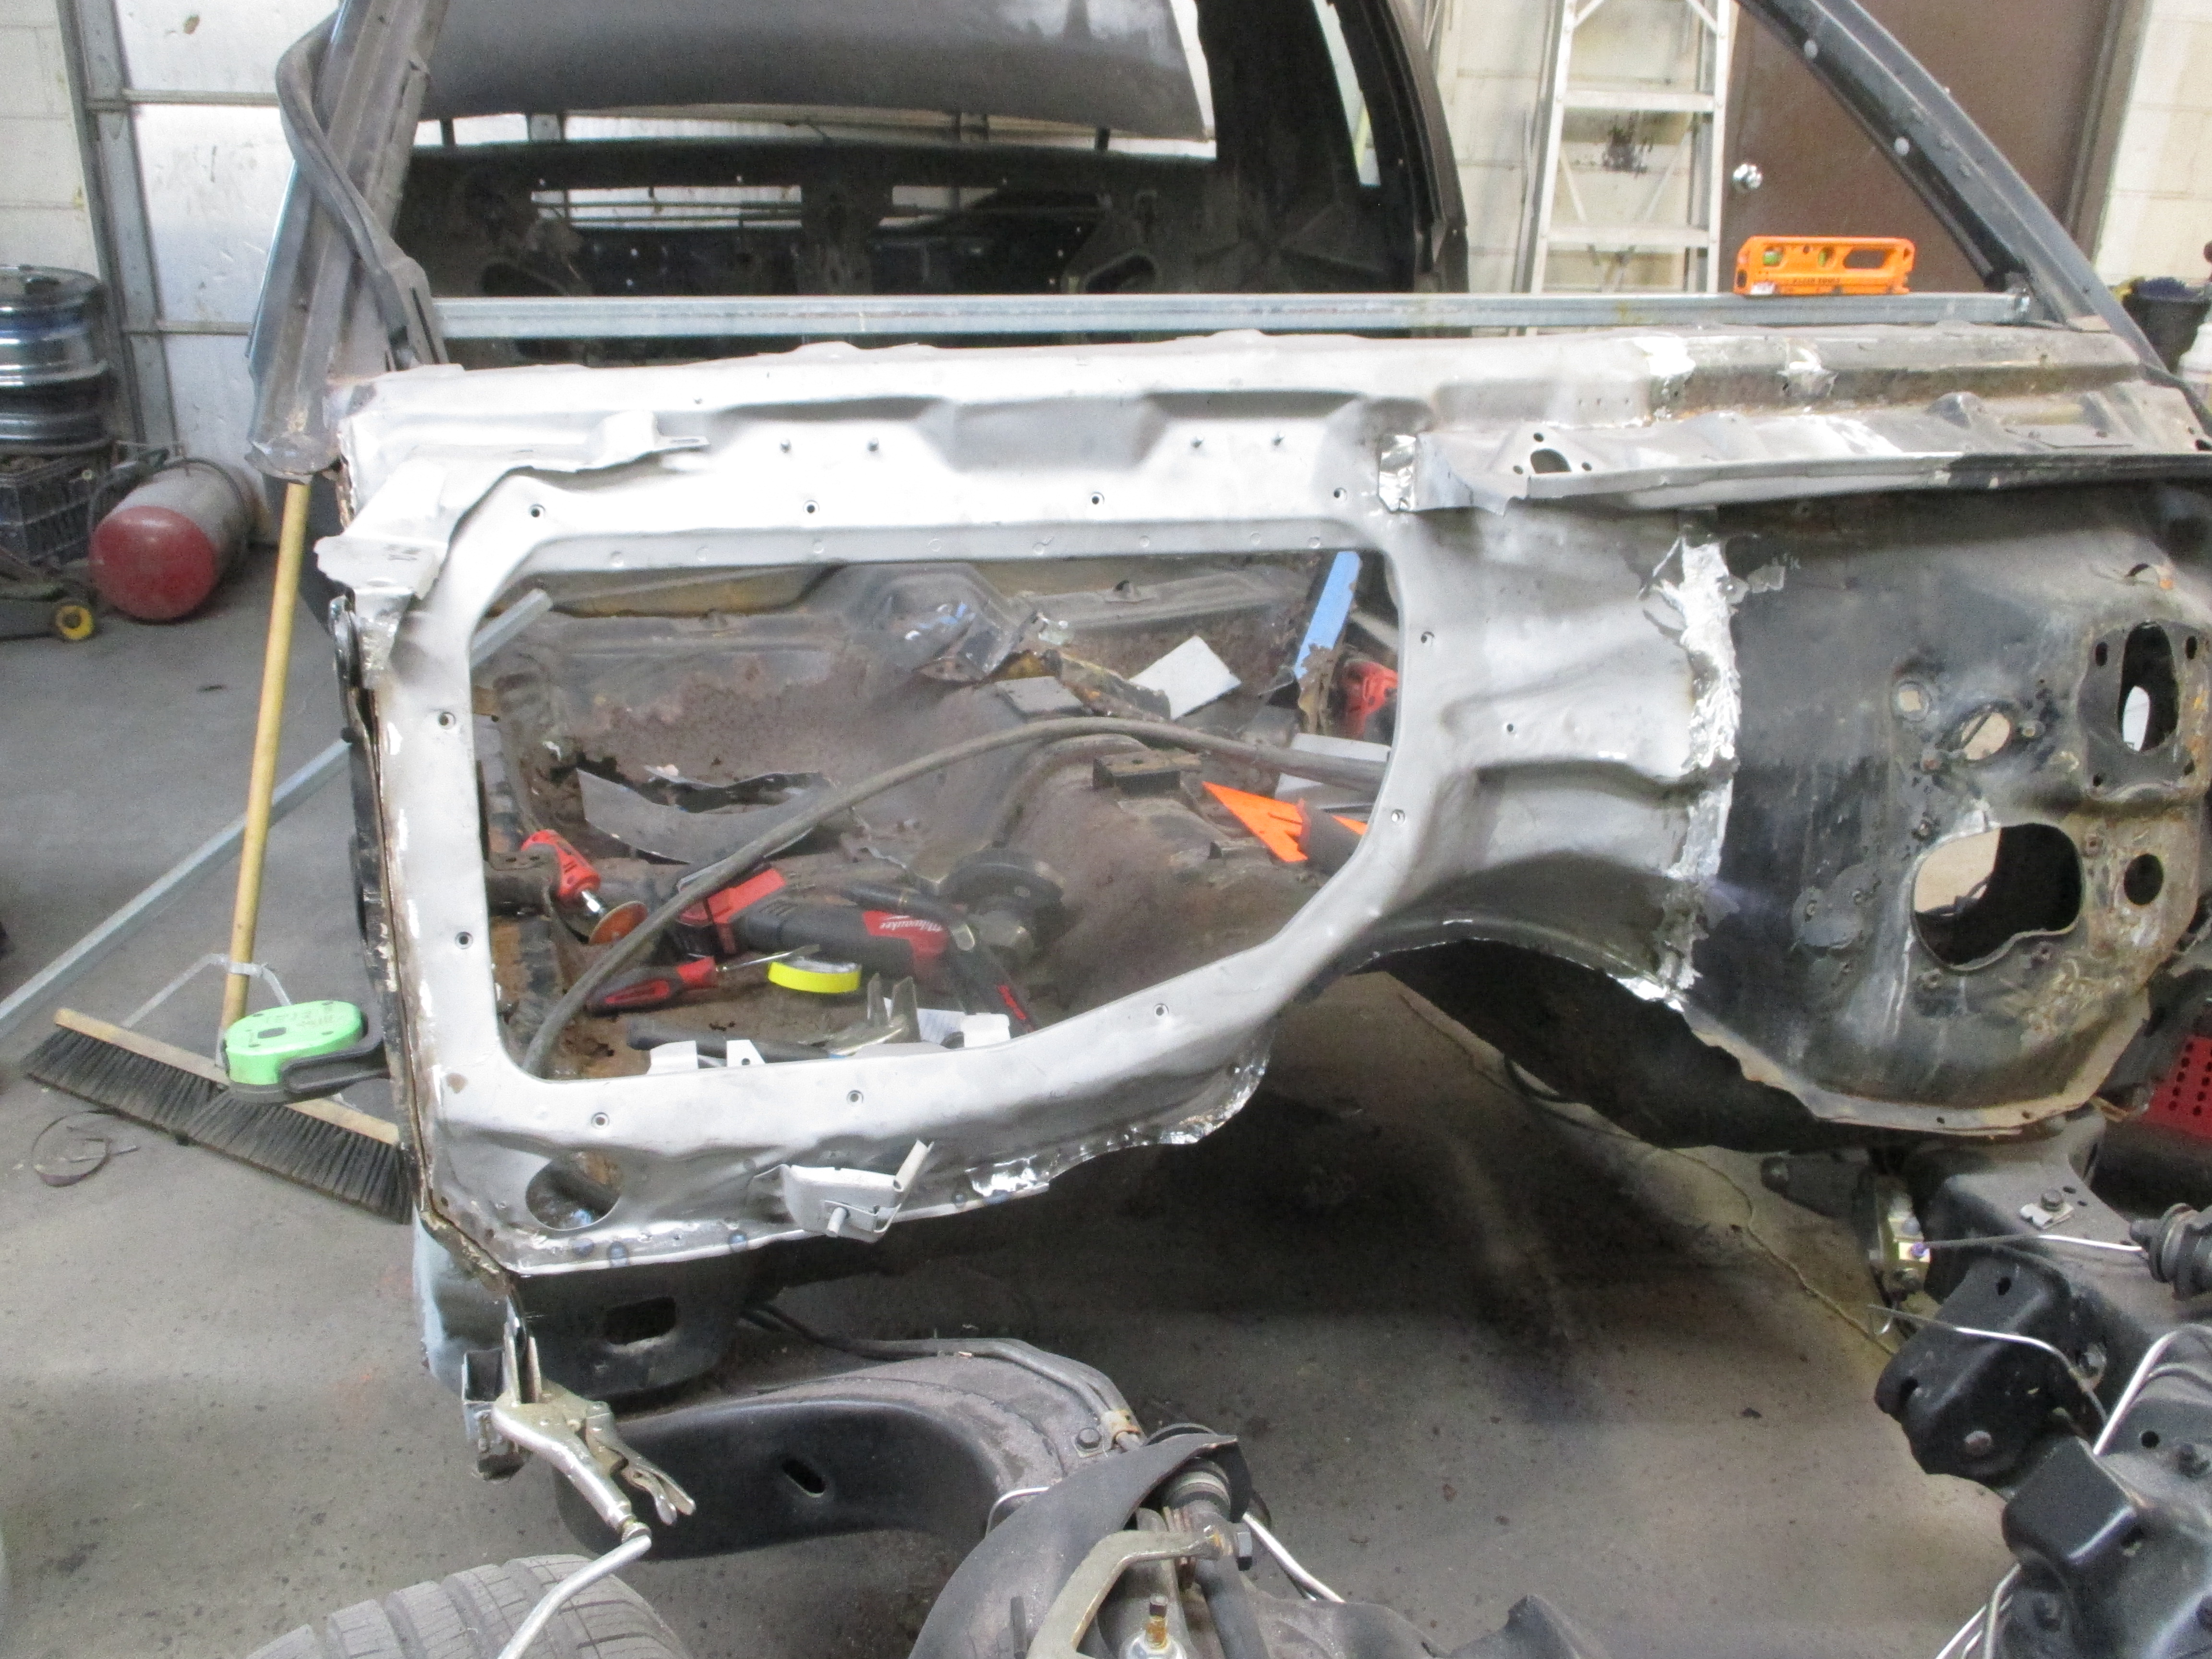
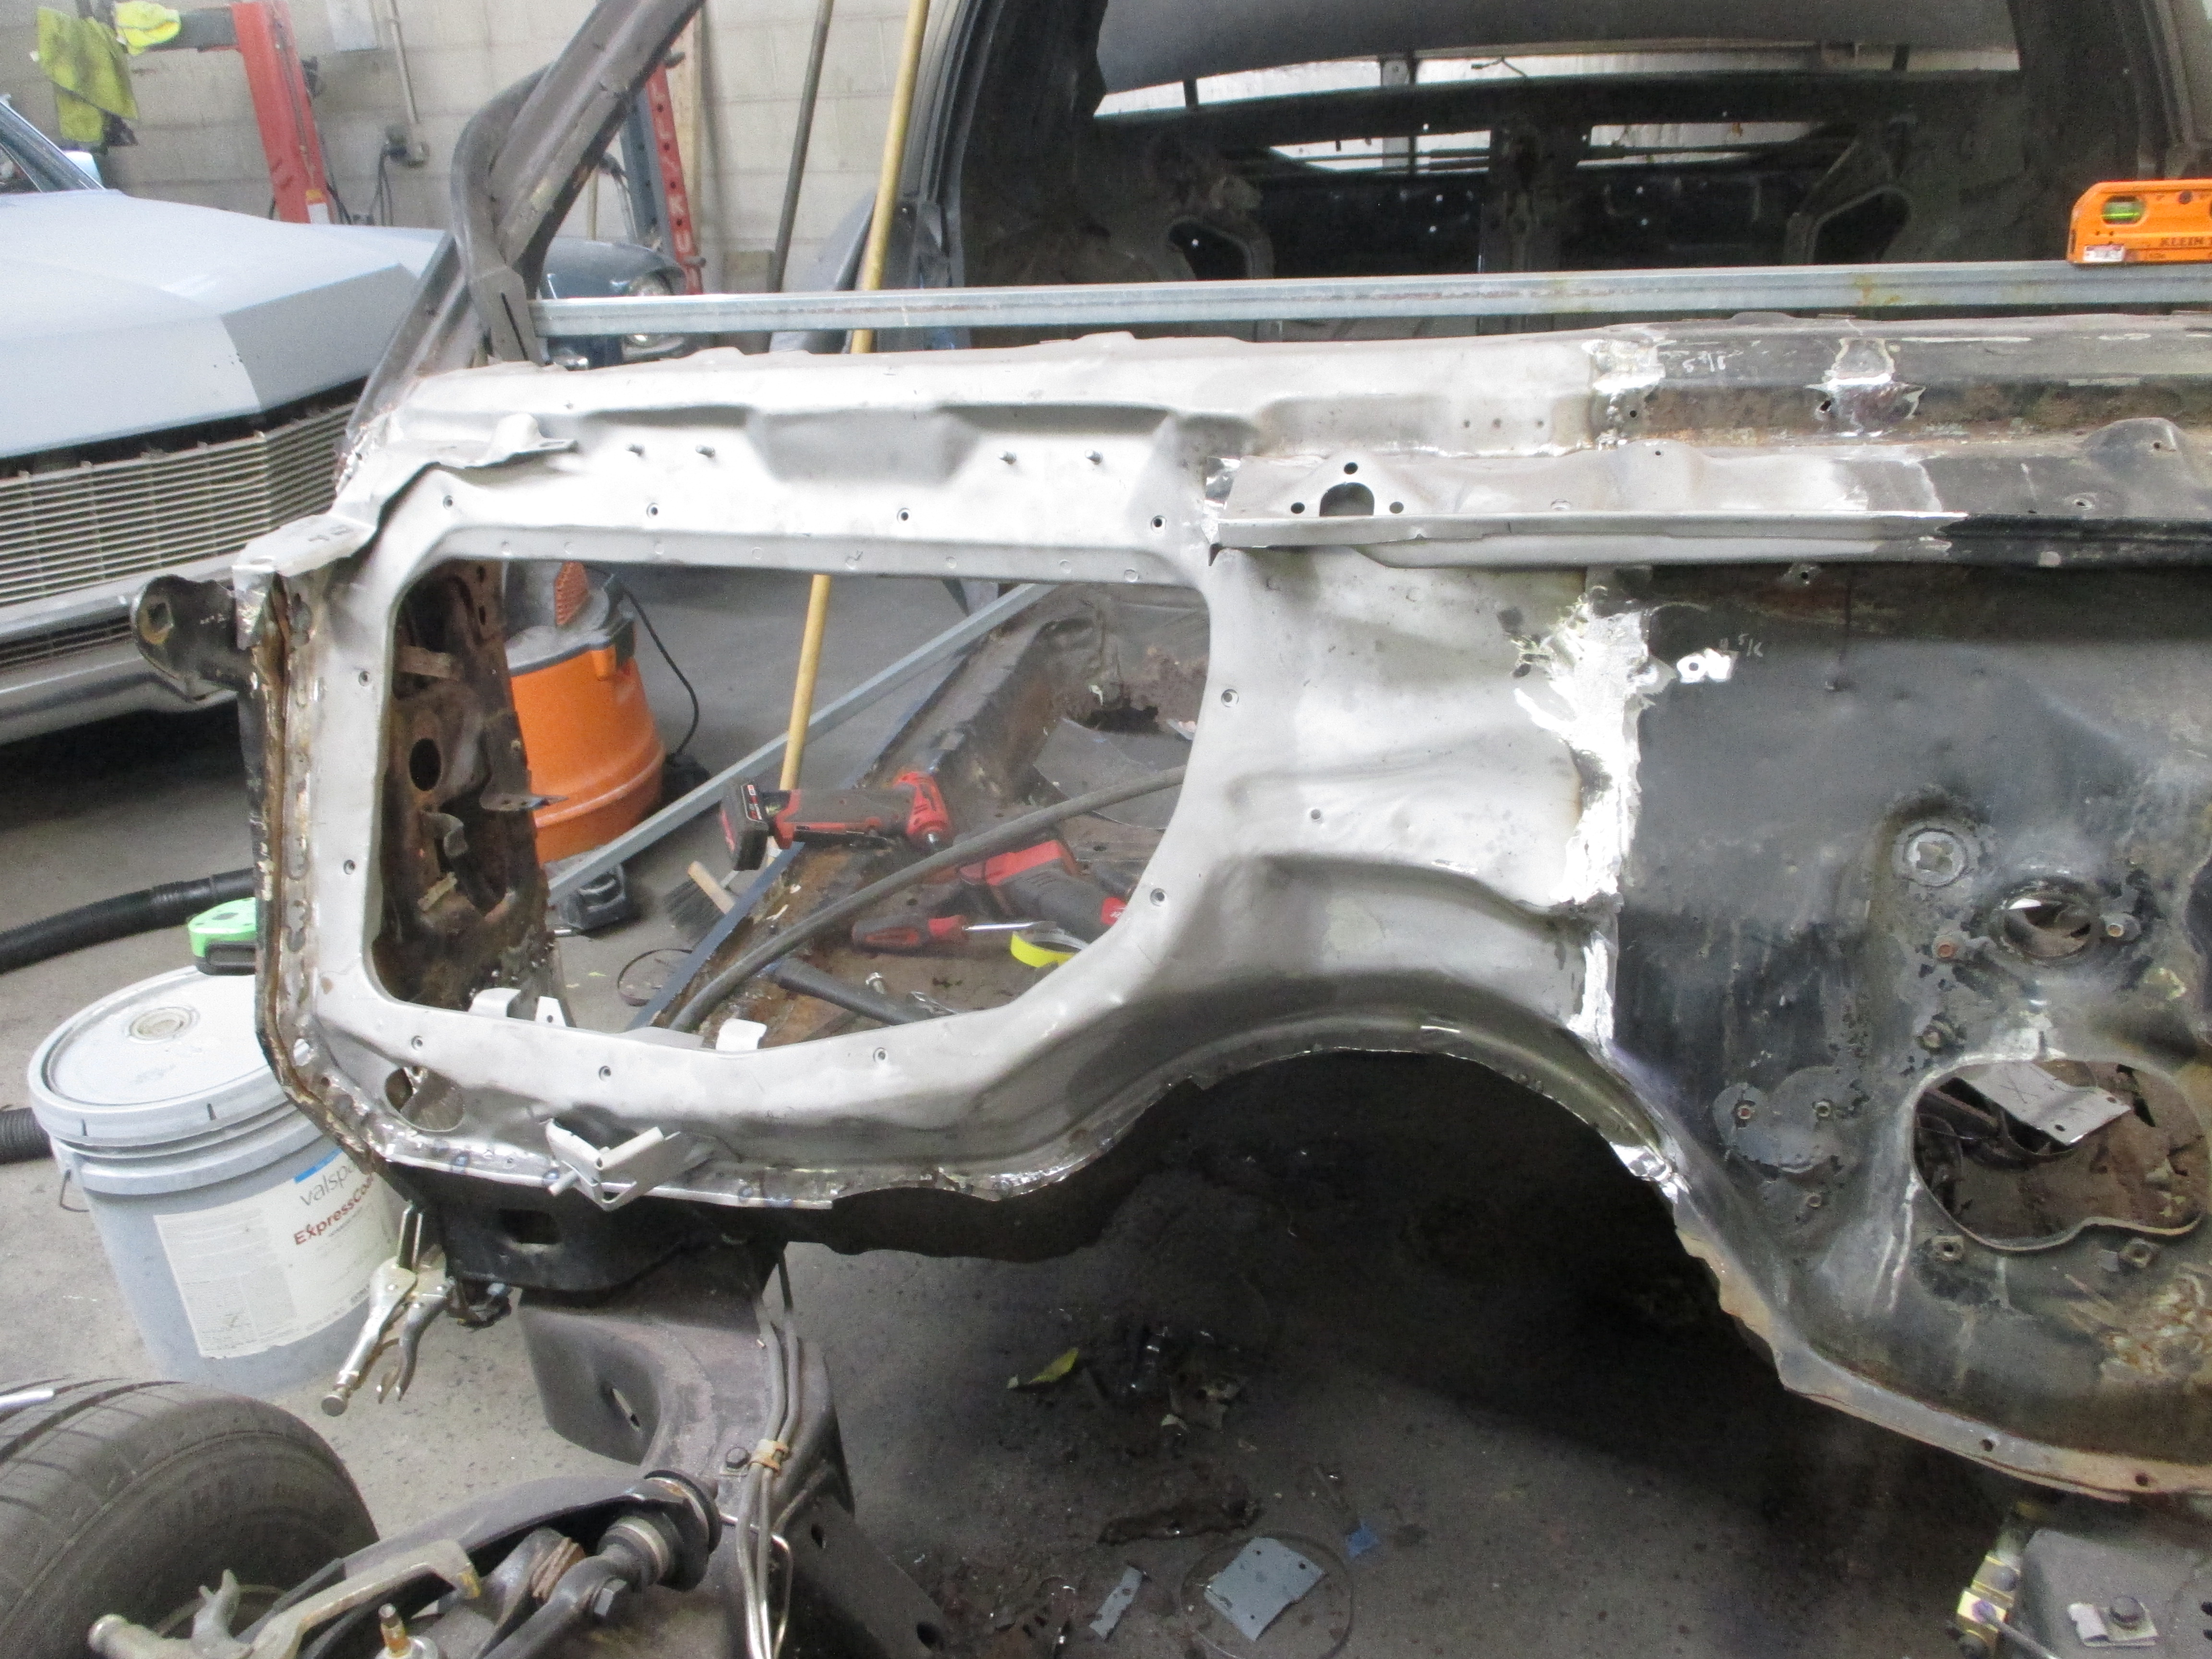
Most of the firewall was too bad to save. A new firewall is welded in place
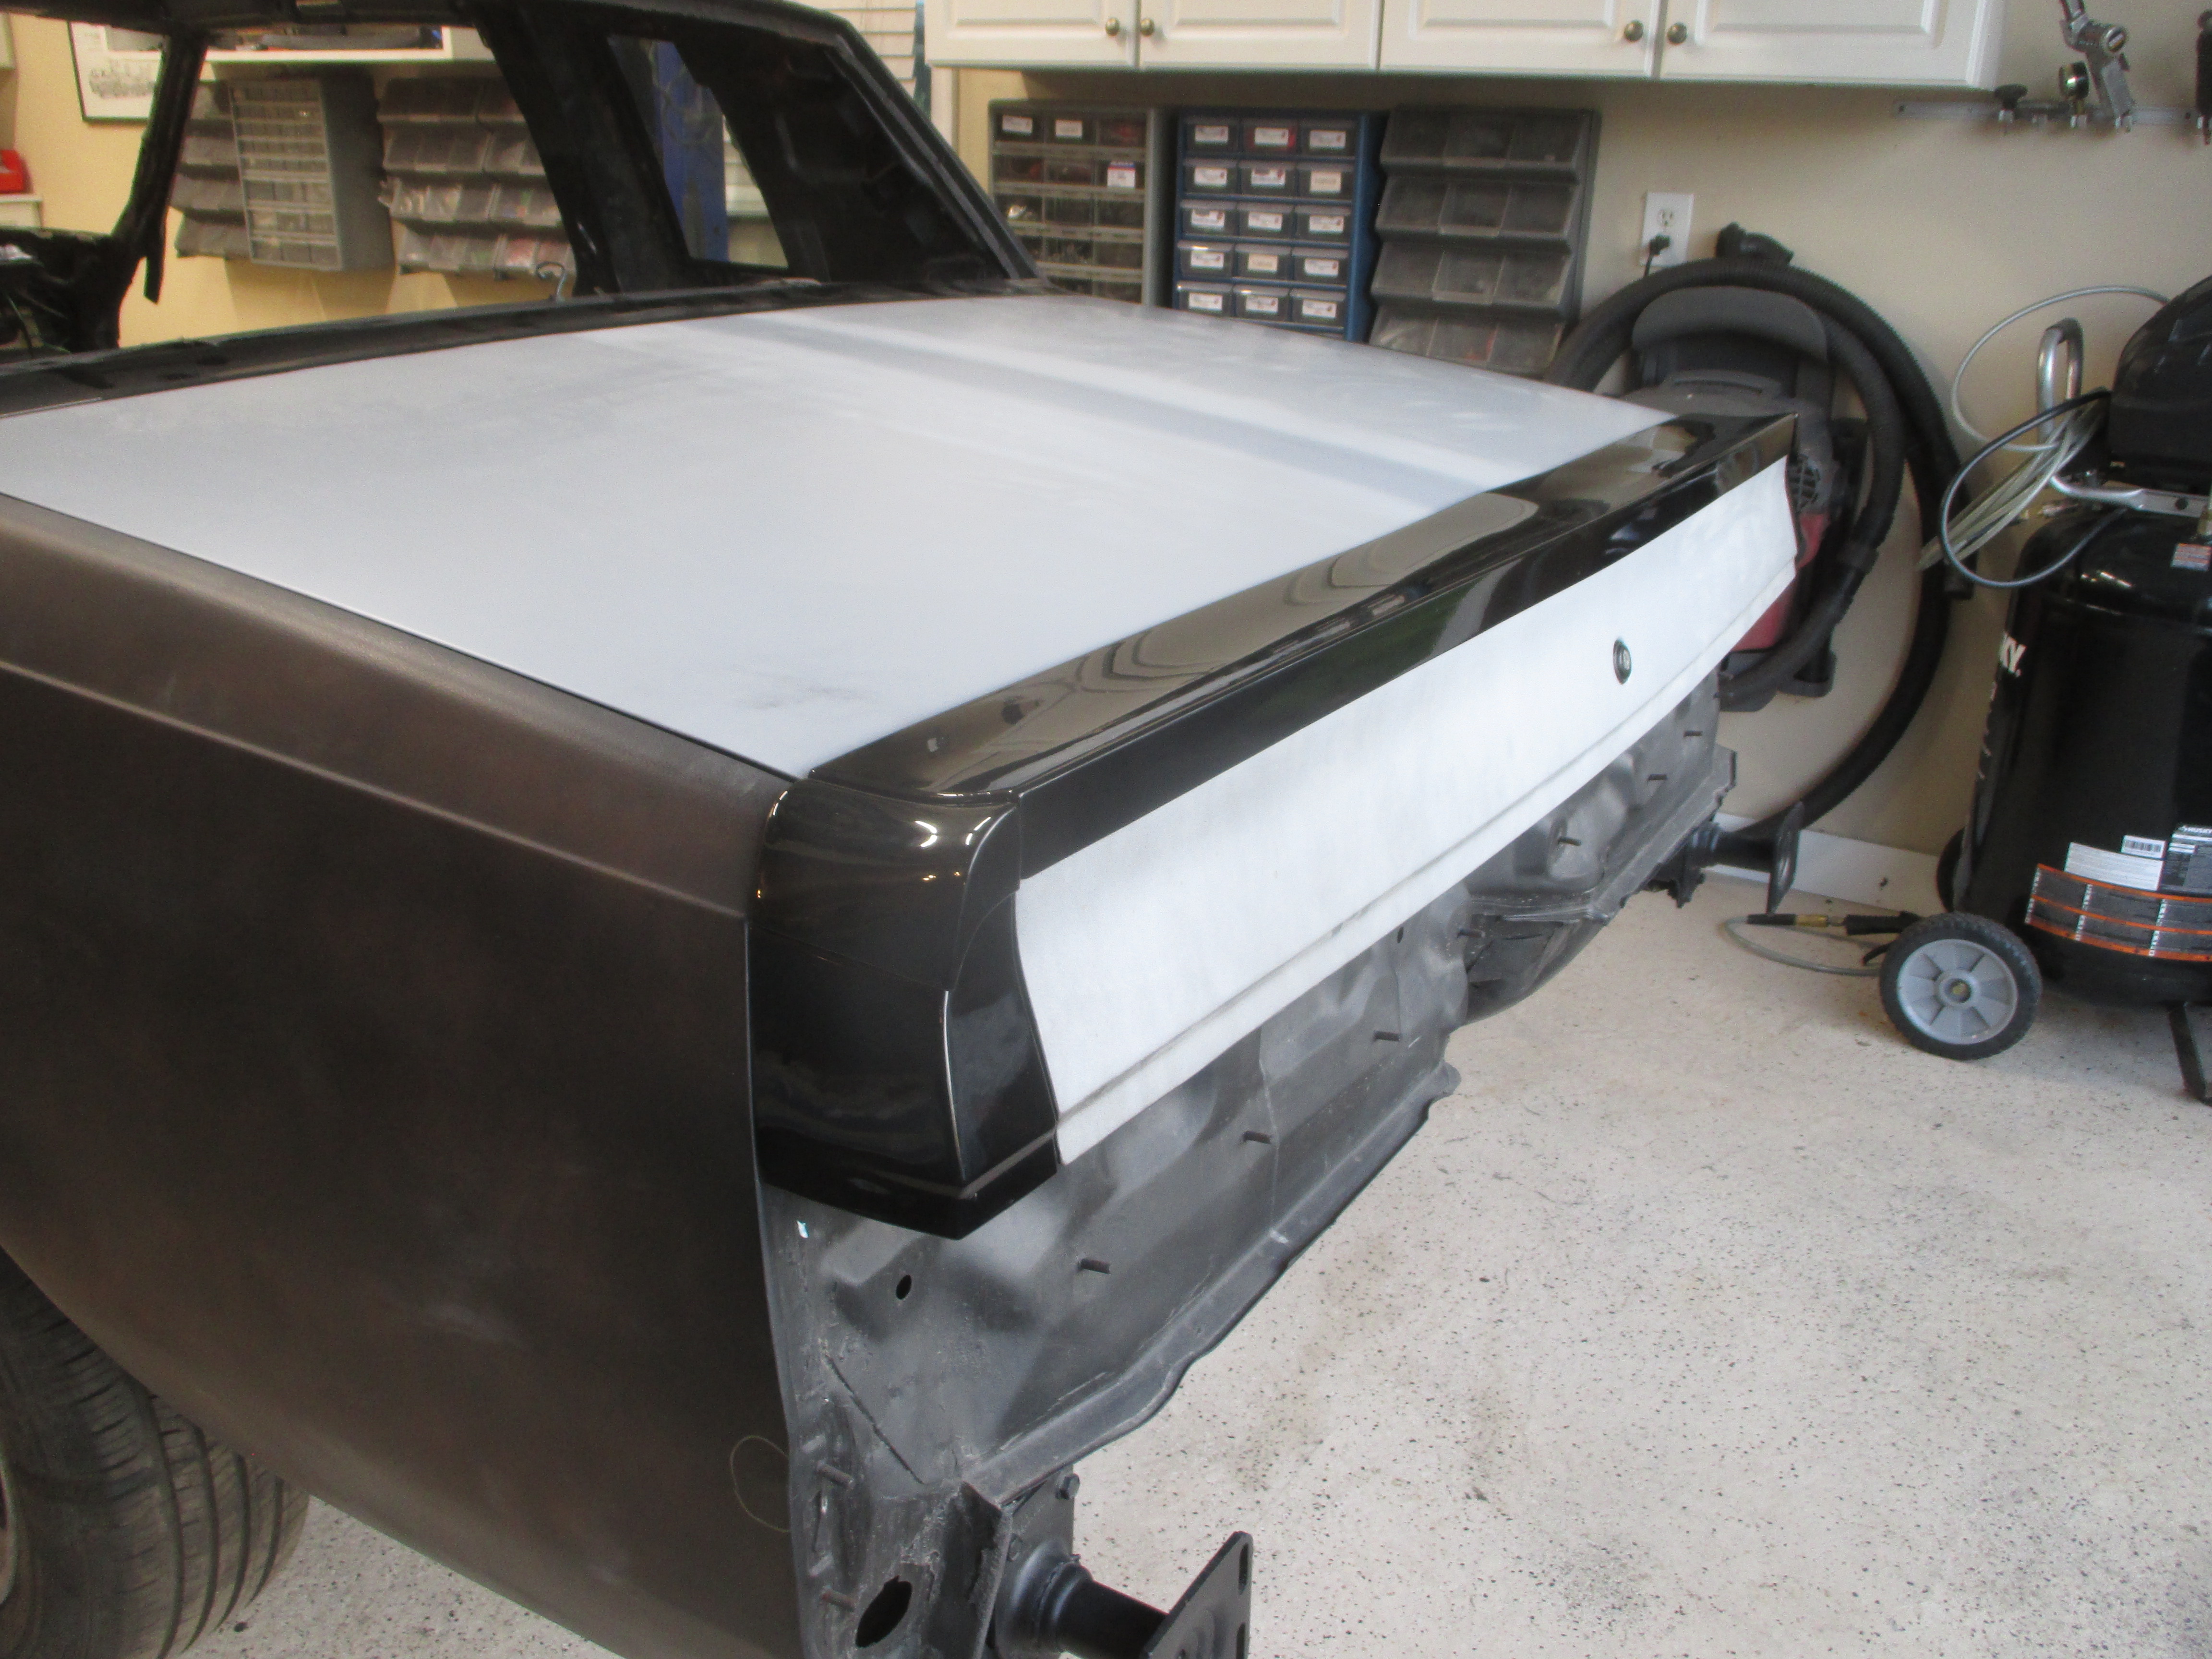
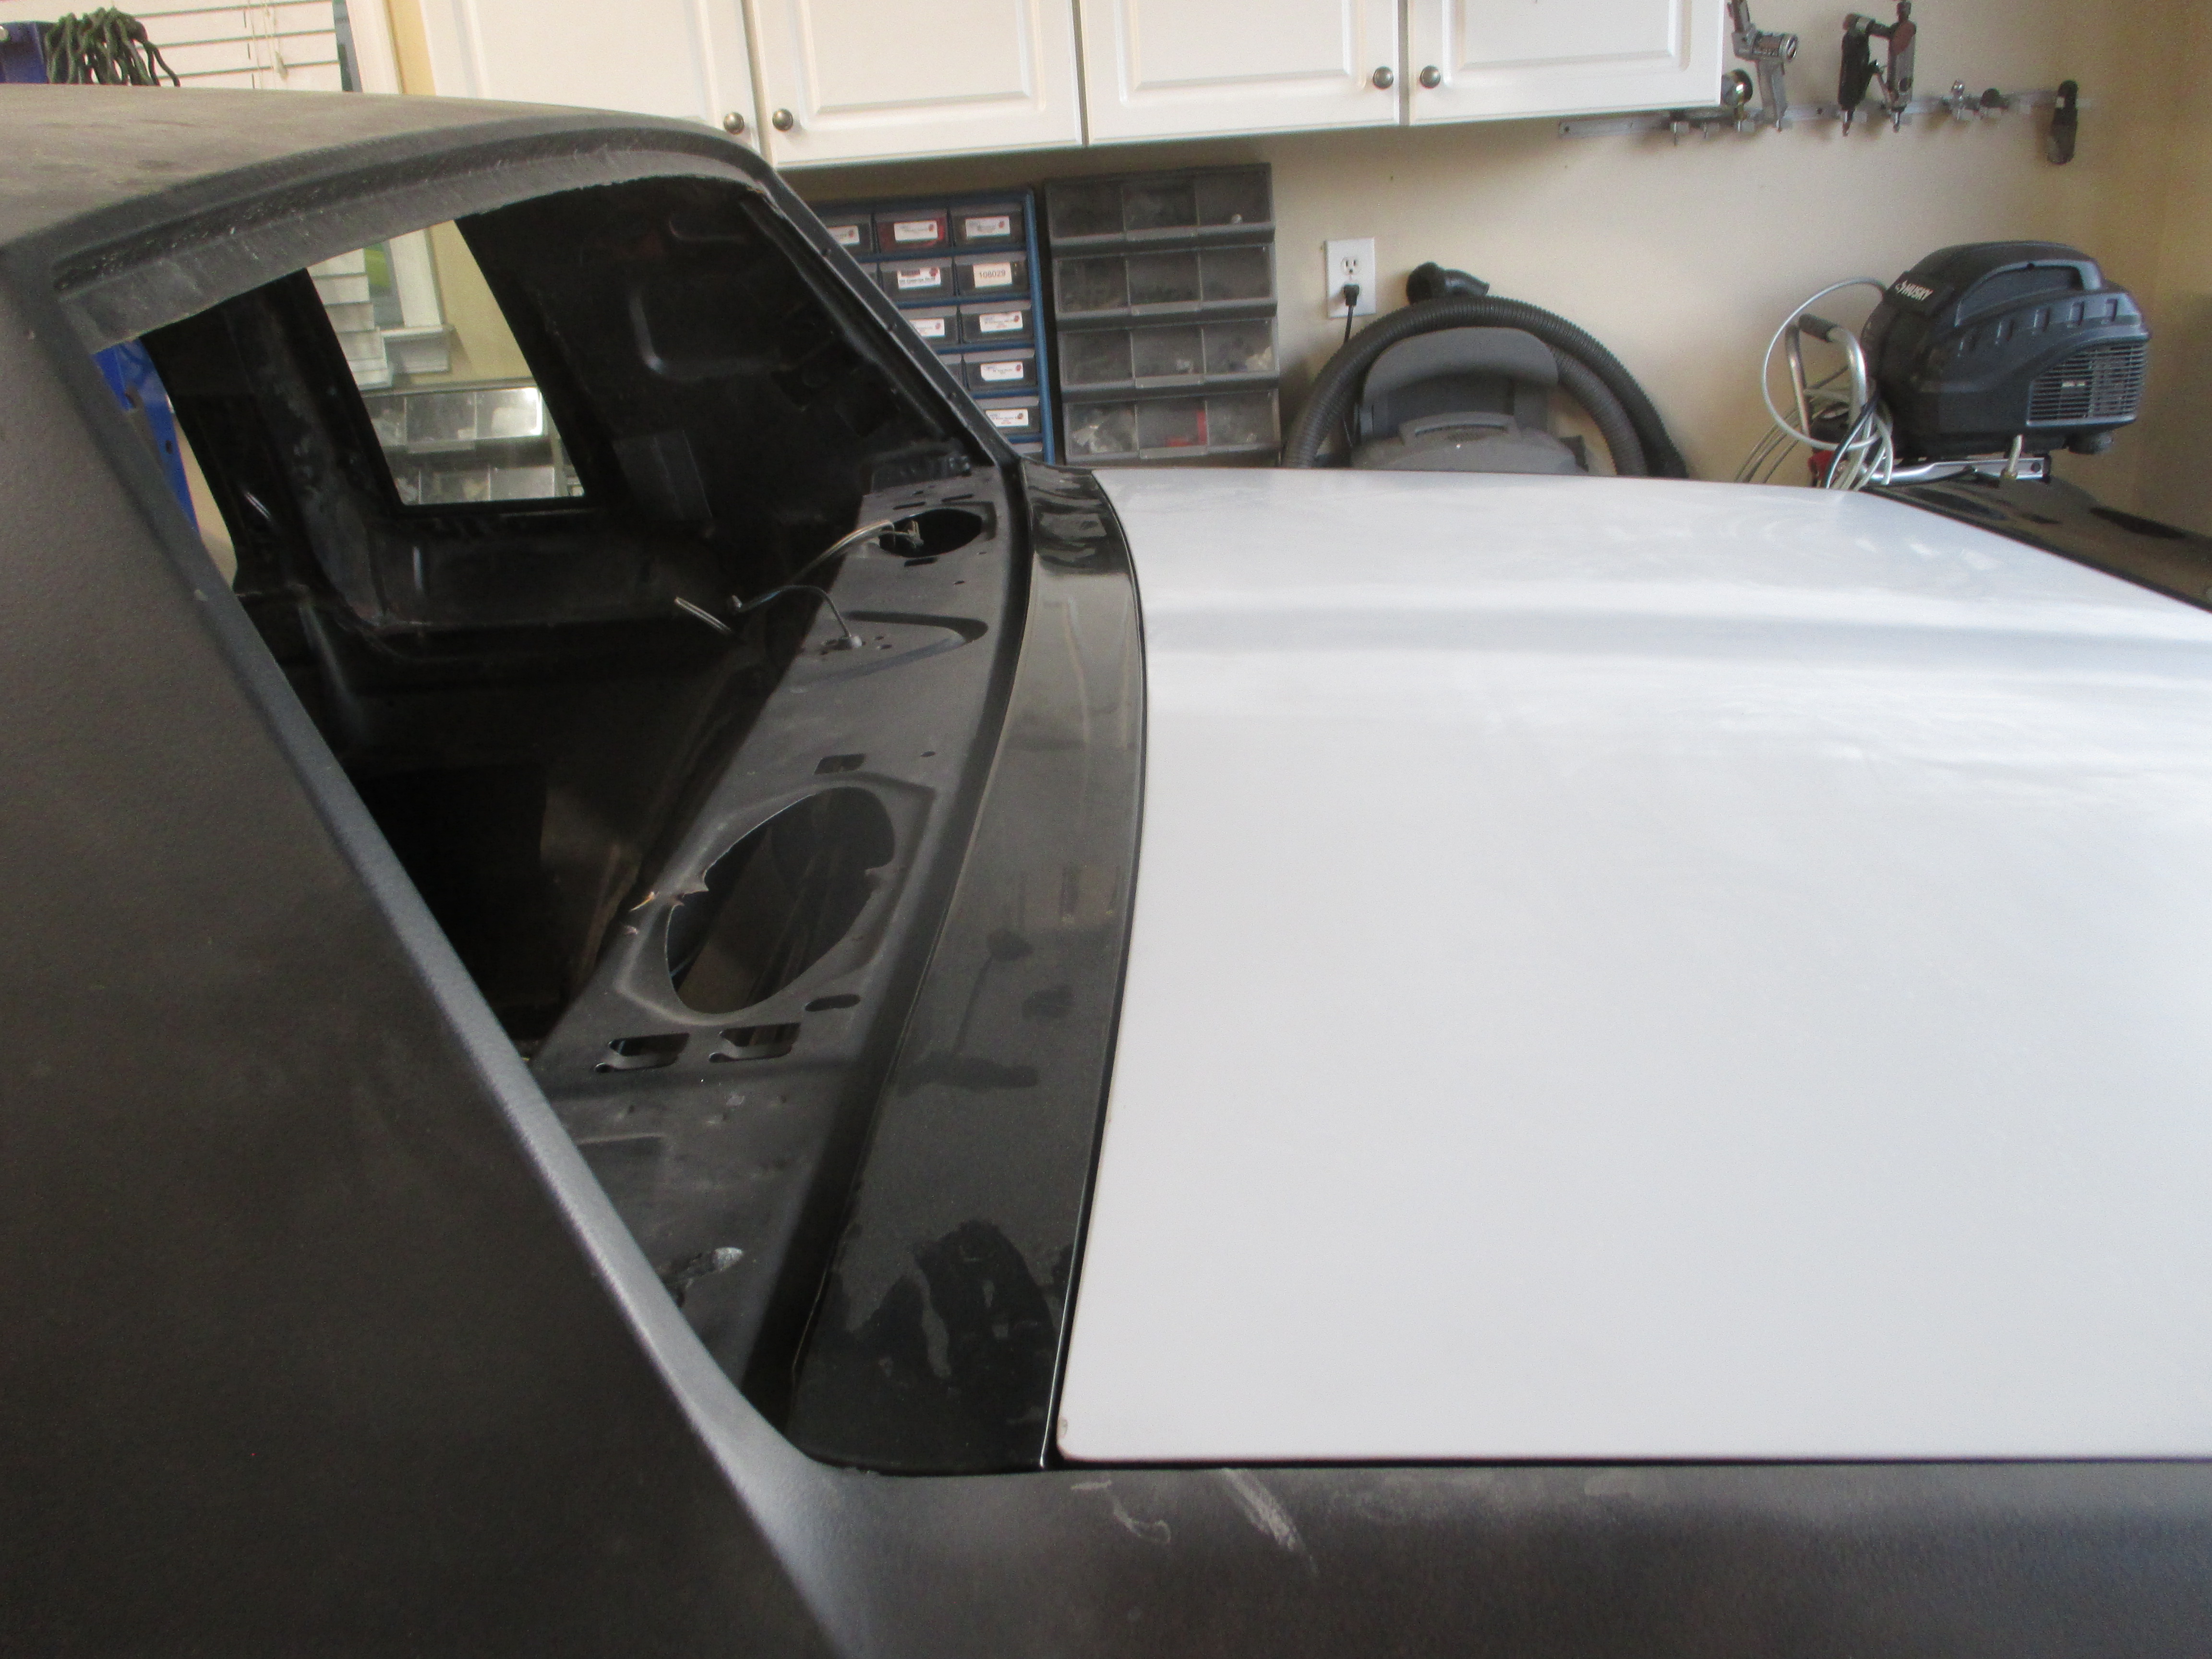
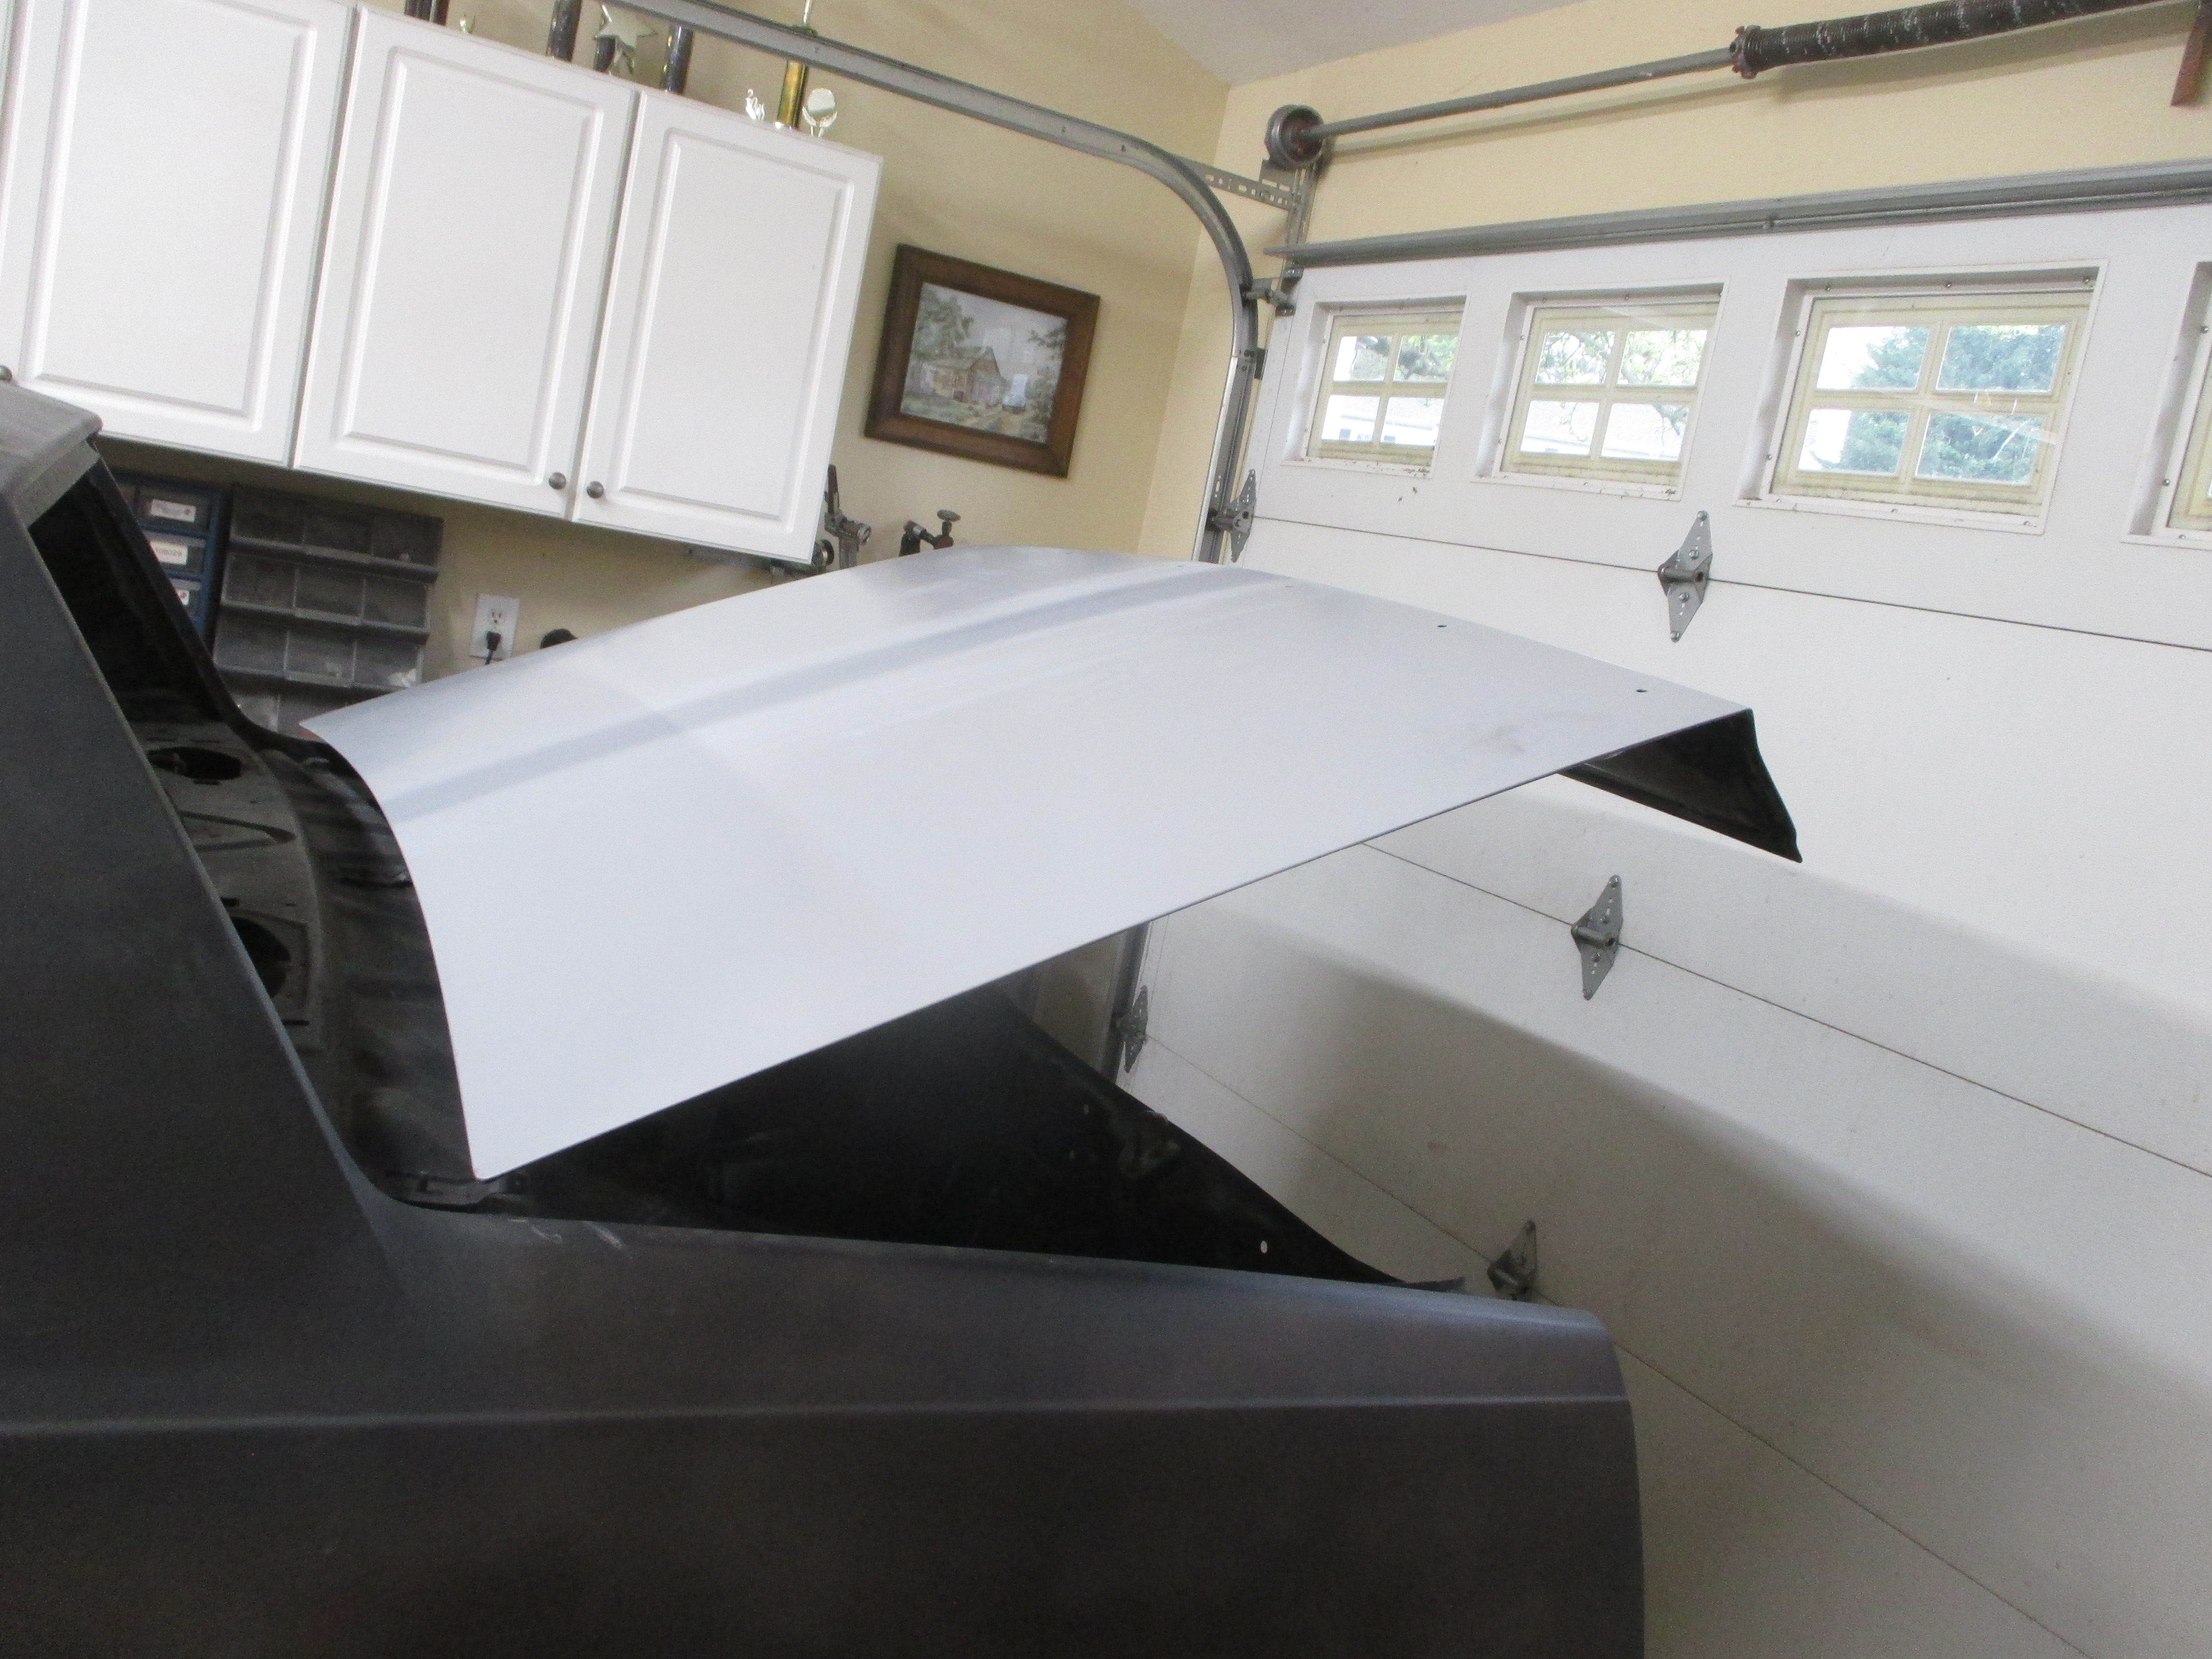
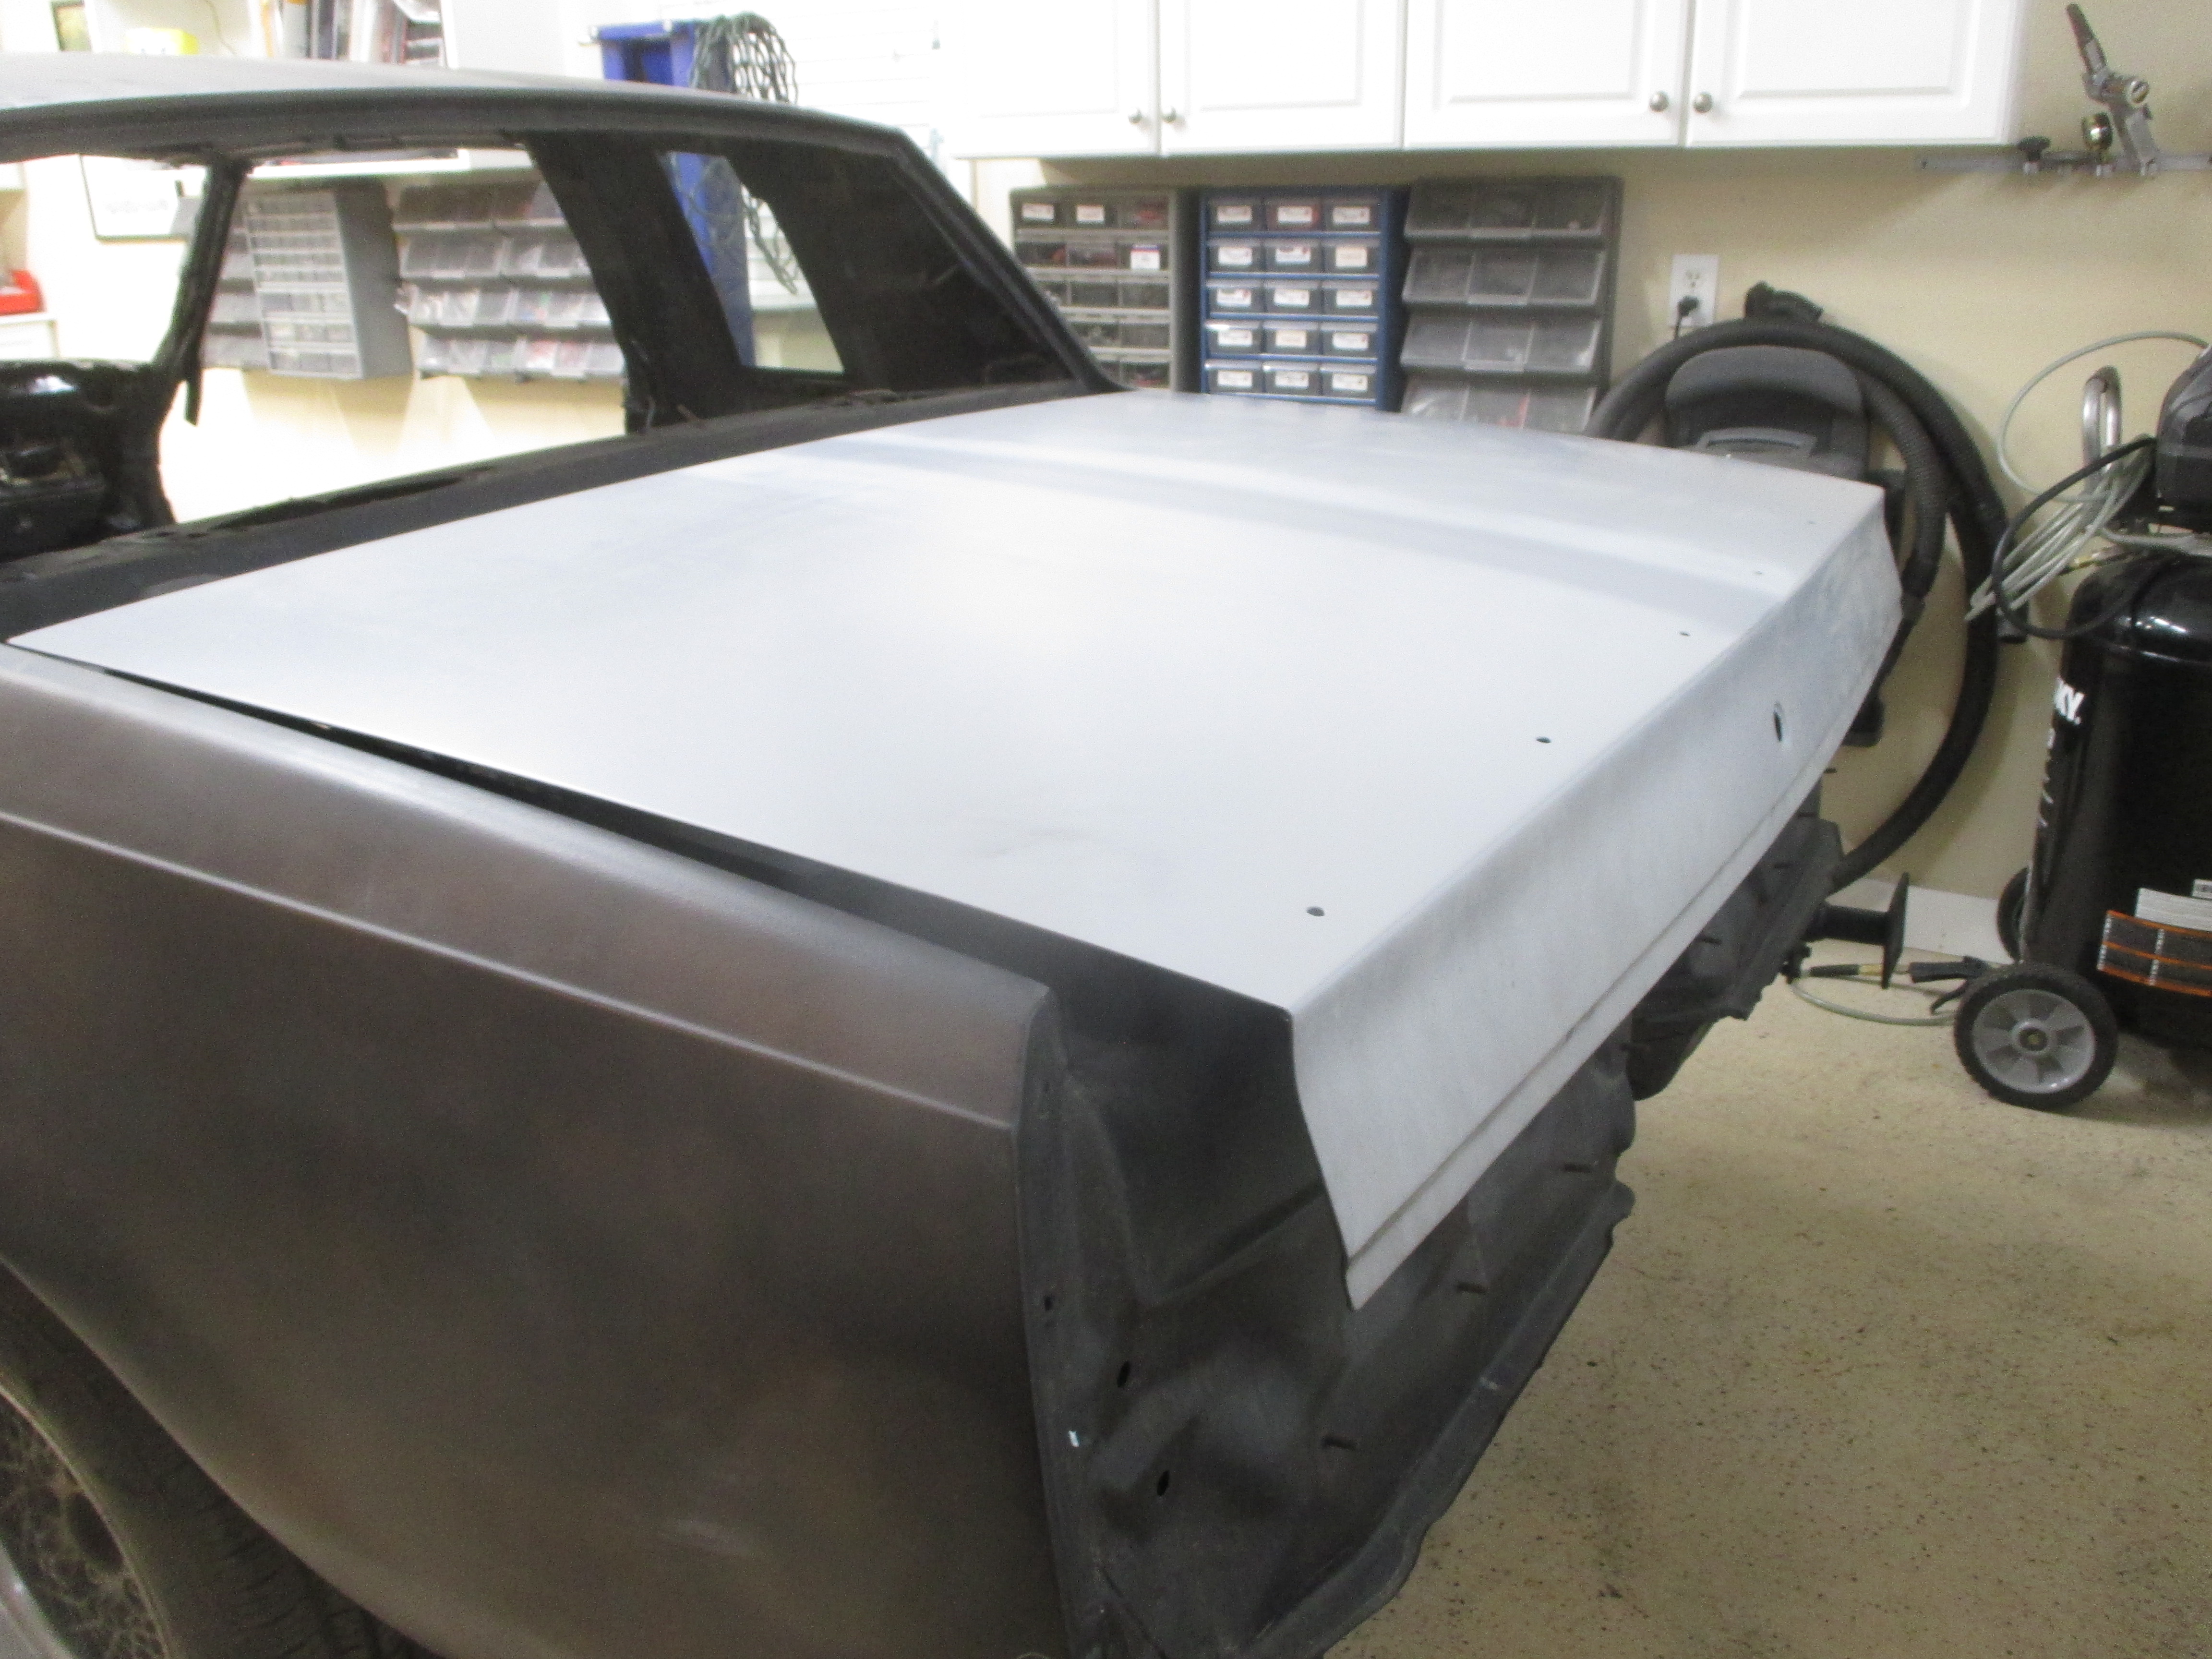
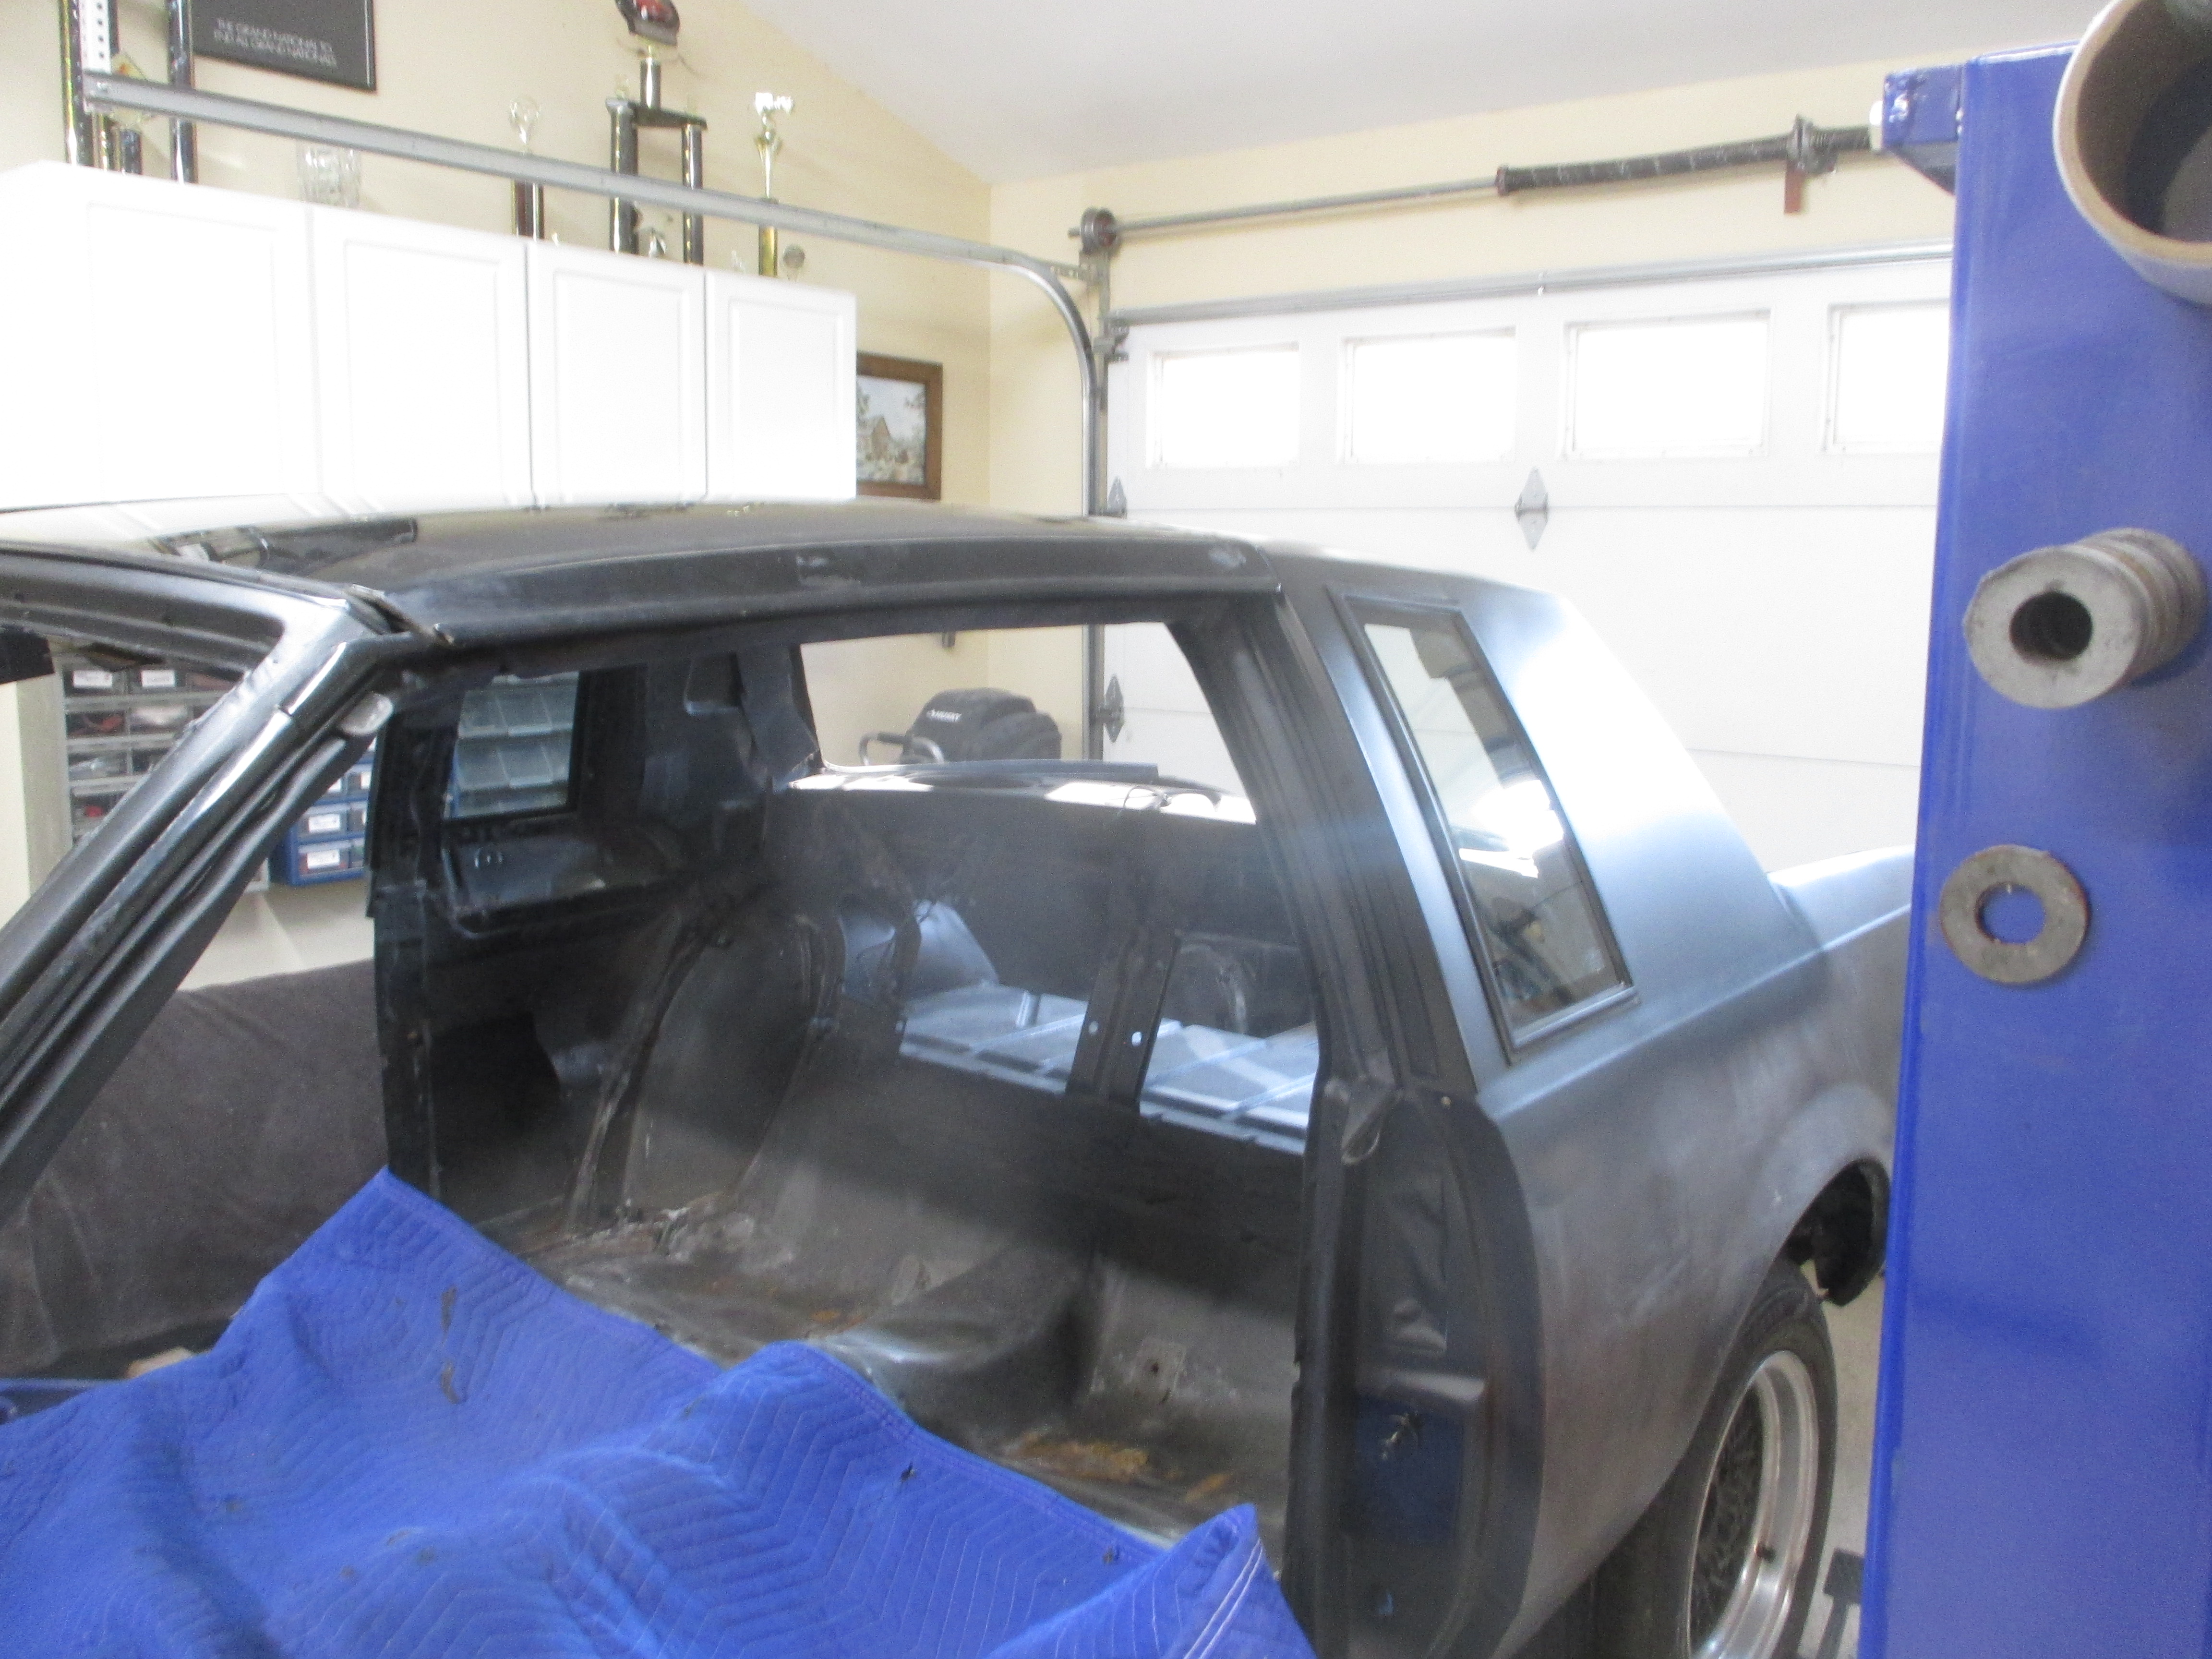
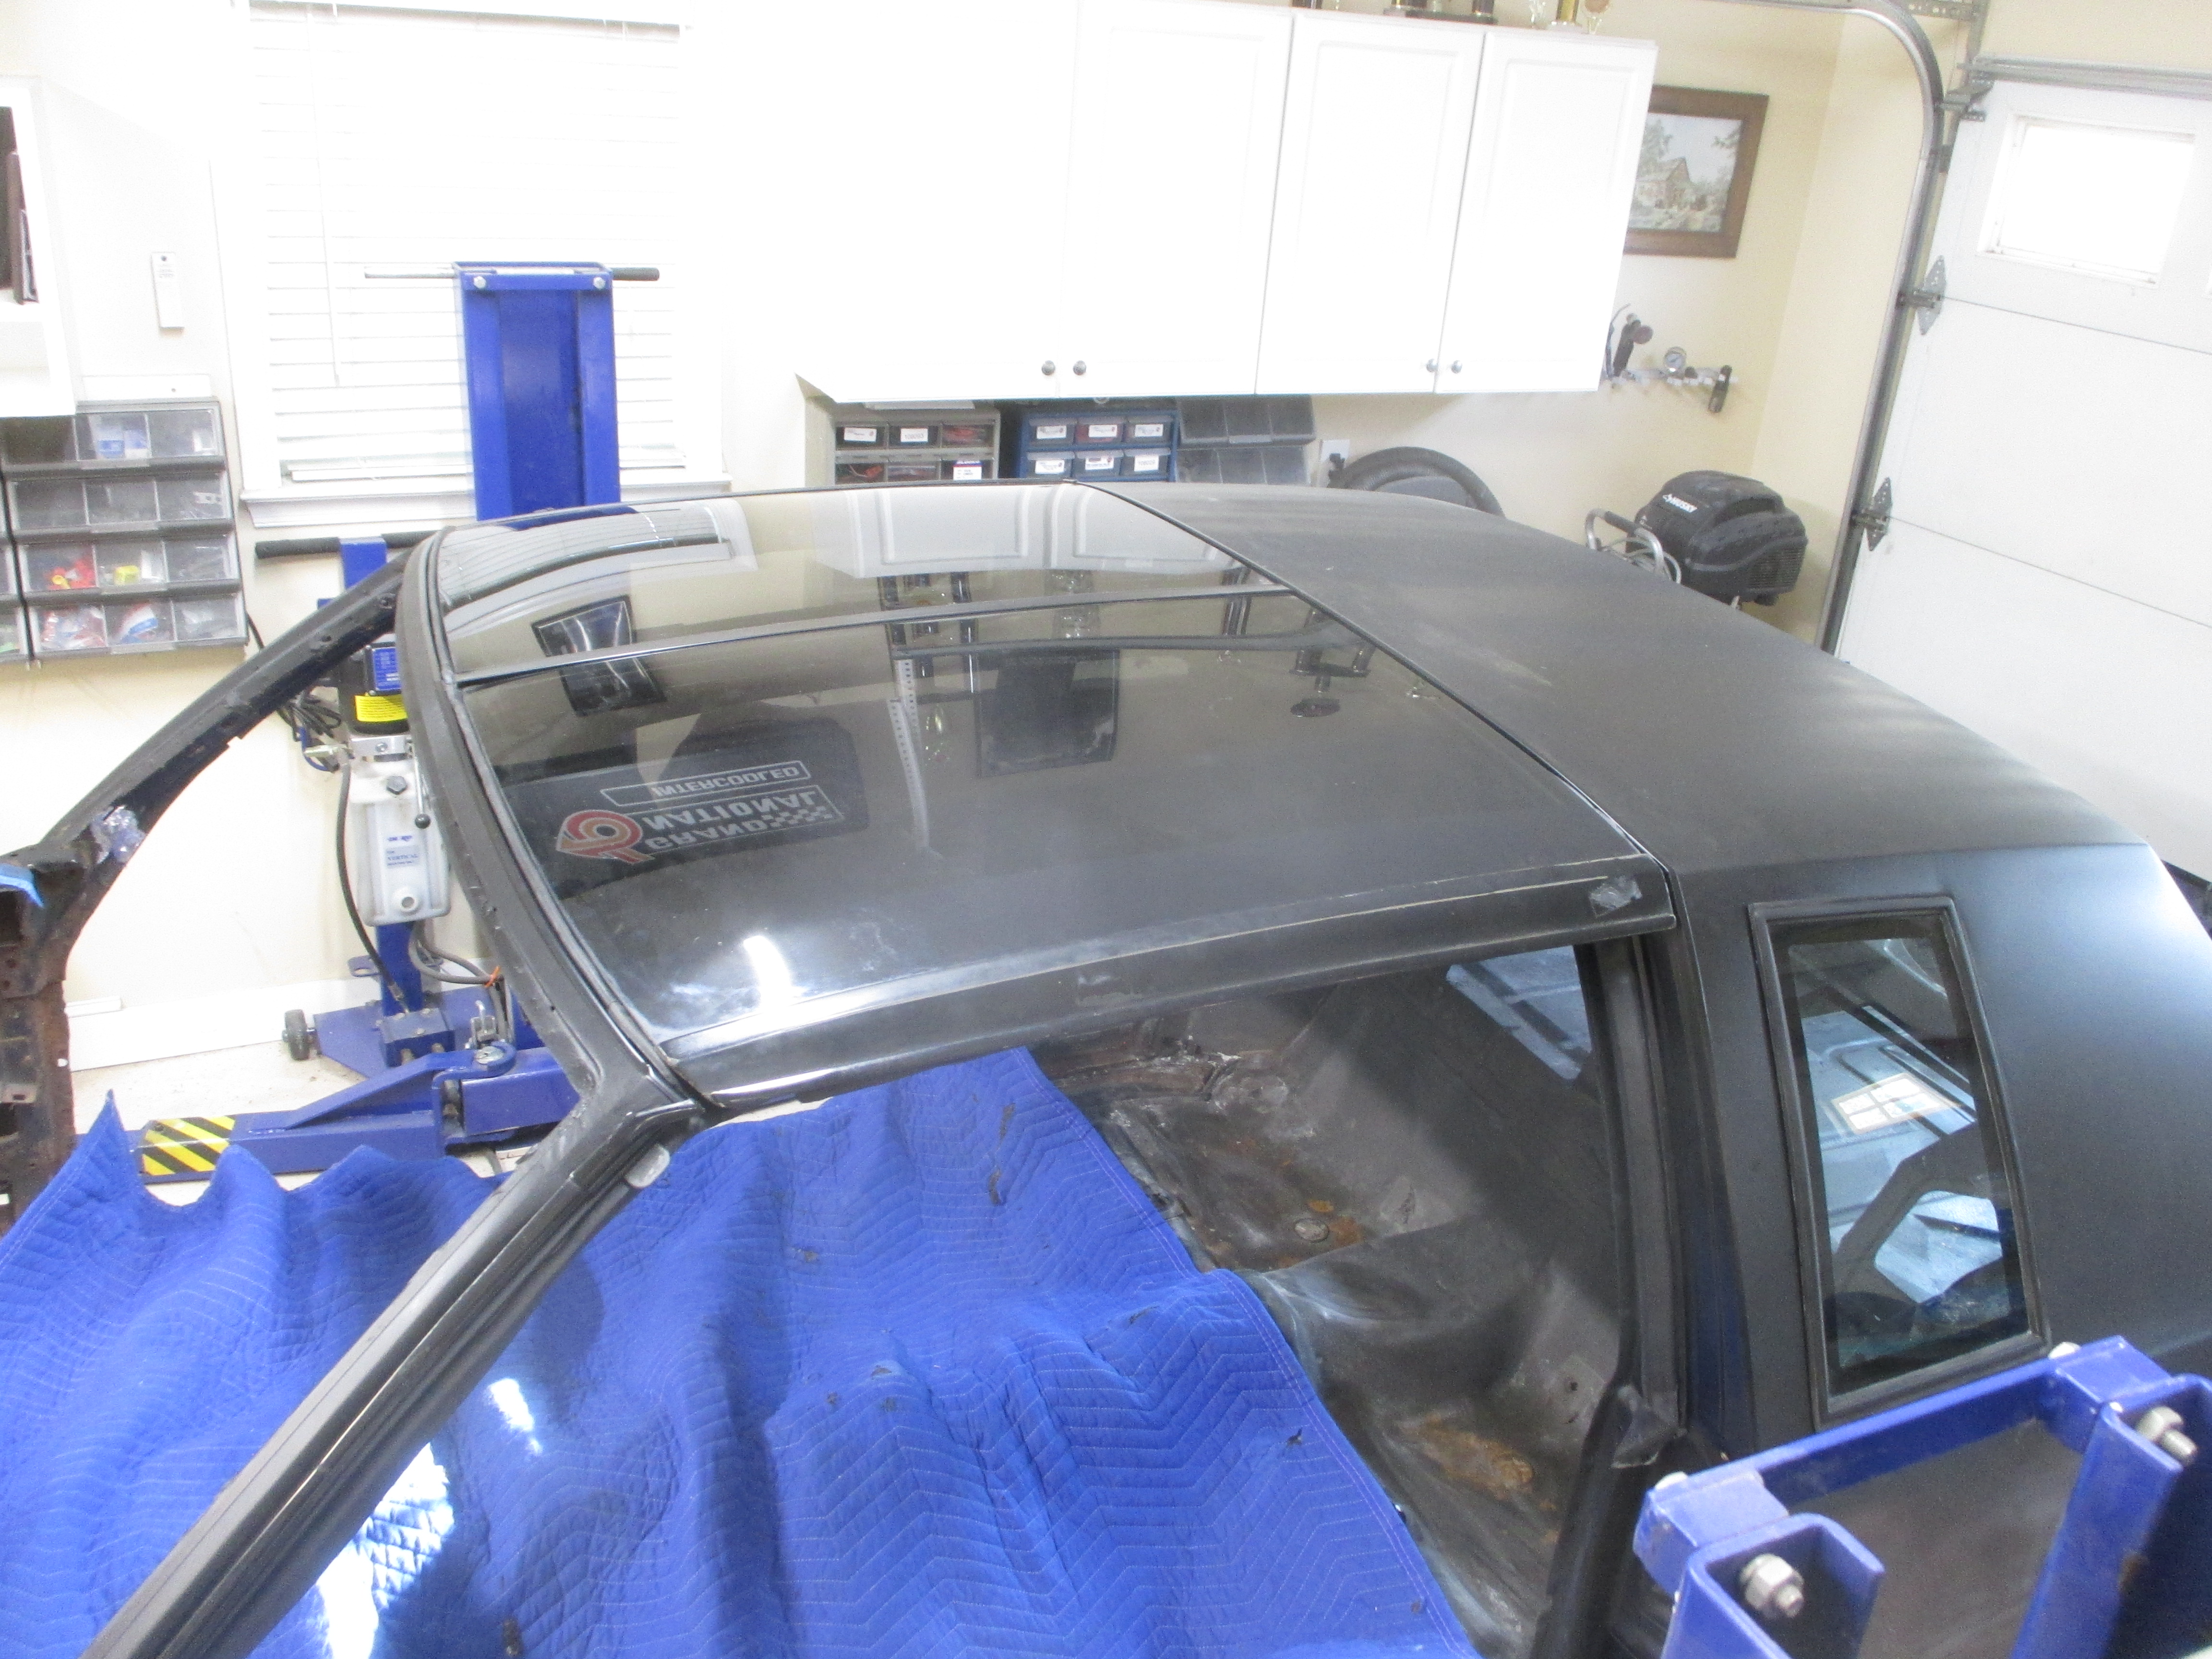
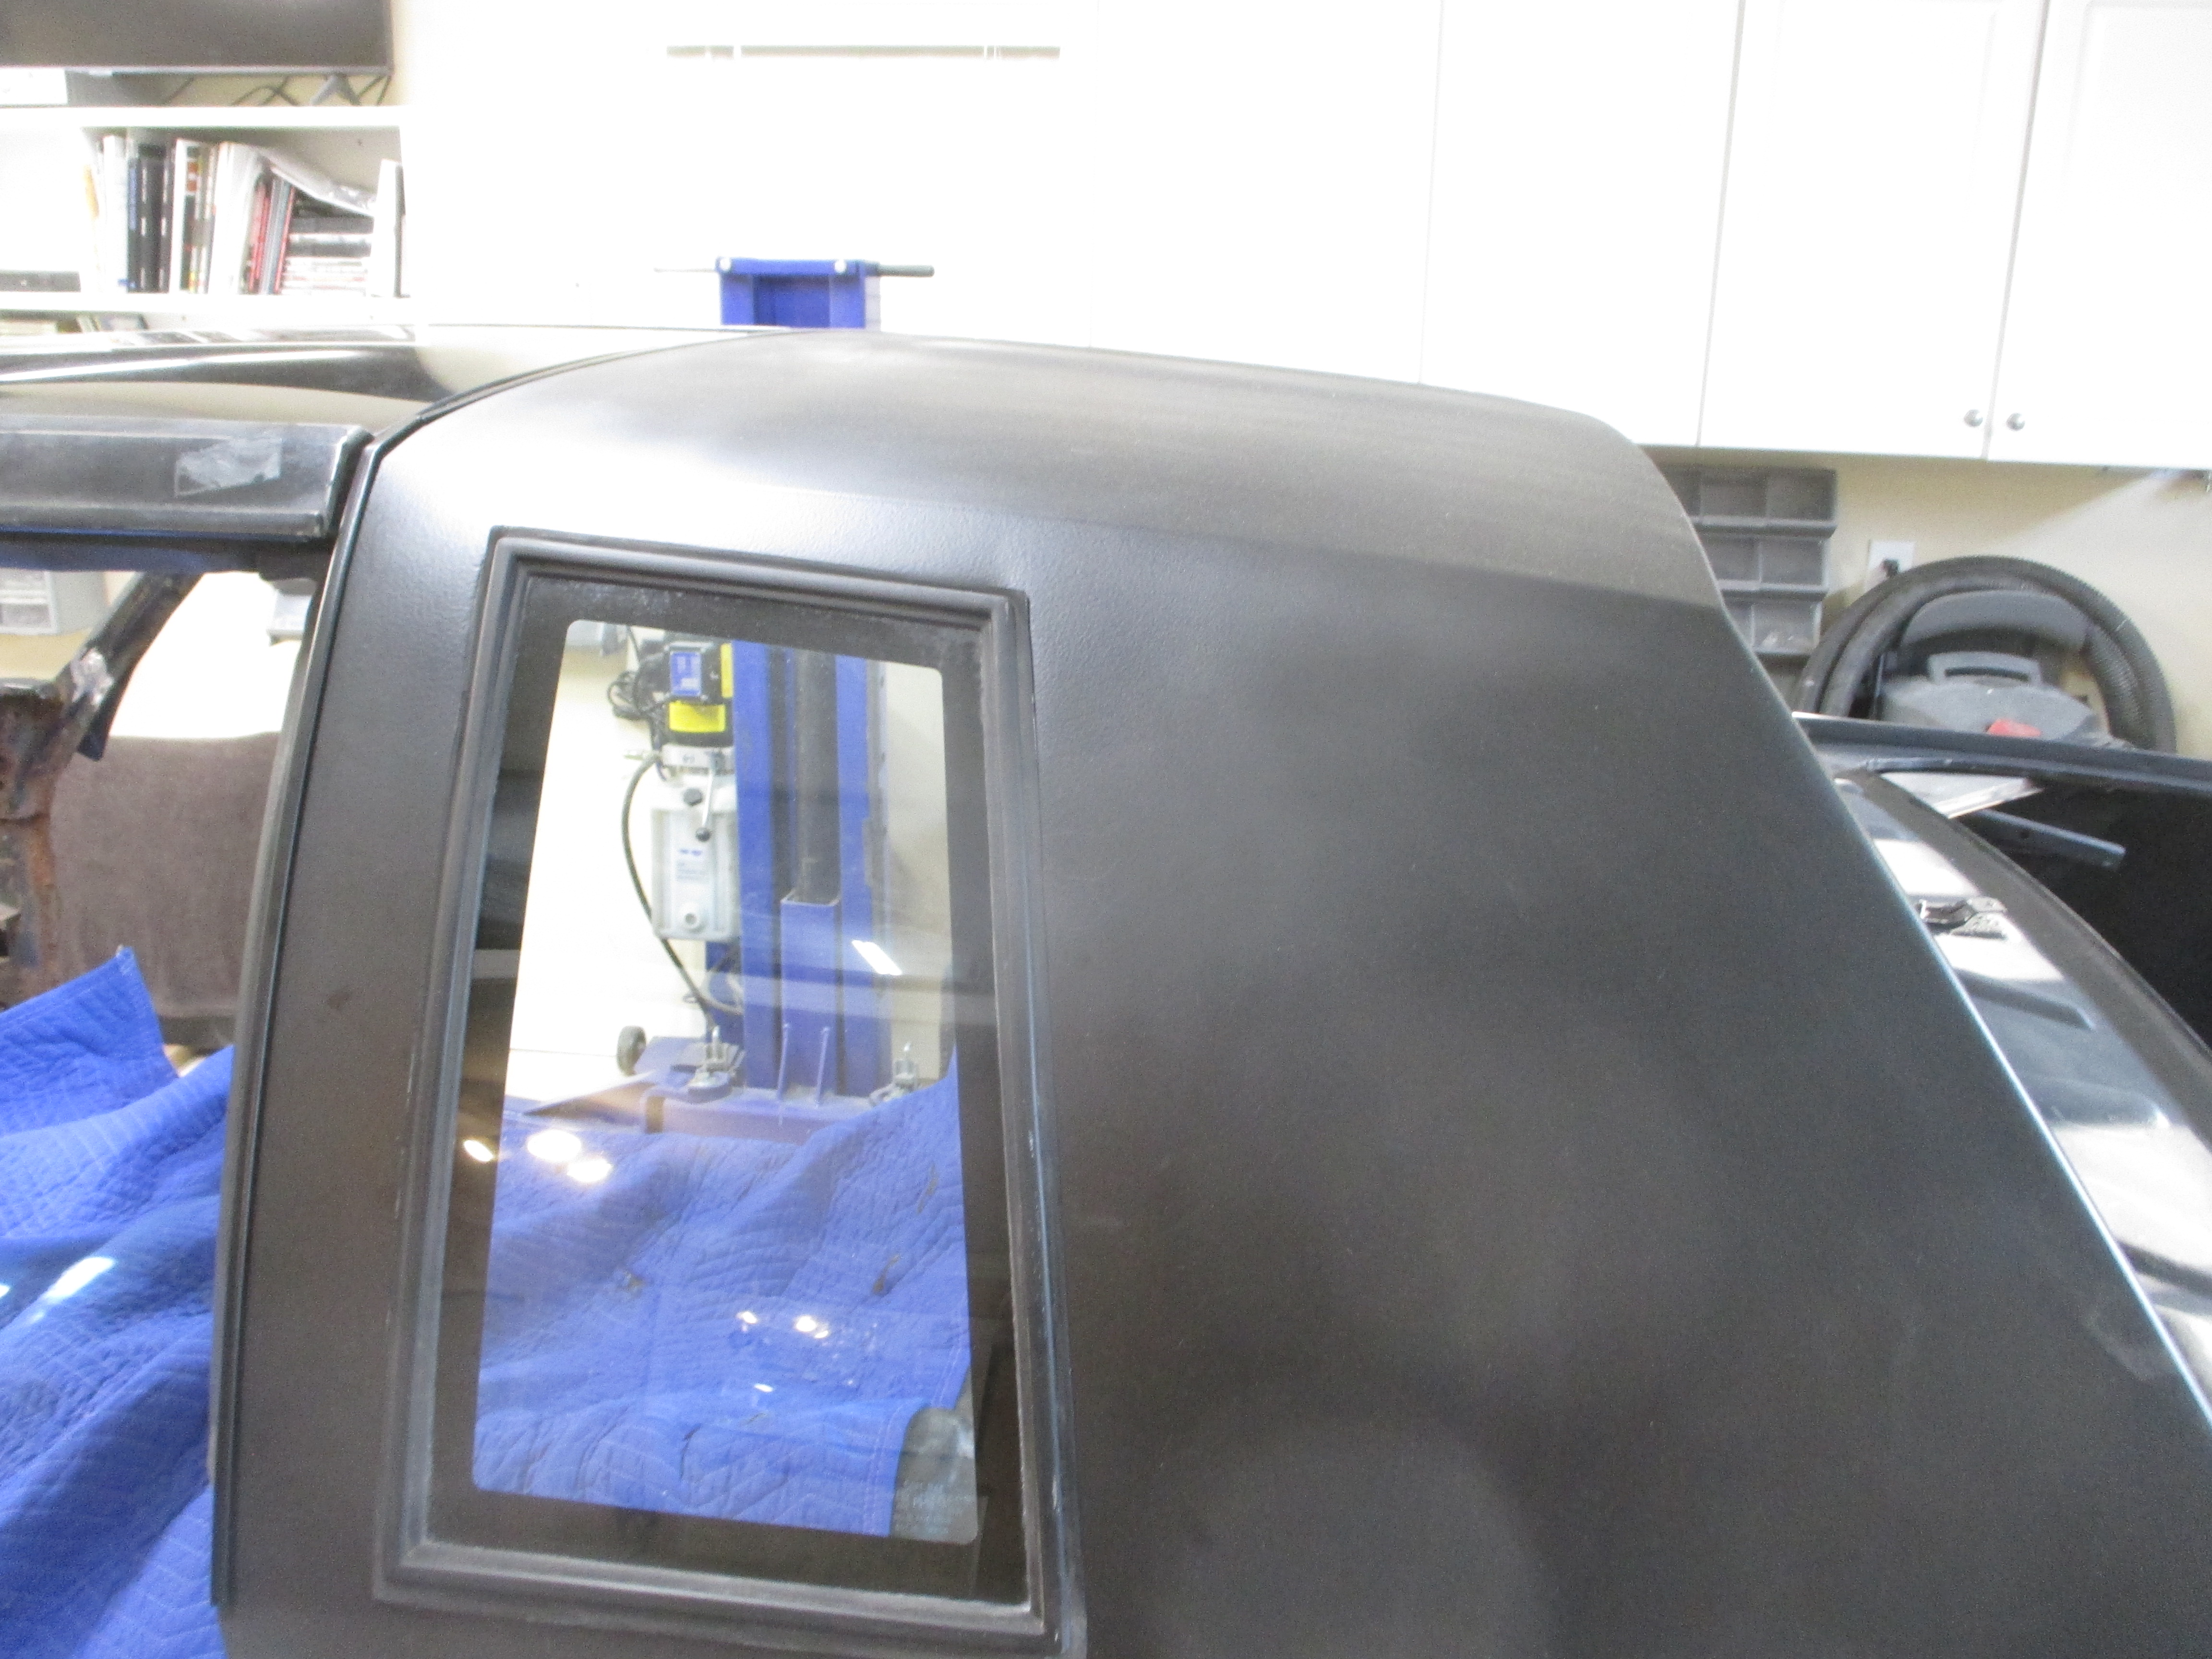
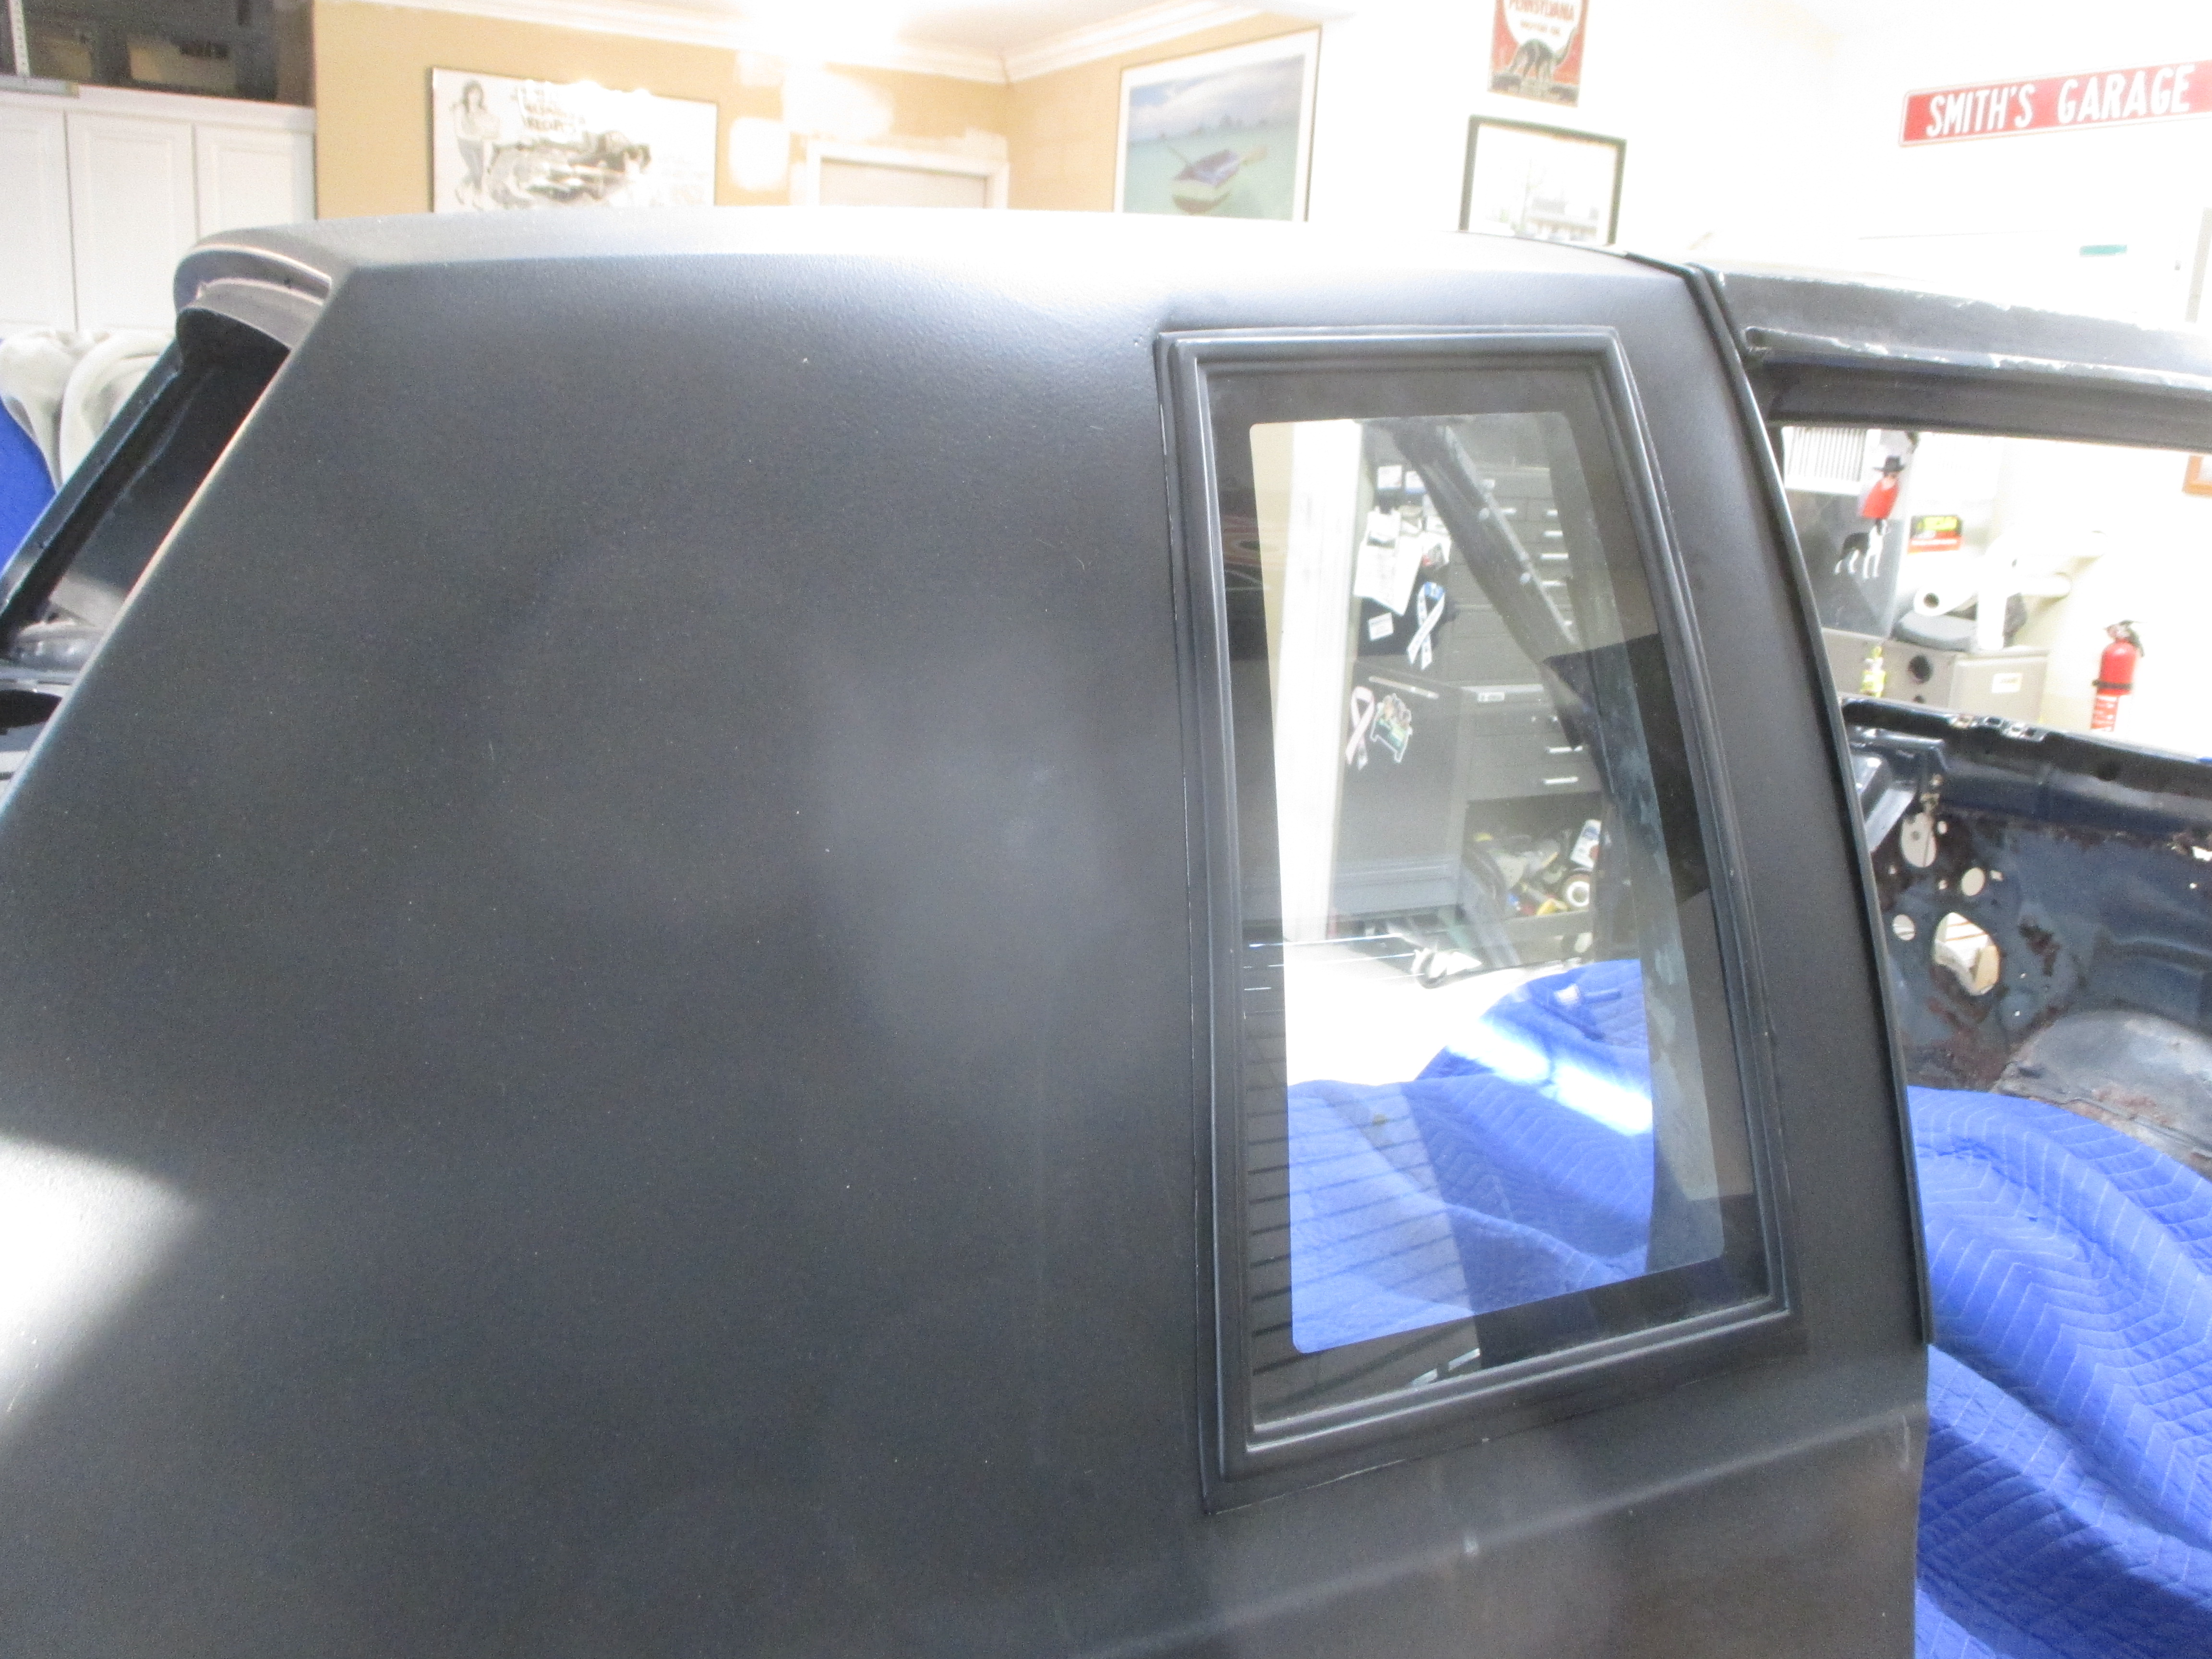
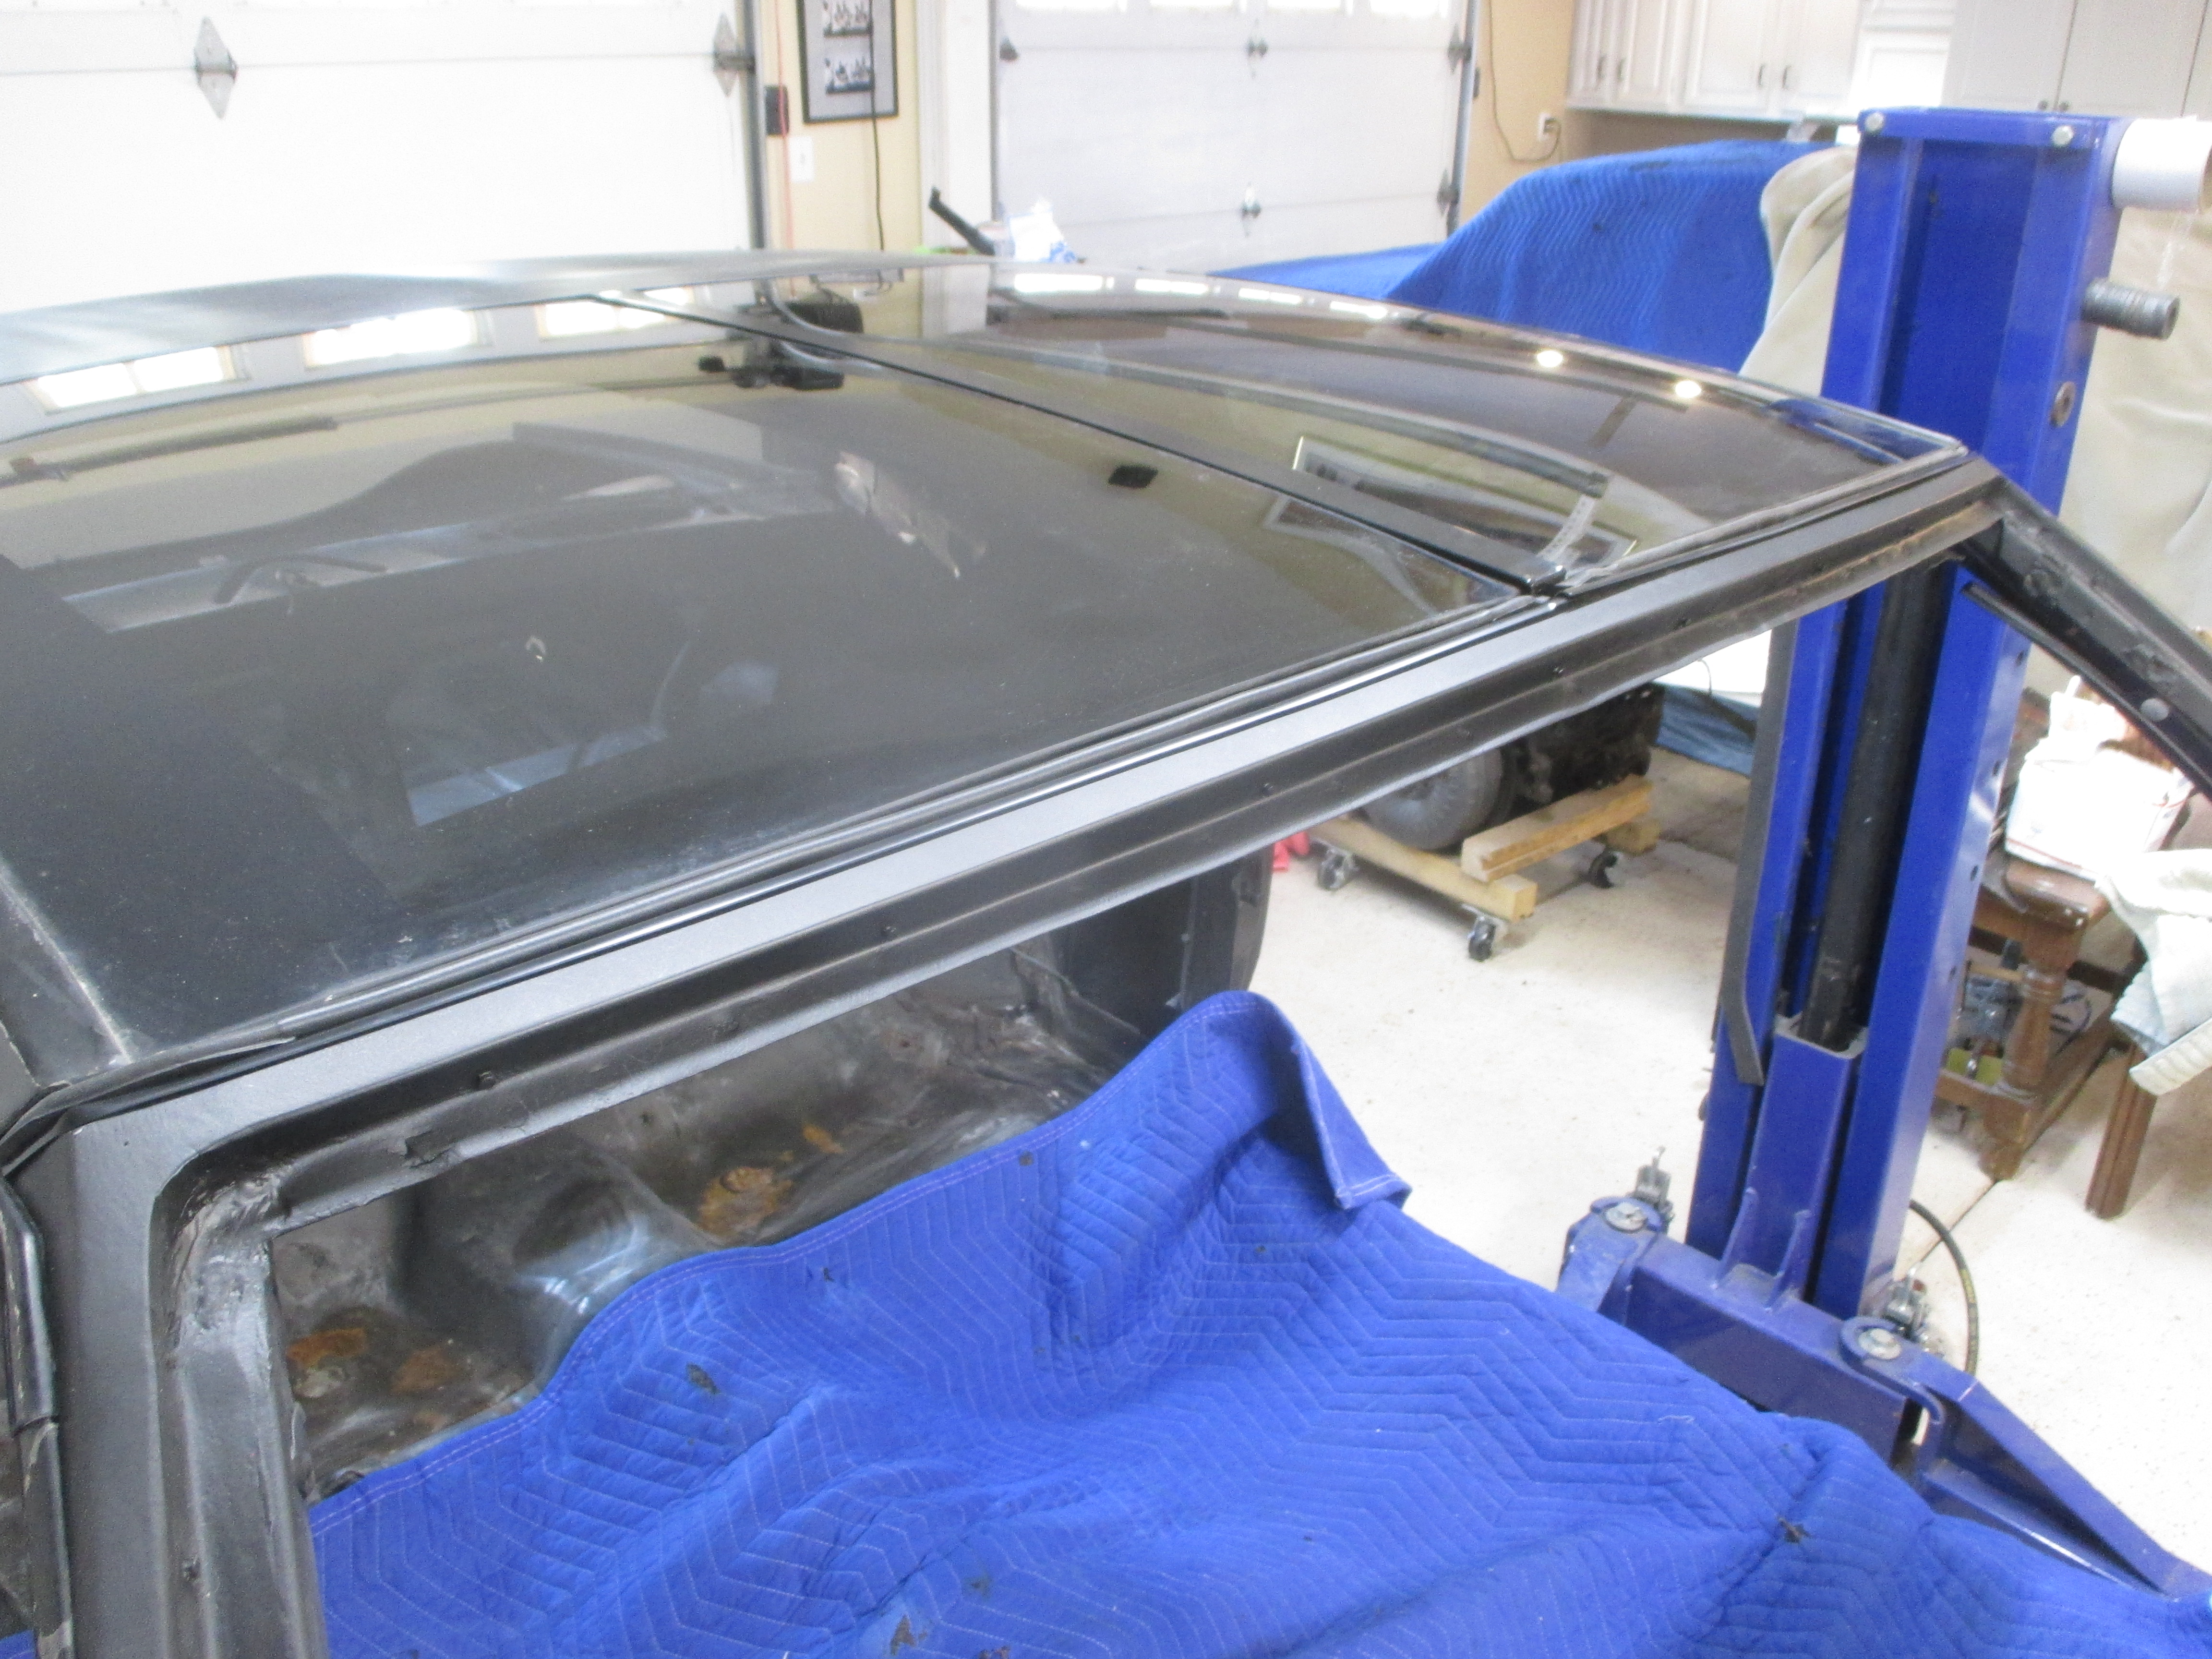
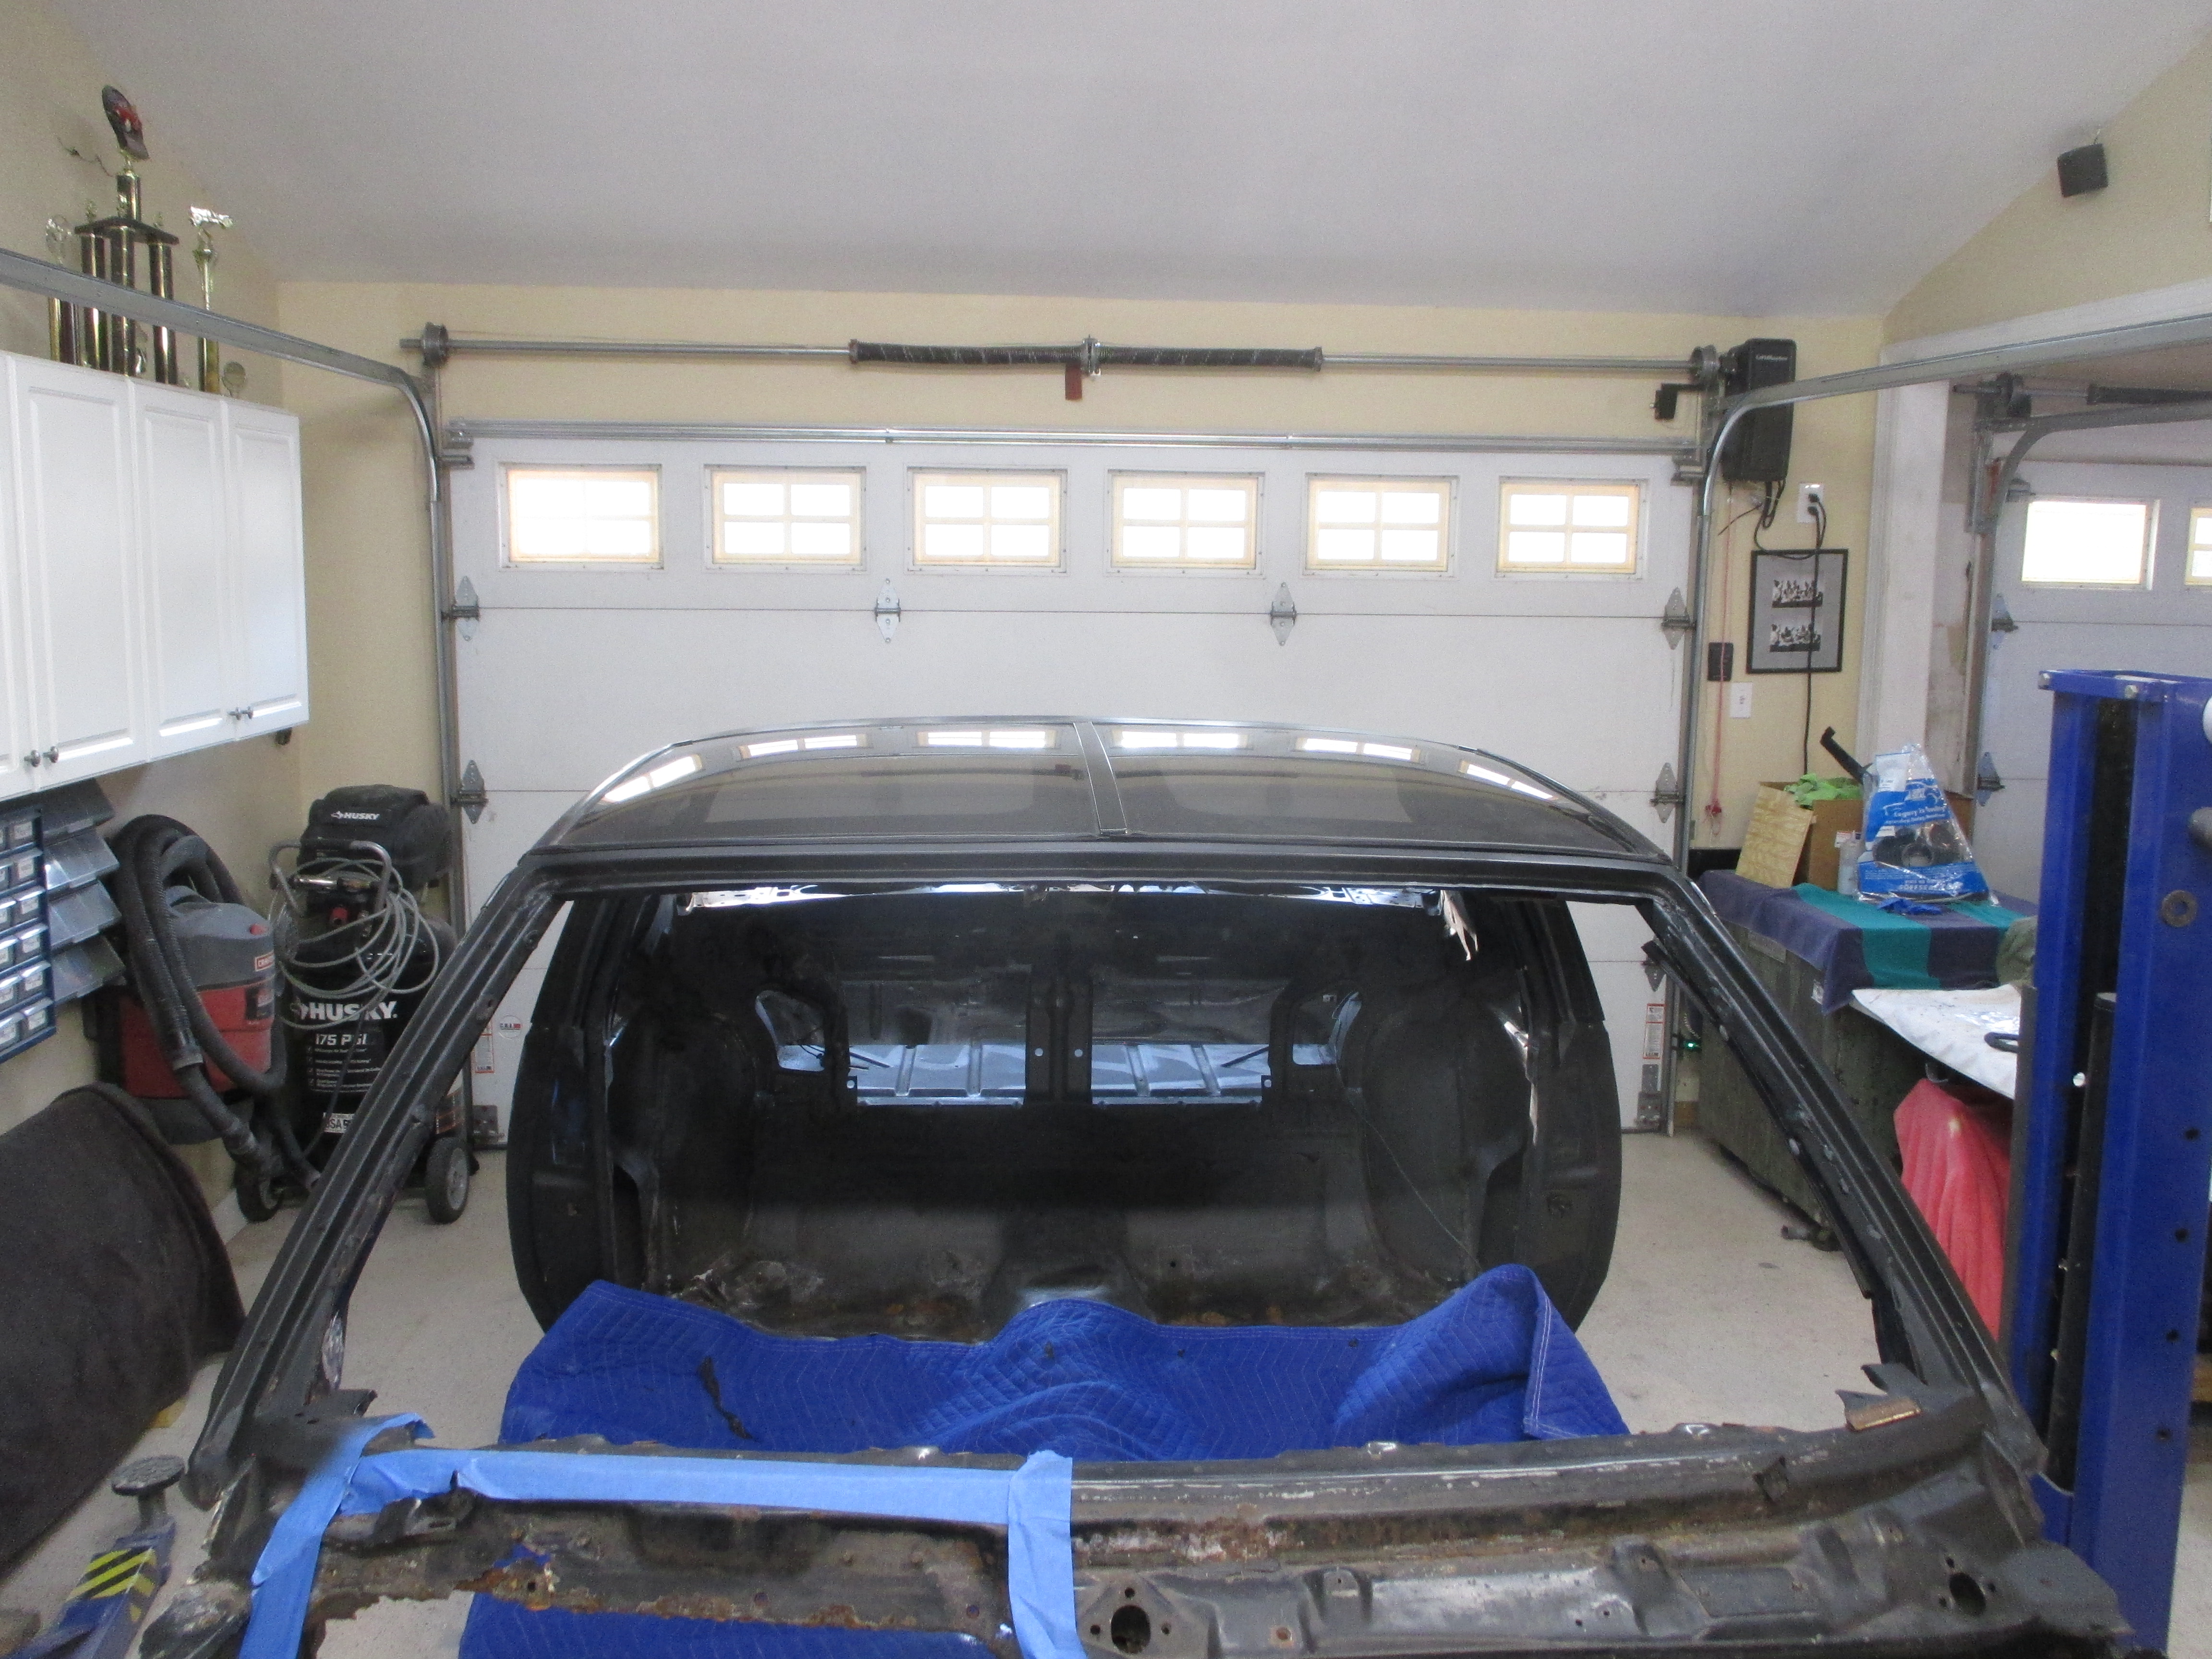
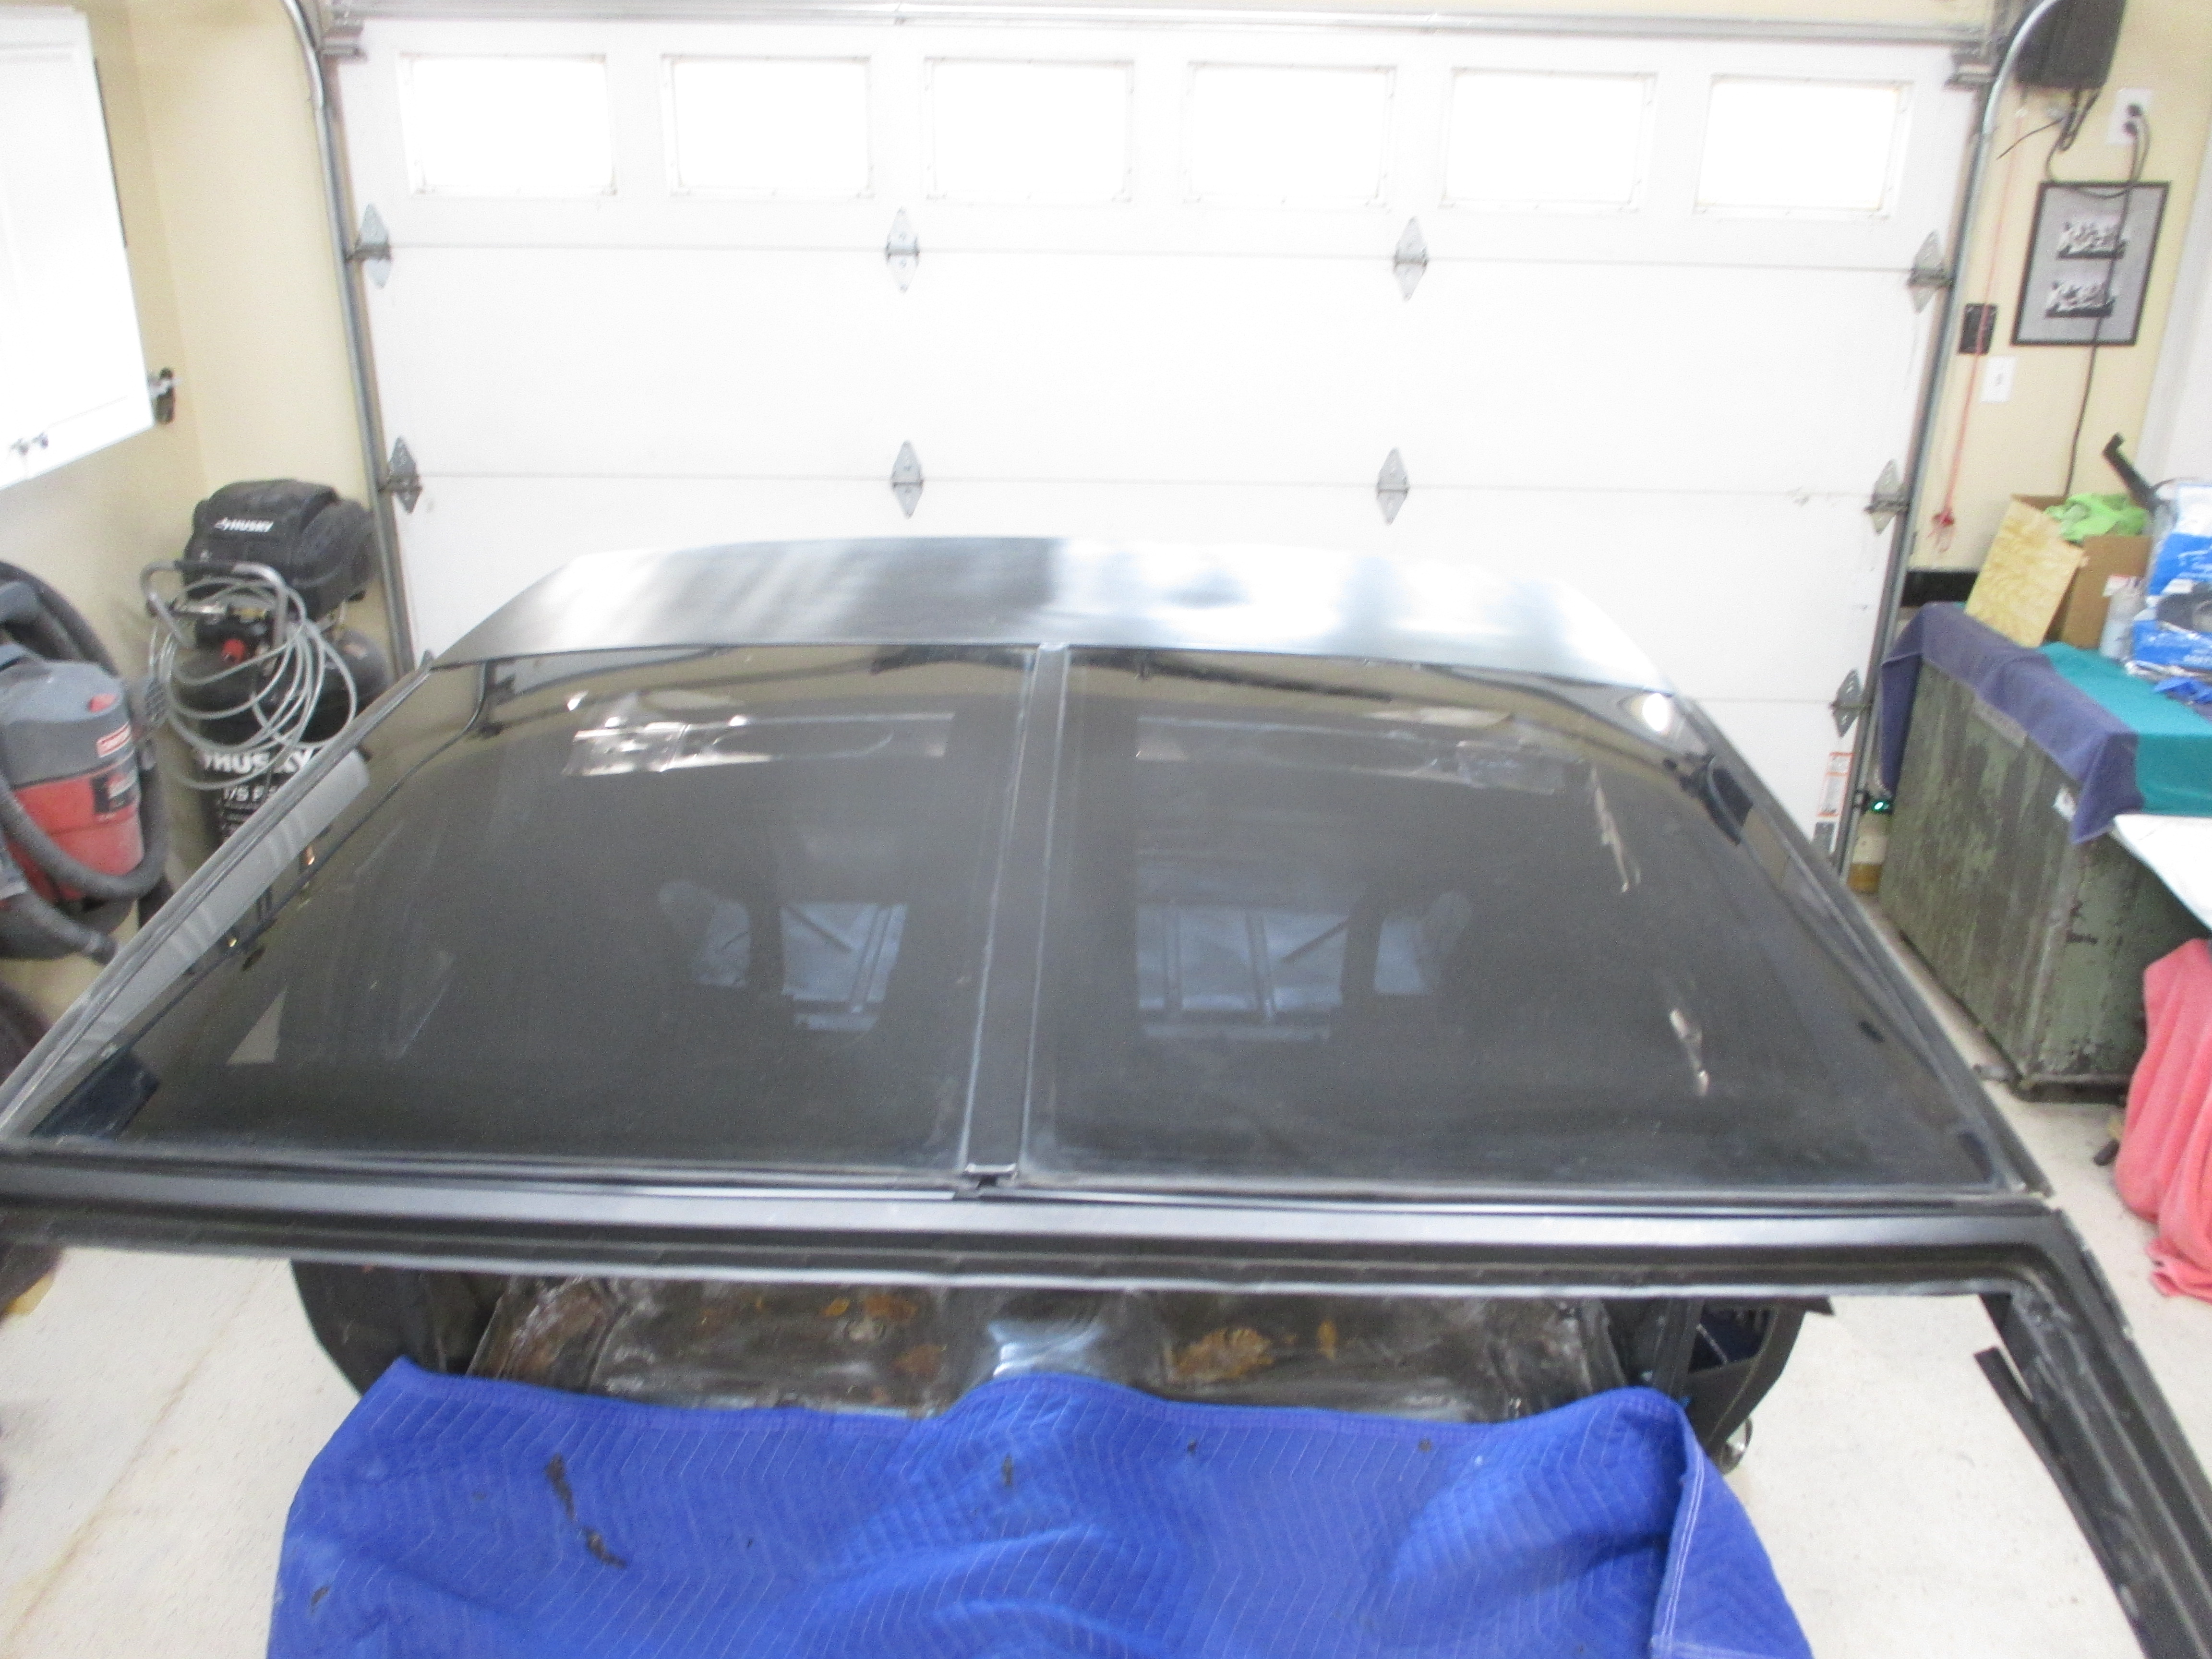
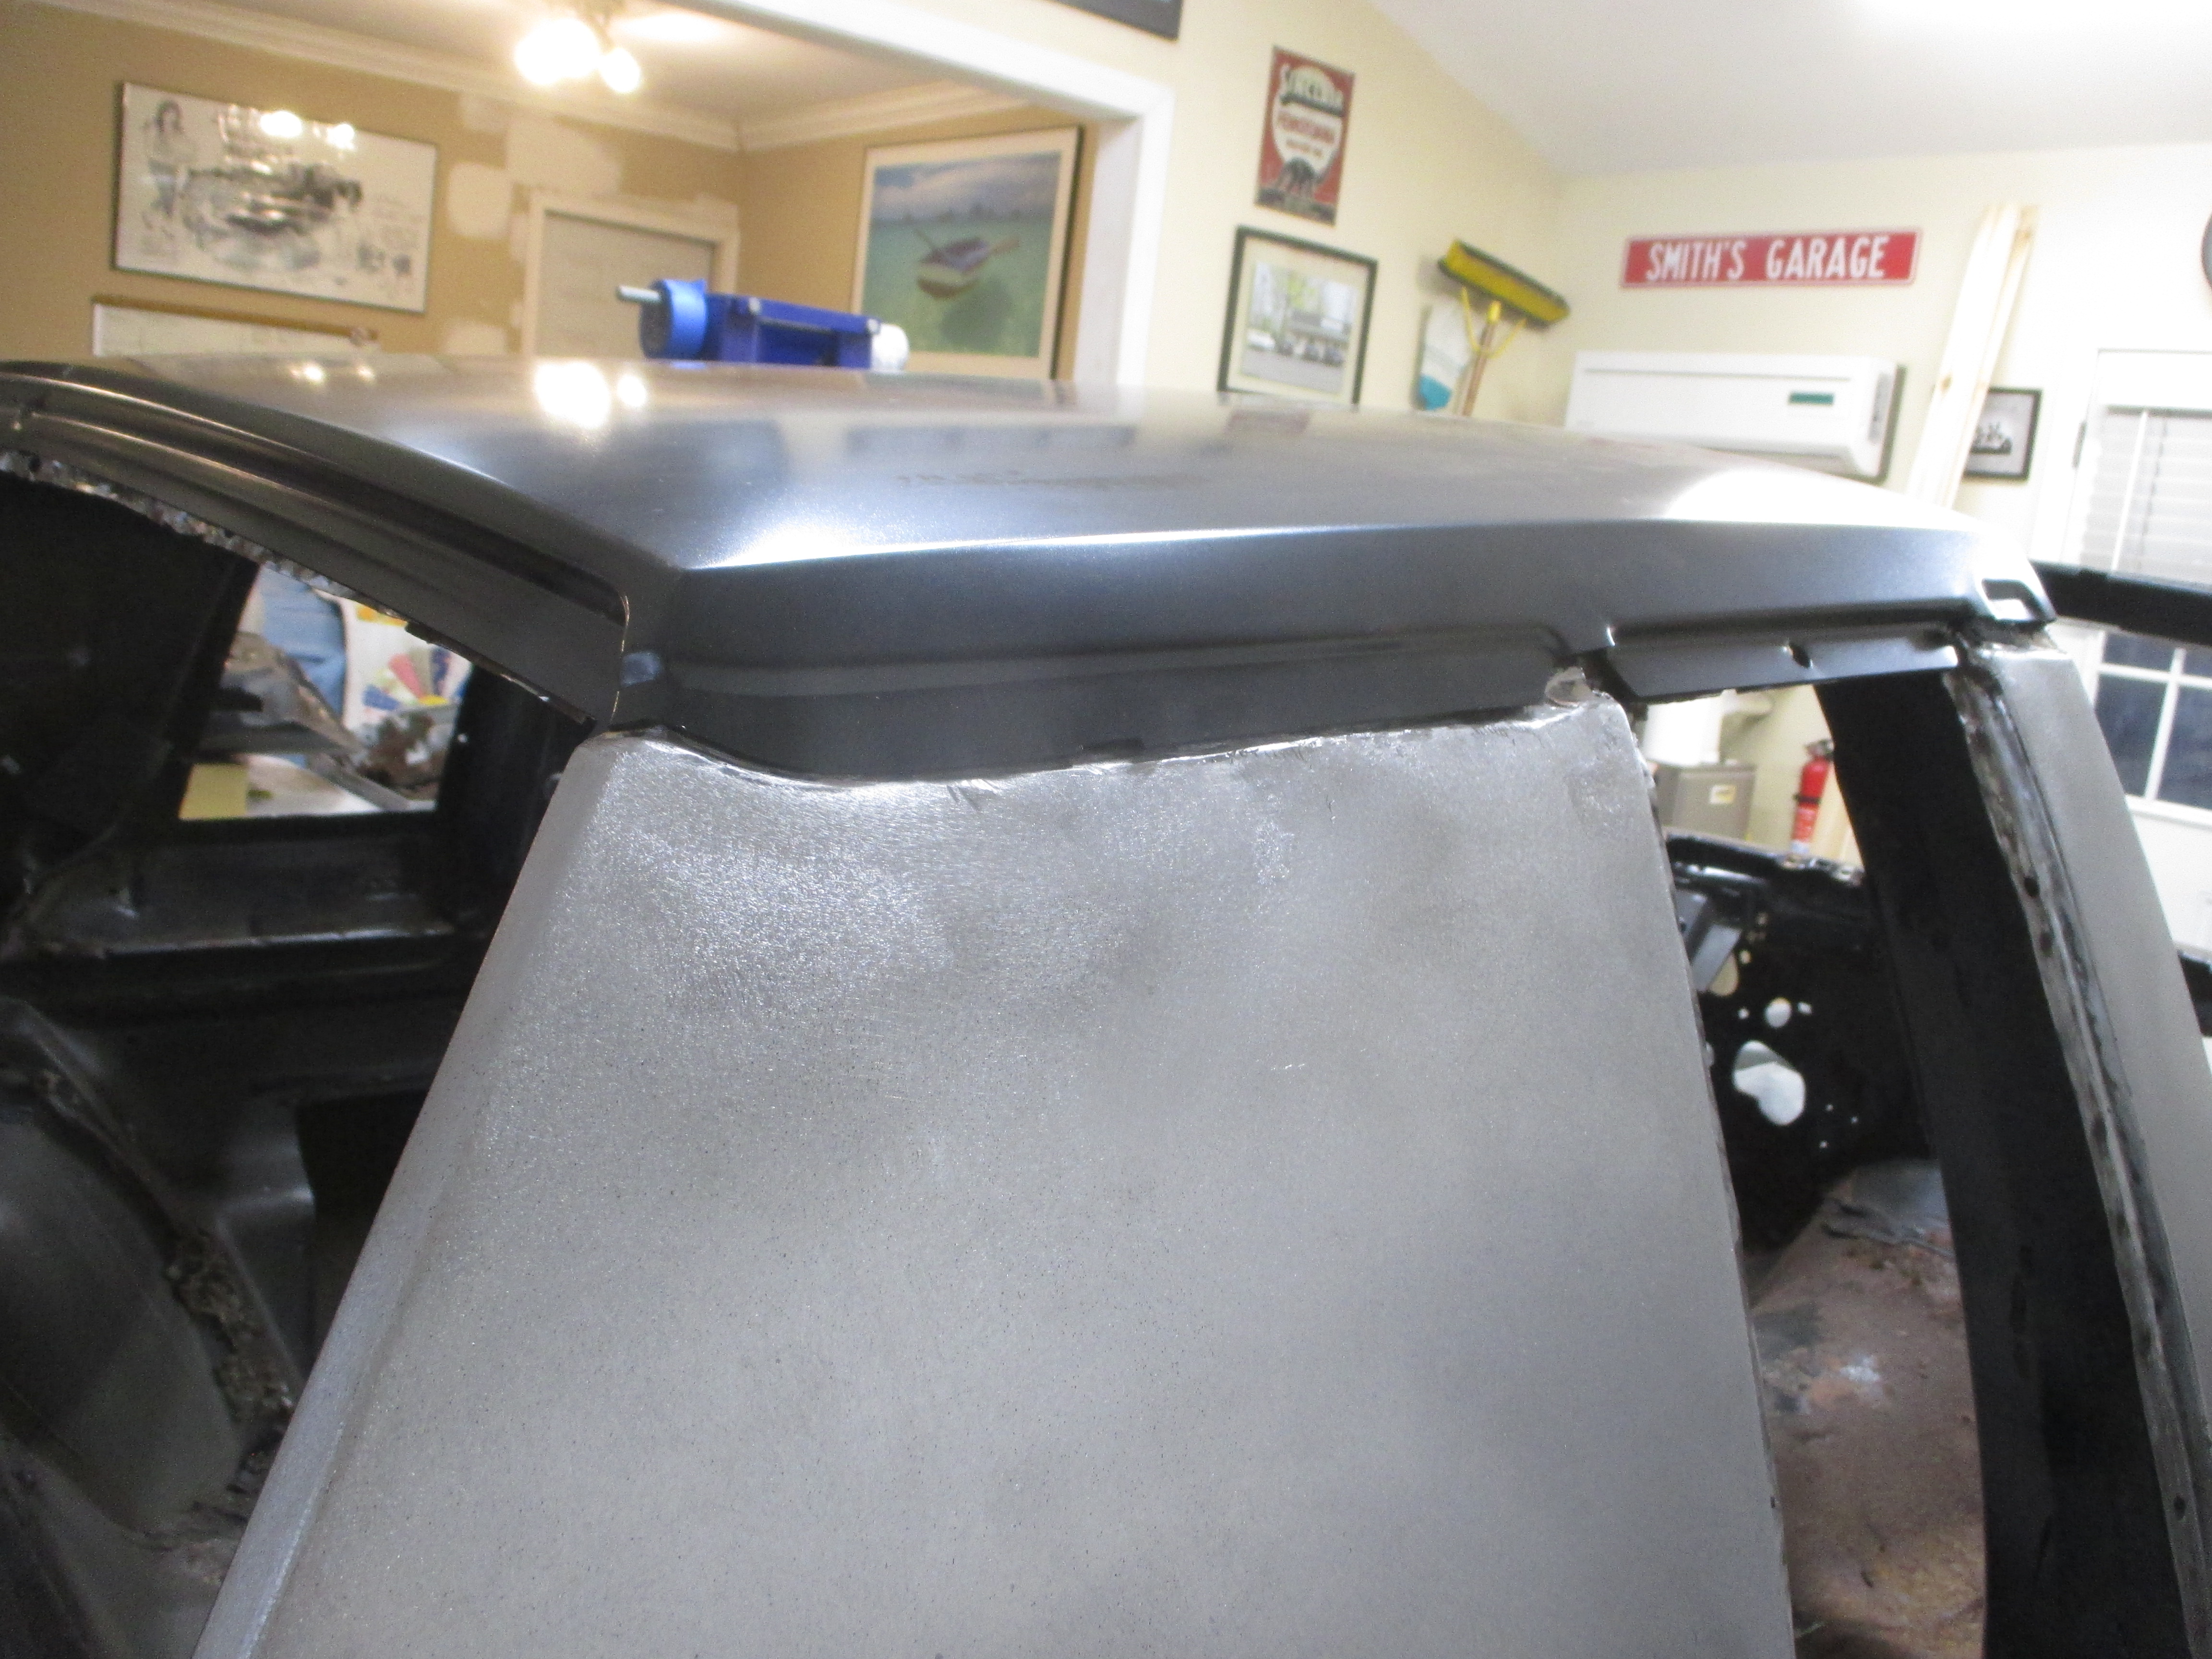
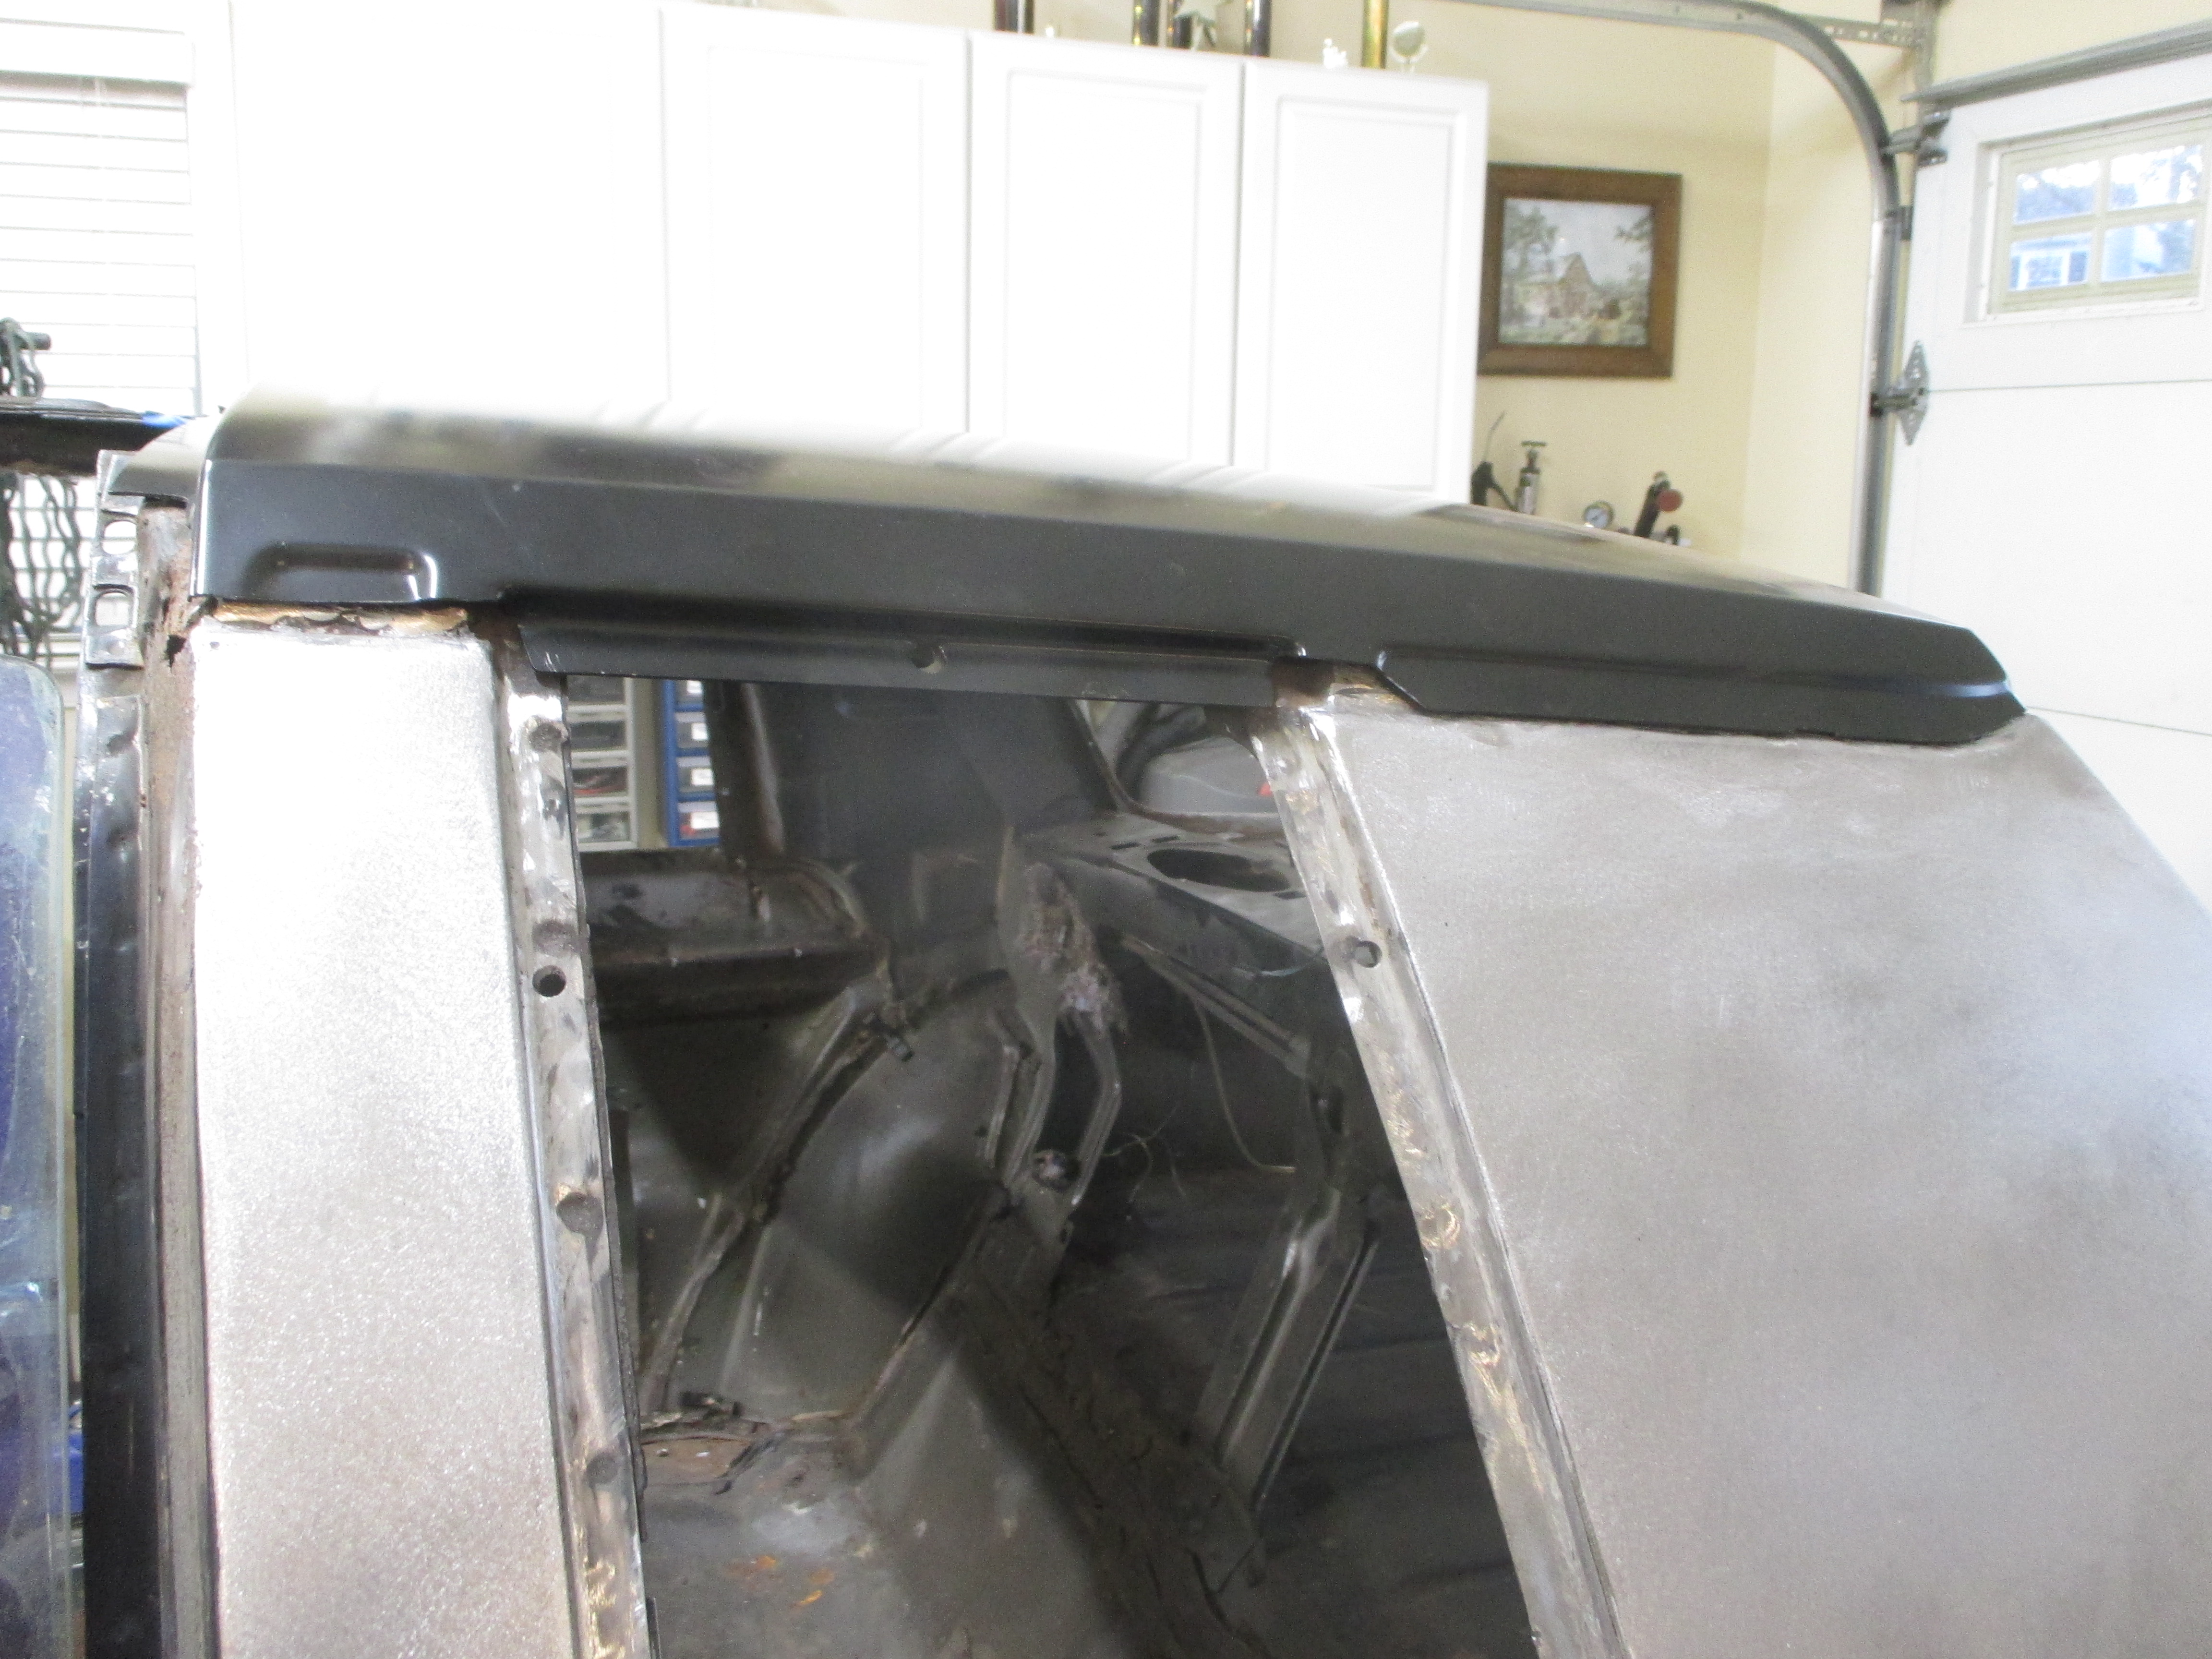
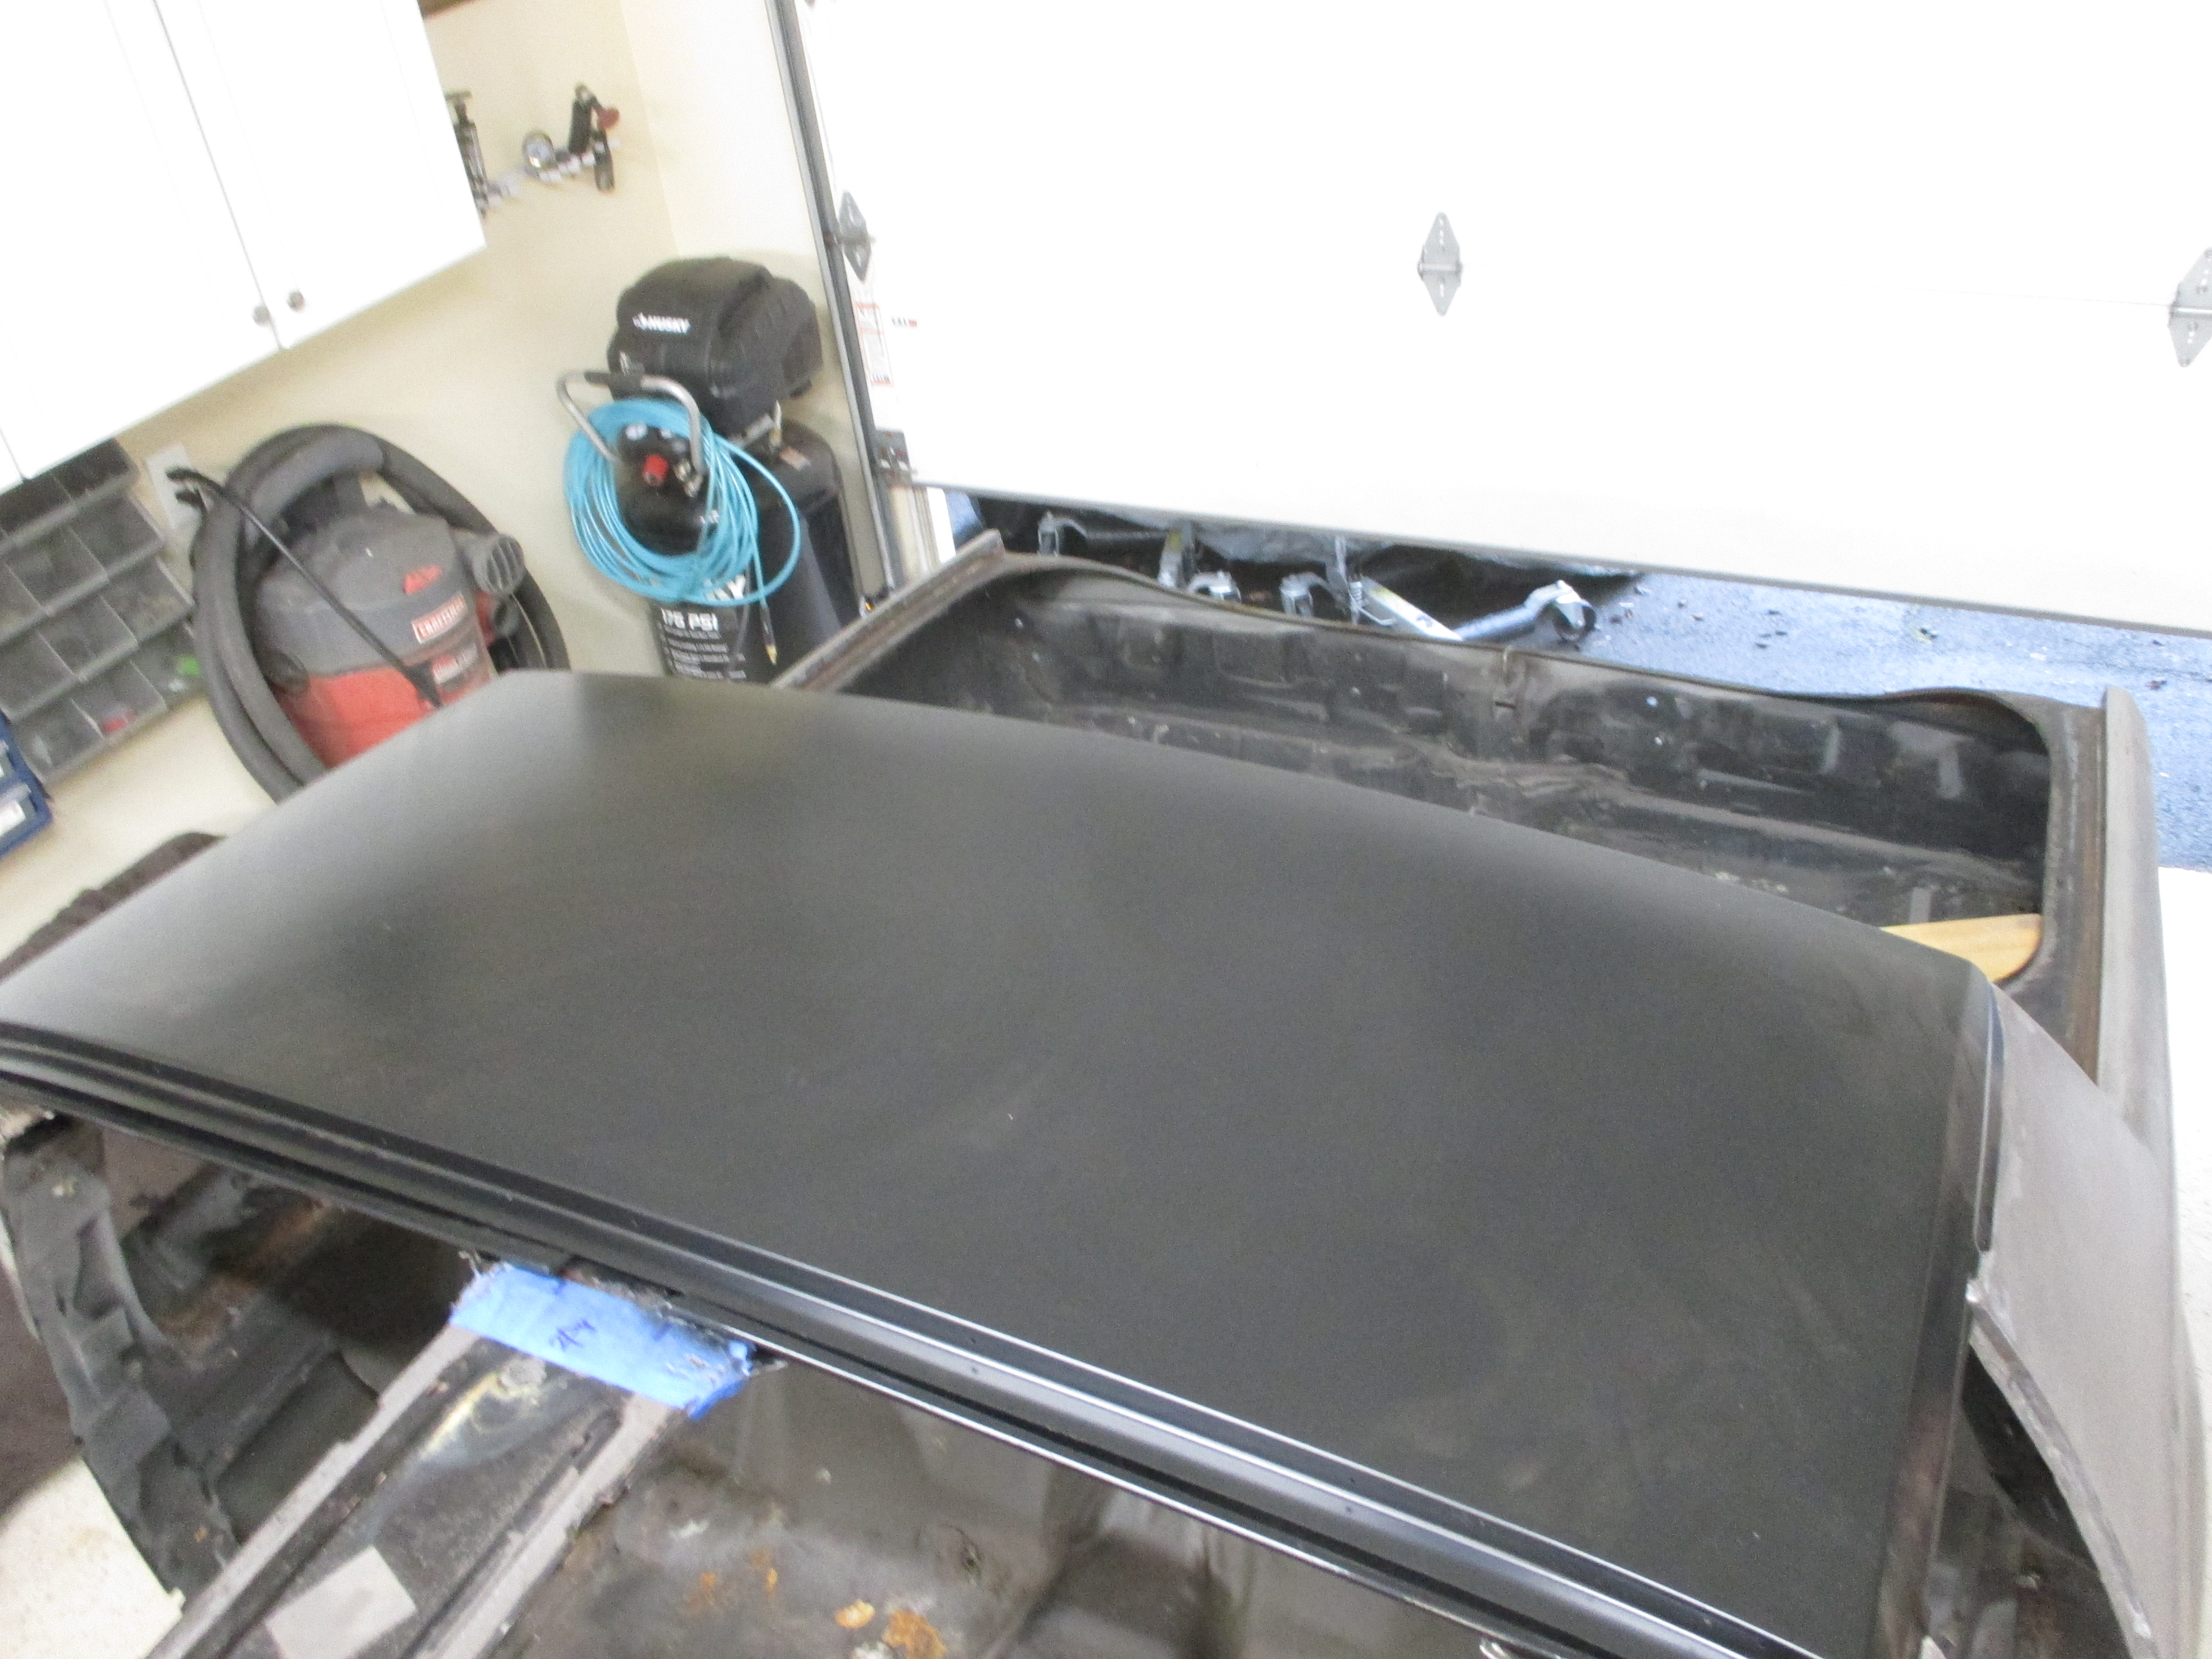
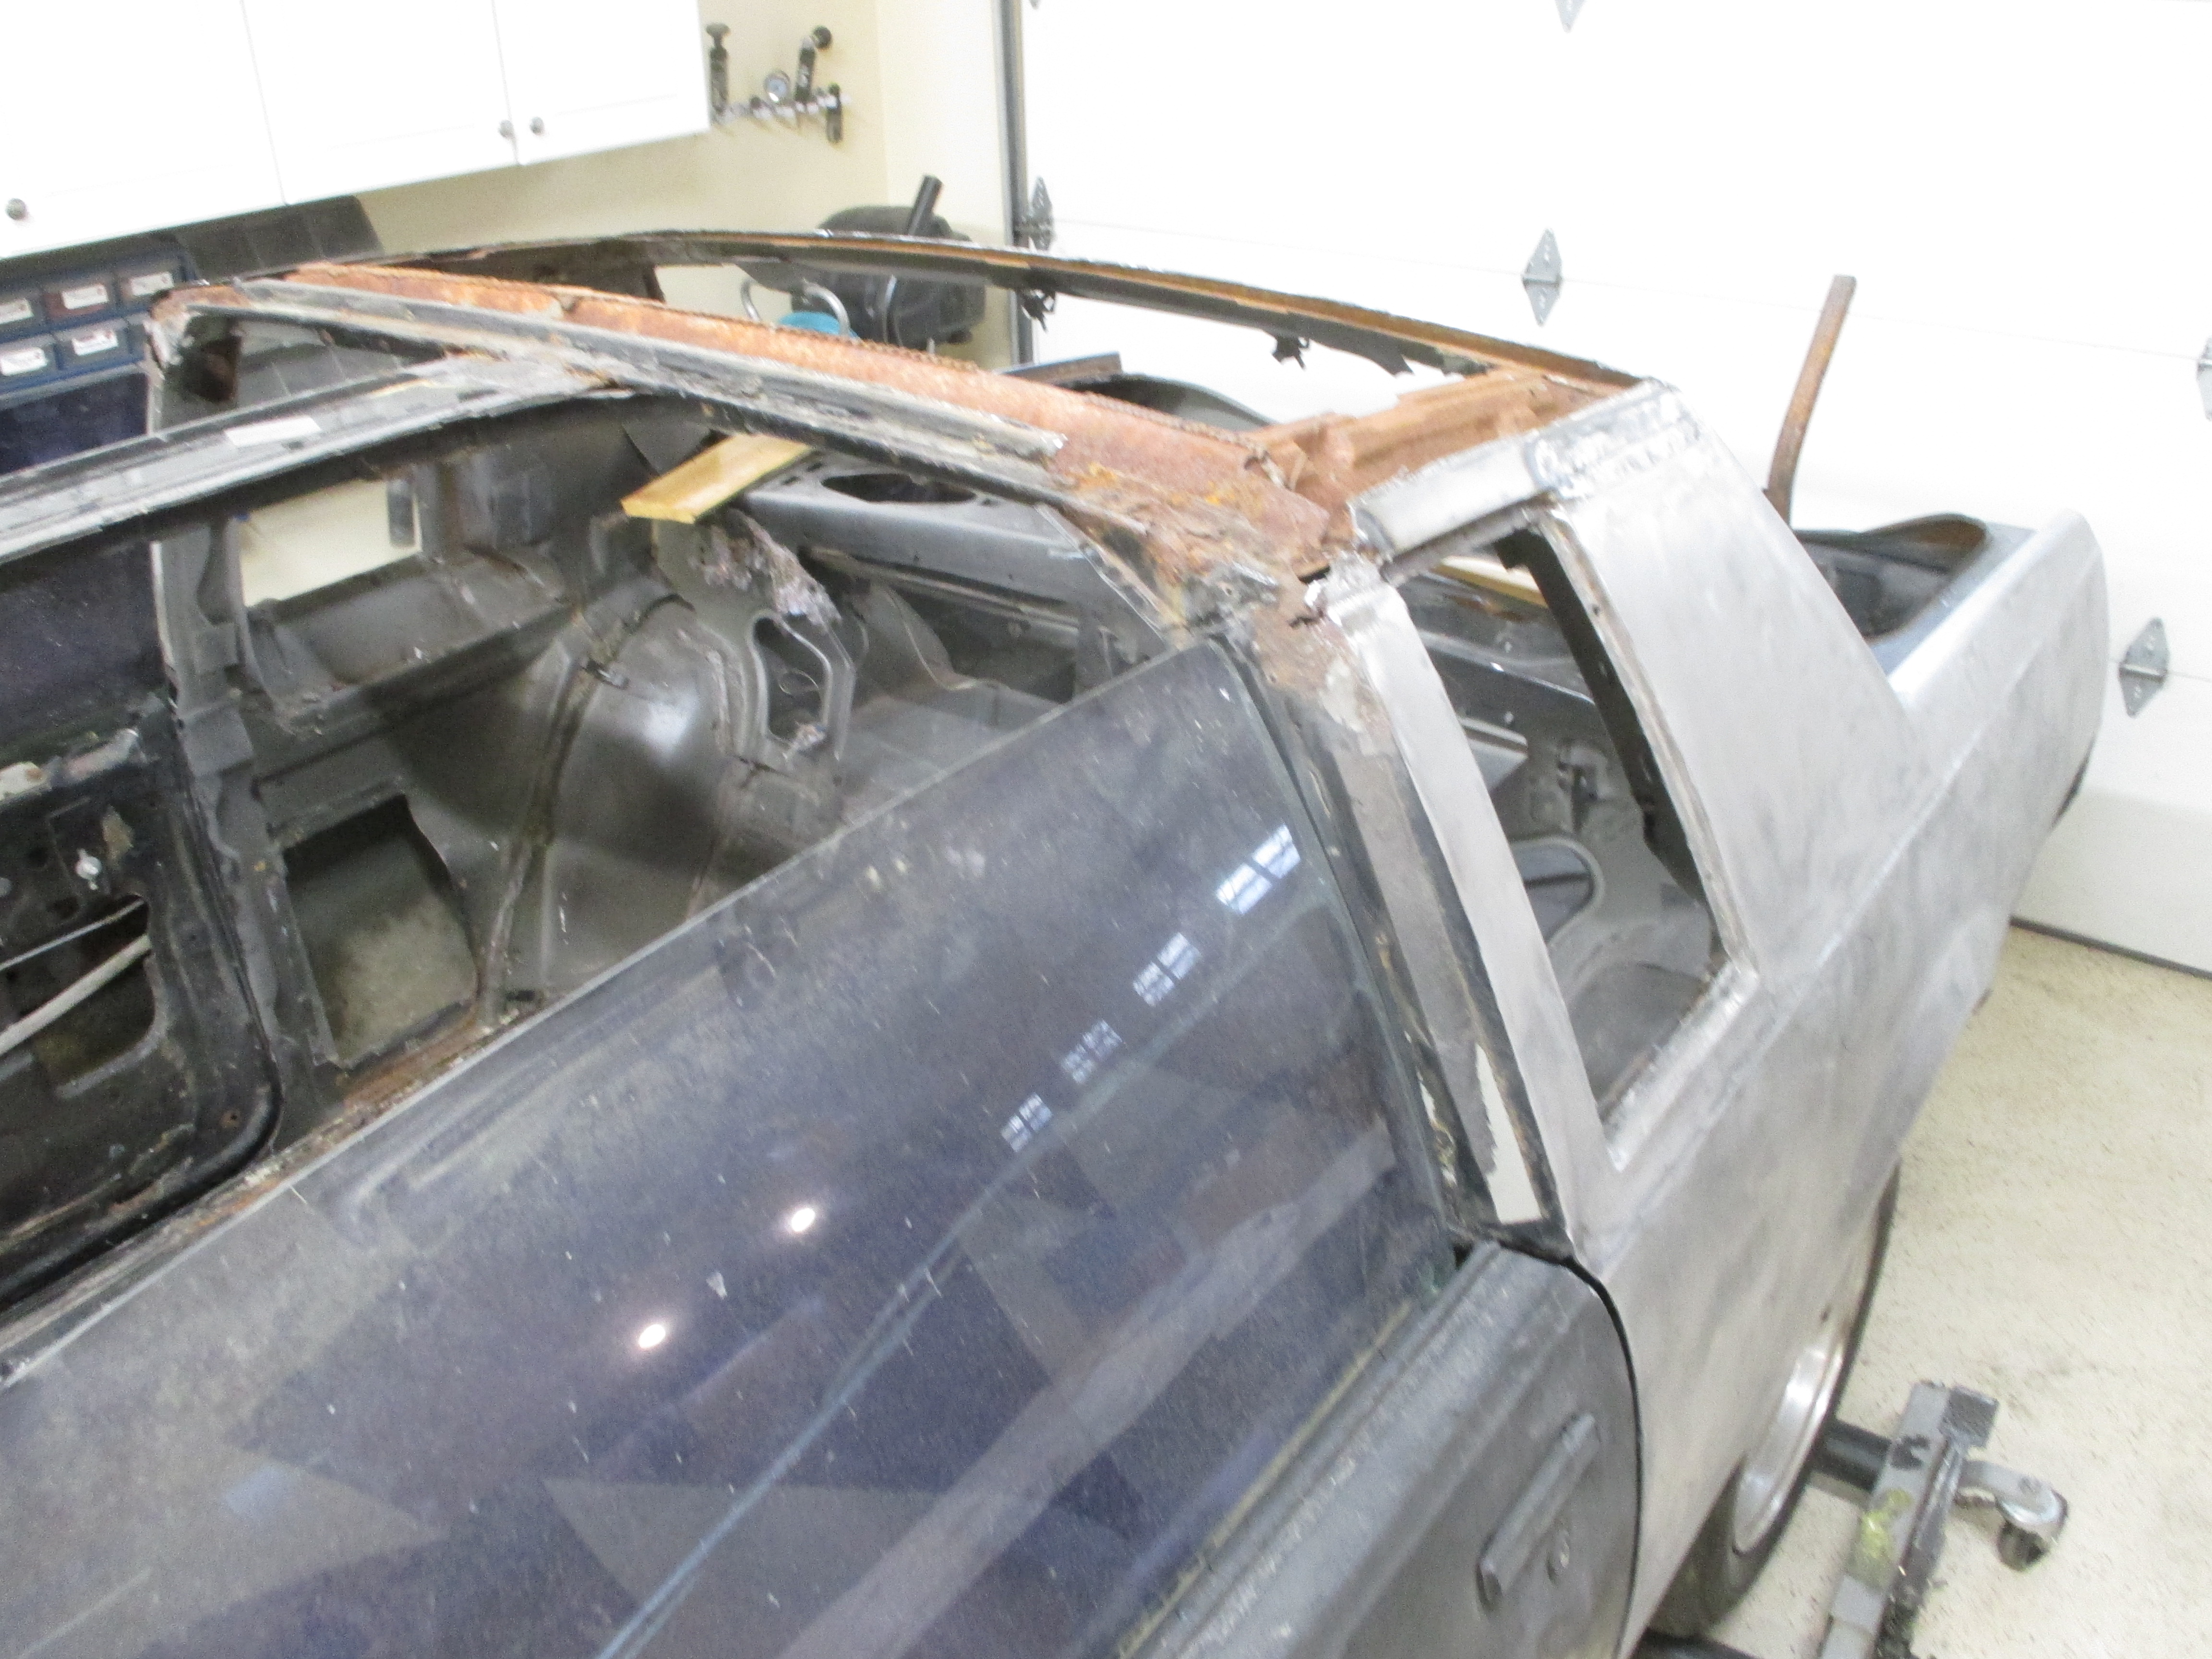
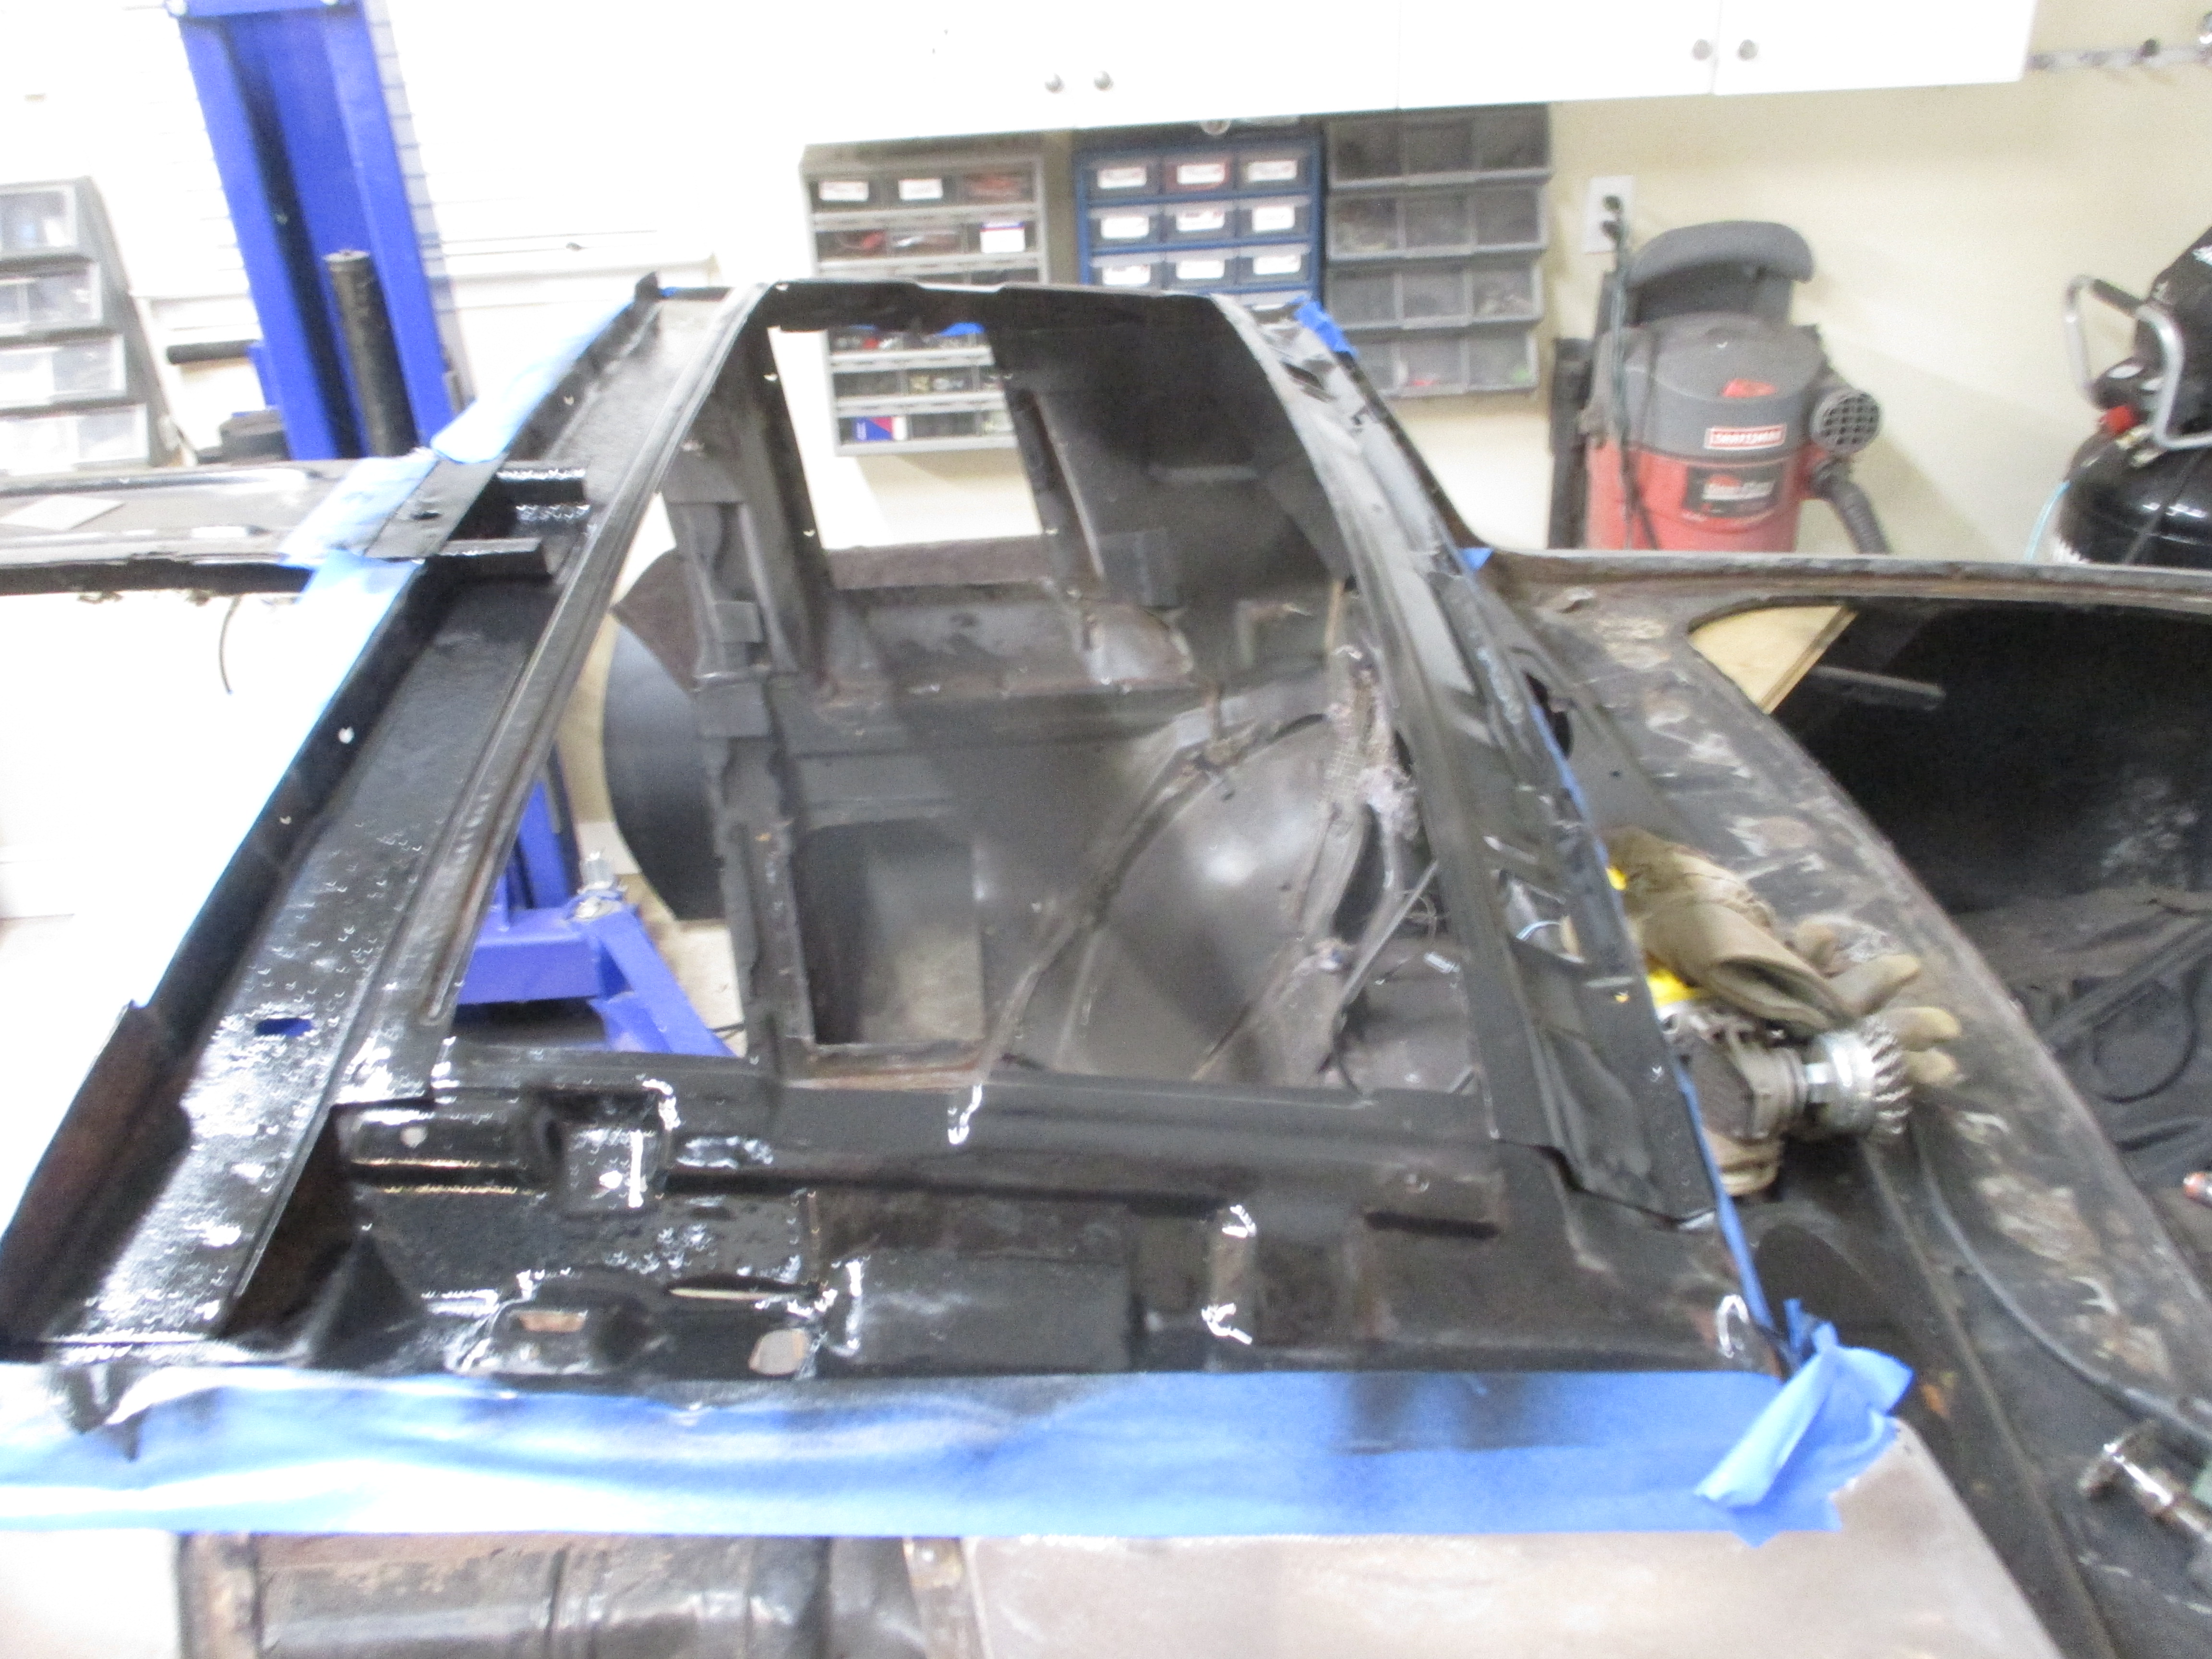
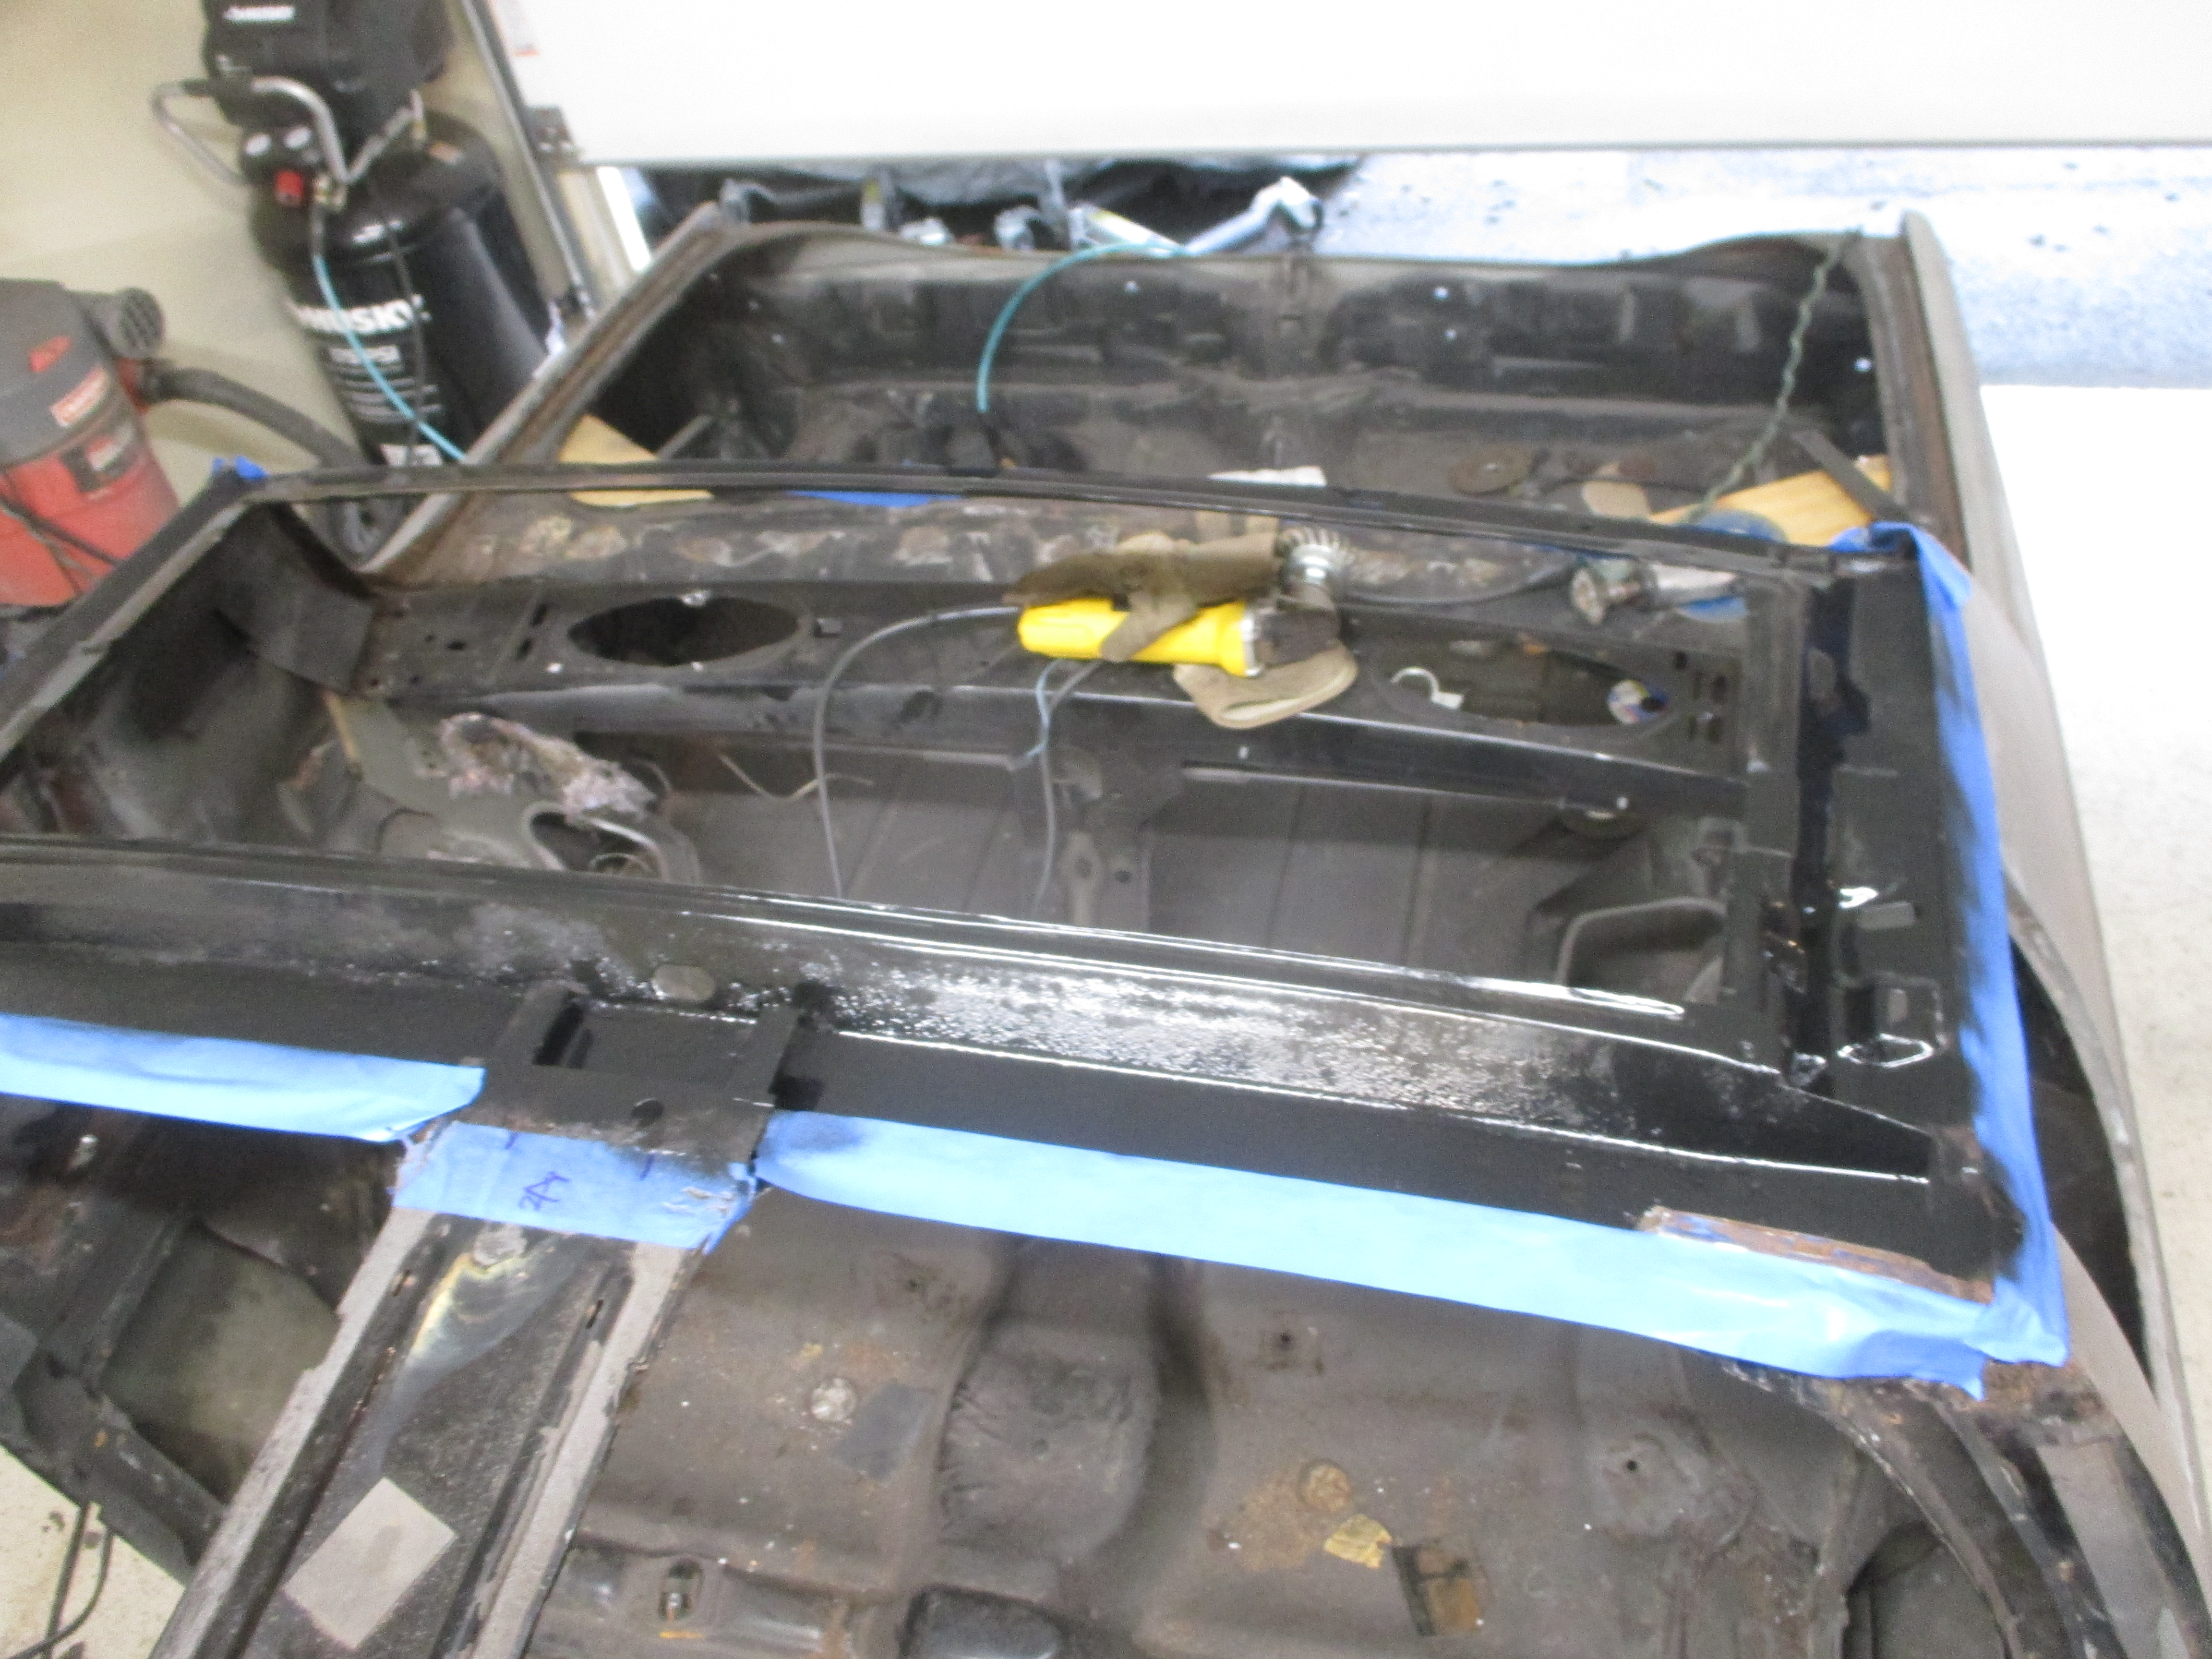
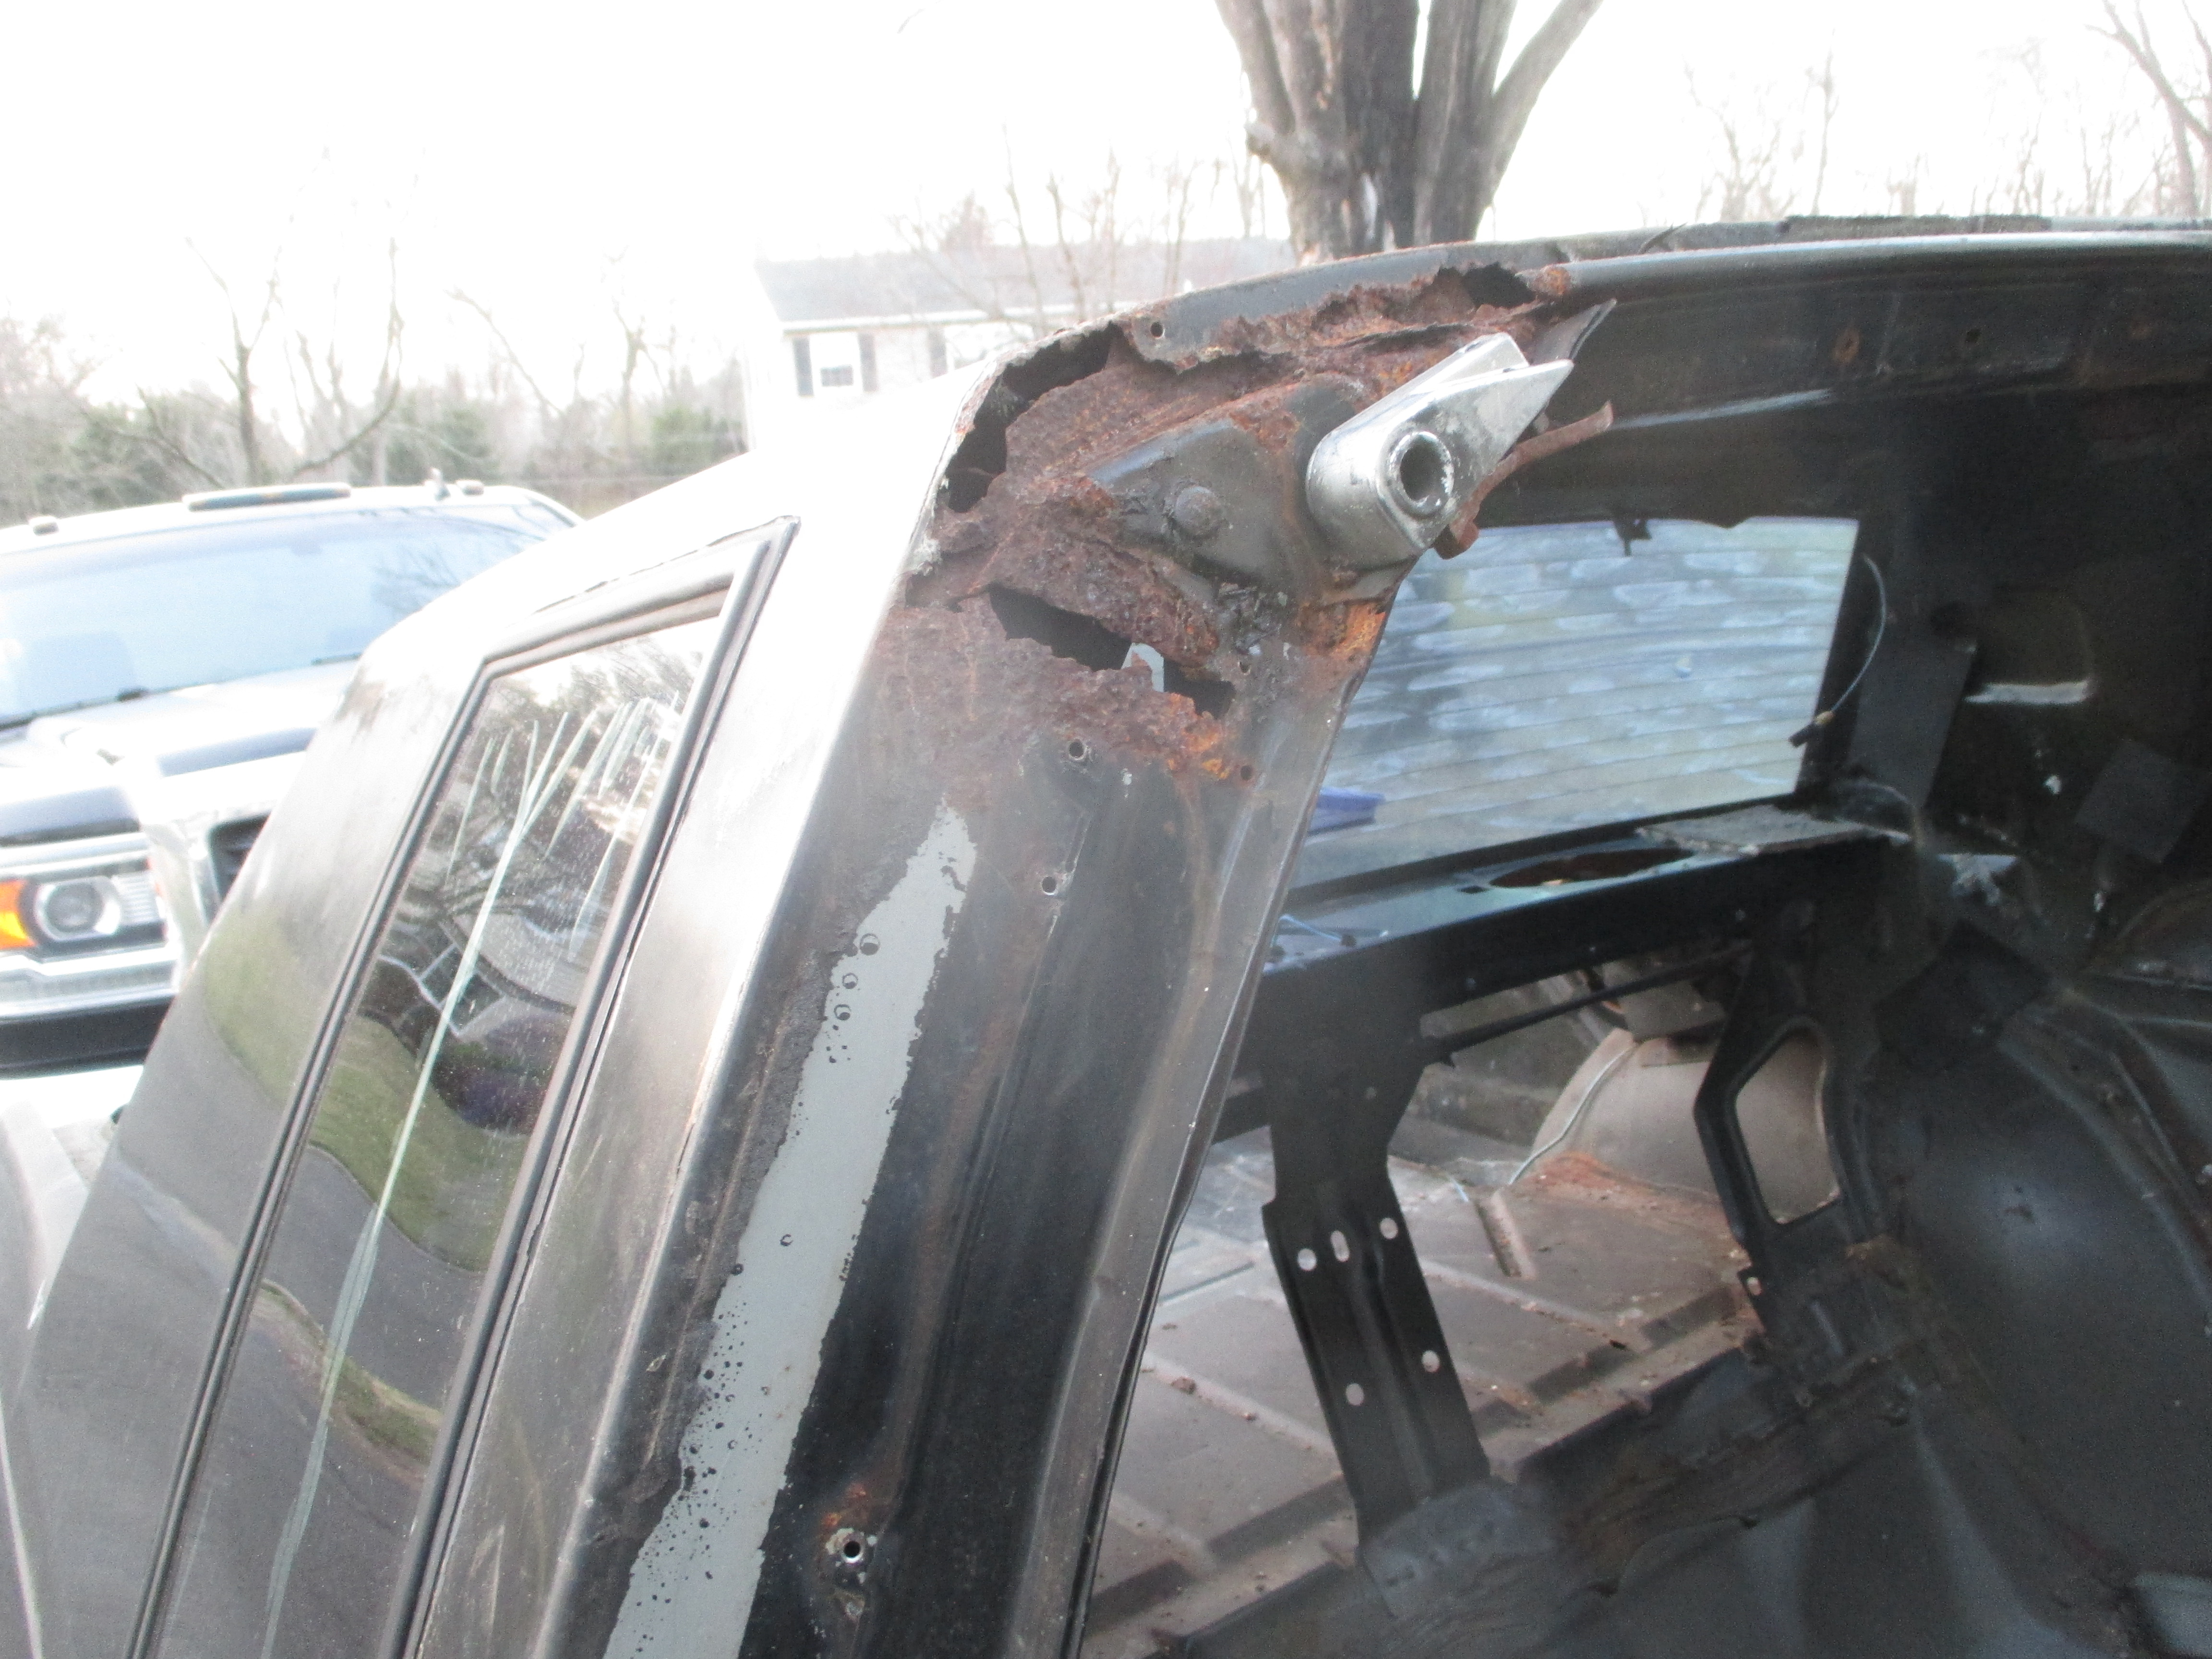
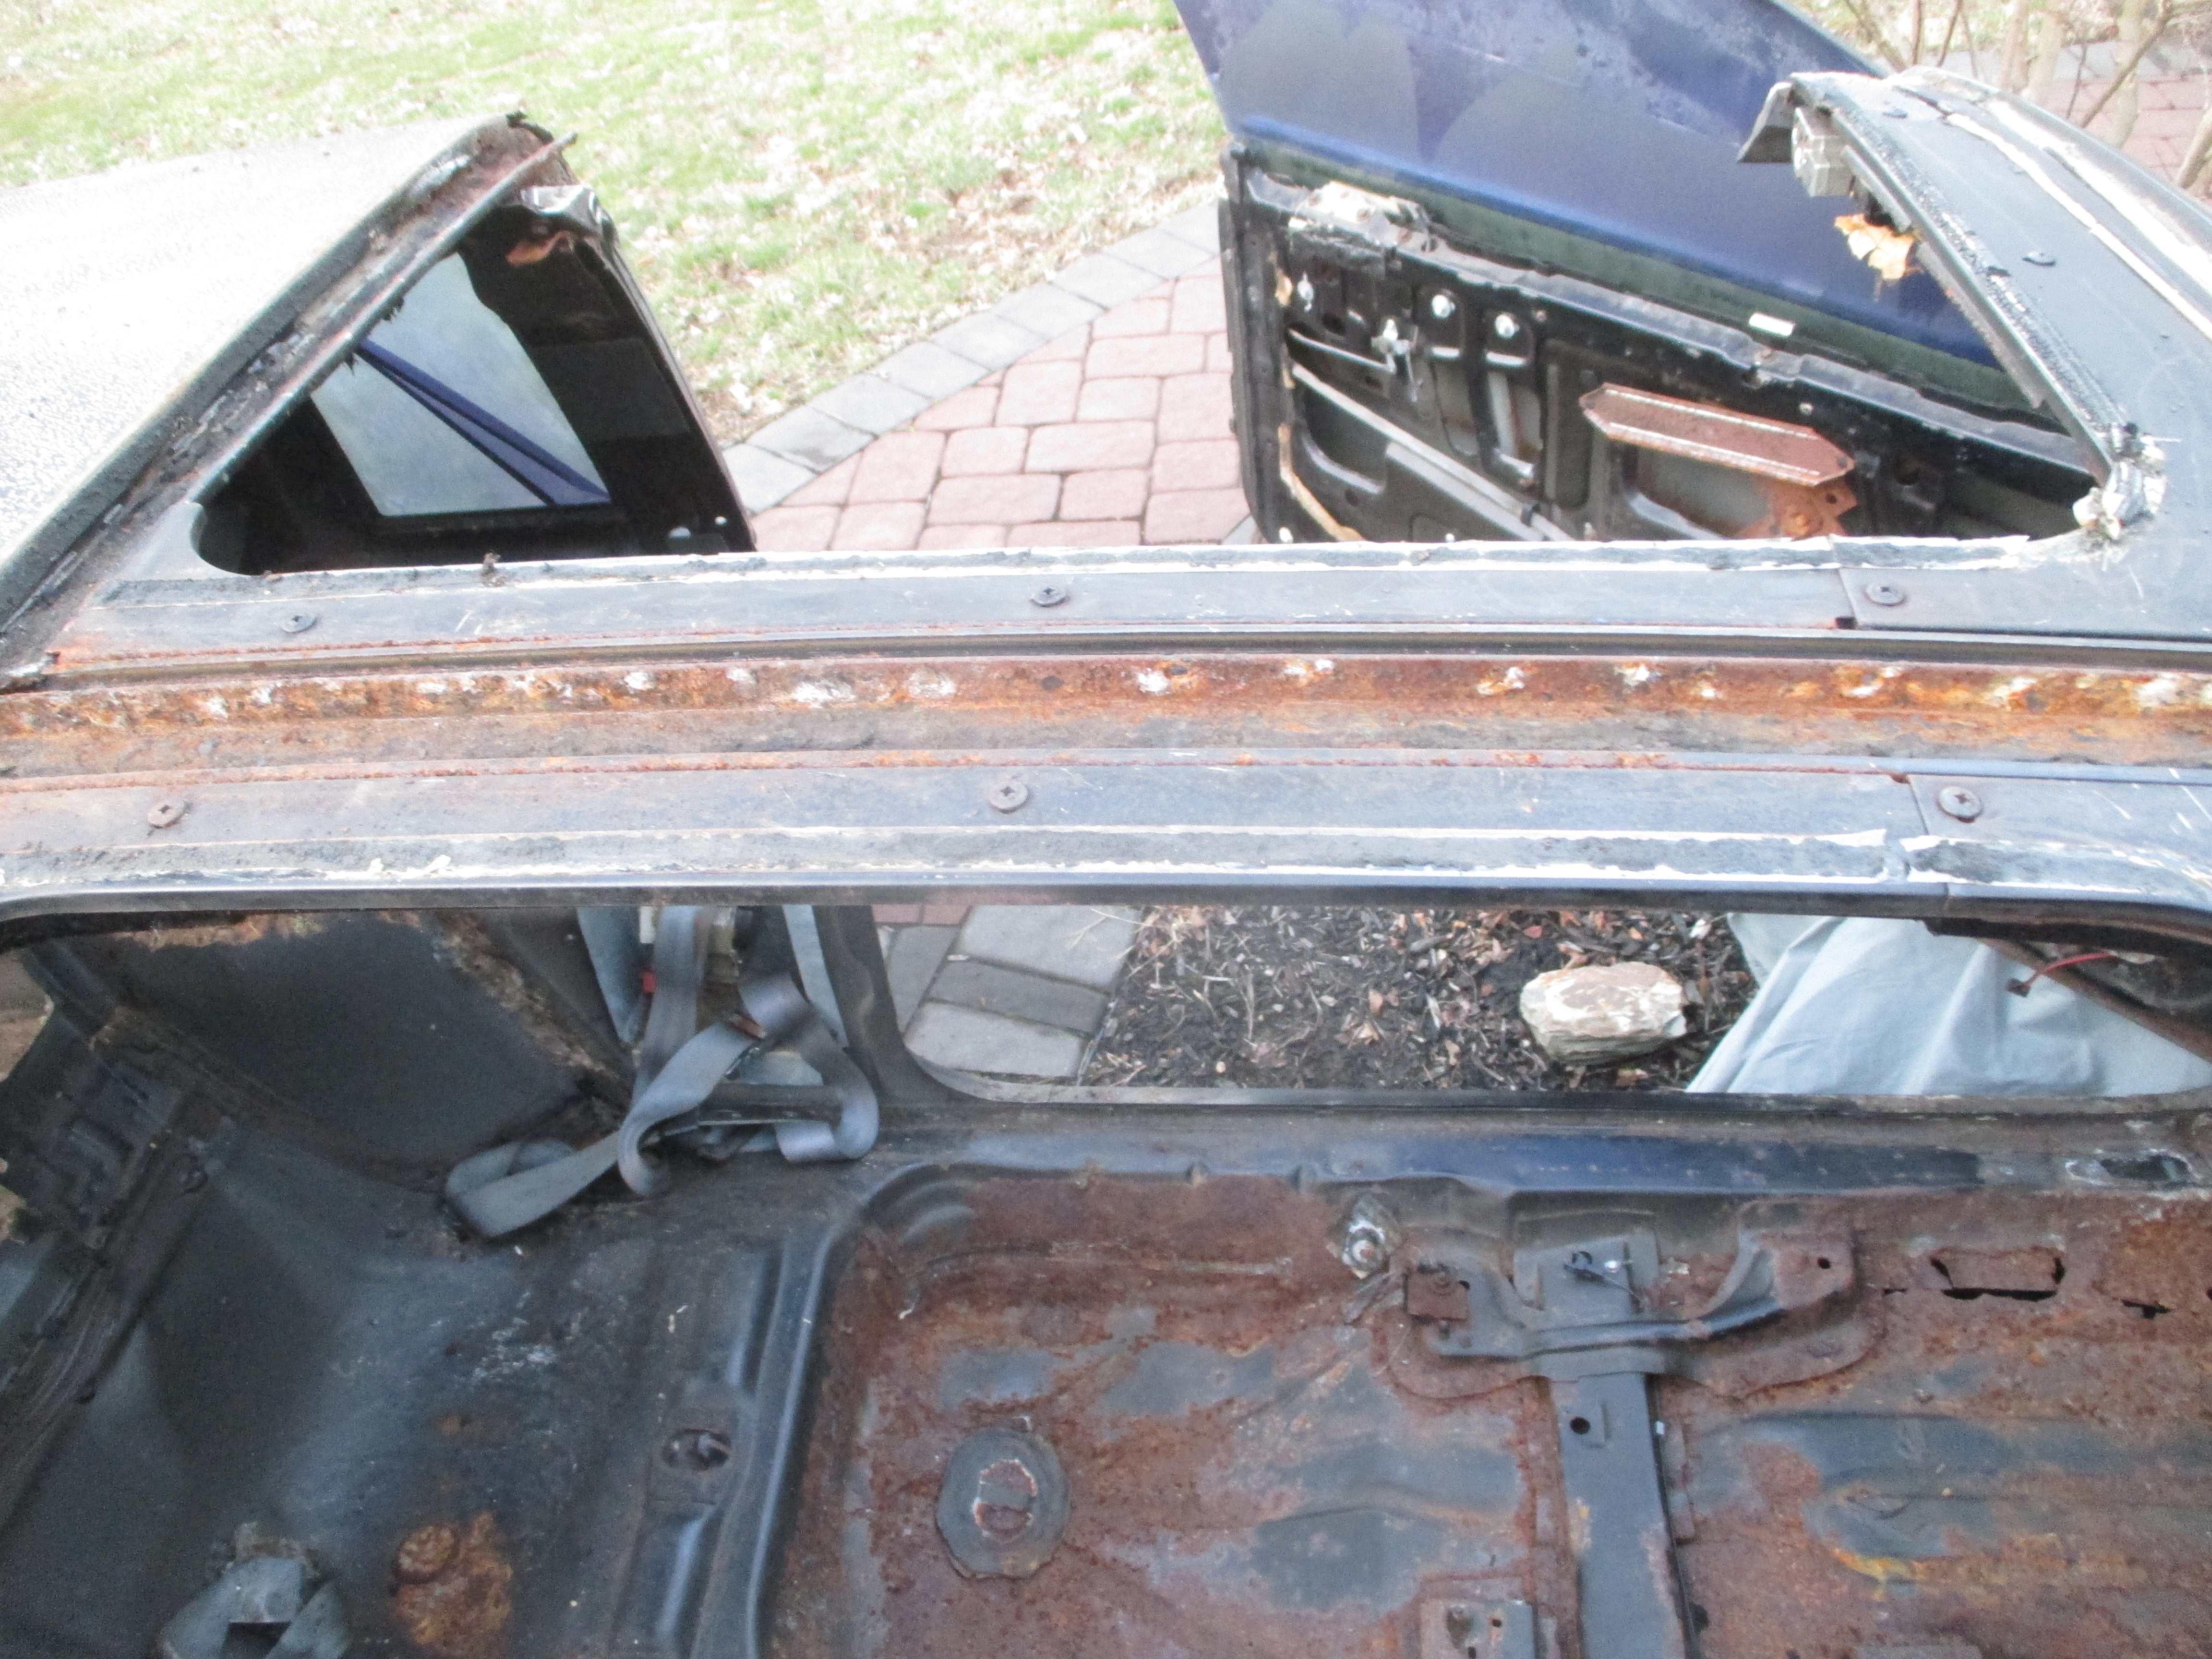
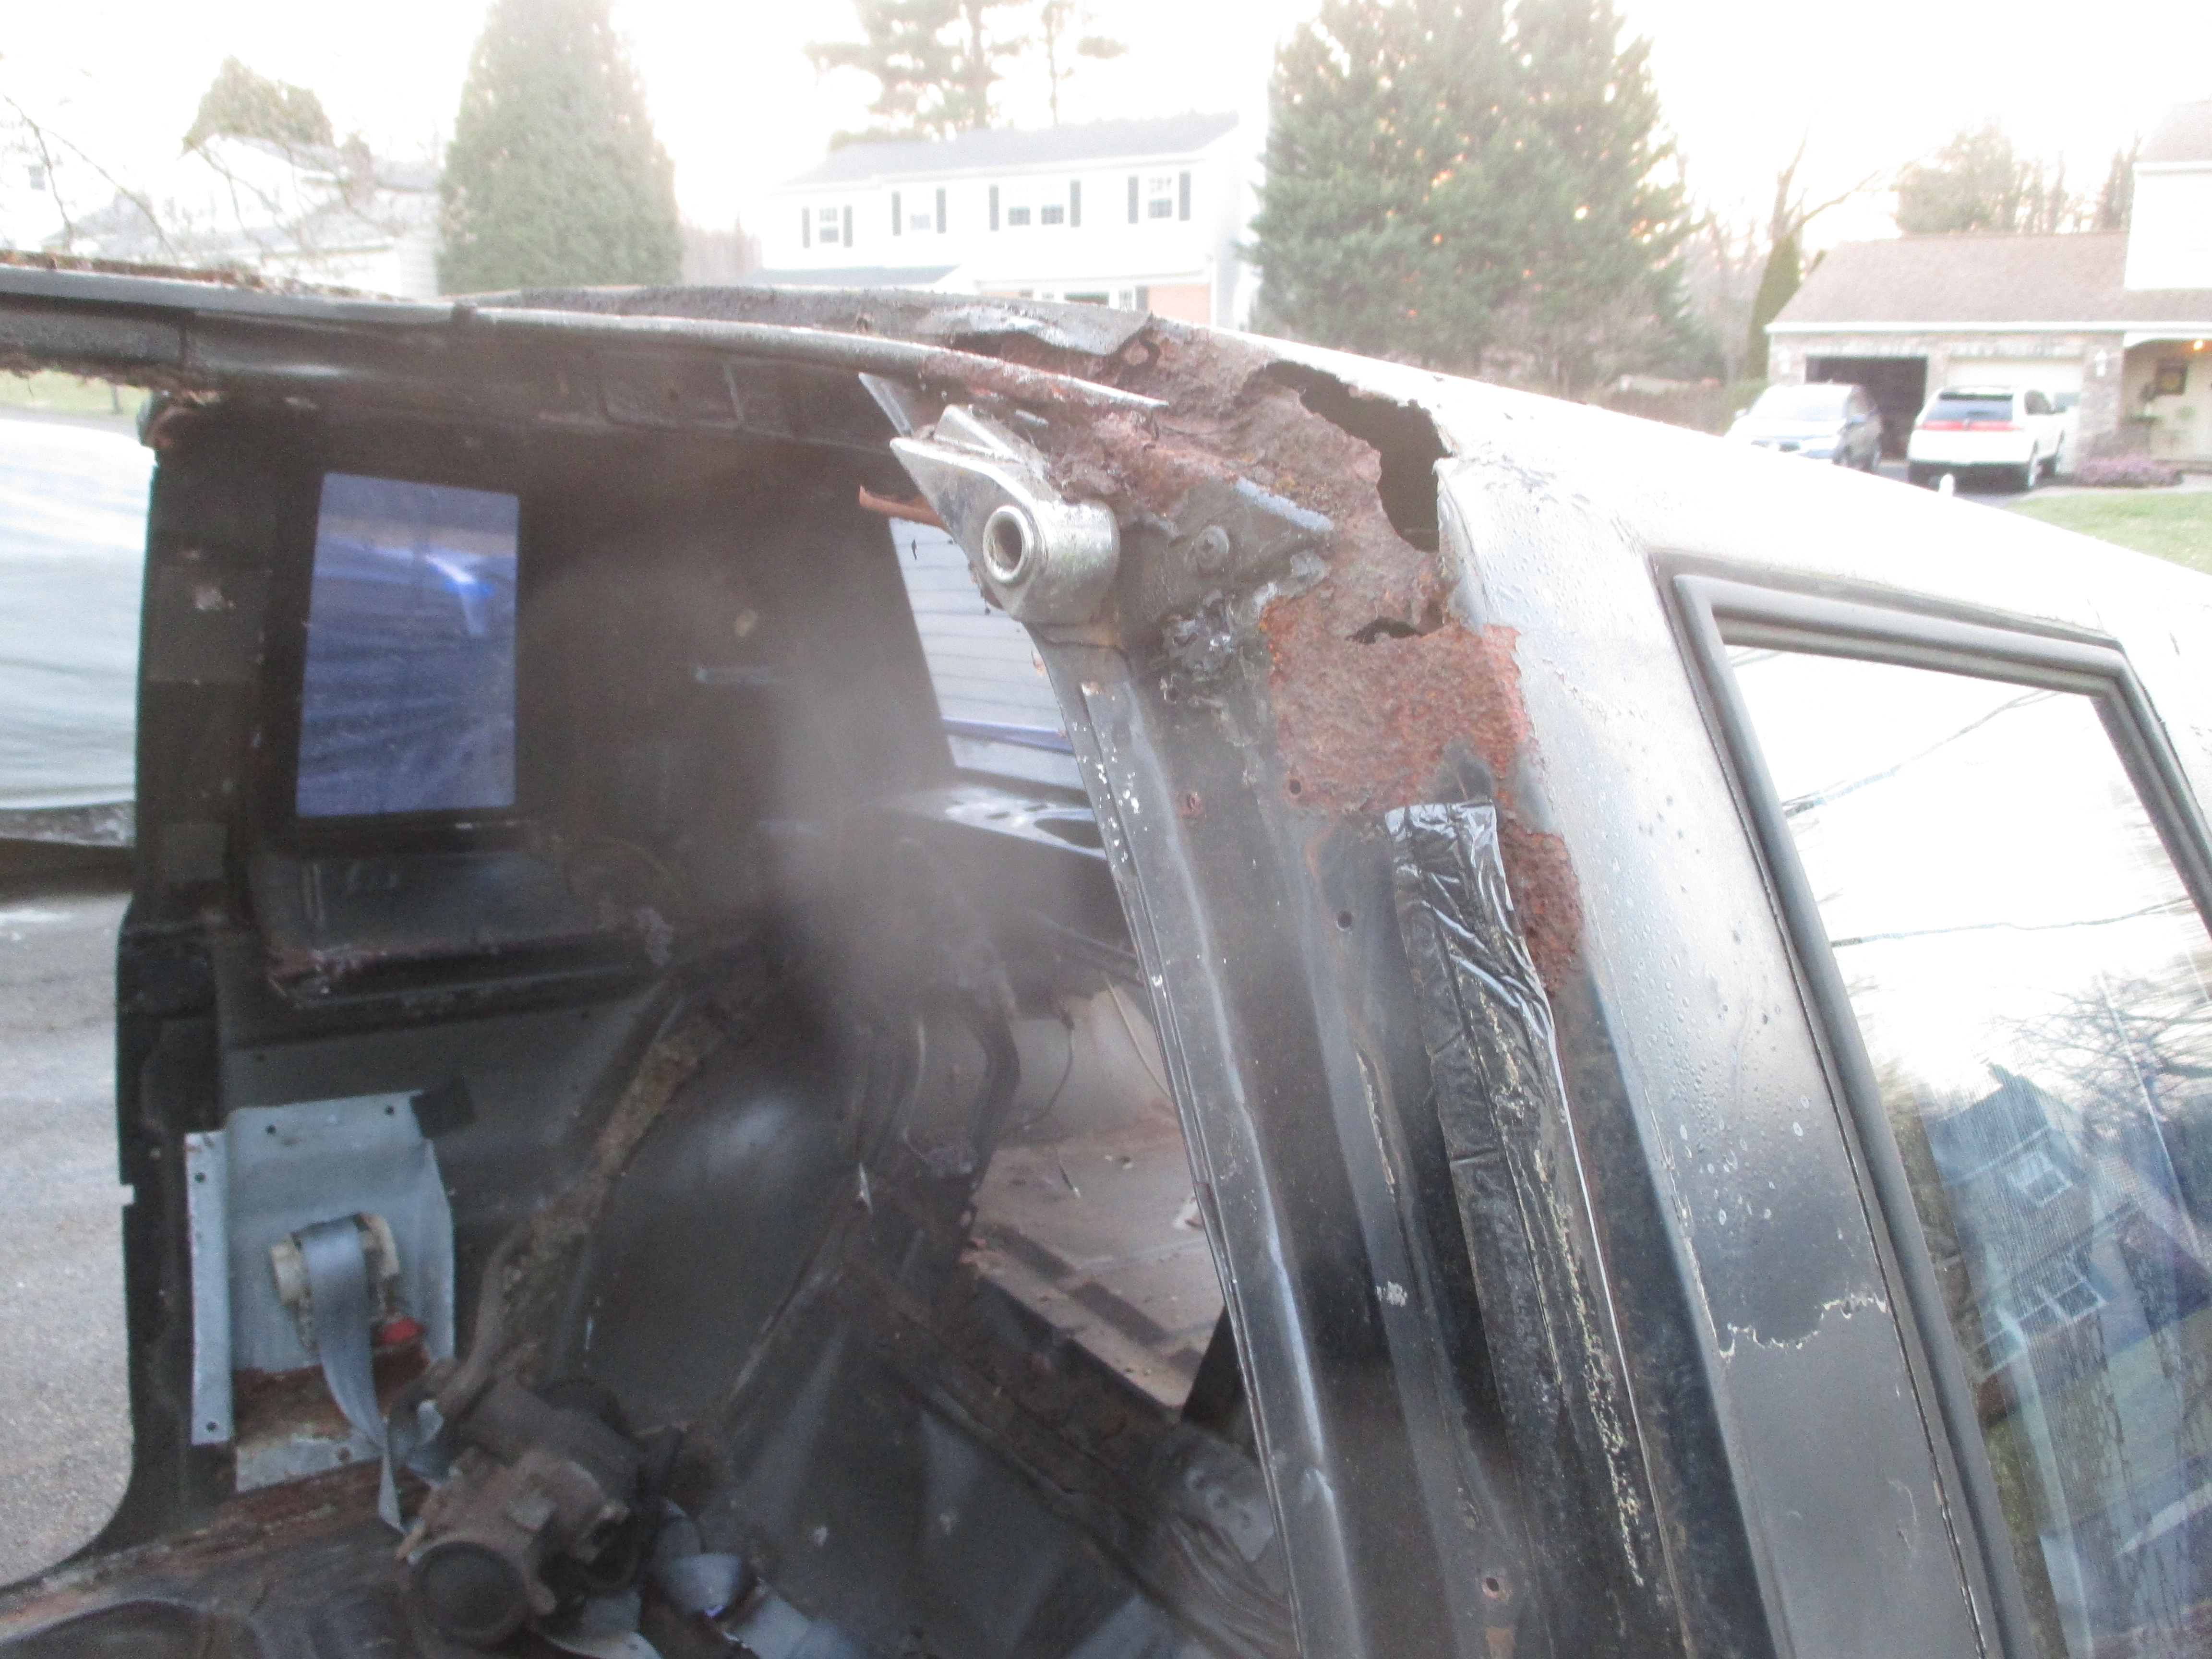
Entire roof section and t-bar has been reconstructed. Molding, trim and weather-striping has been dry-fit and t-tops placed in position
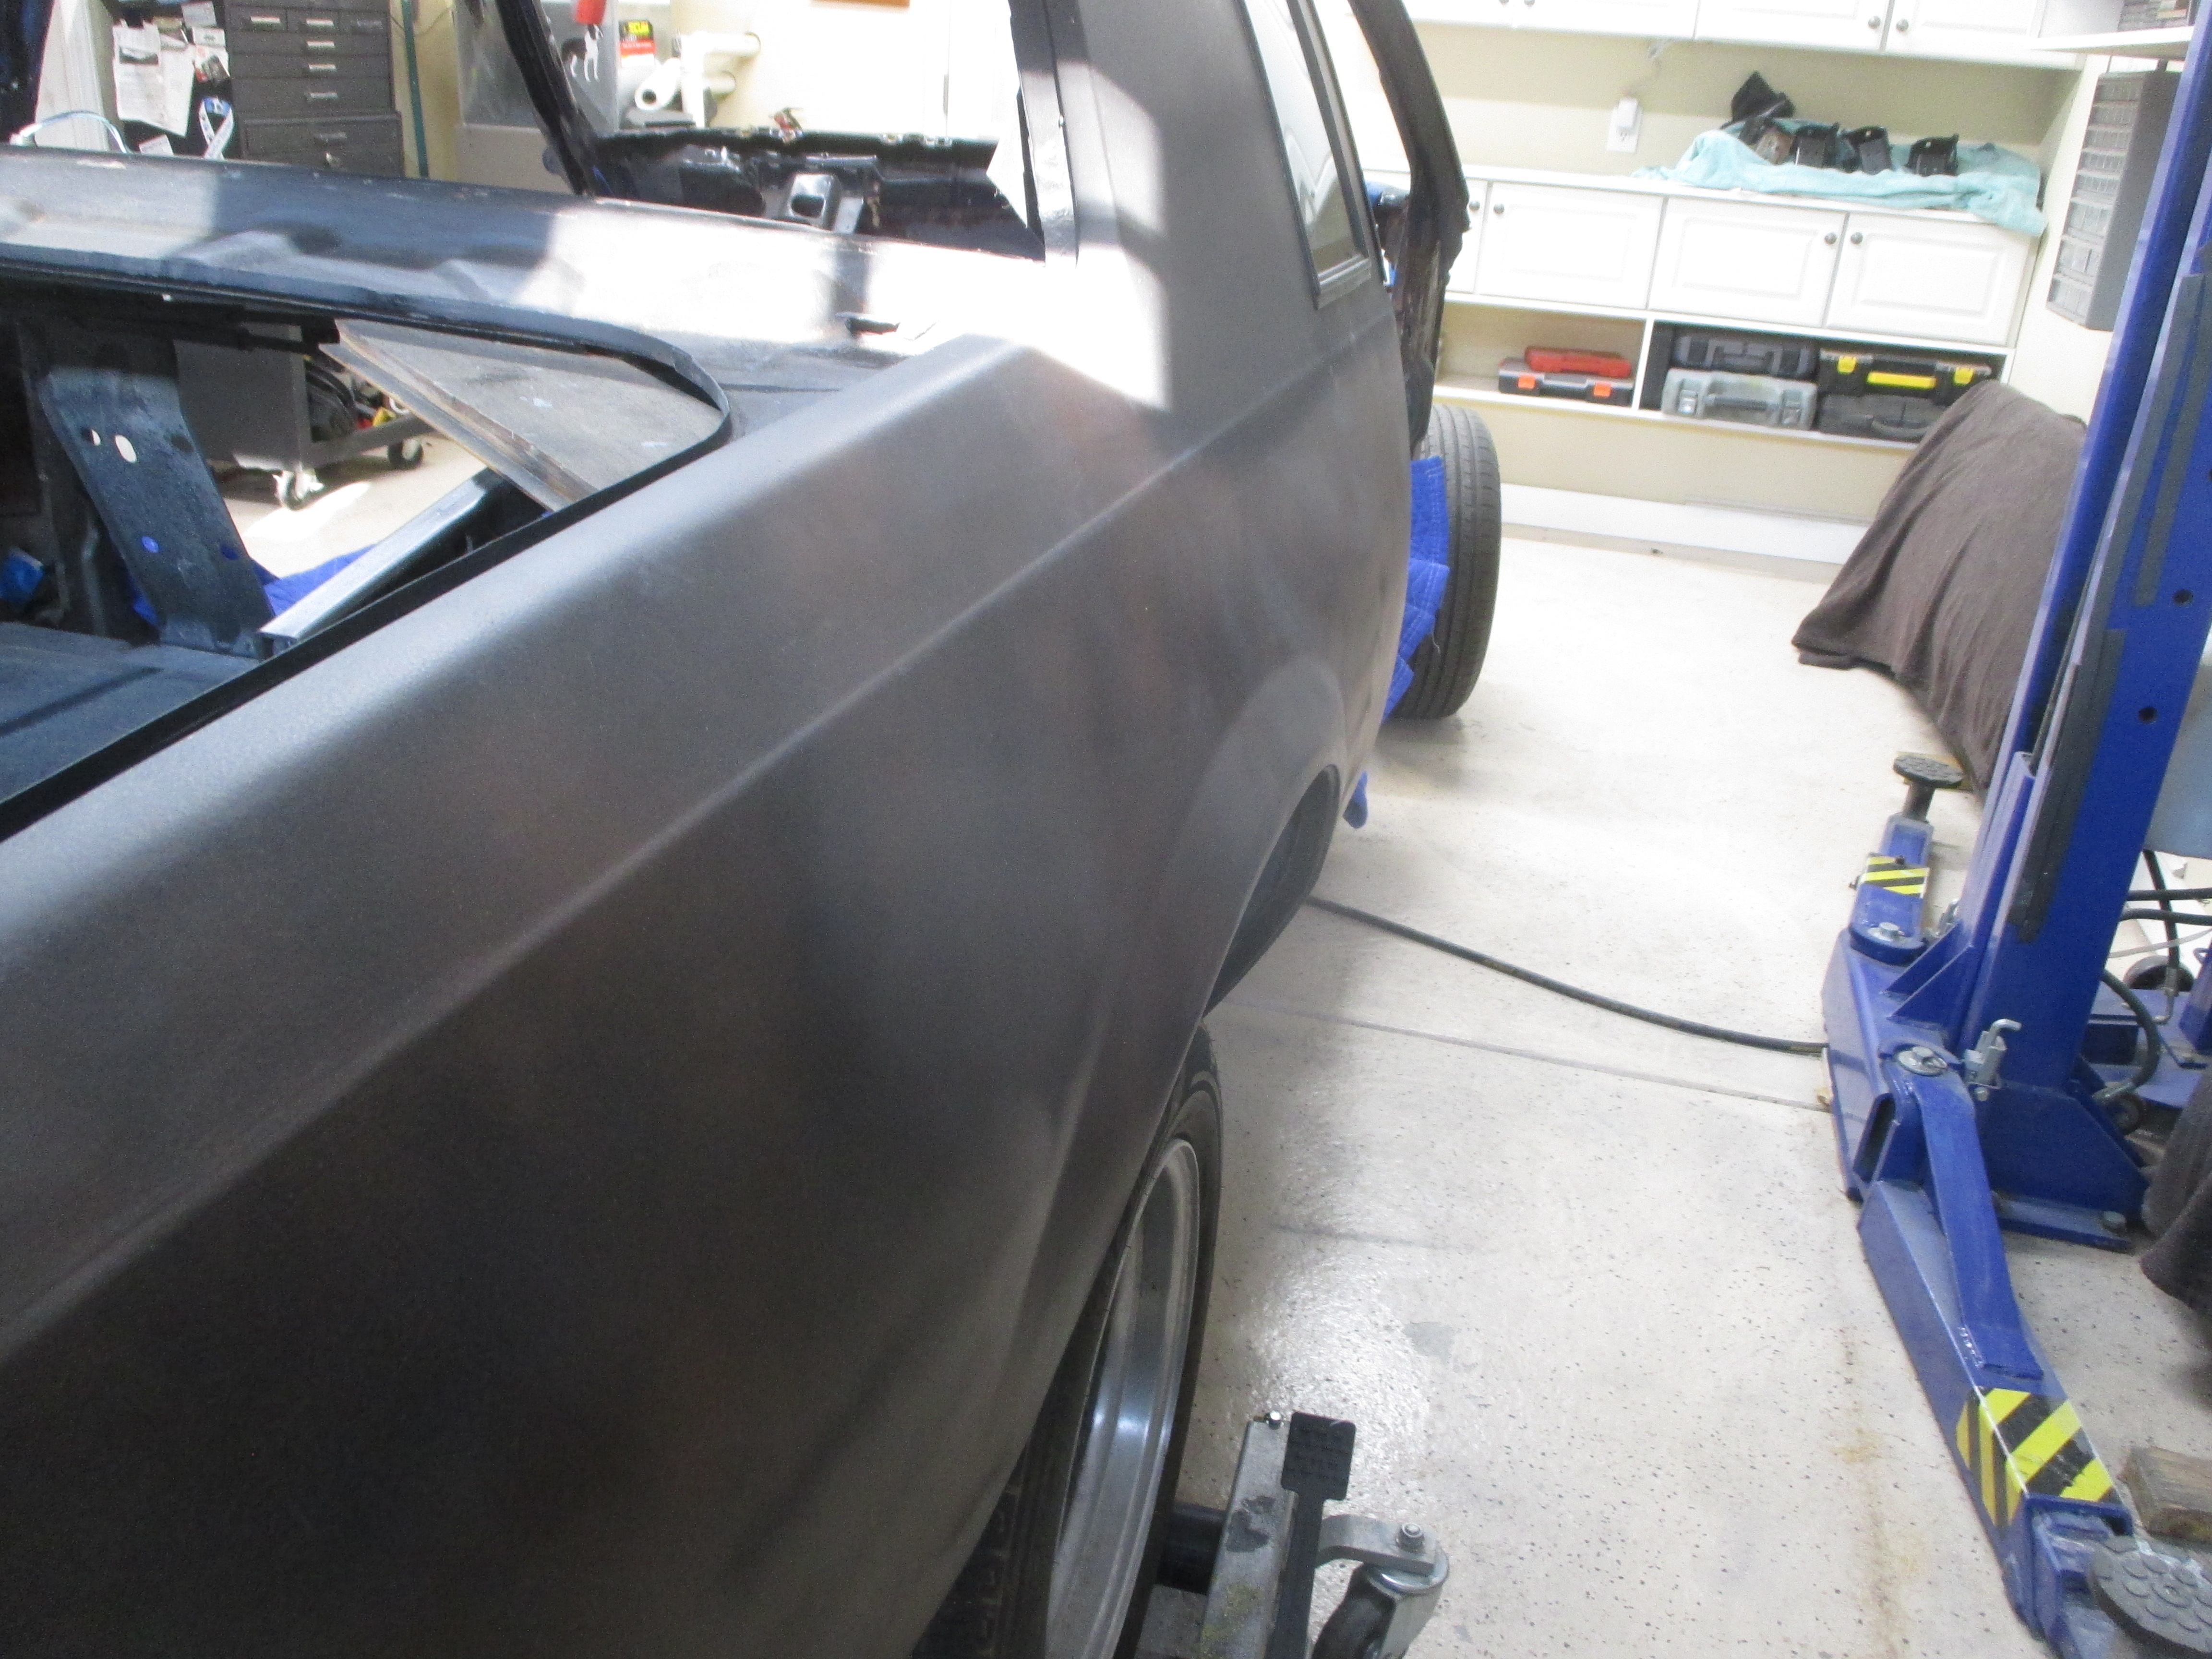
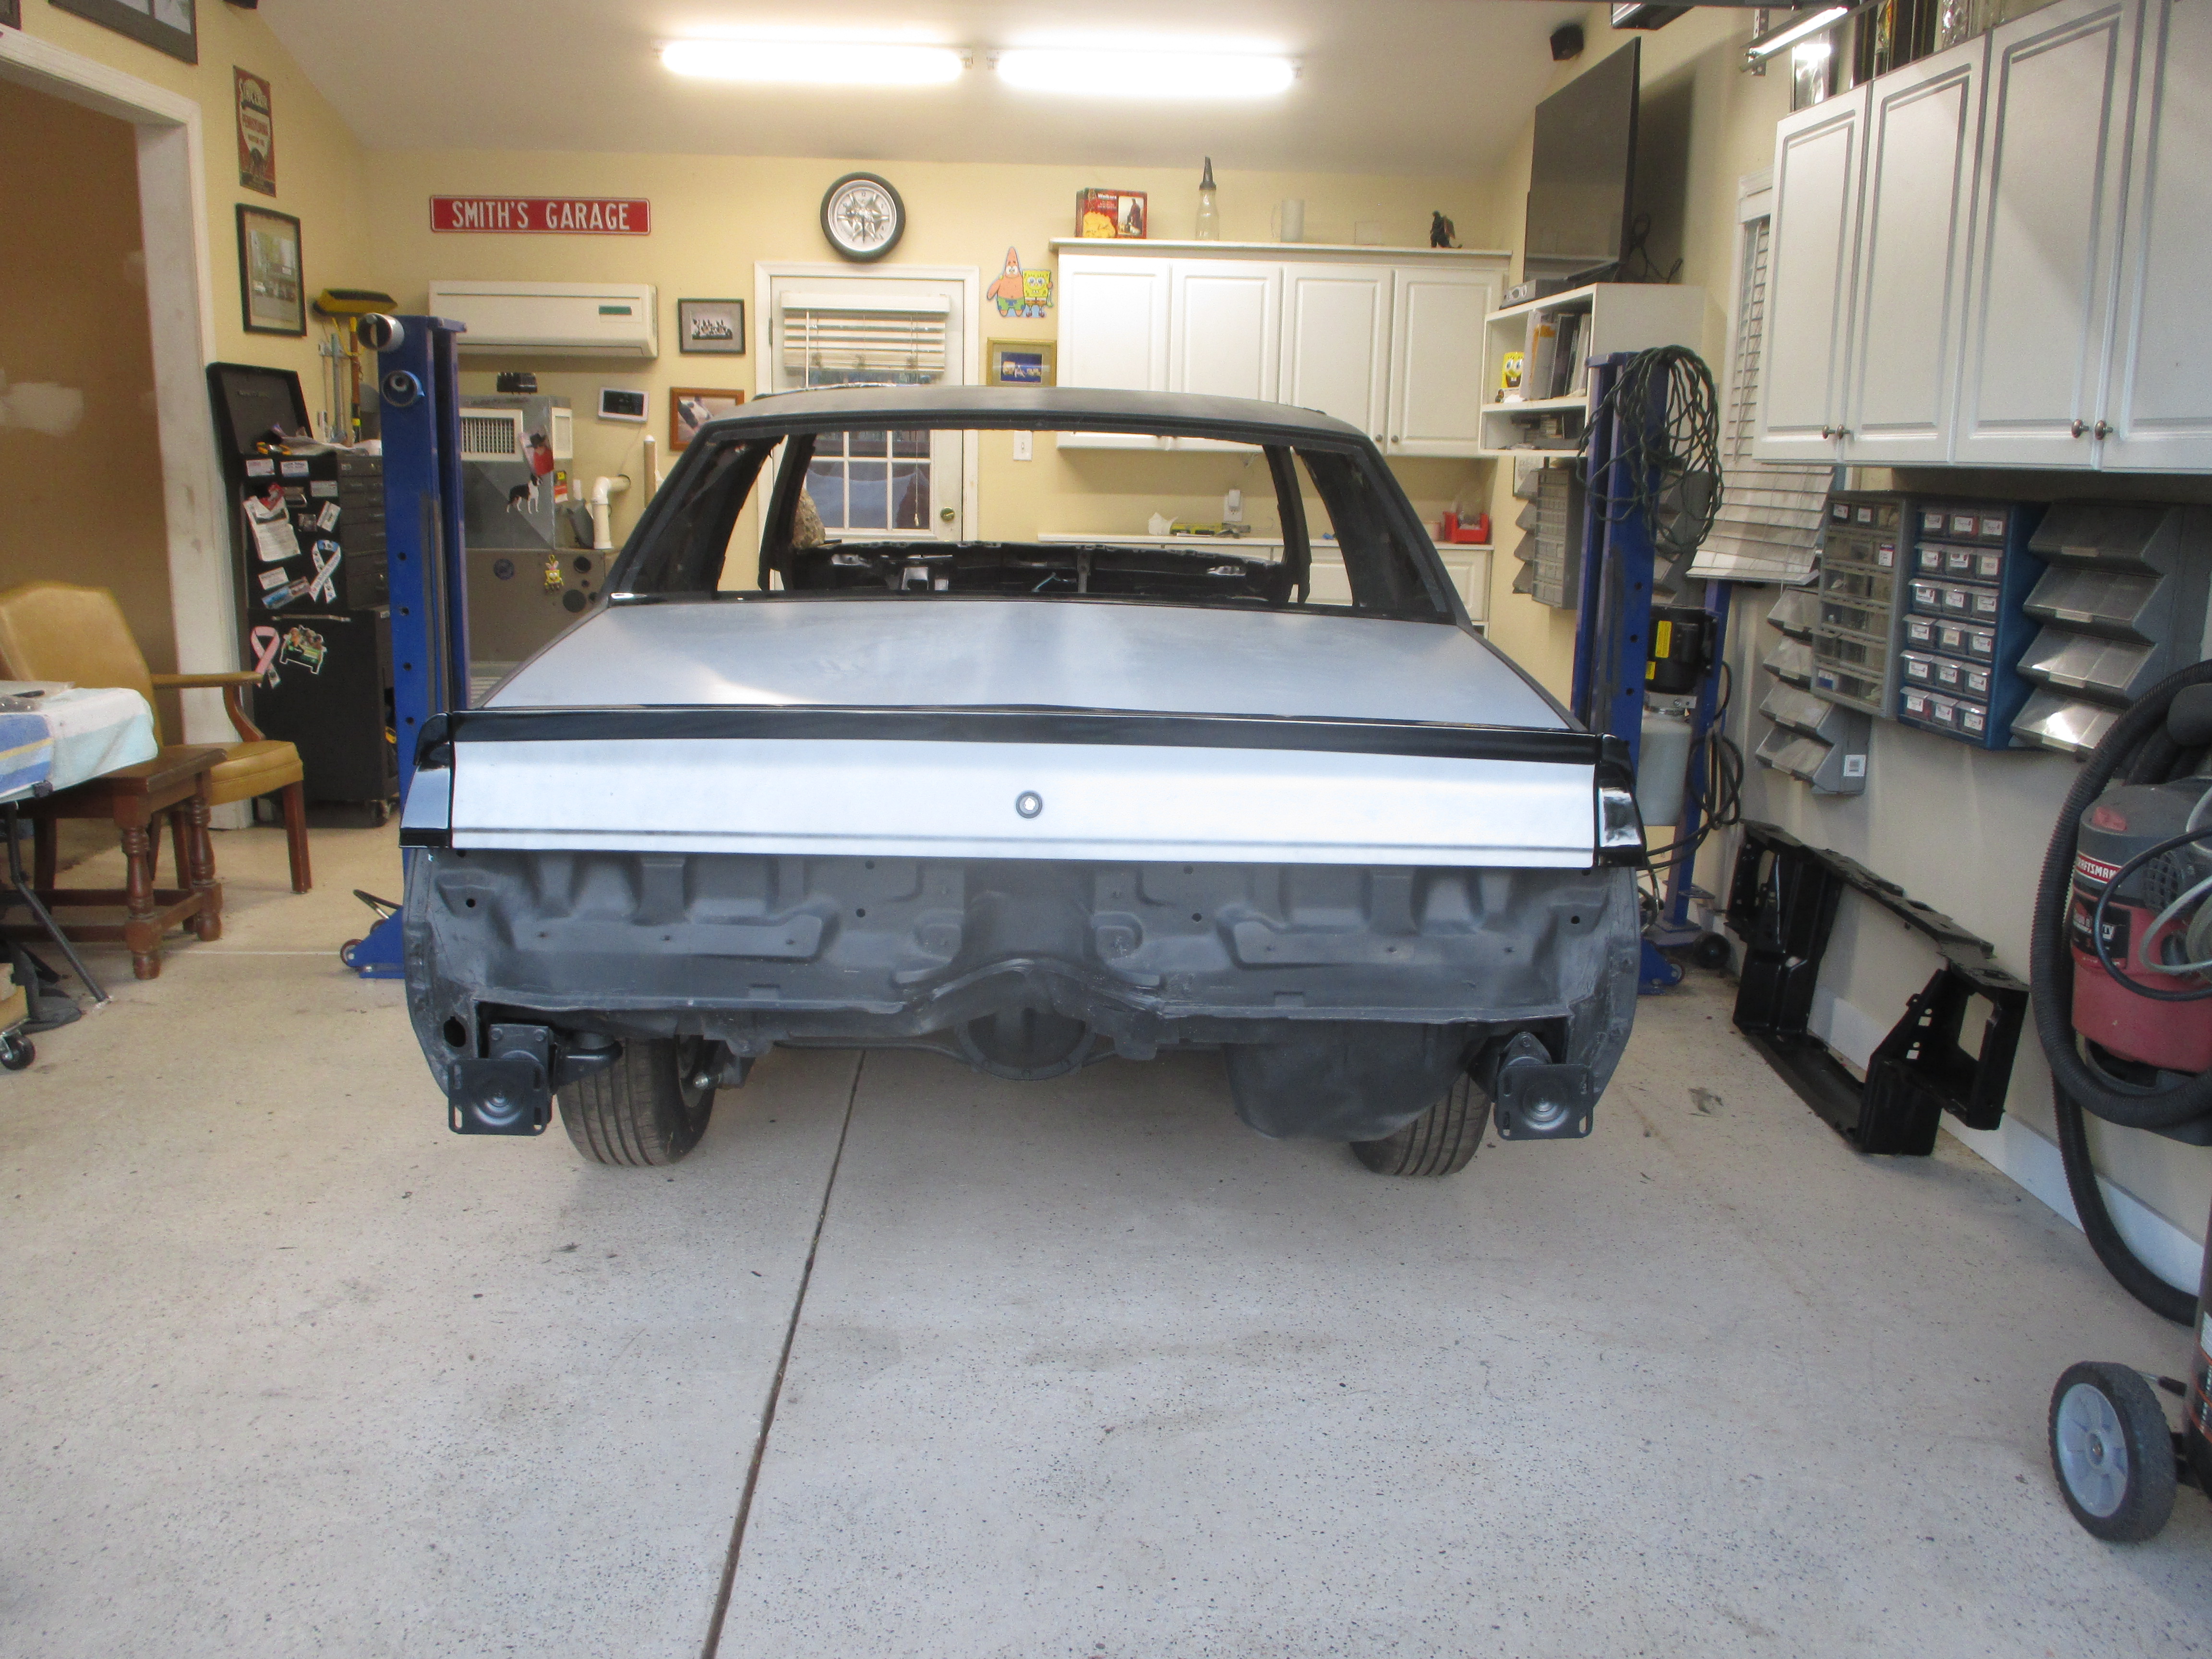
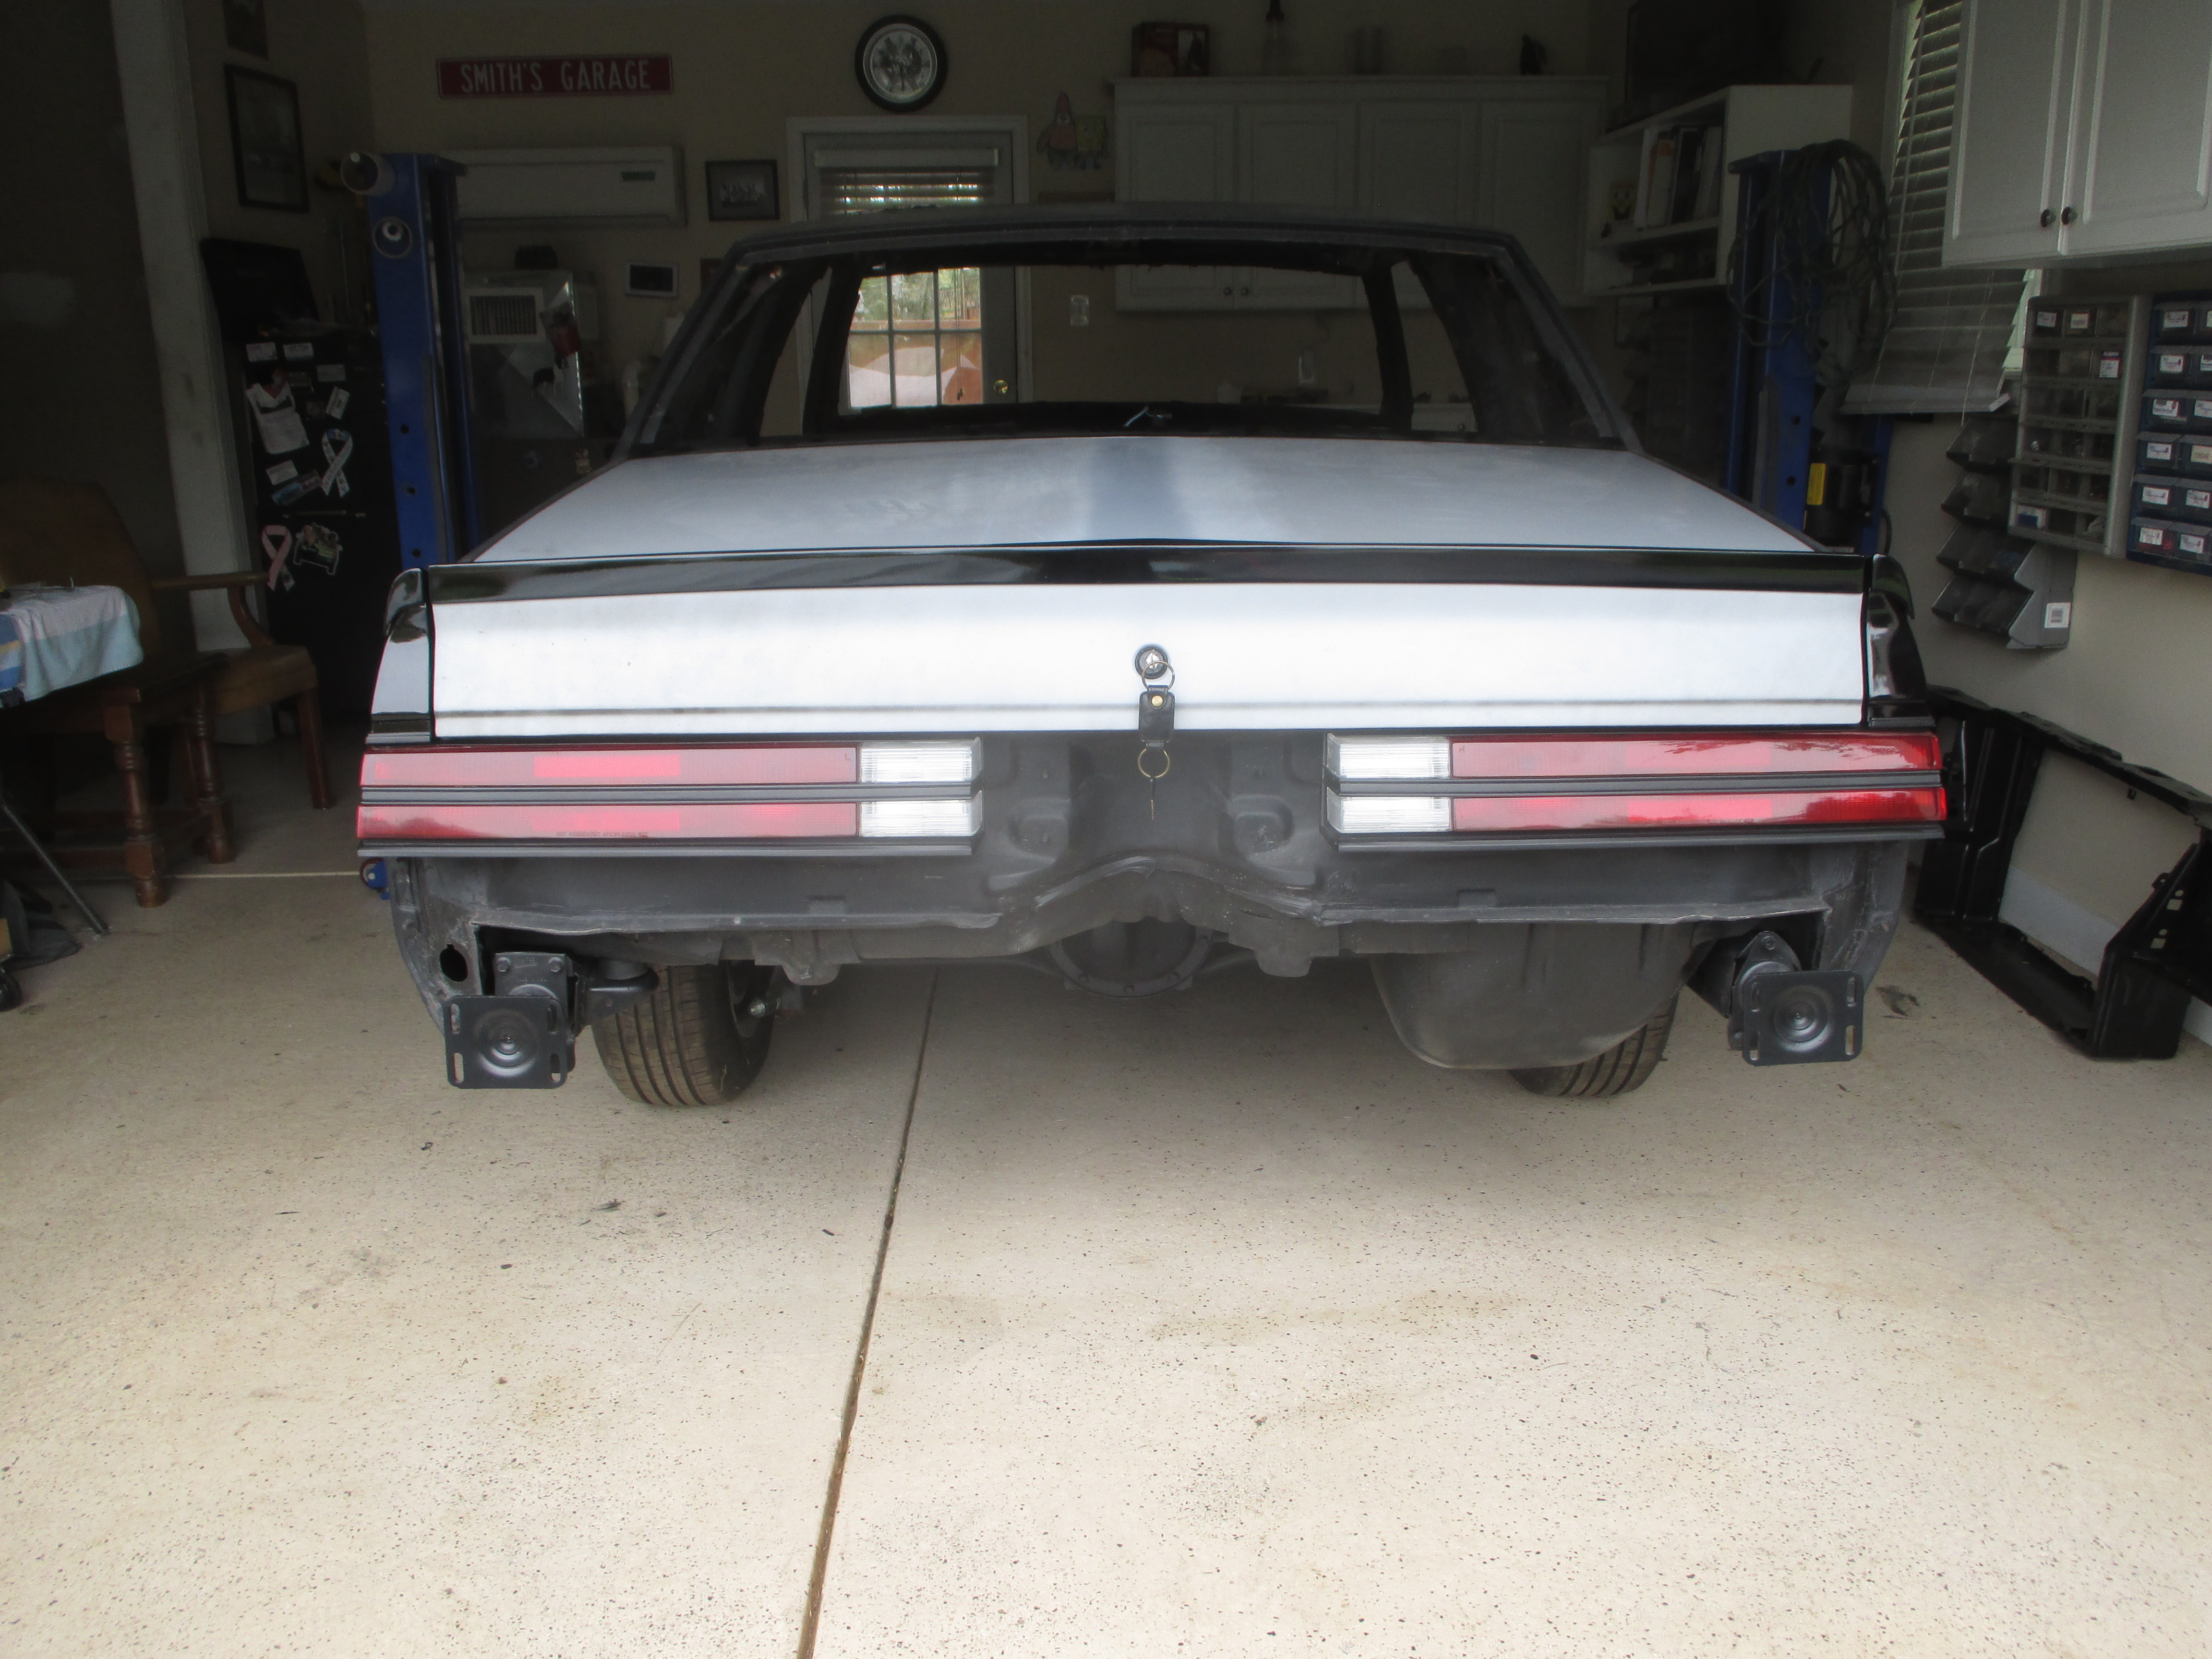
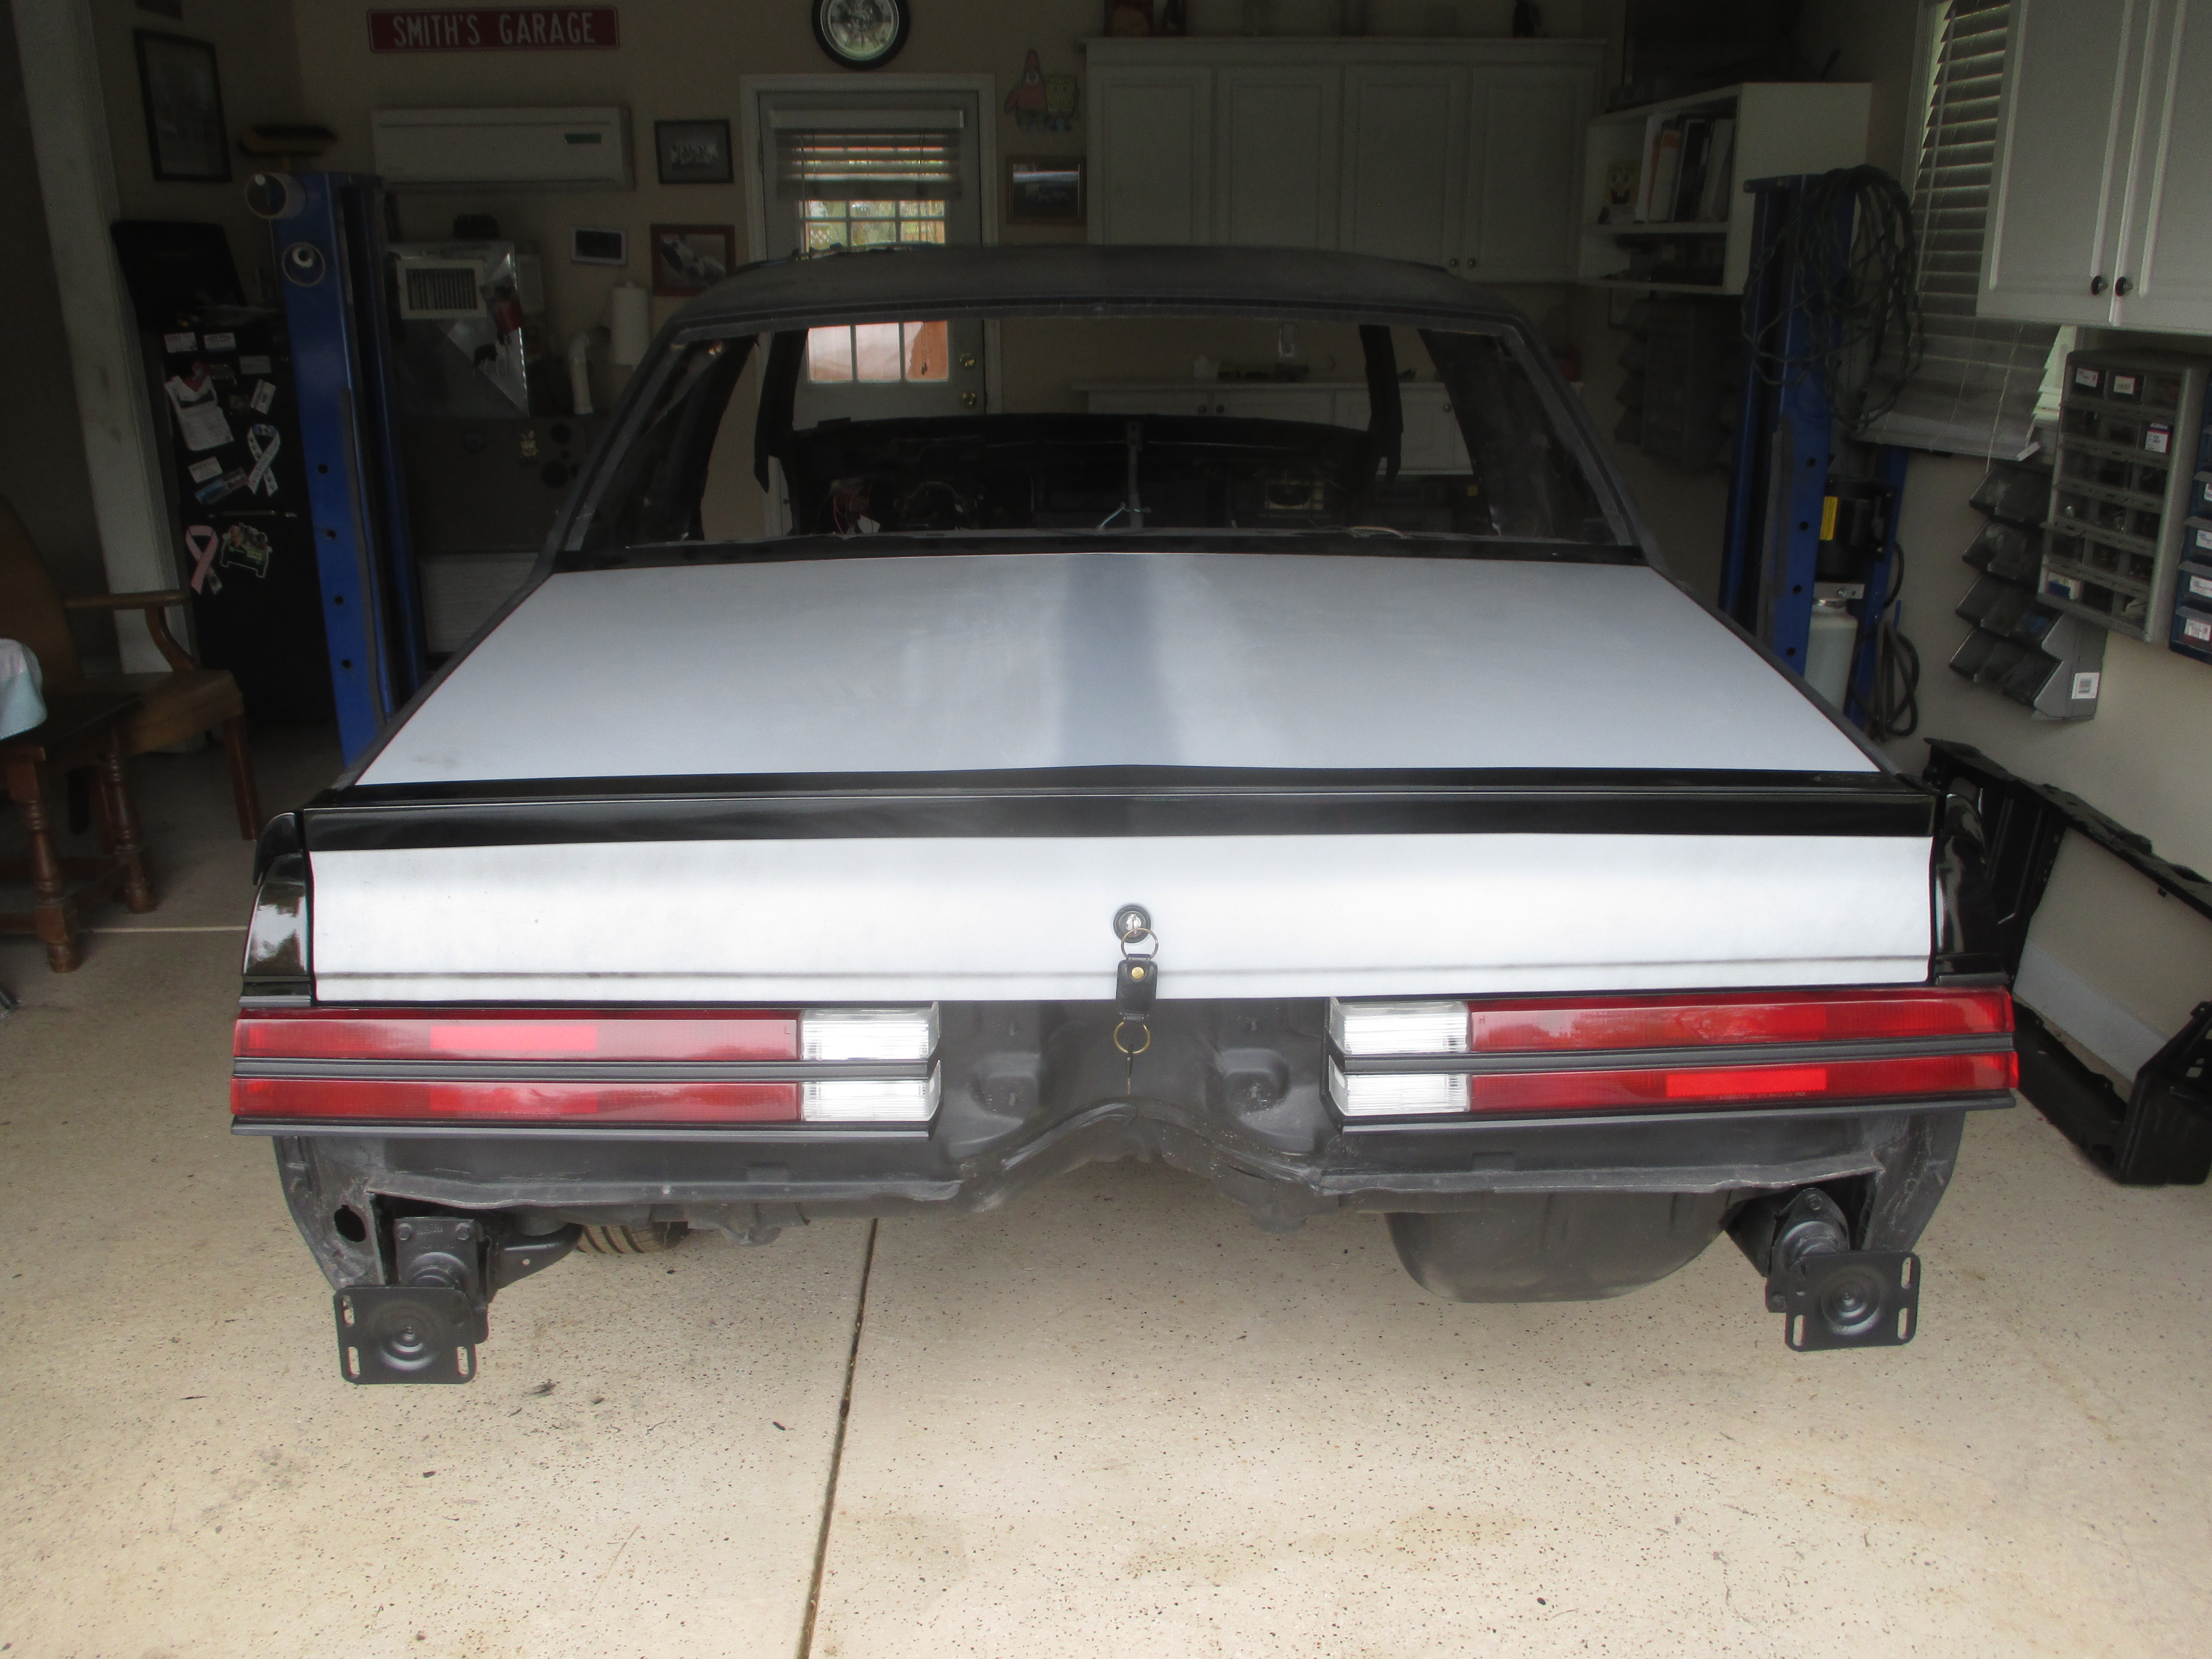
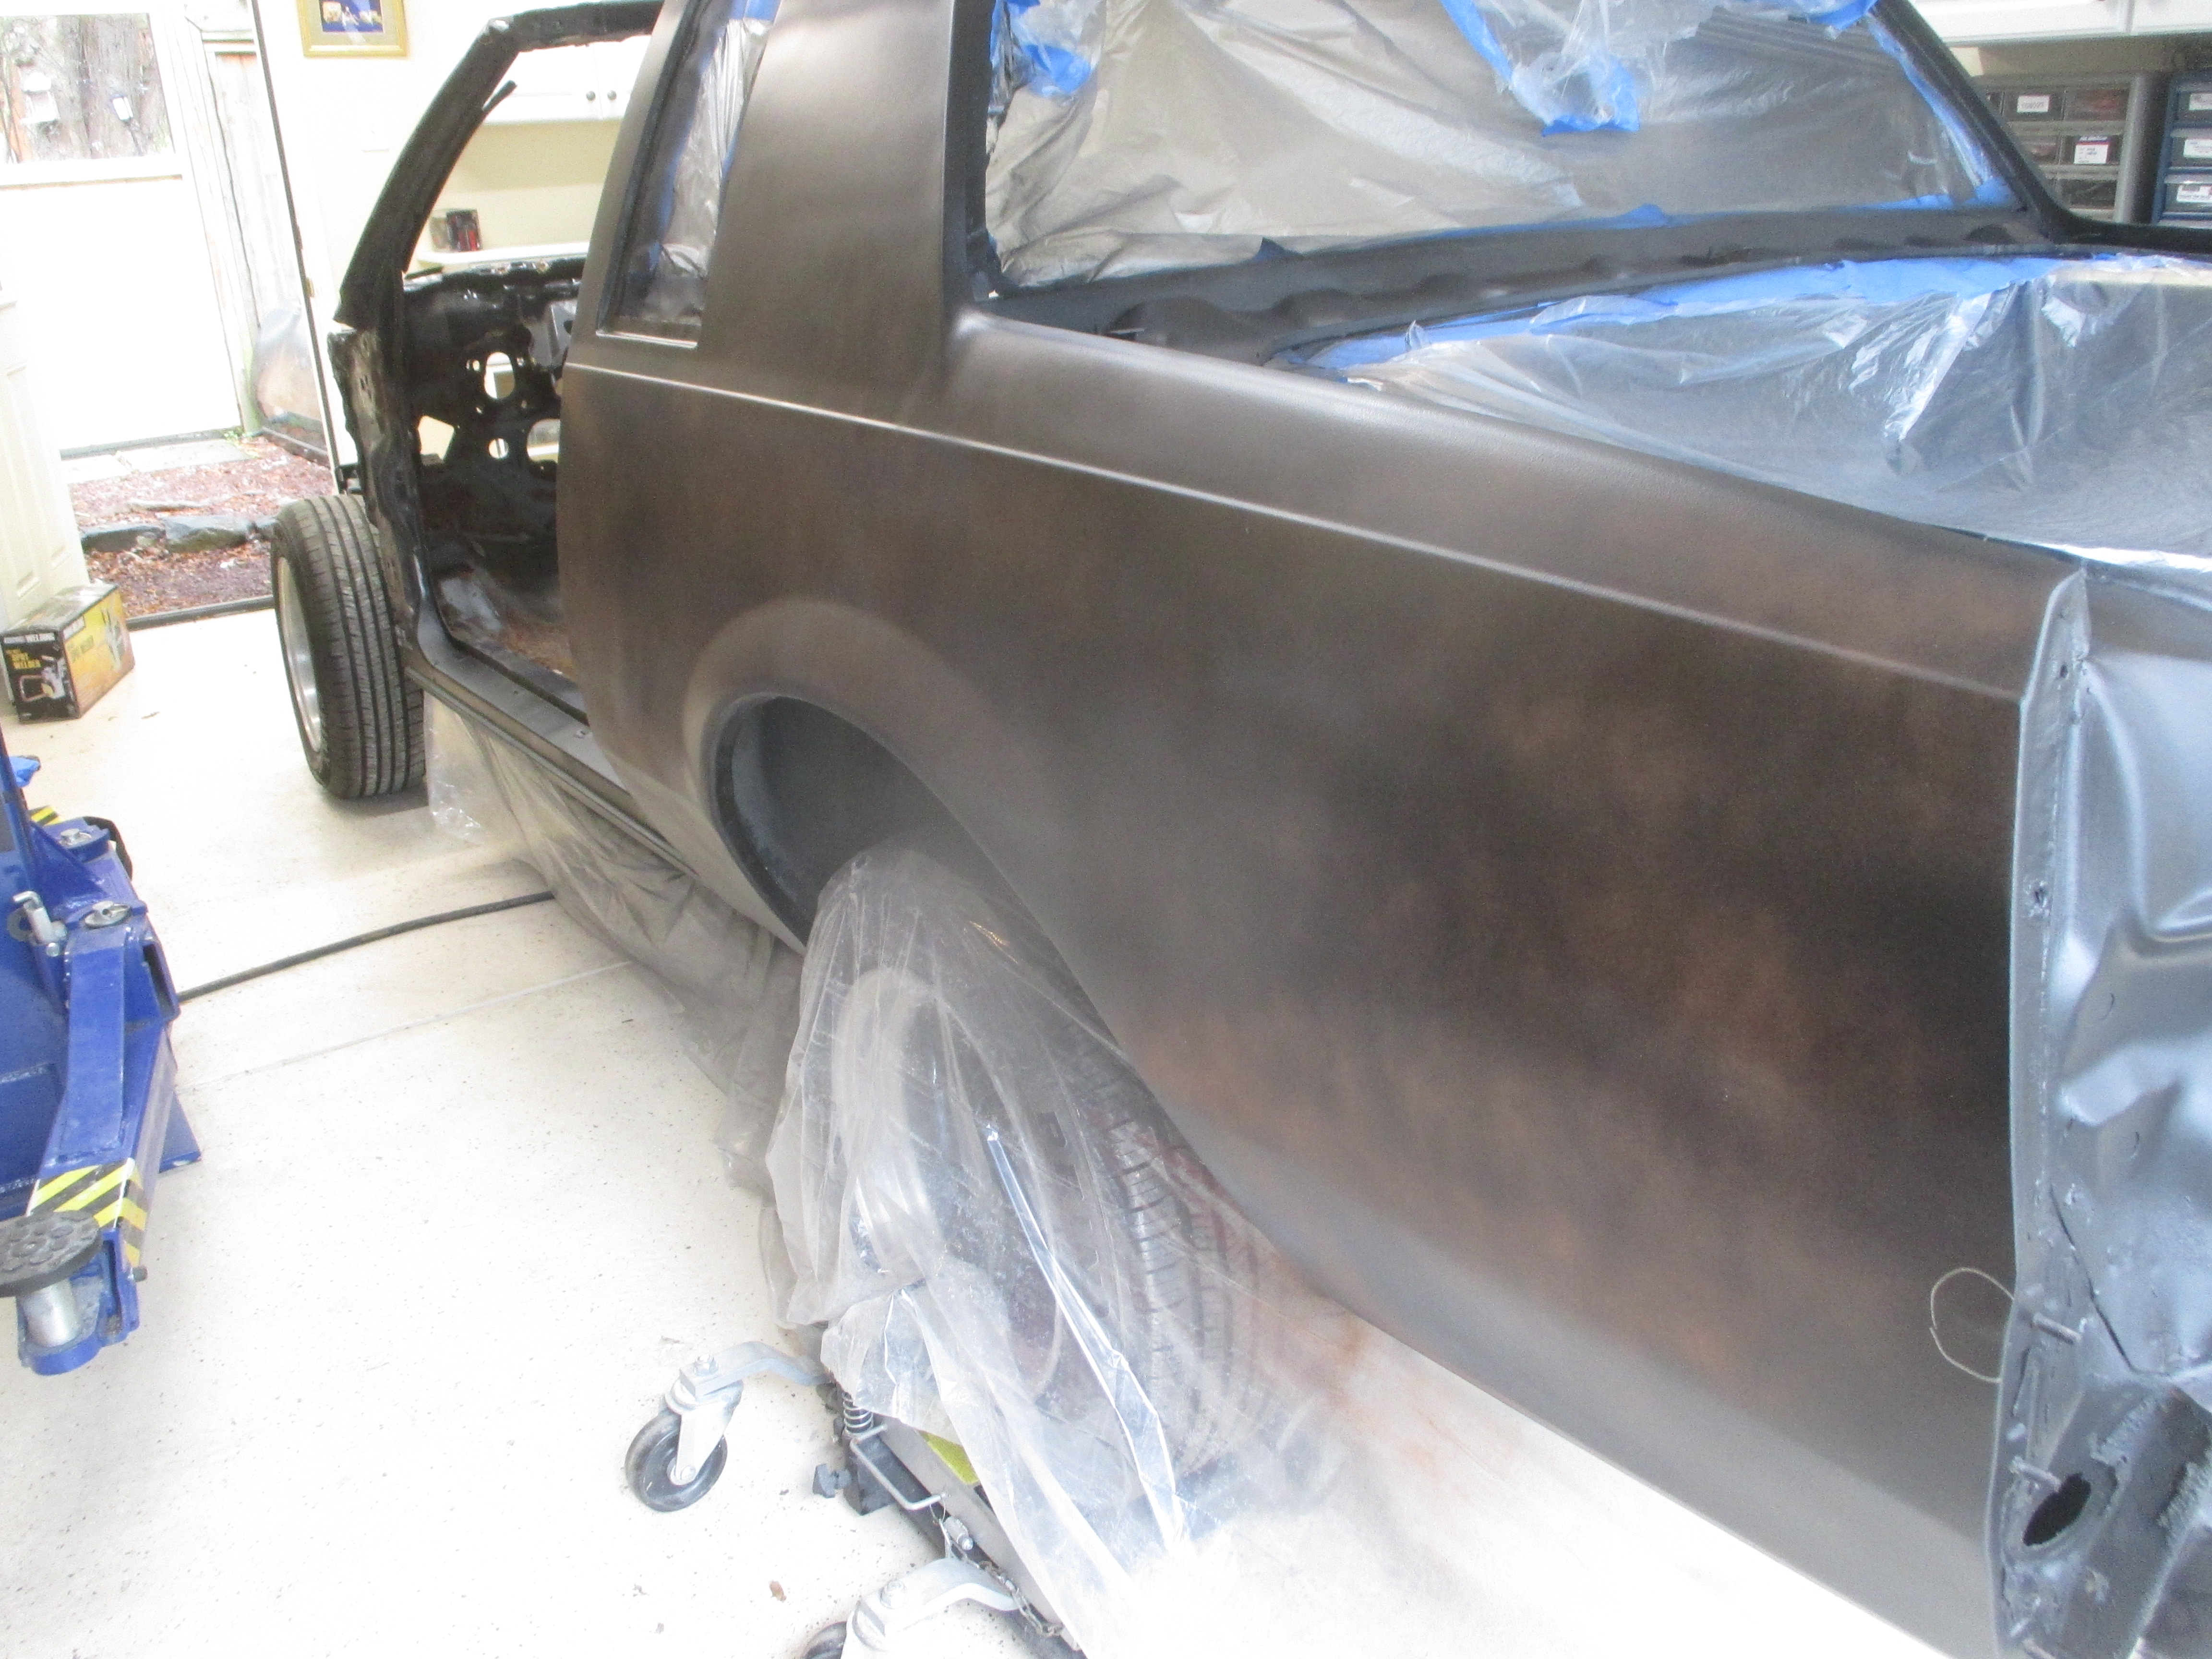
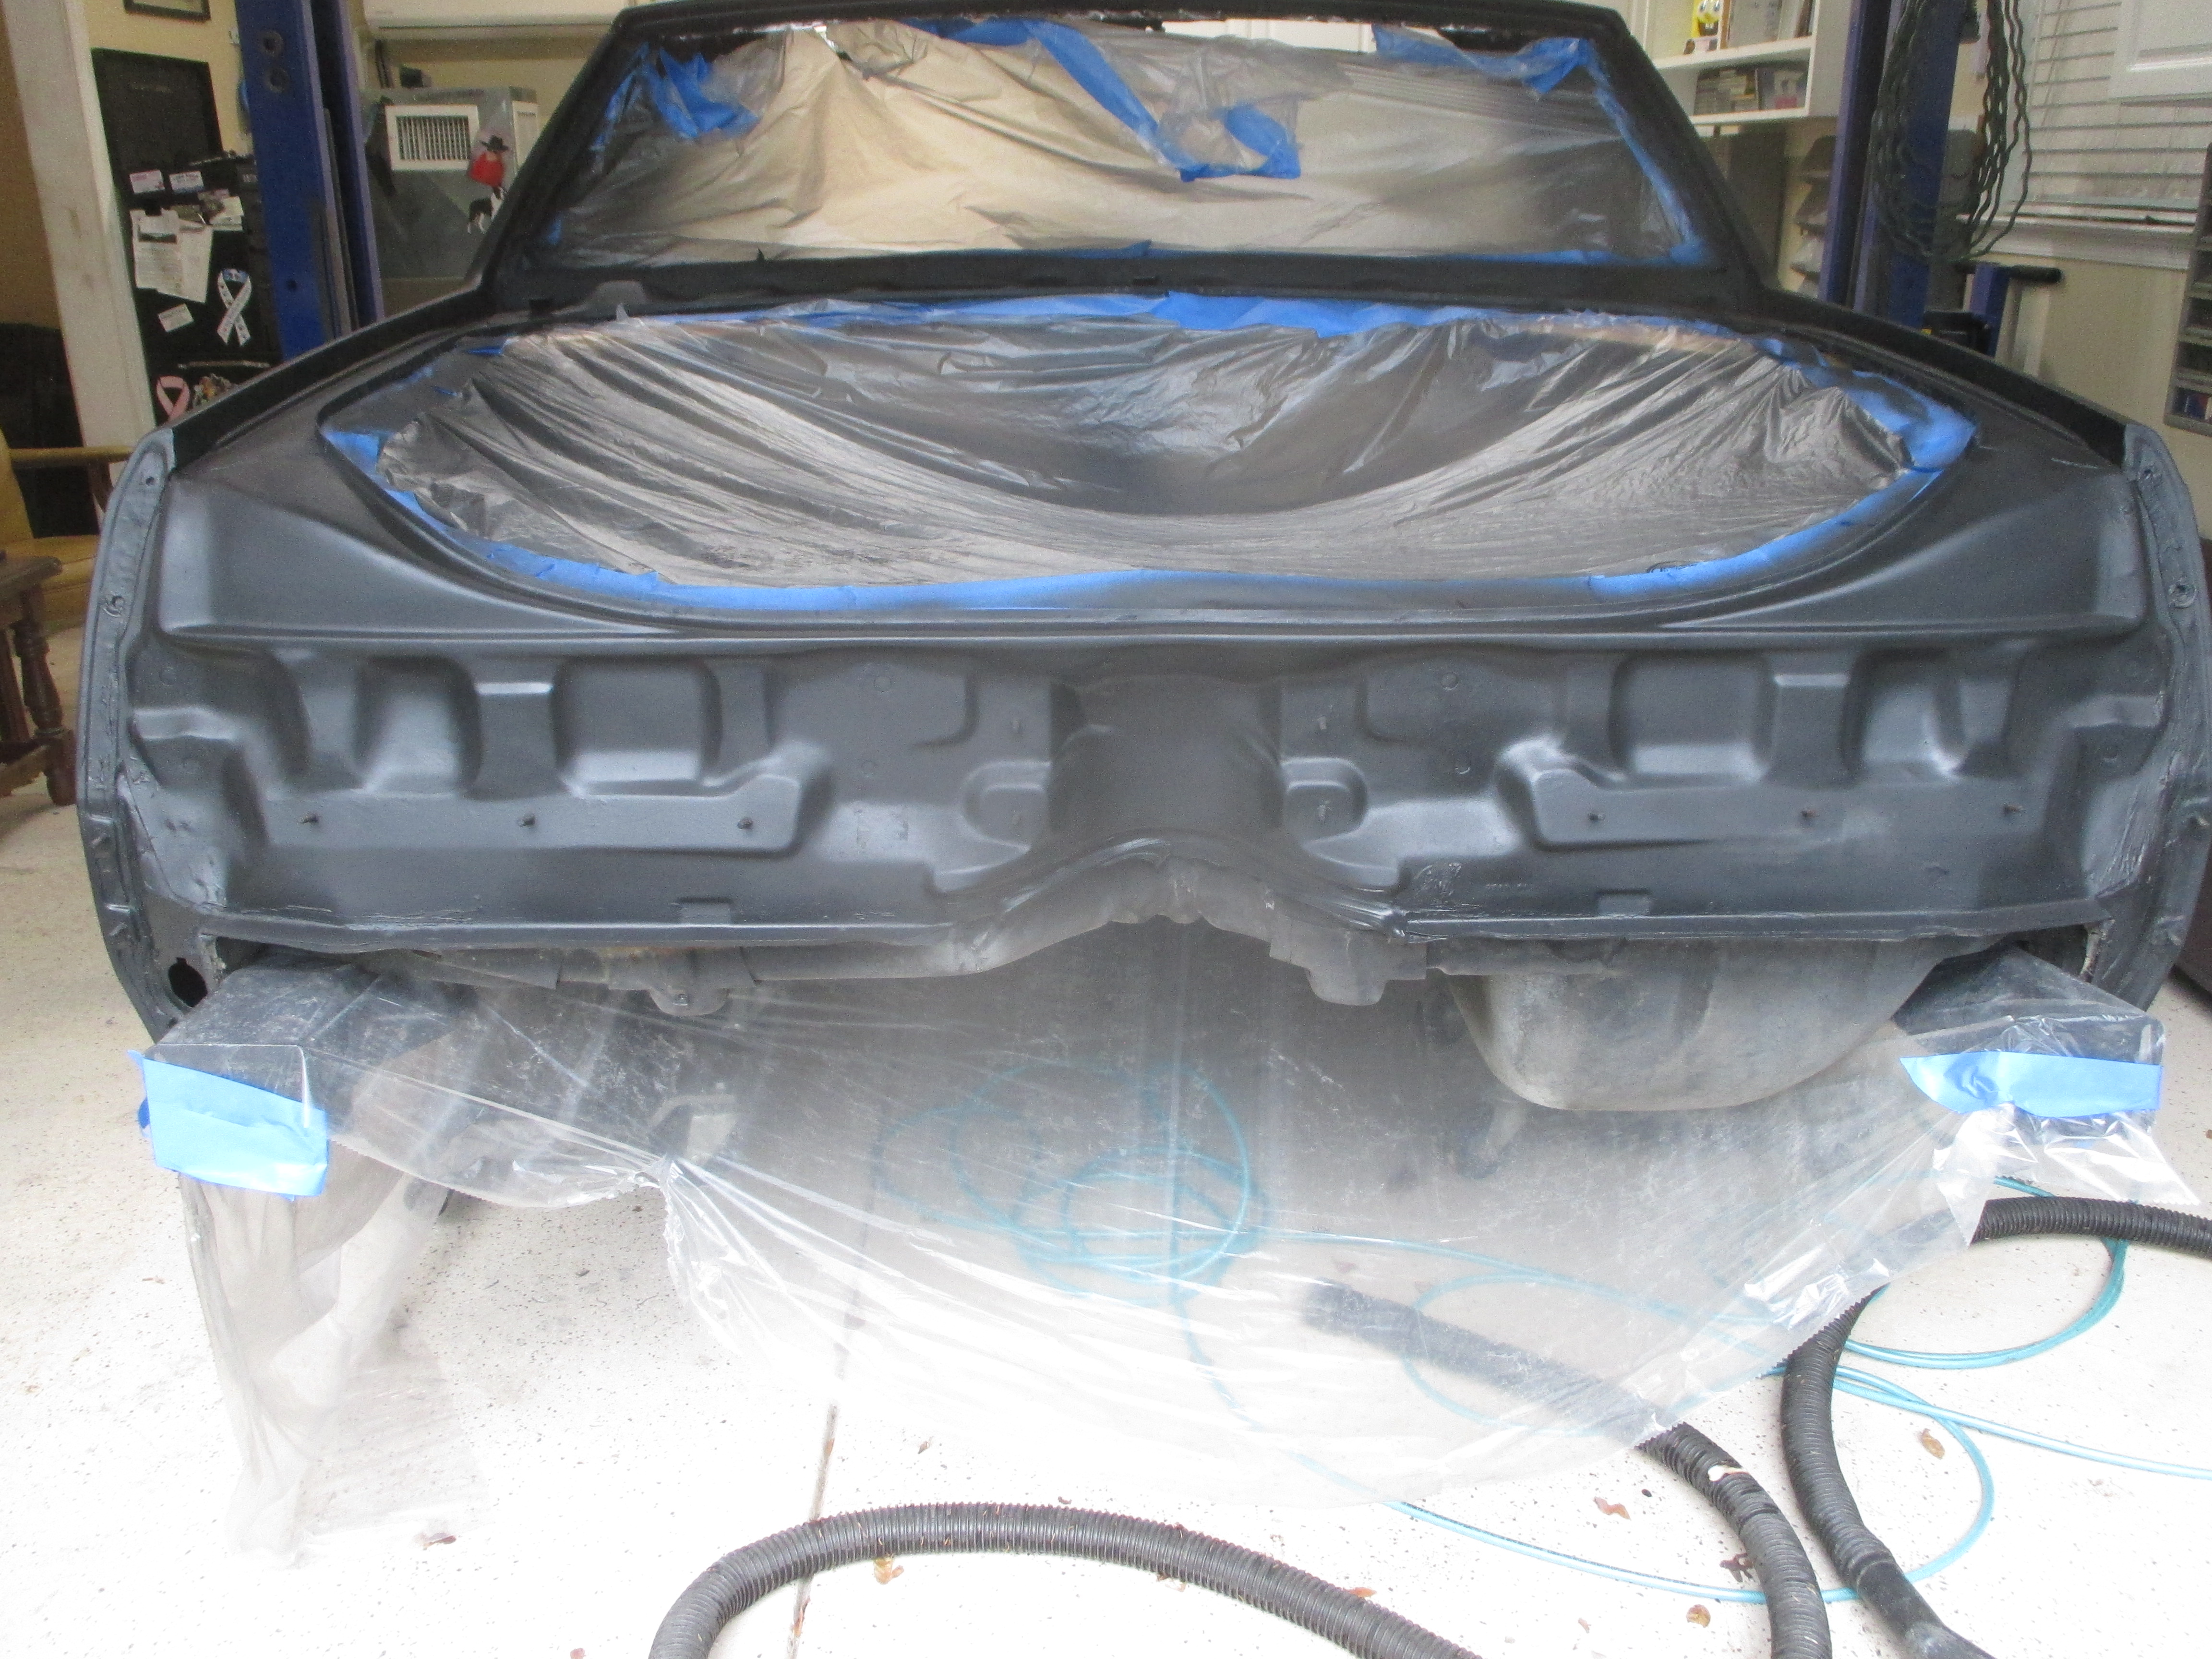
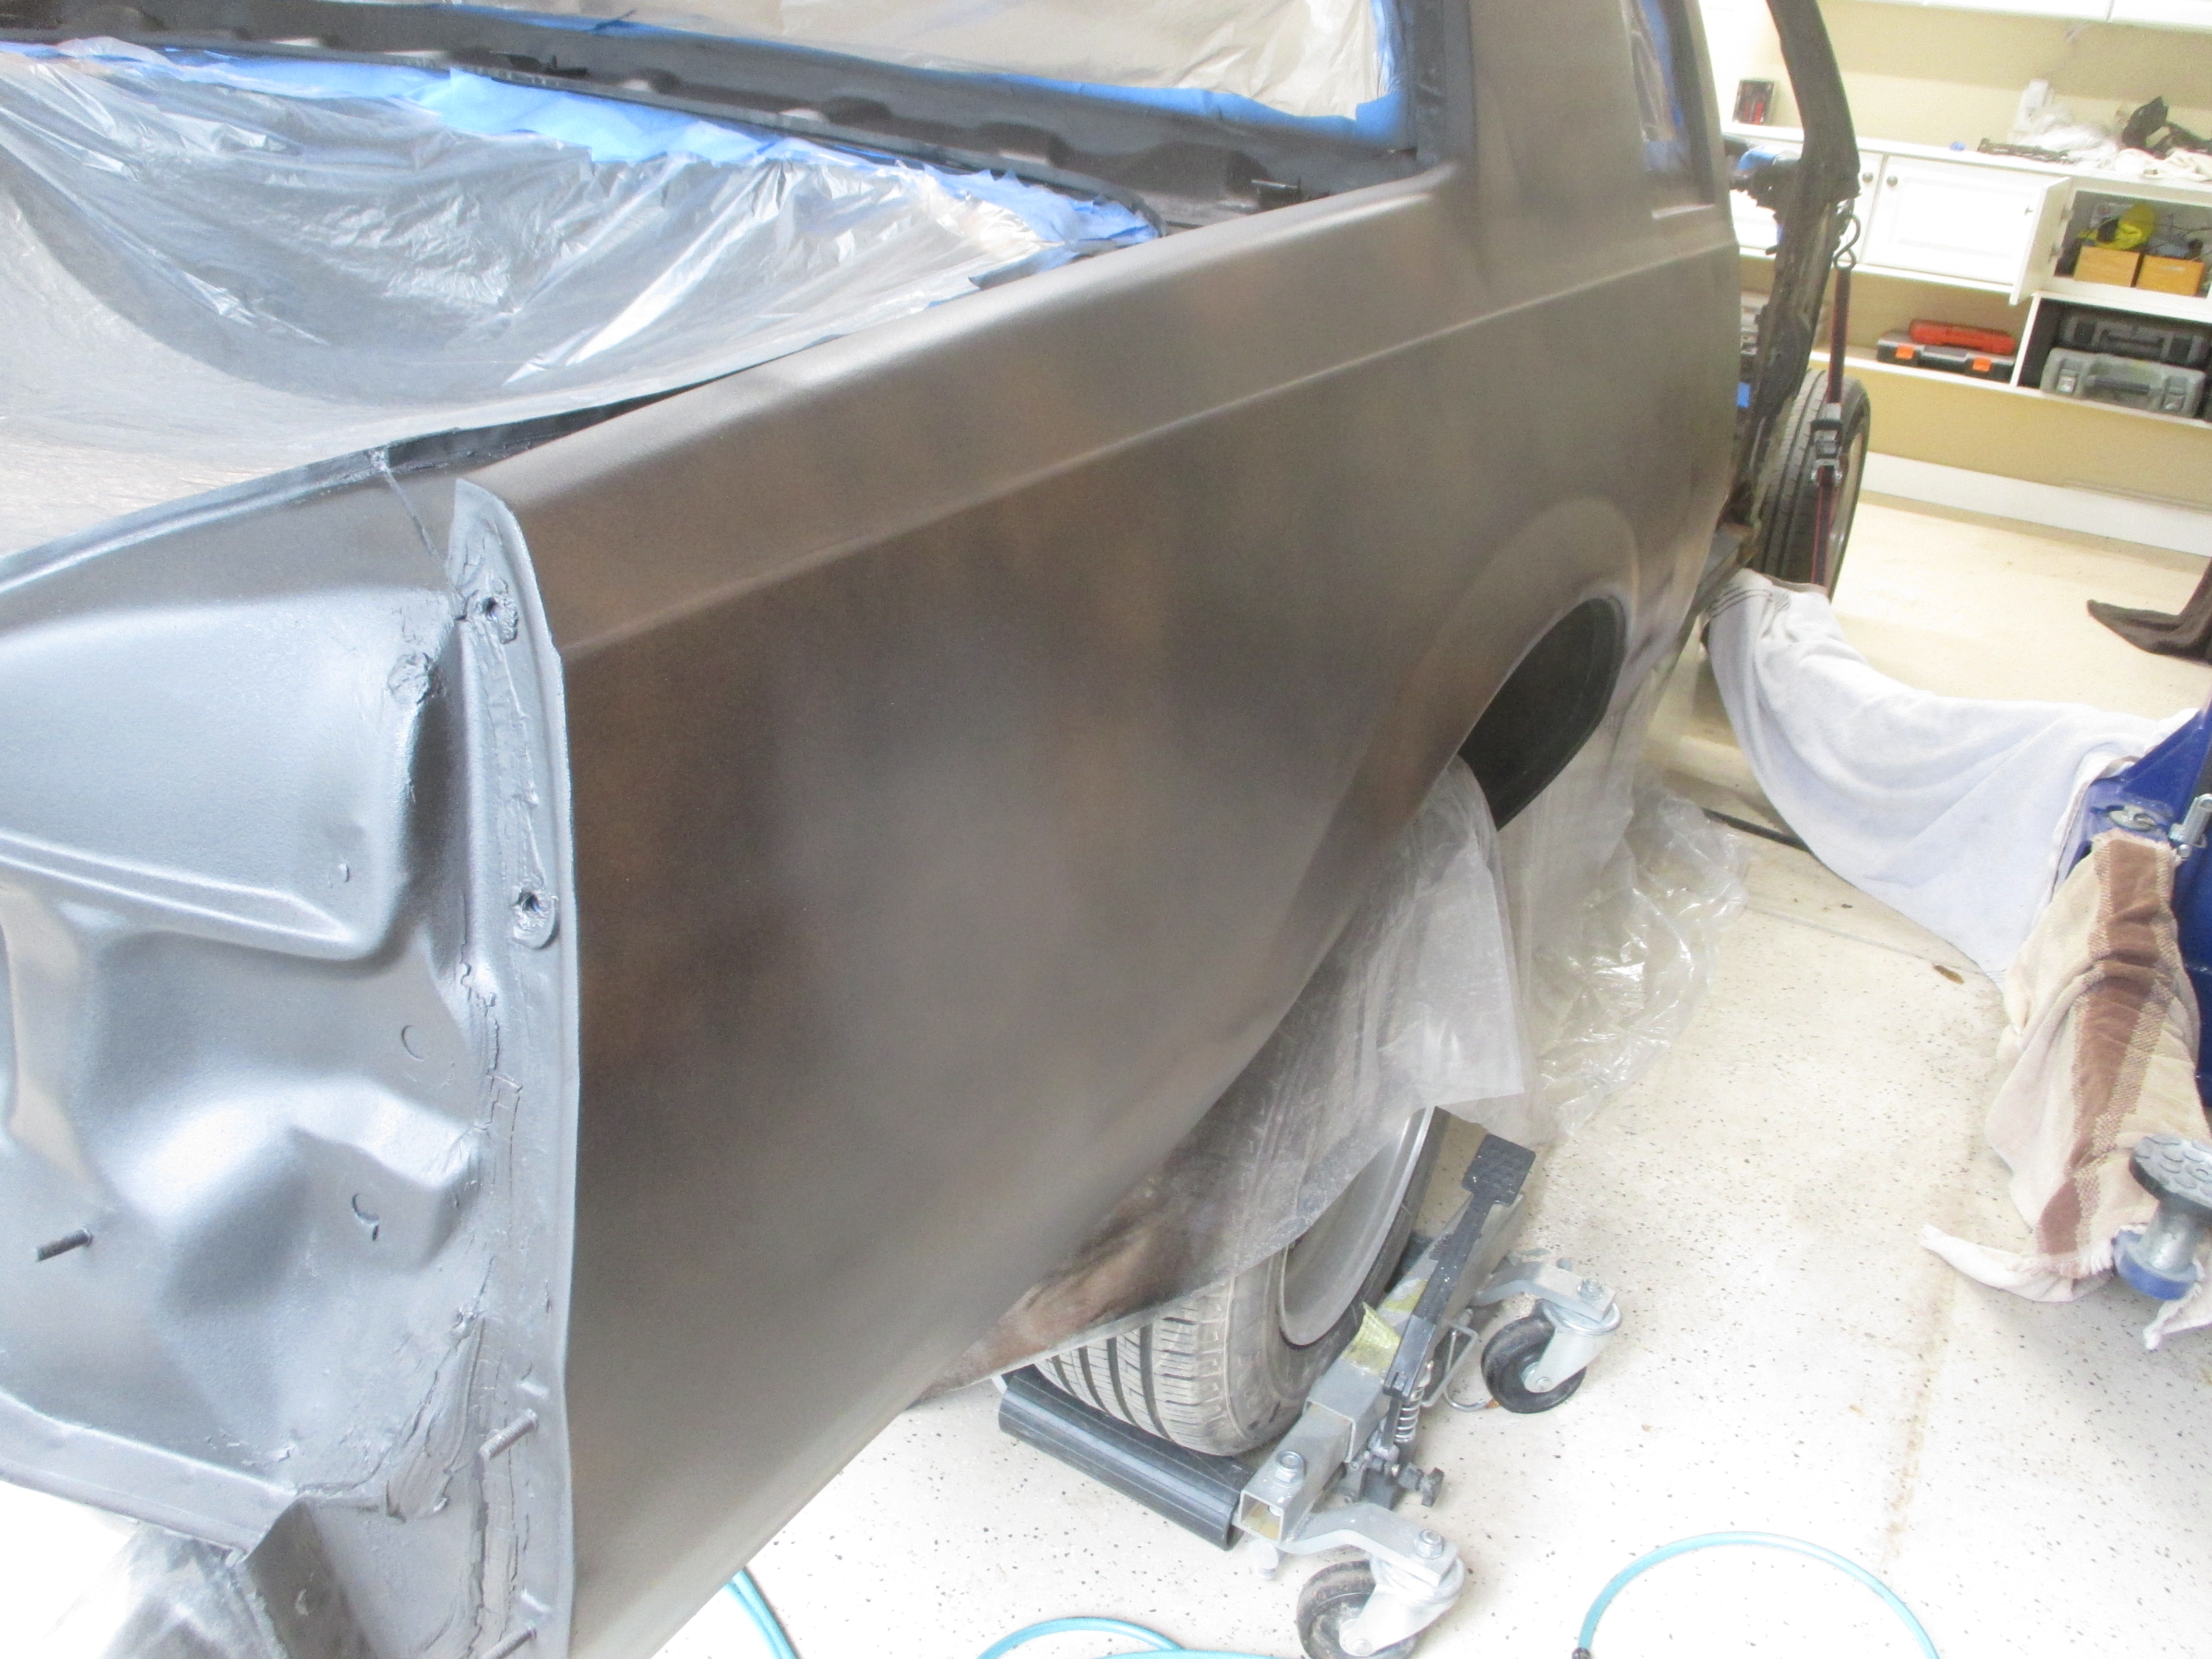
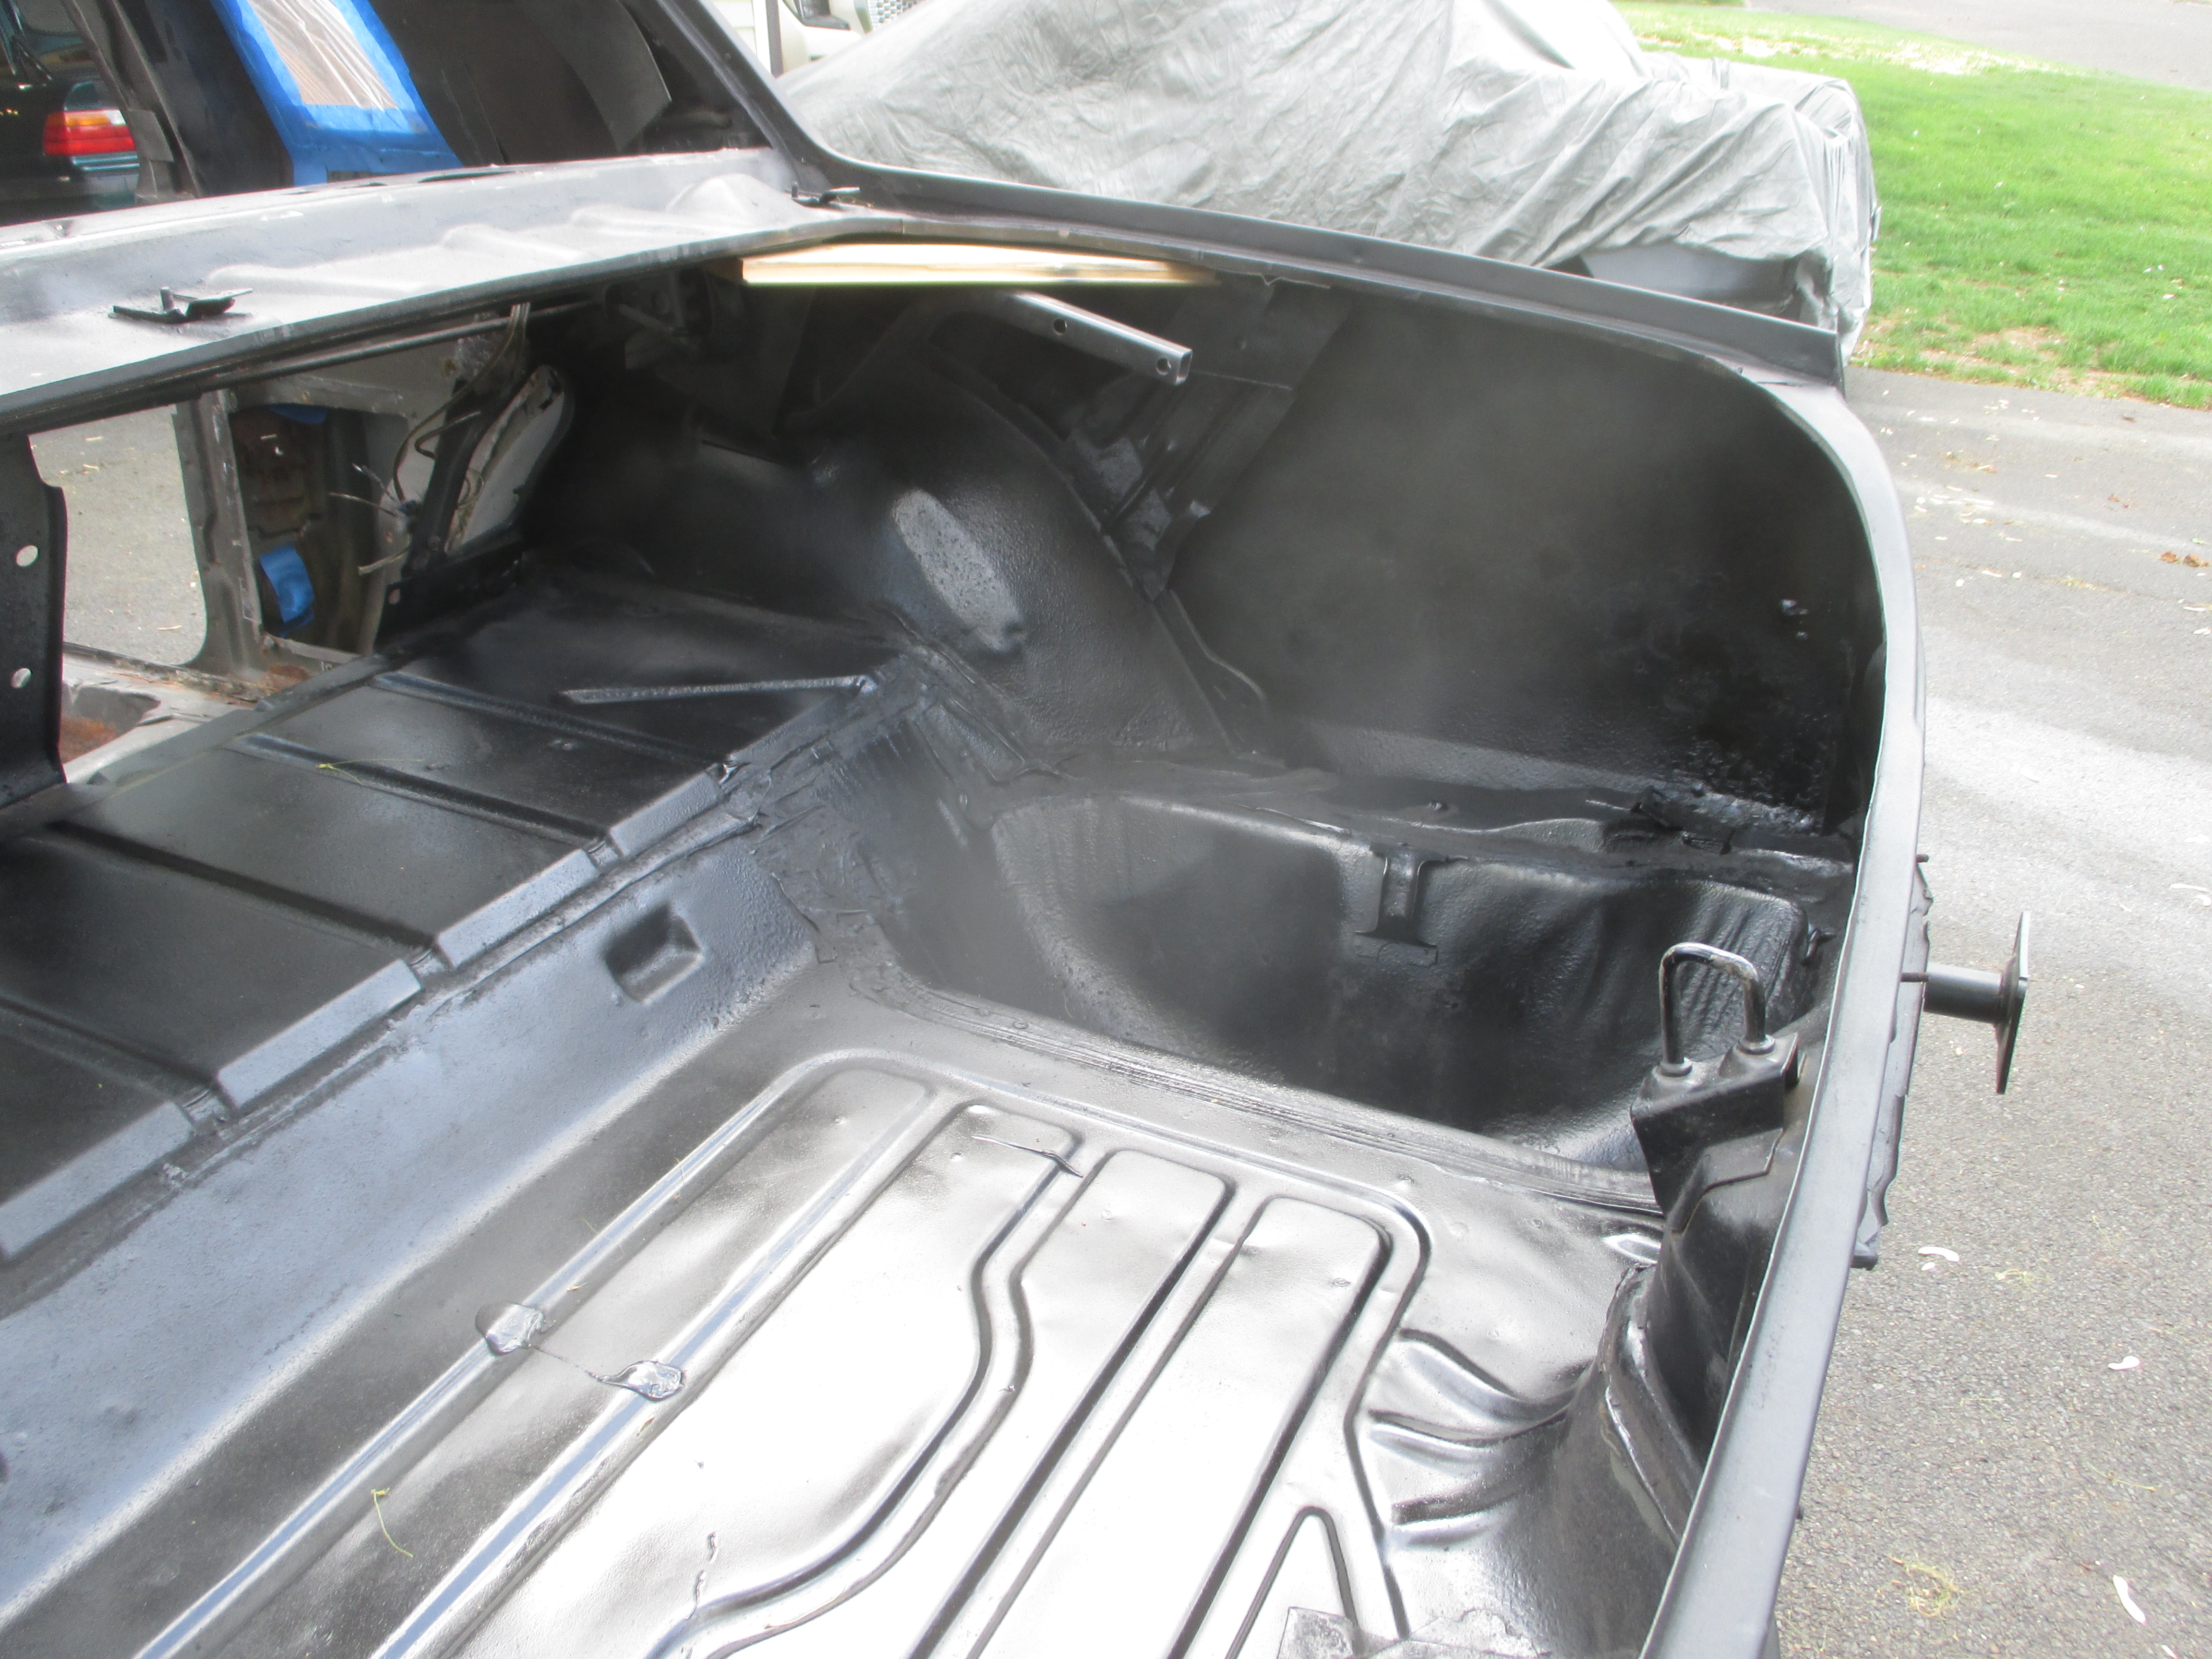
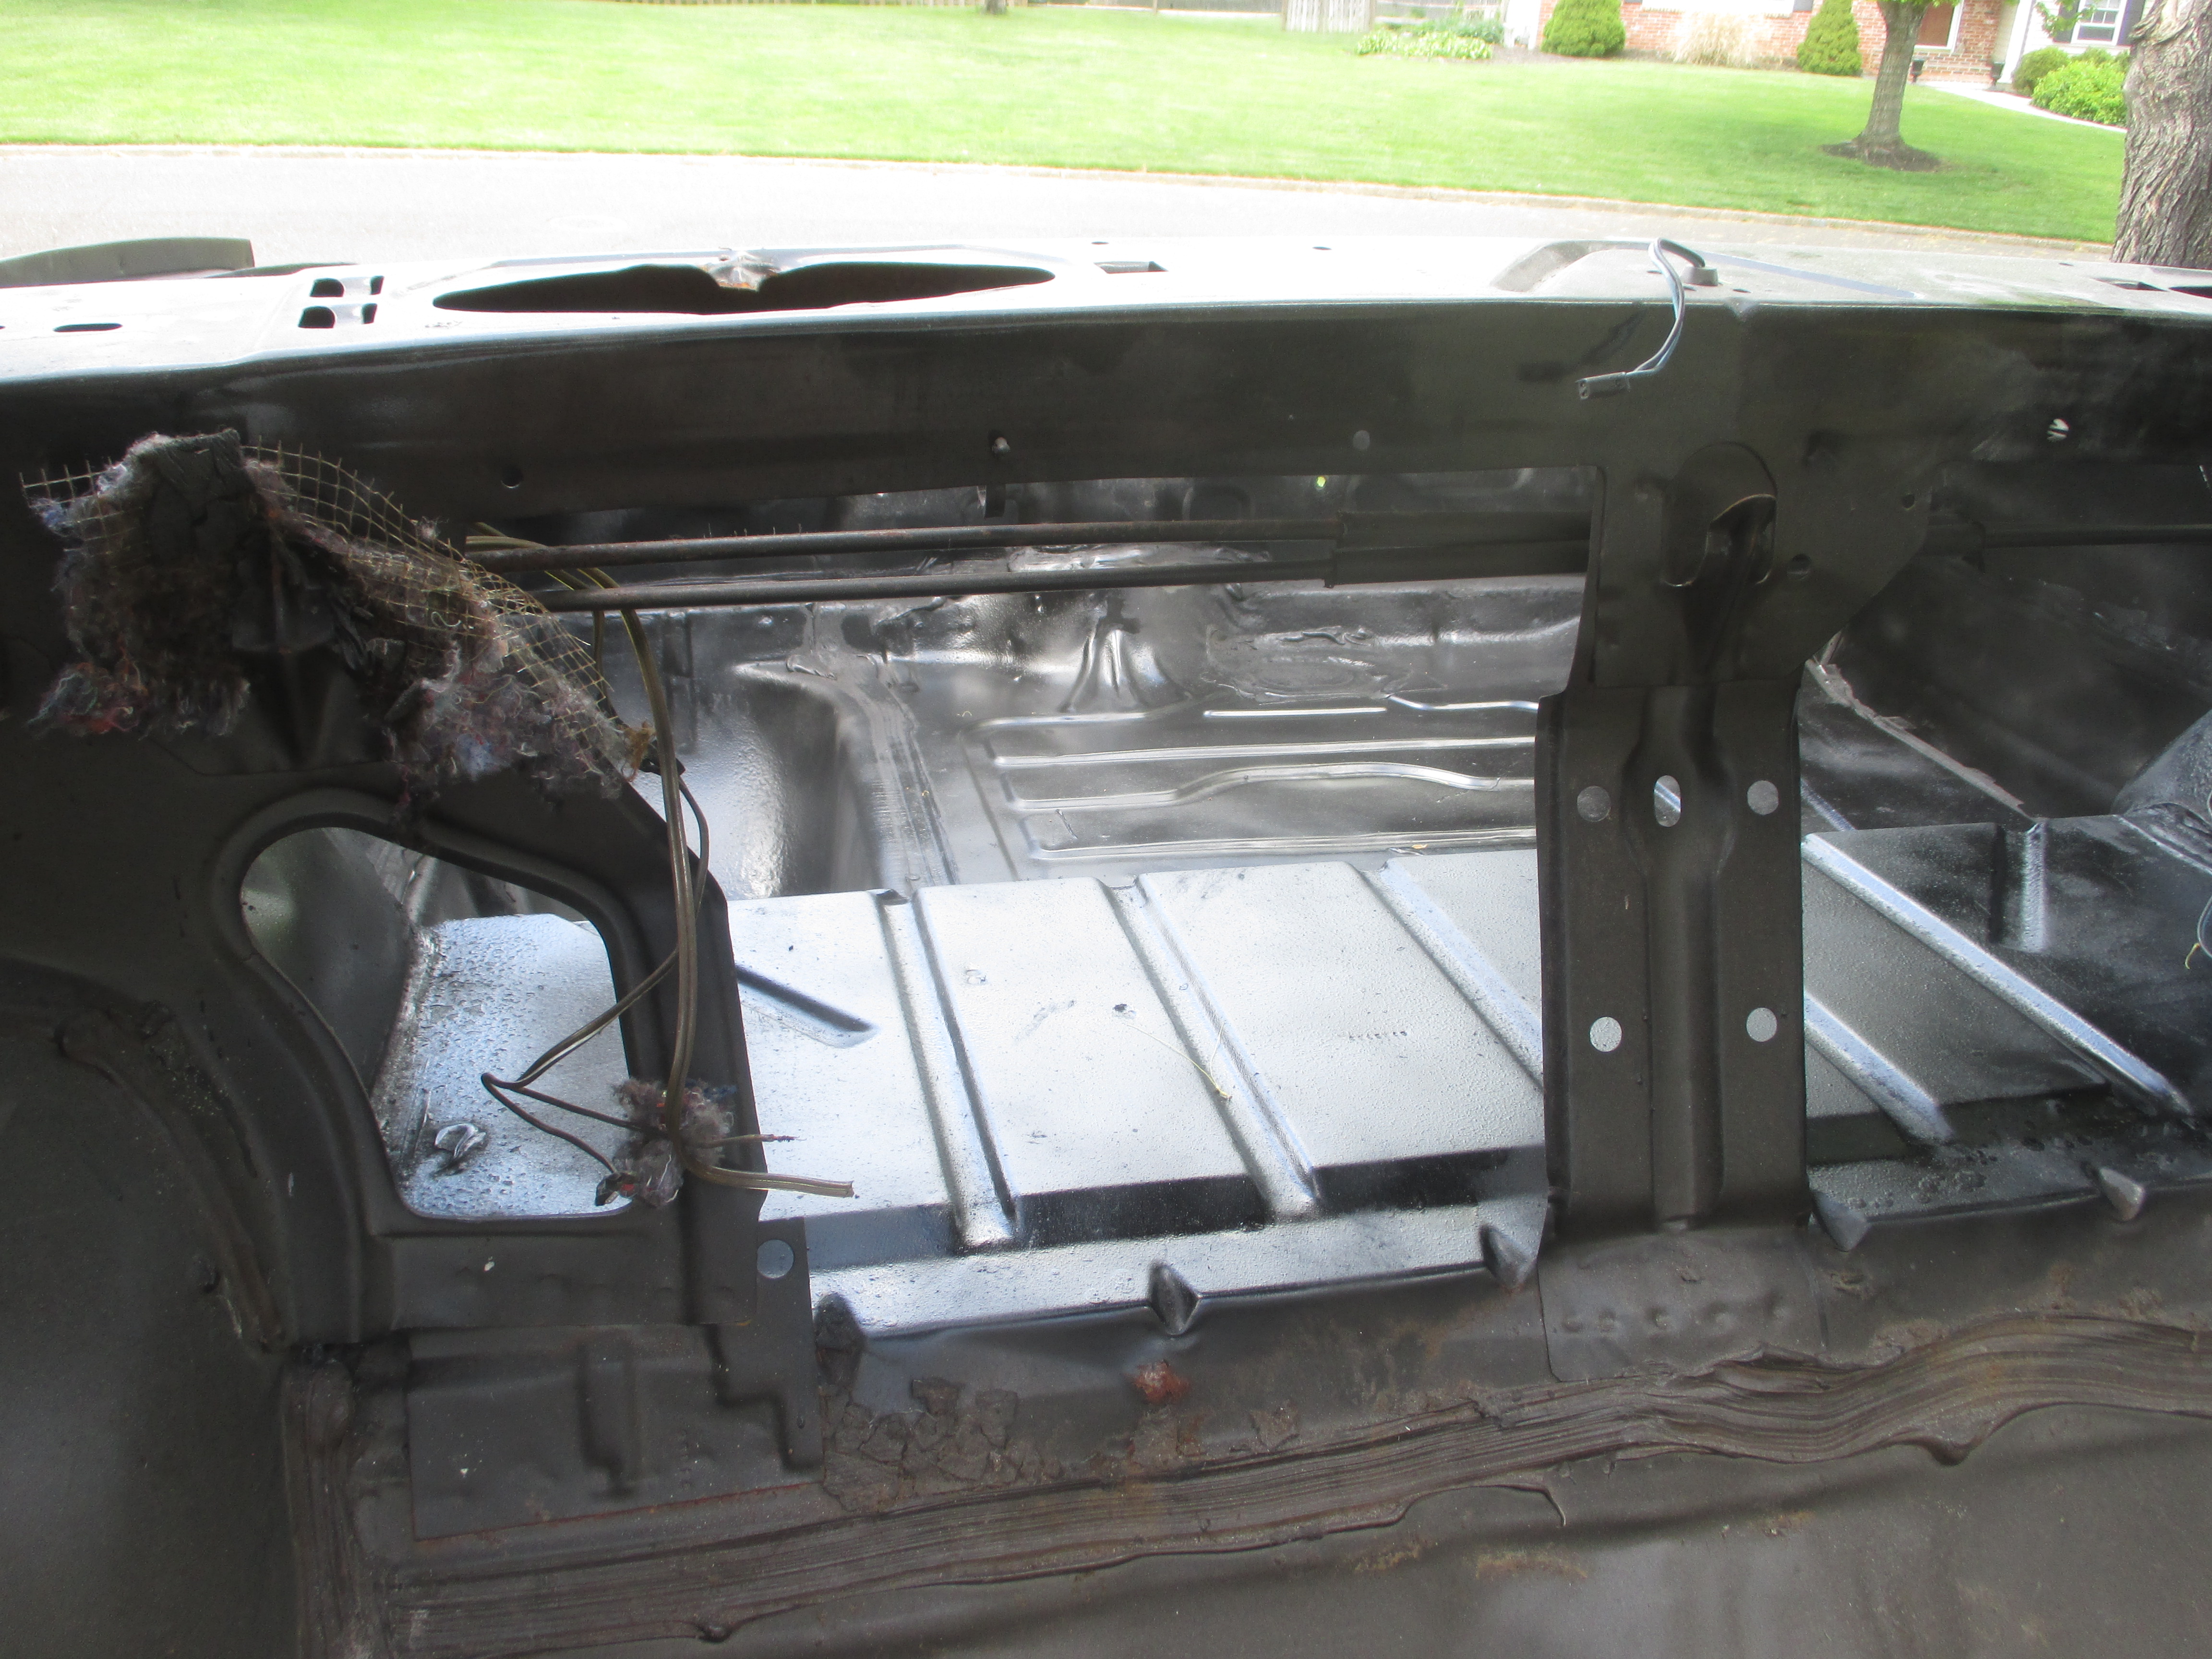
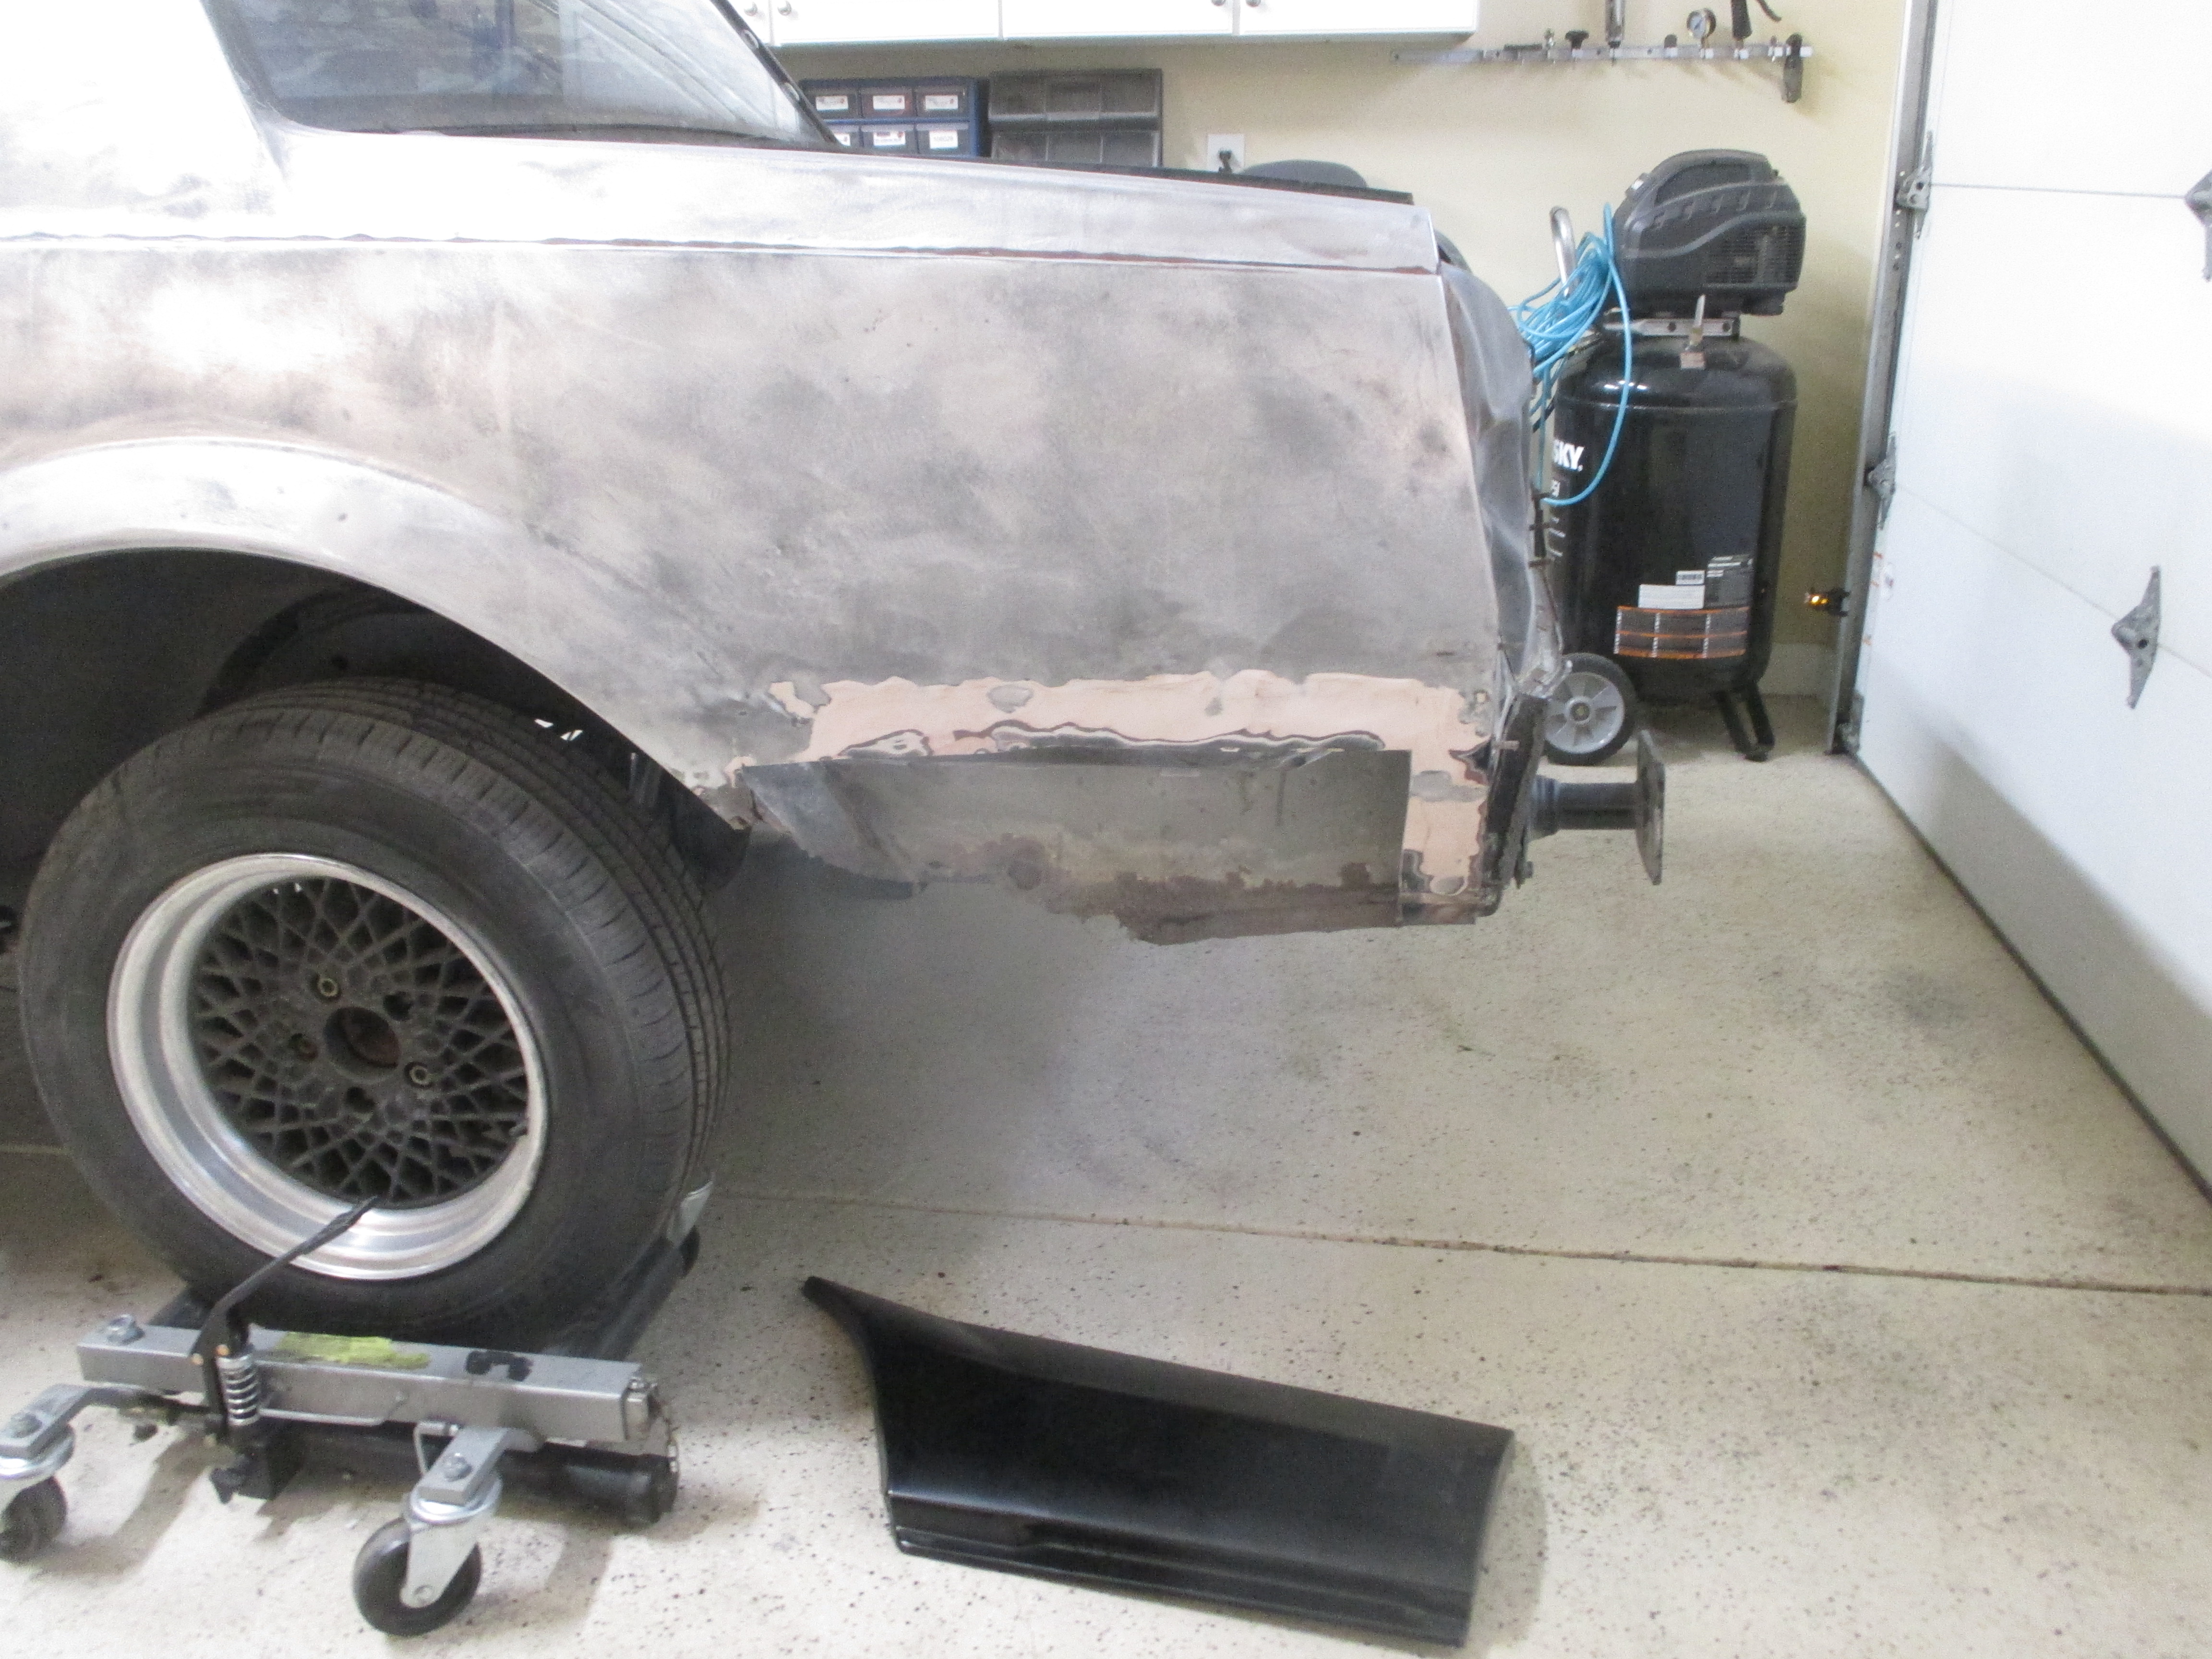
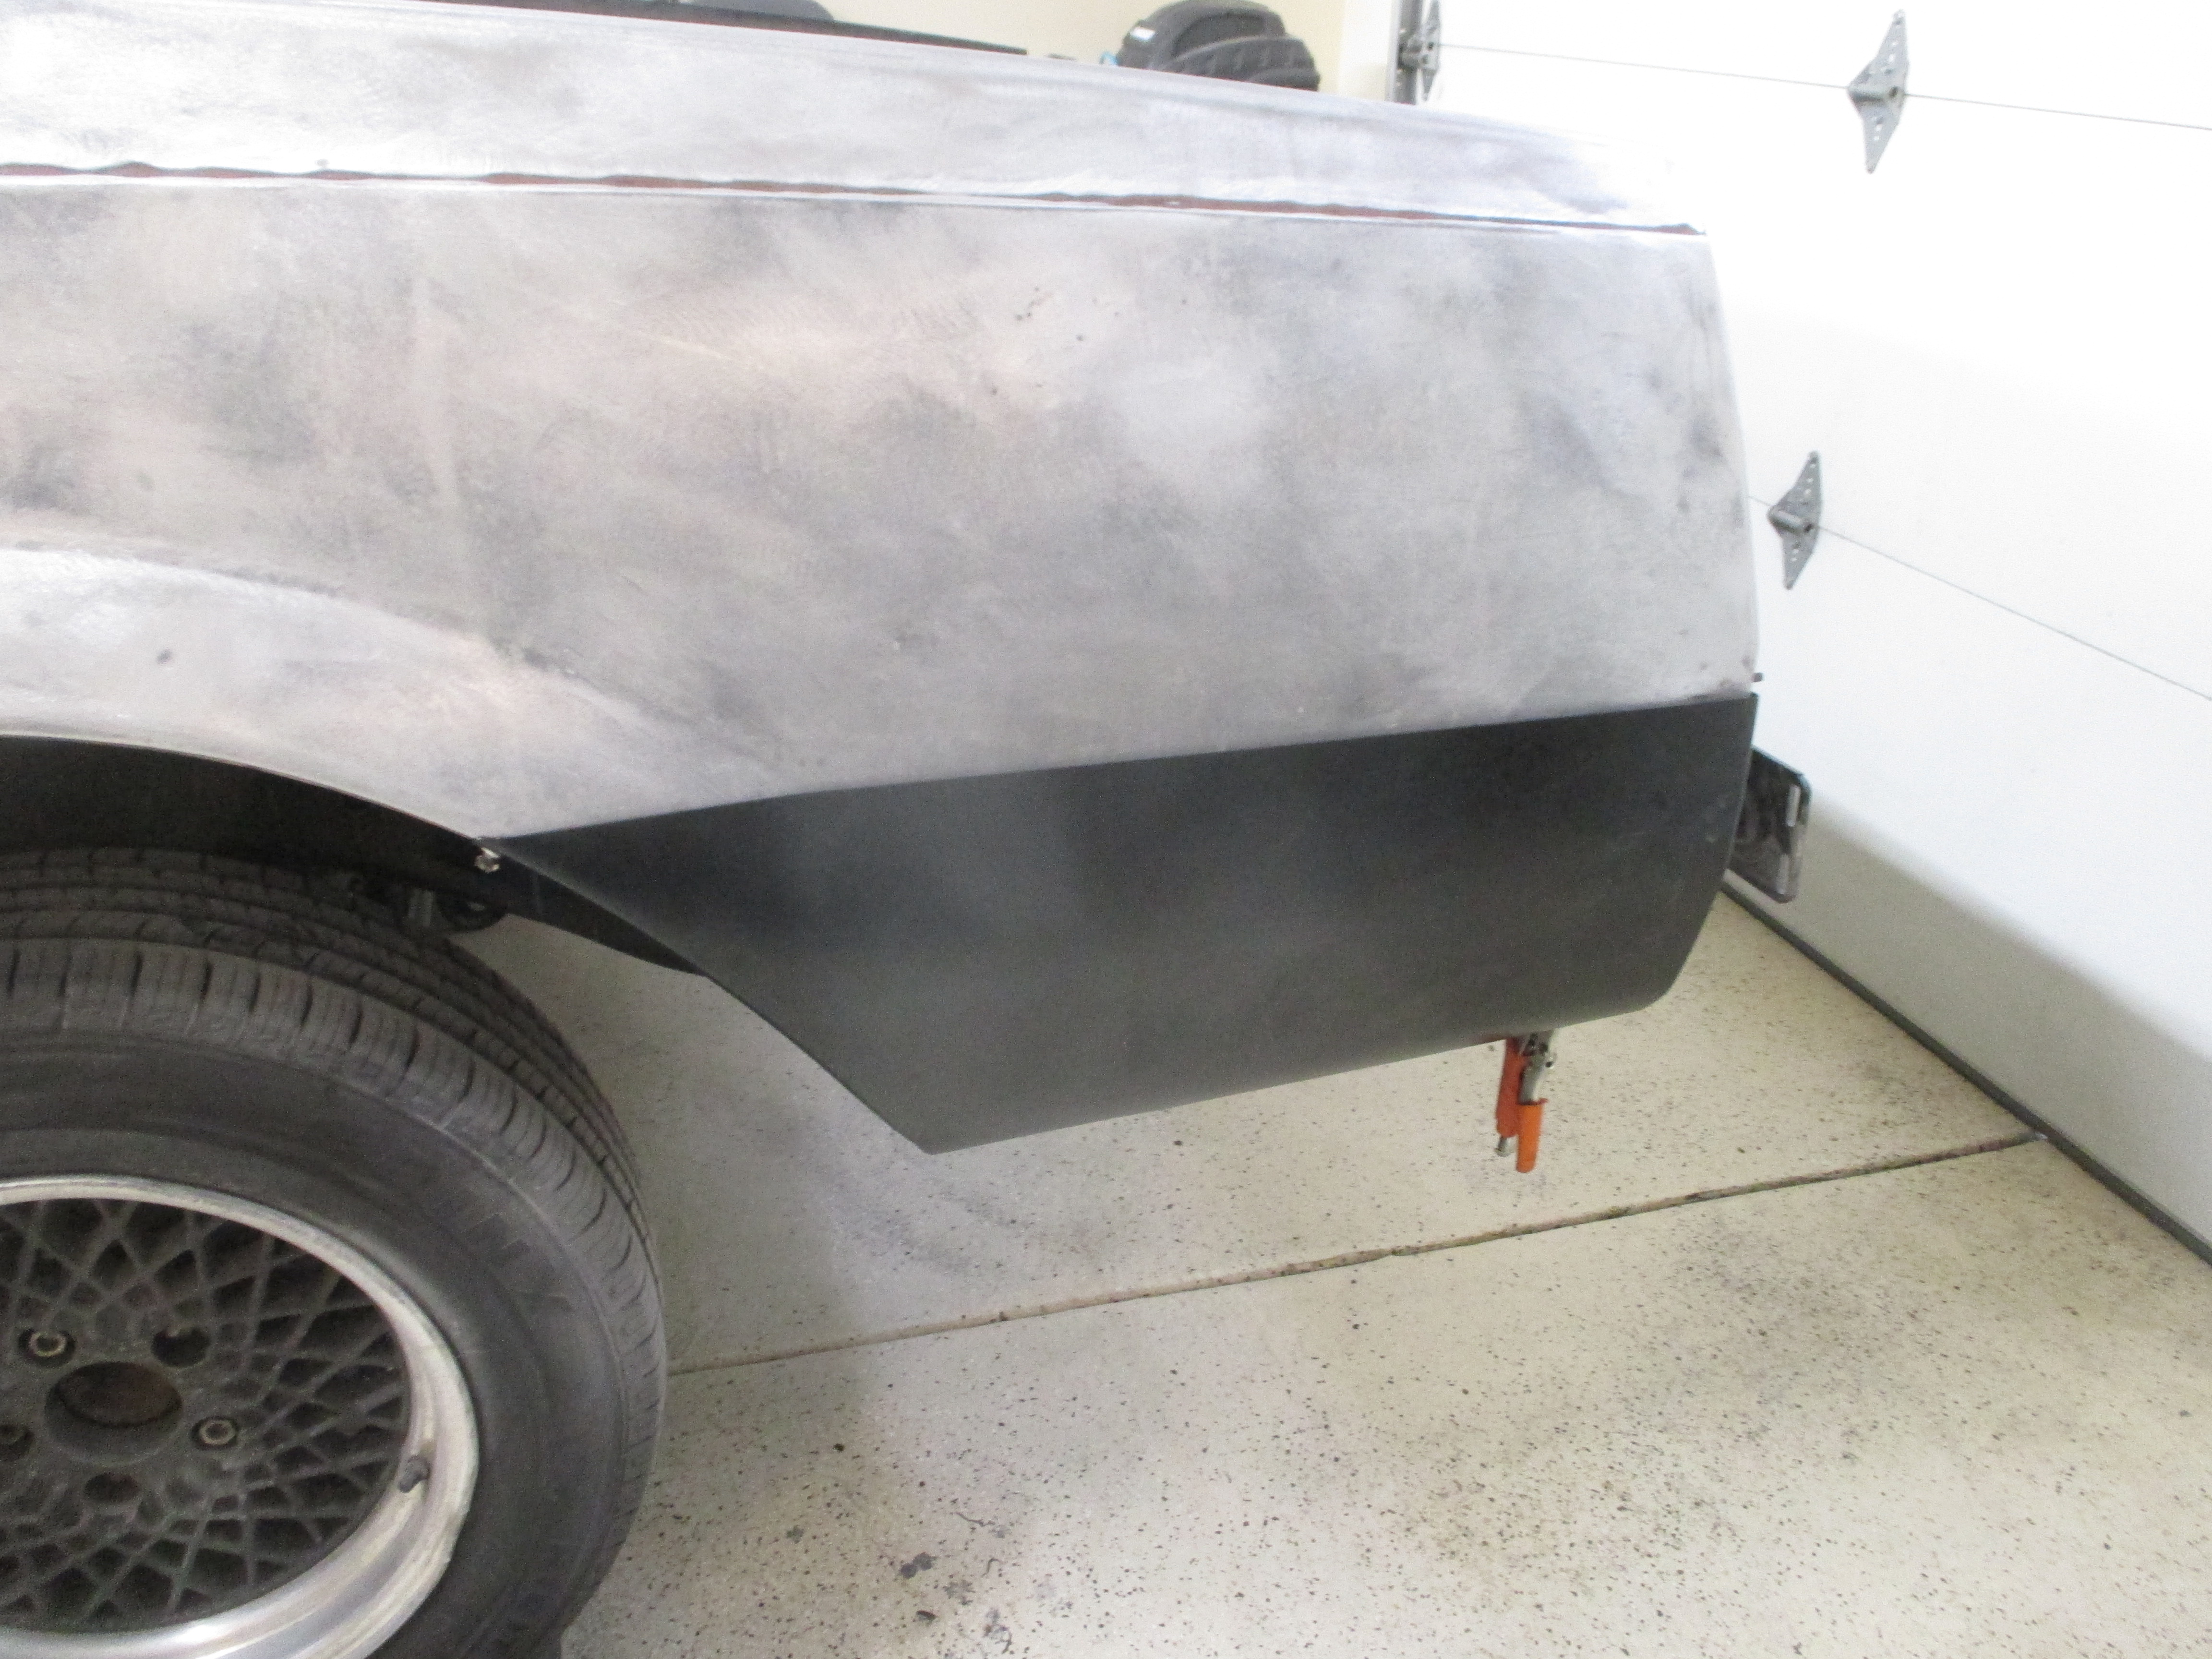
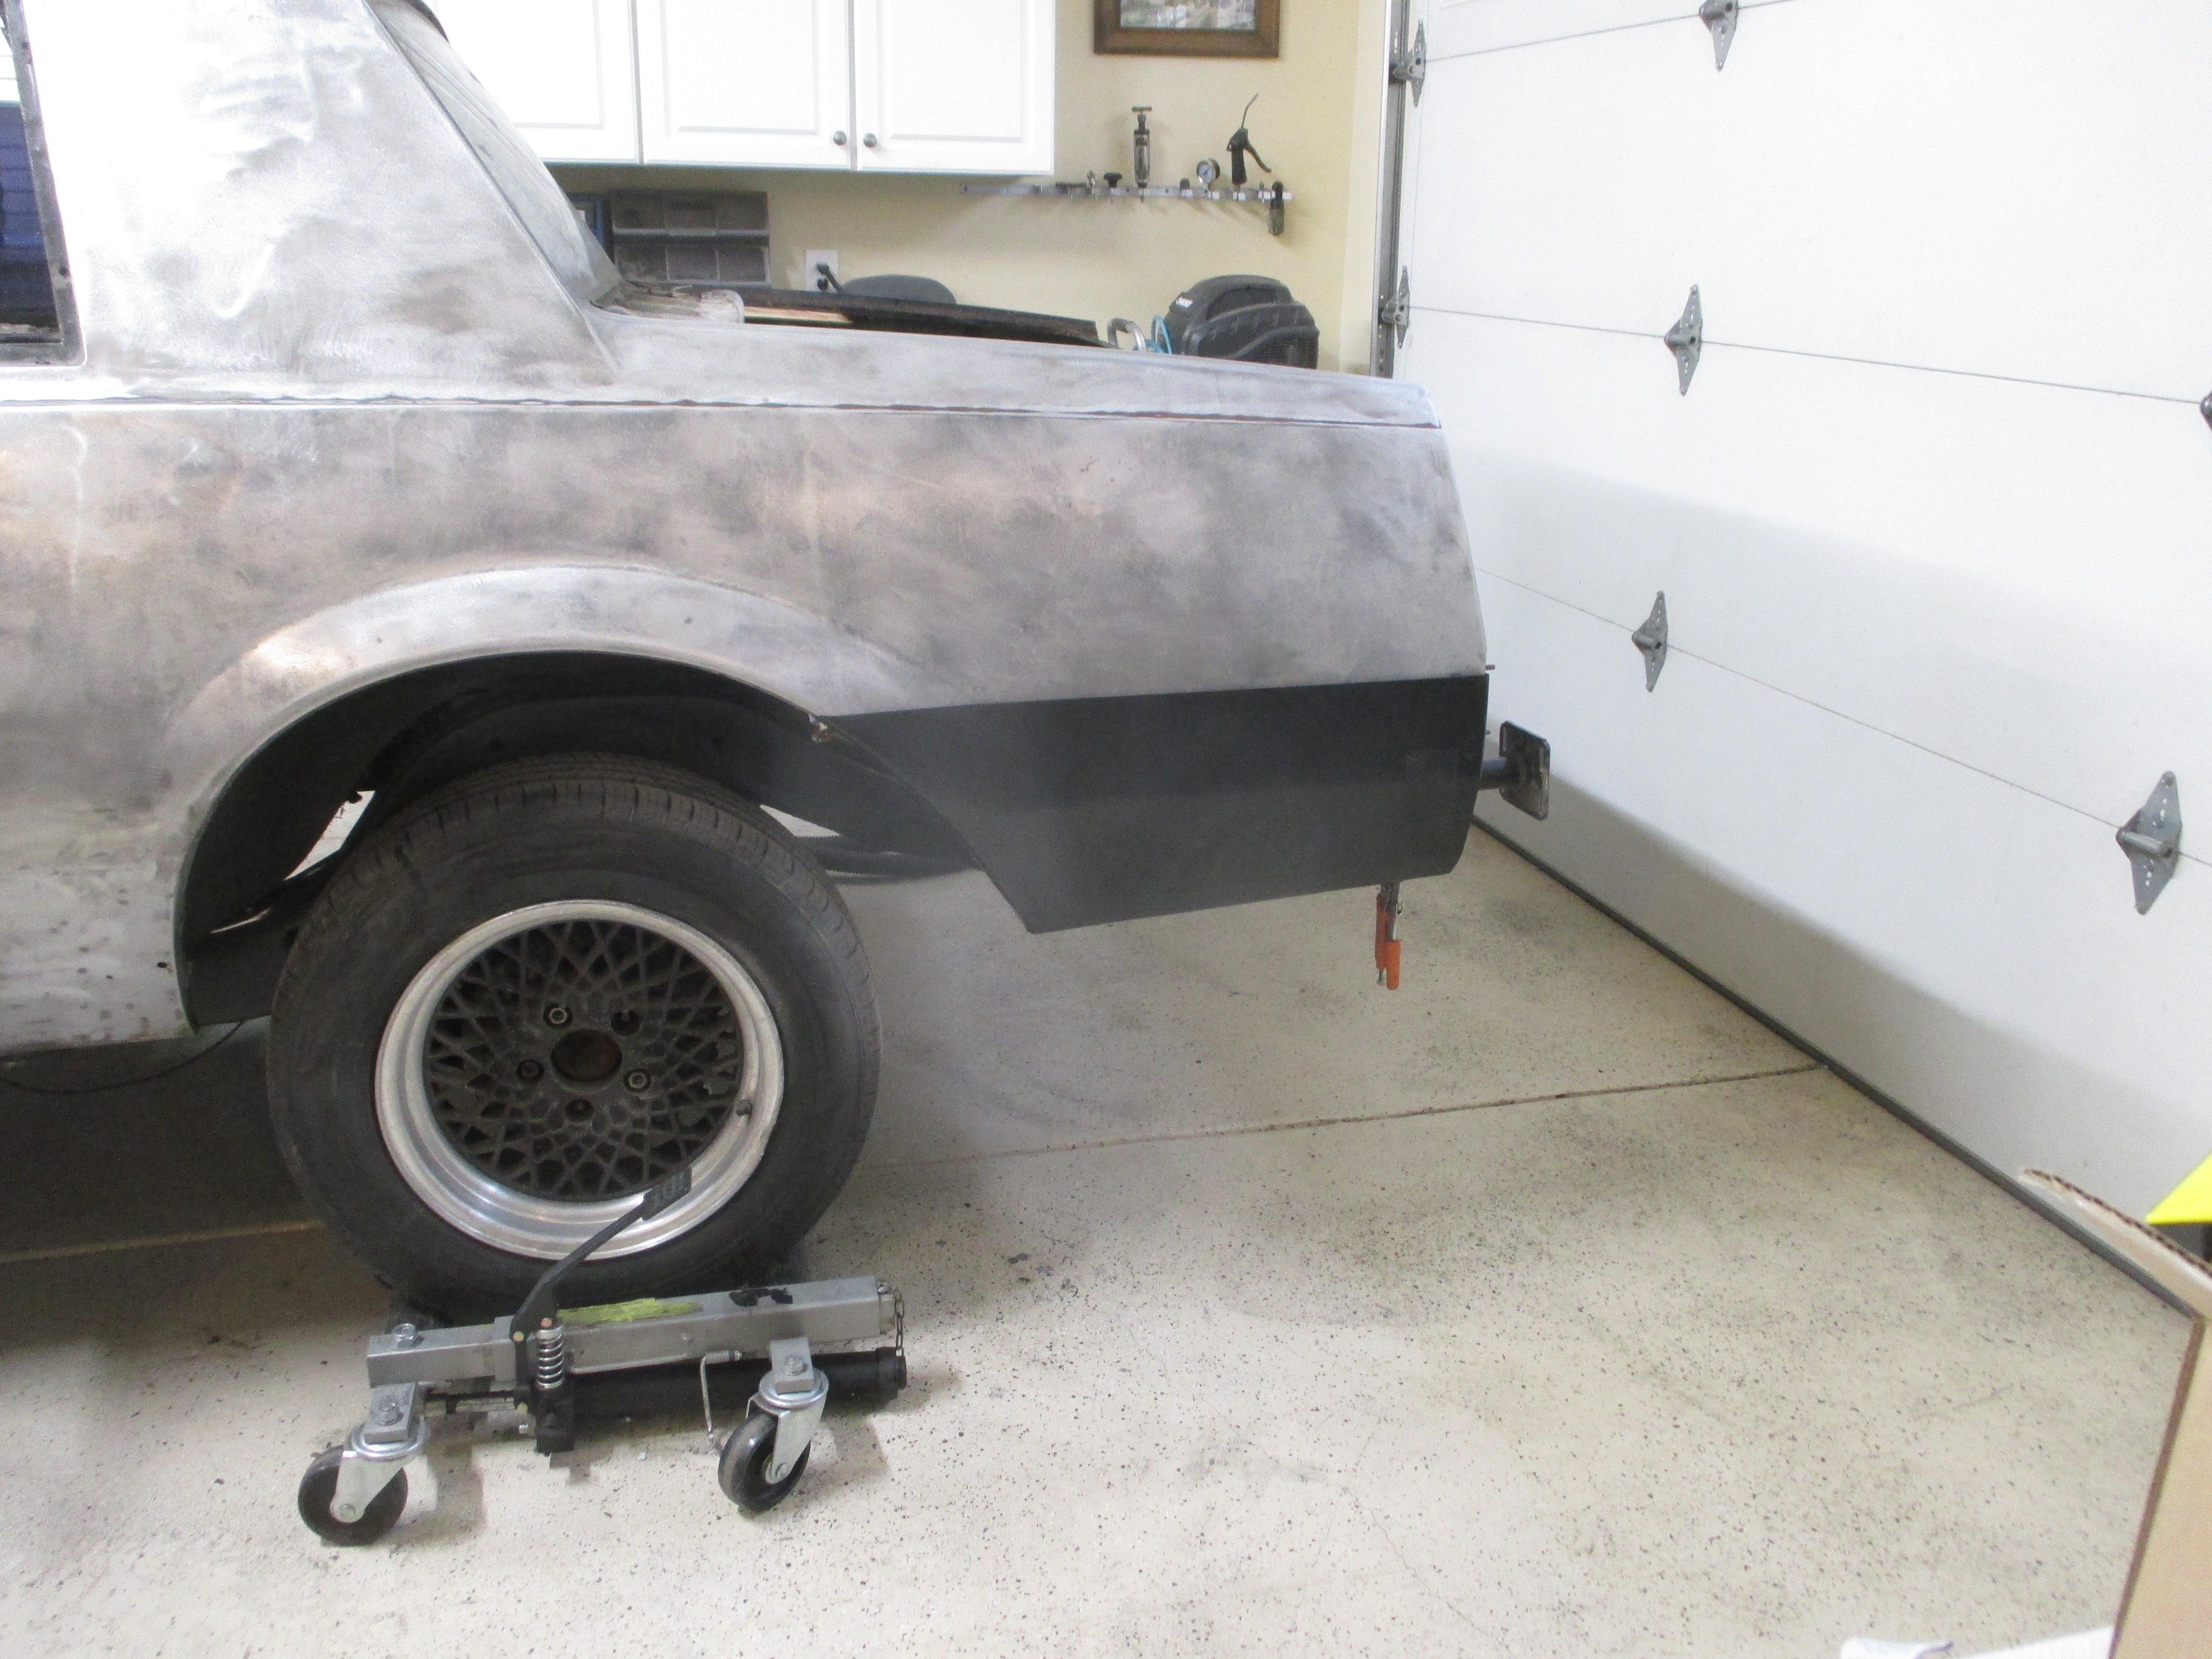
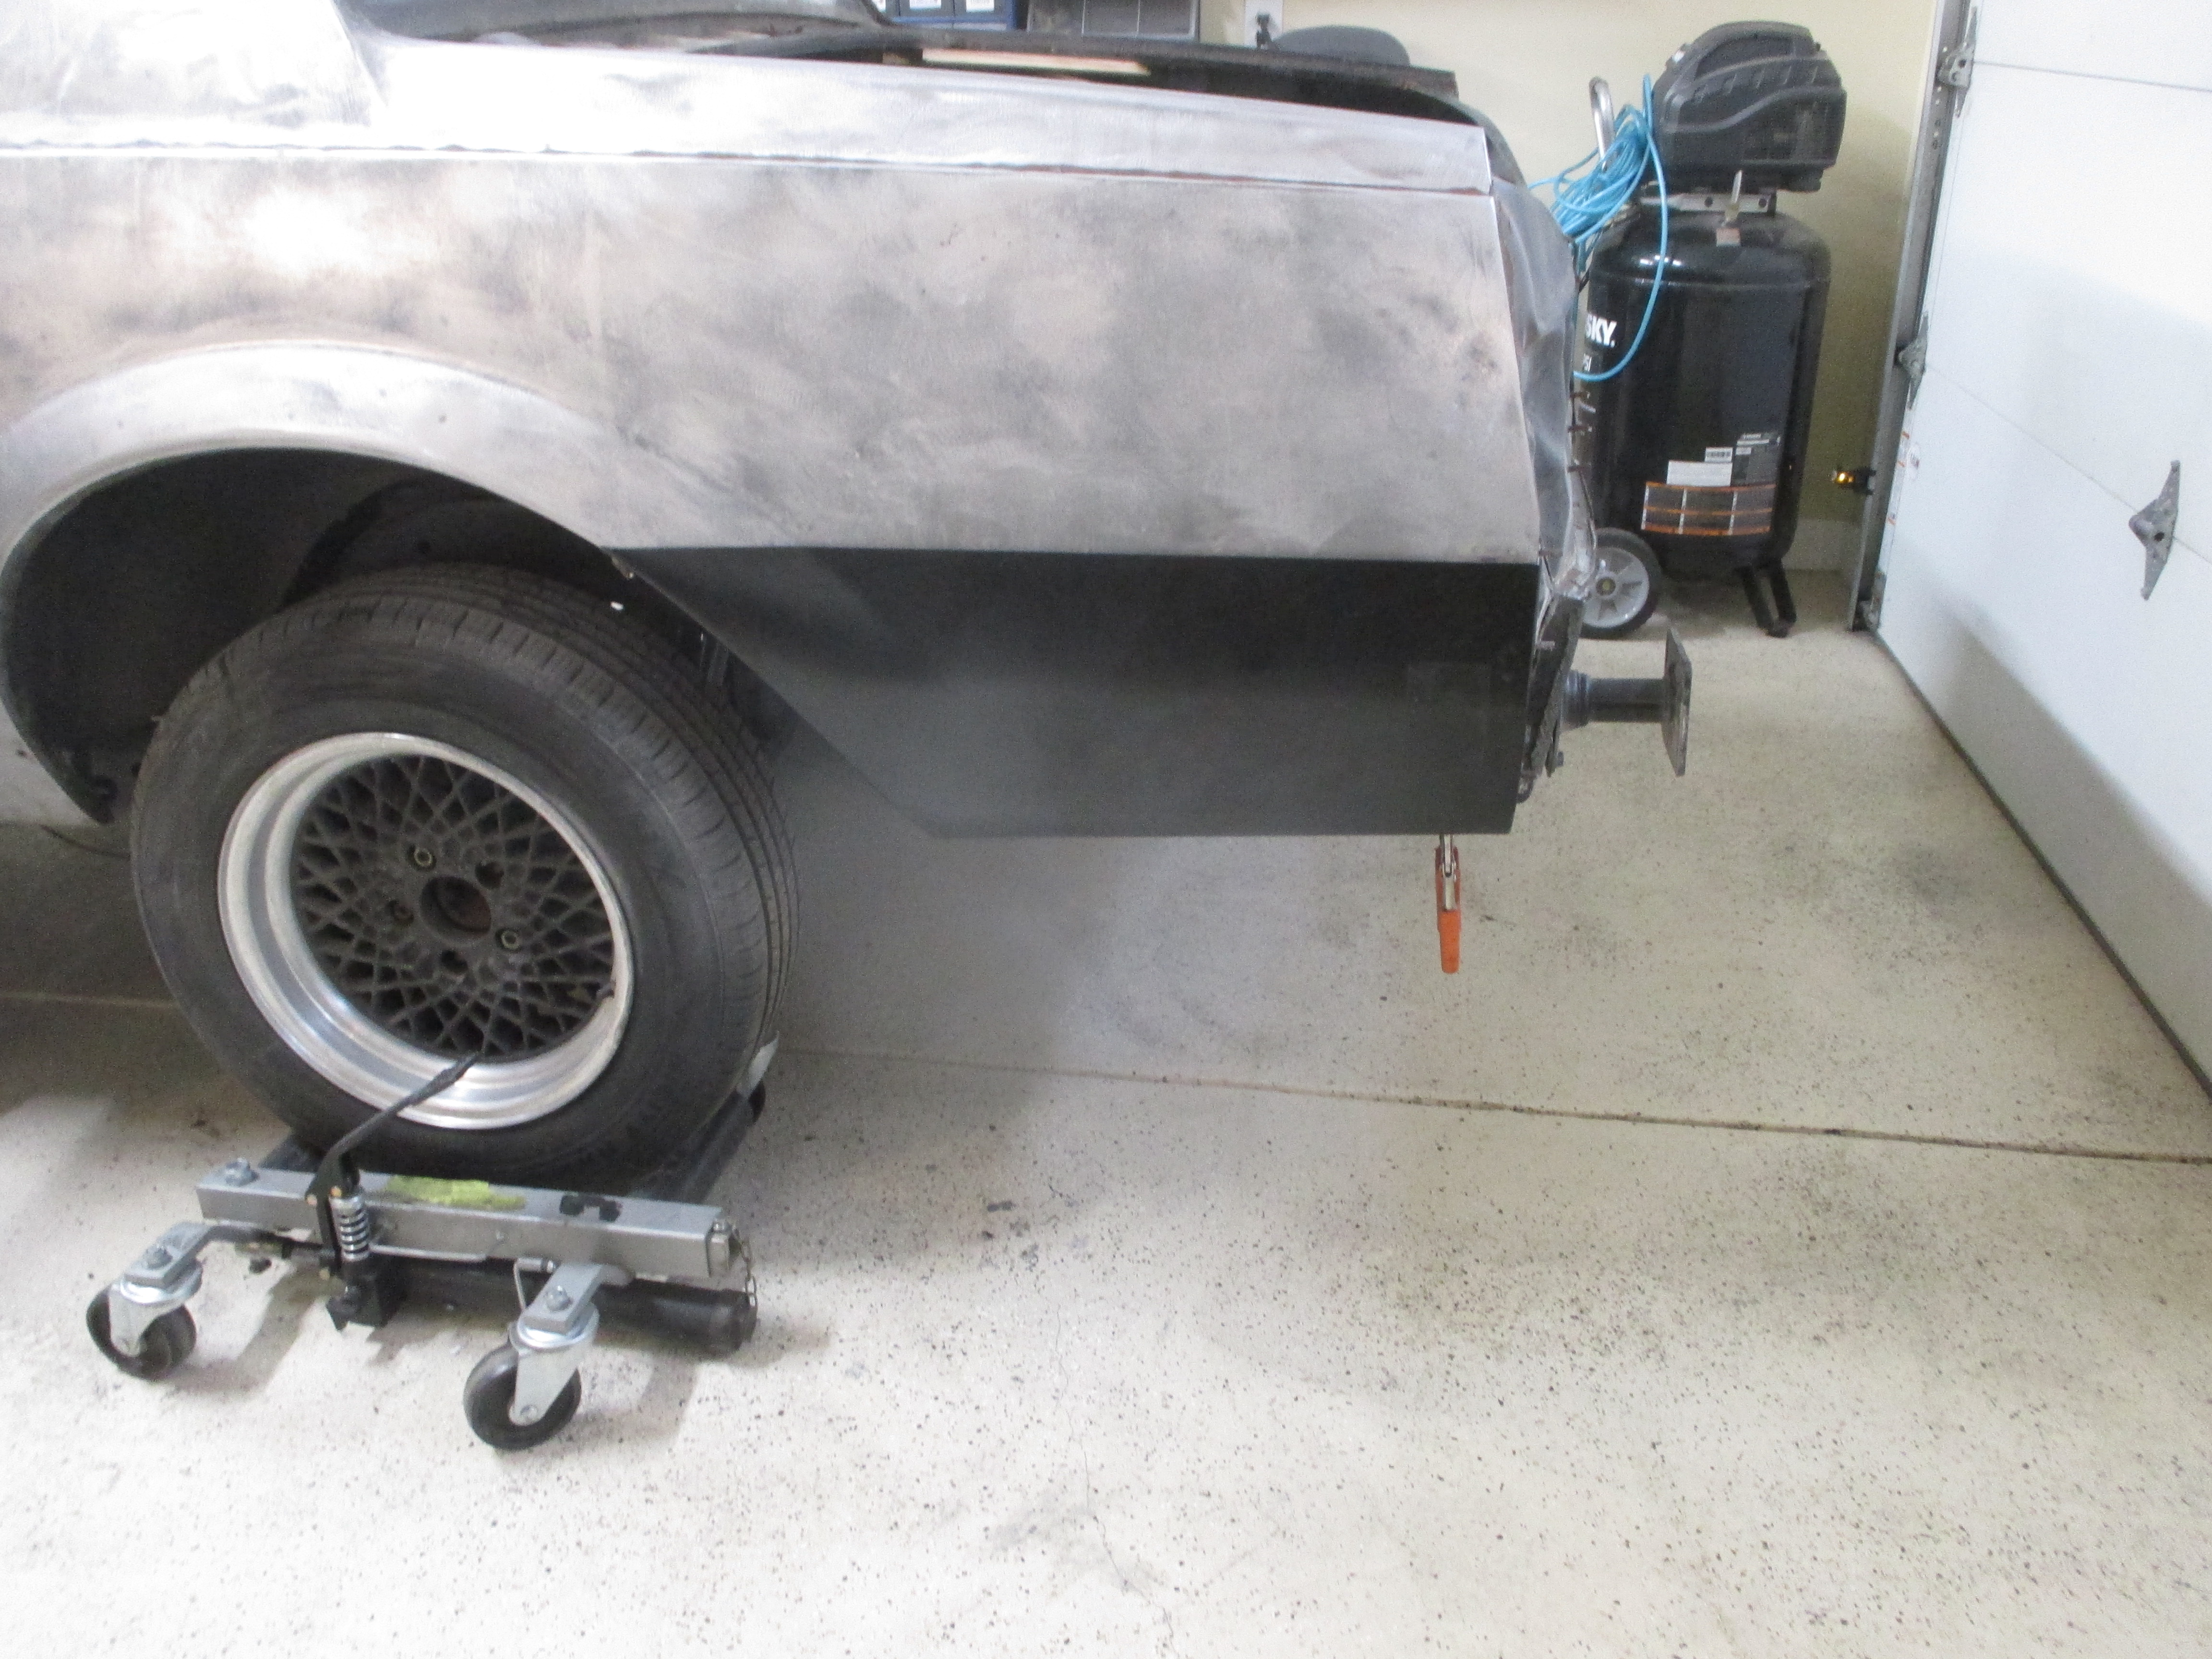
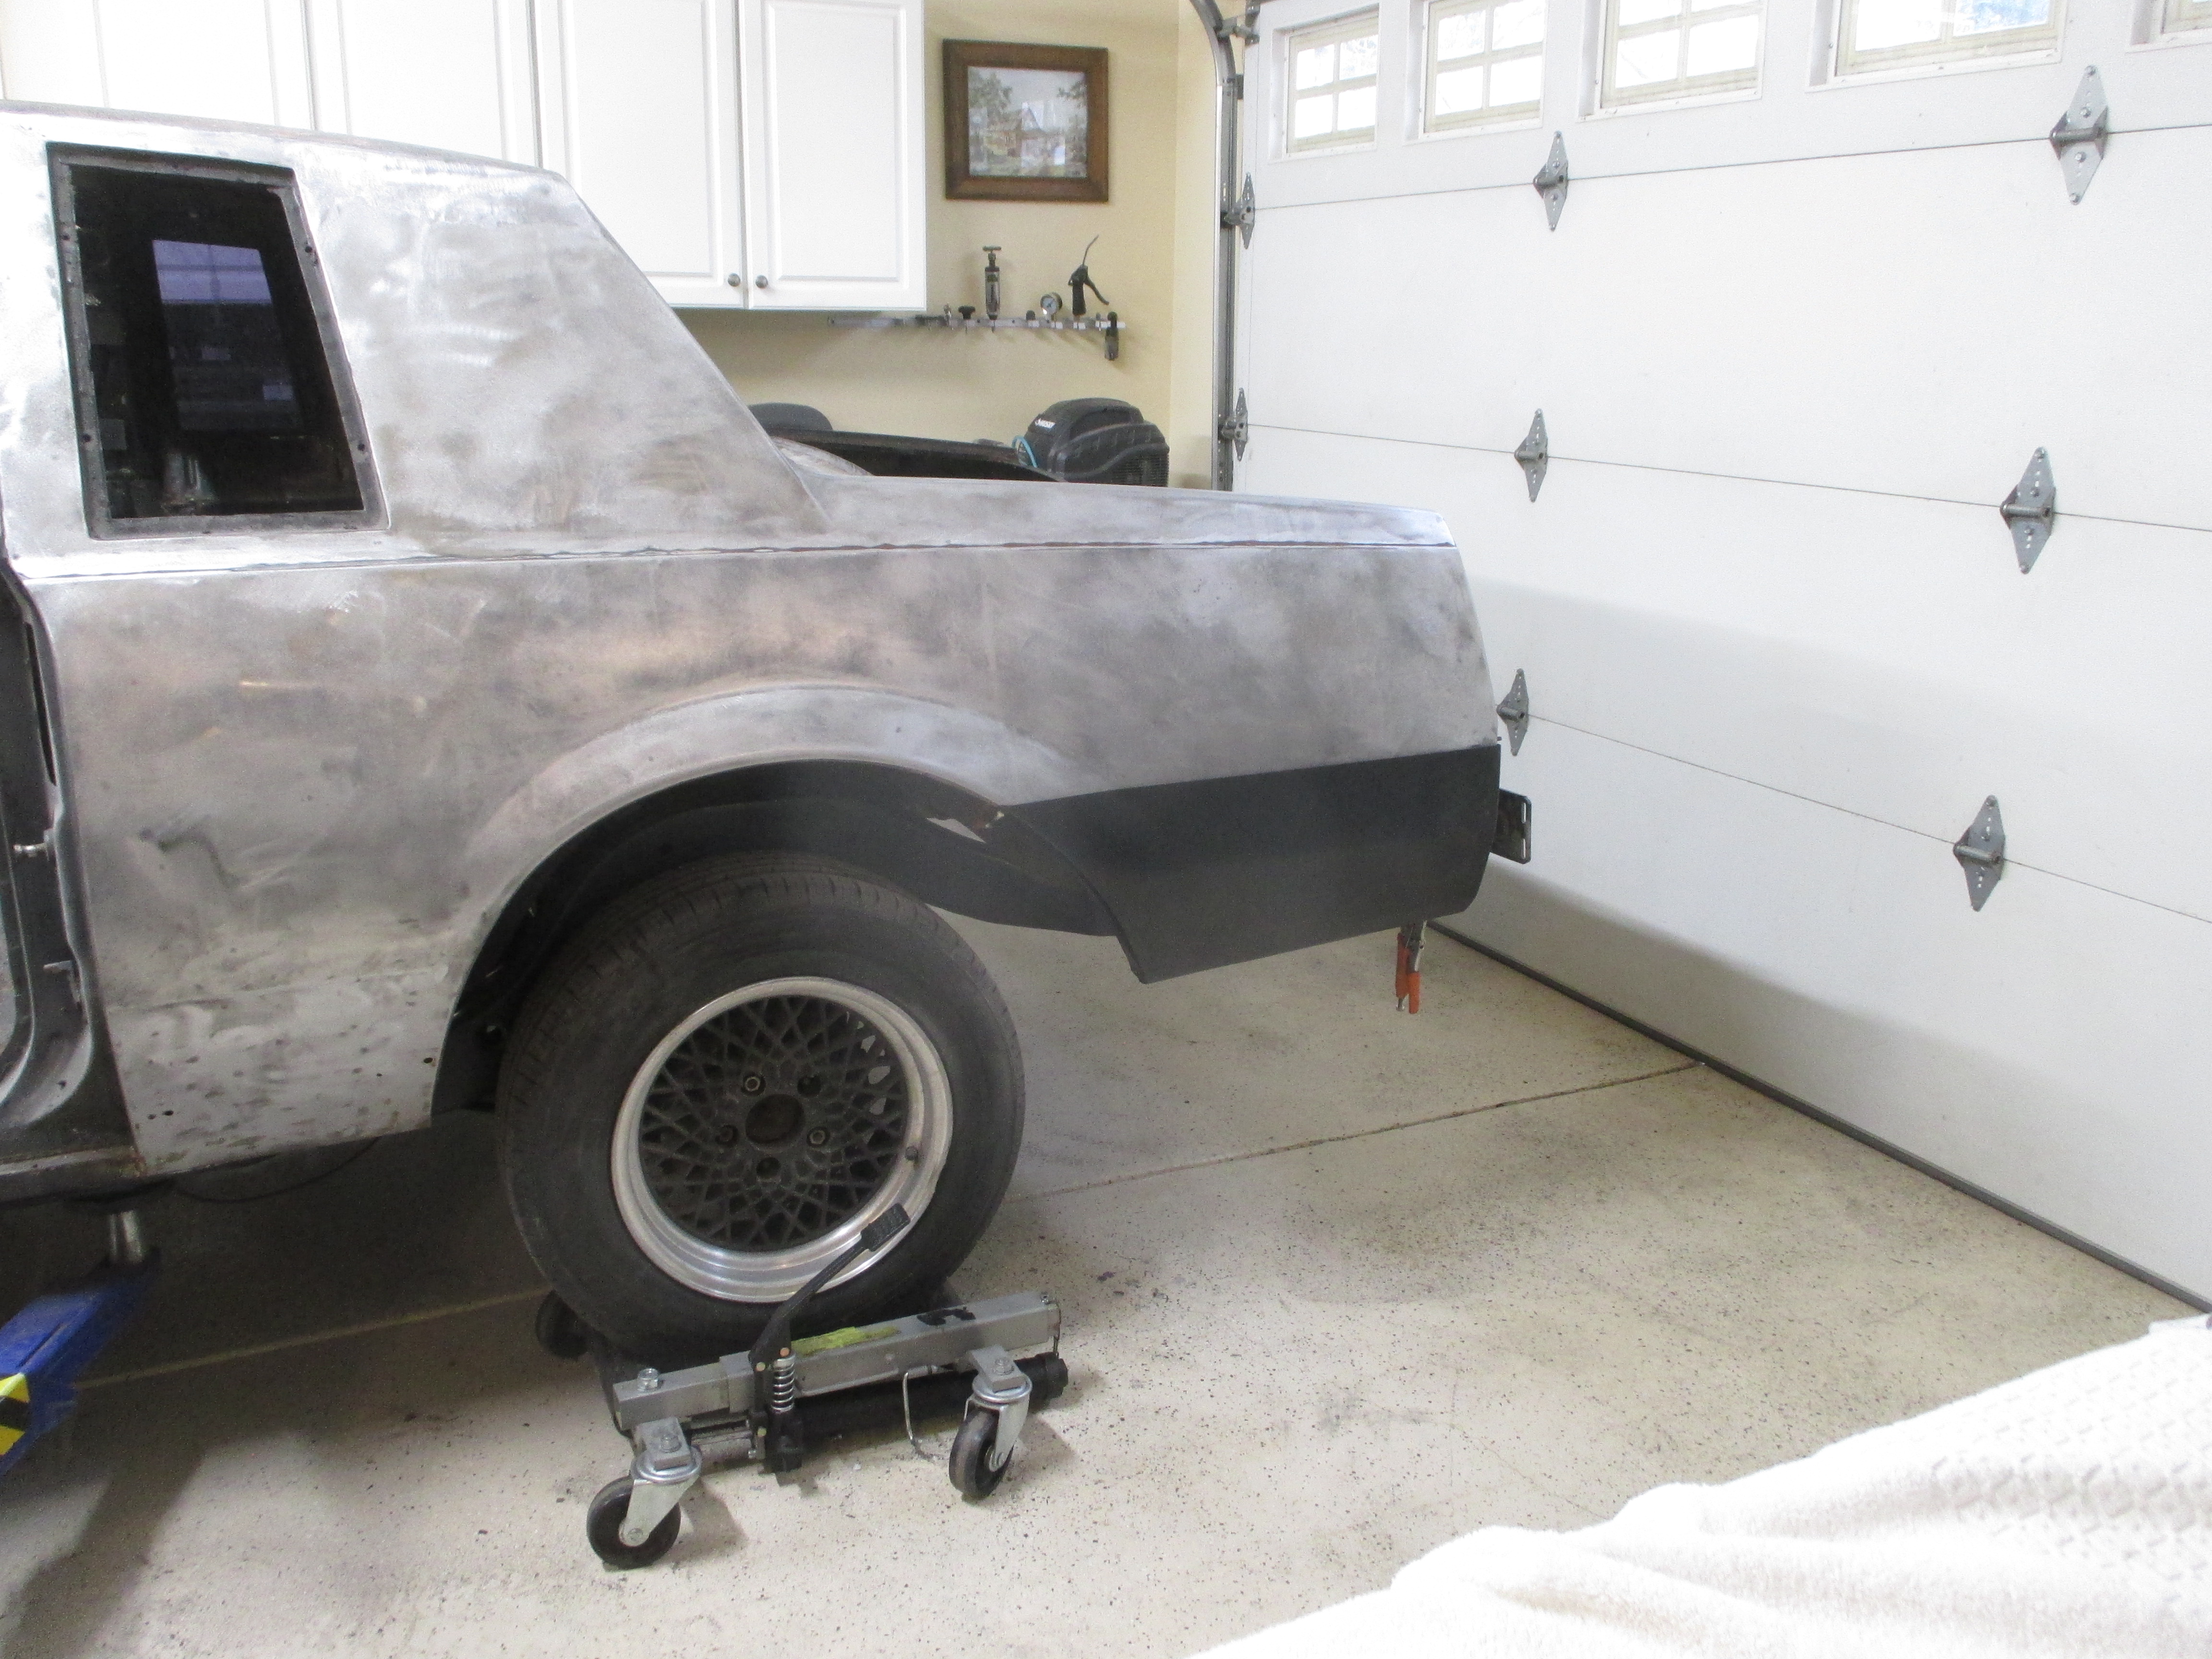
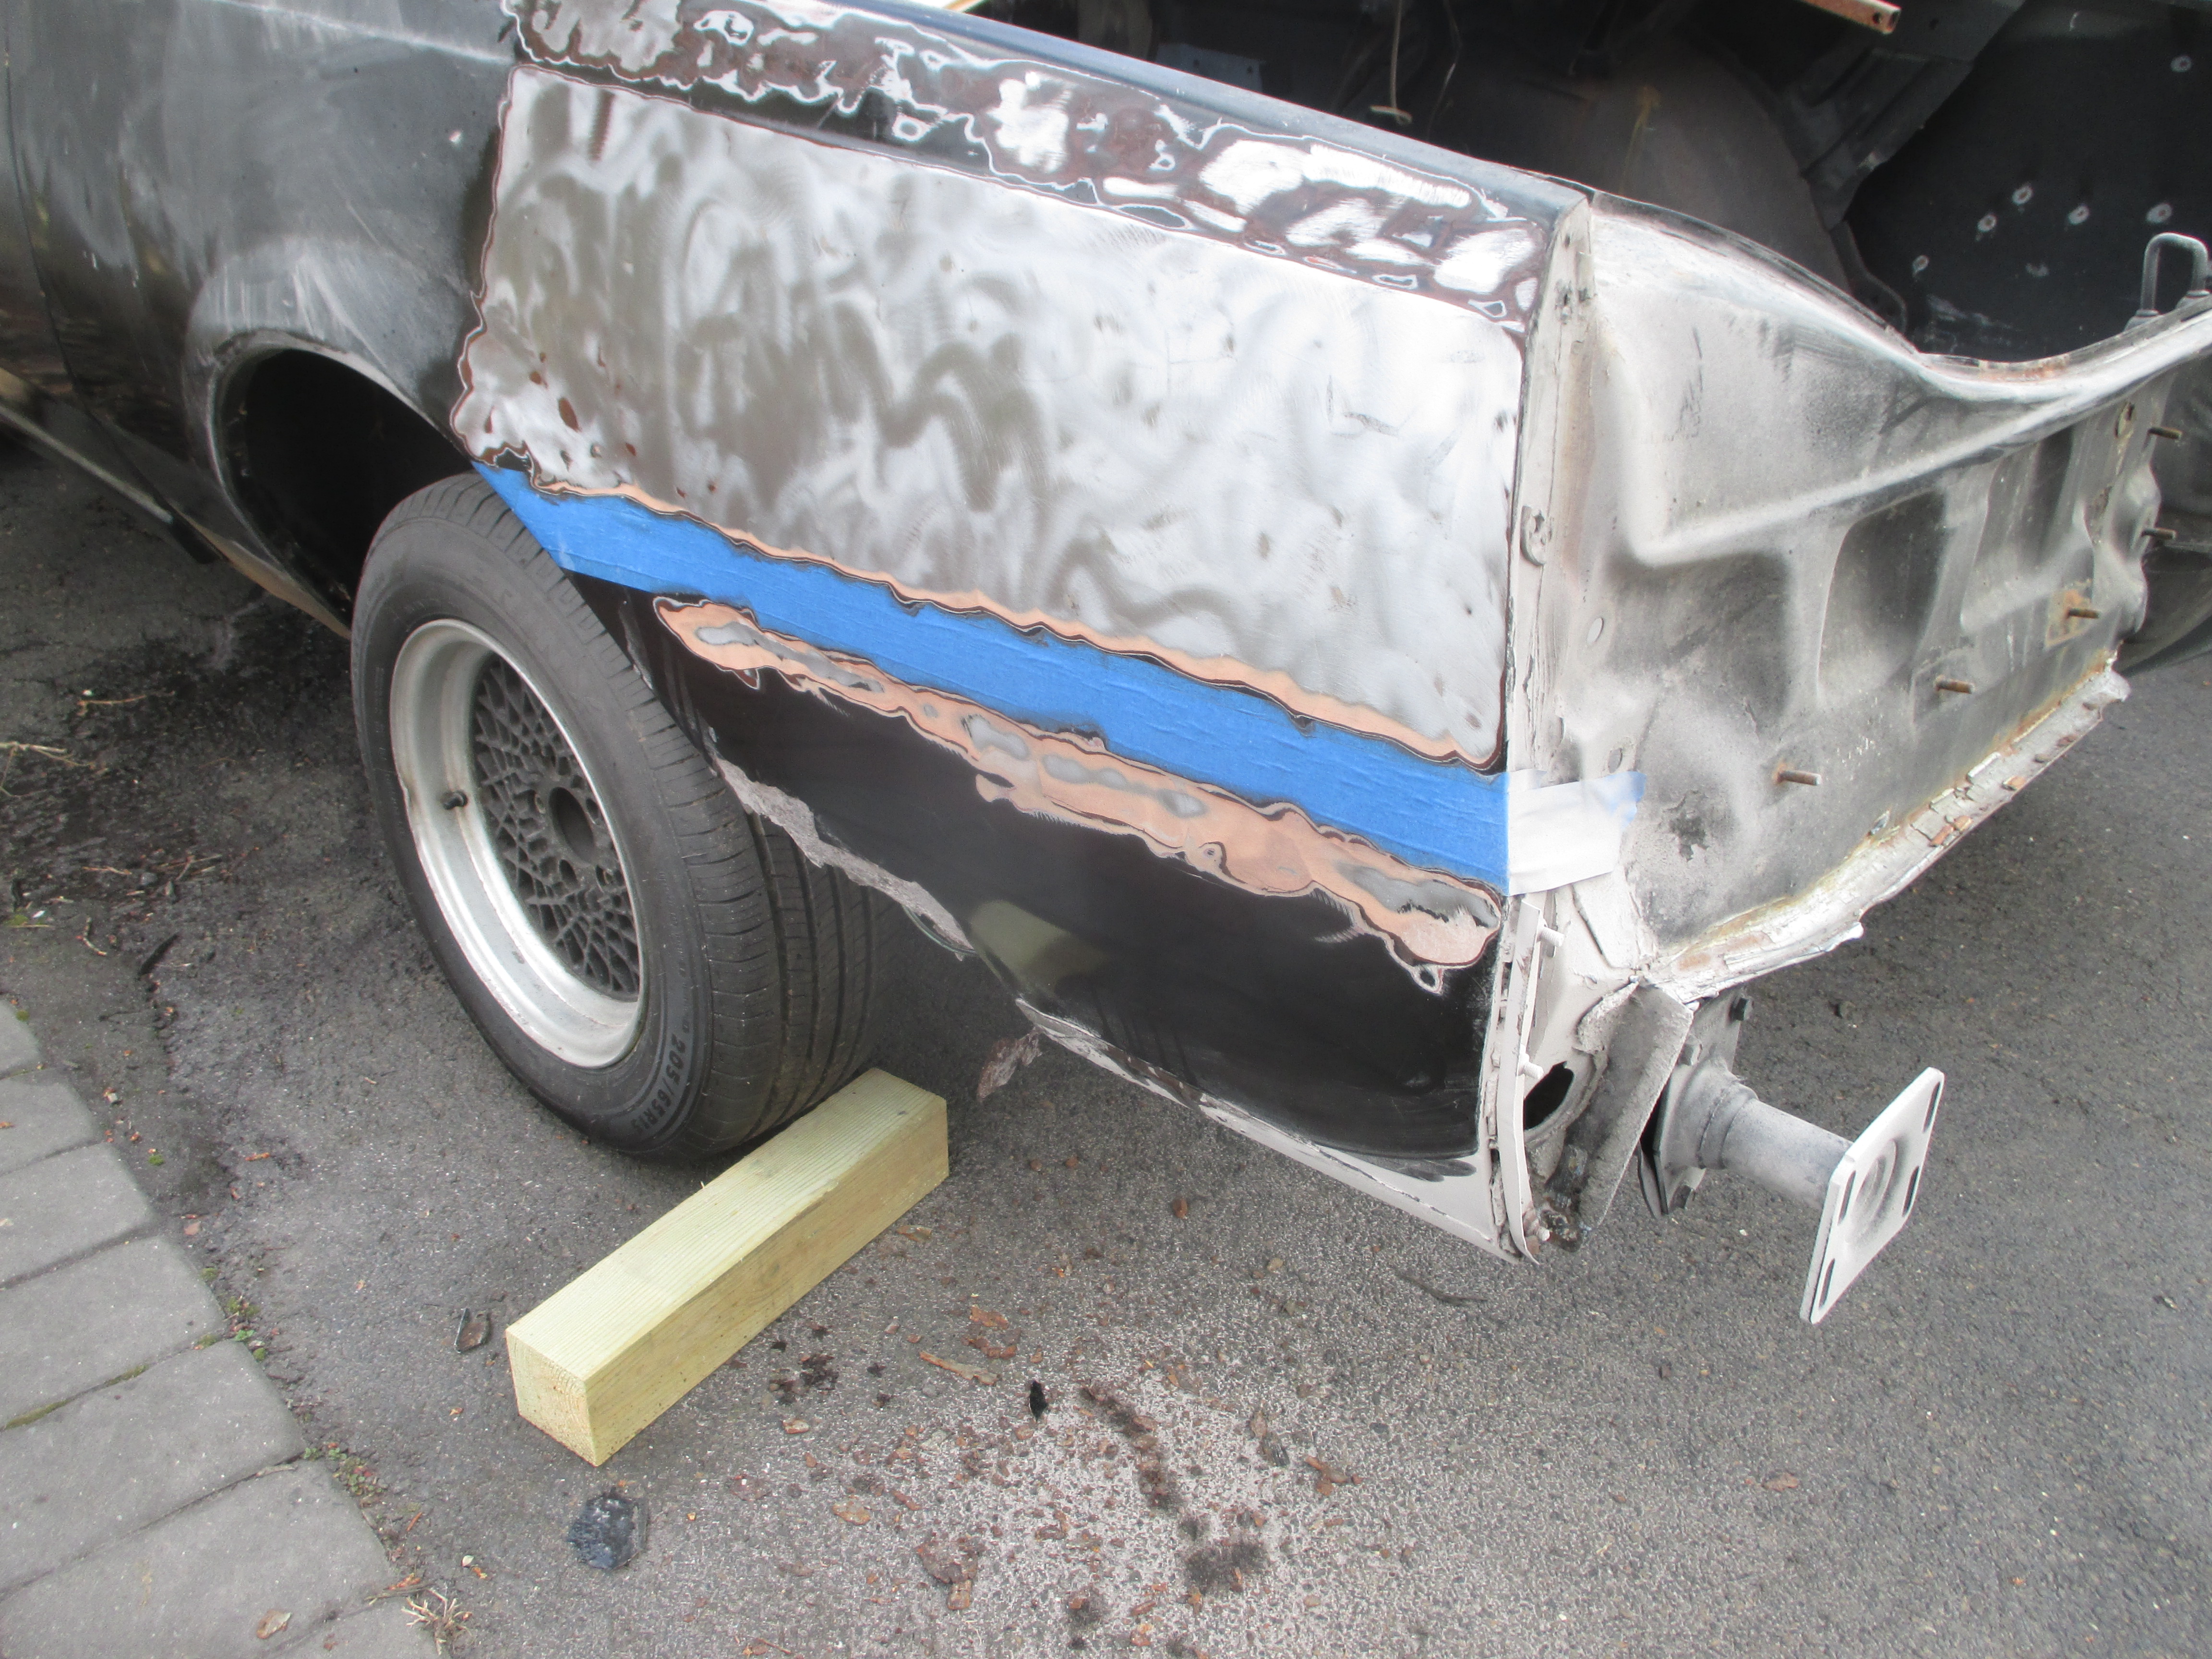
Metalwork is is complete on entire shell of car. Quarter panel have proper metal repair and no longer layered in bondo. Shell is now in its first coat of primer. All repairs to trunk area are complete and trunk is solid


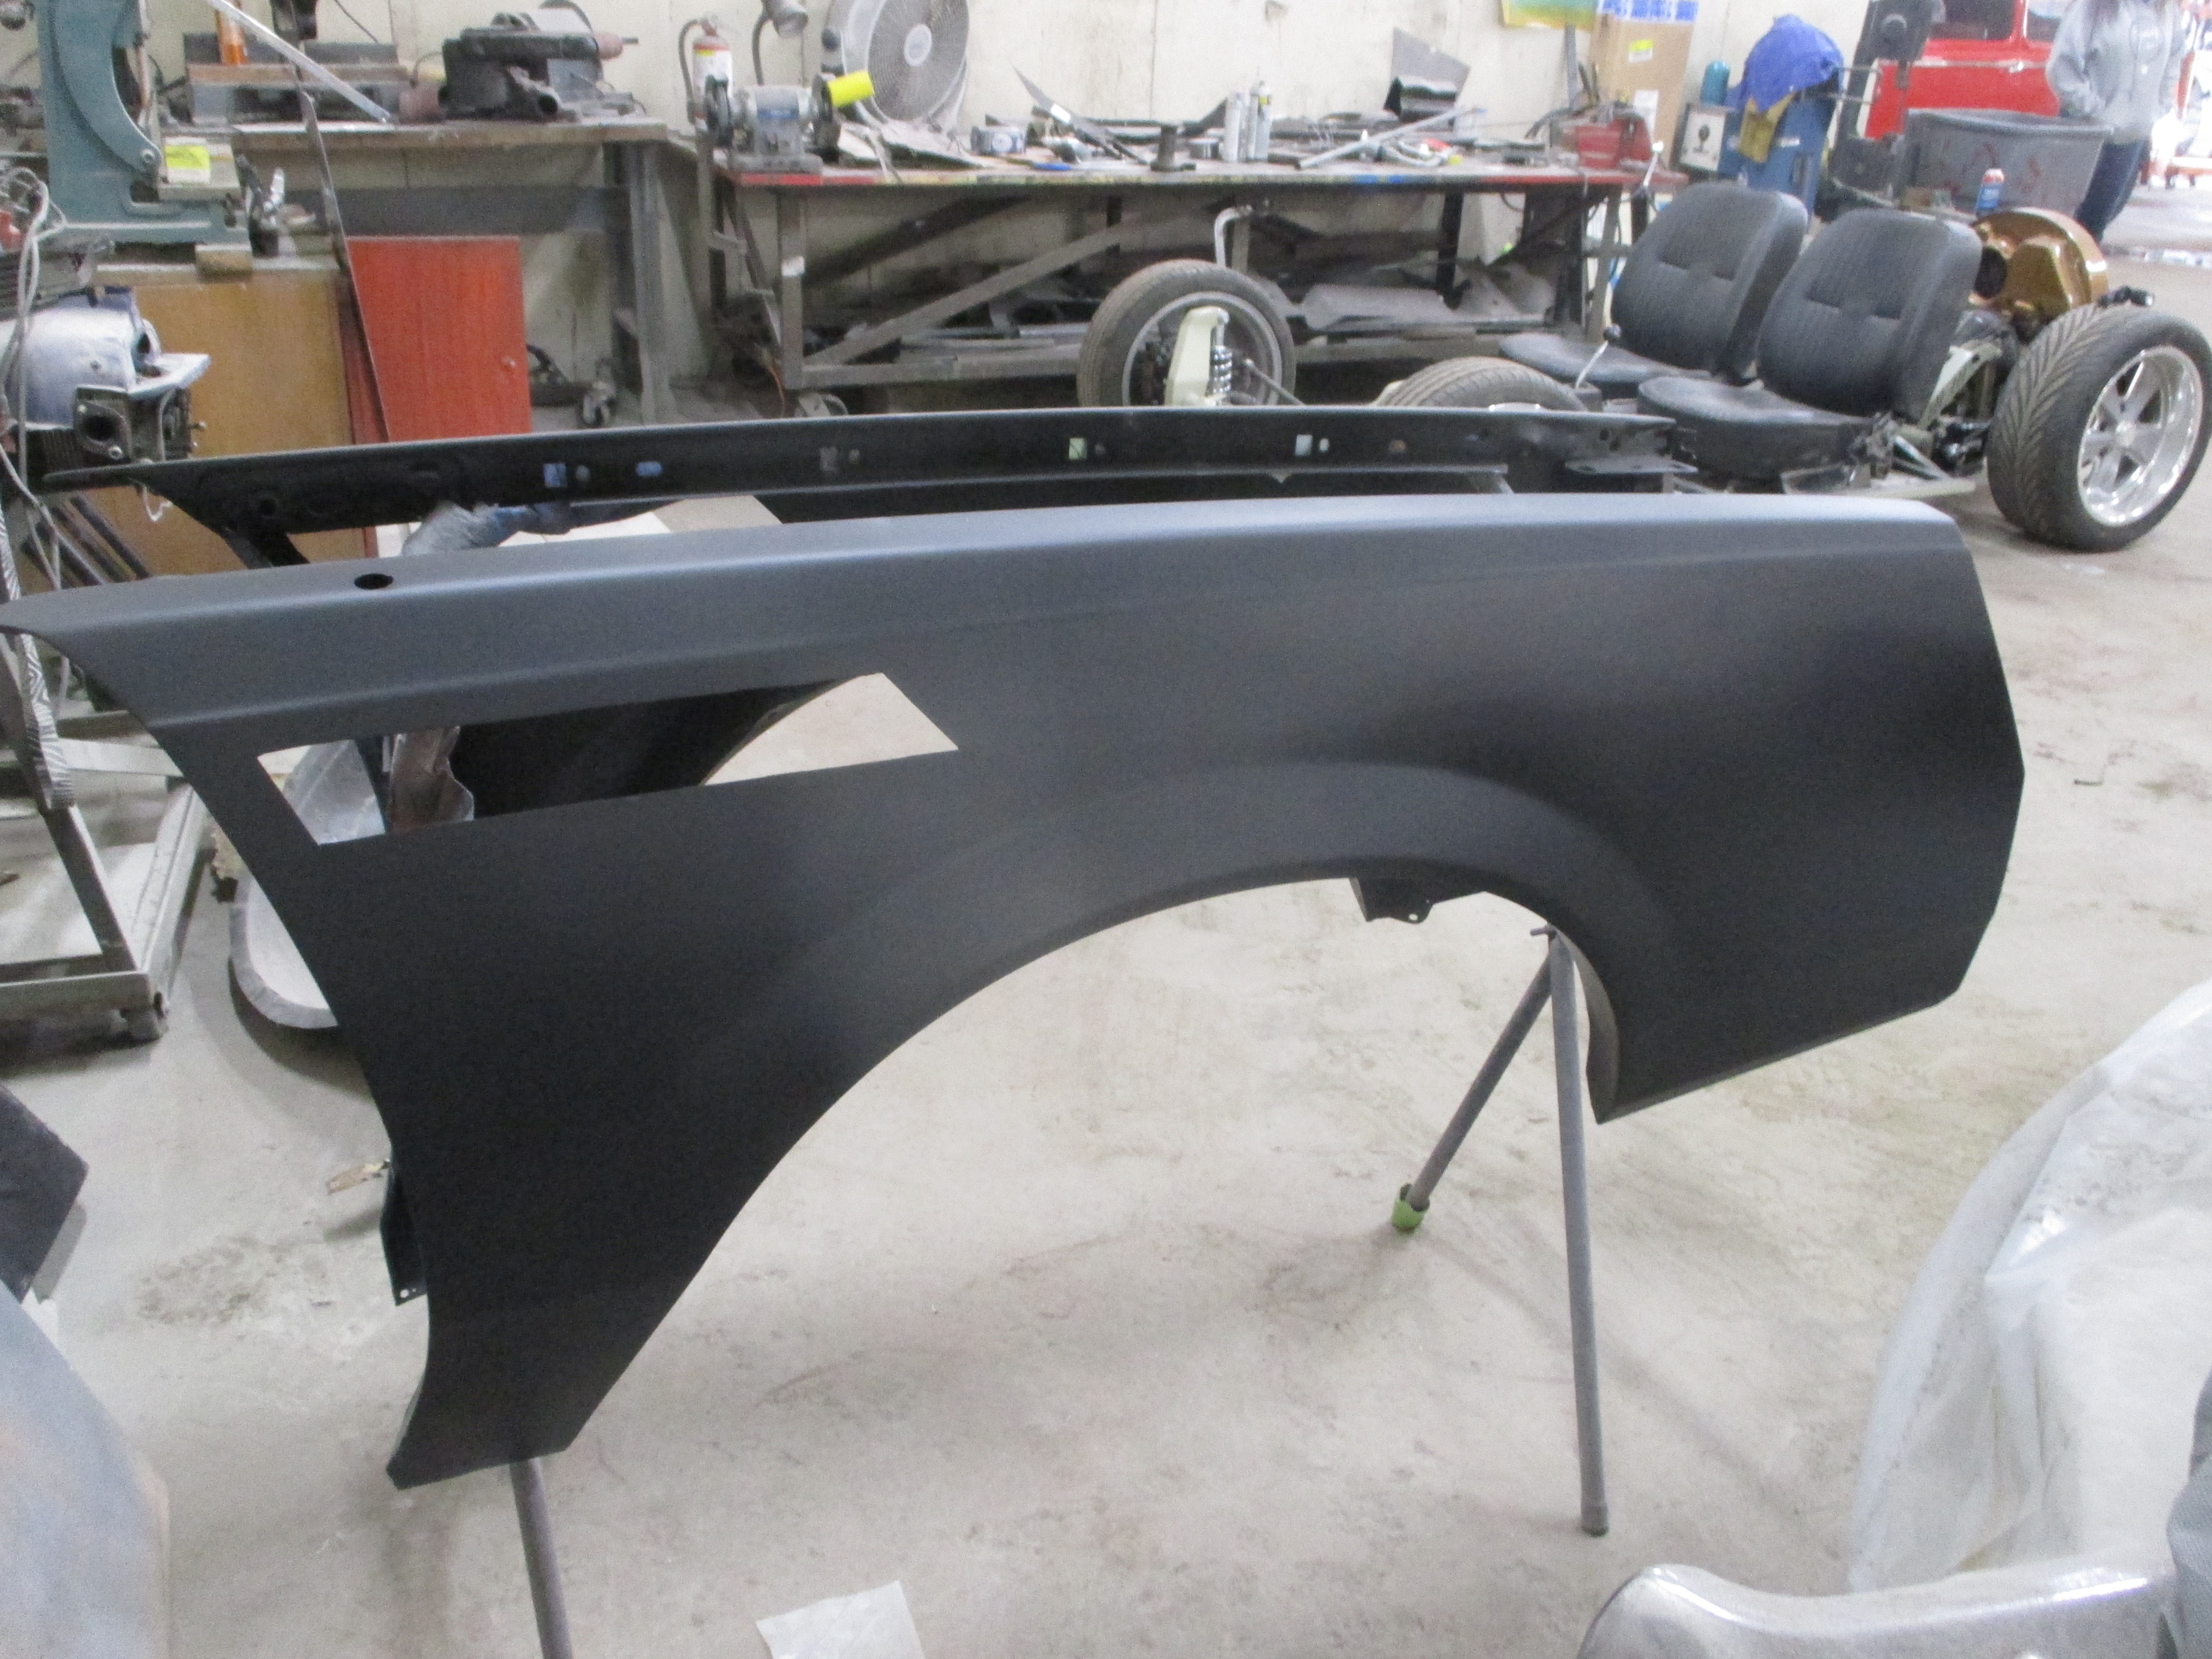
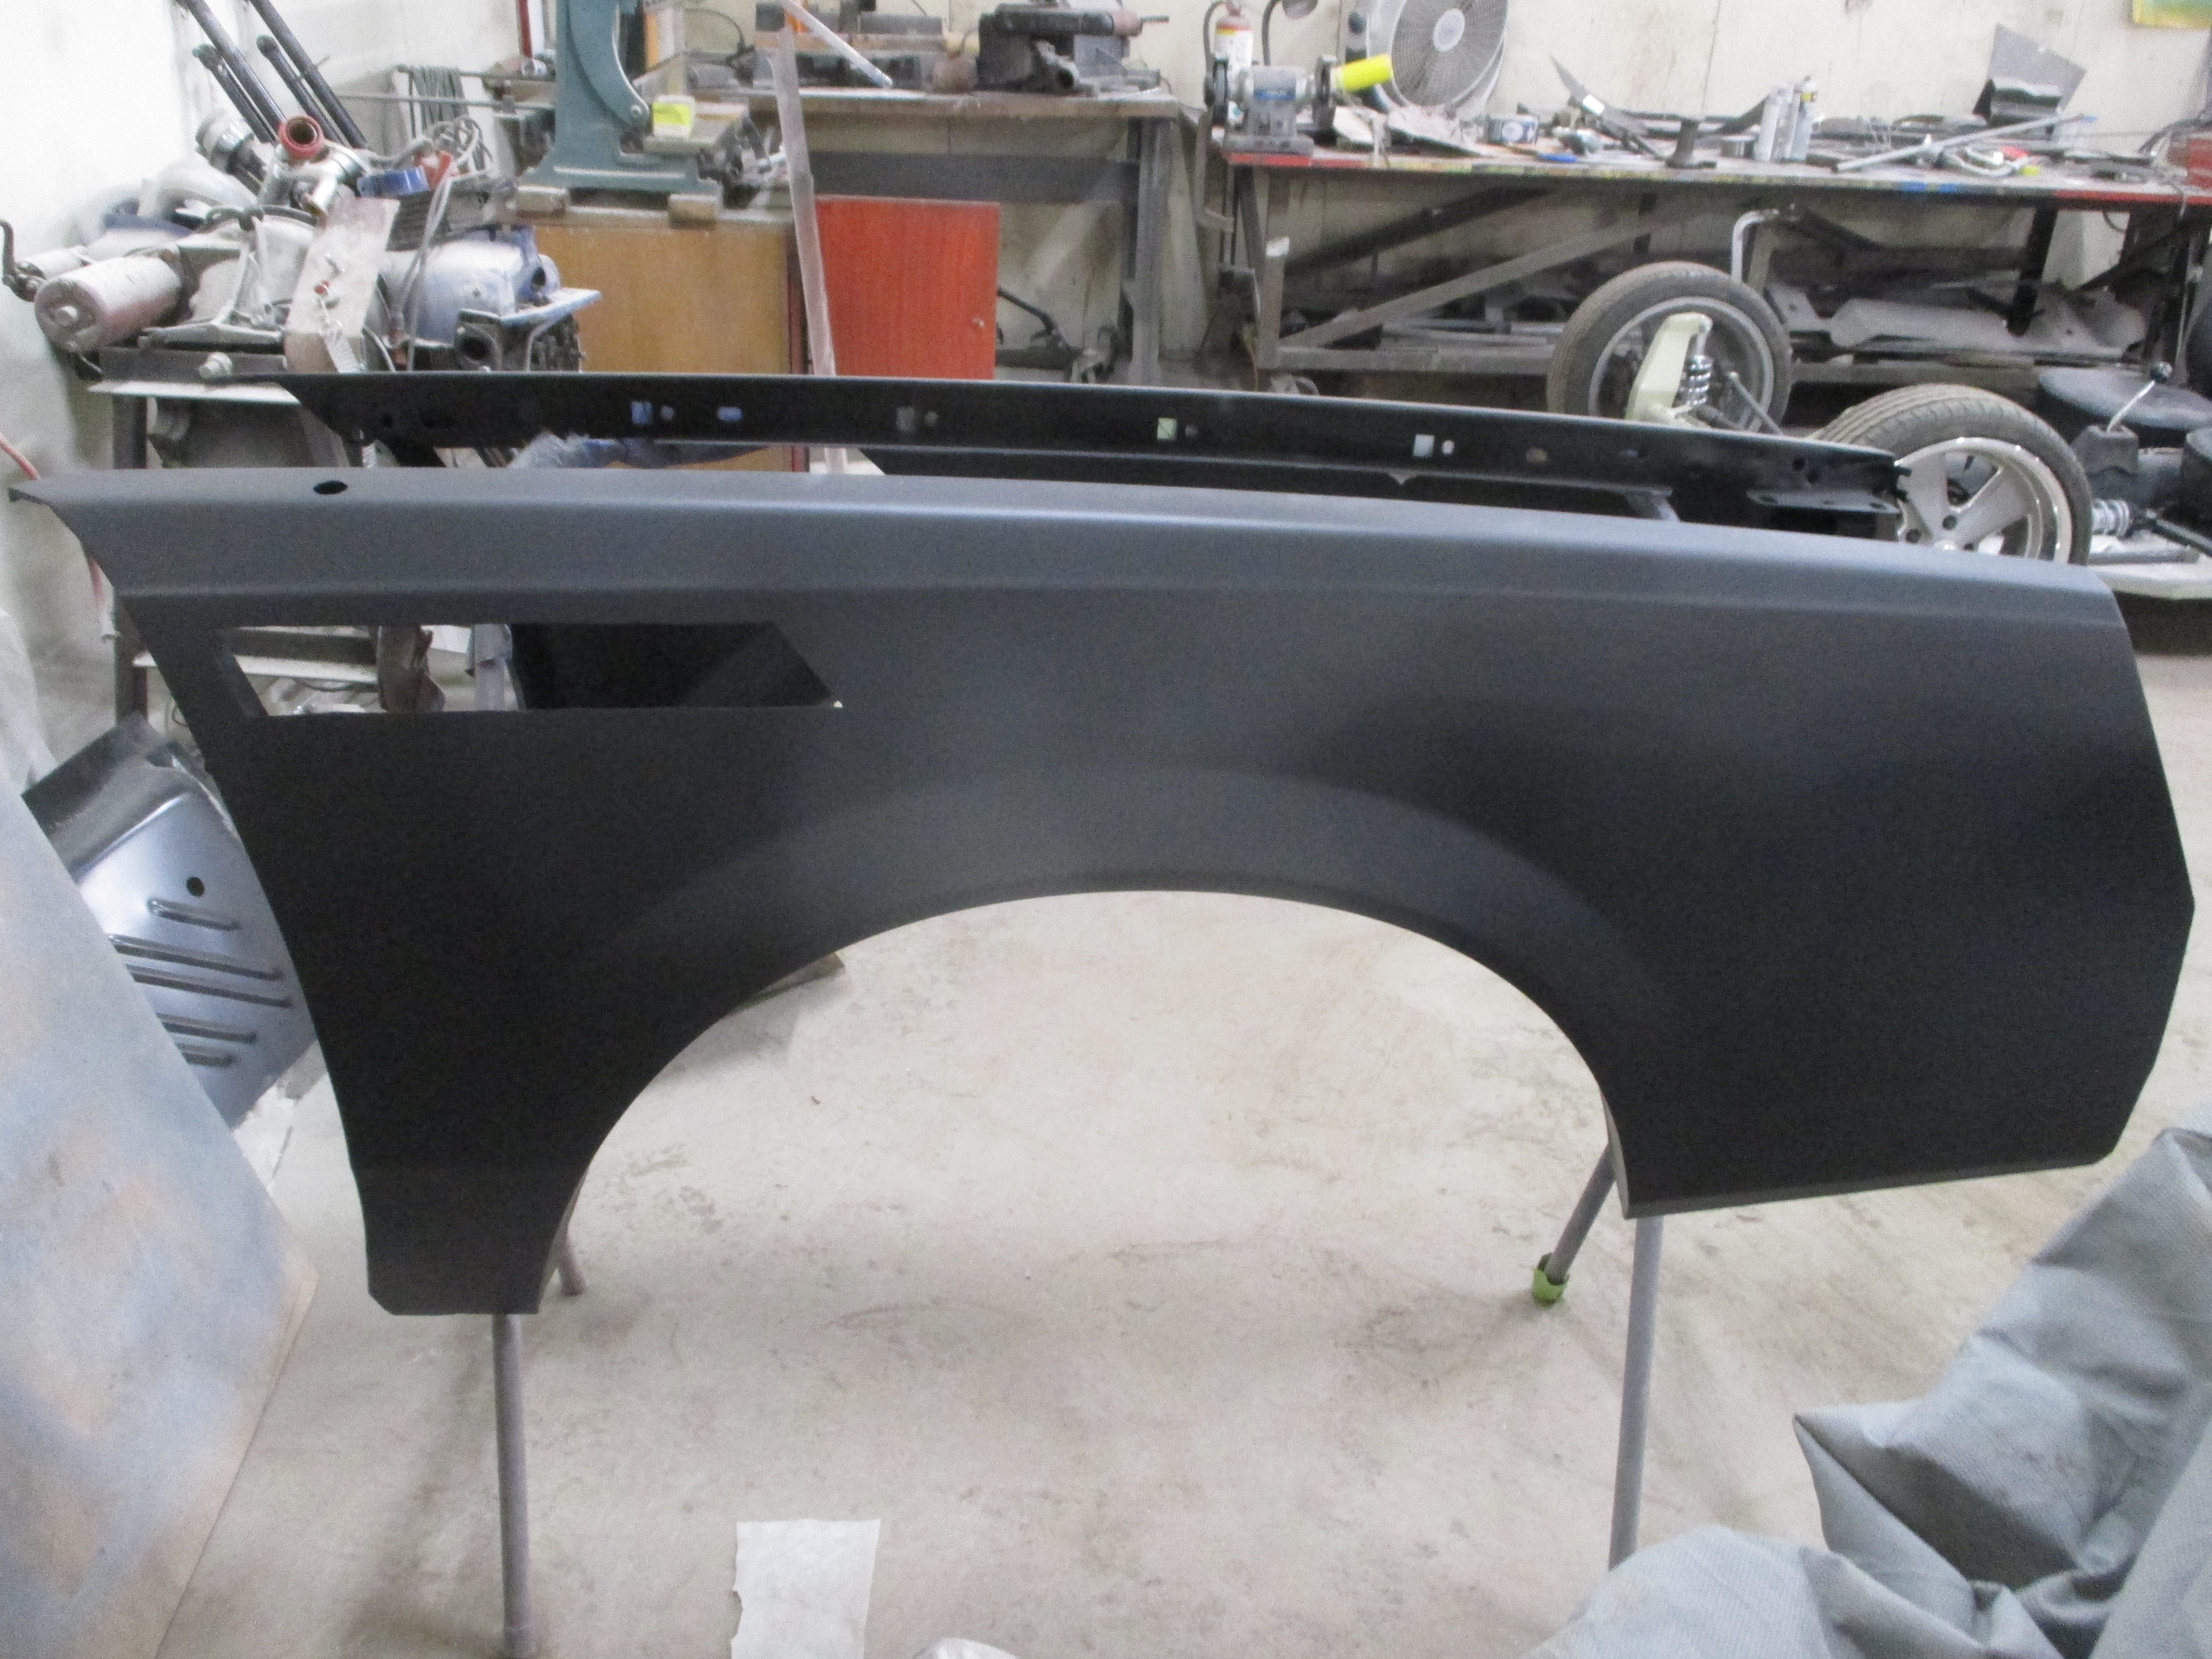
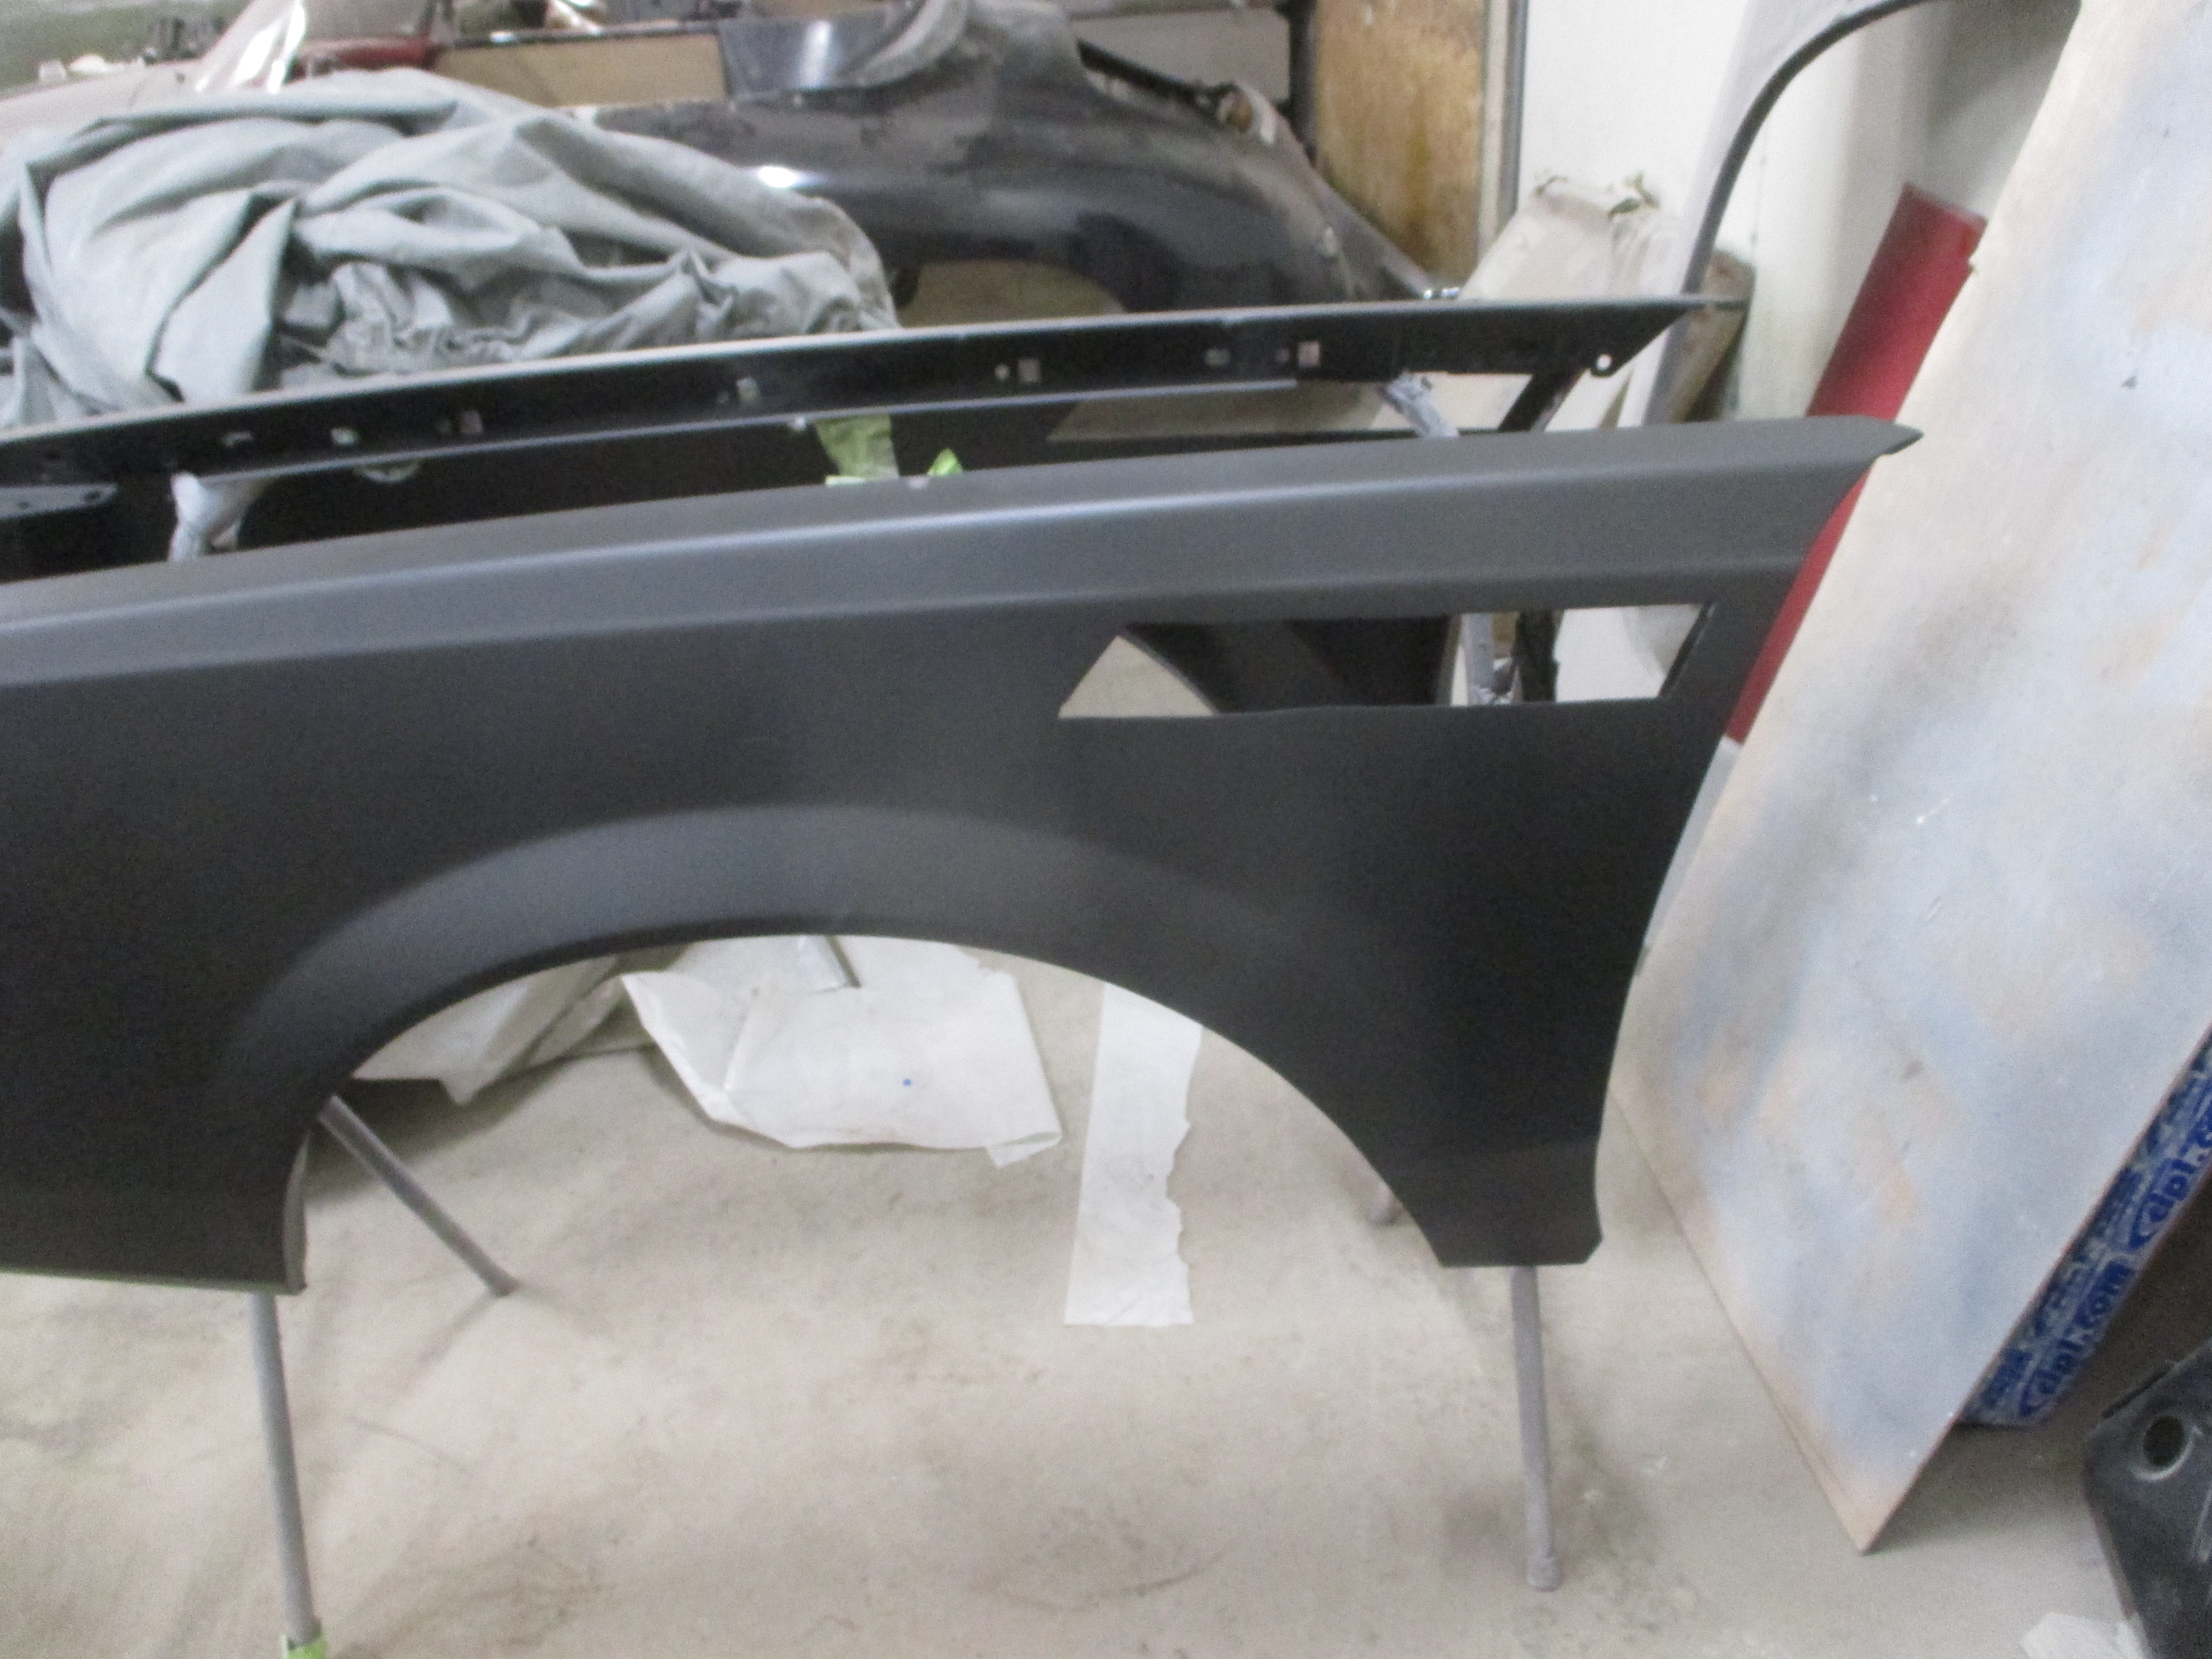
Fenders needed metal work as well as bodywork. They are now solid and nice and straight
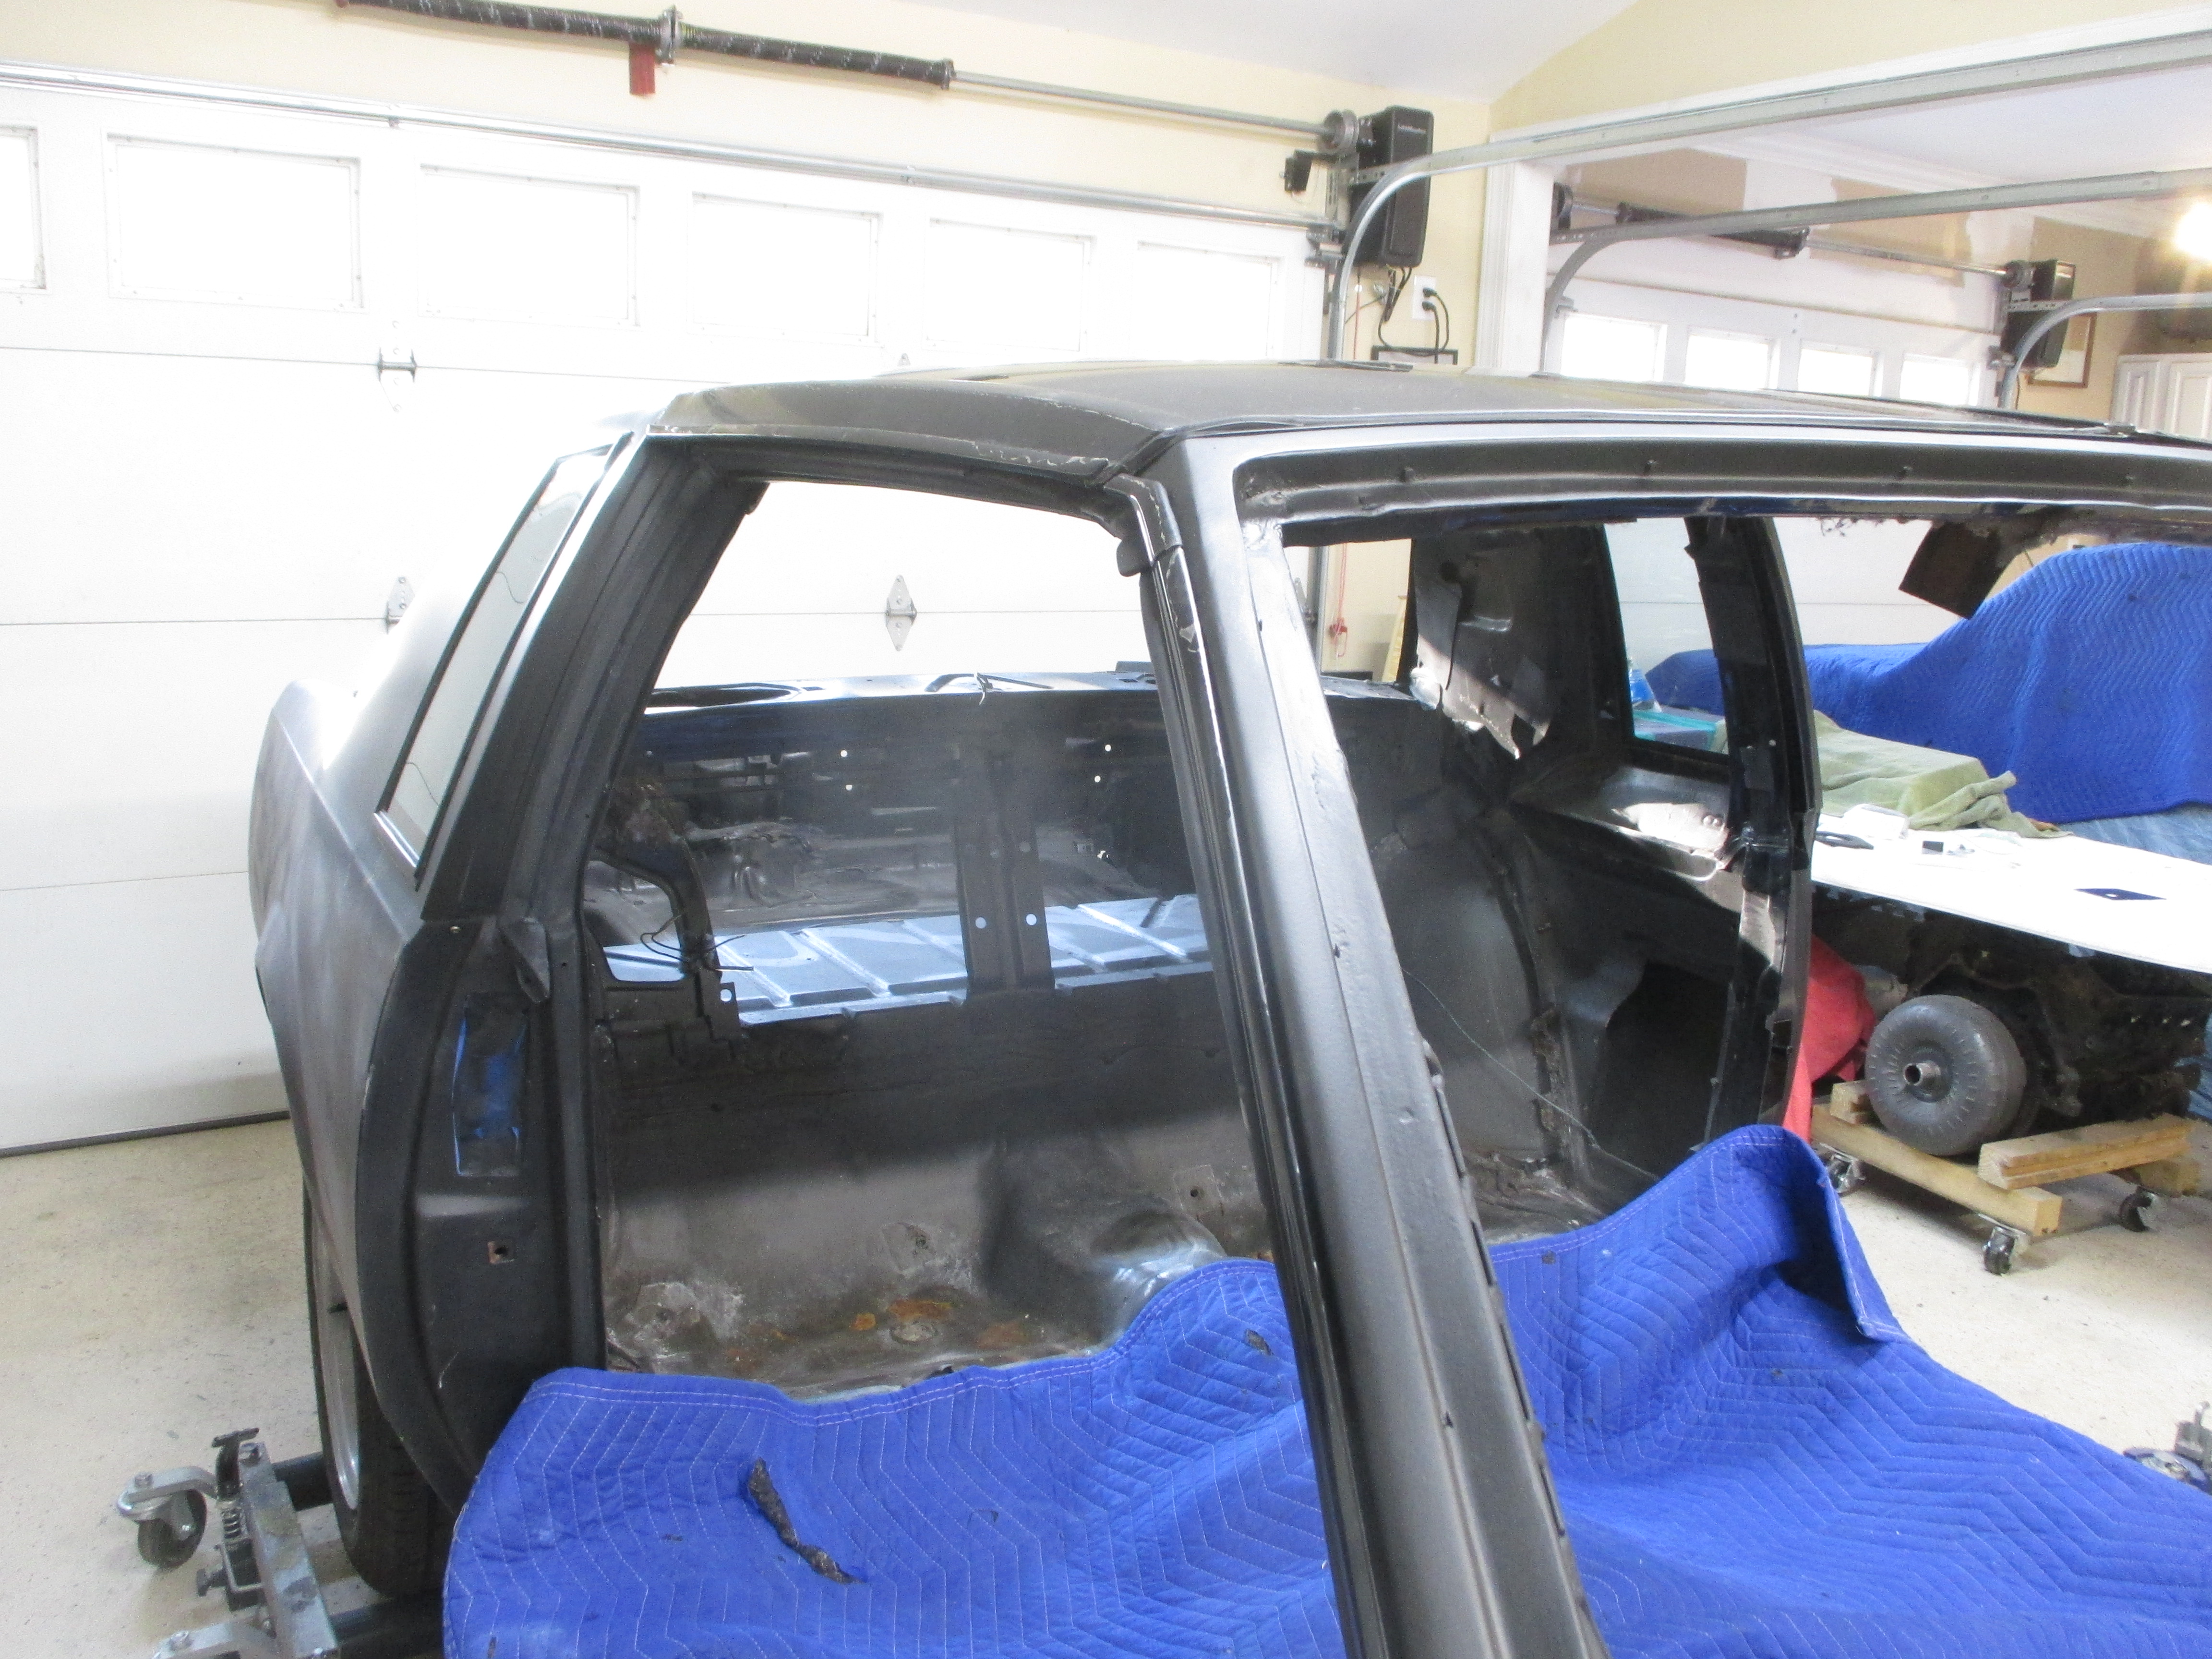
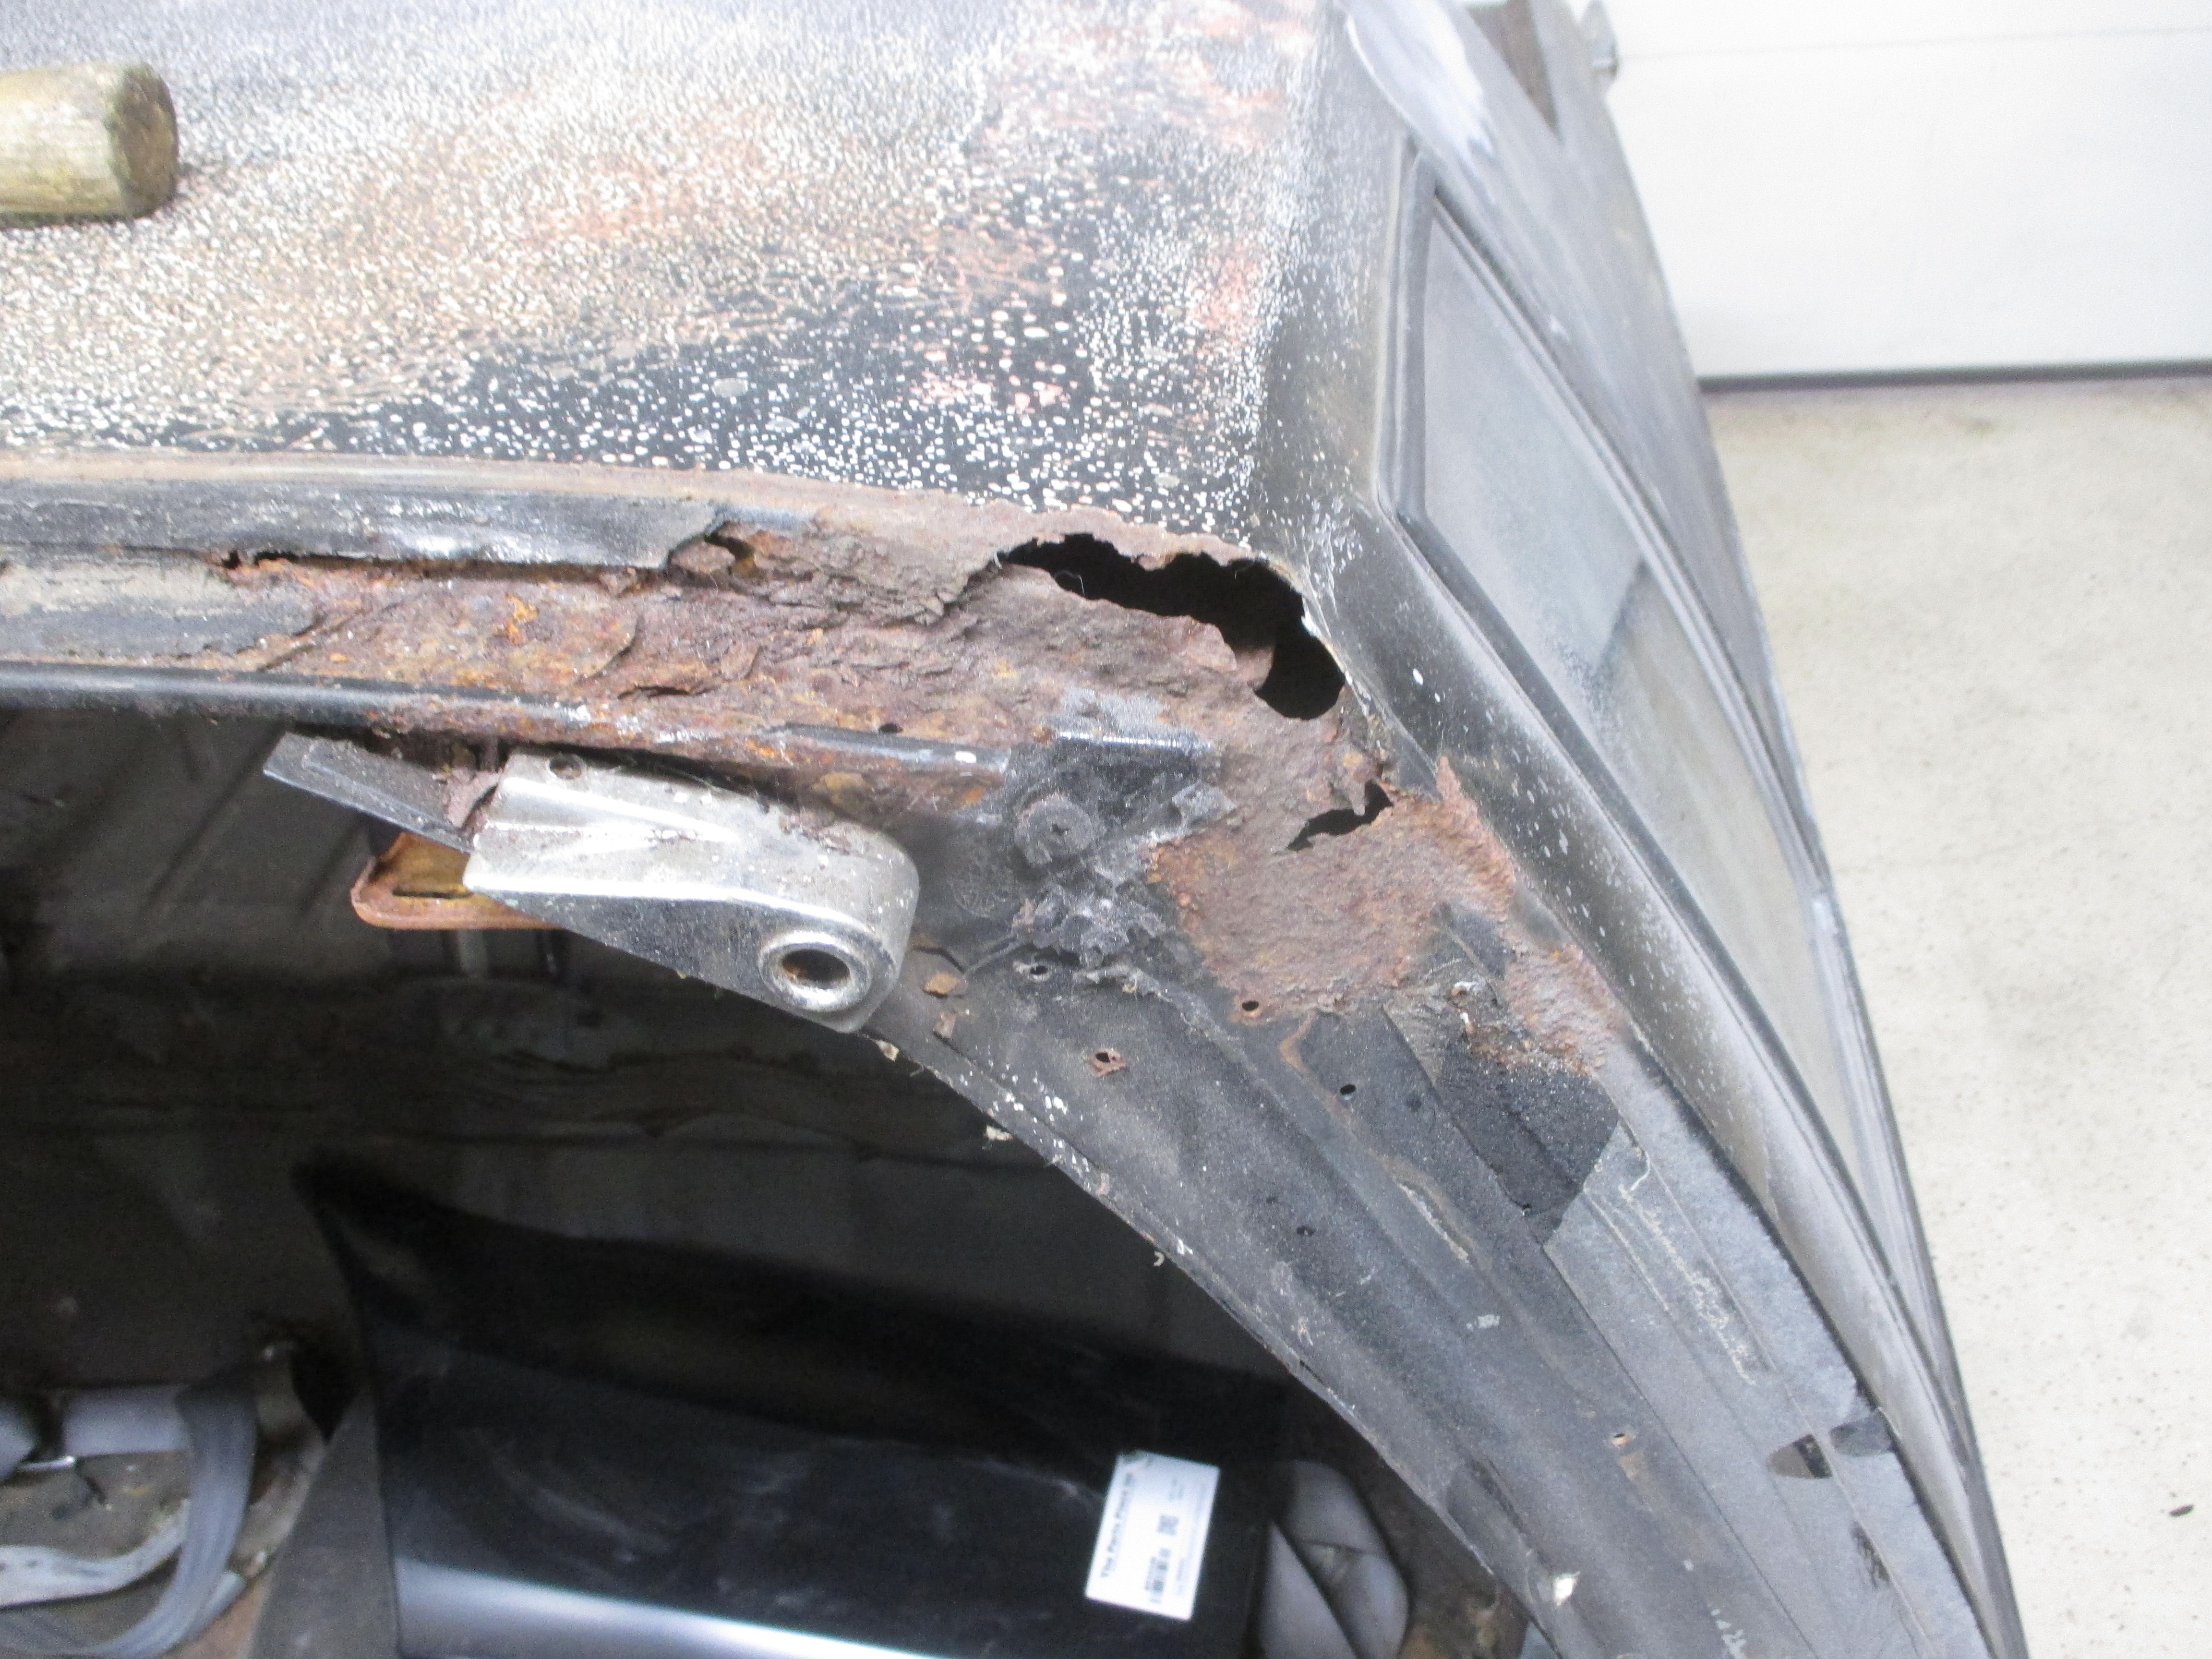
The roof section was too badly damaged for a simple repair. The understructure was rebuilt as need and a new roof fitted. Test fit went well and ready for welding
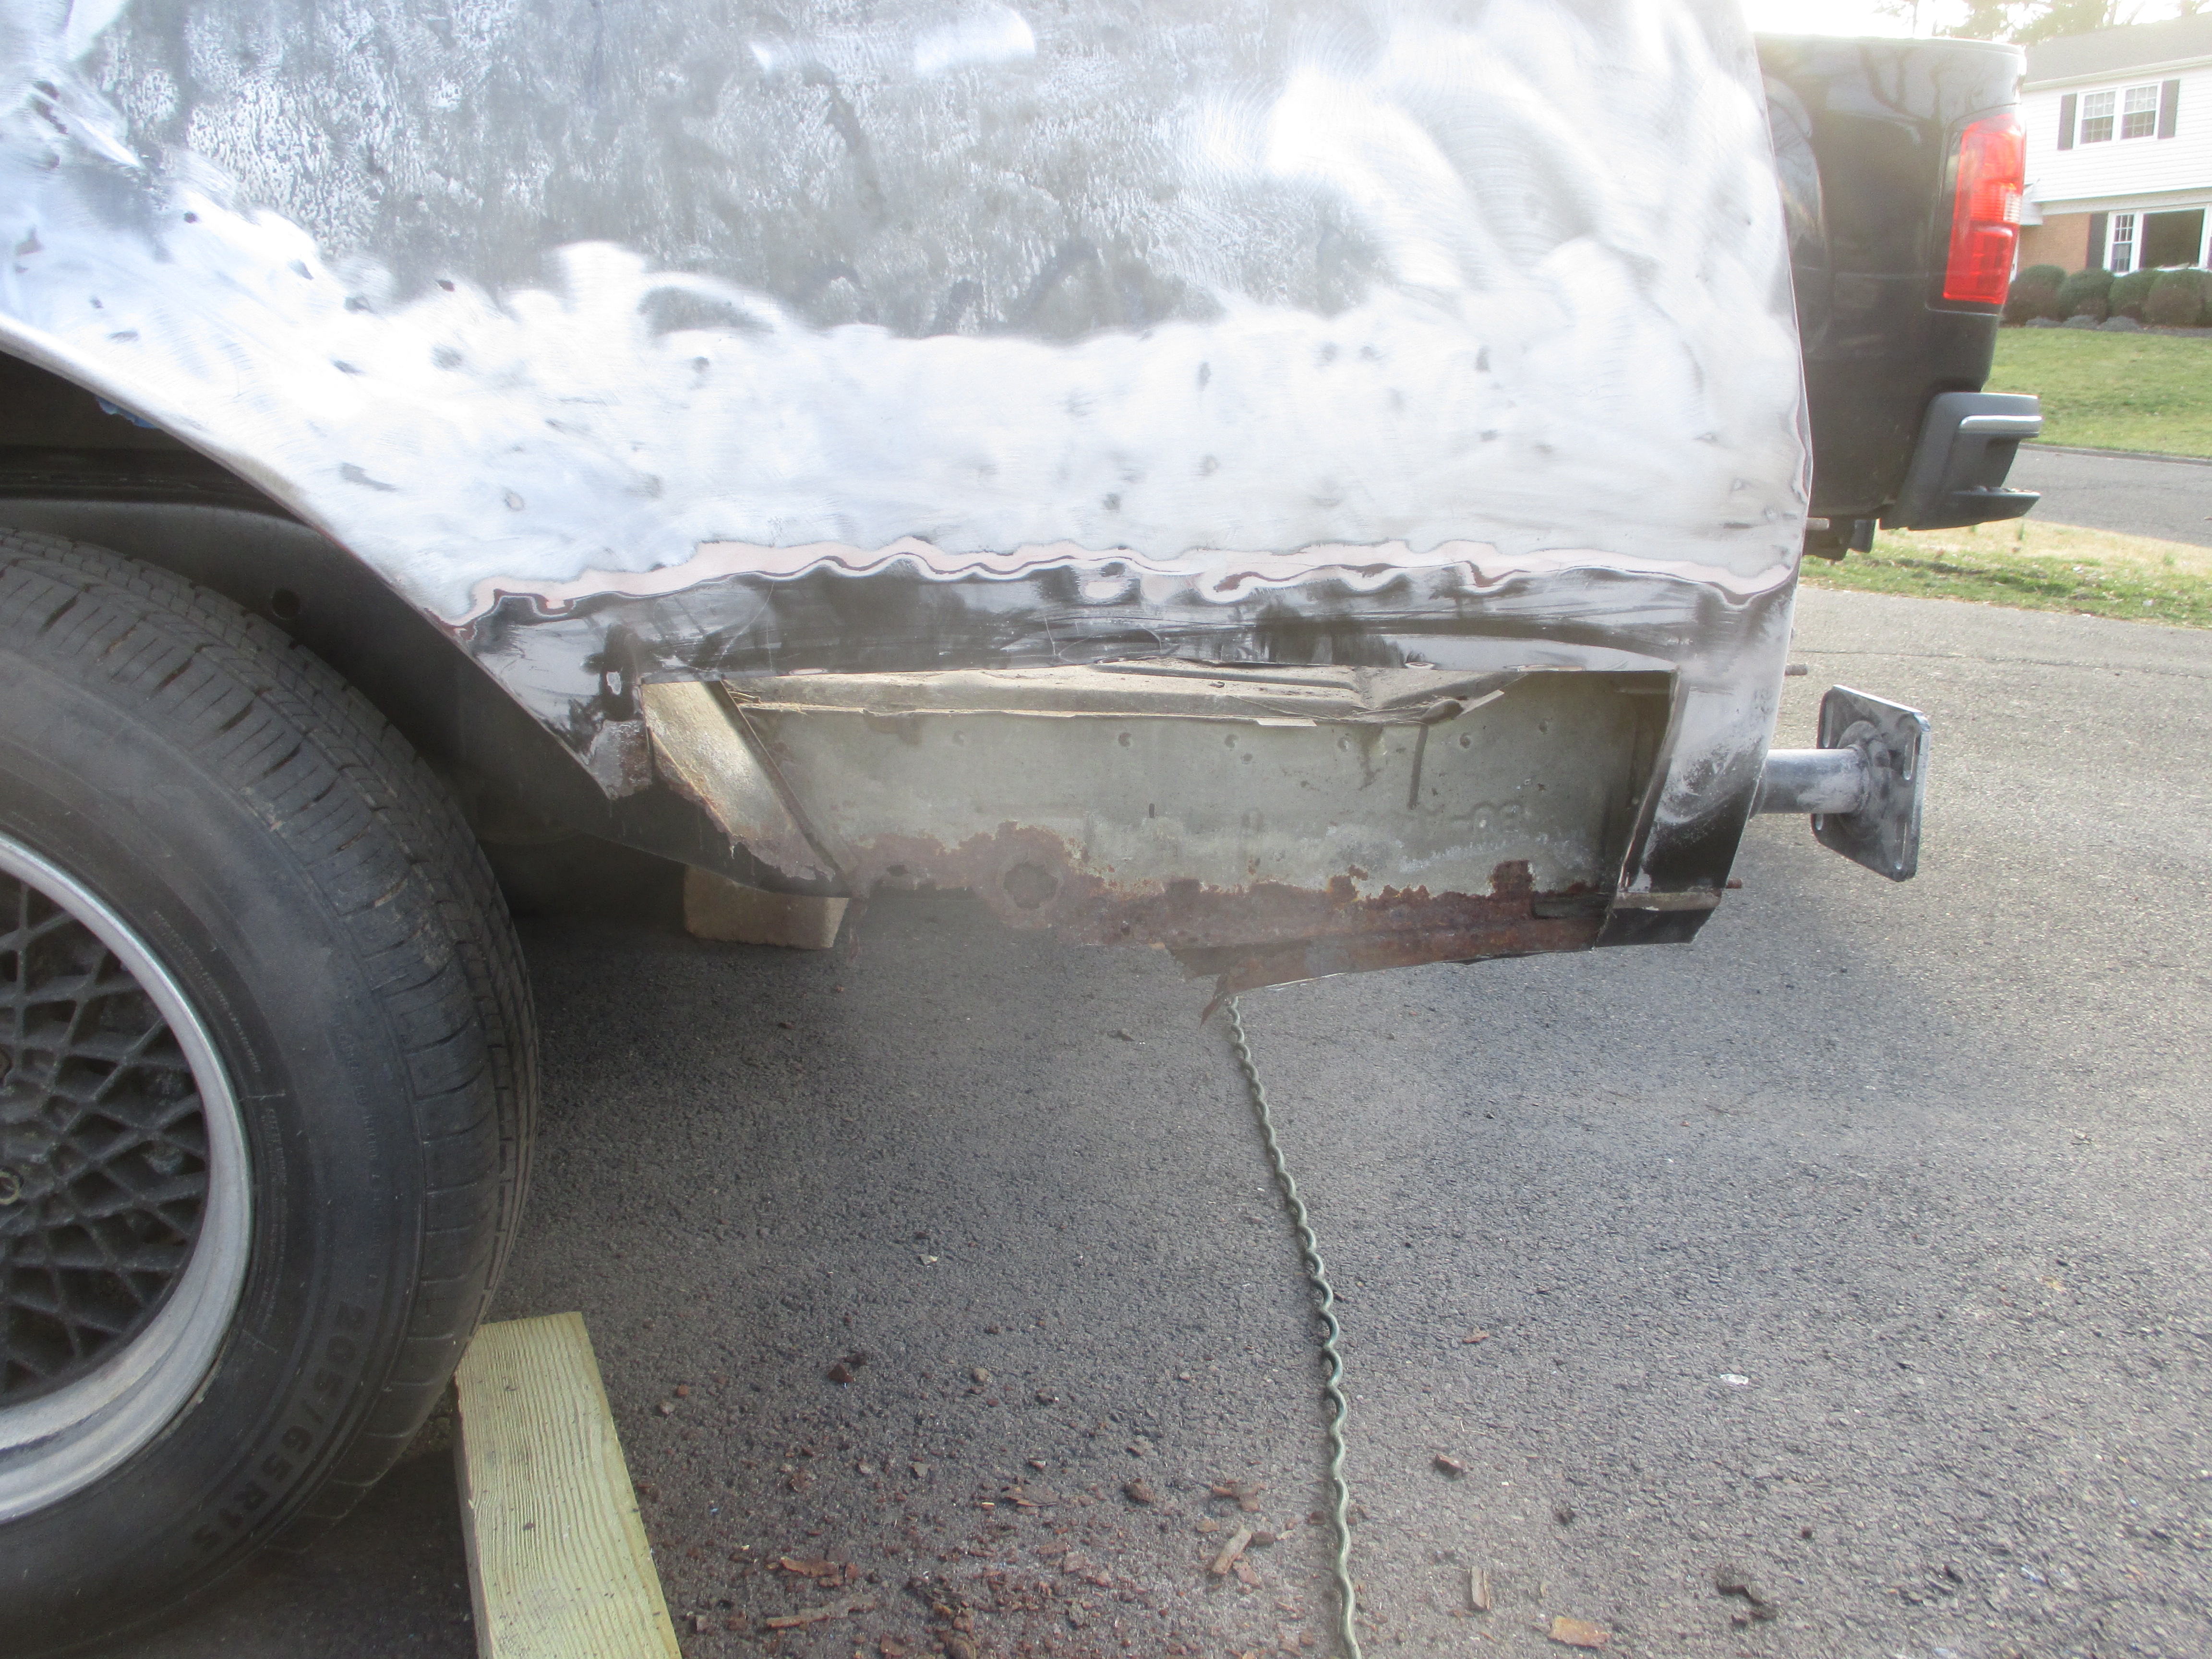
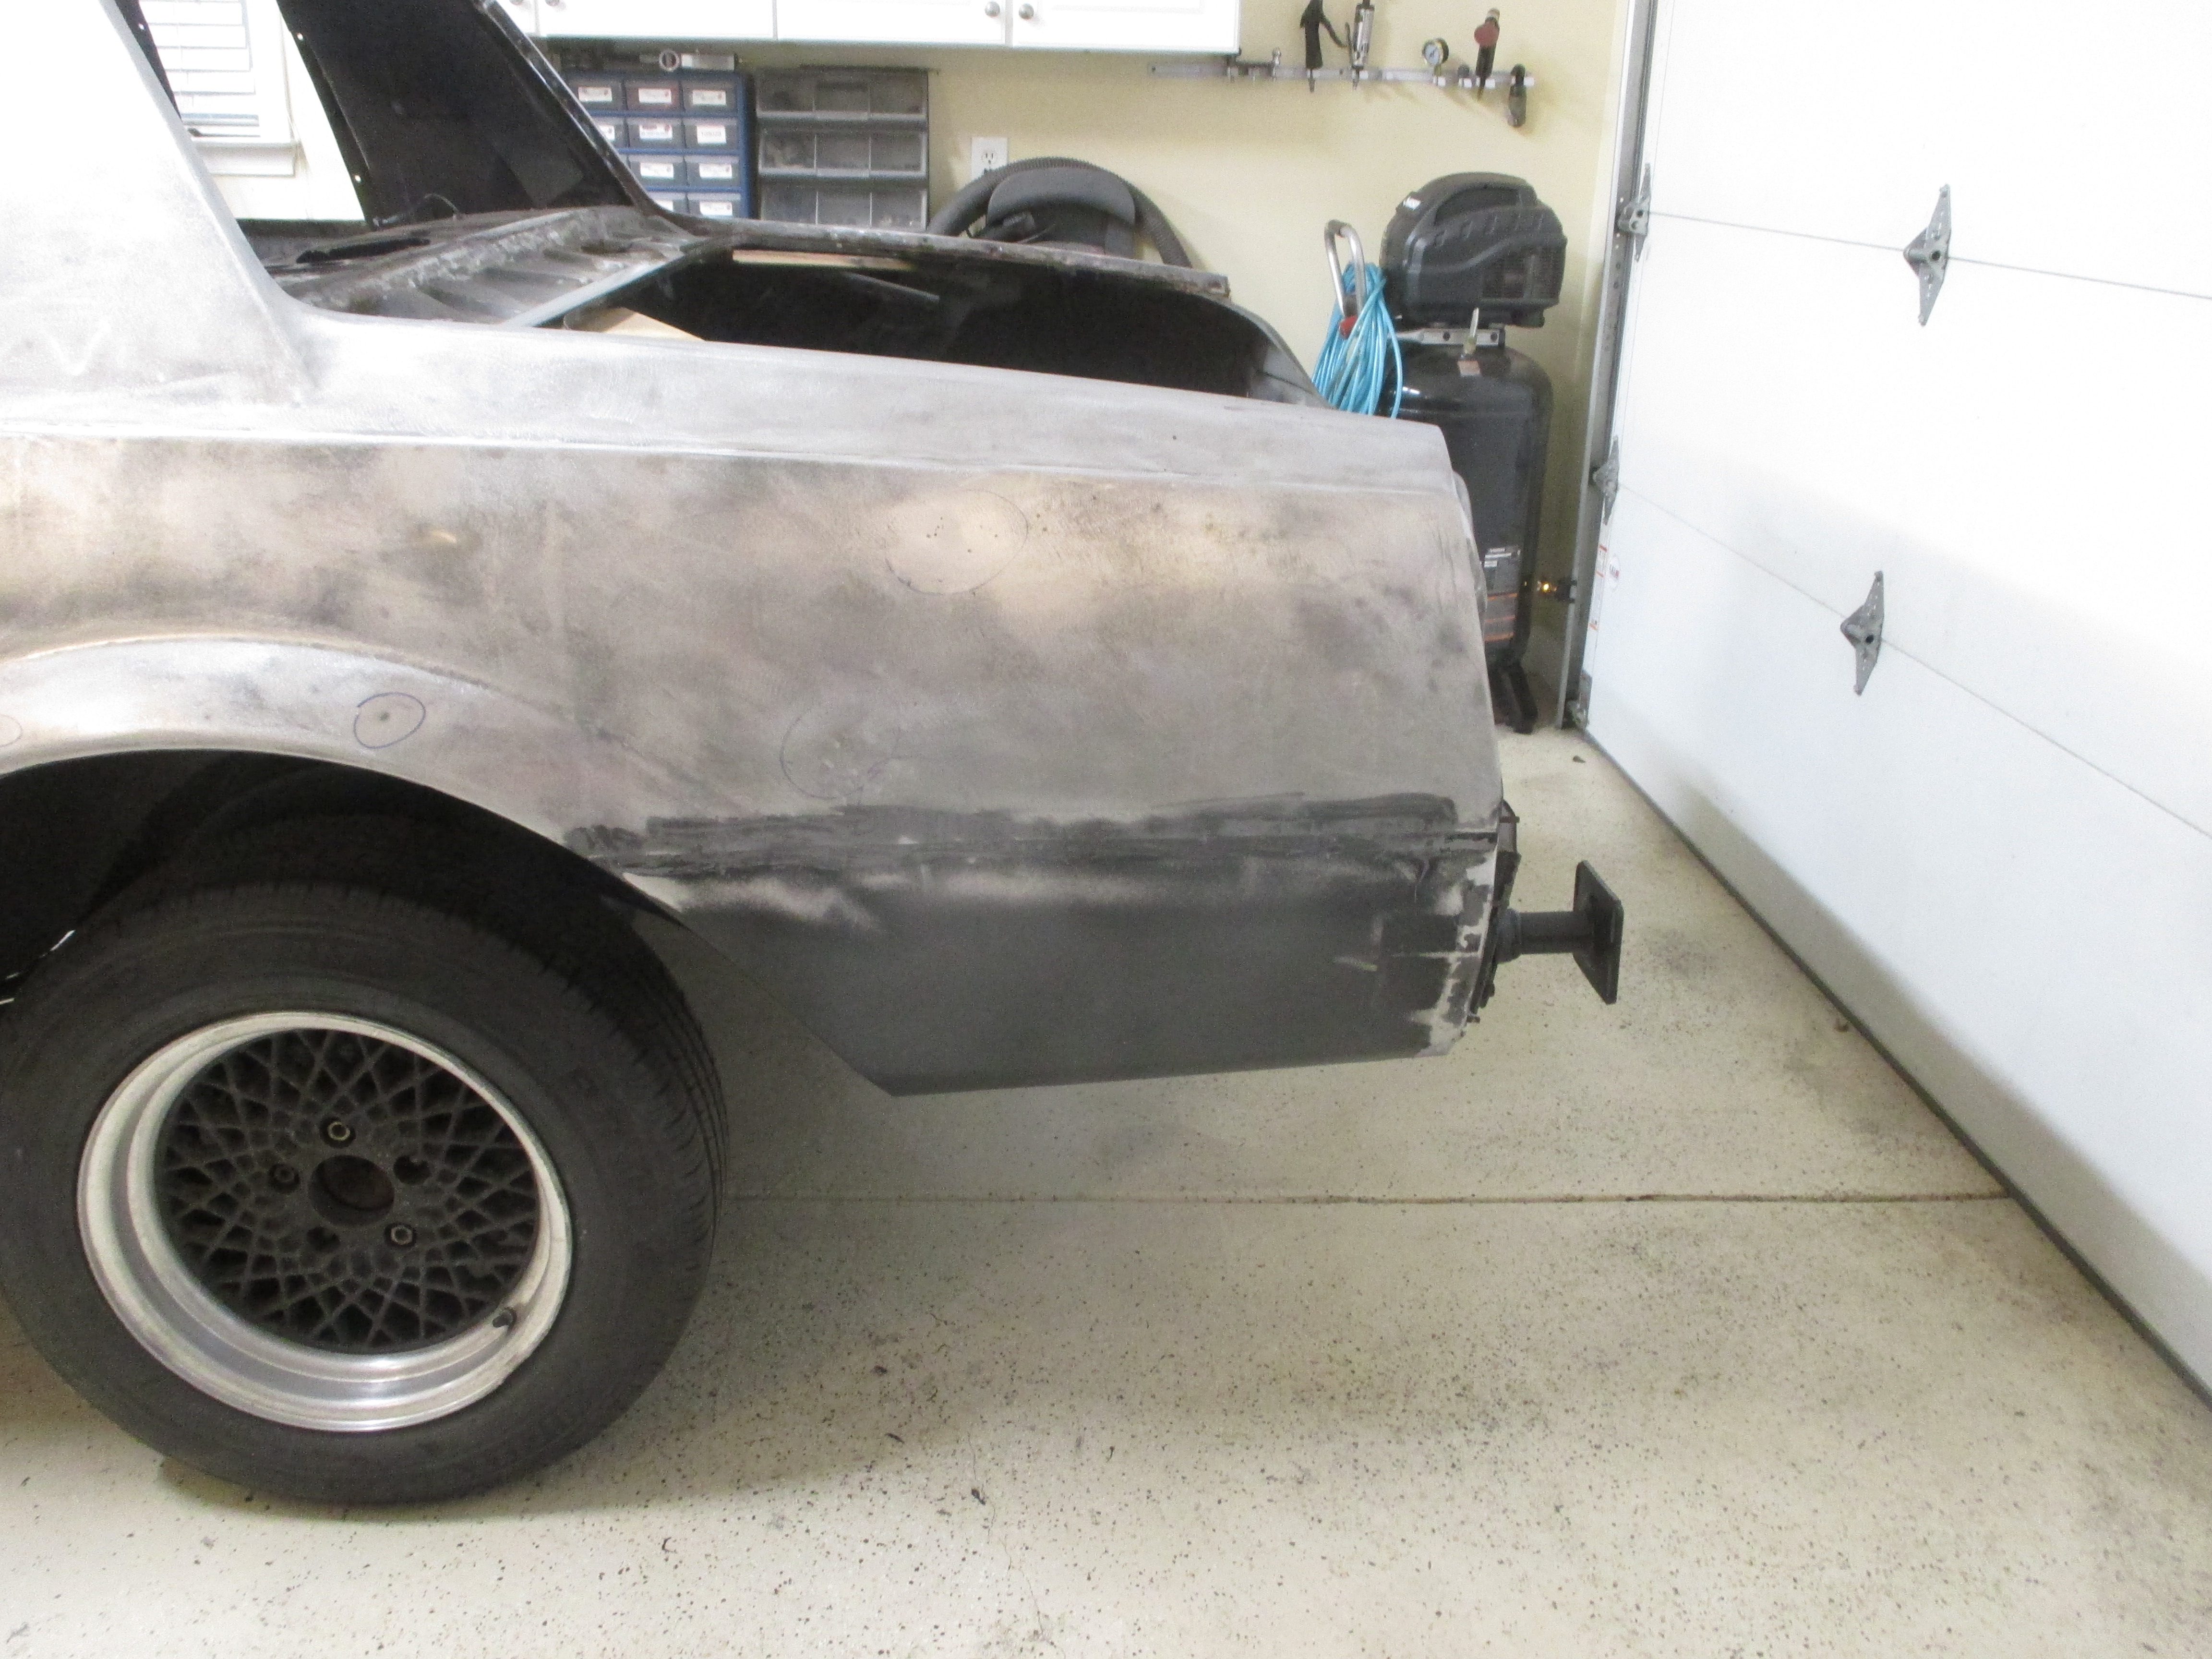
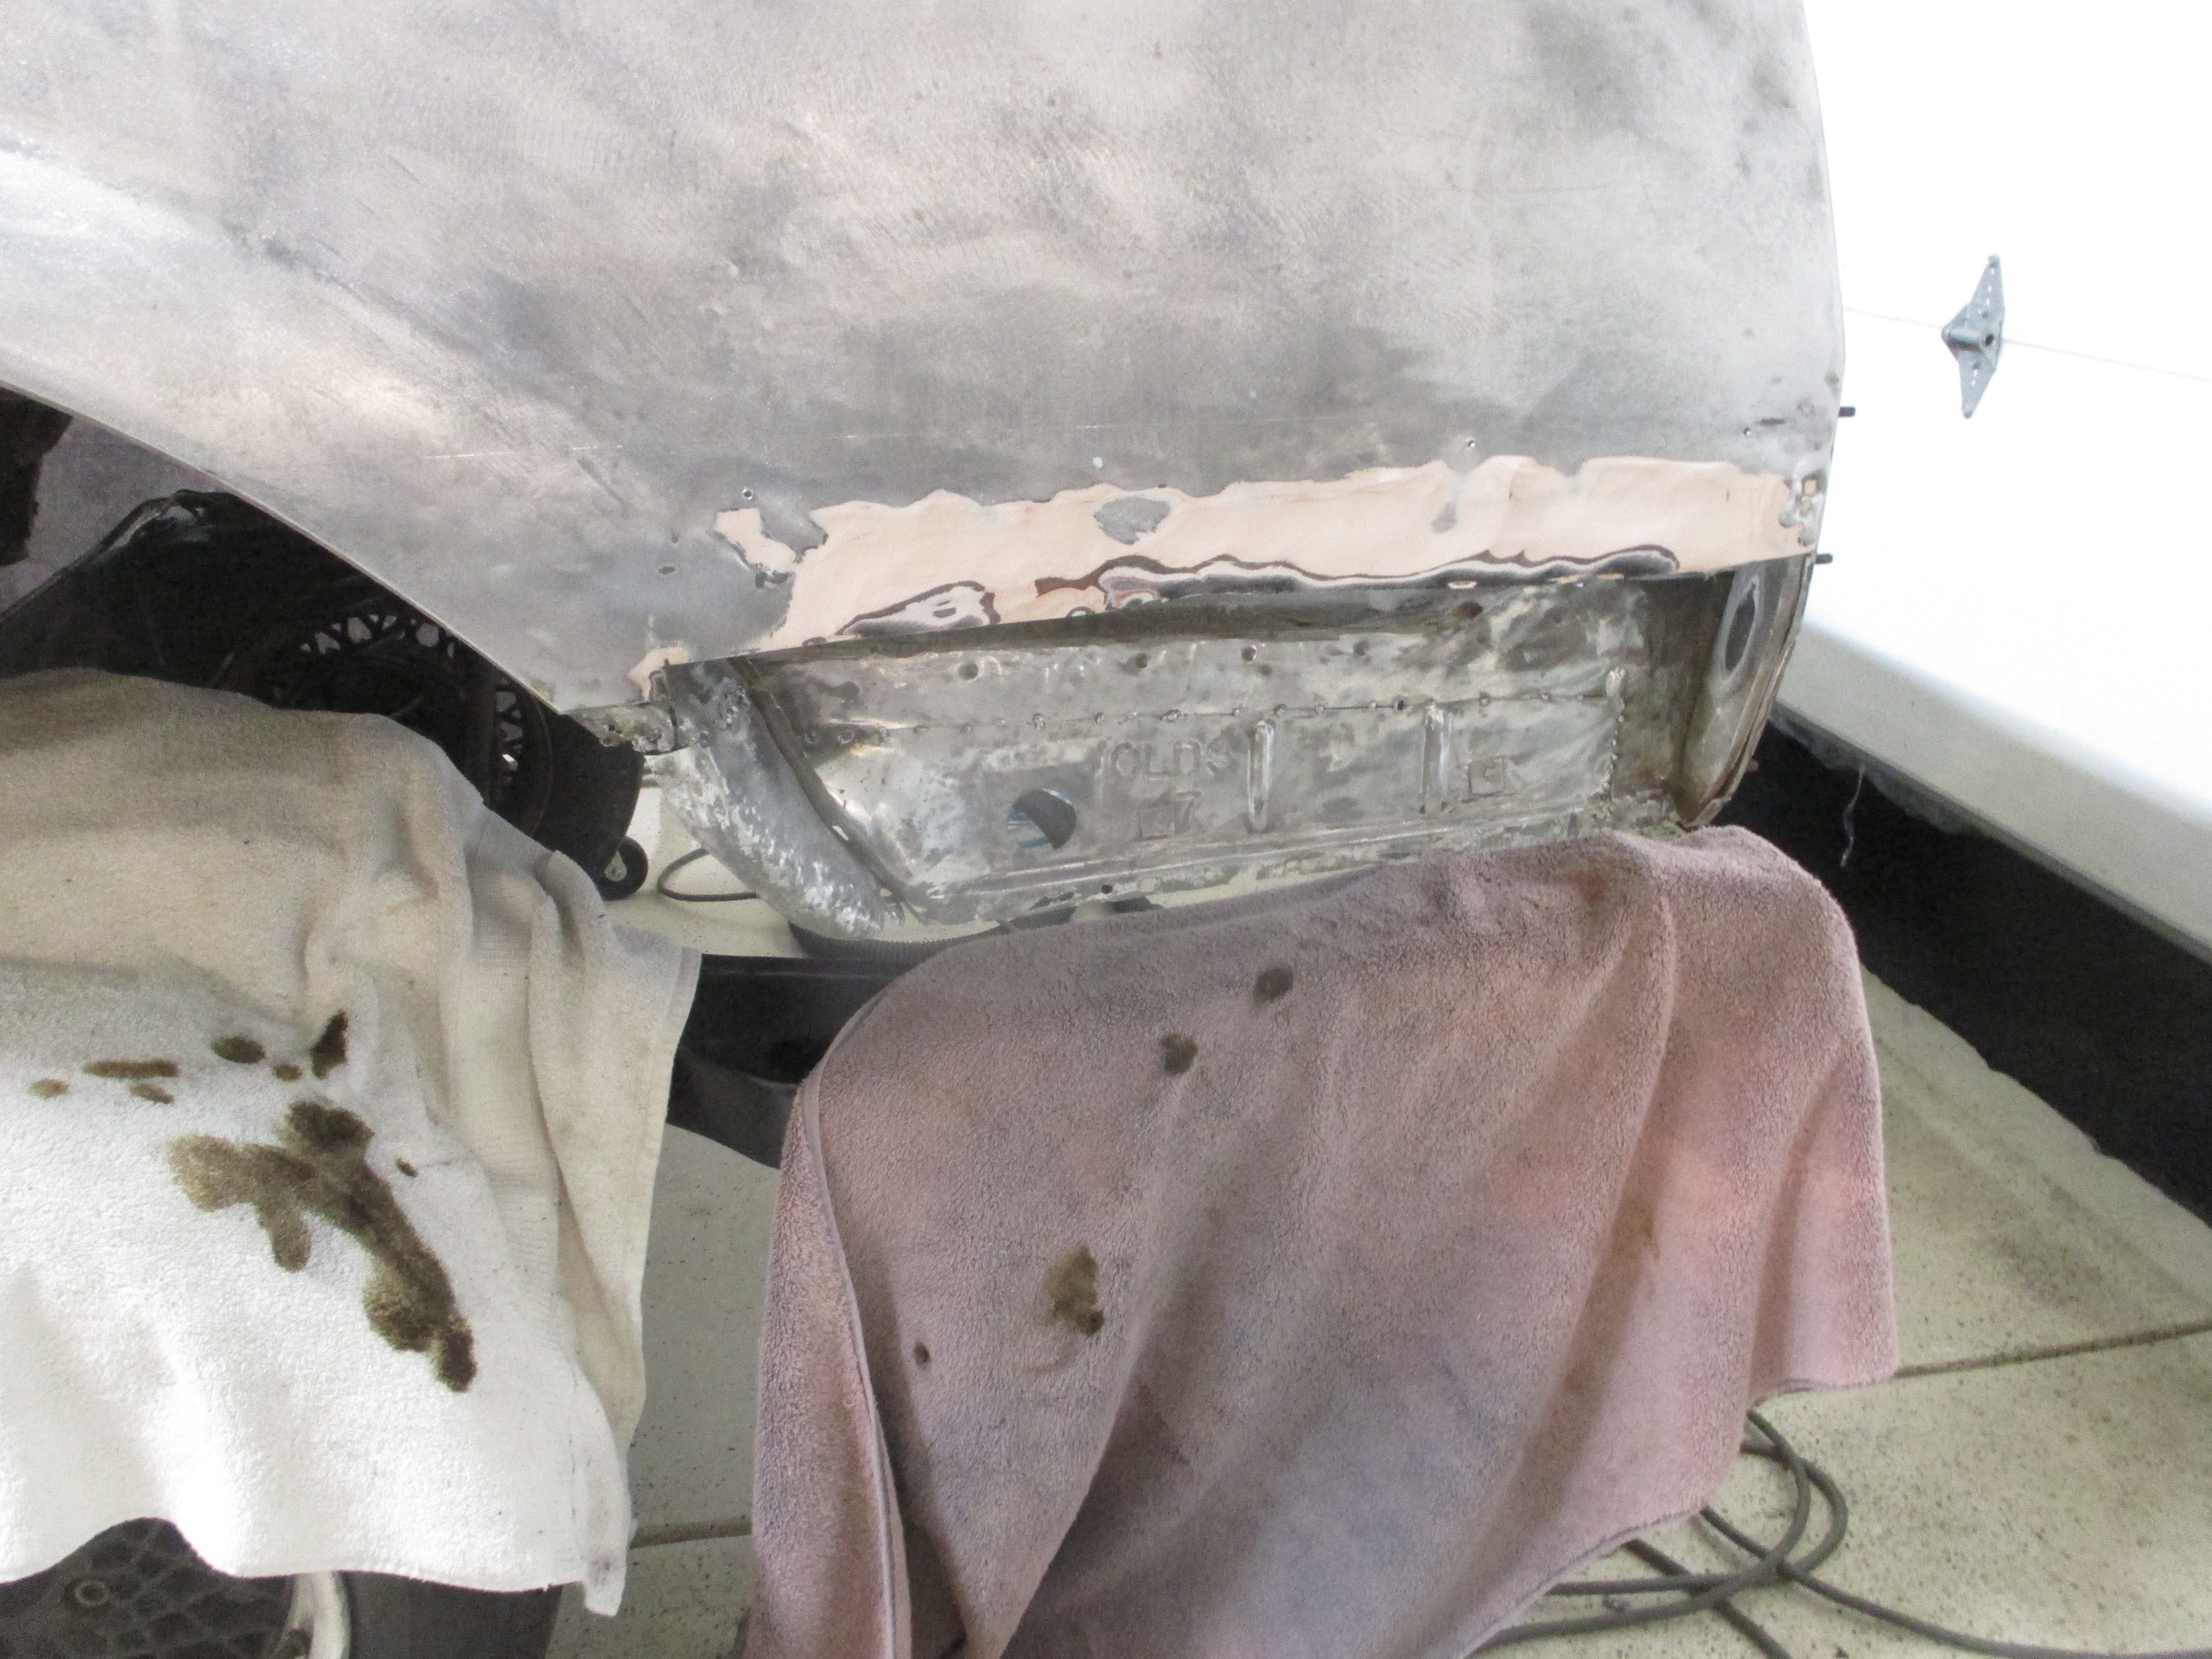
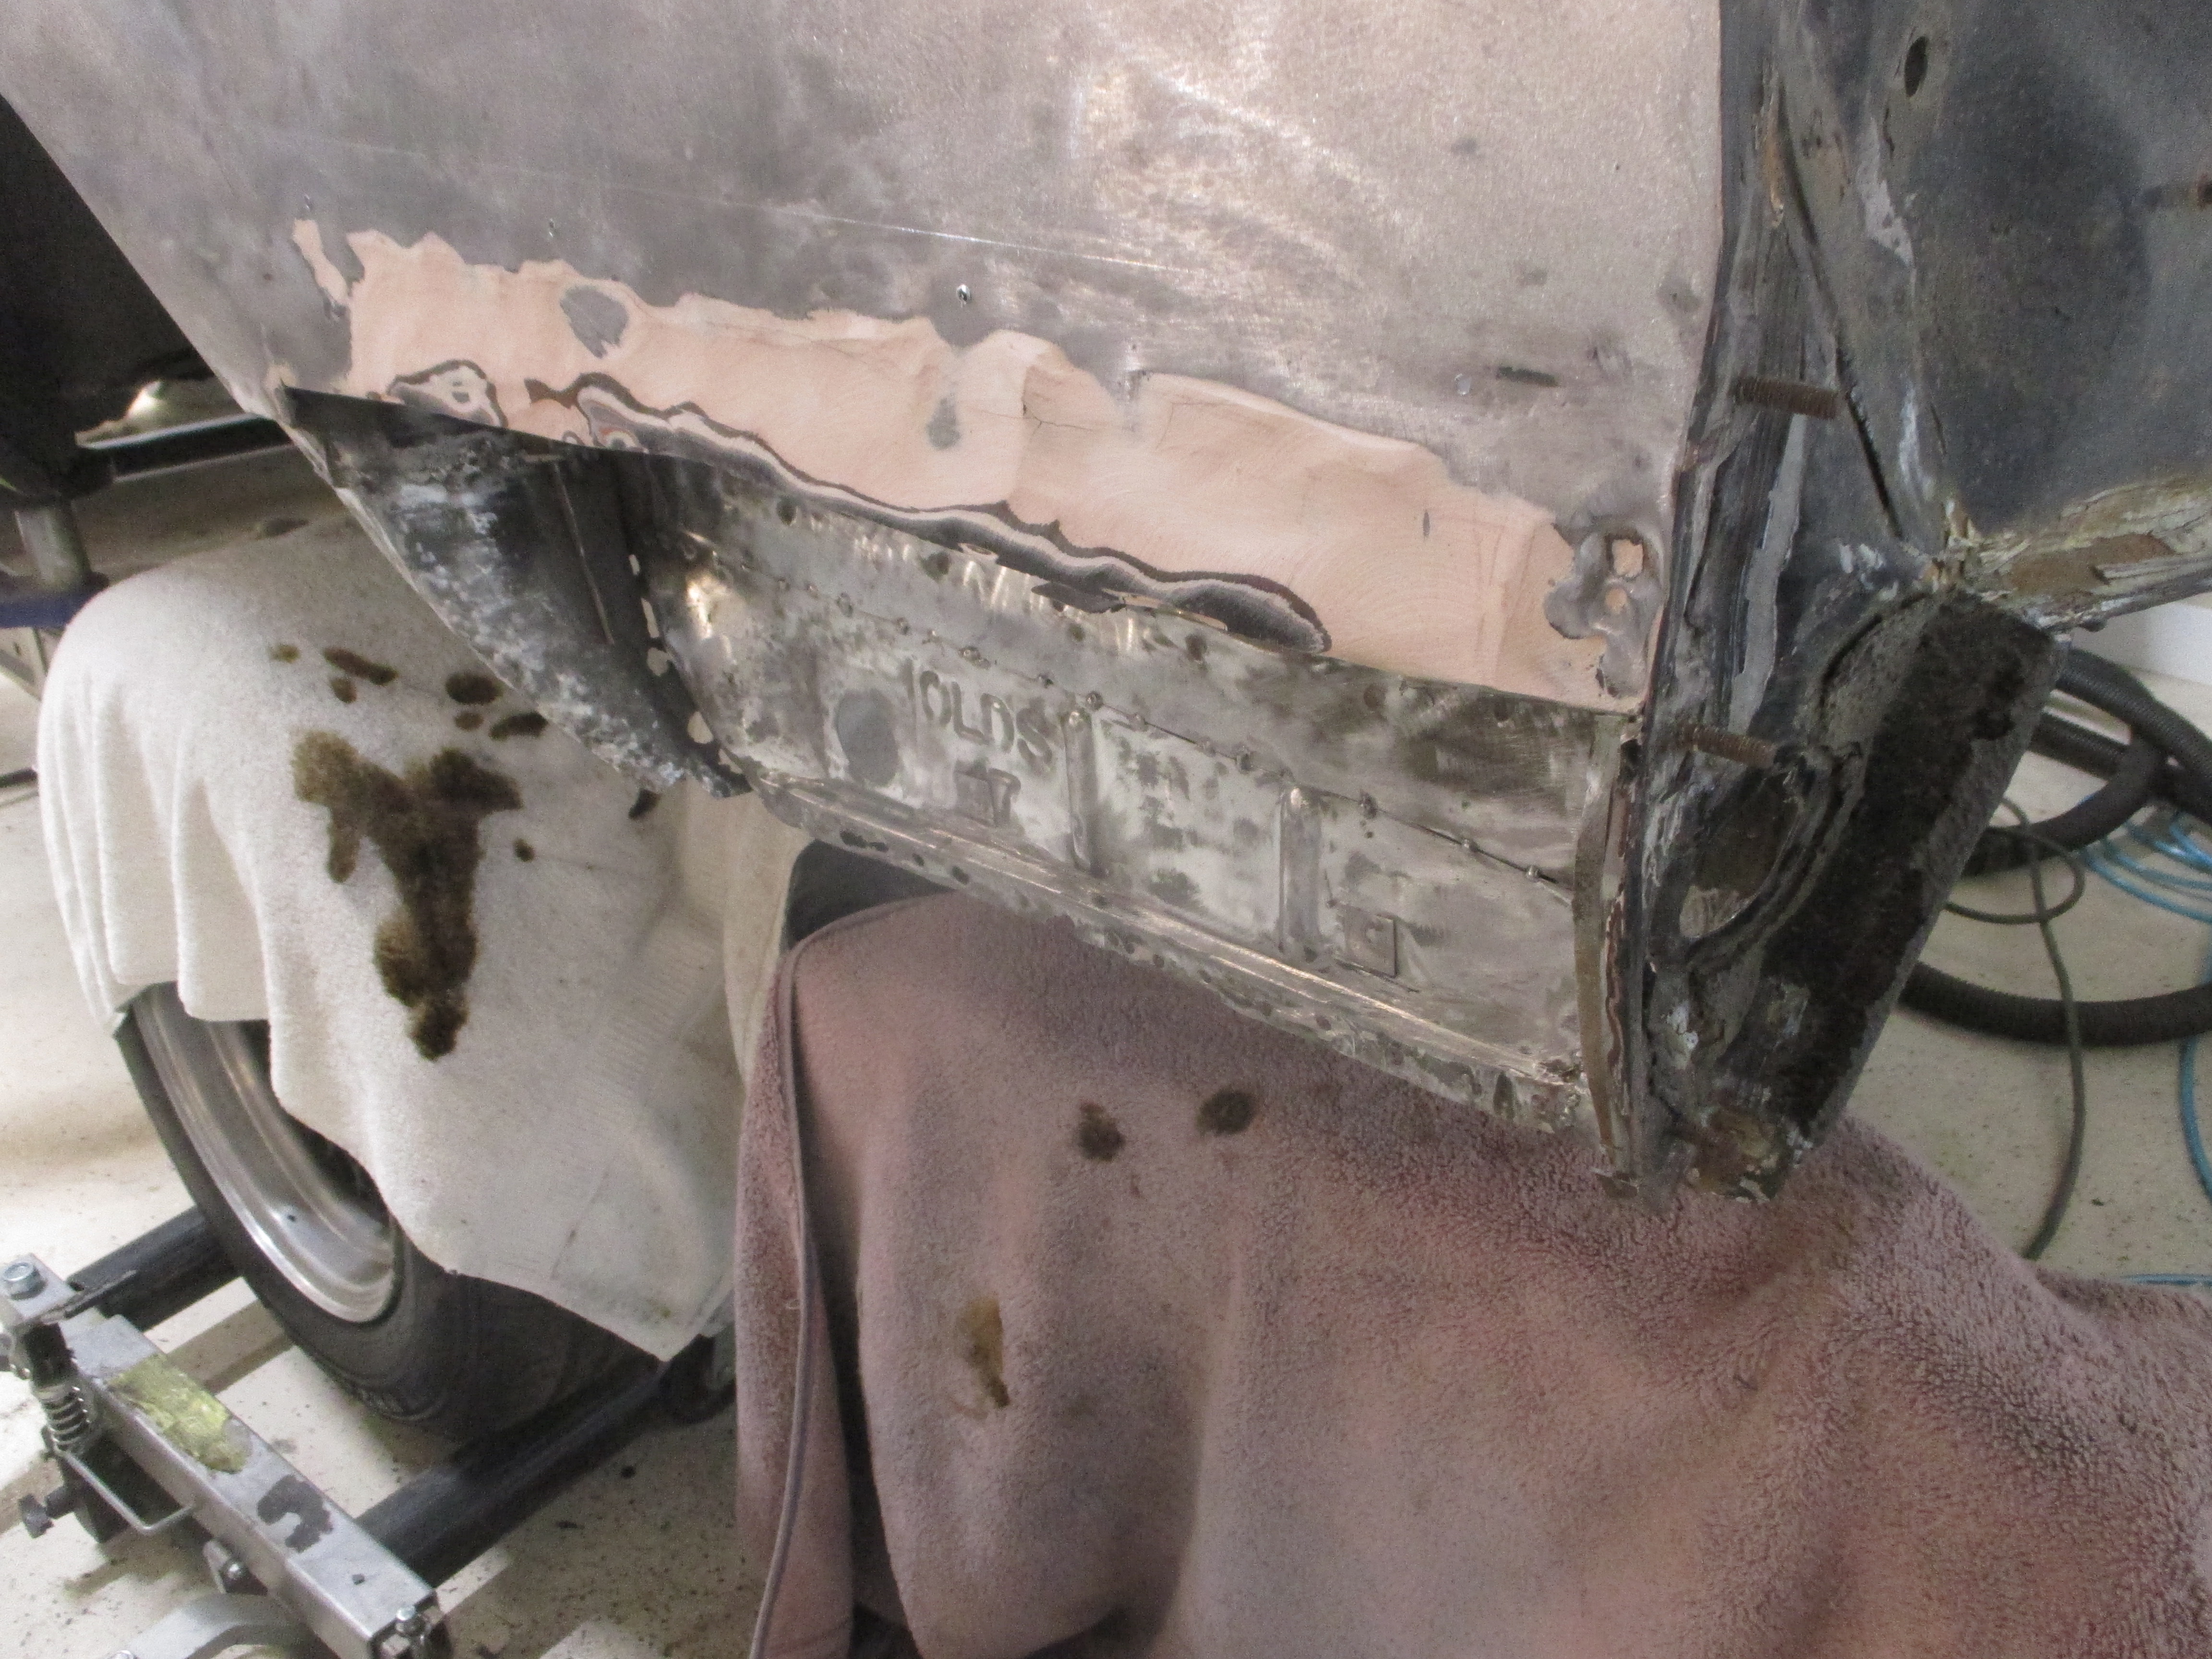
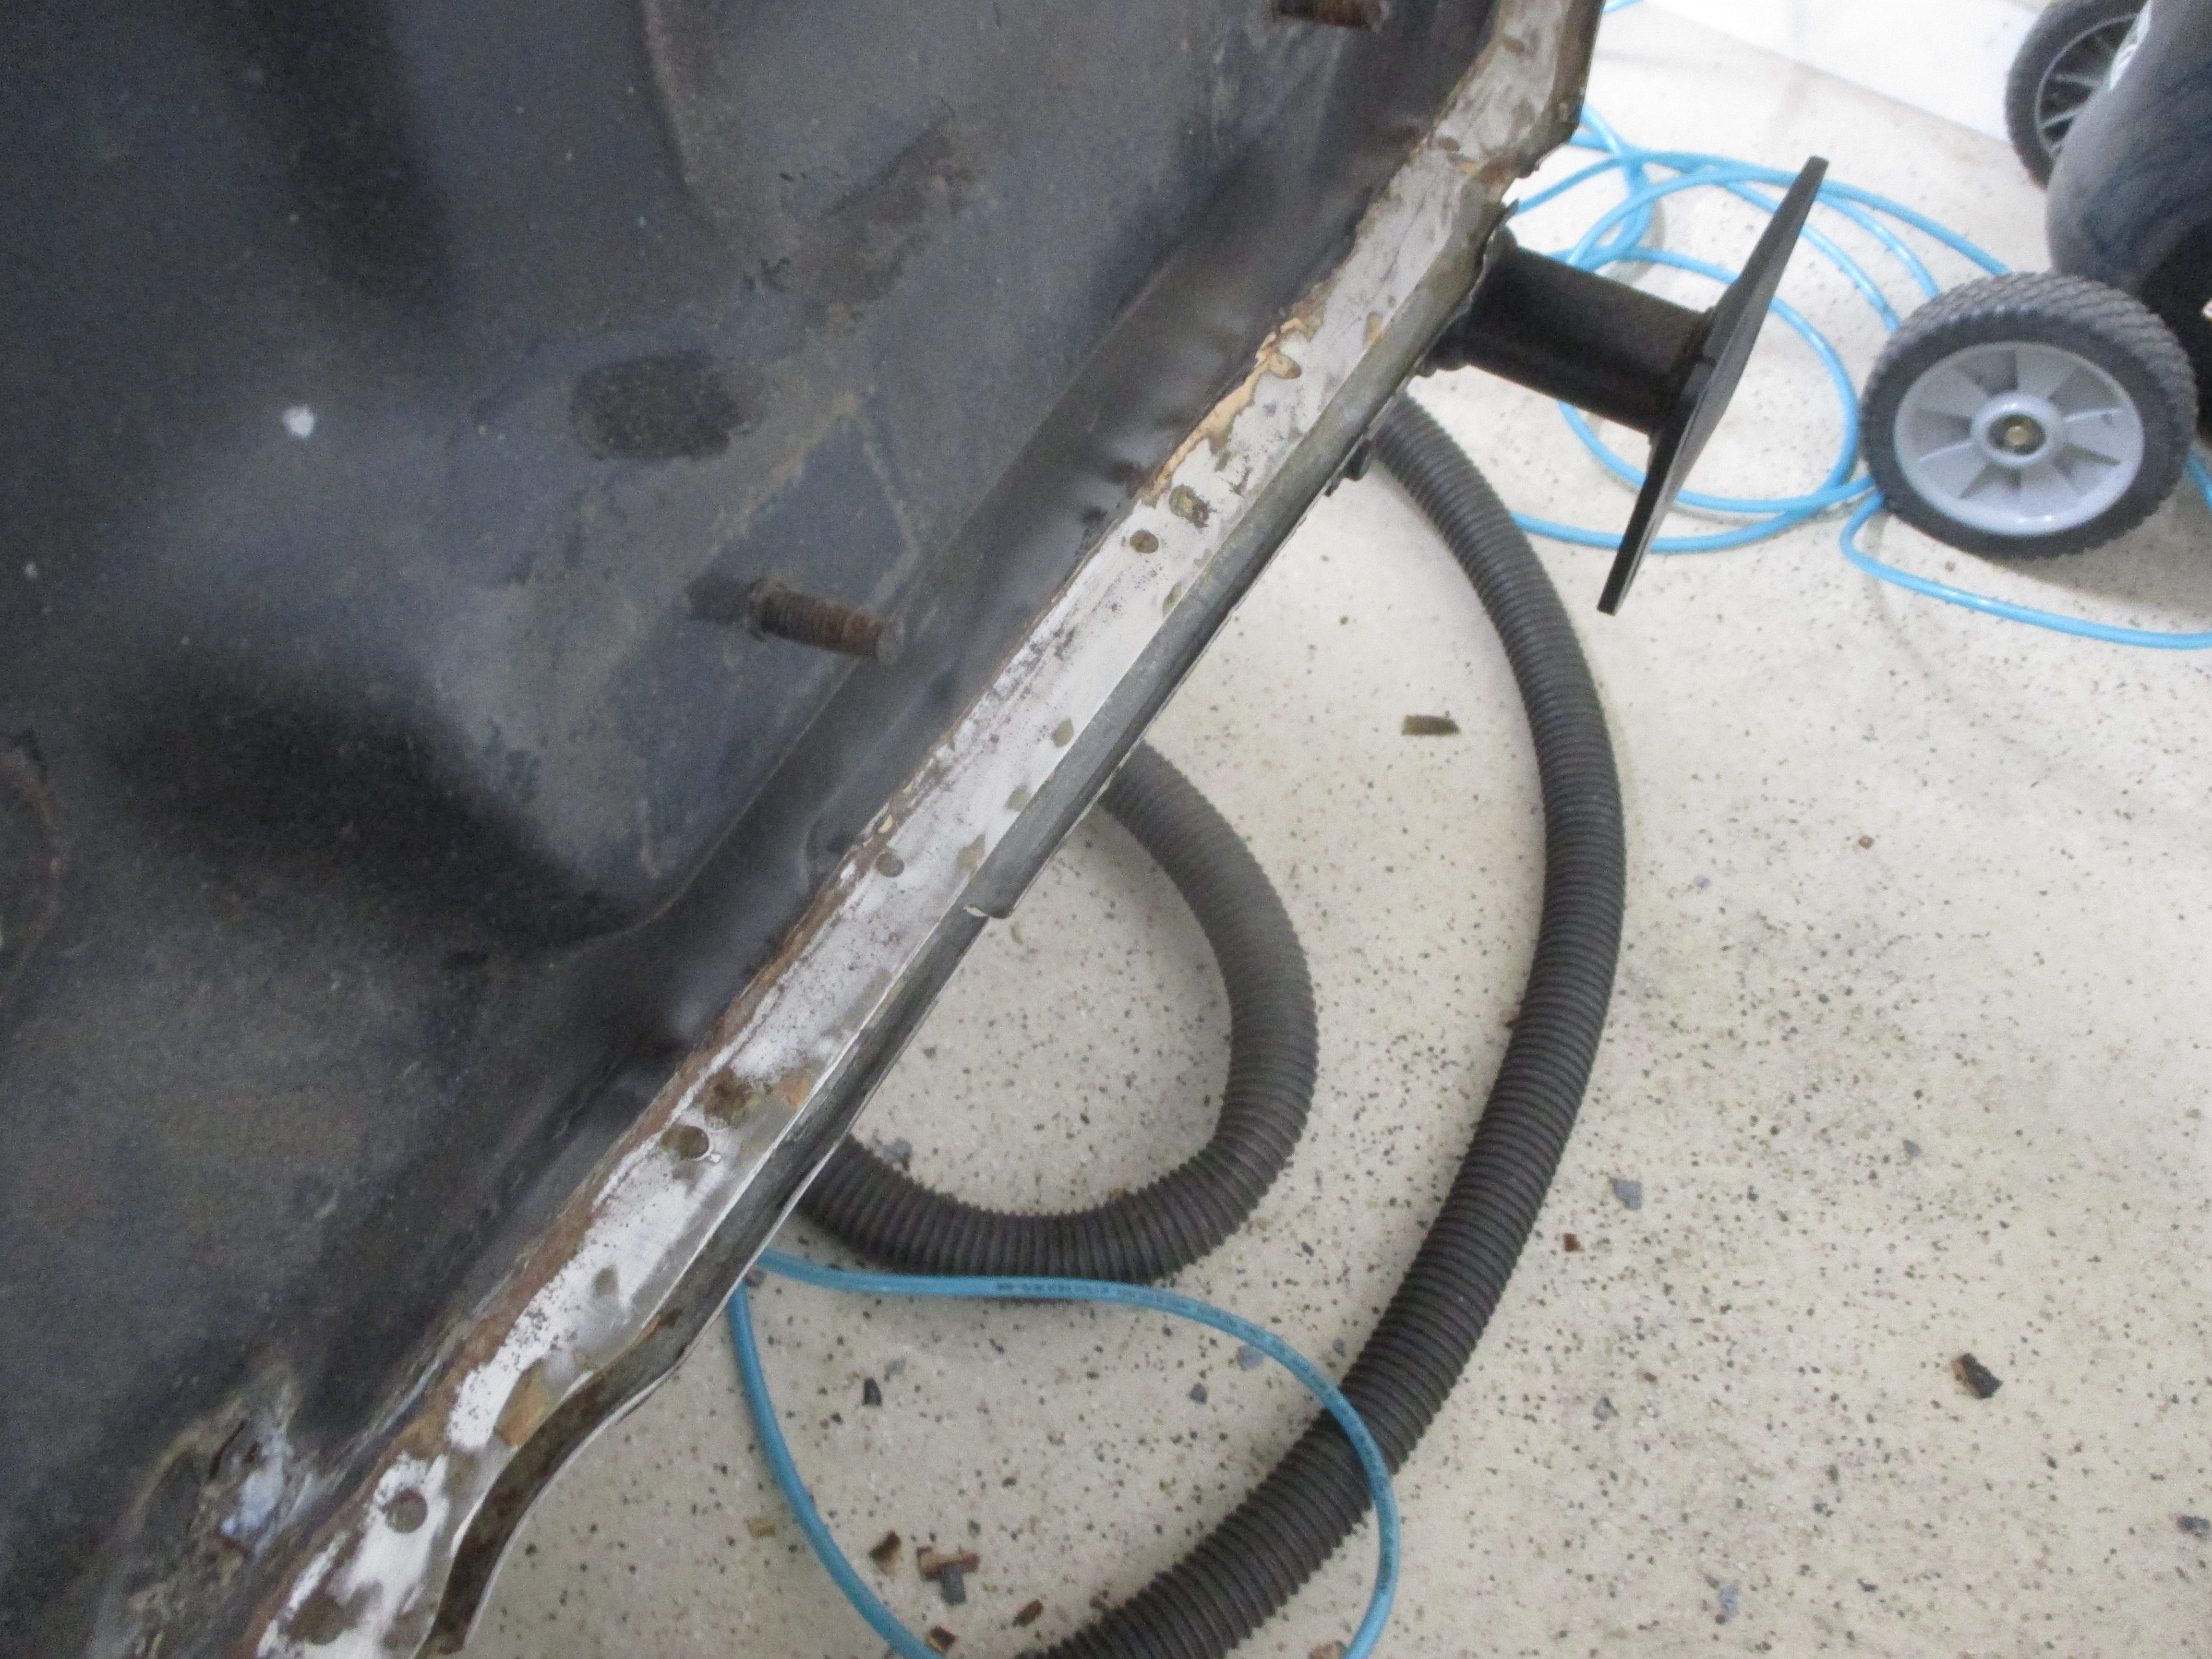
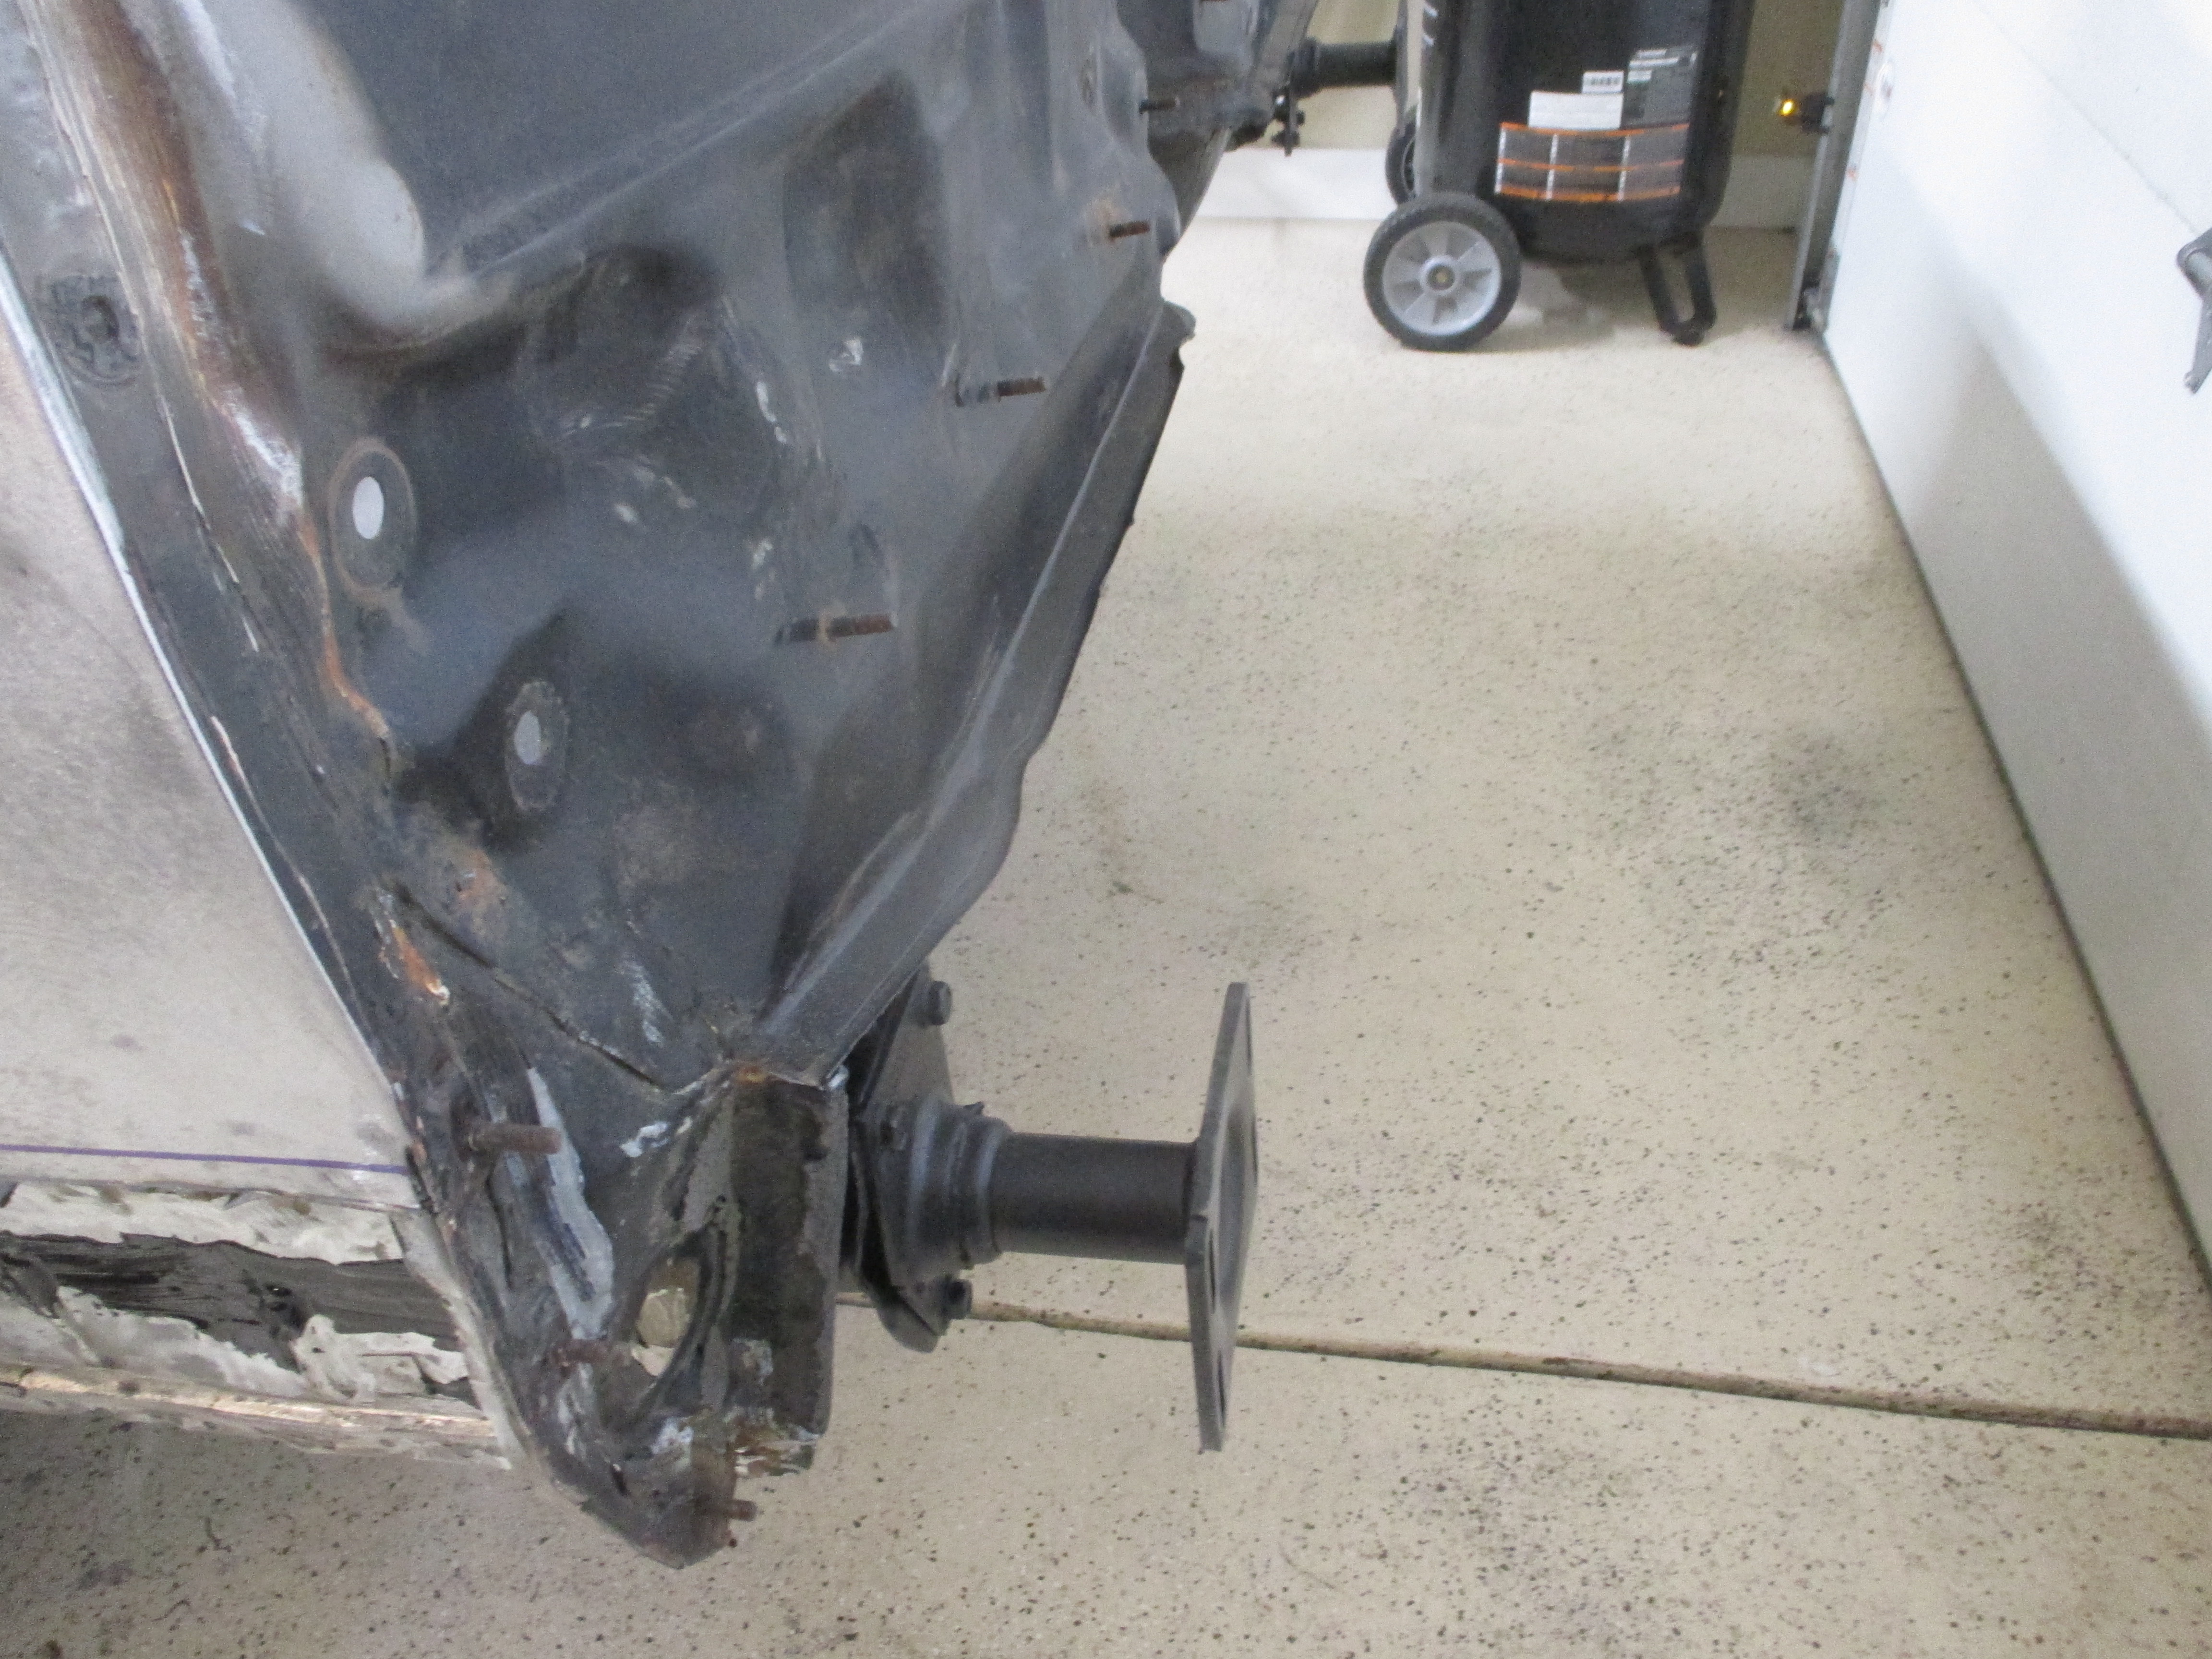
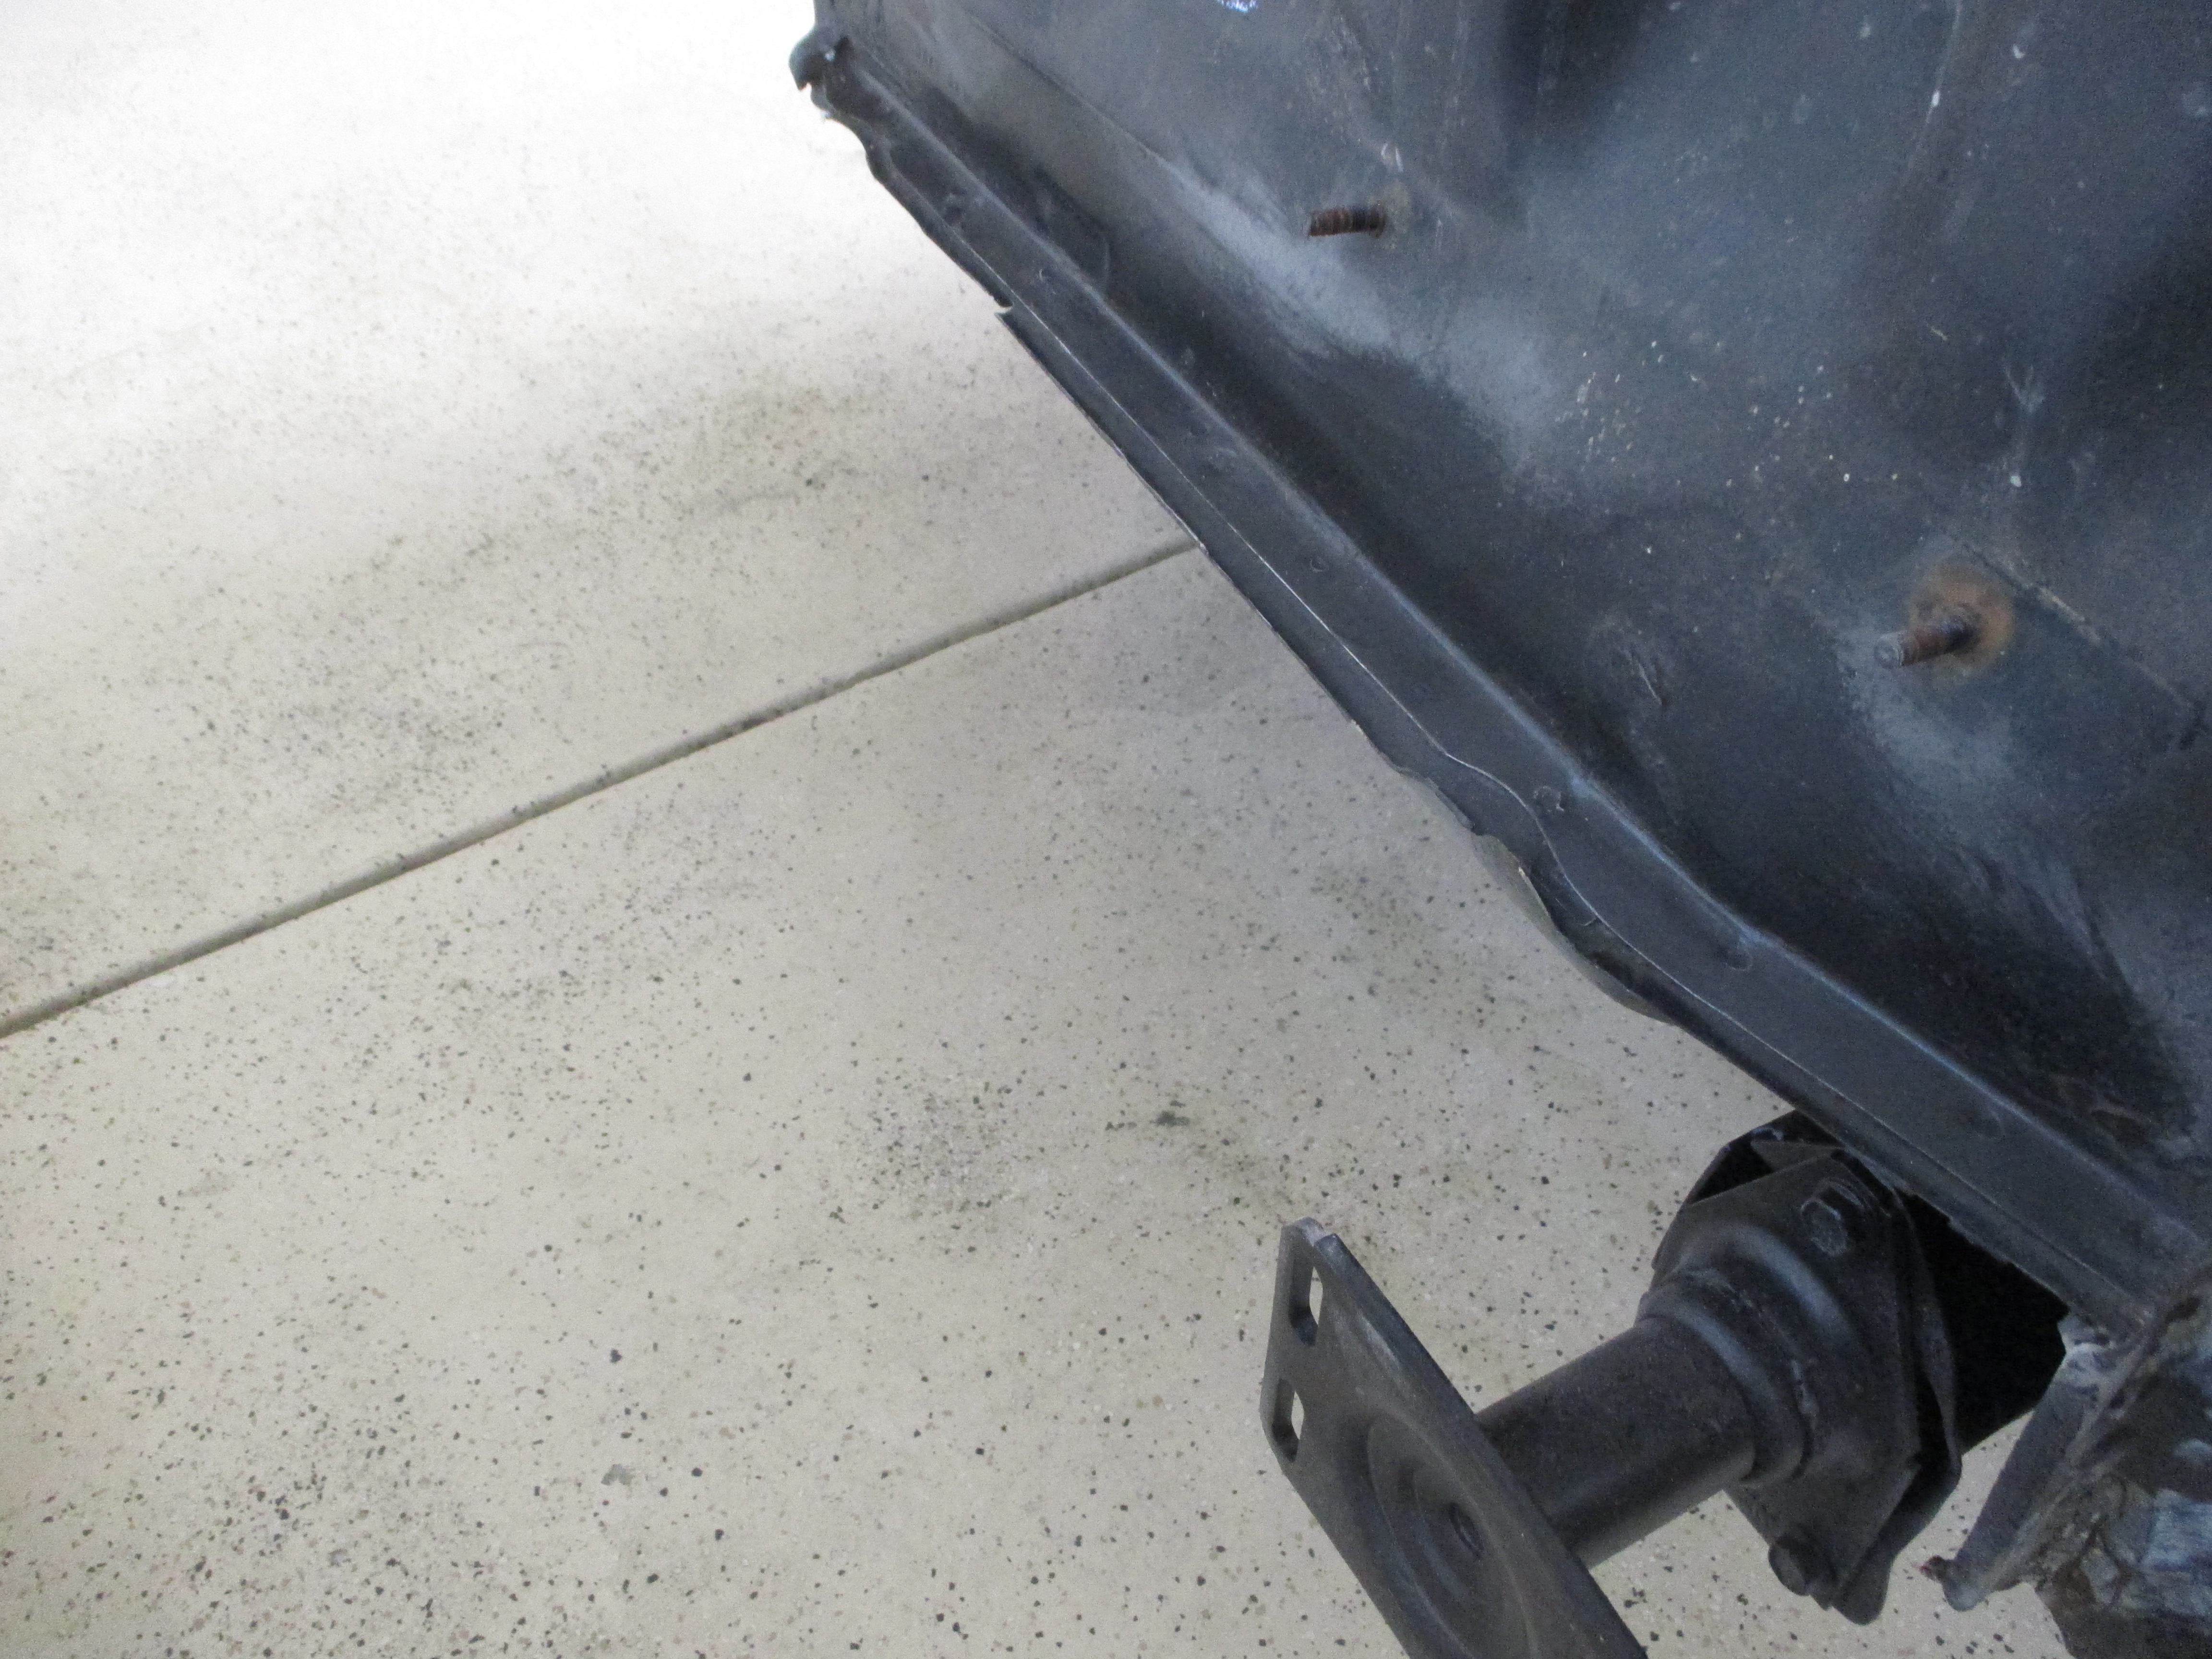
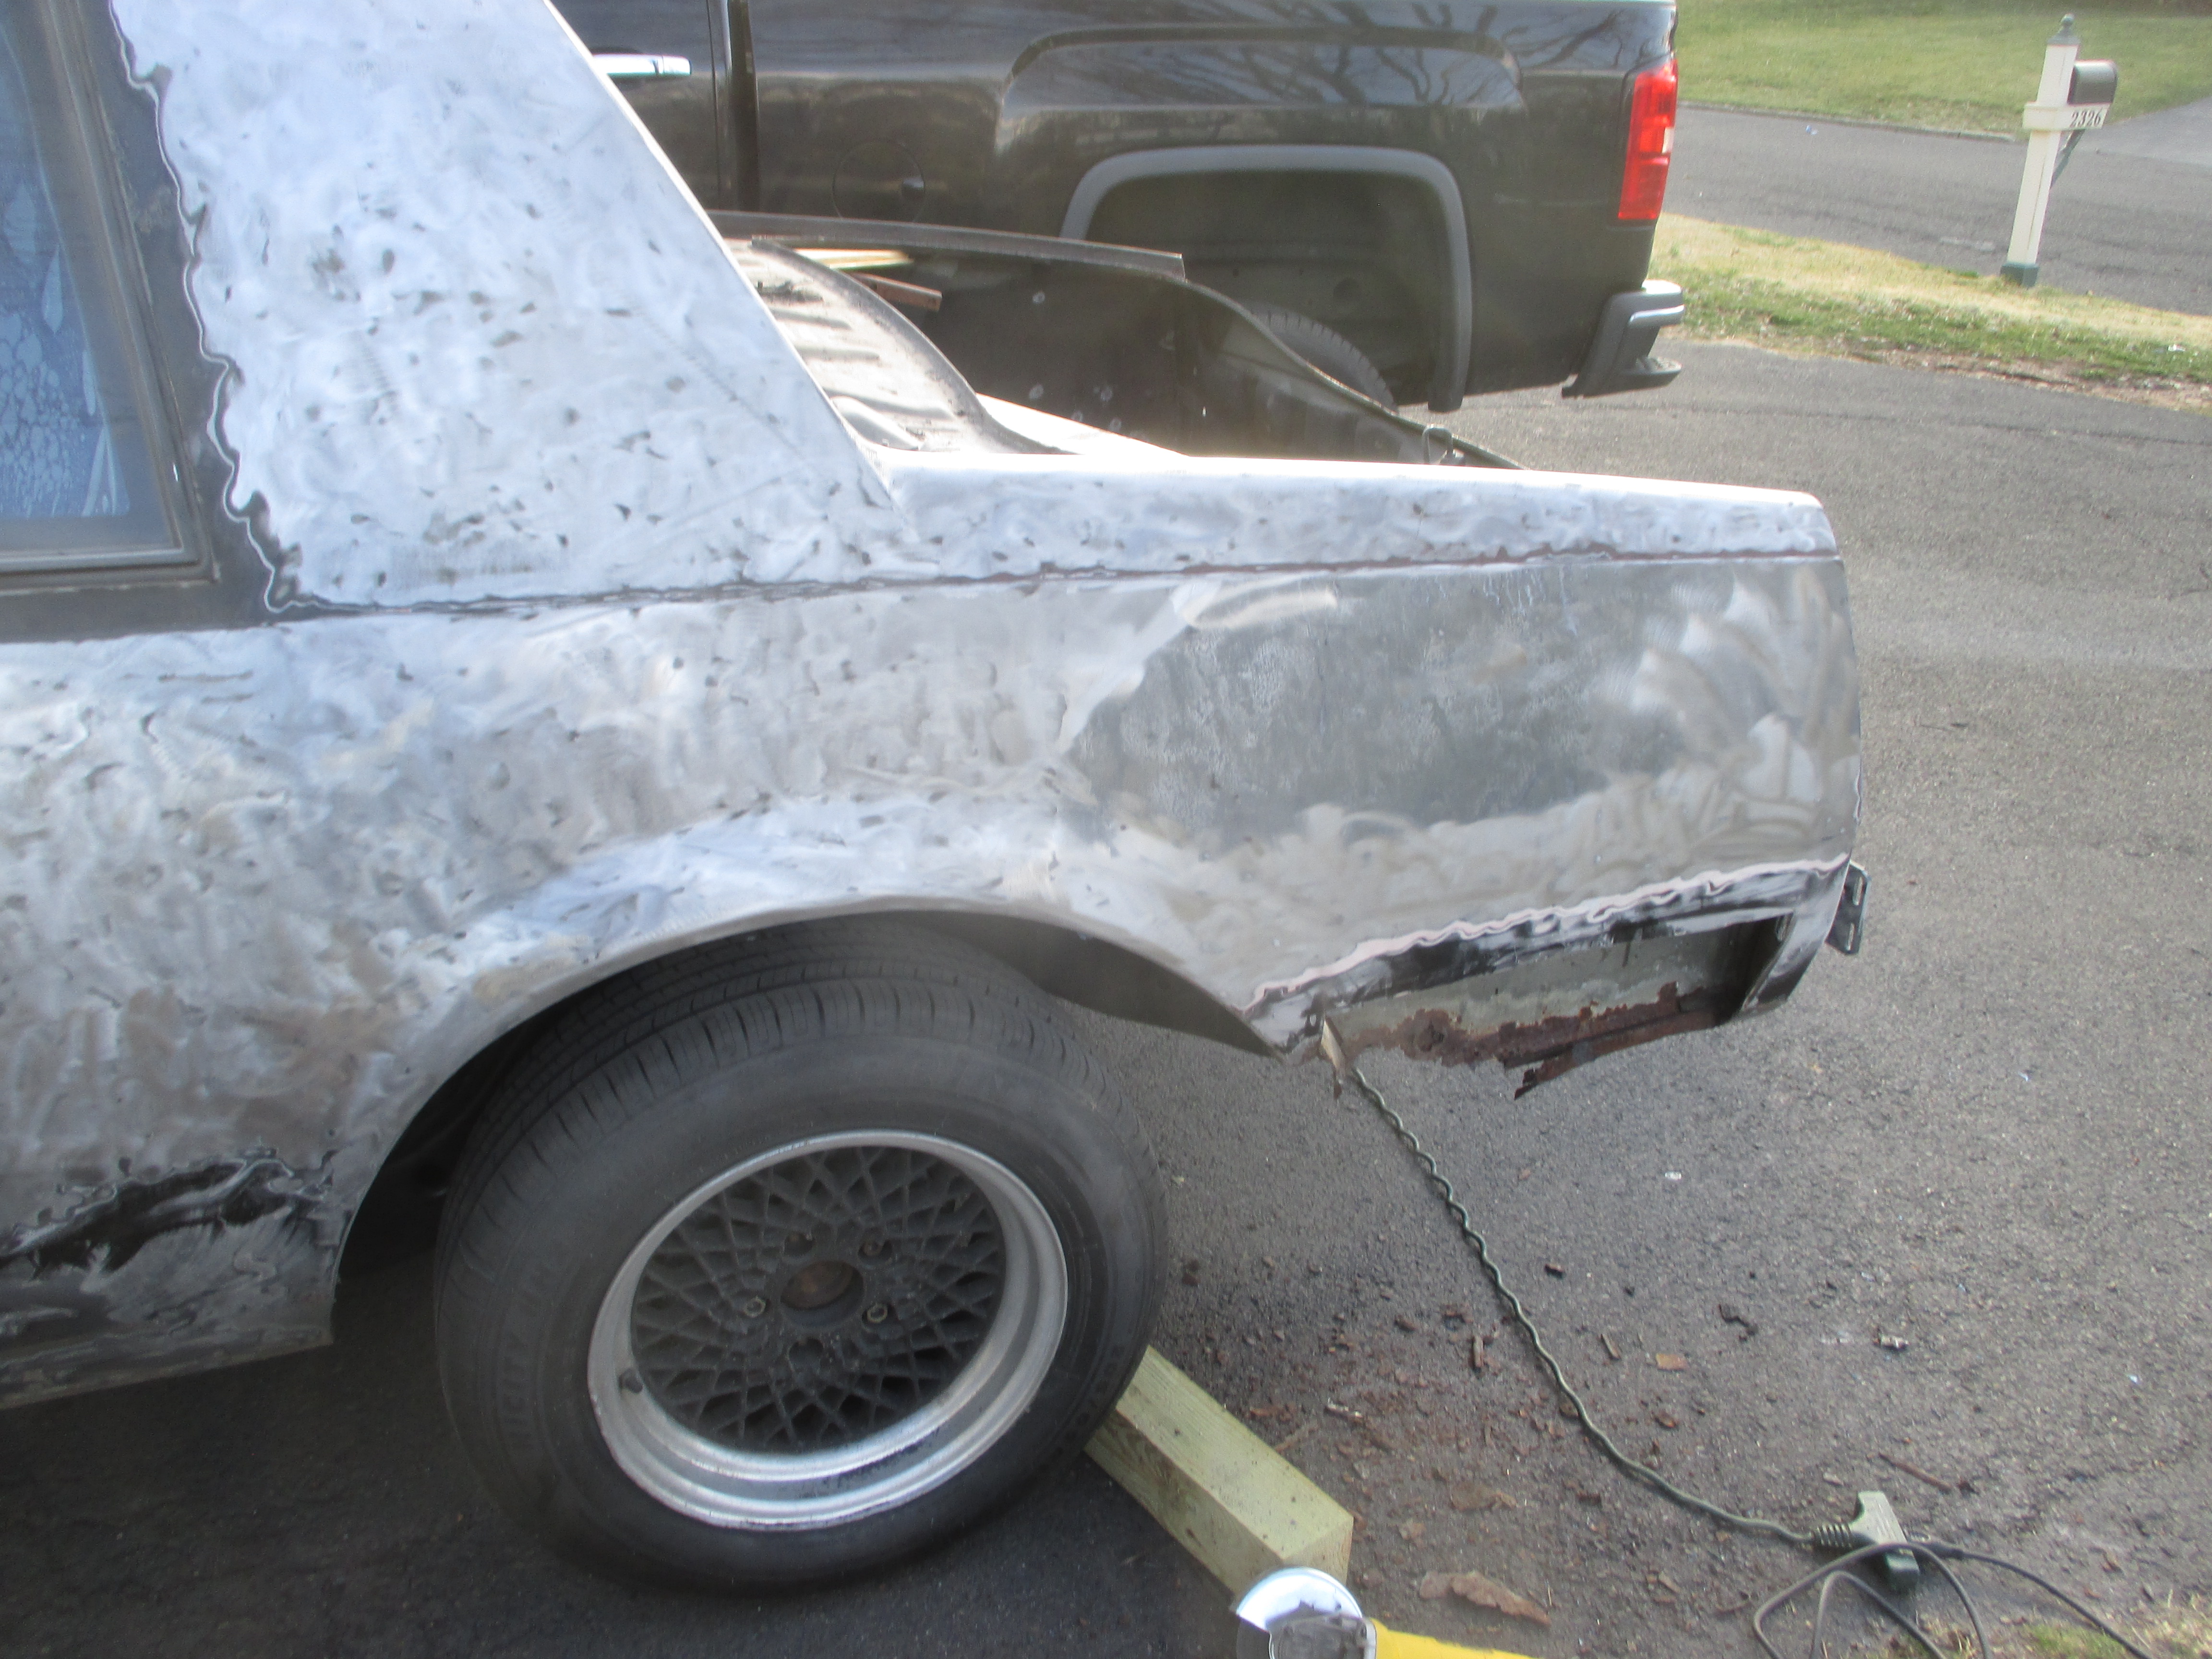
Inner structure for the quarter panel is rotted away. It was rebuilt with a section of another gbody car. This quarter panel is ready for bodywork
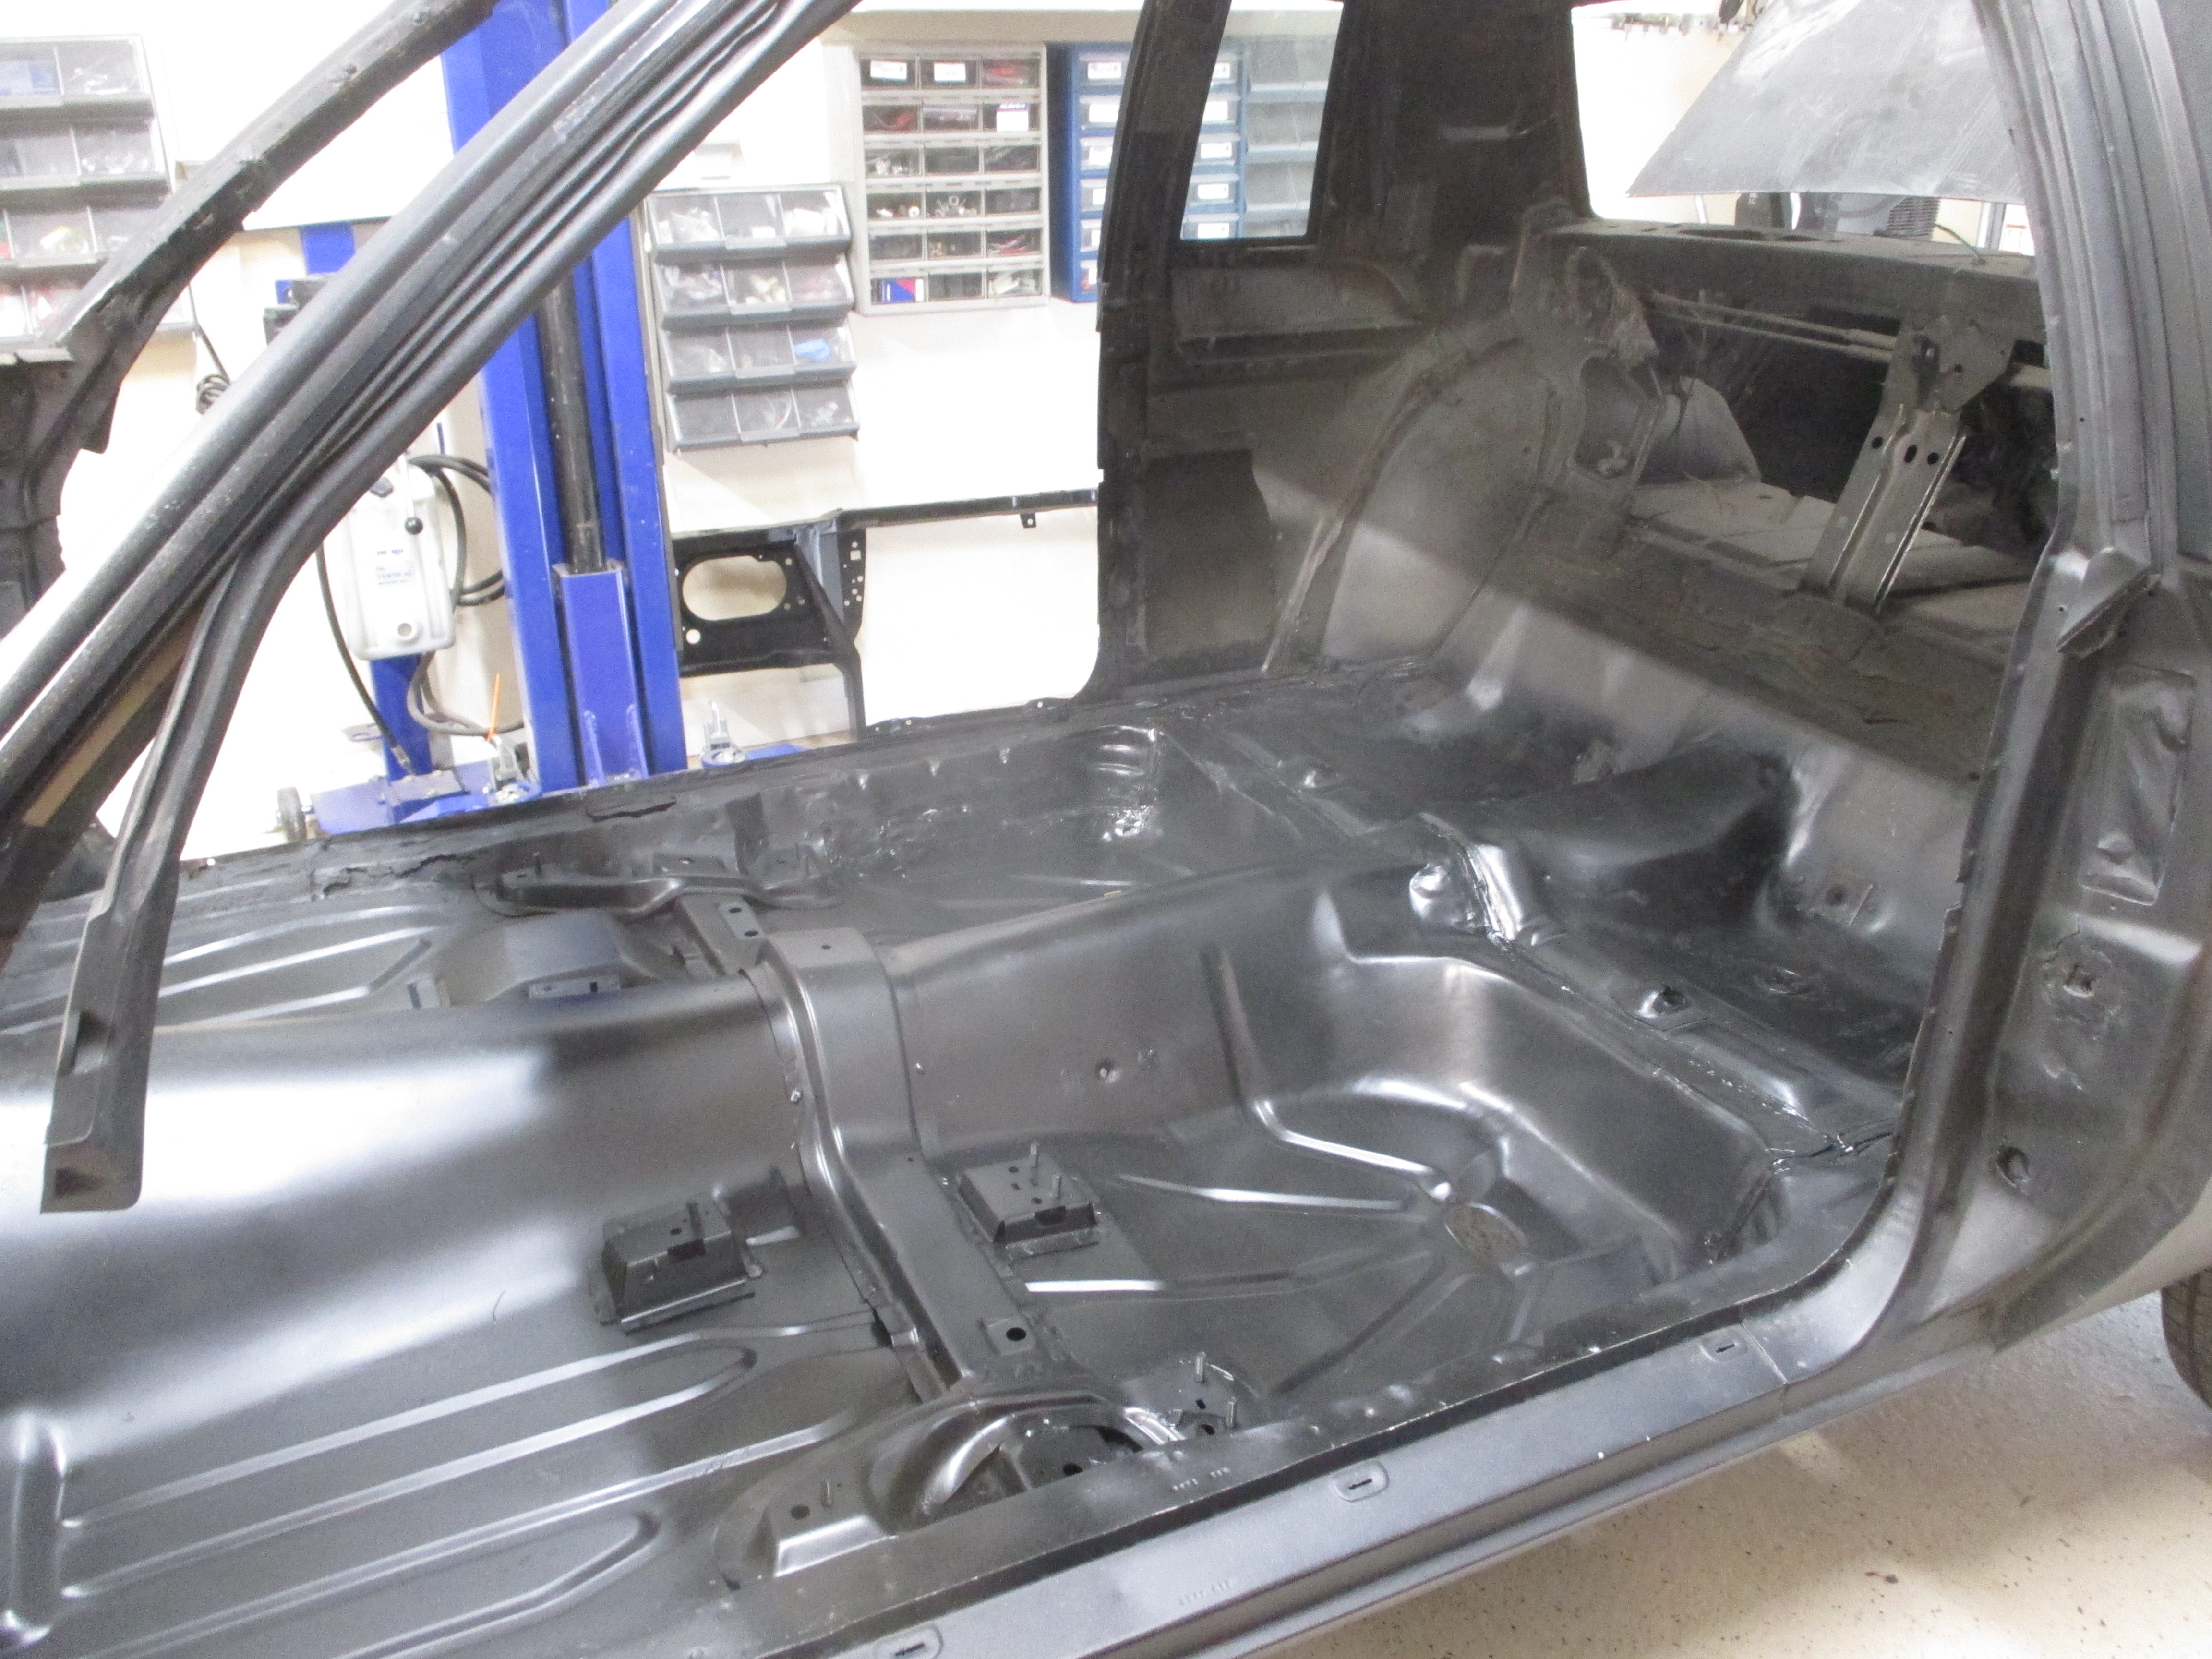
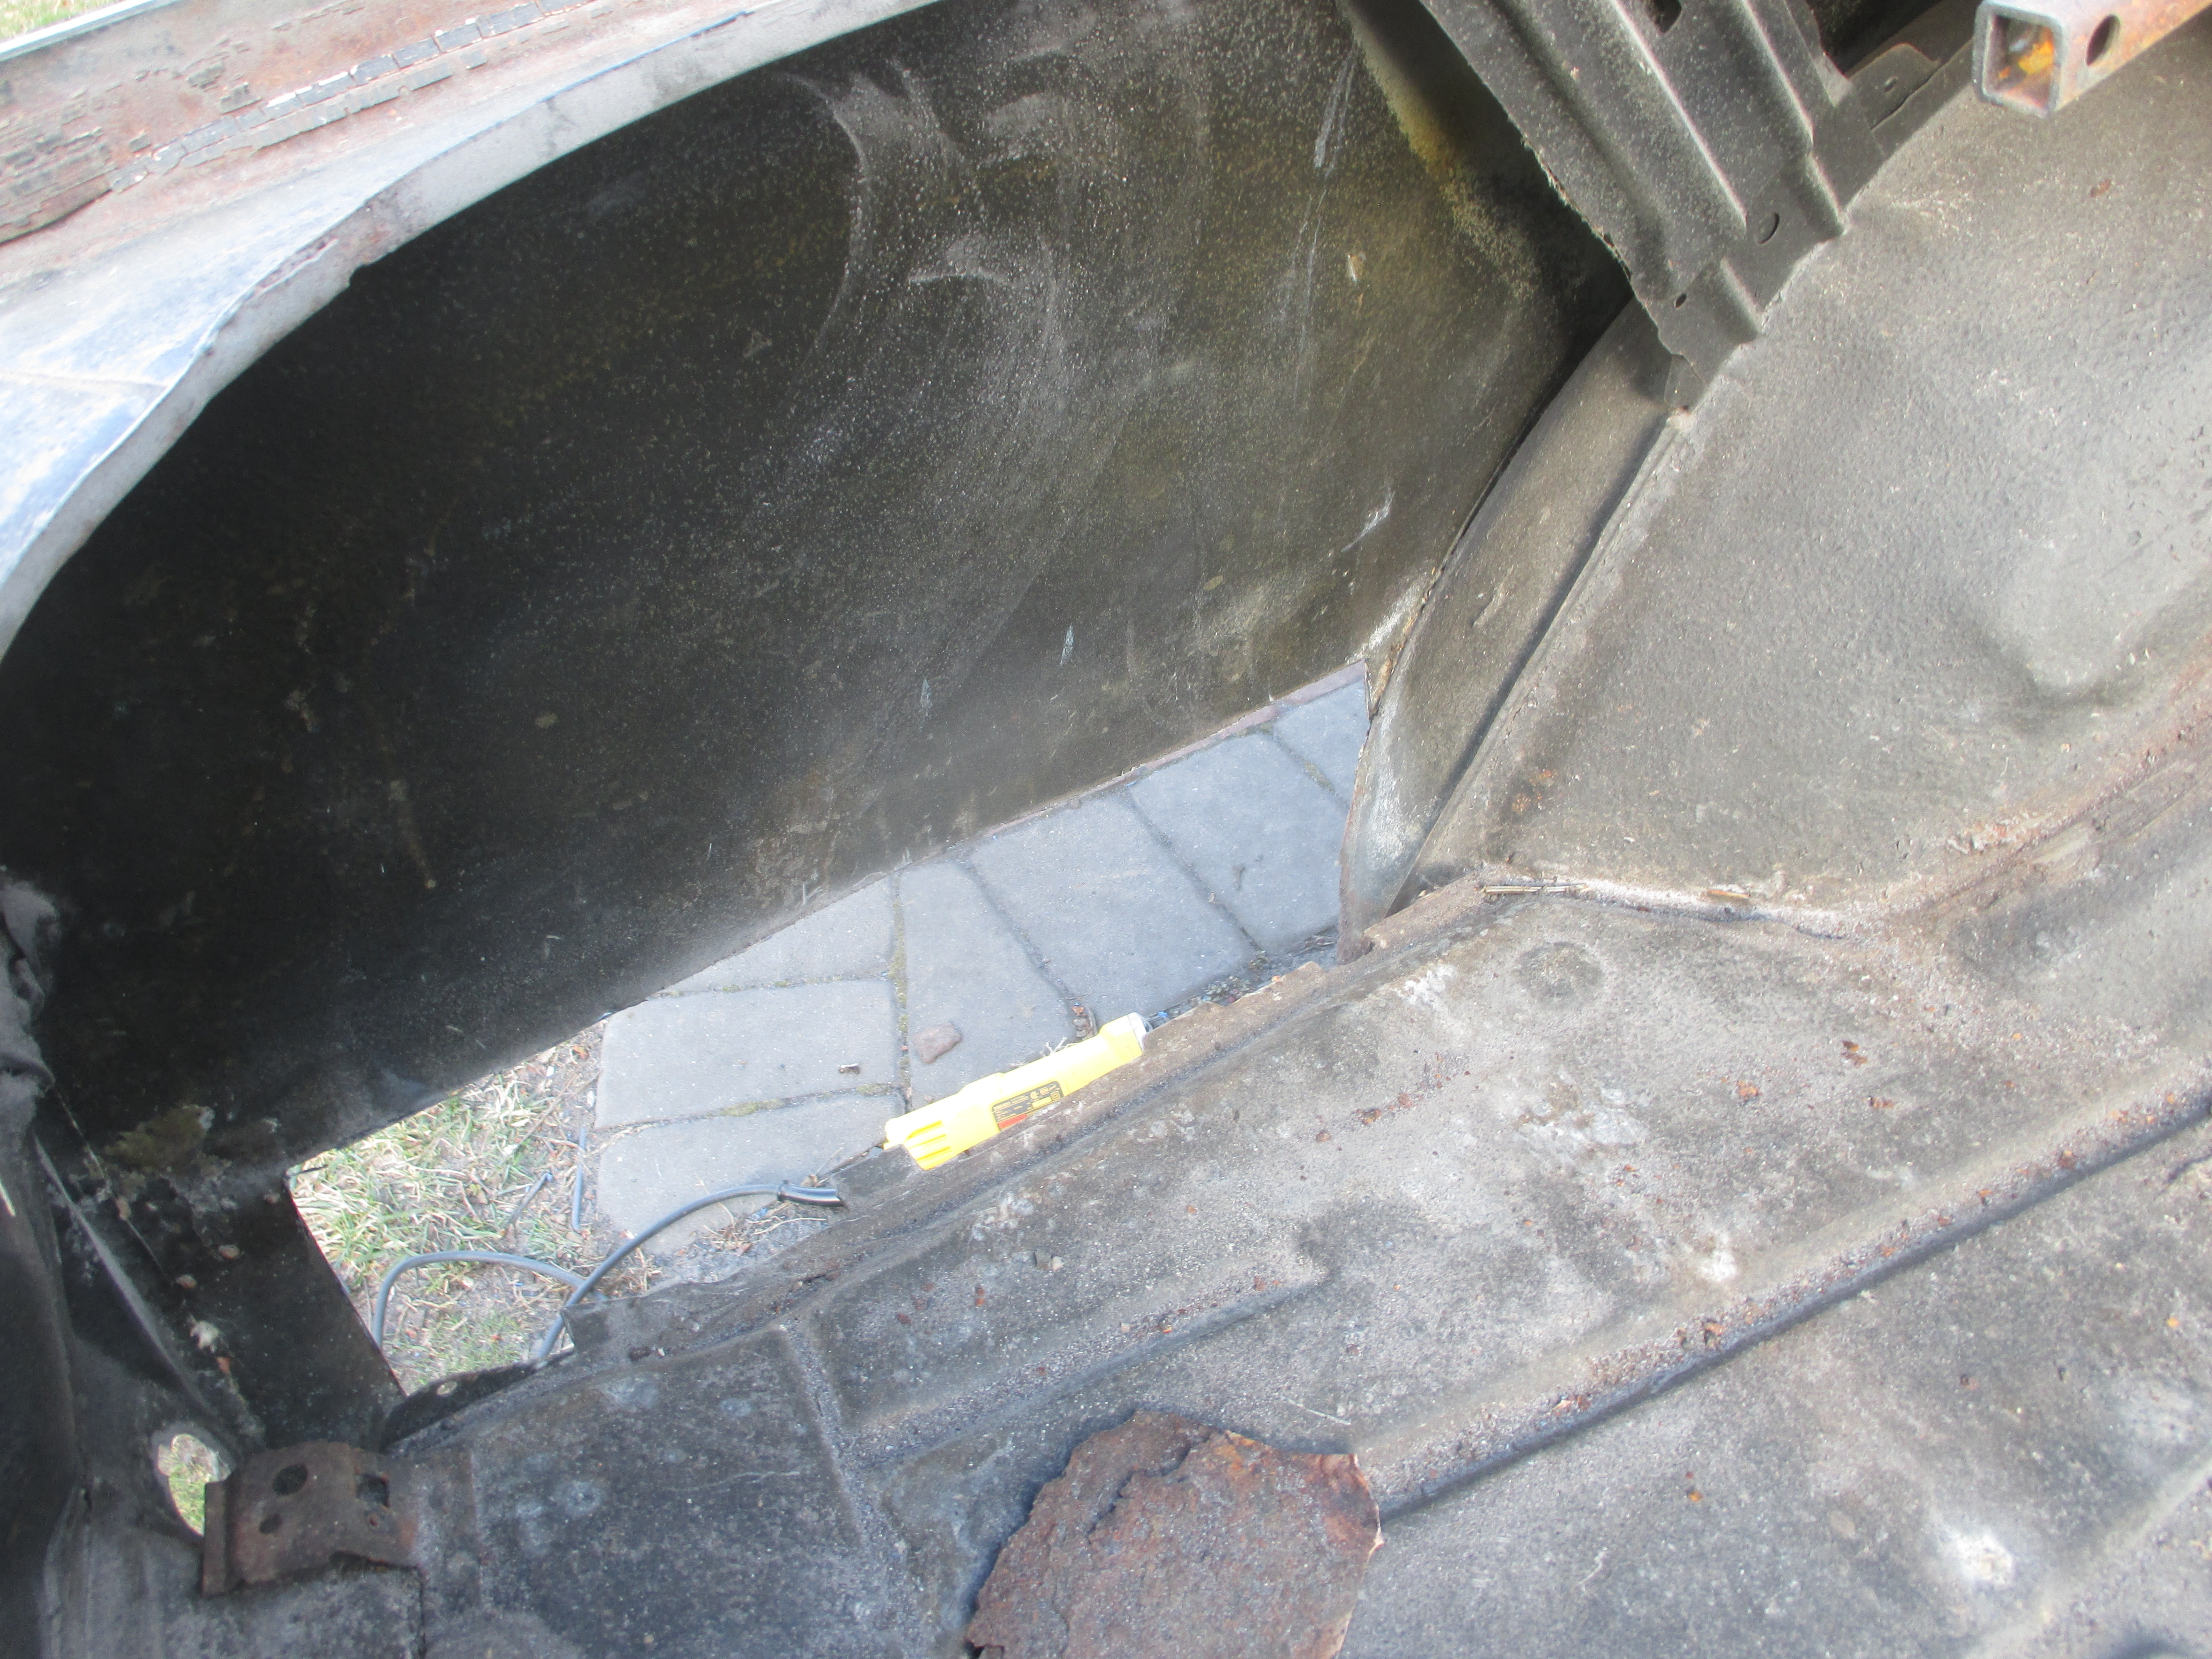
The little things no one sees. Old seem sealer has to be removes down to the factory spot welds to make way for new seem sealer.
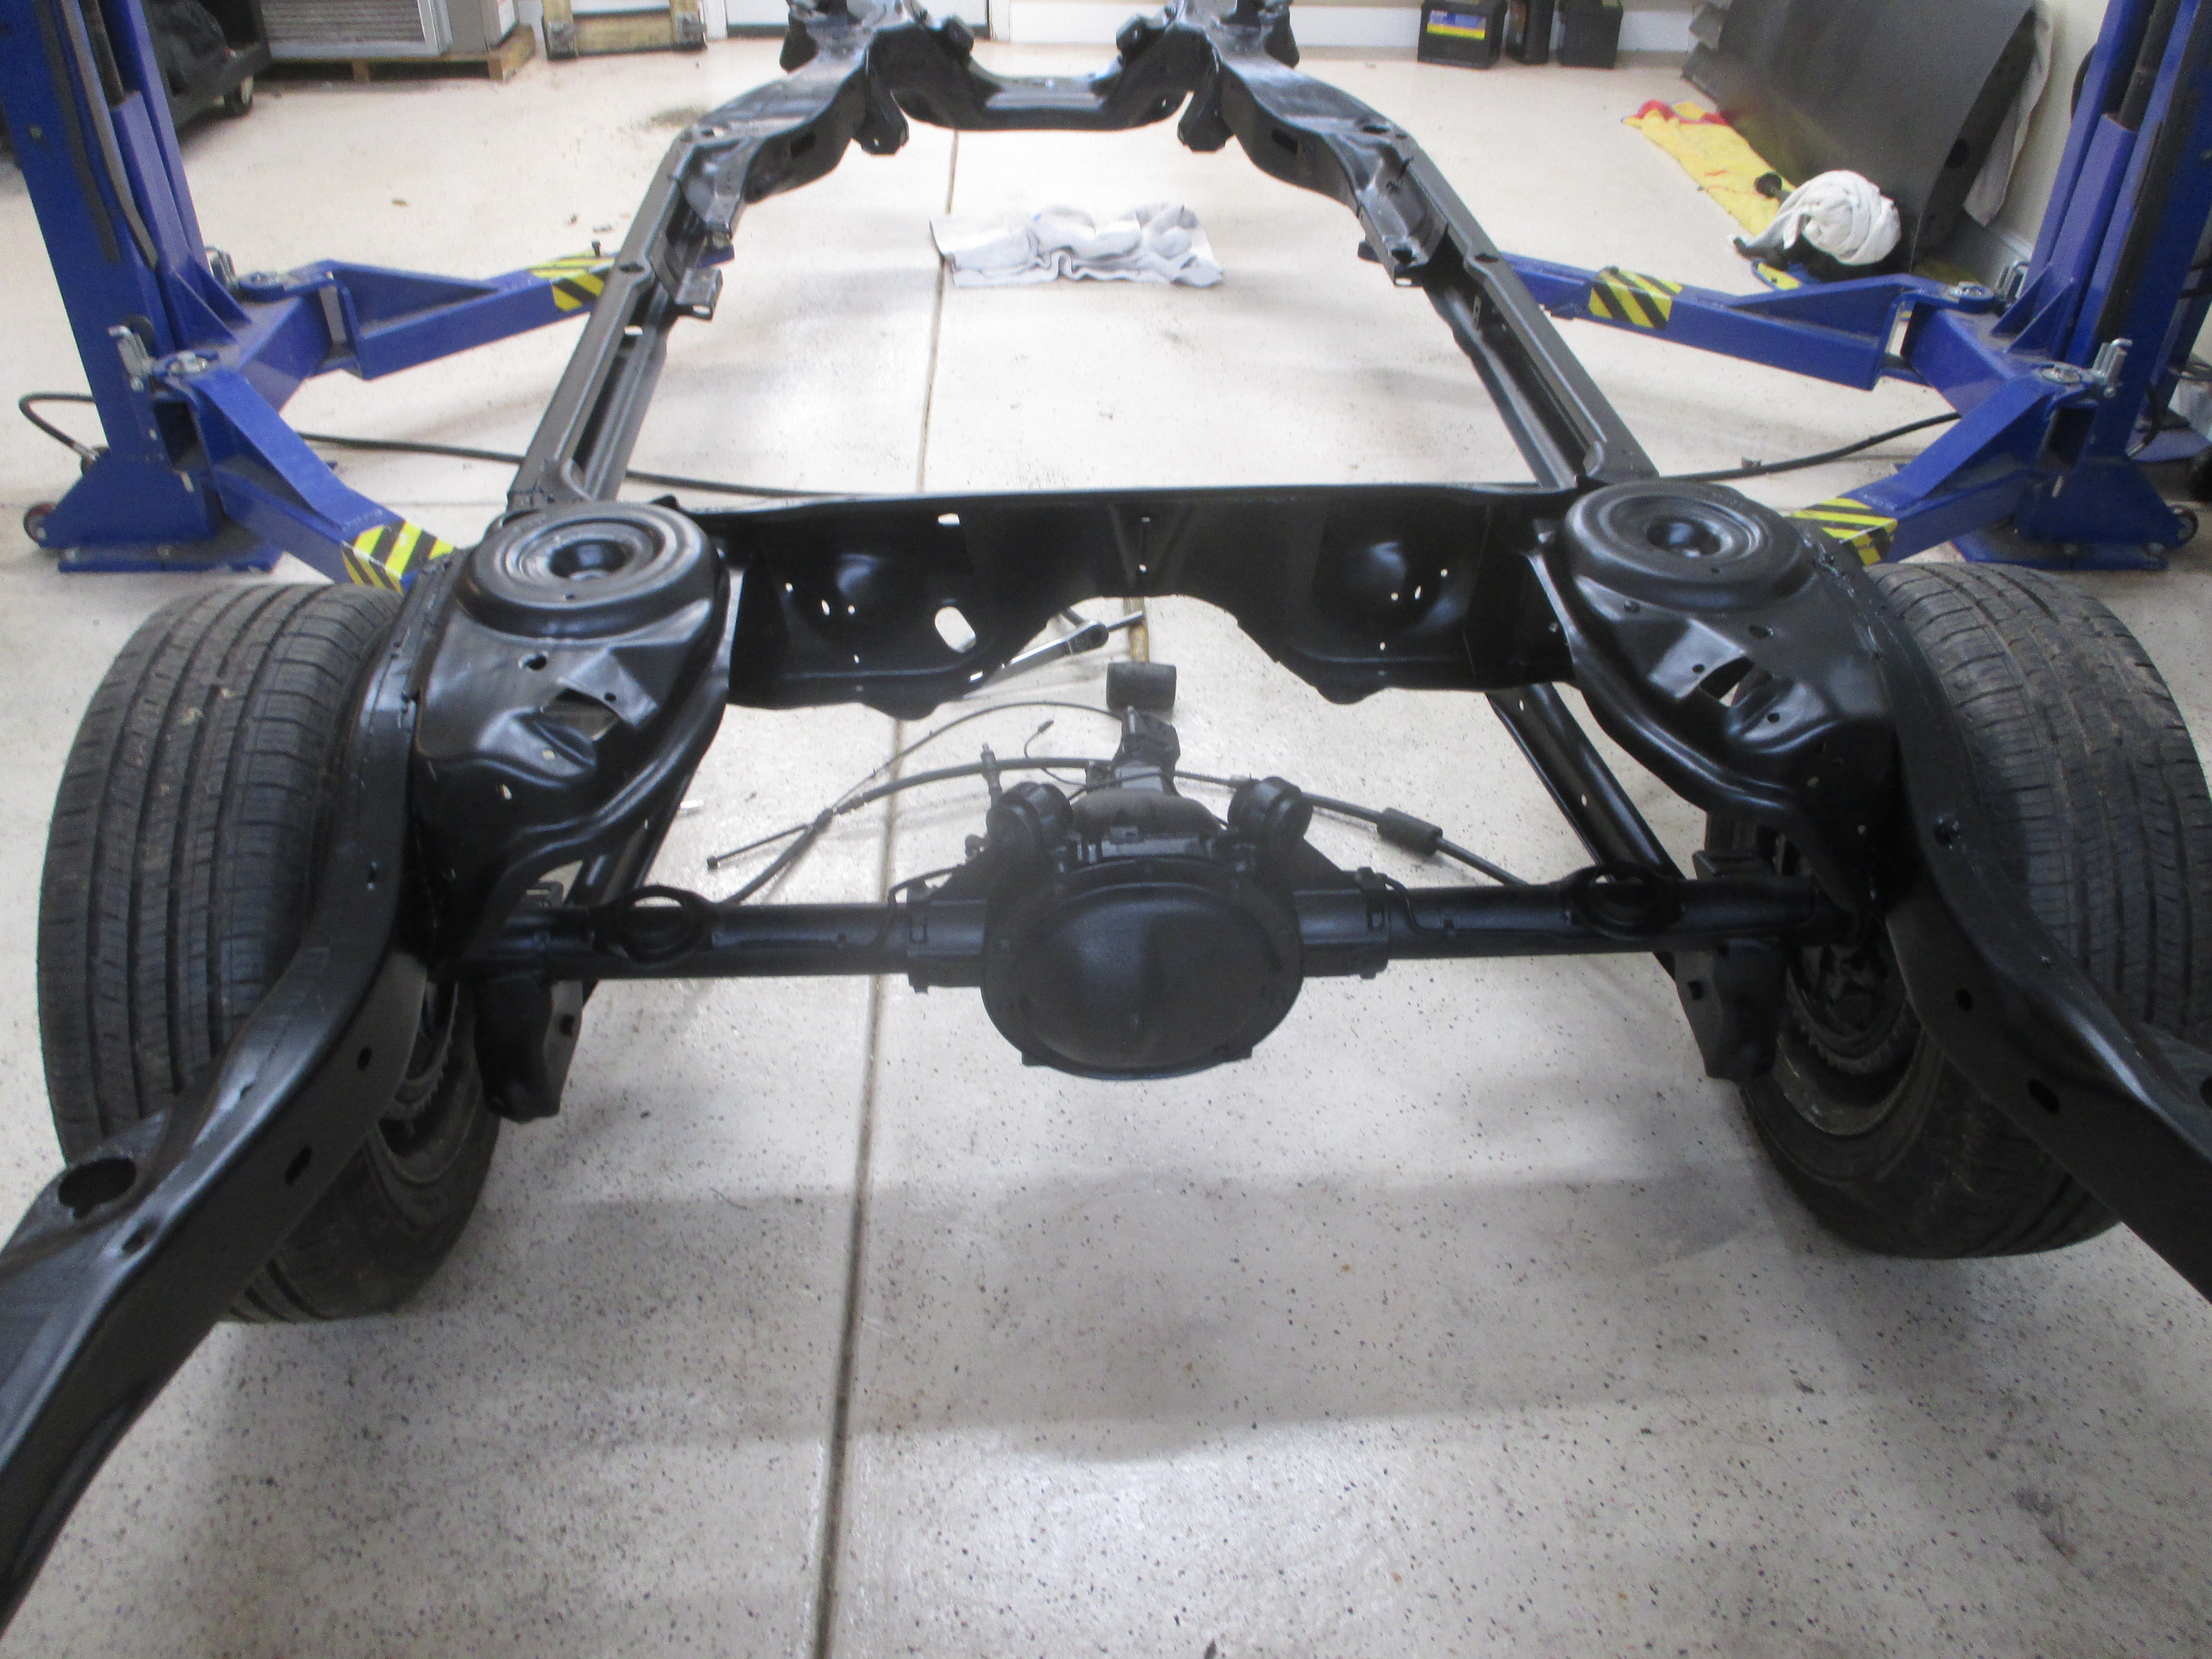
Body test fit on restored frame and all fits great. metal work beginning
Before After

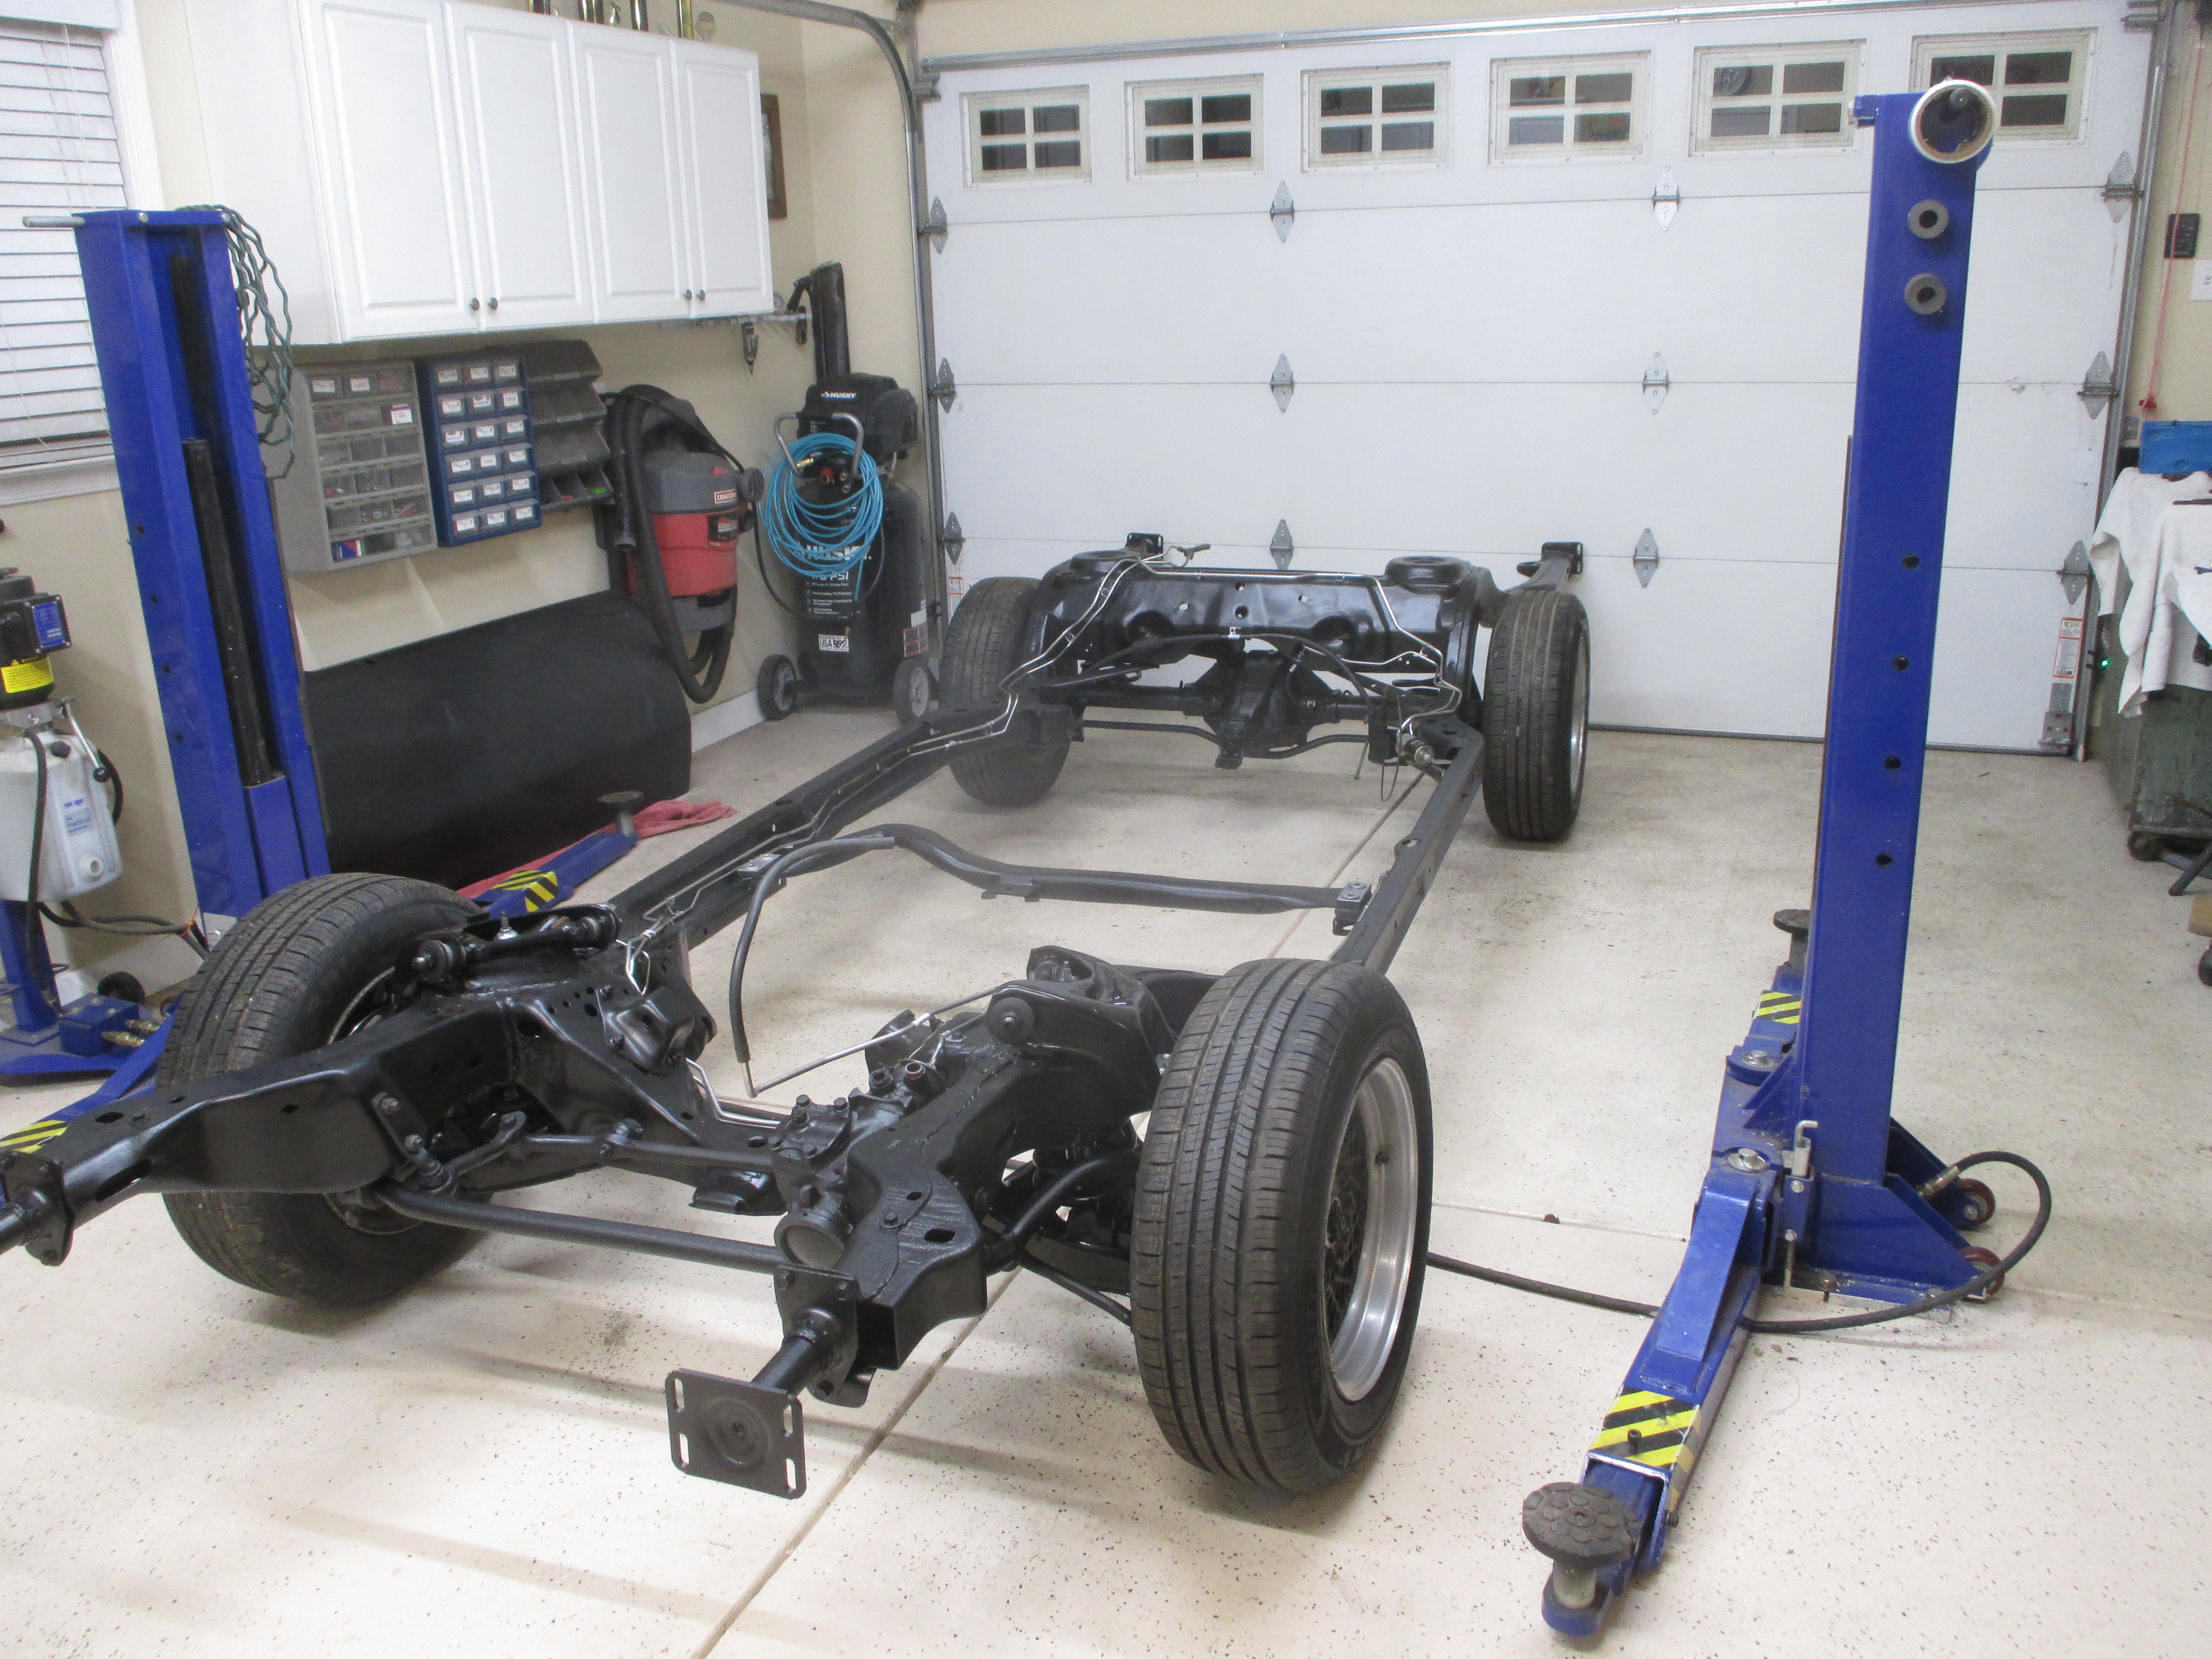
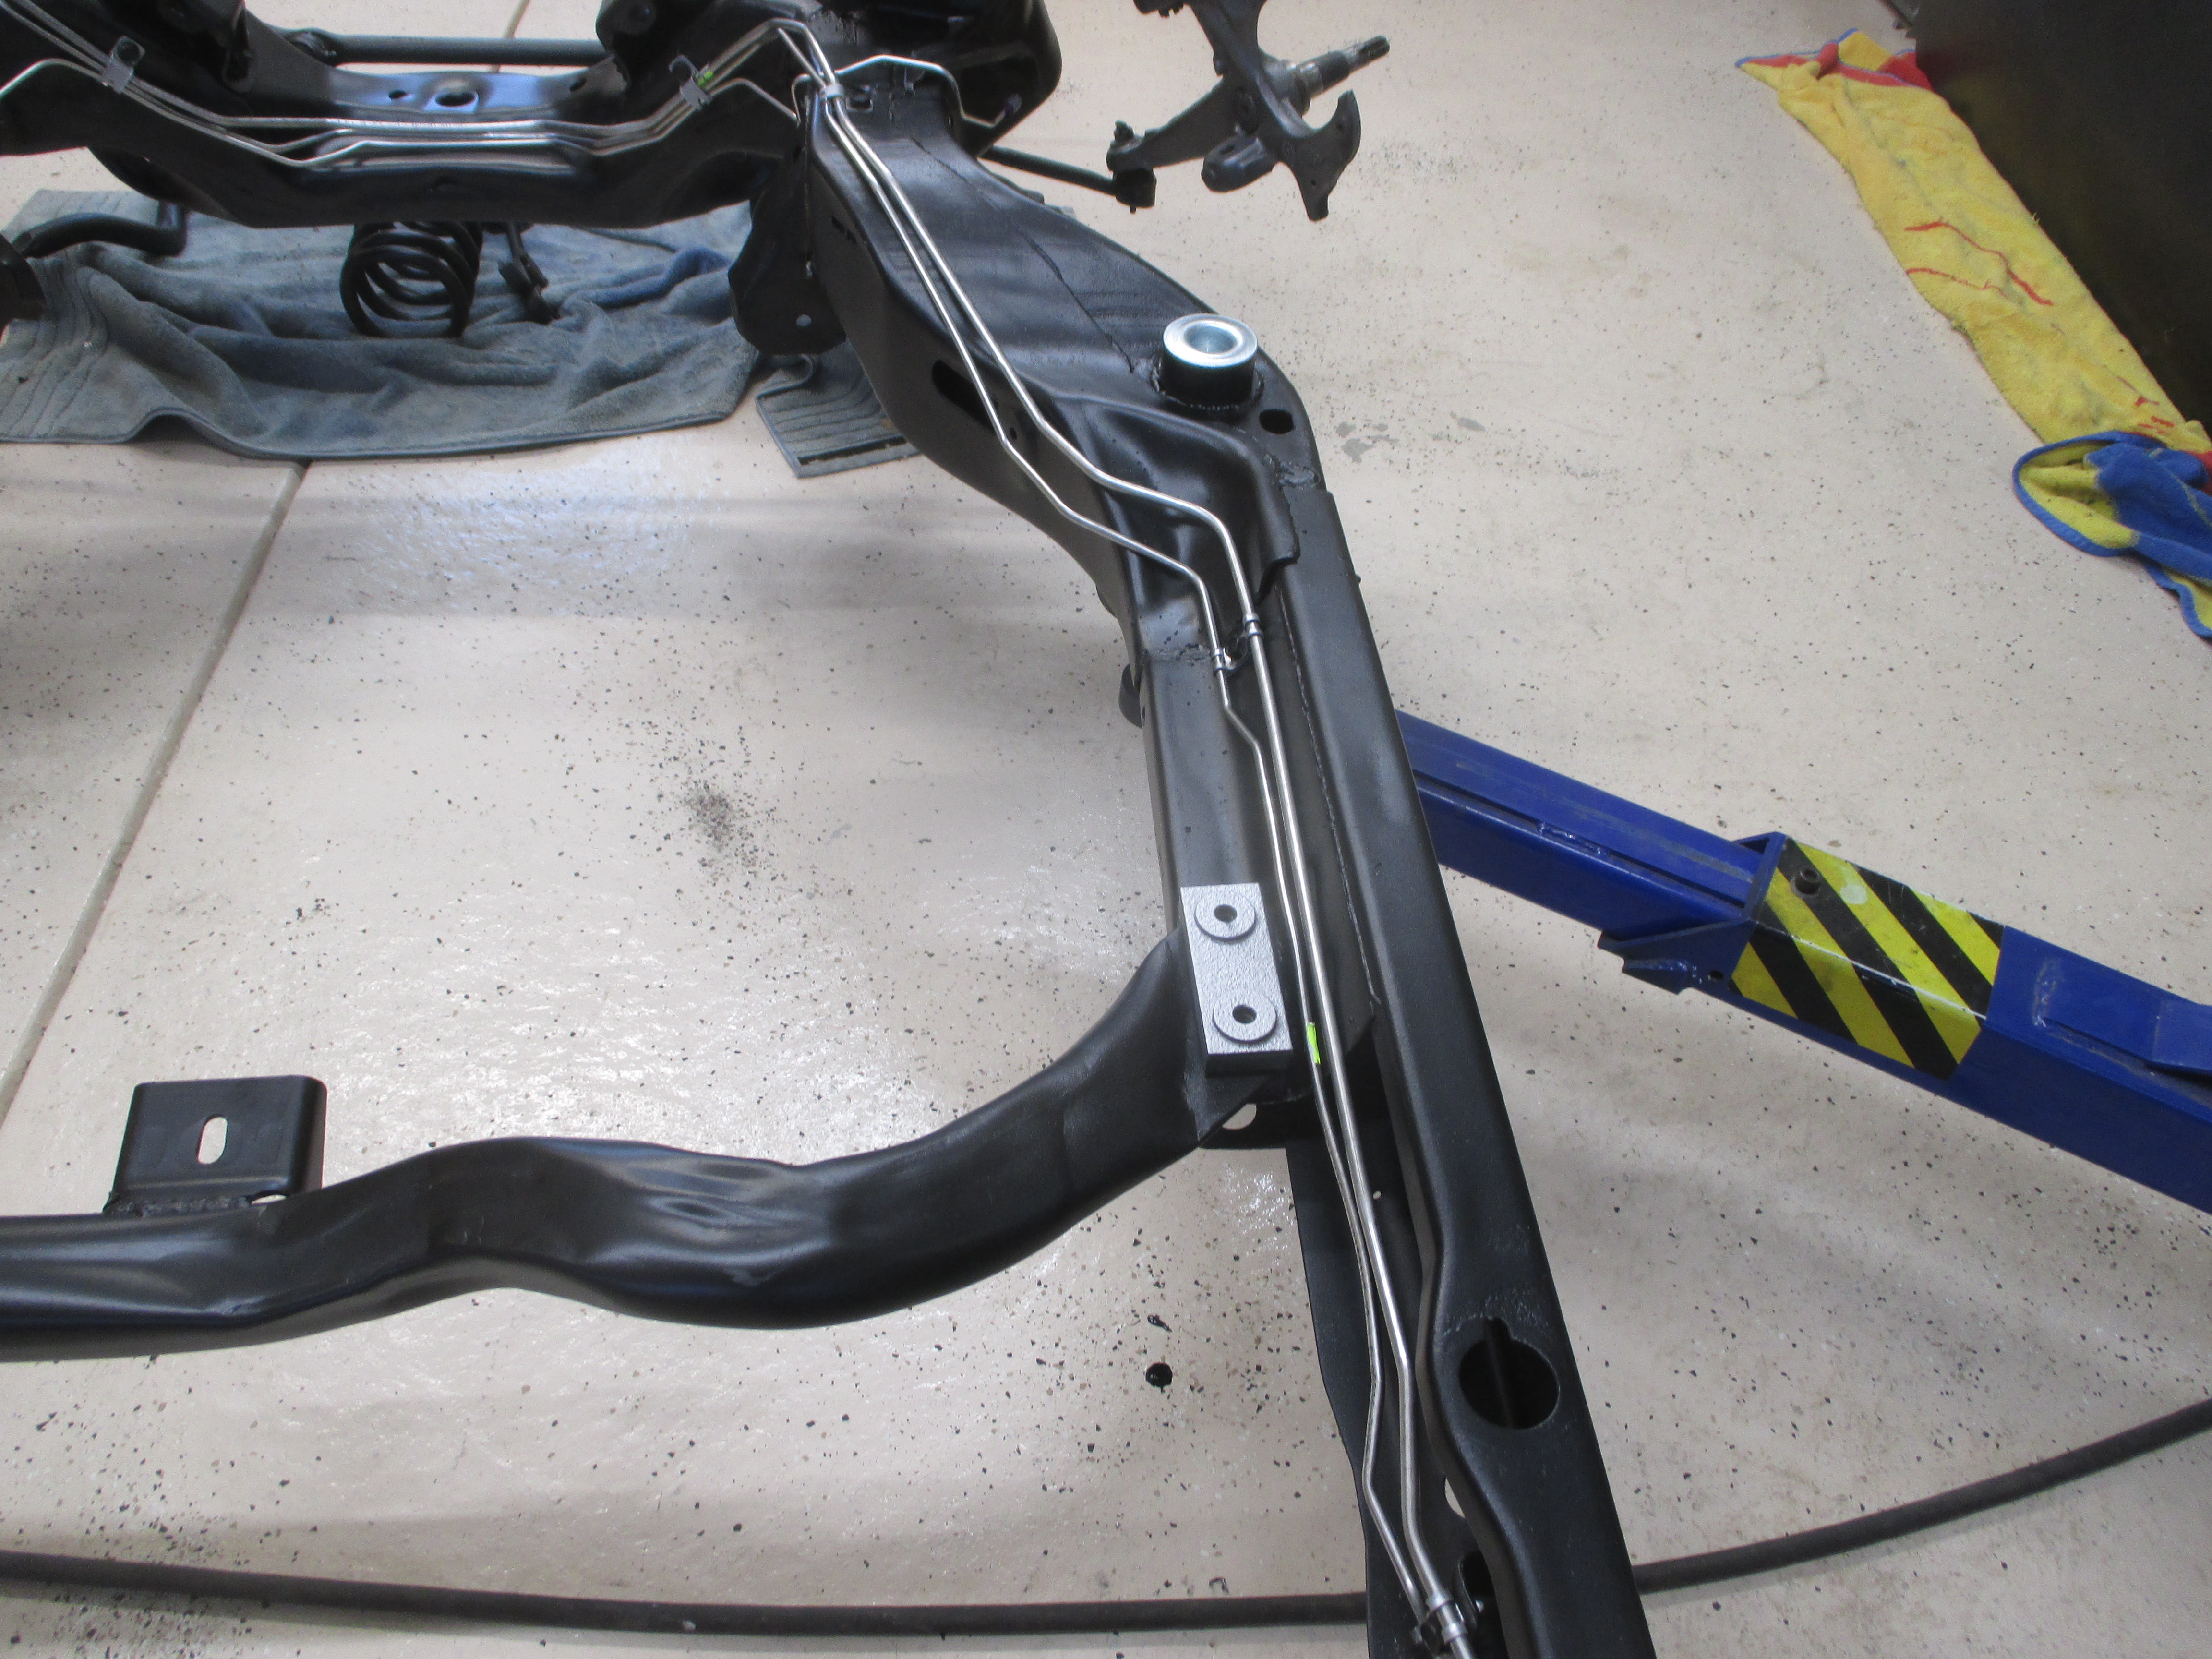
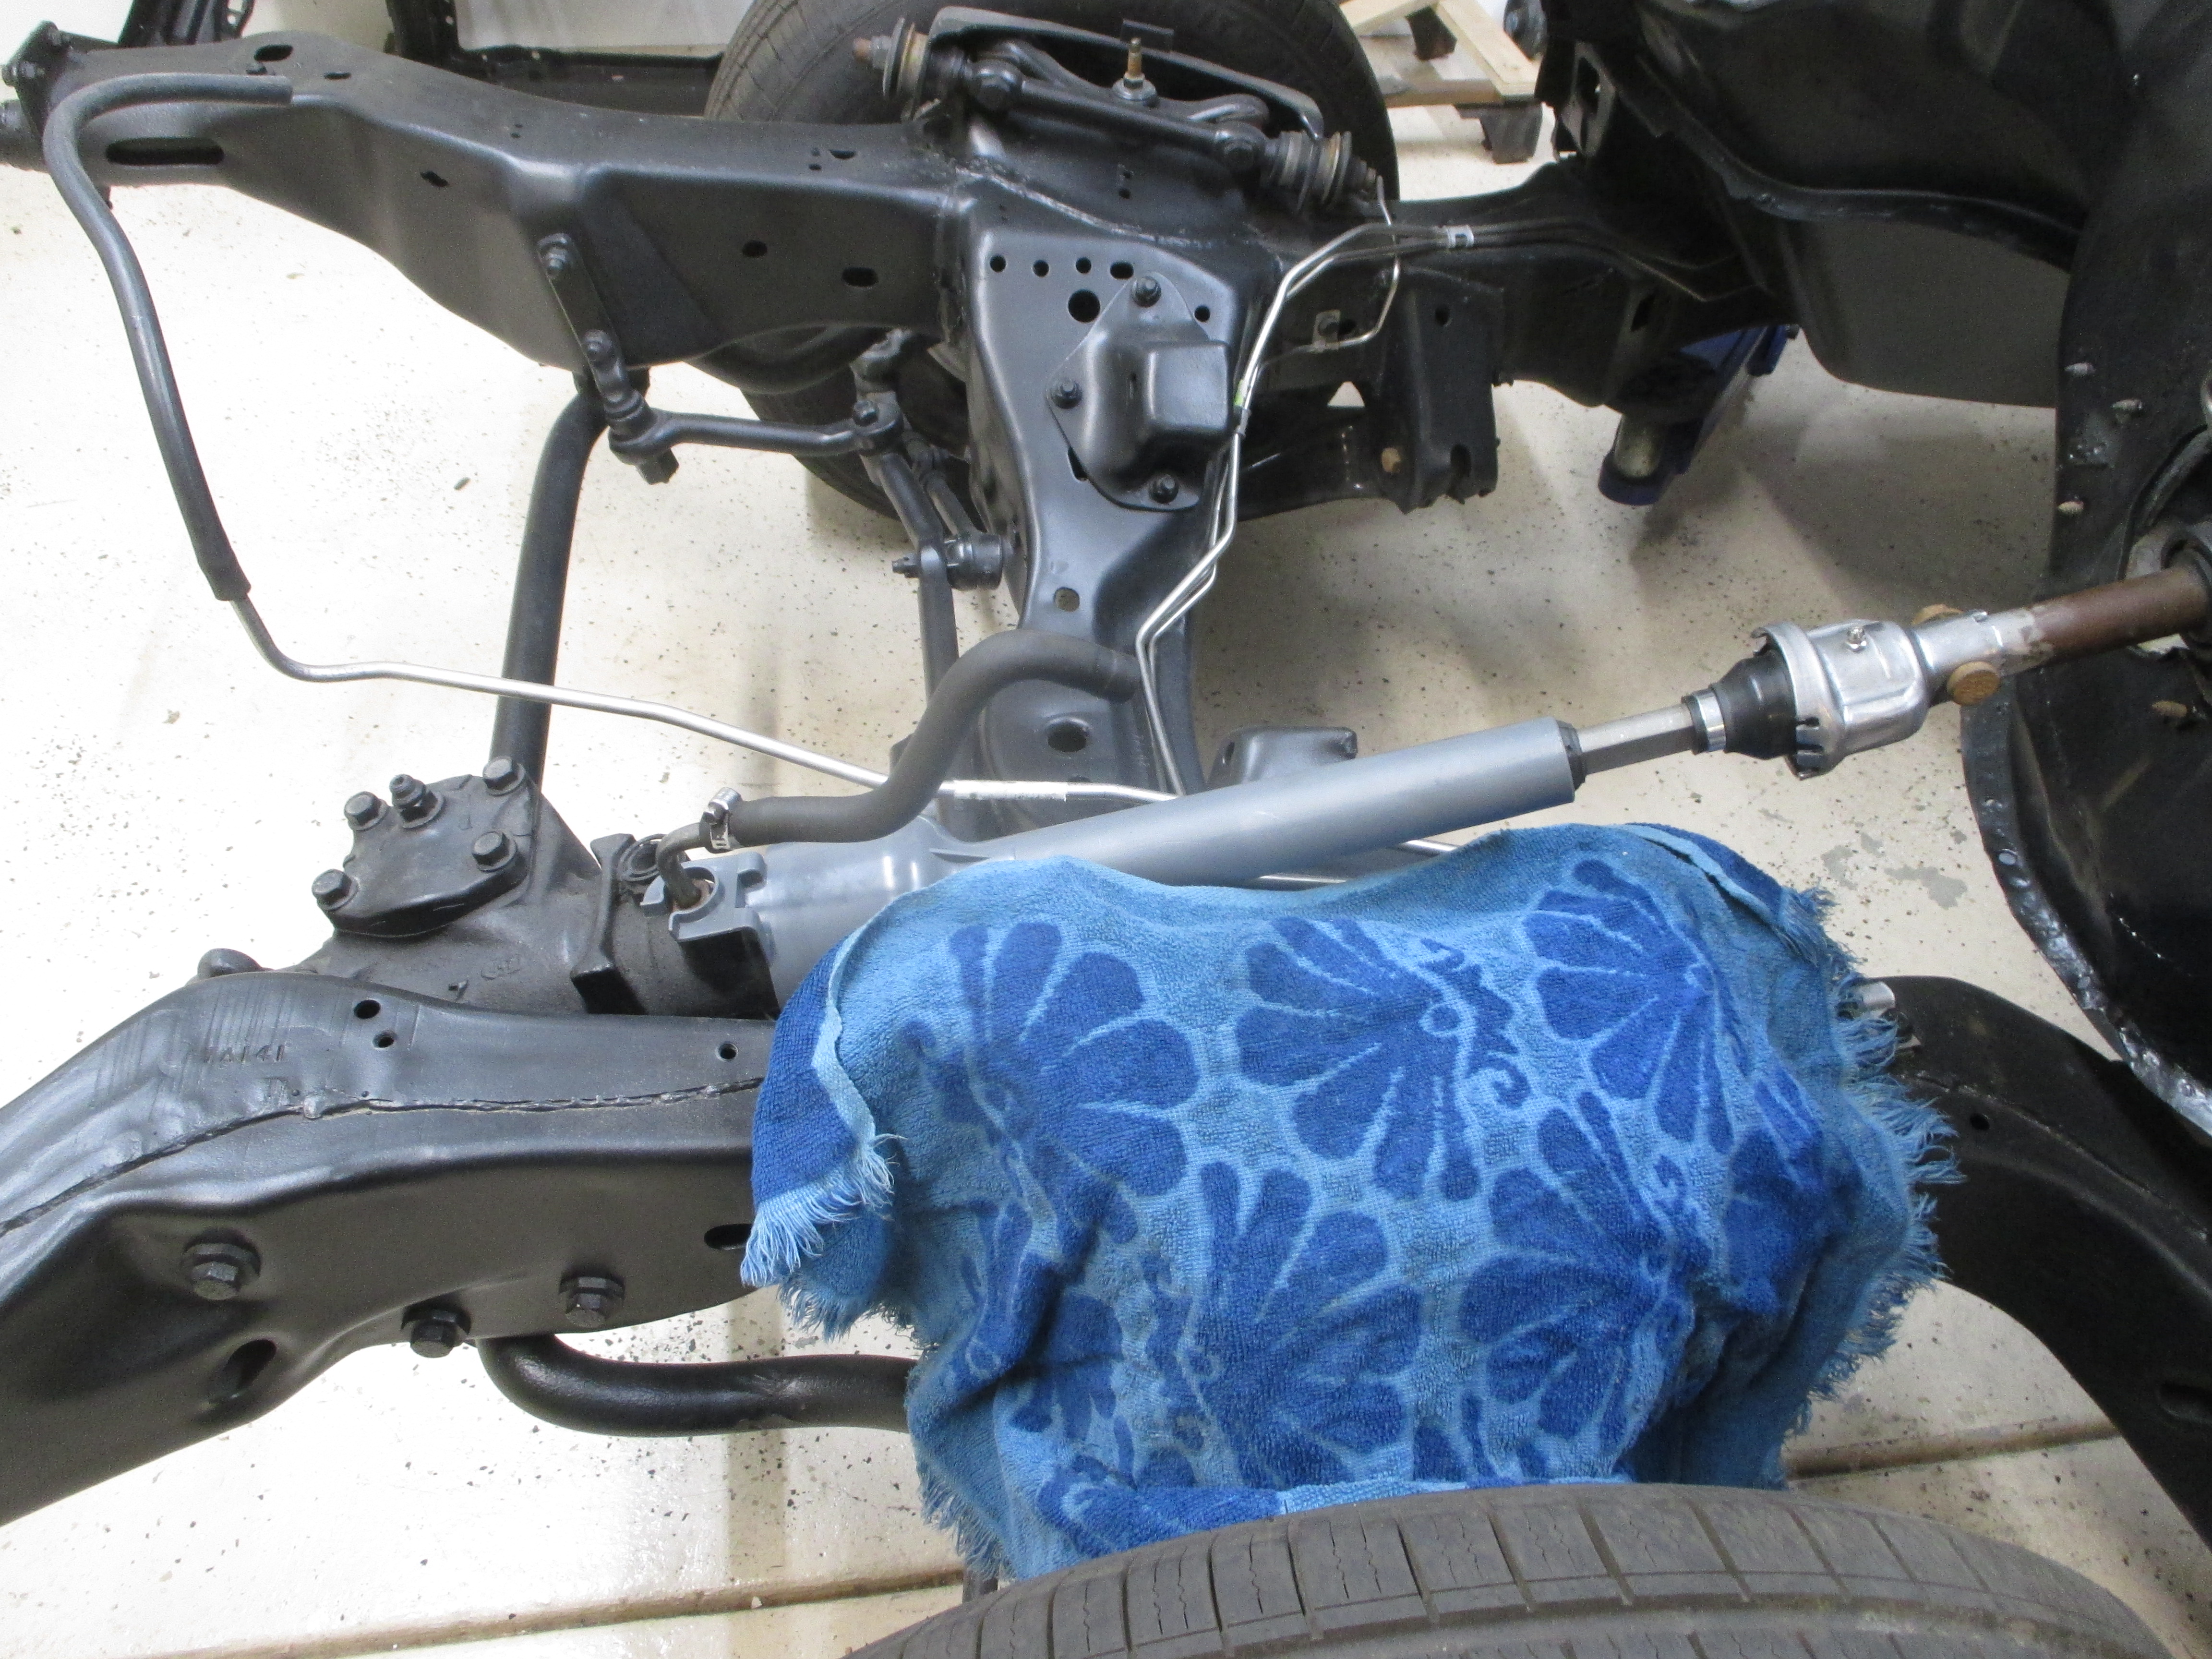
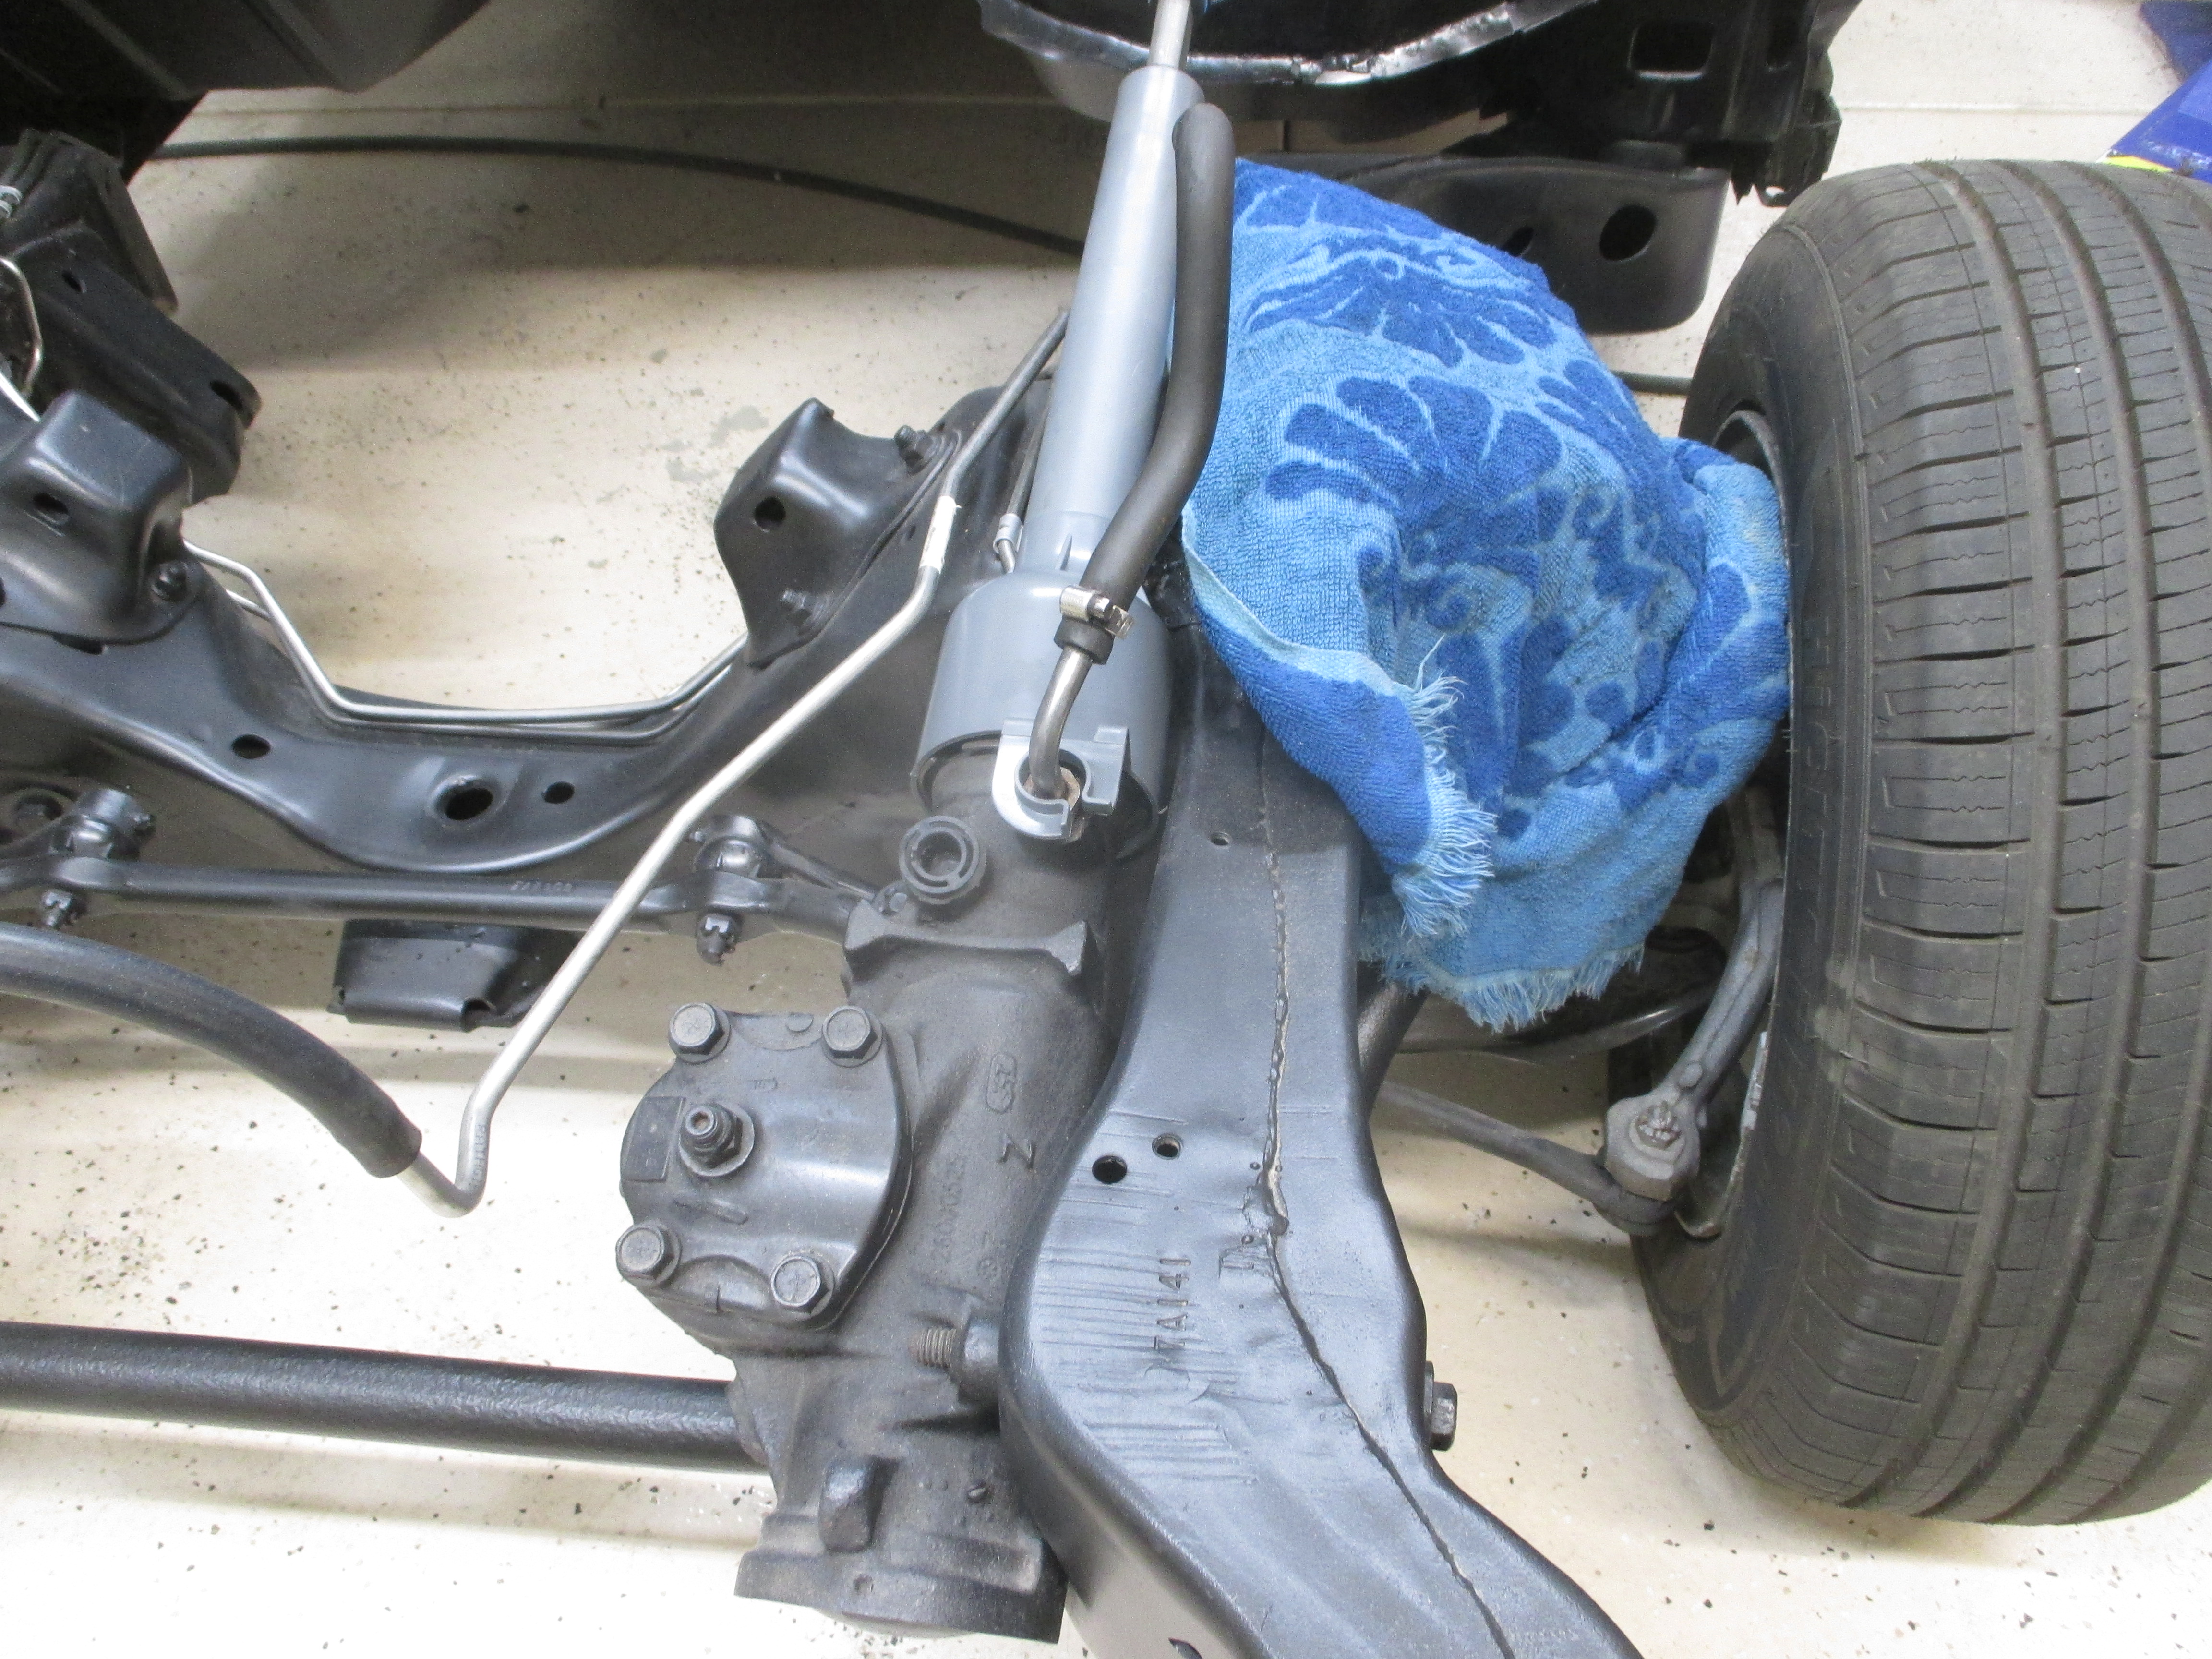
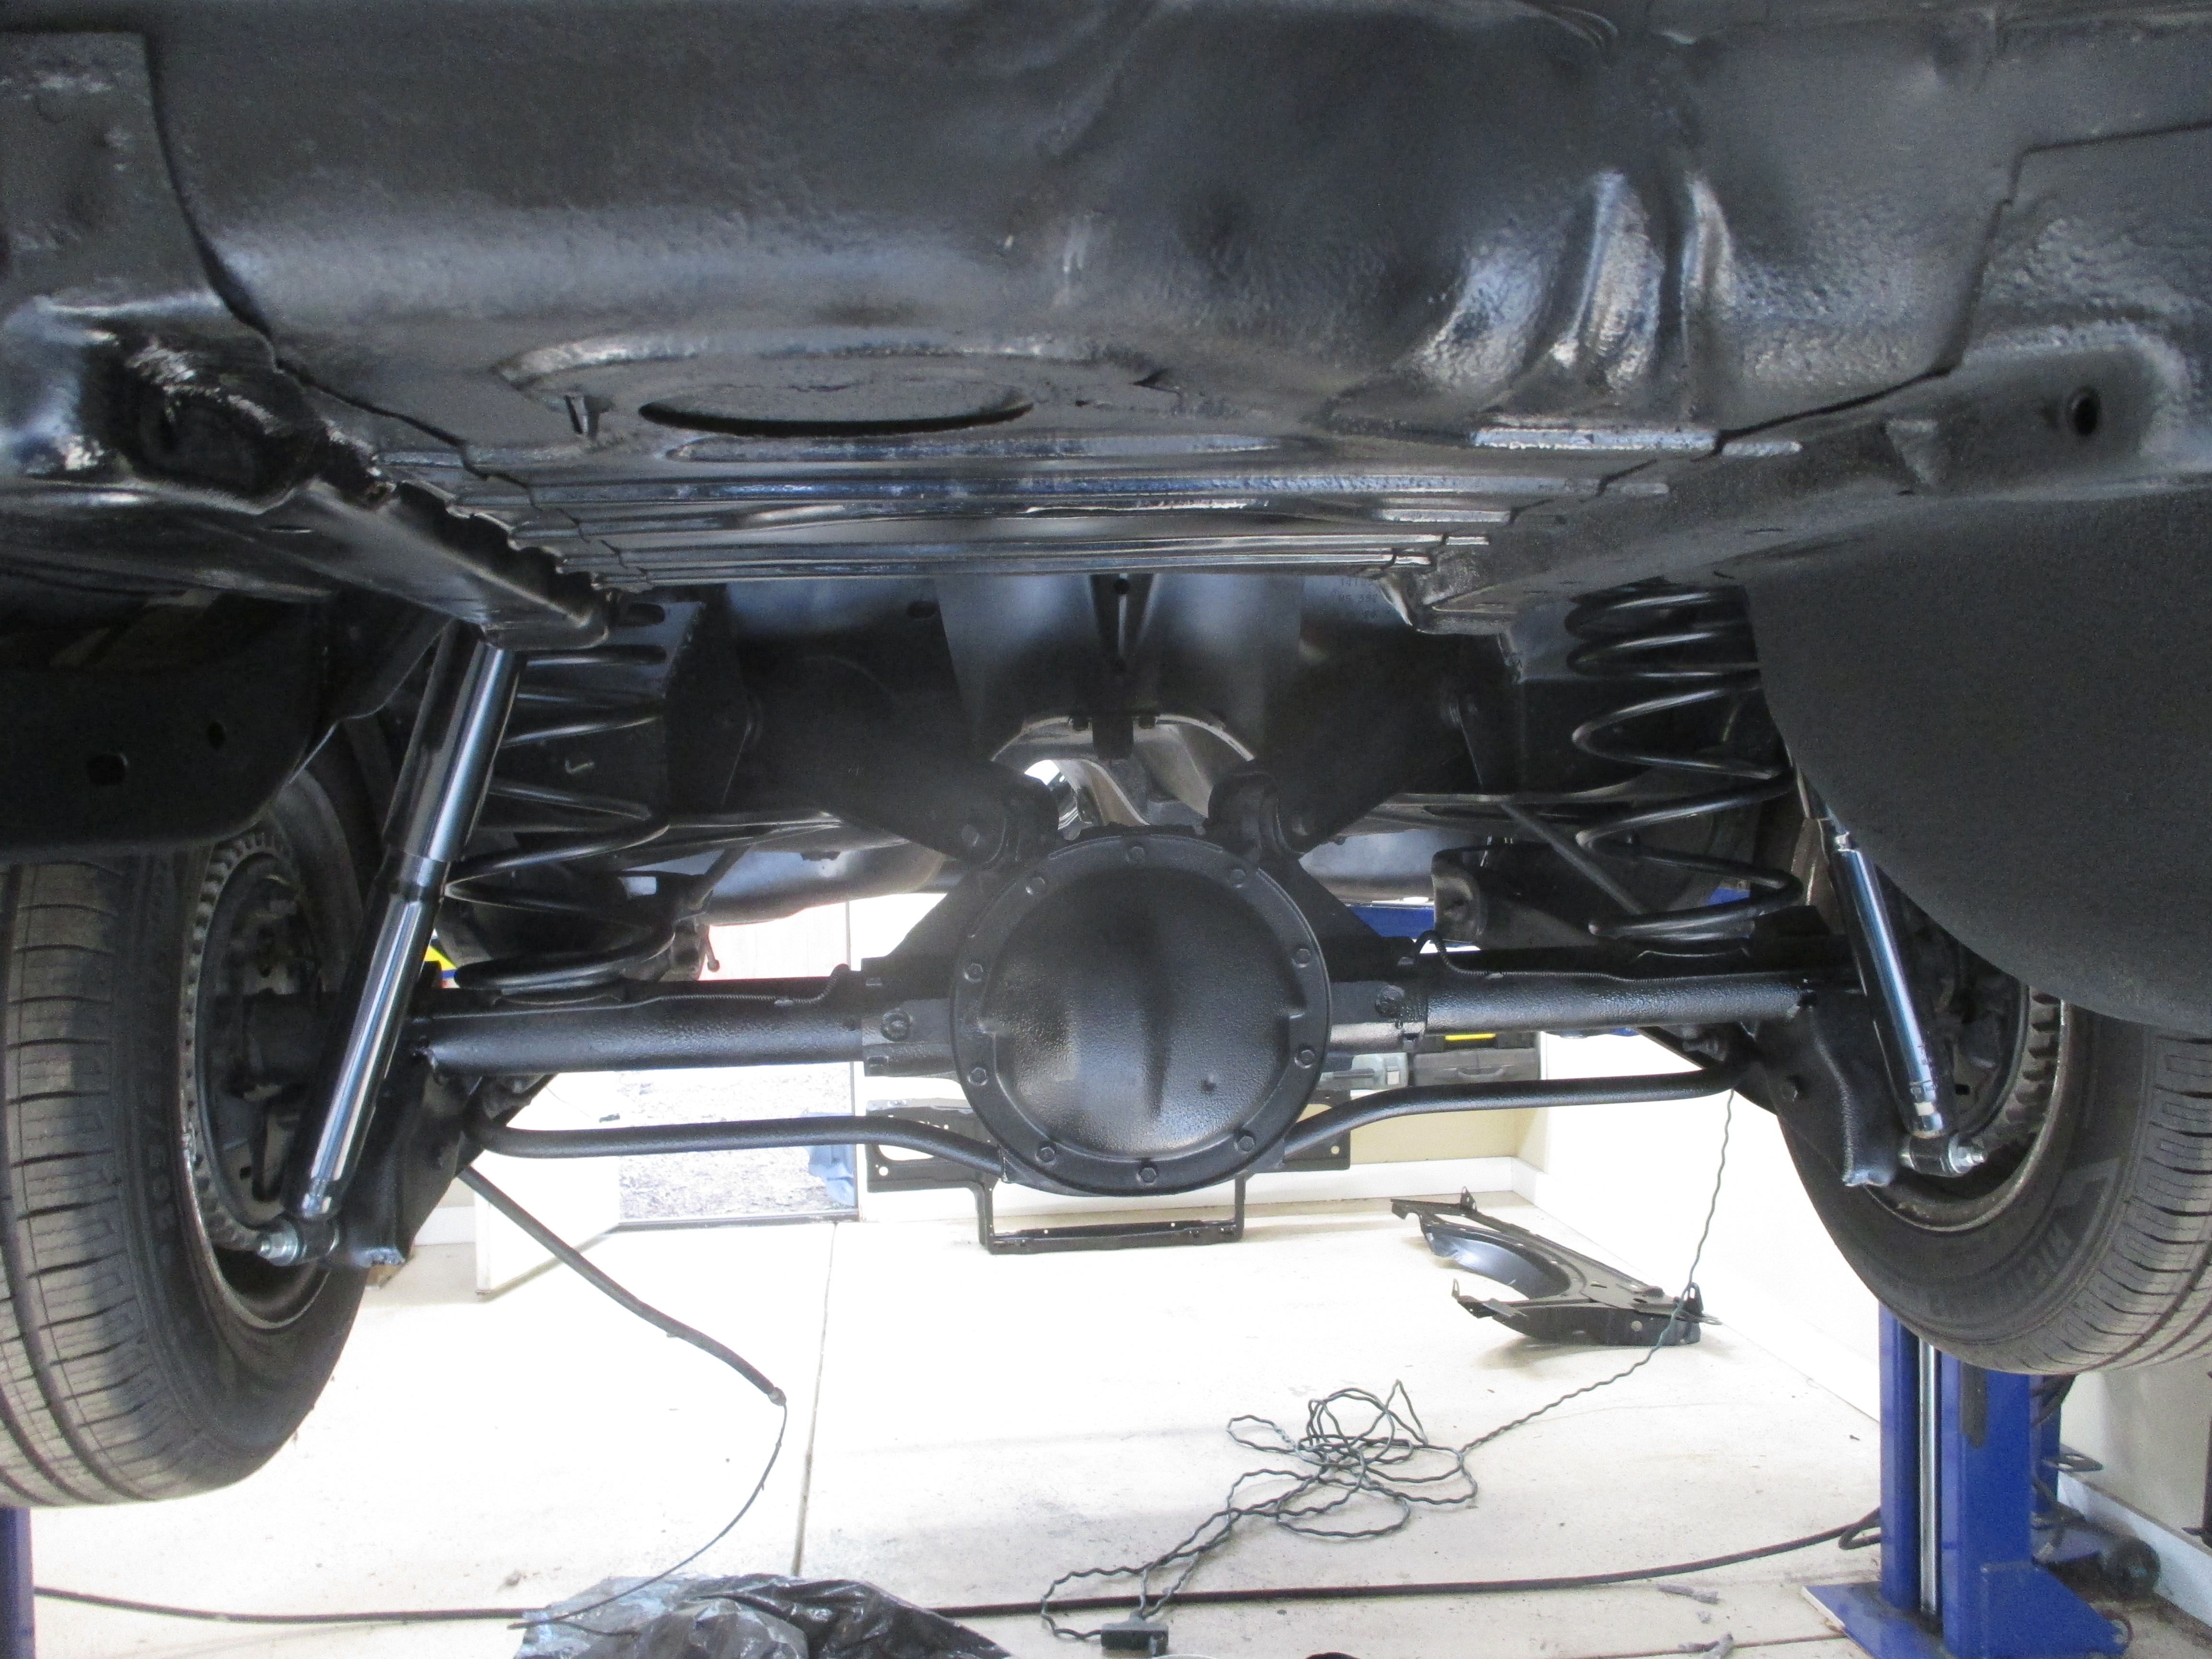
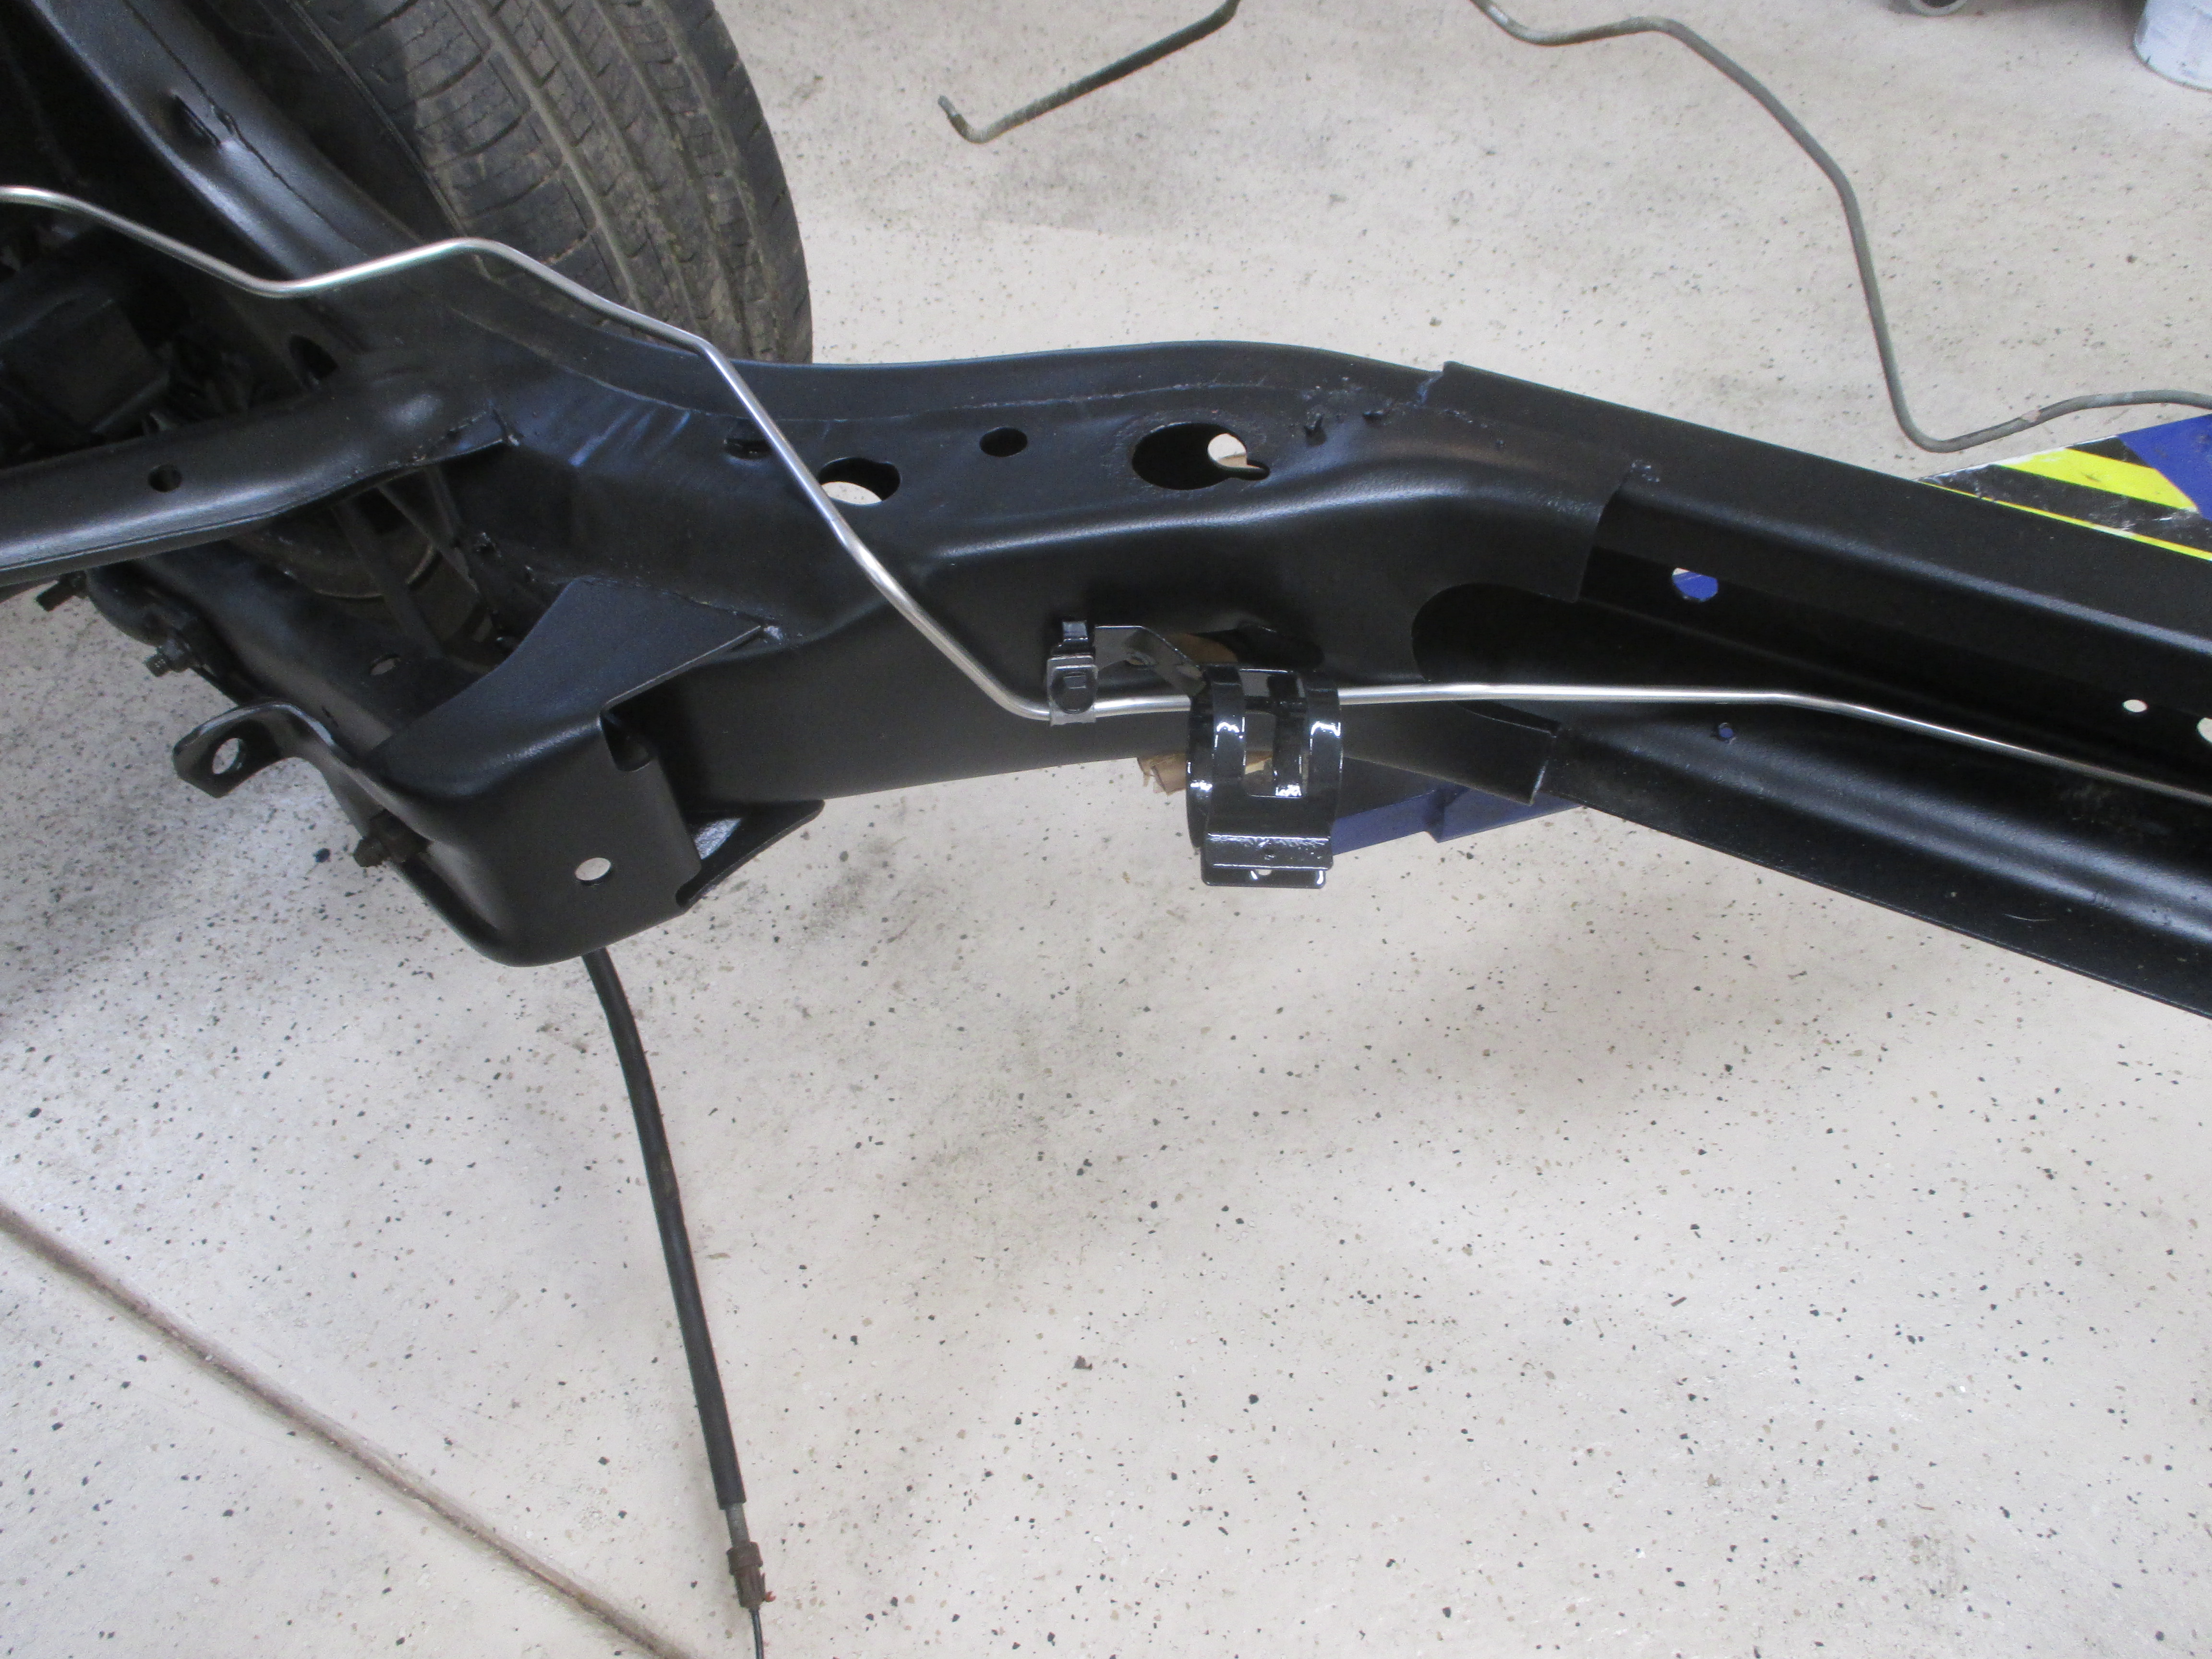
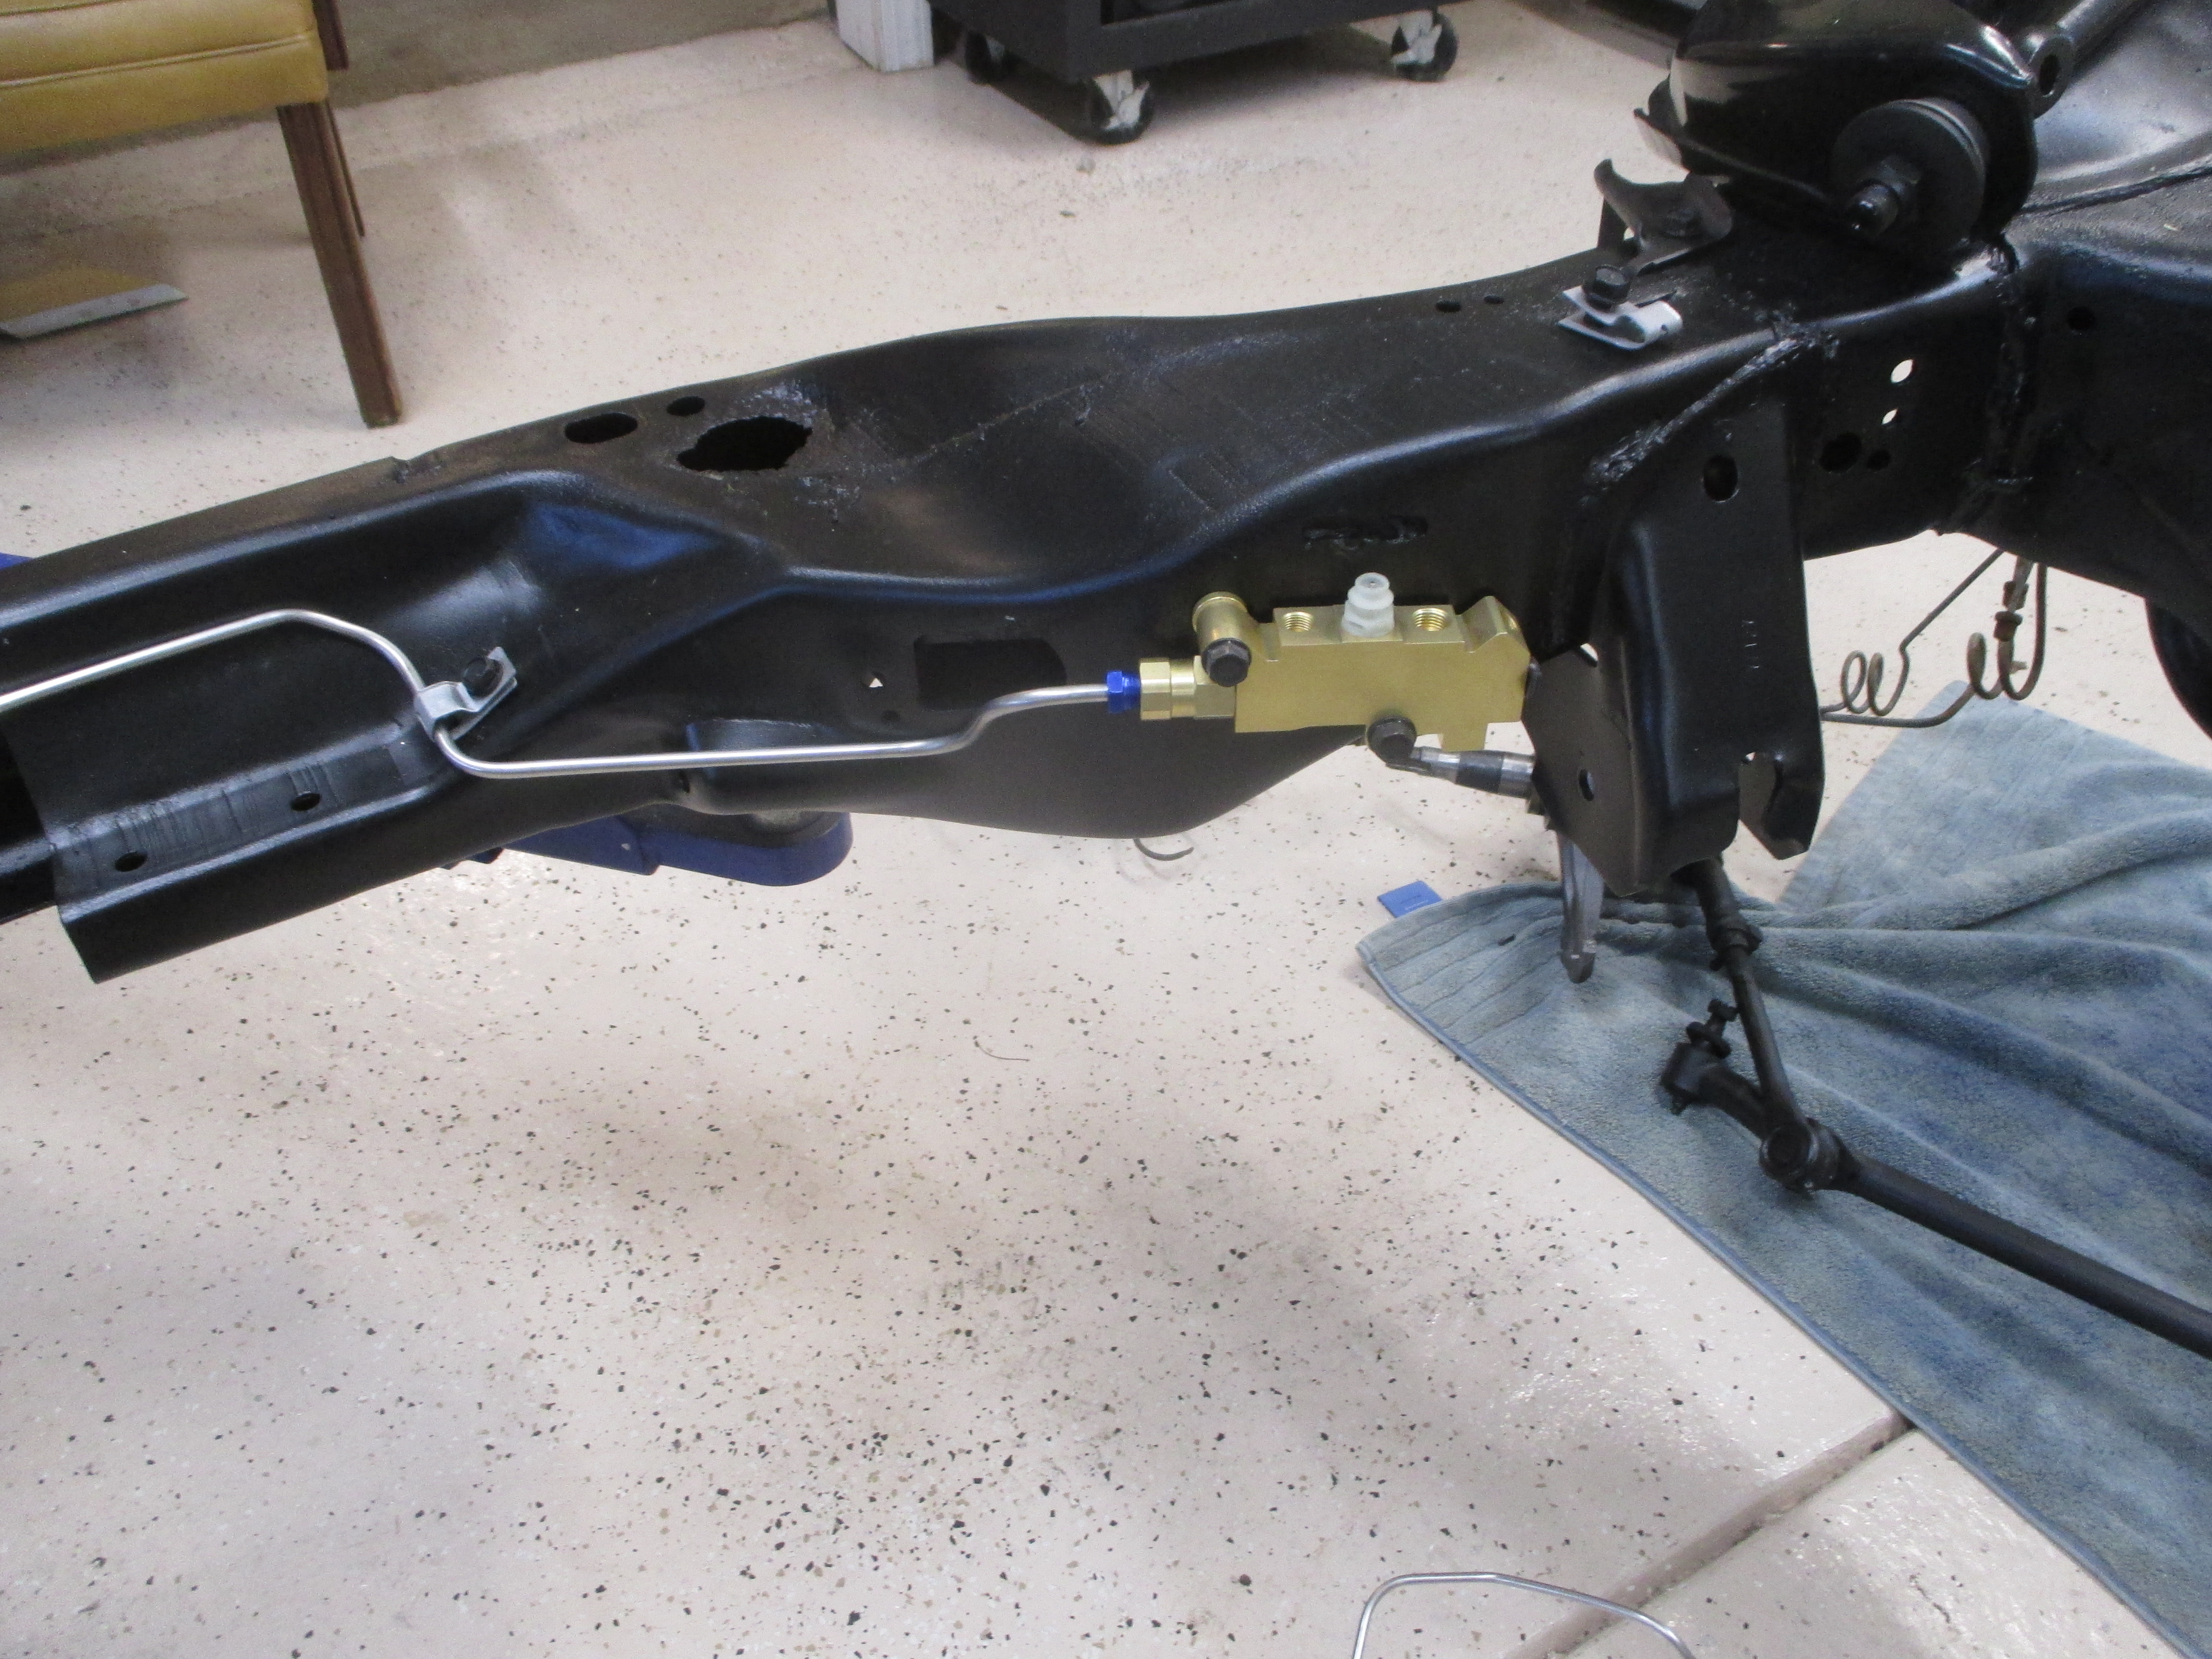
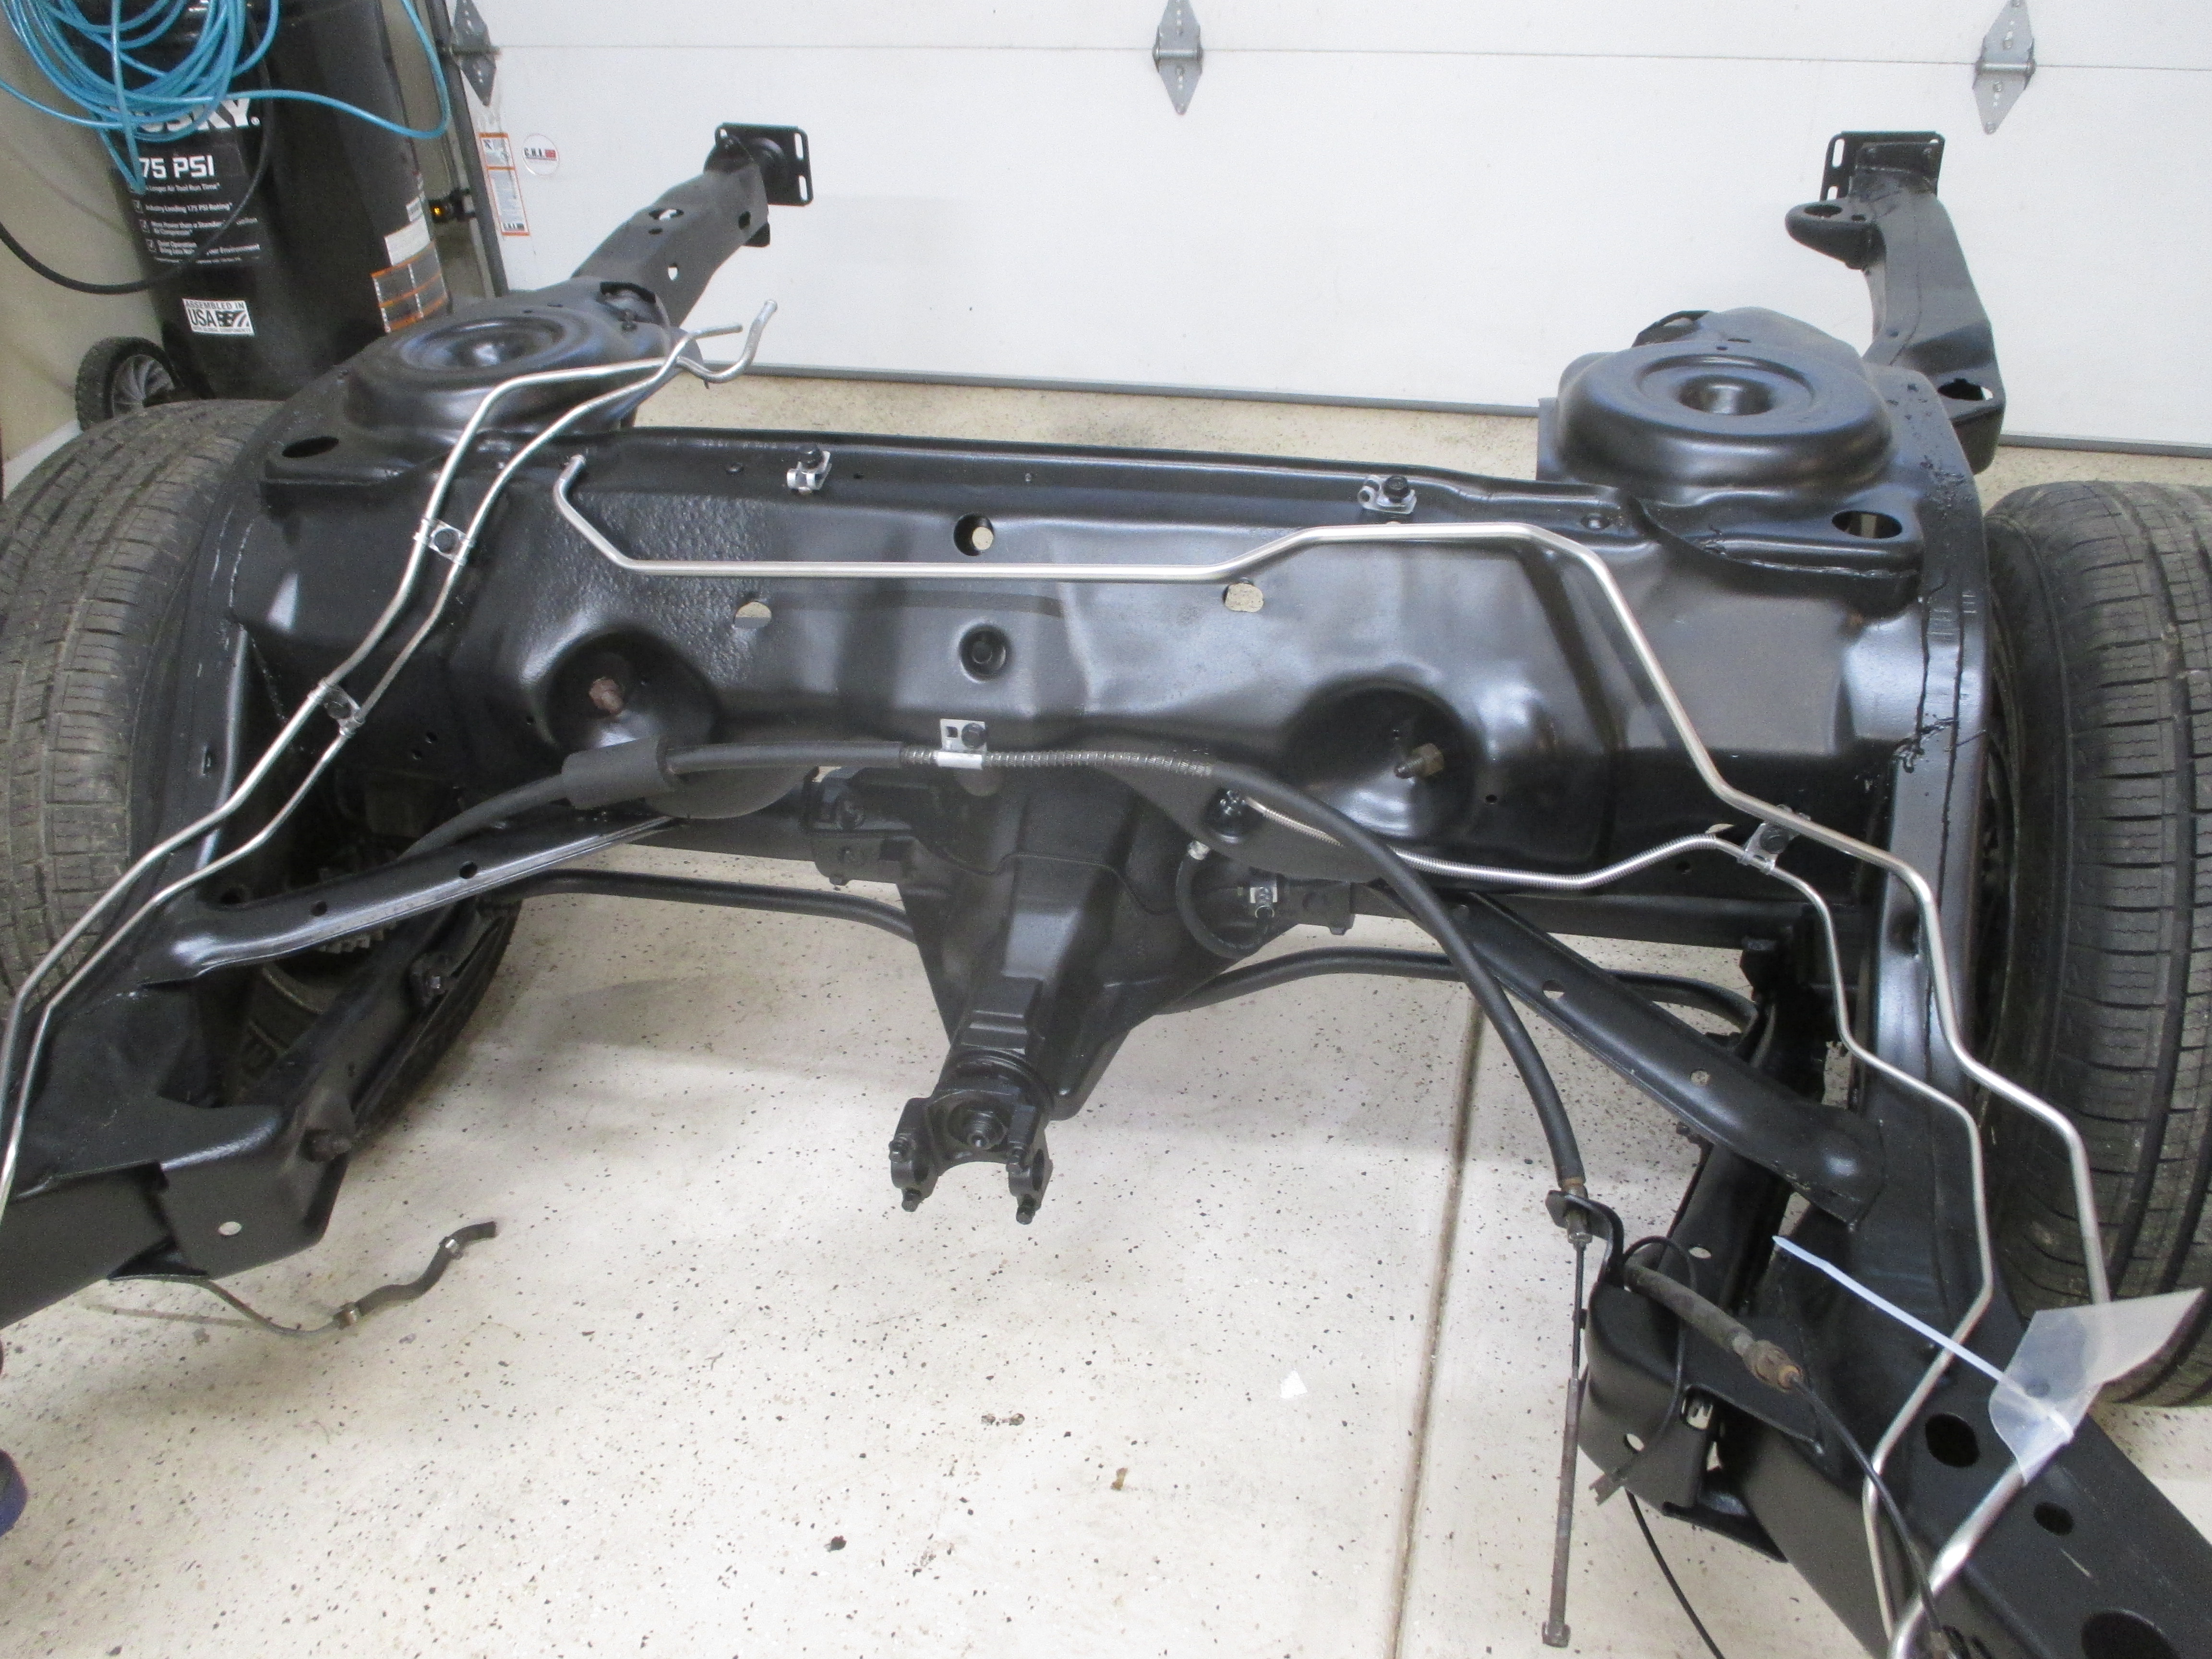
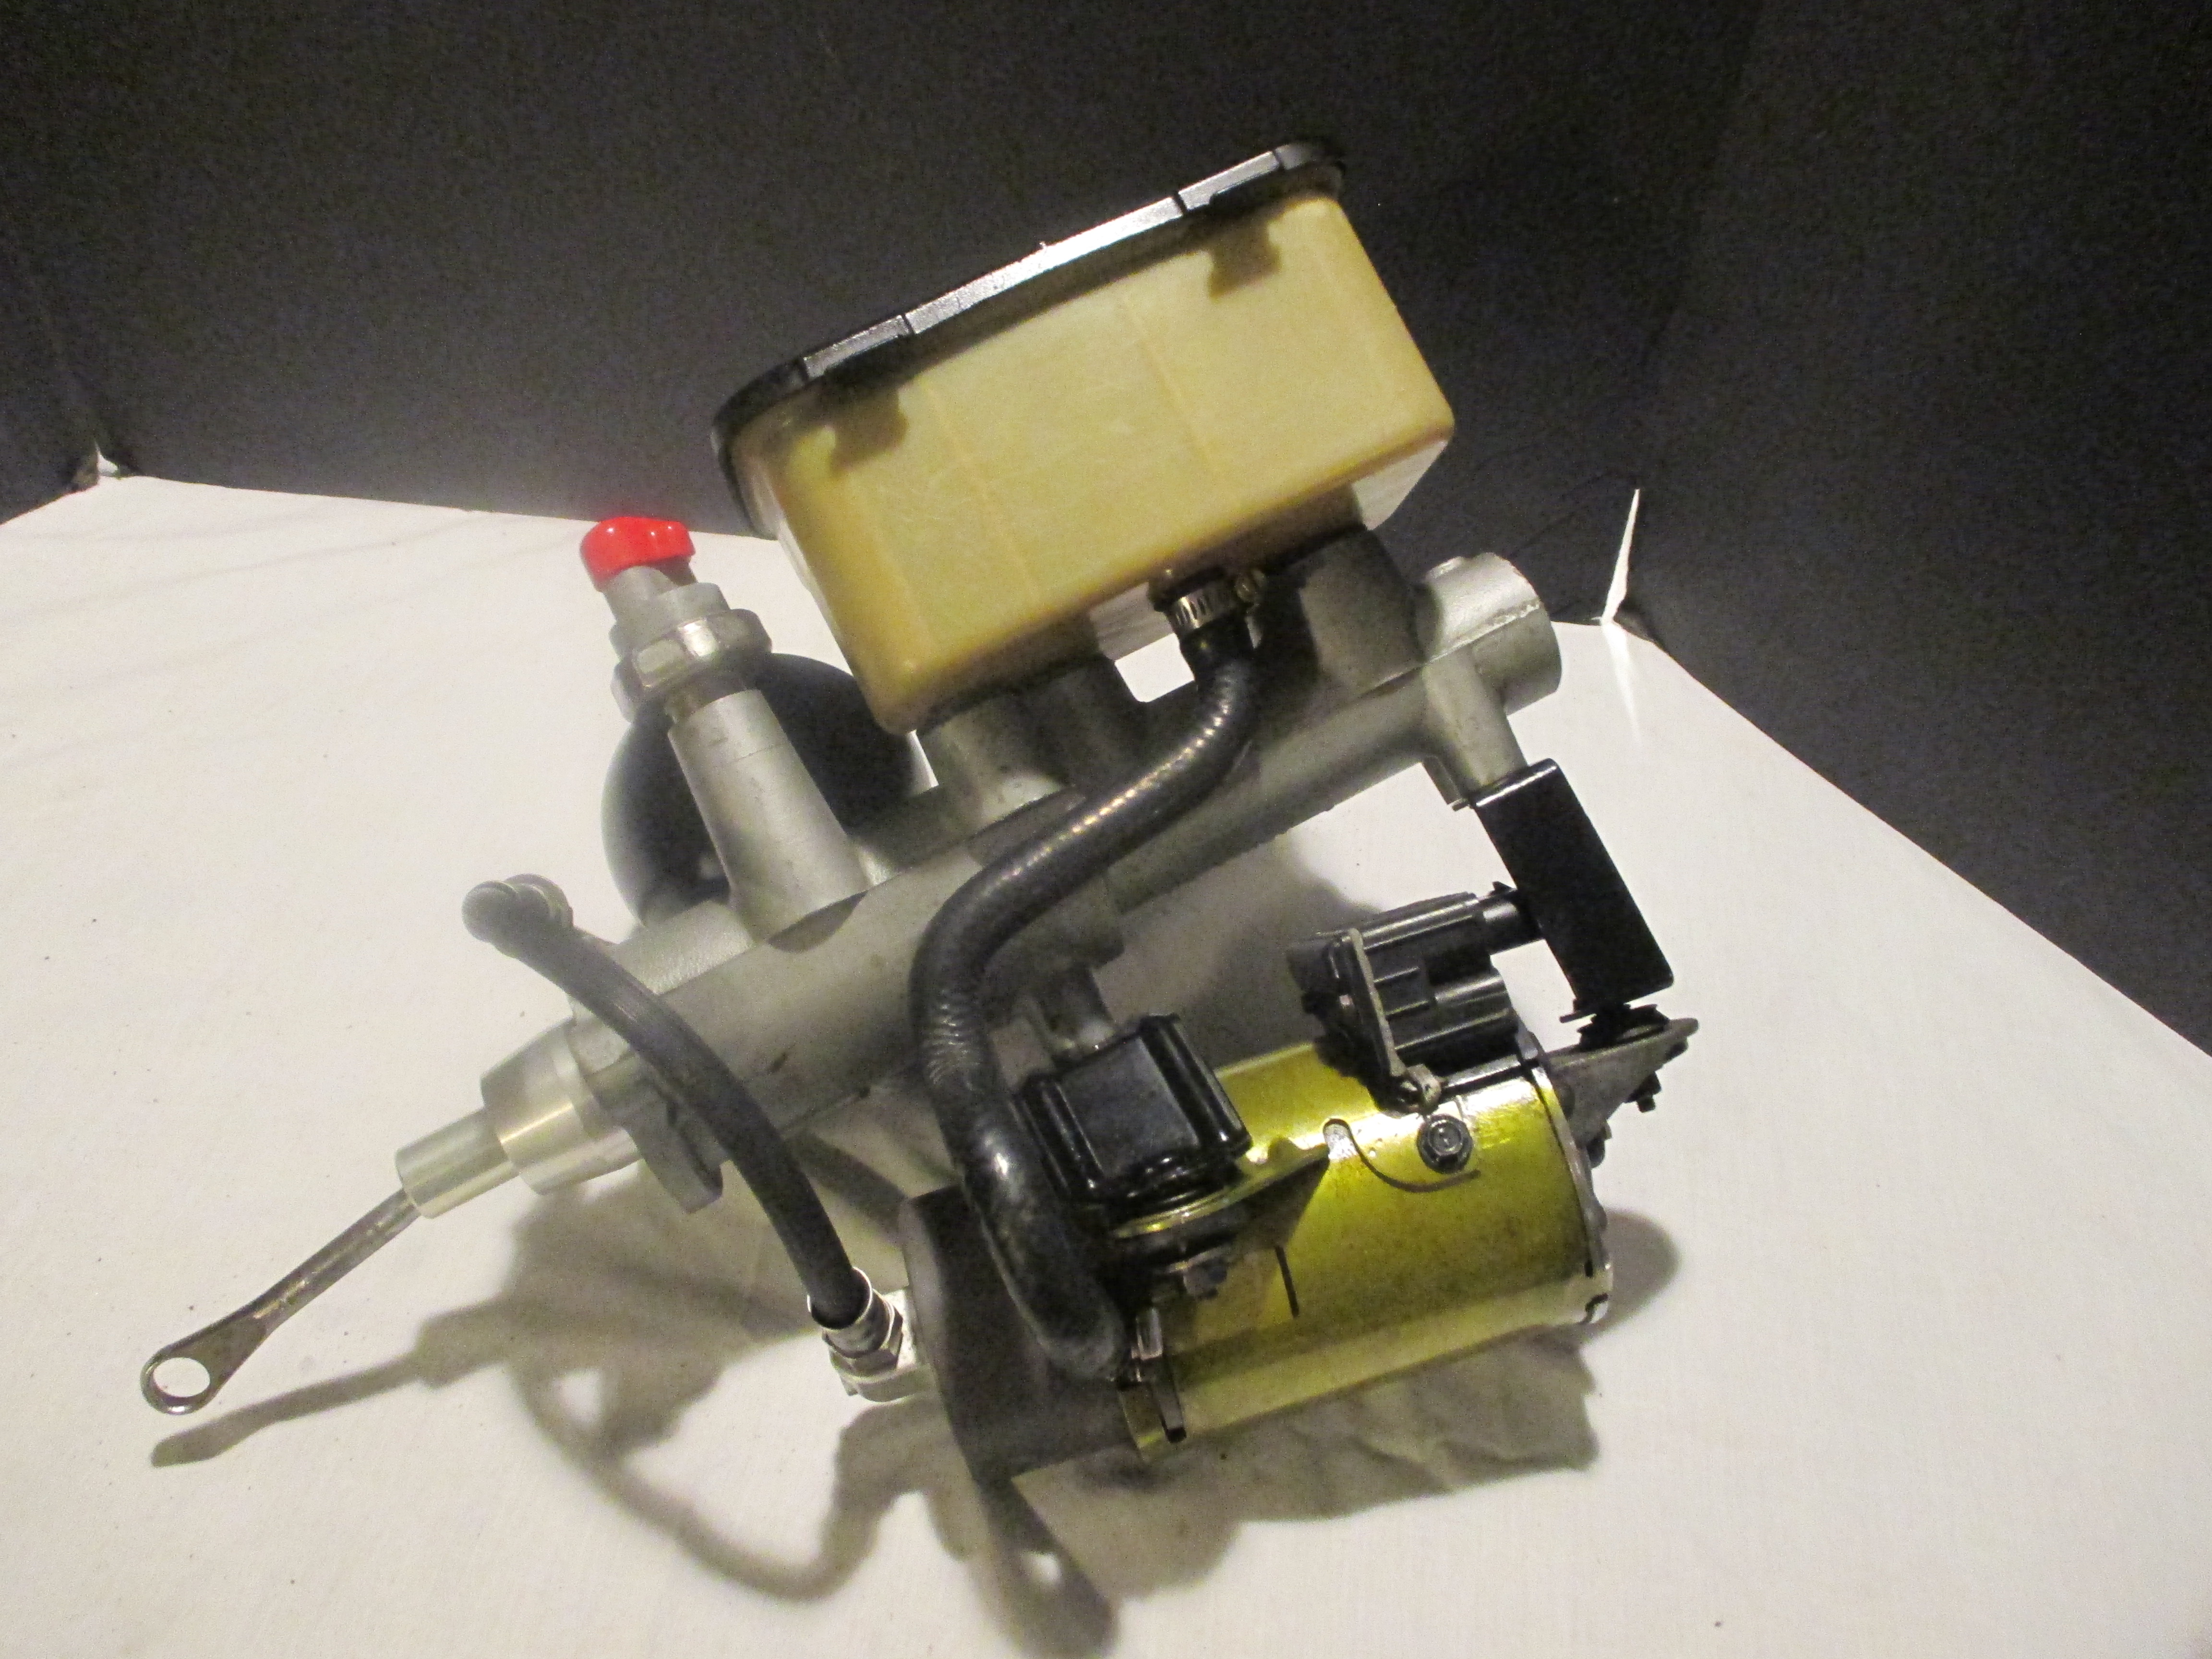
All new stainless steel brake and fuel lines with solid brass brake proportioning valve
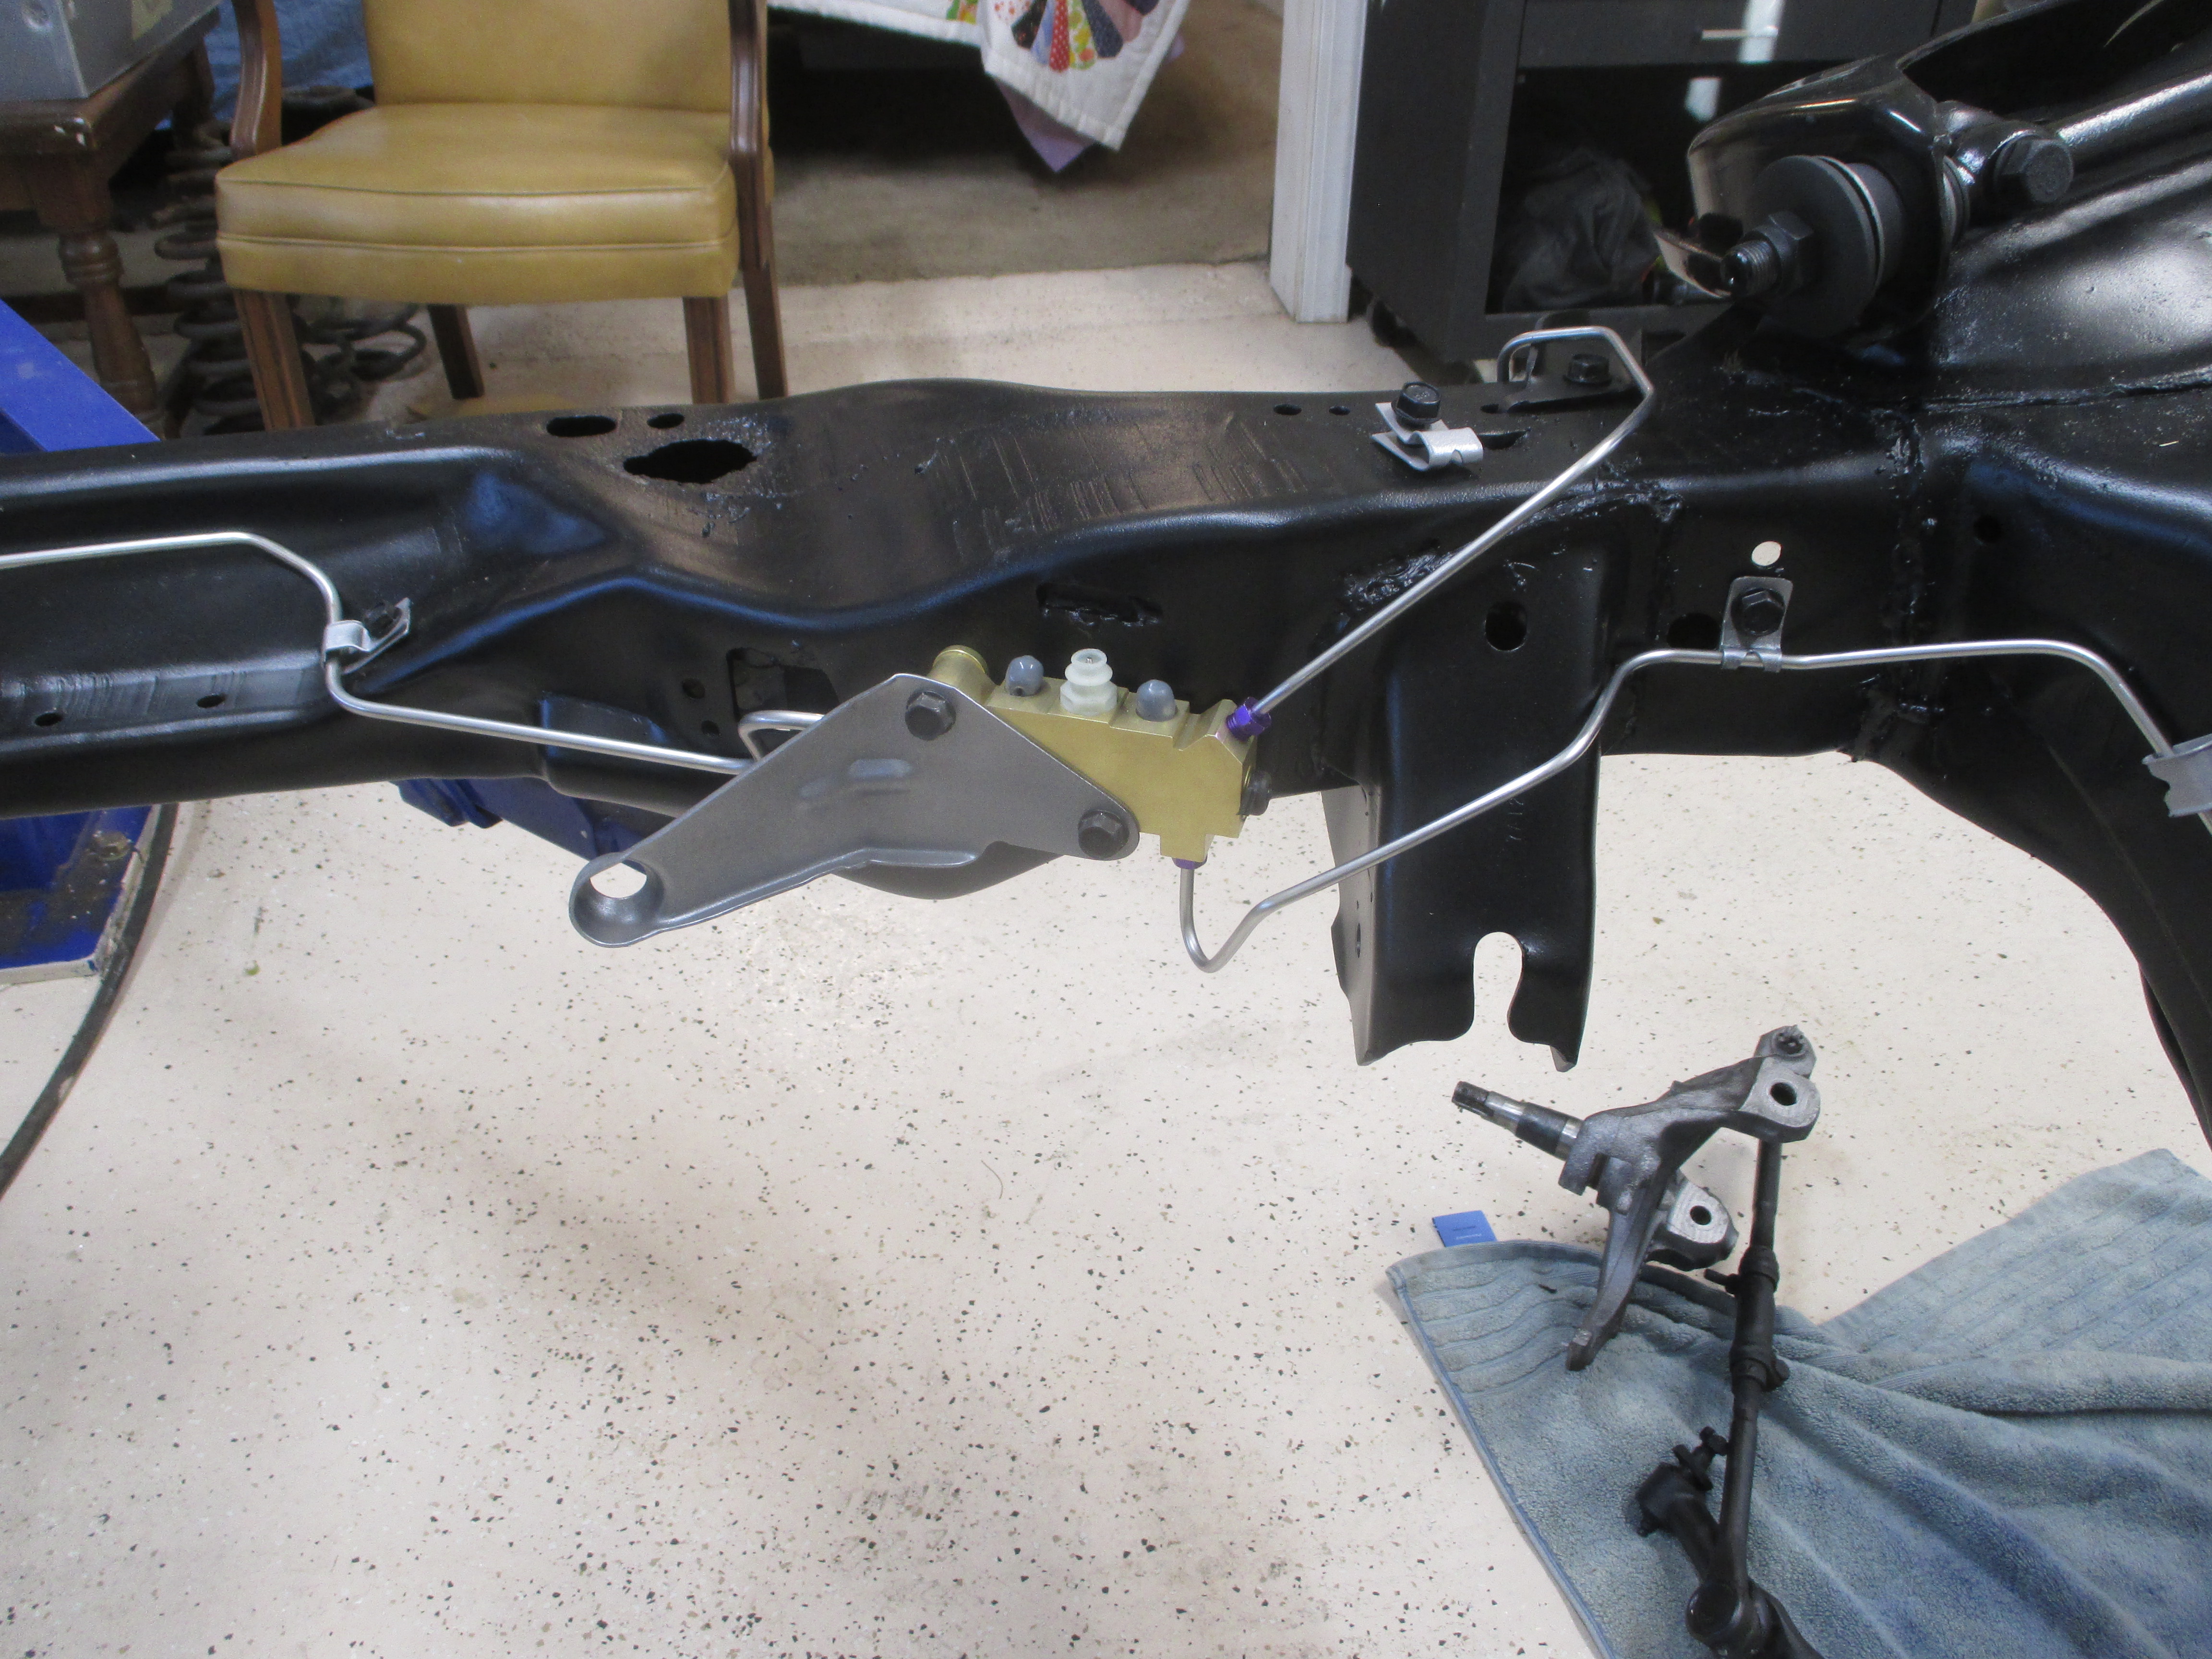
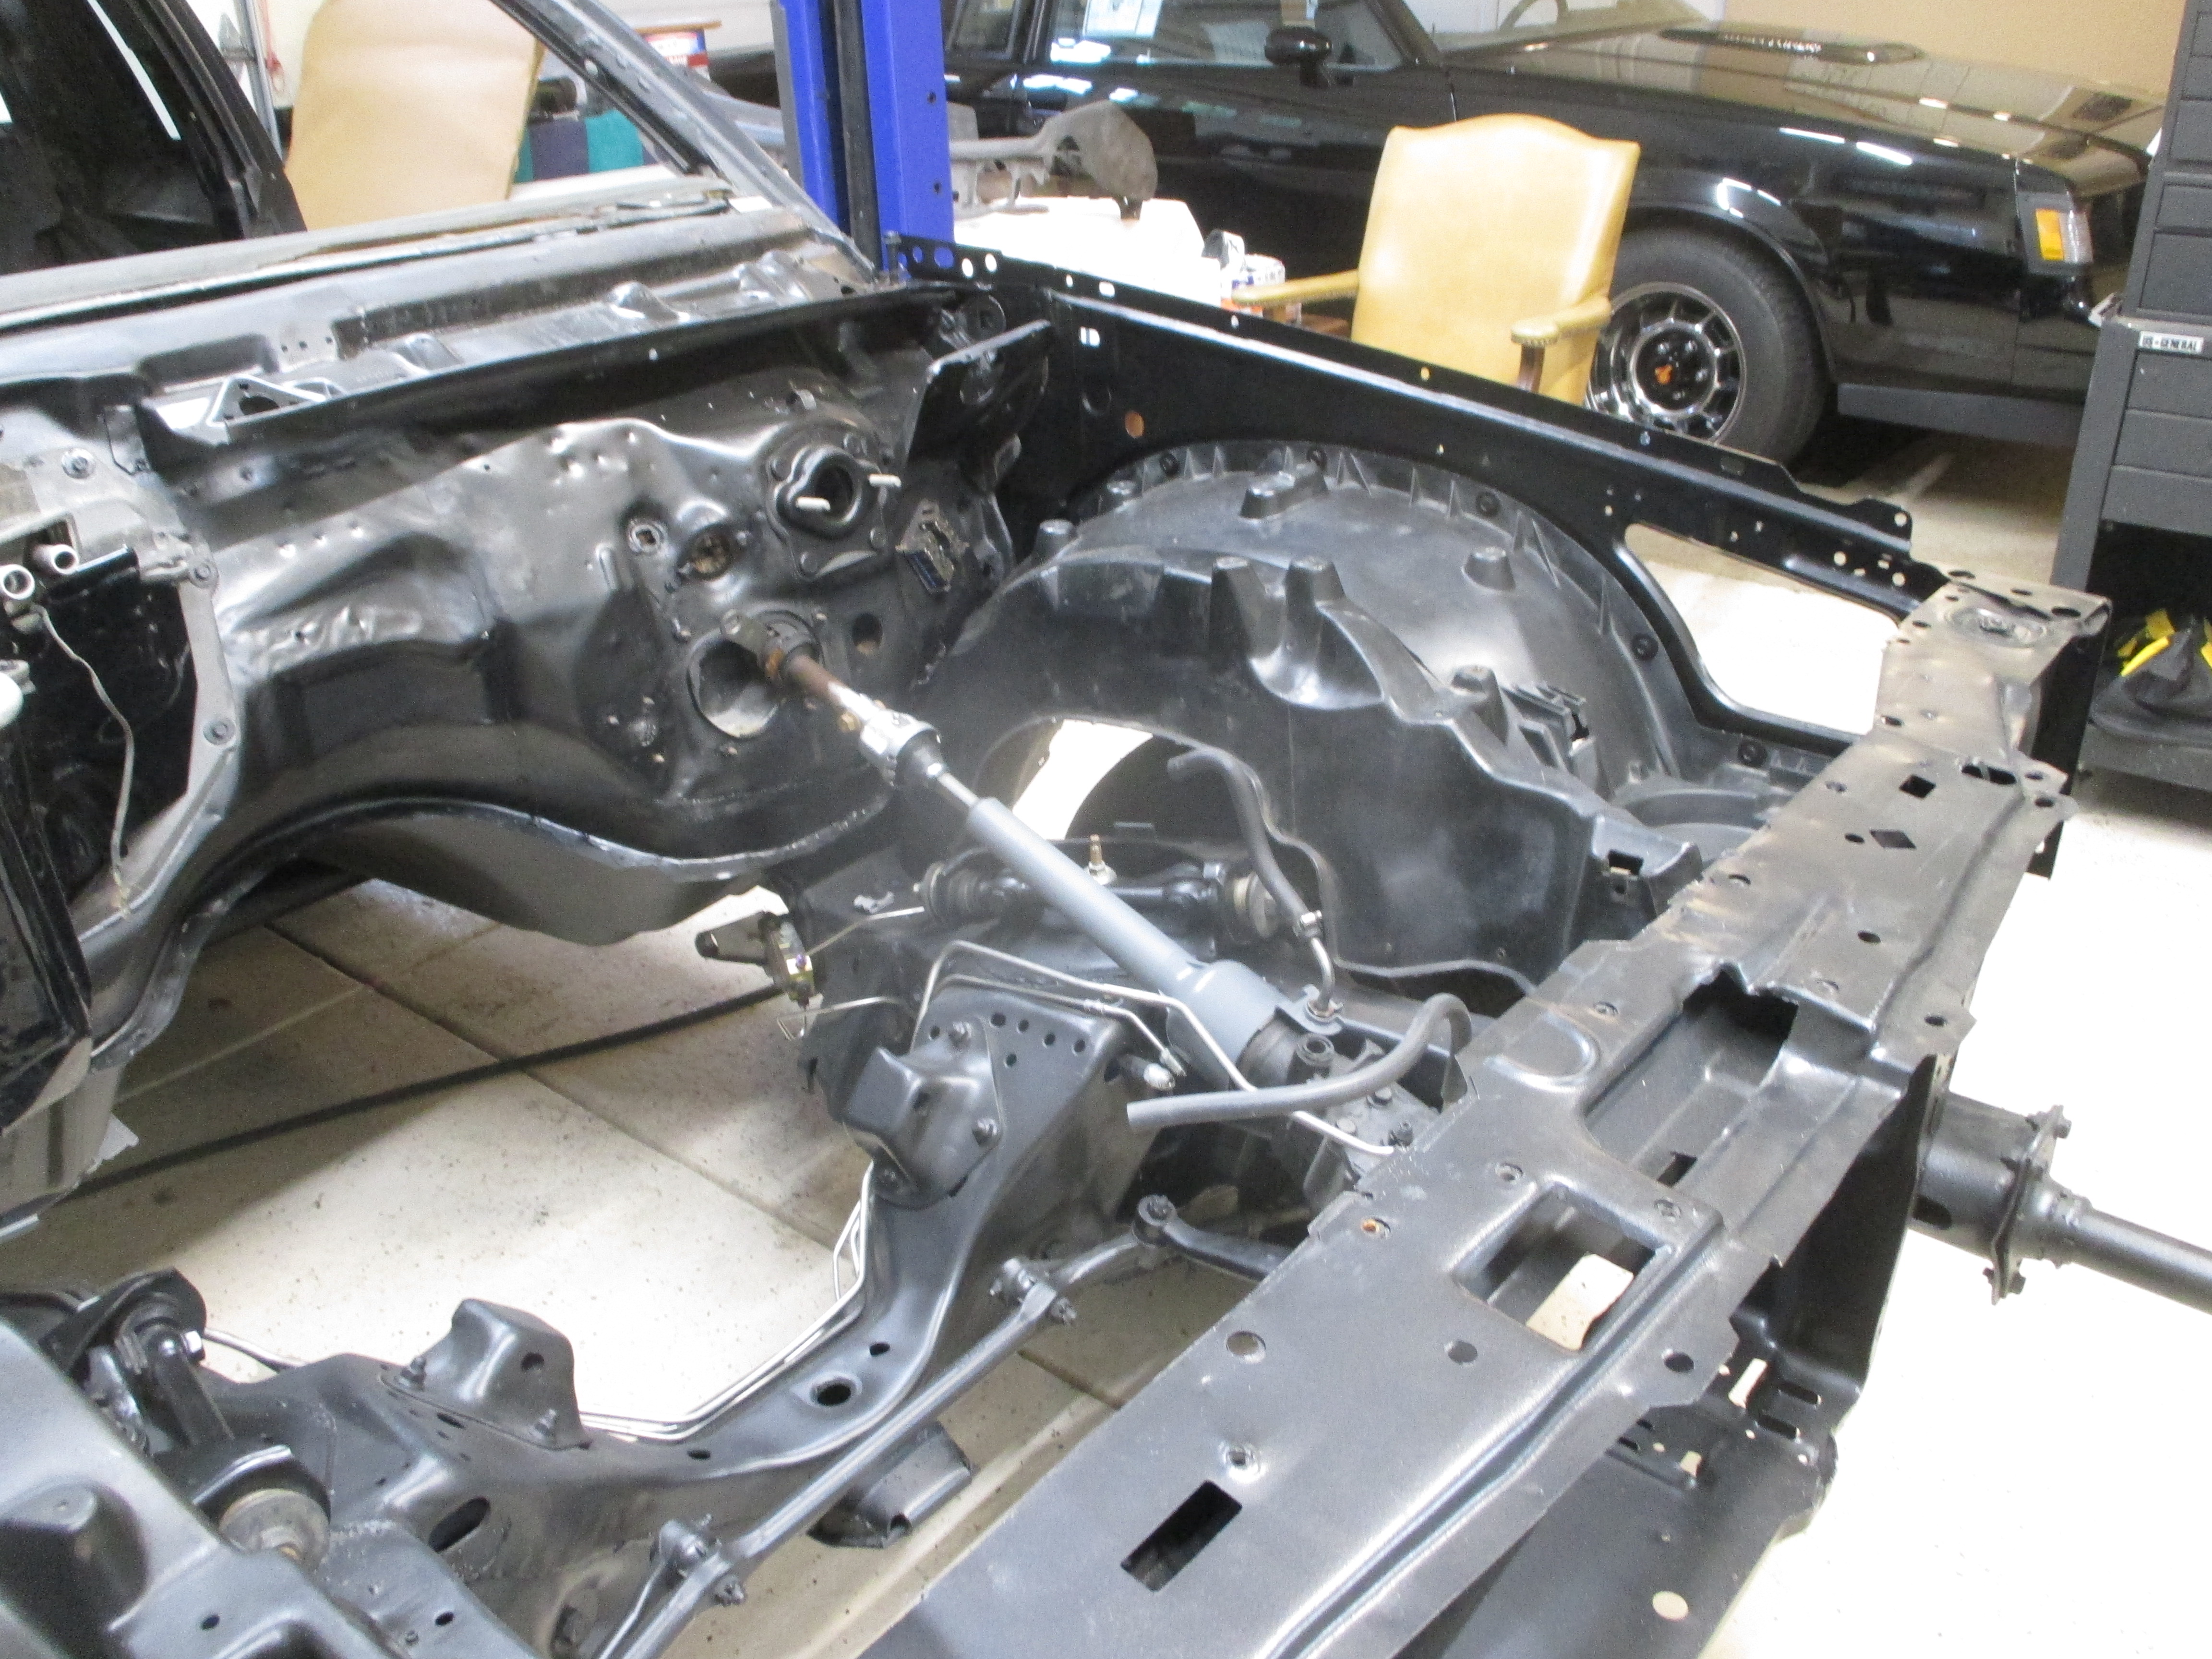
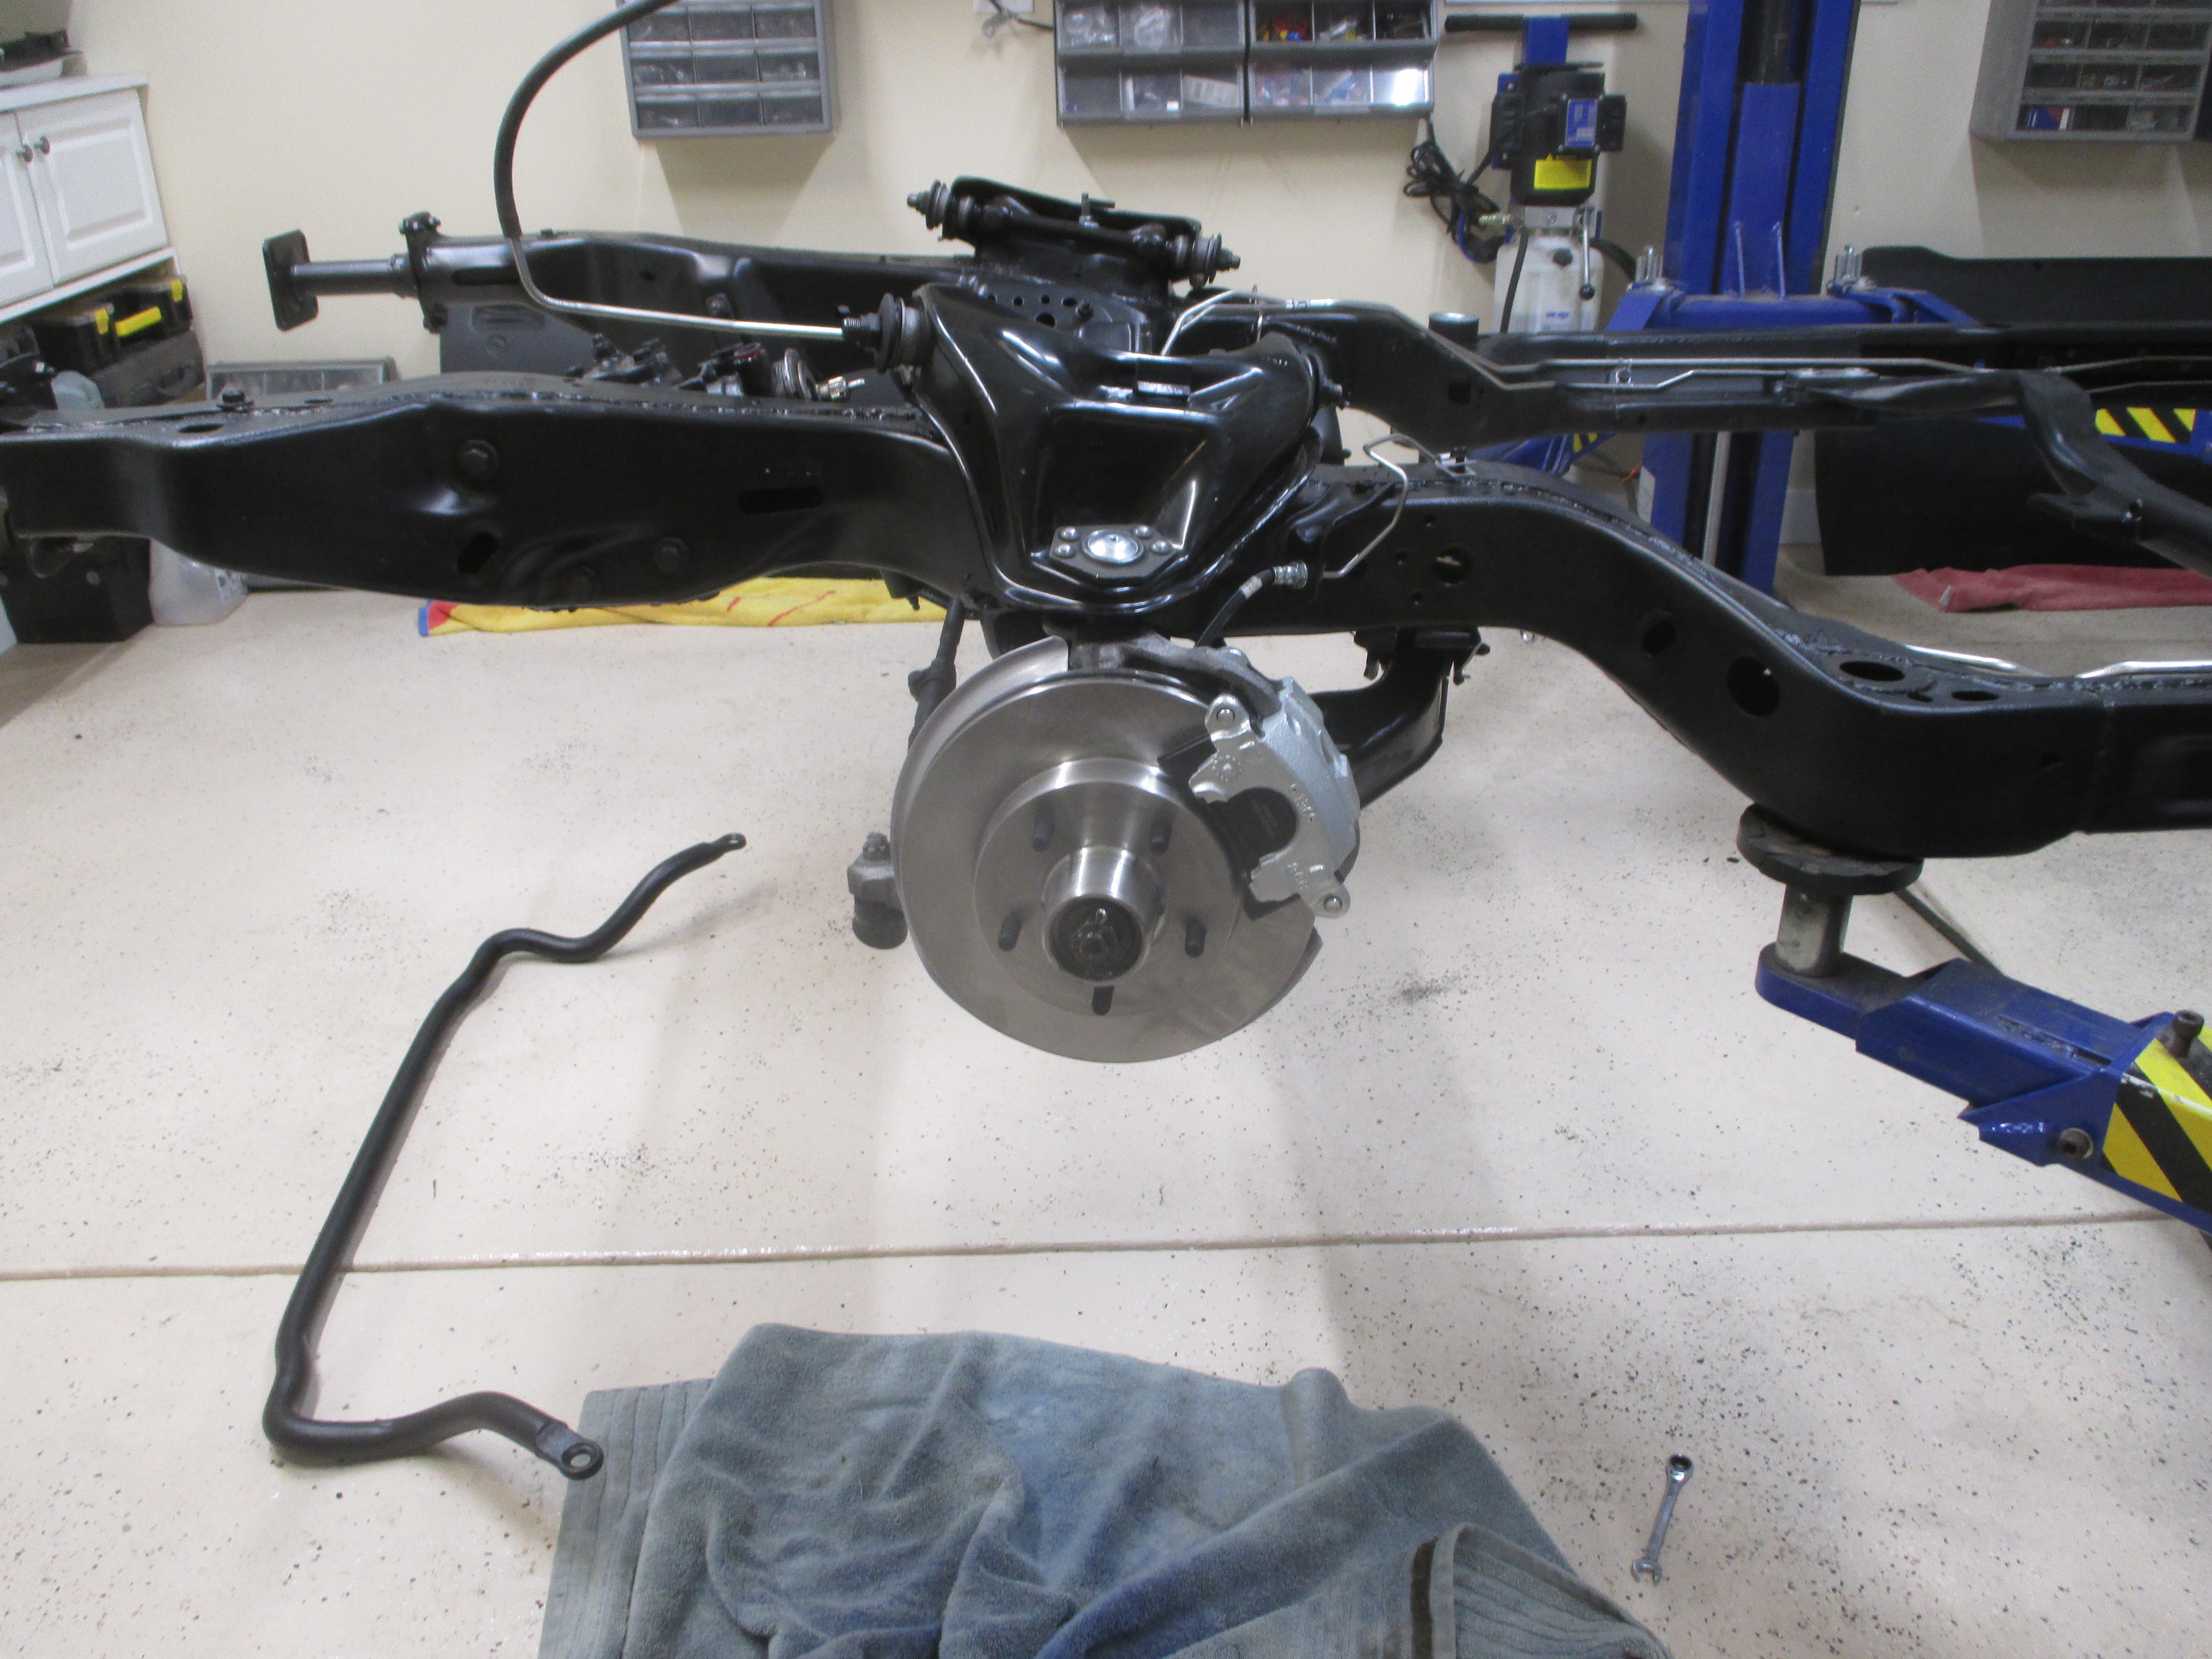
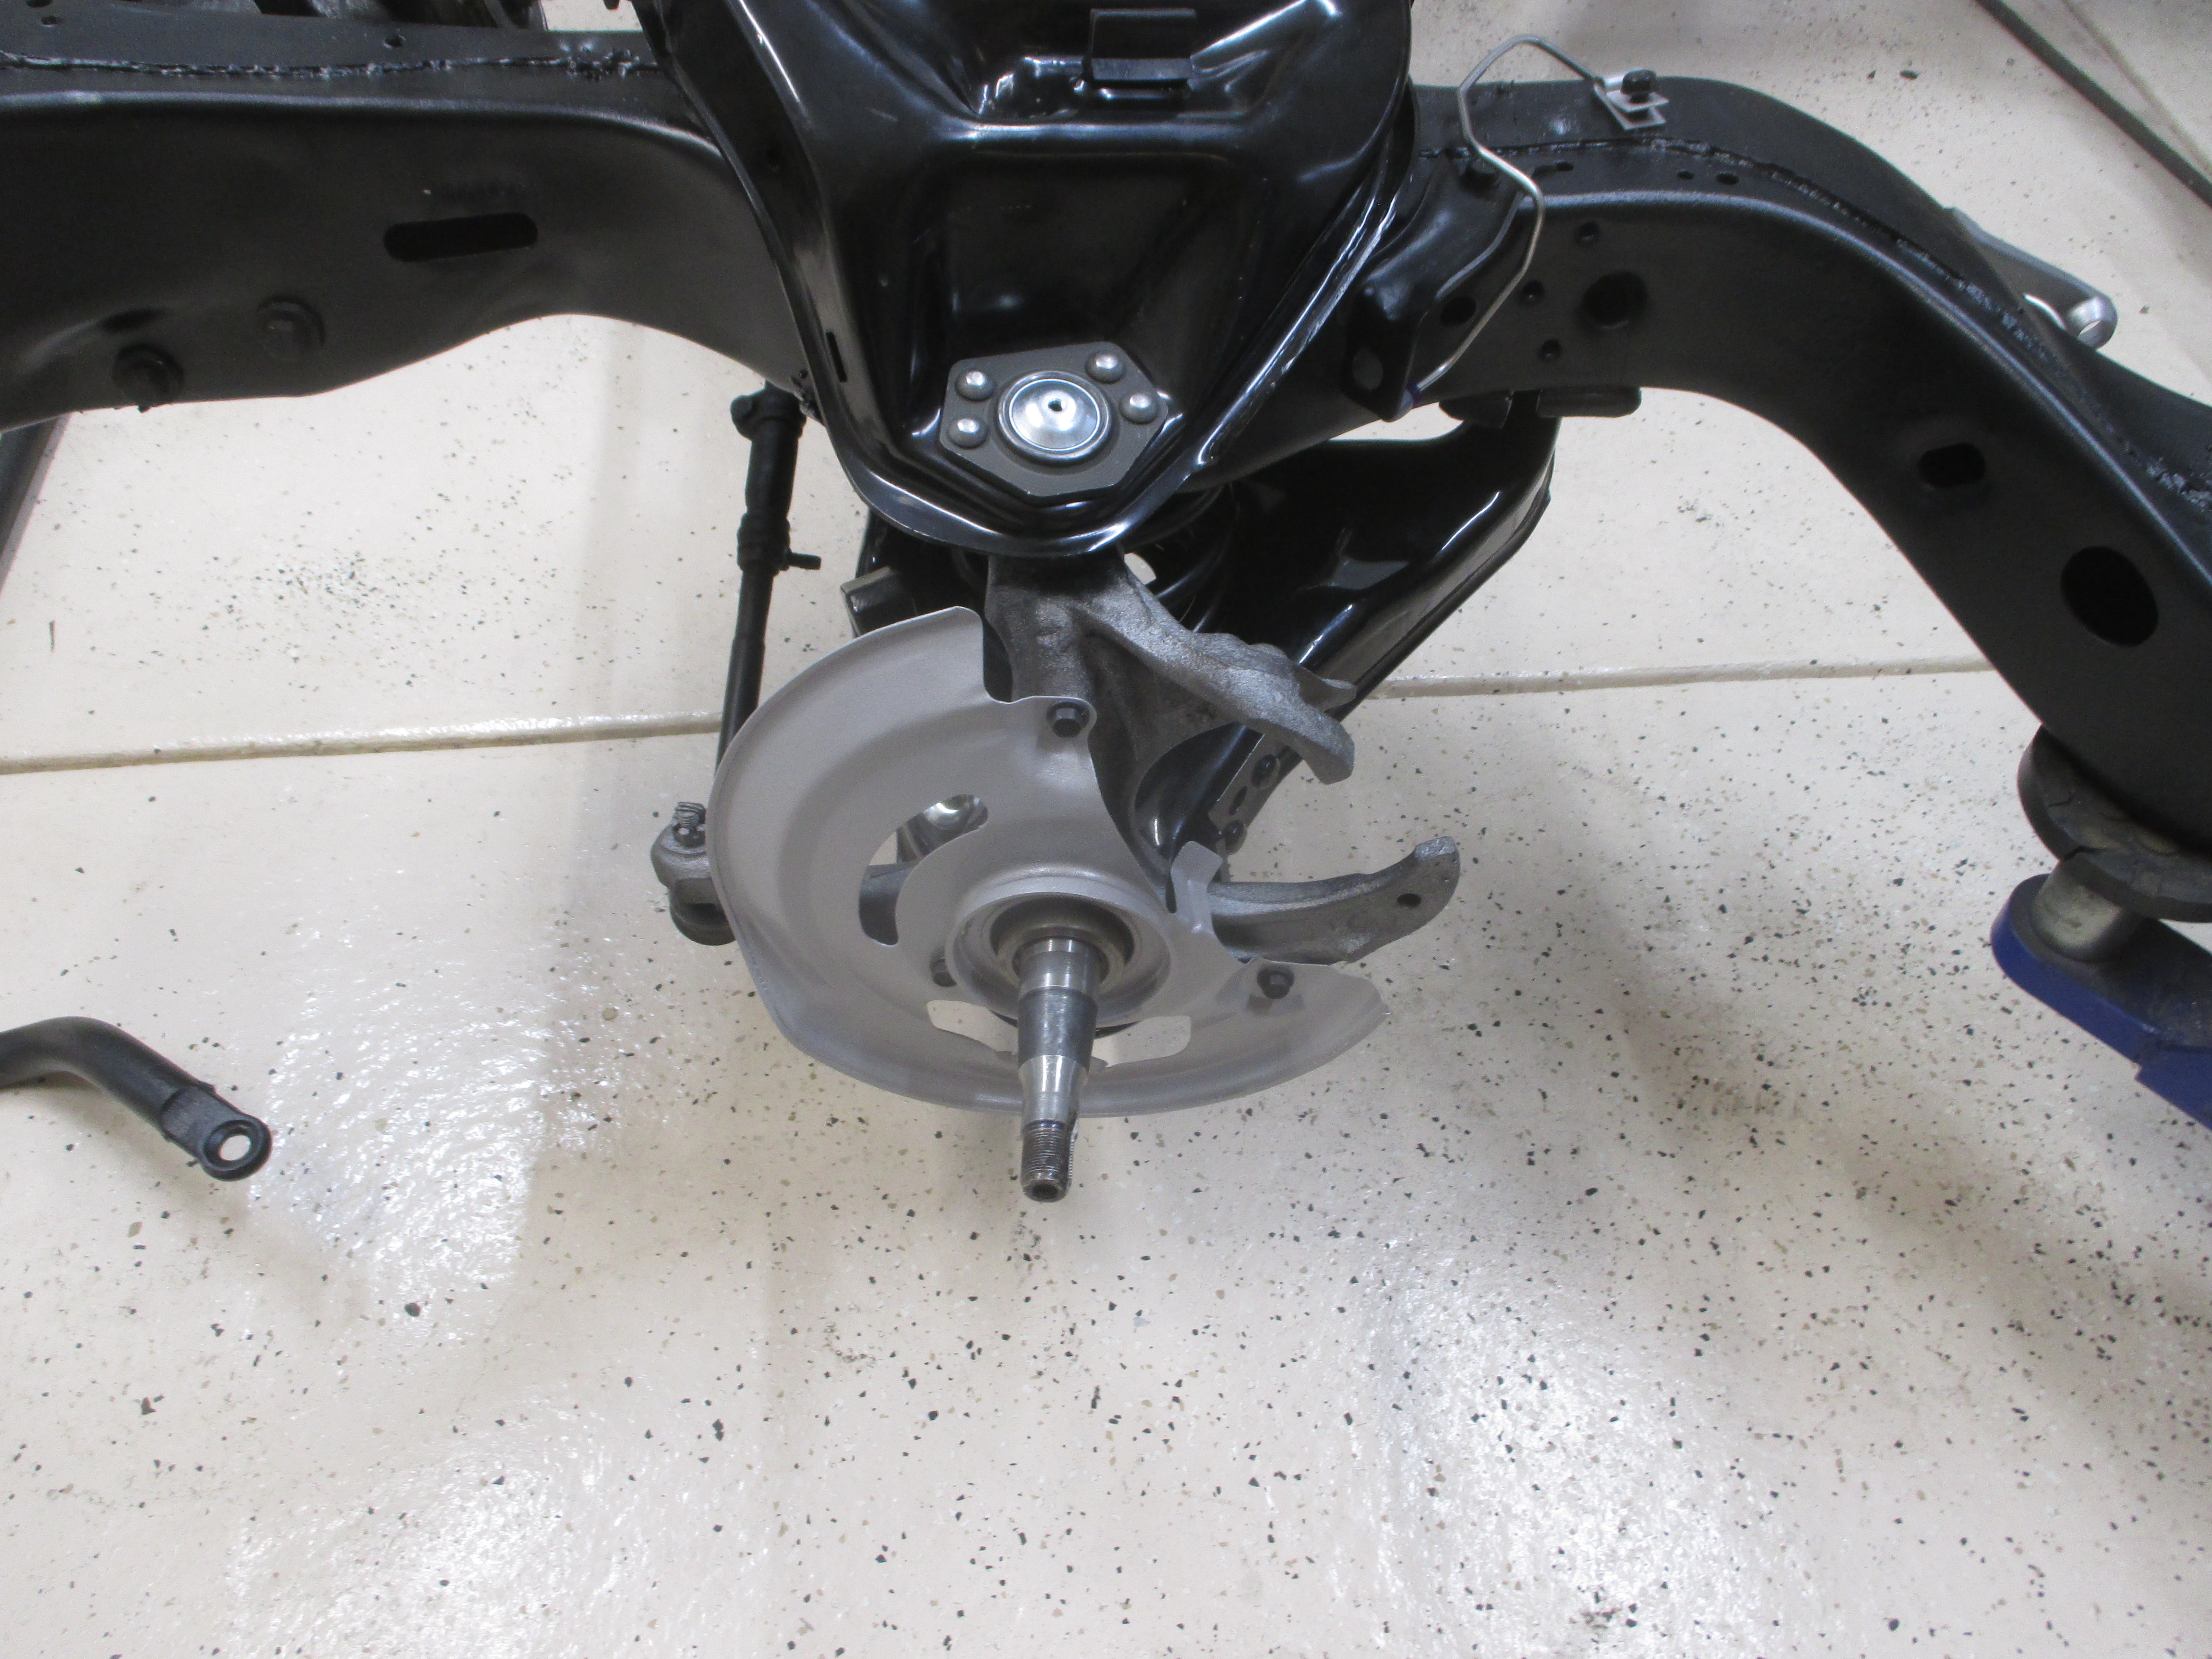
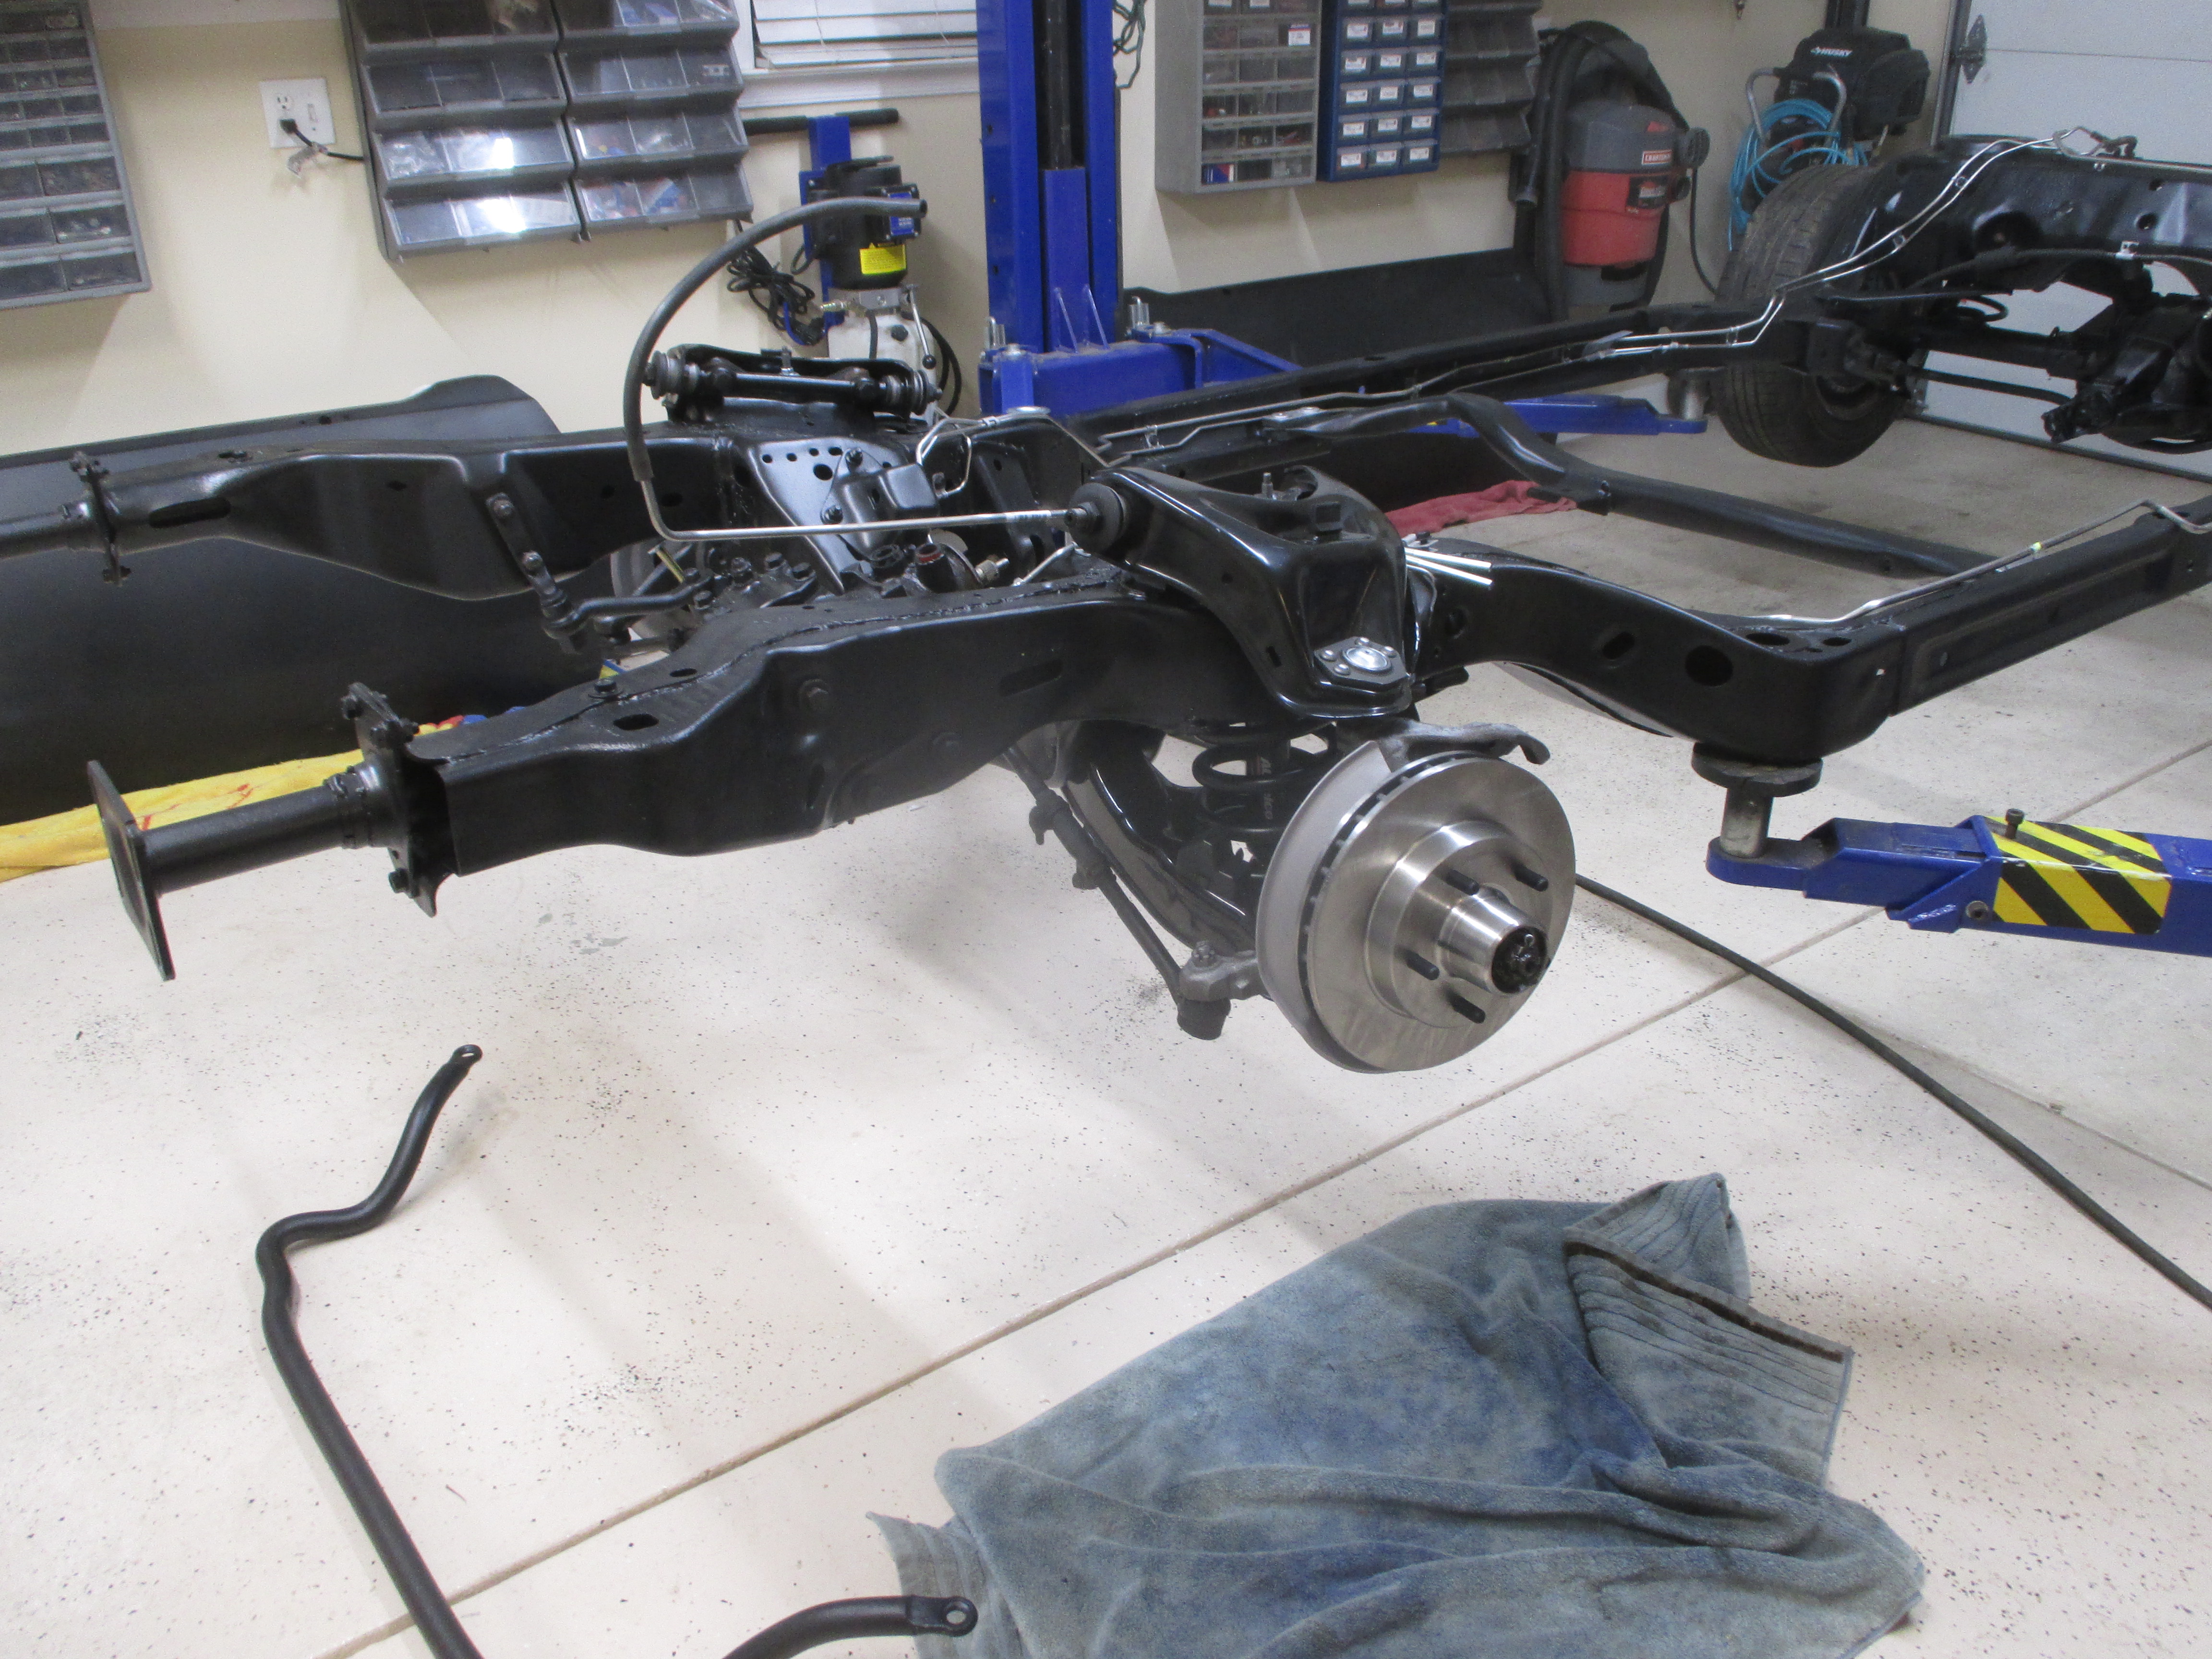
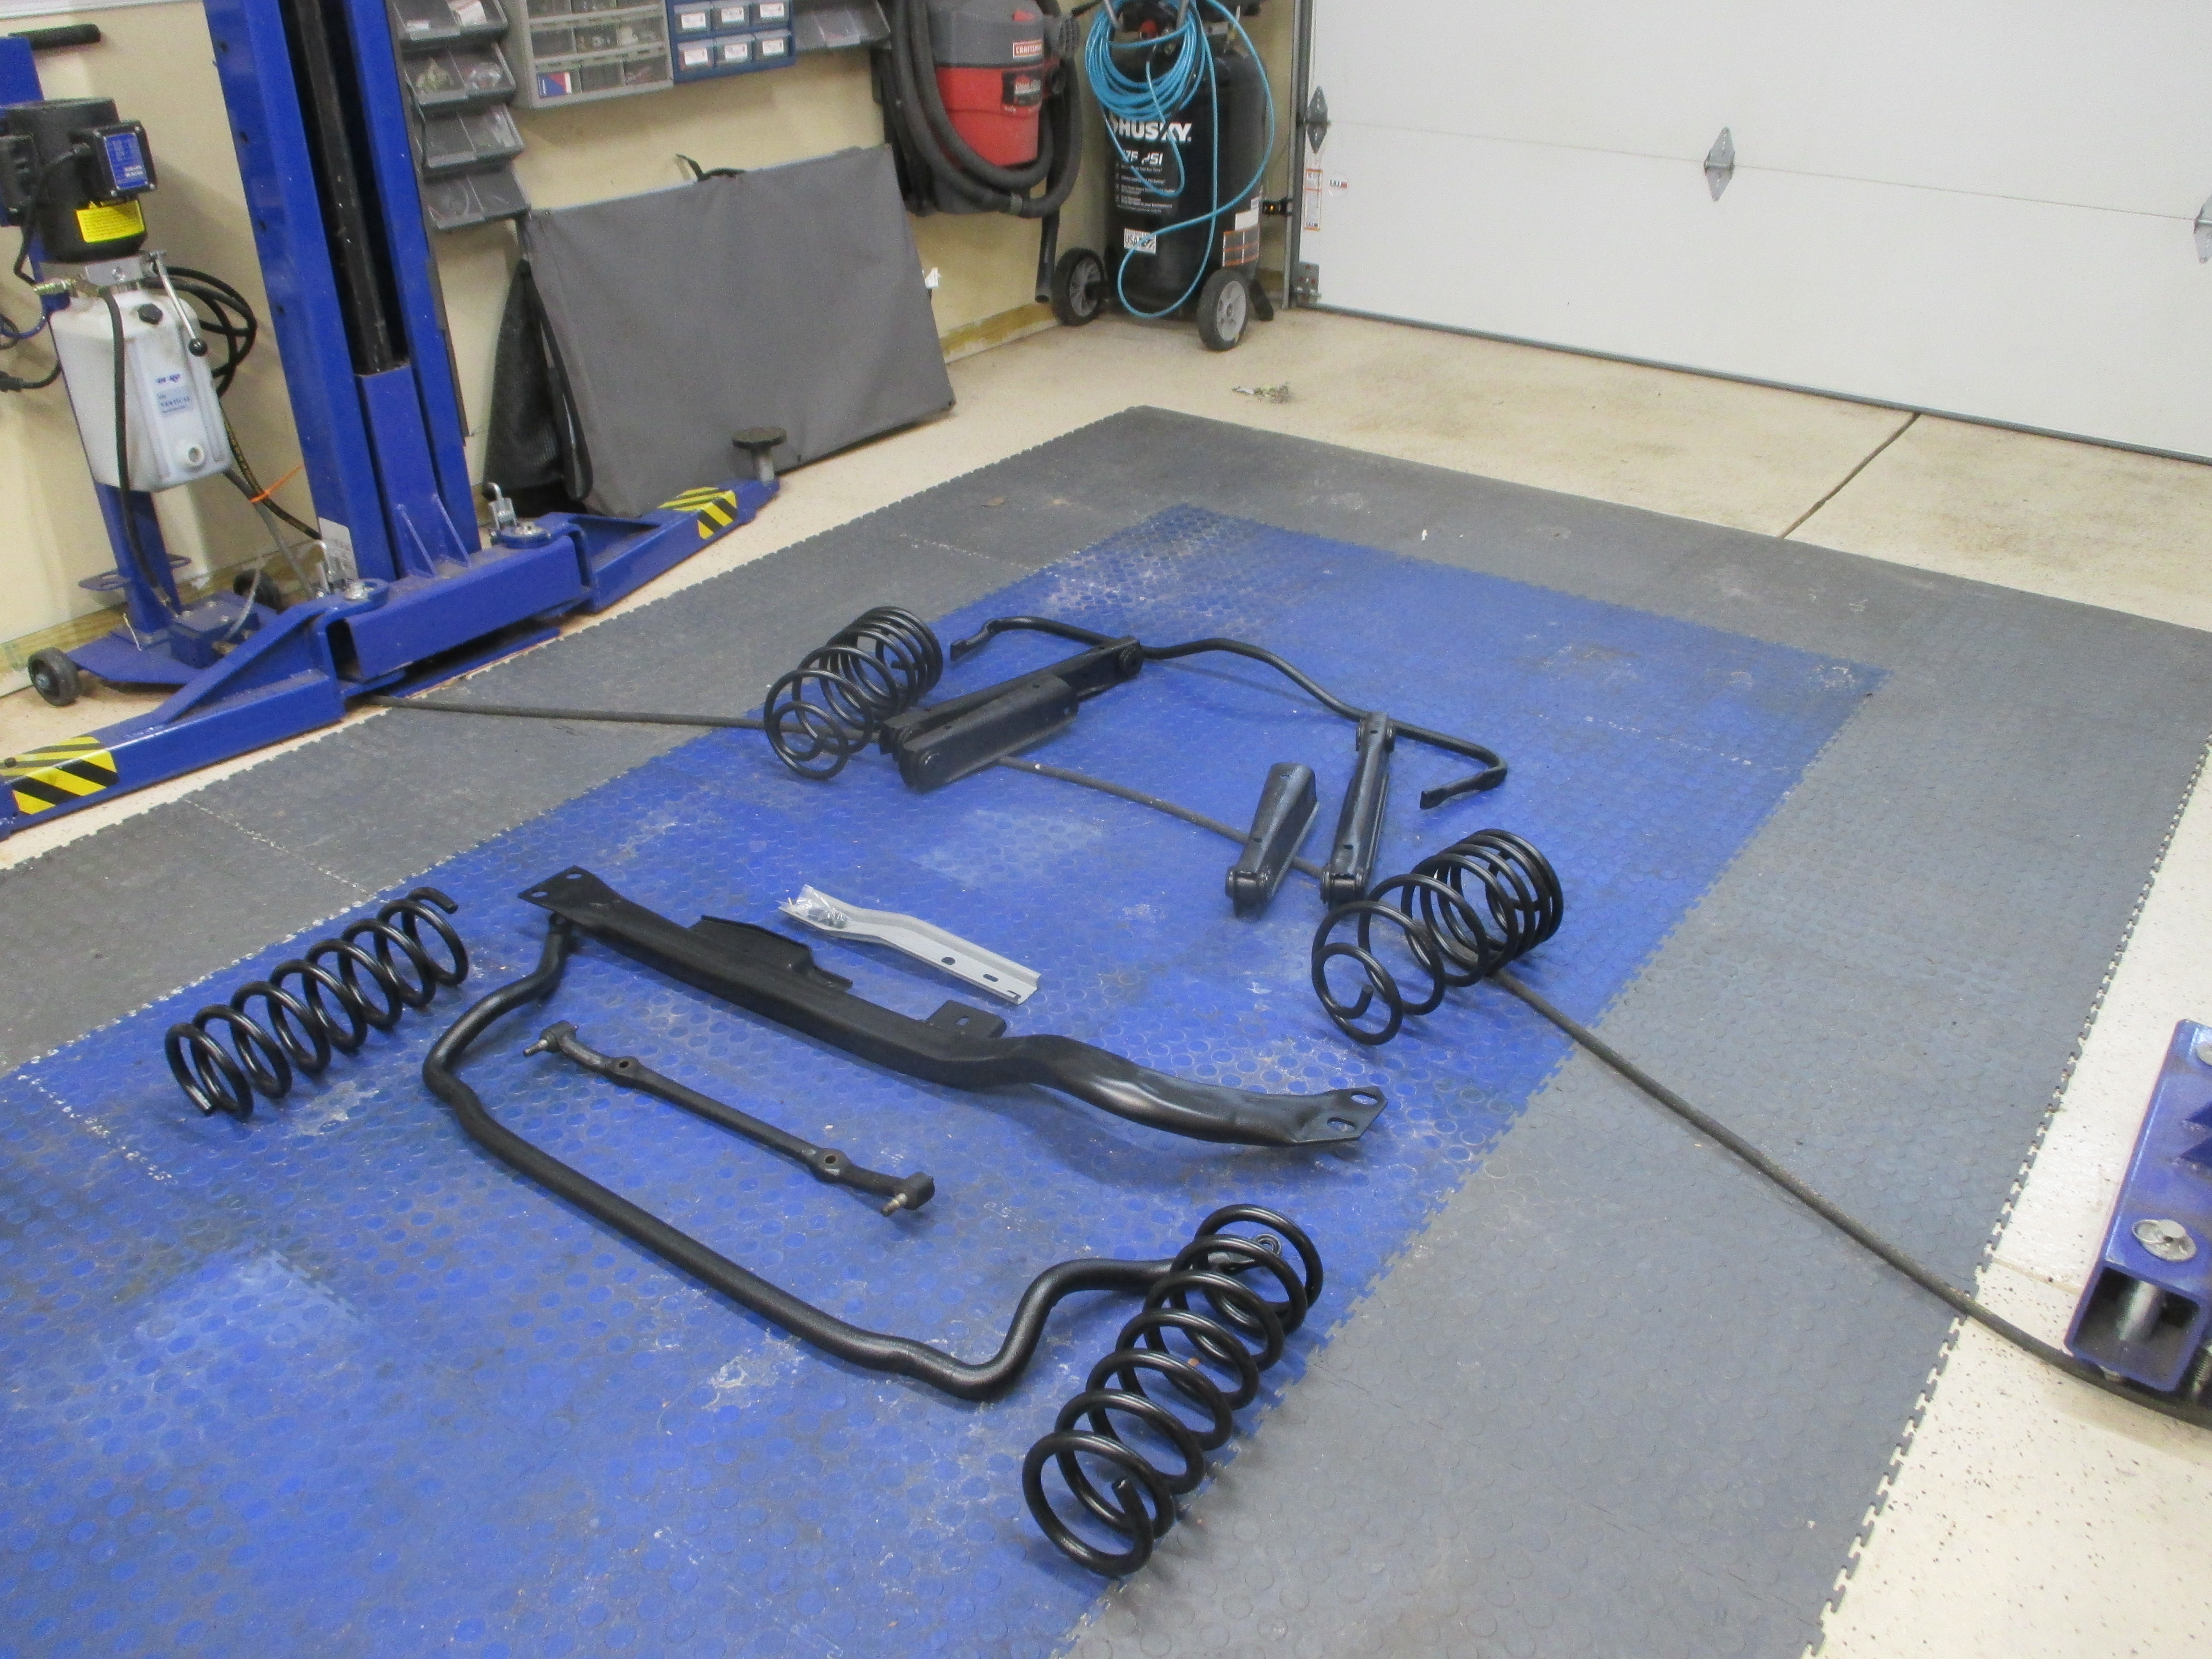
New front suspension going in next

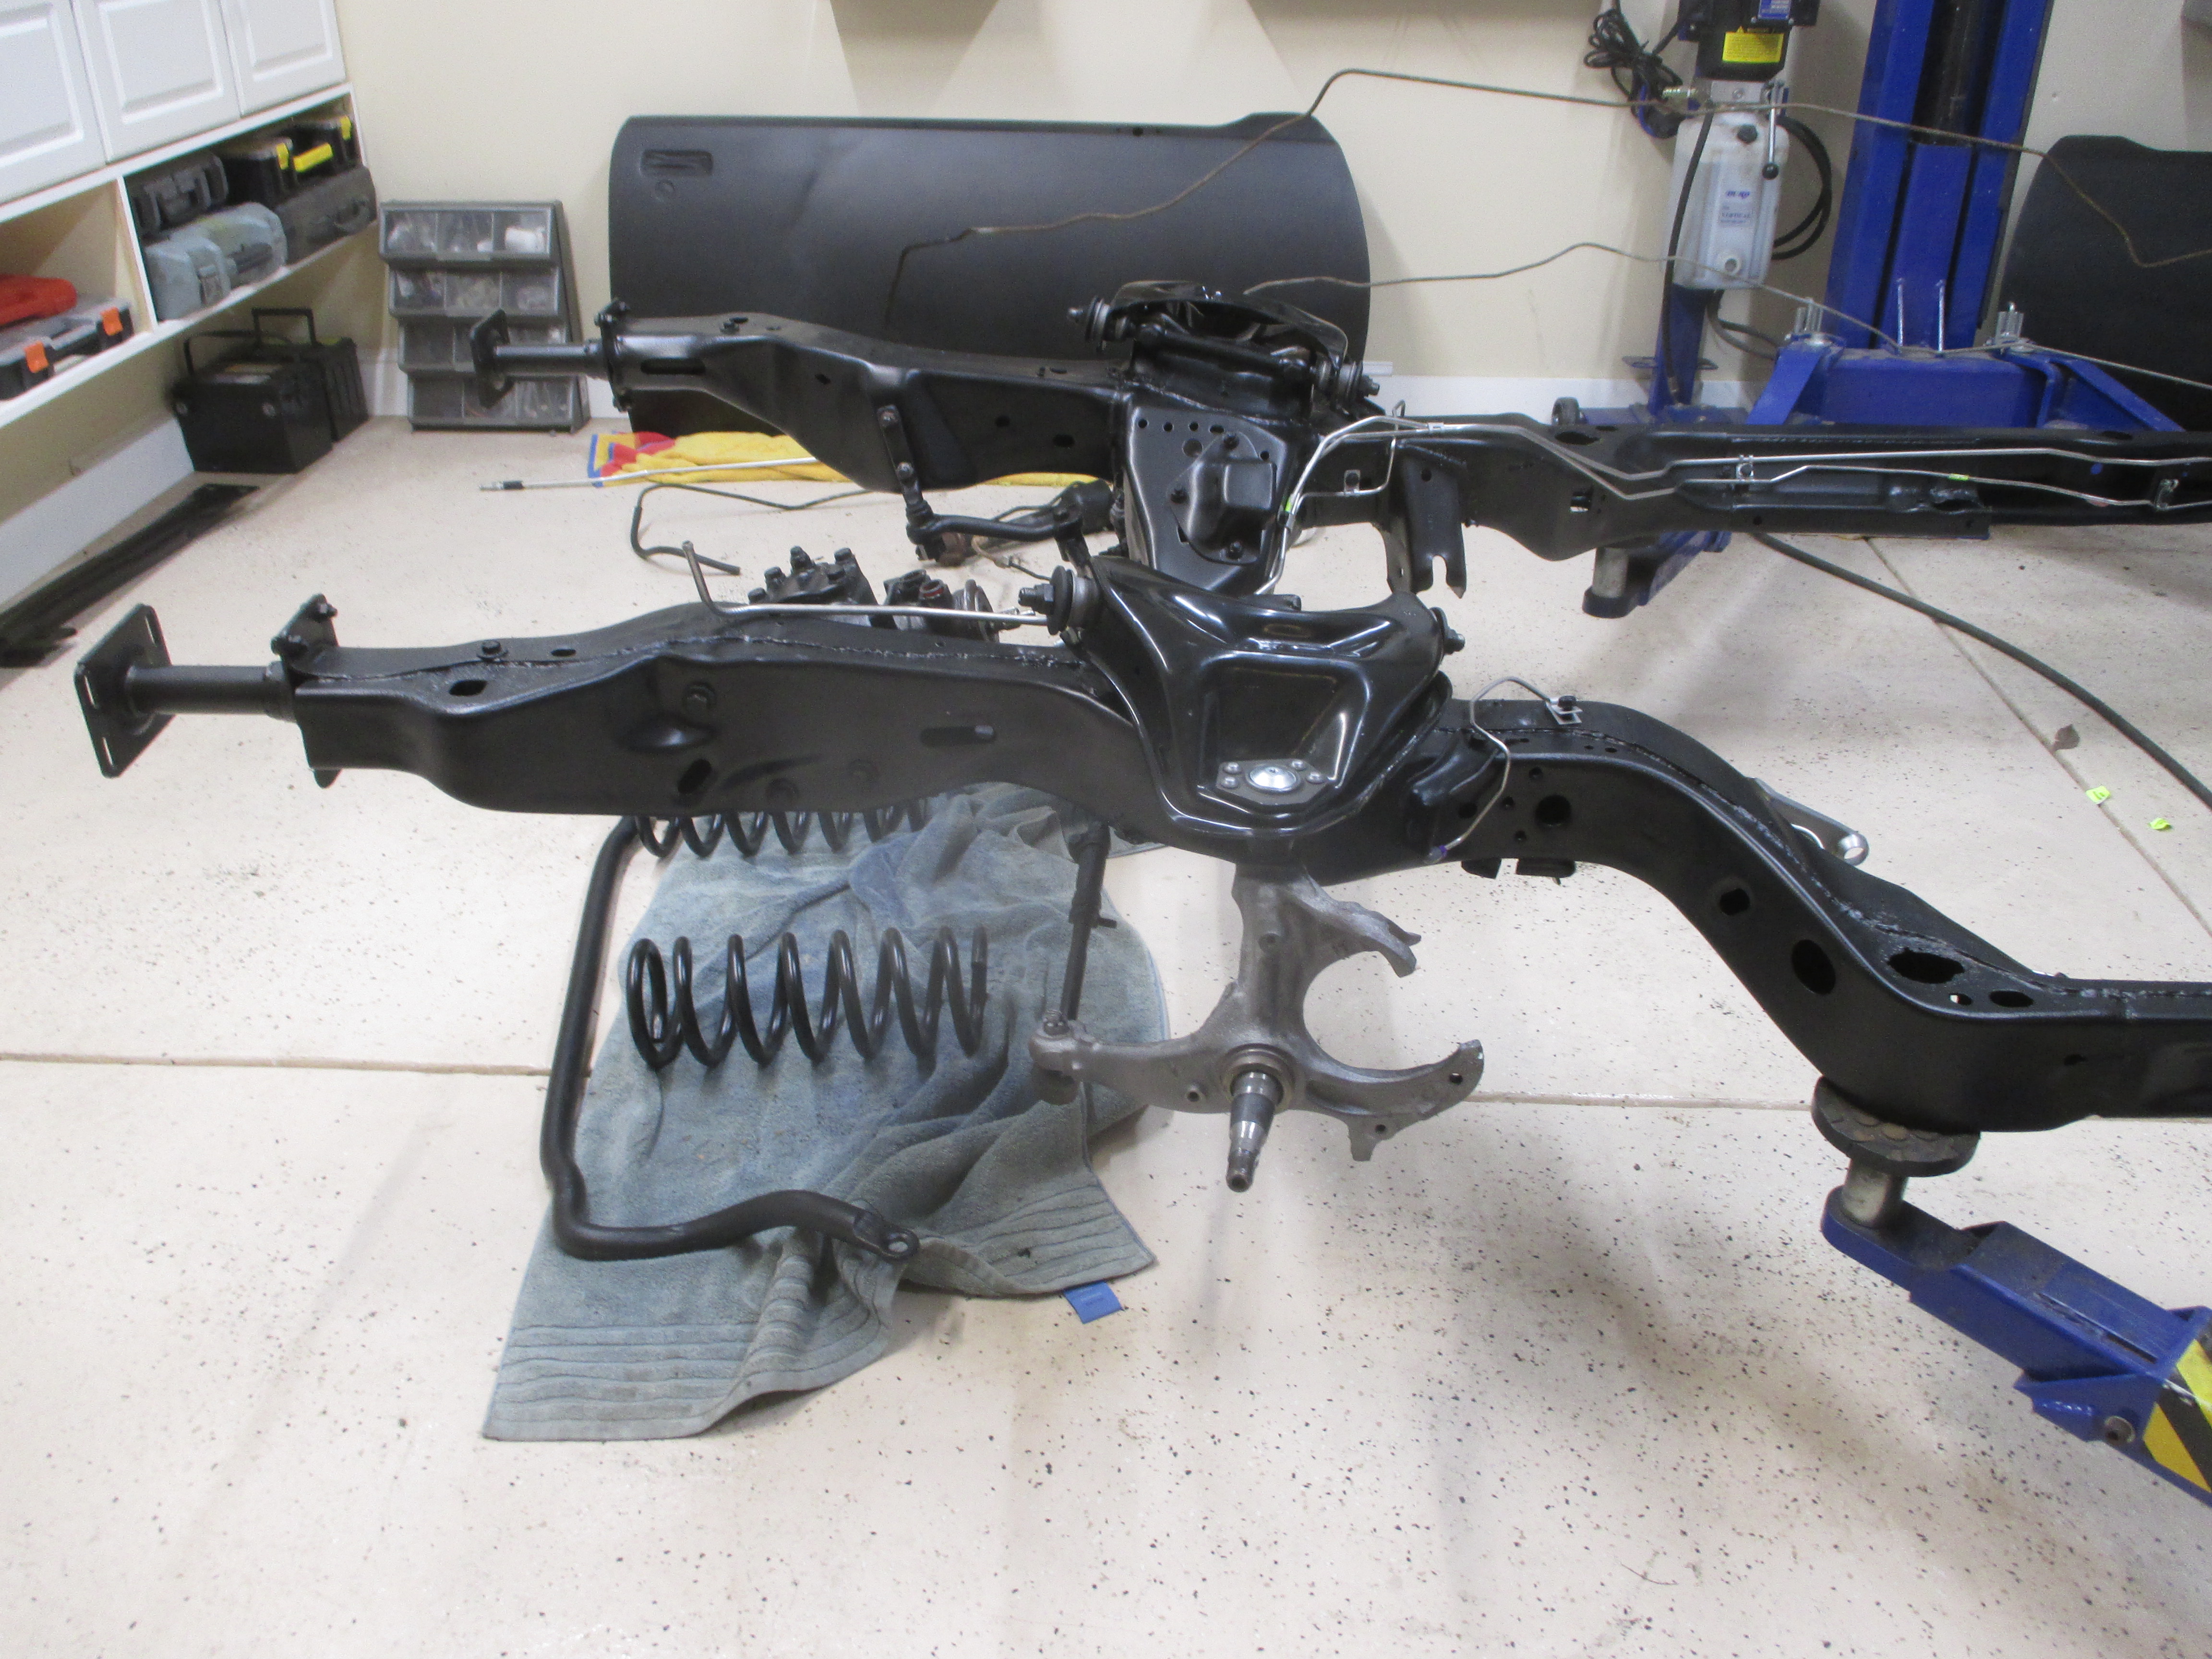
New front suspension linkage
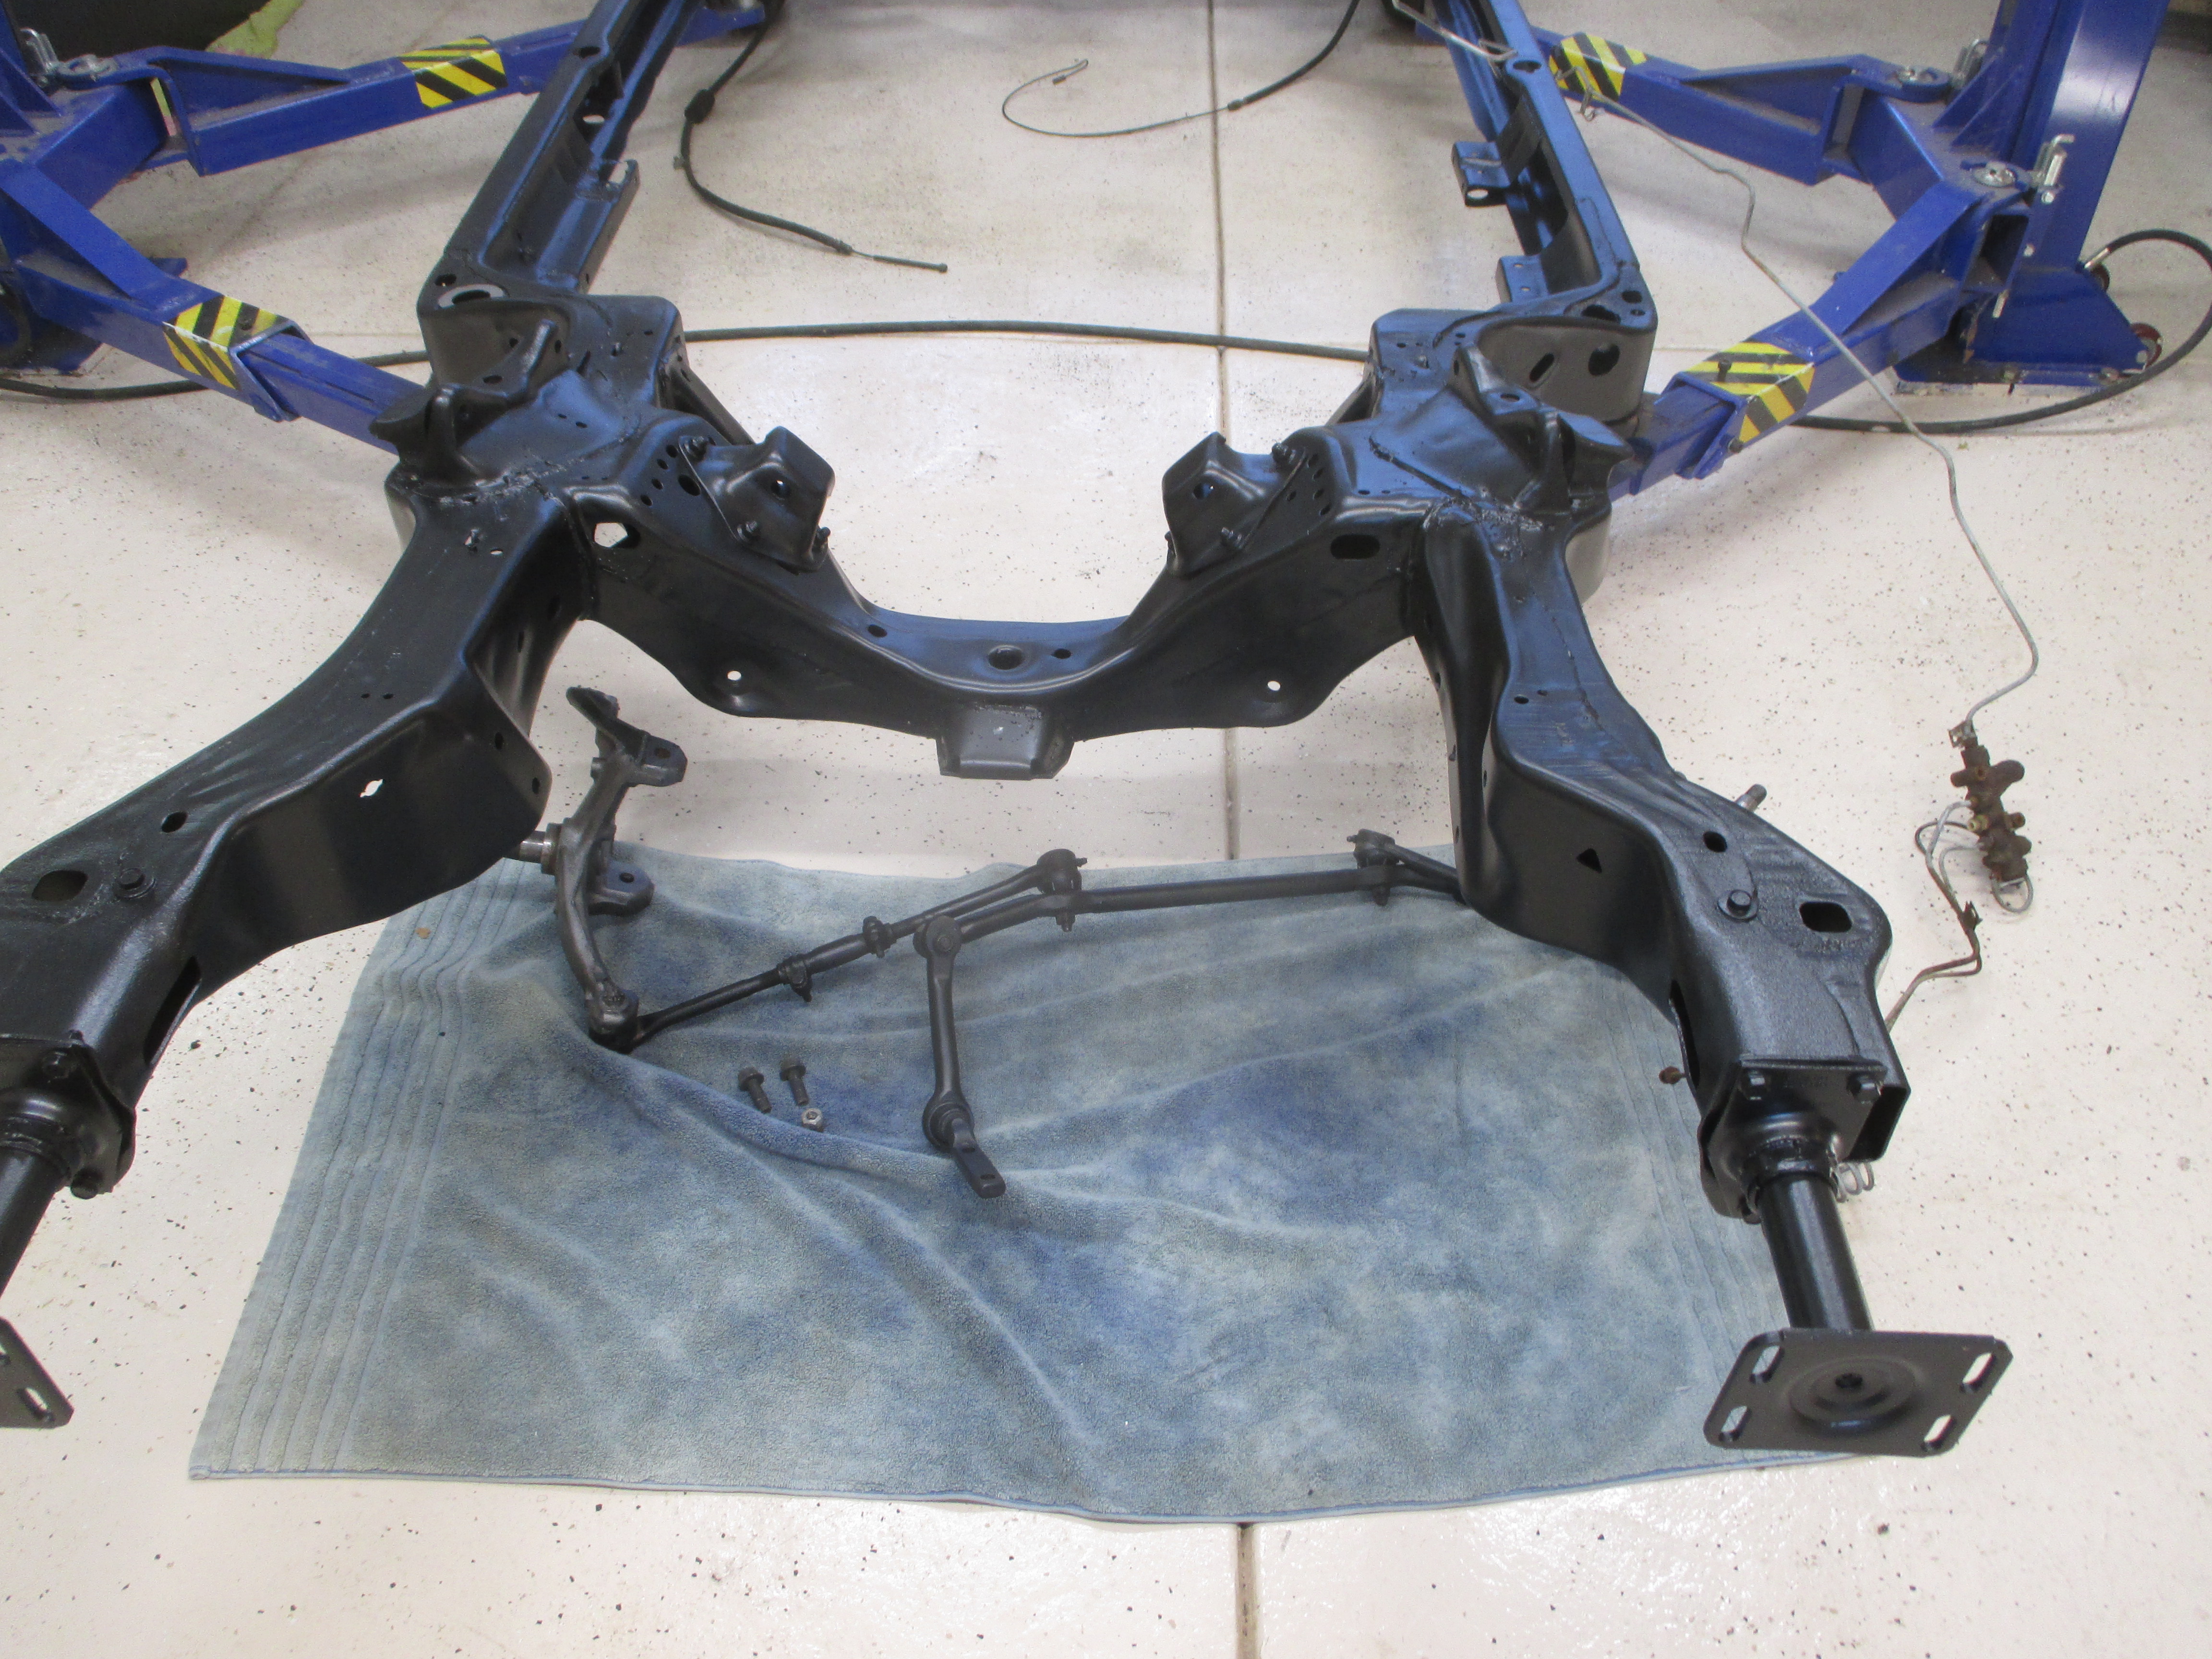
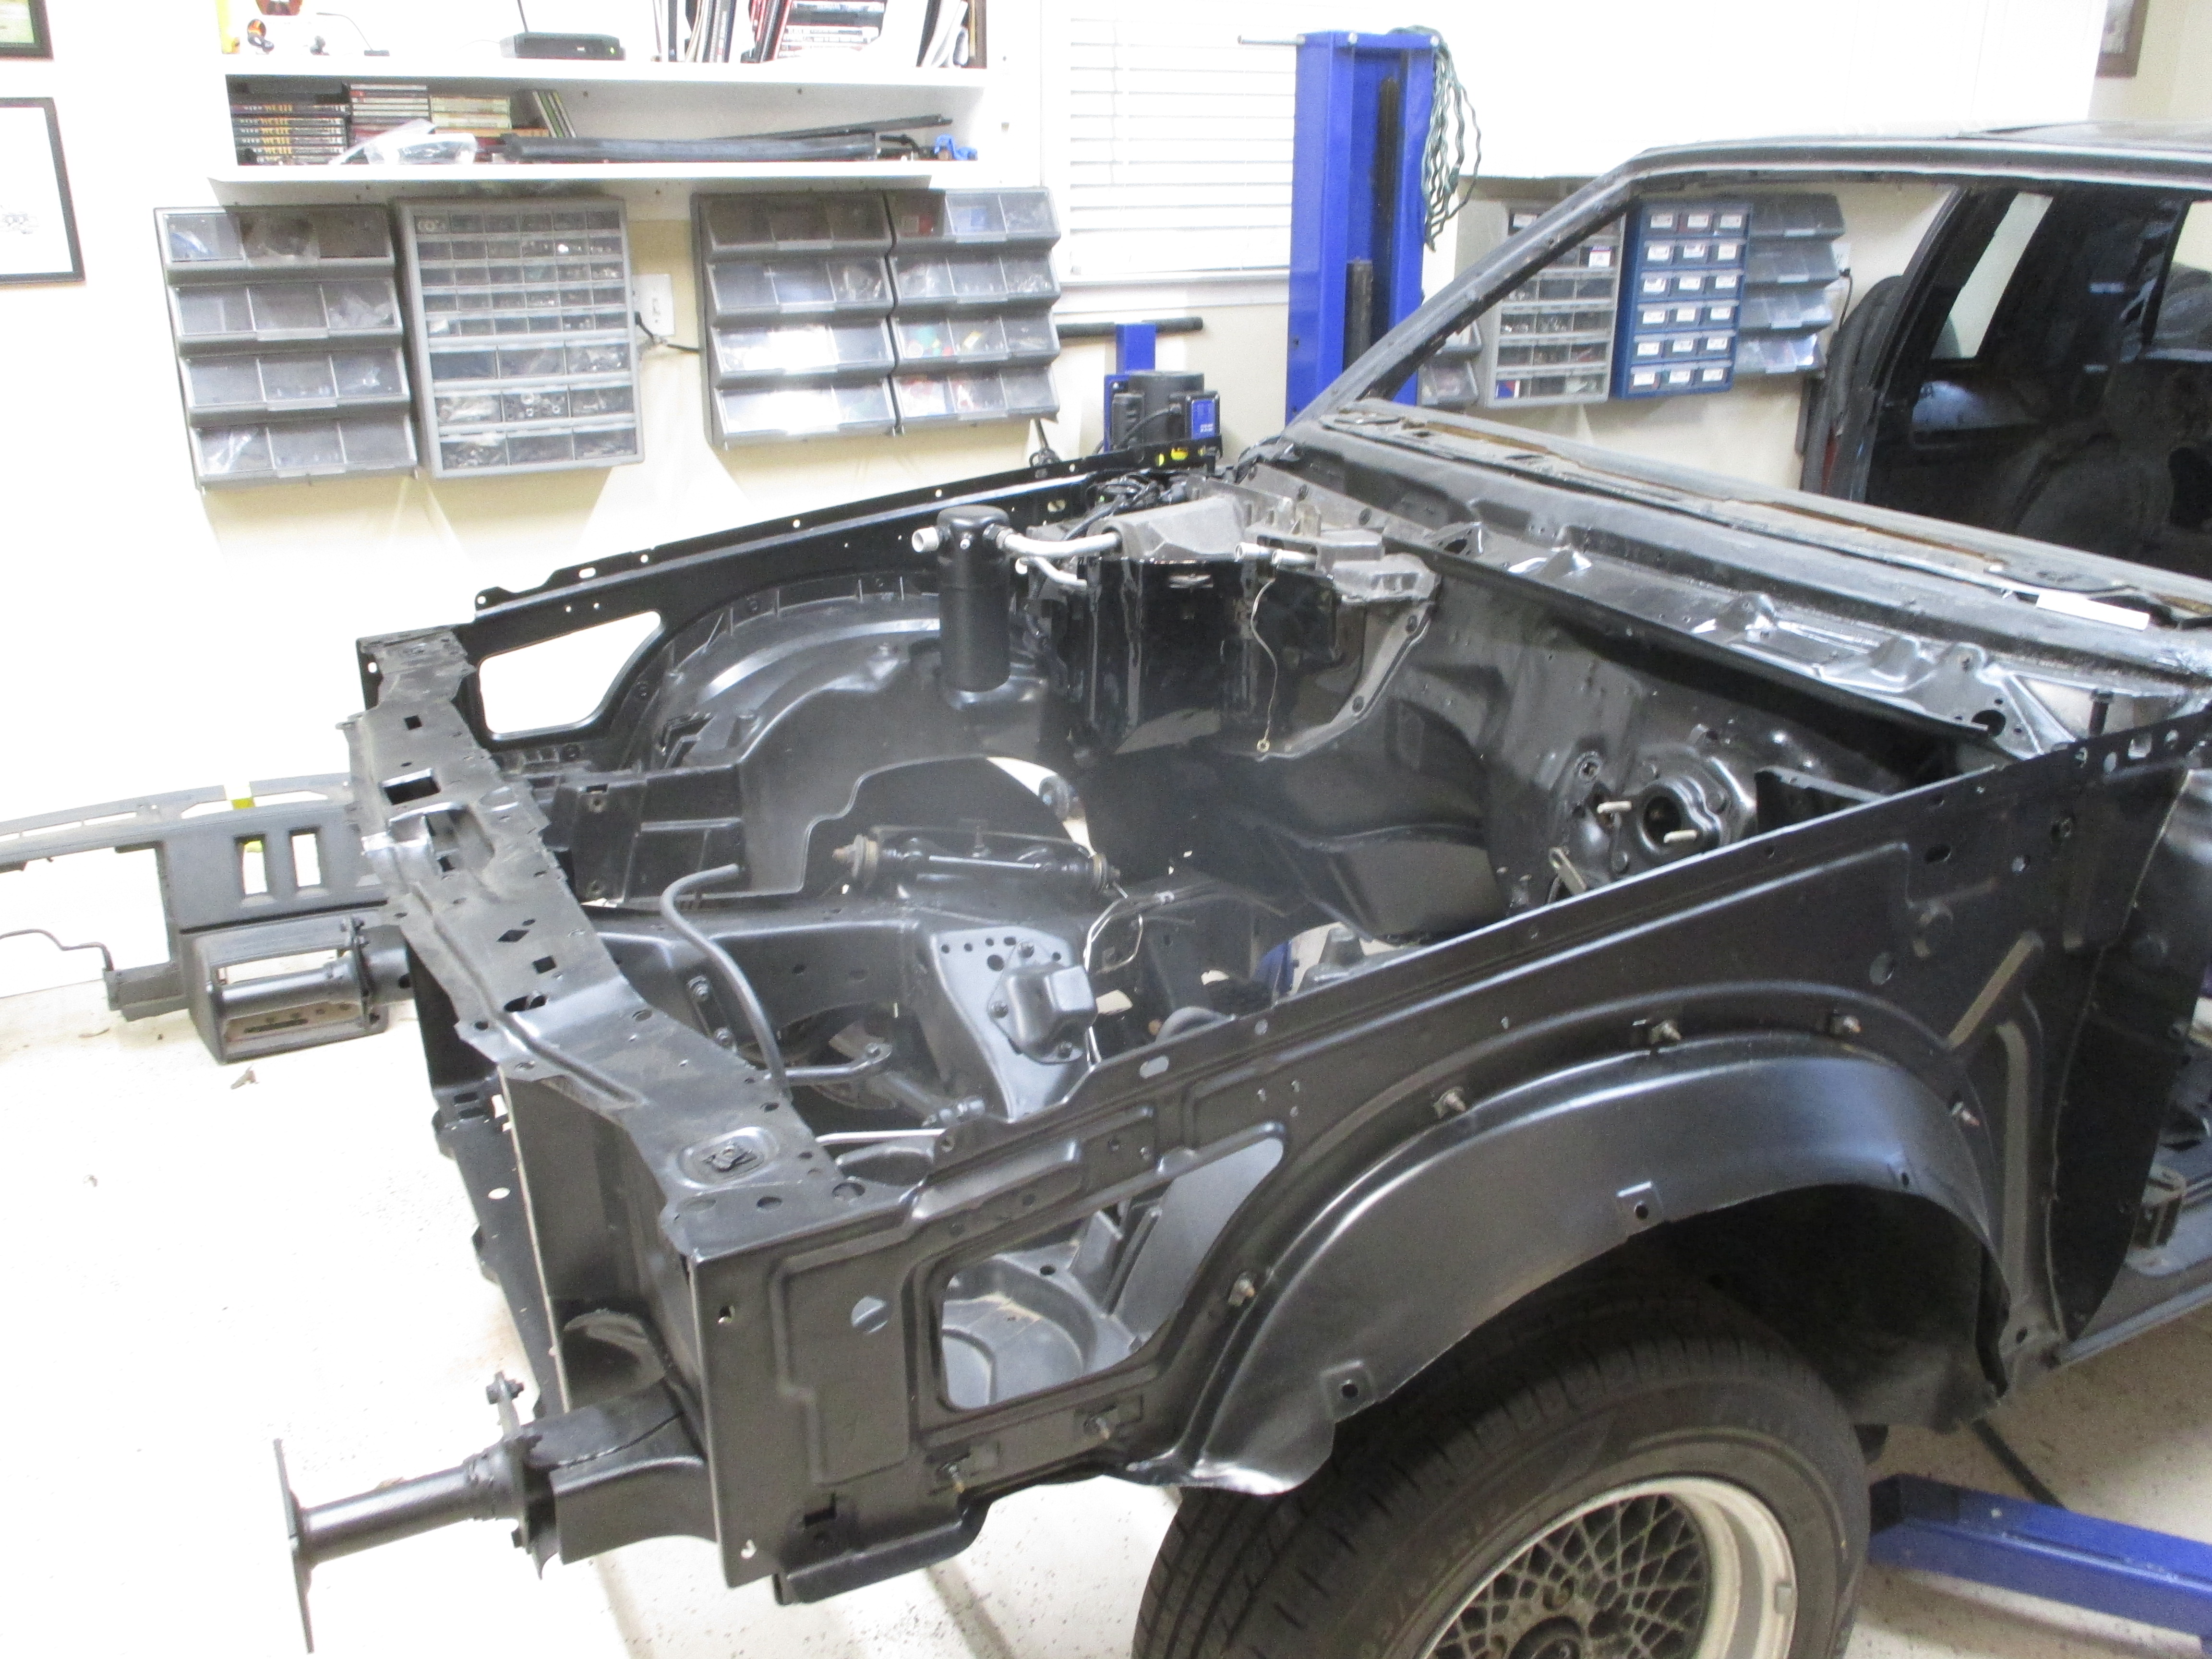
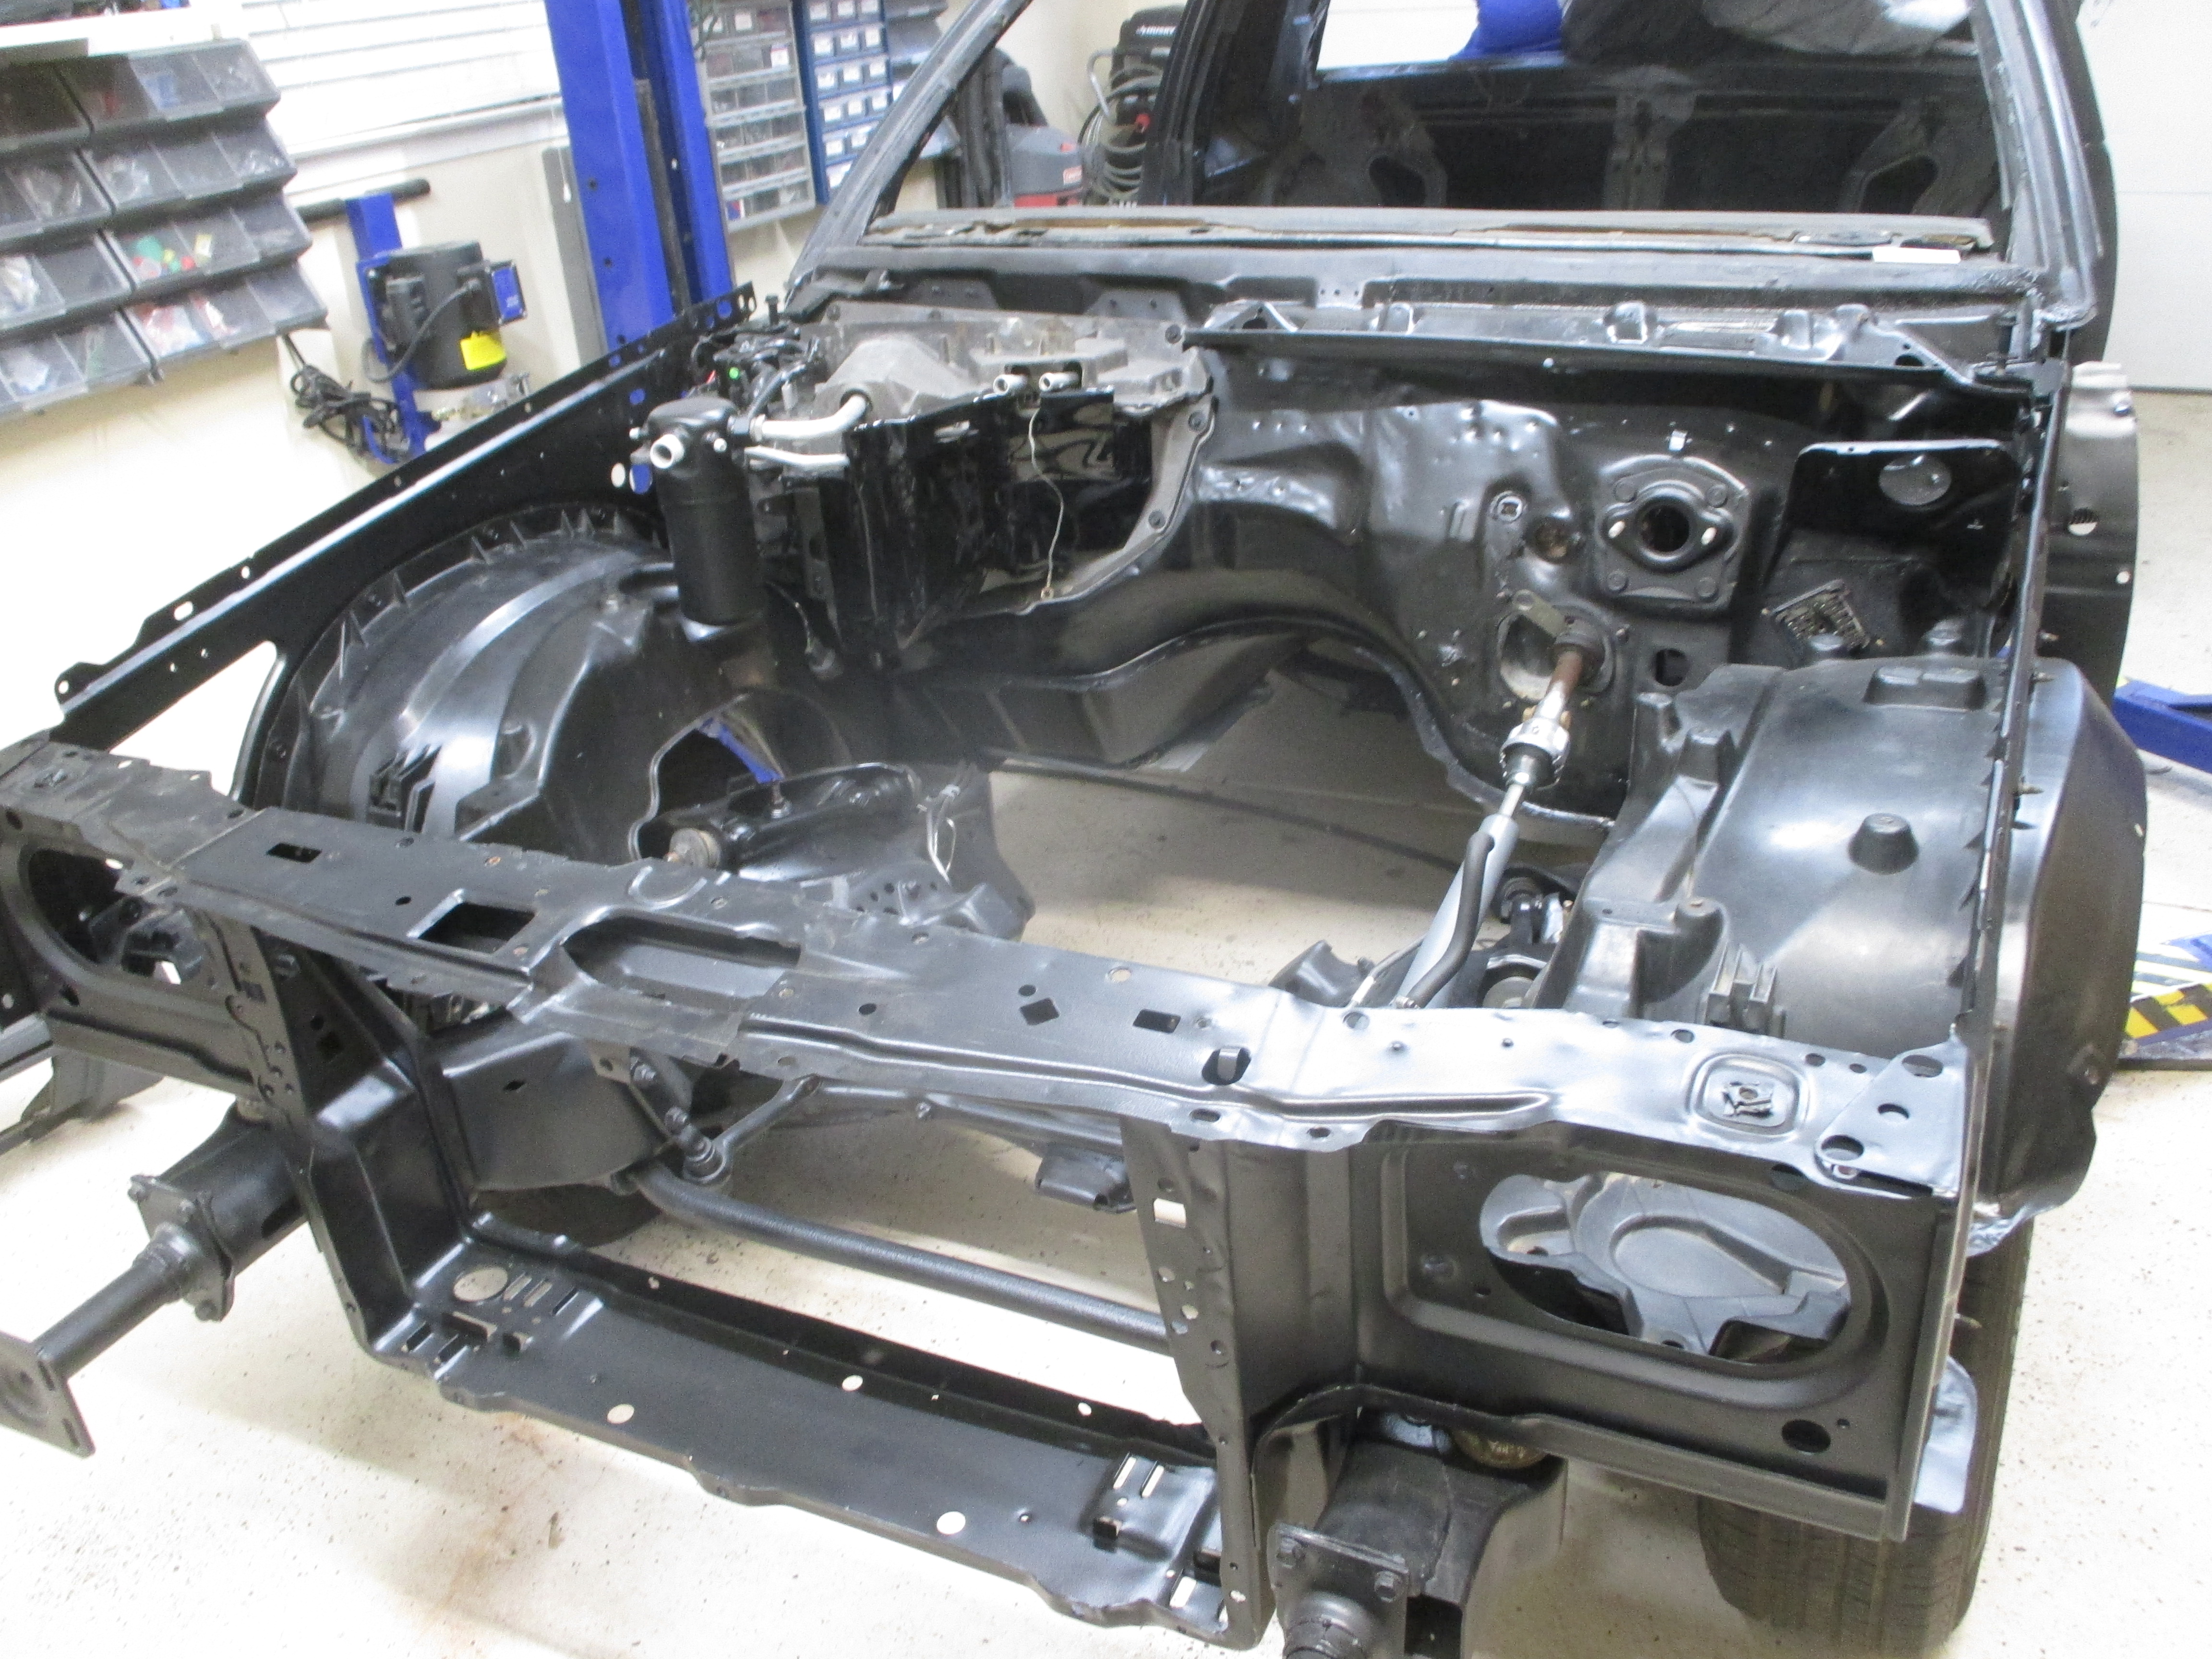
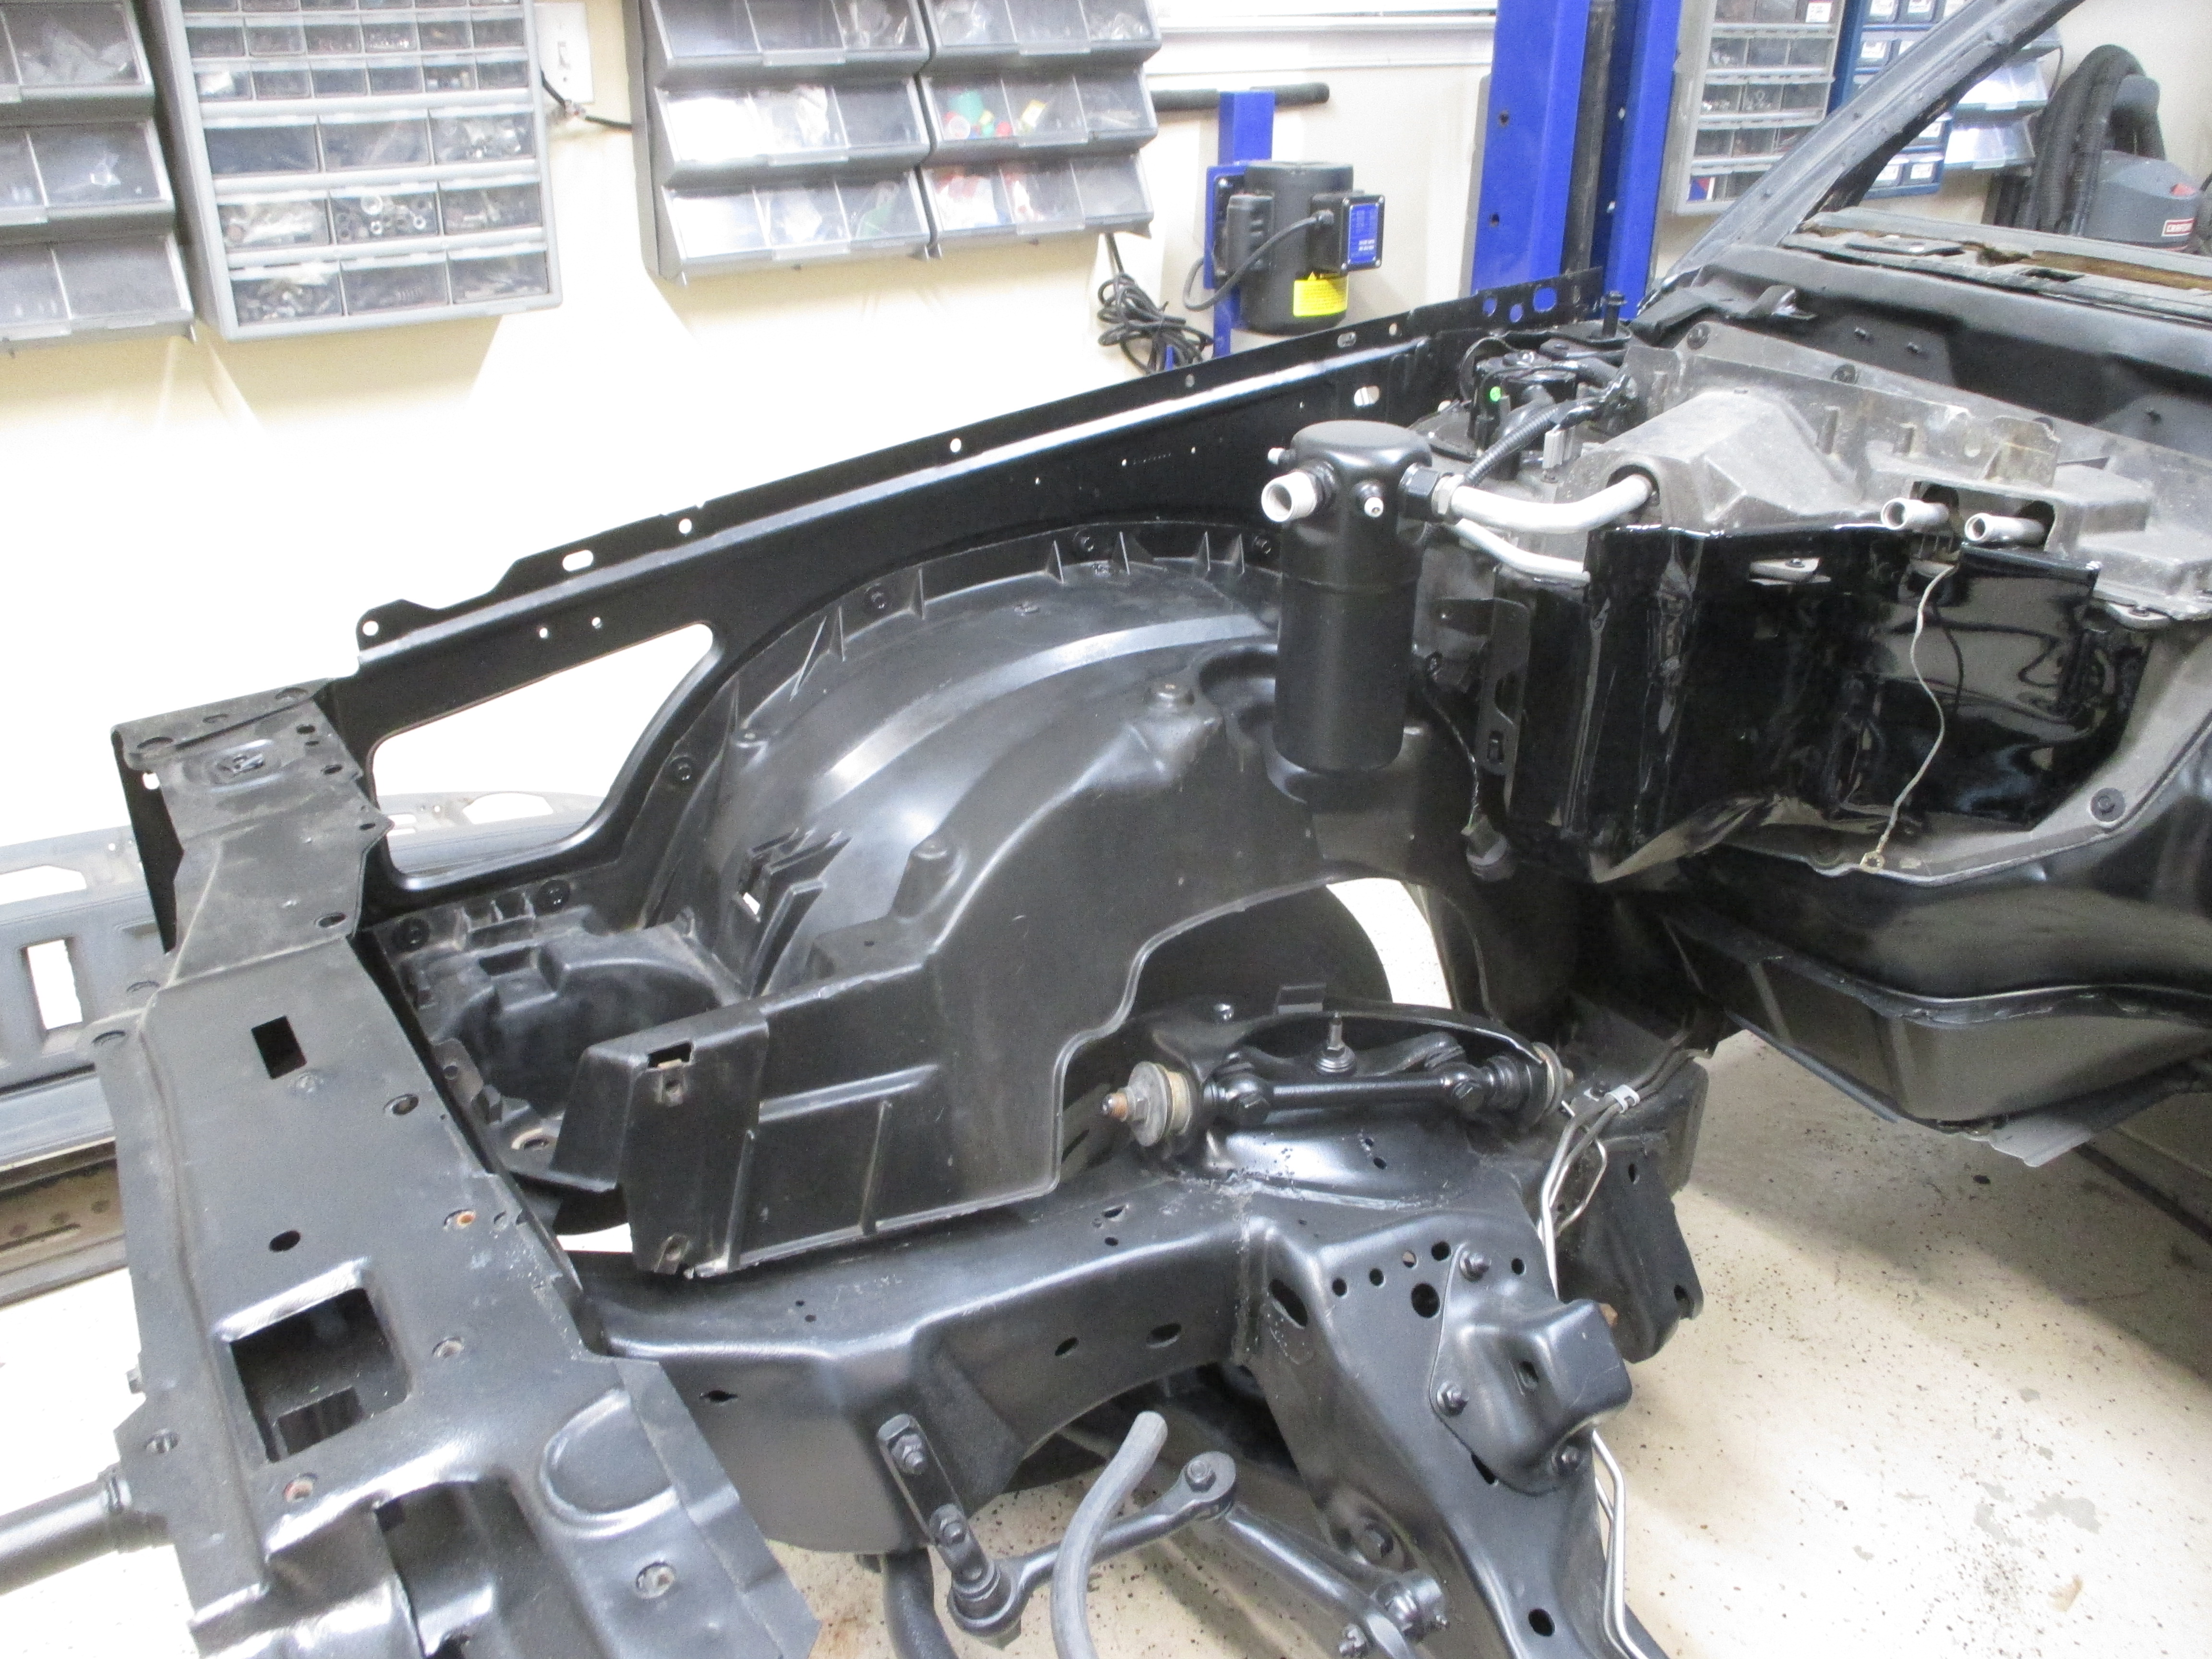
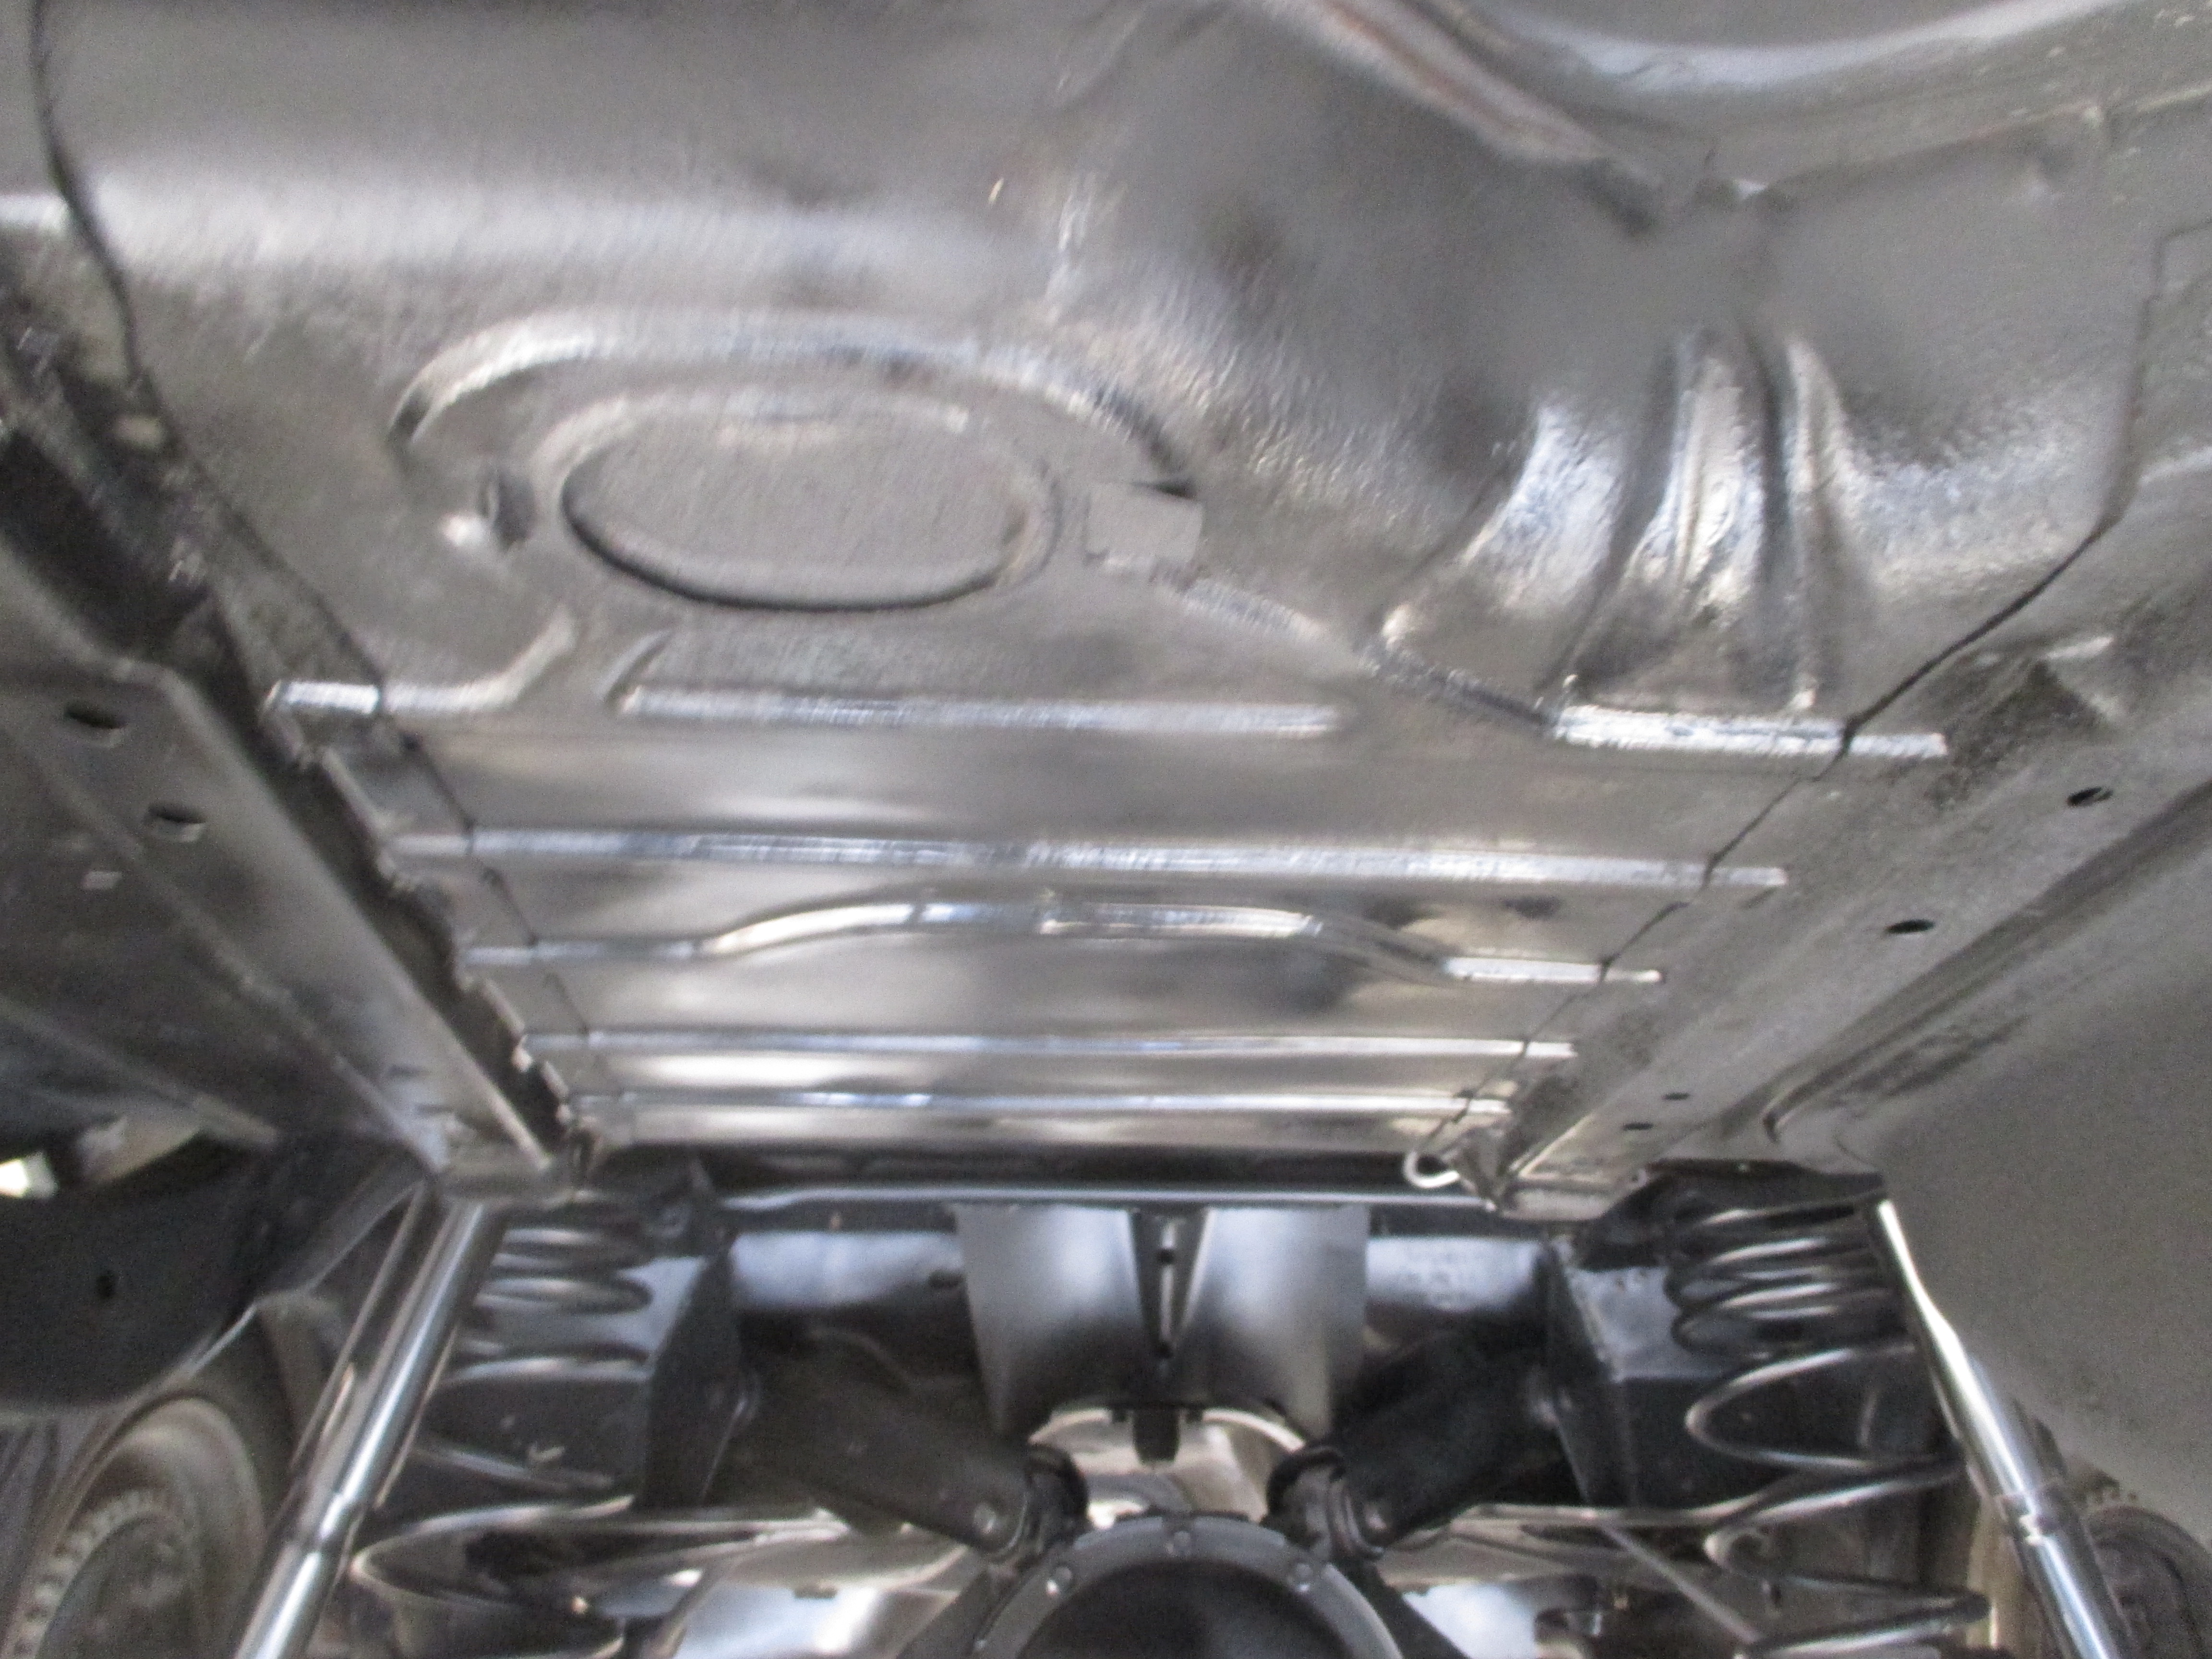
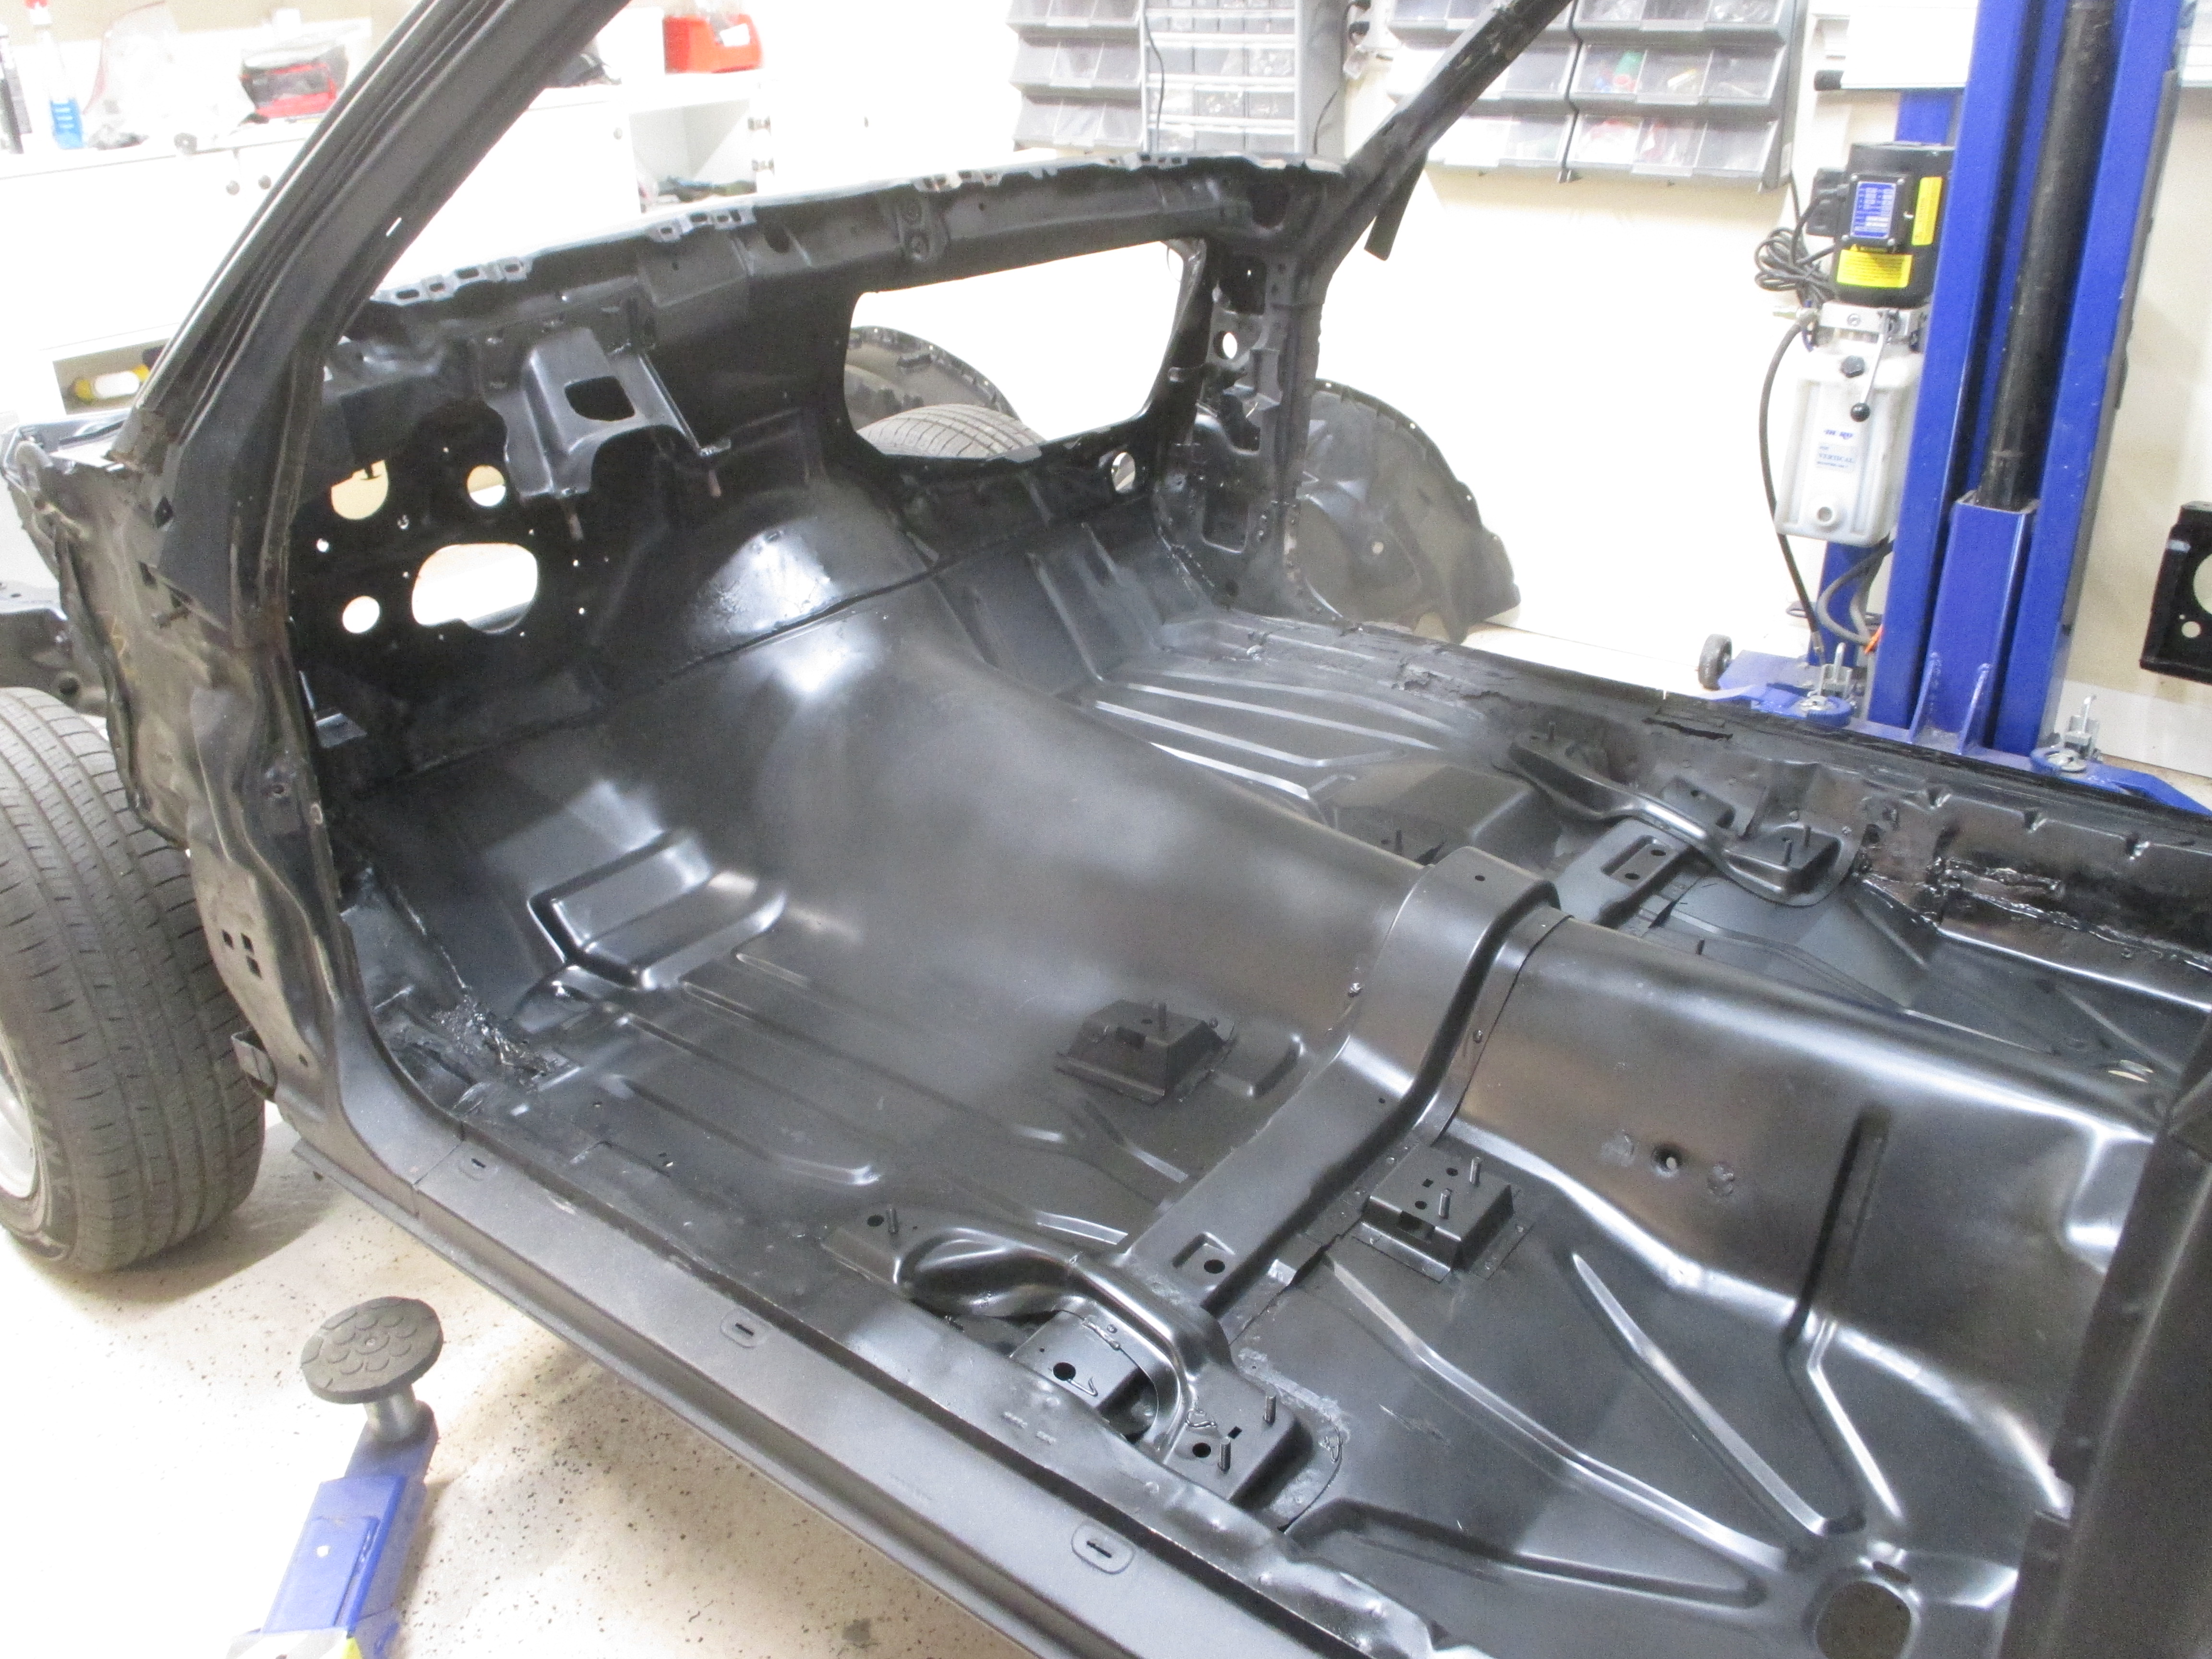
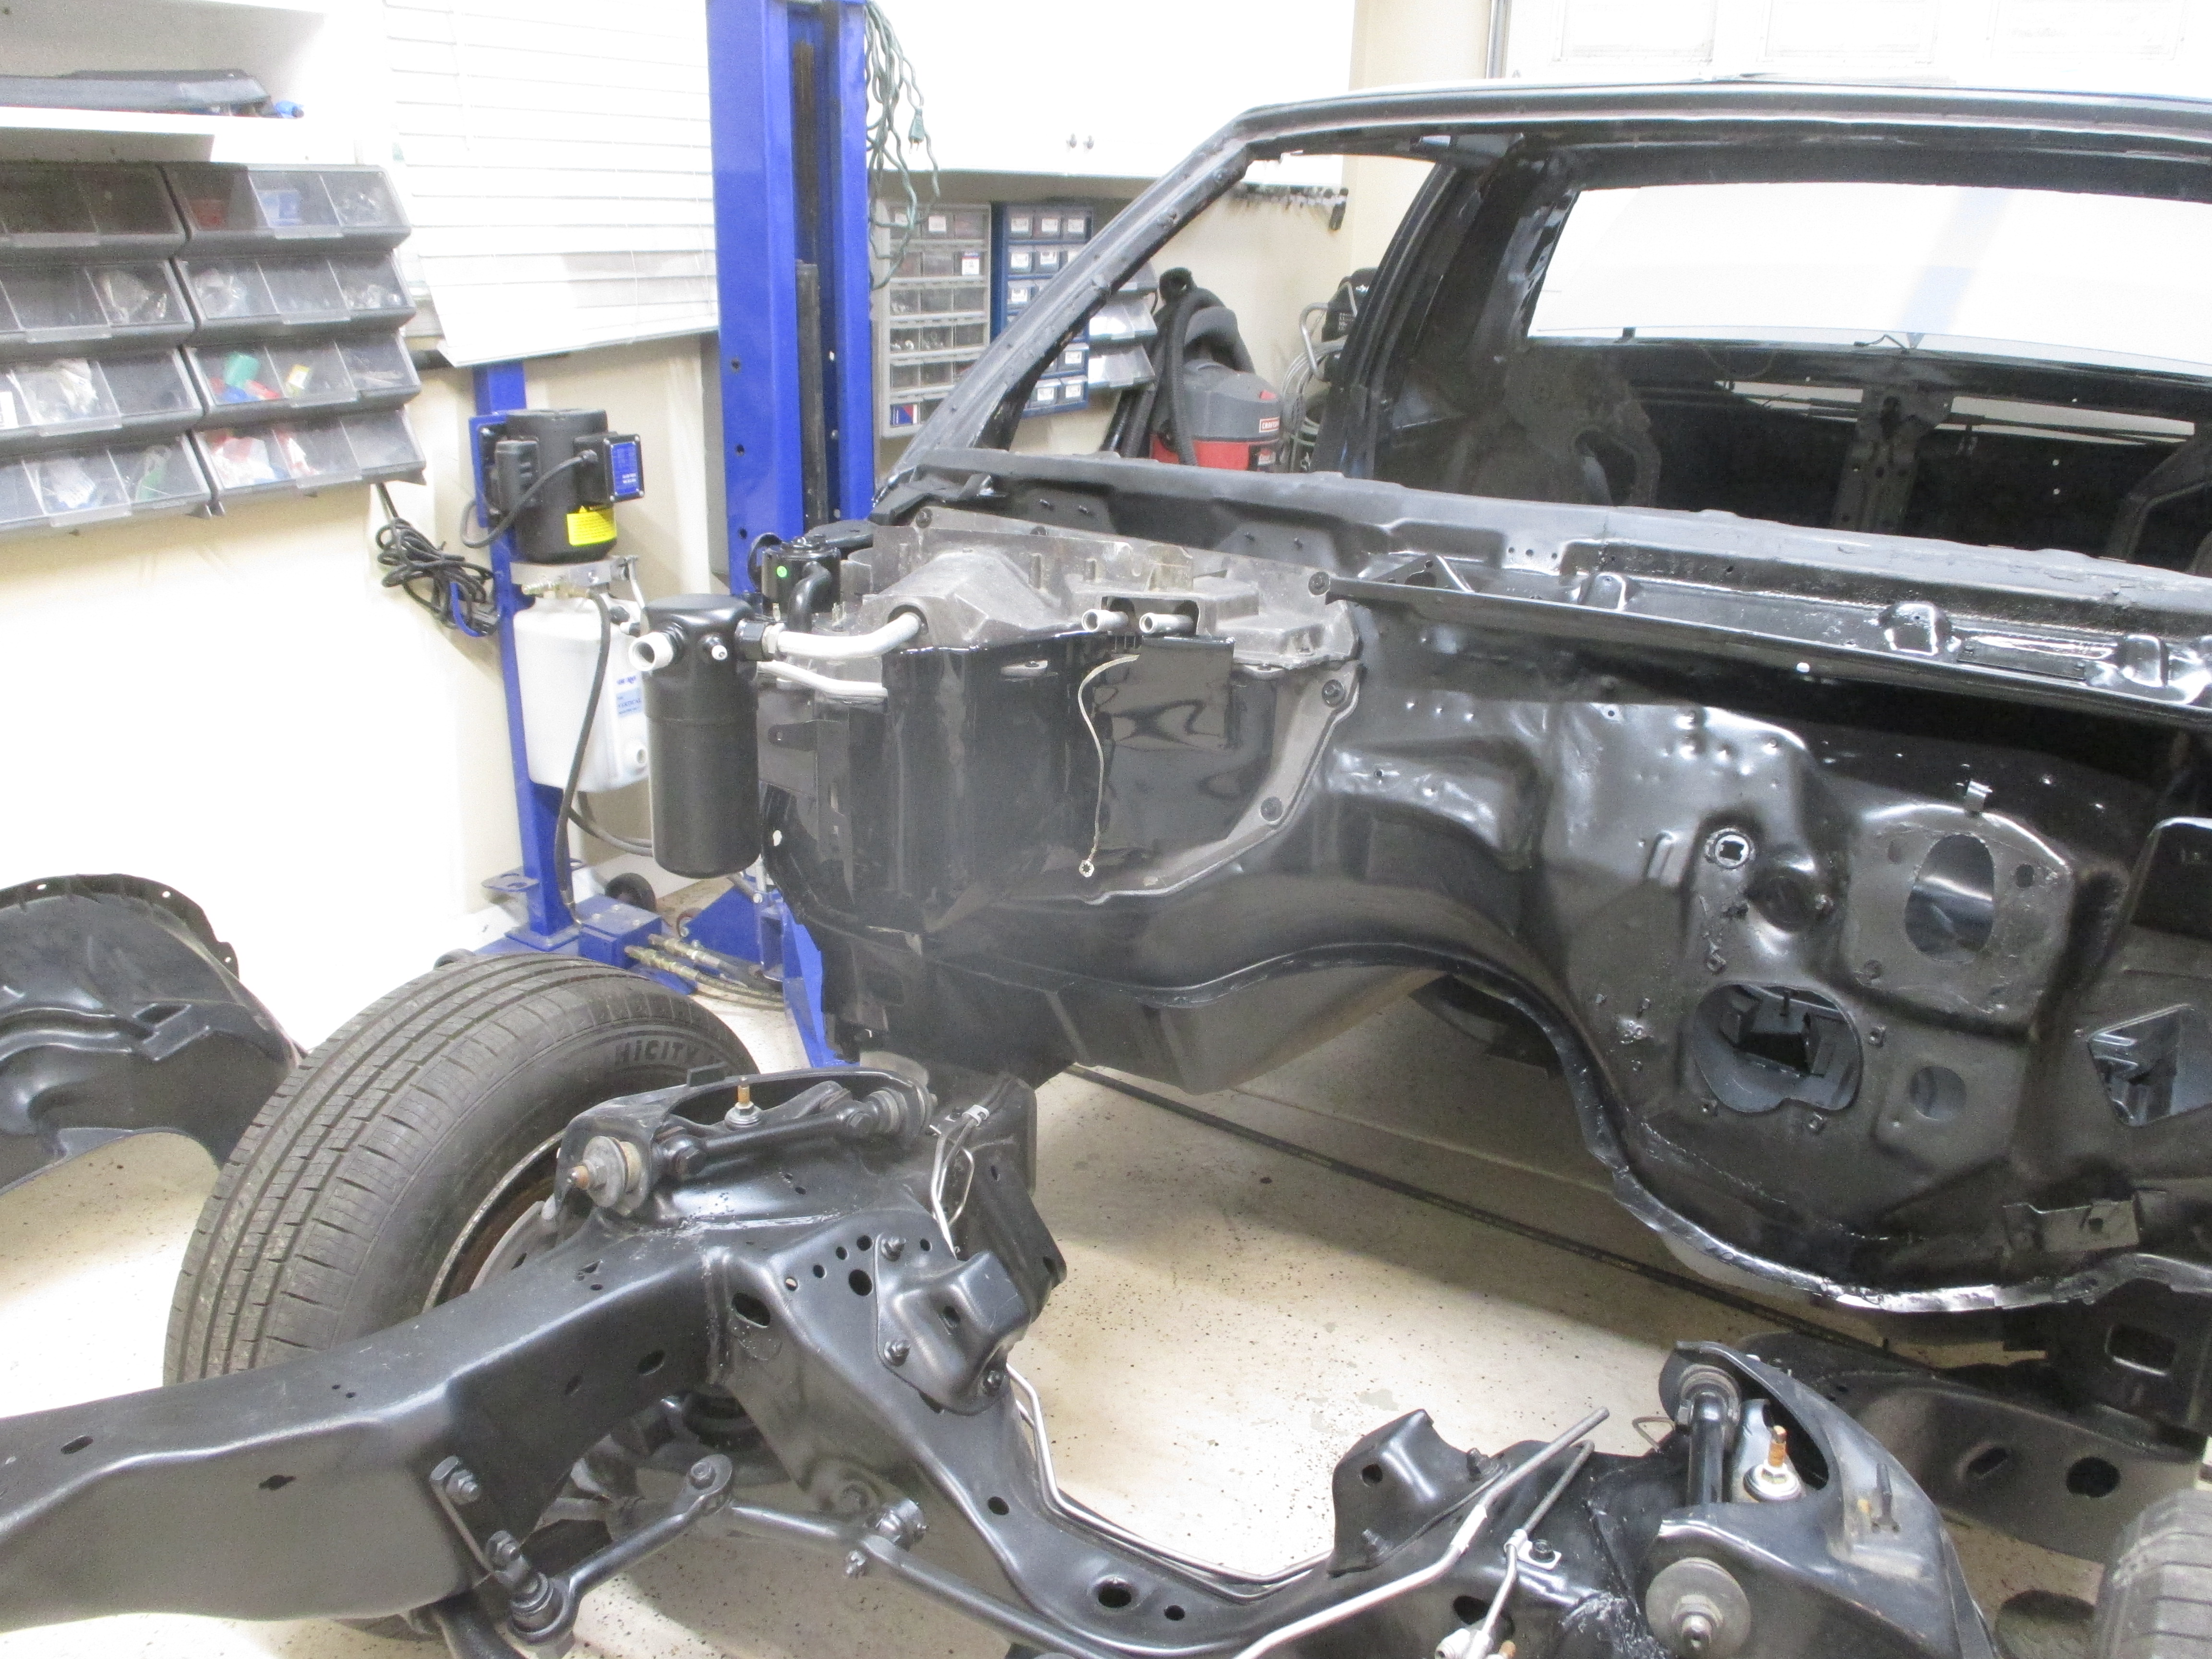
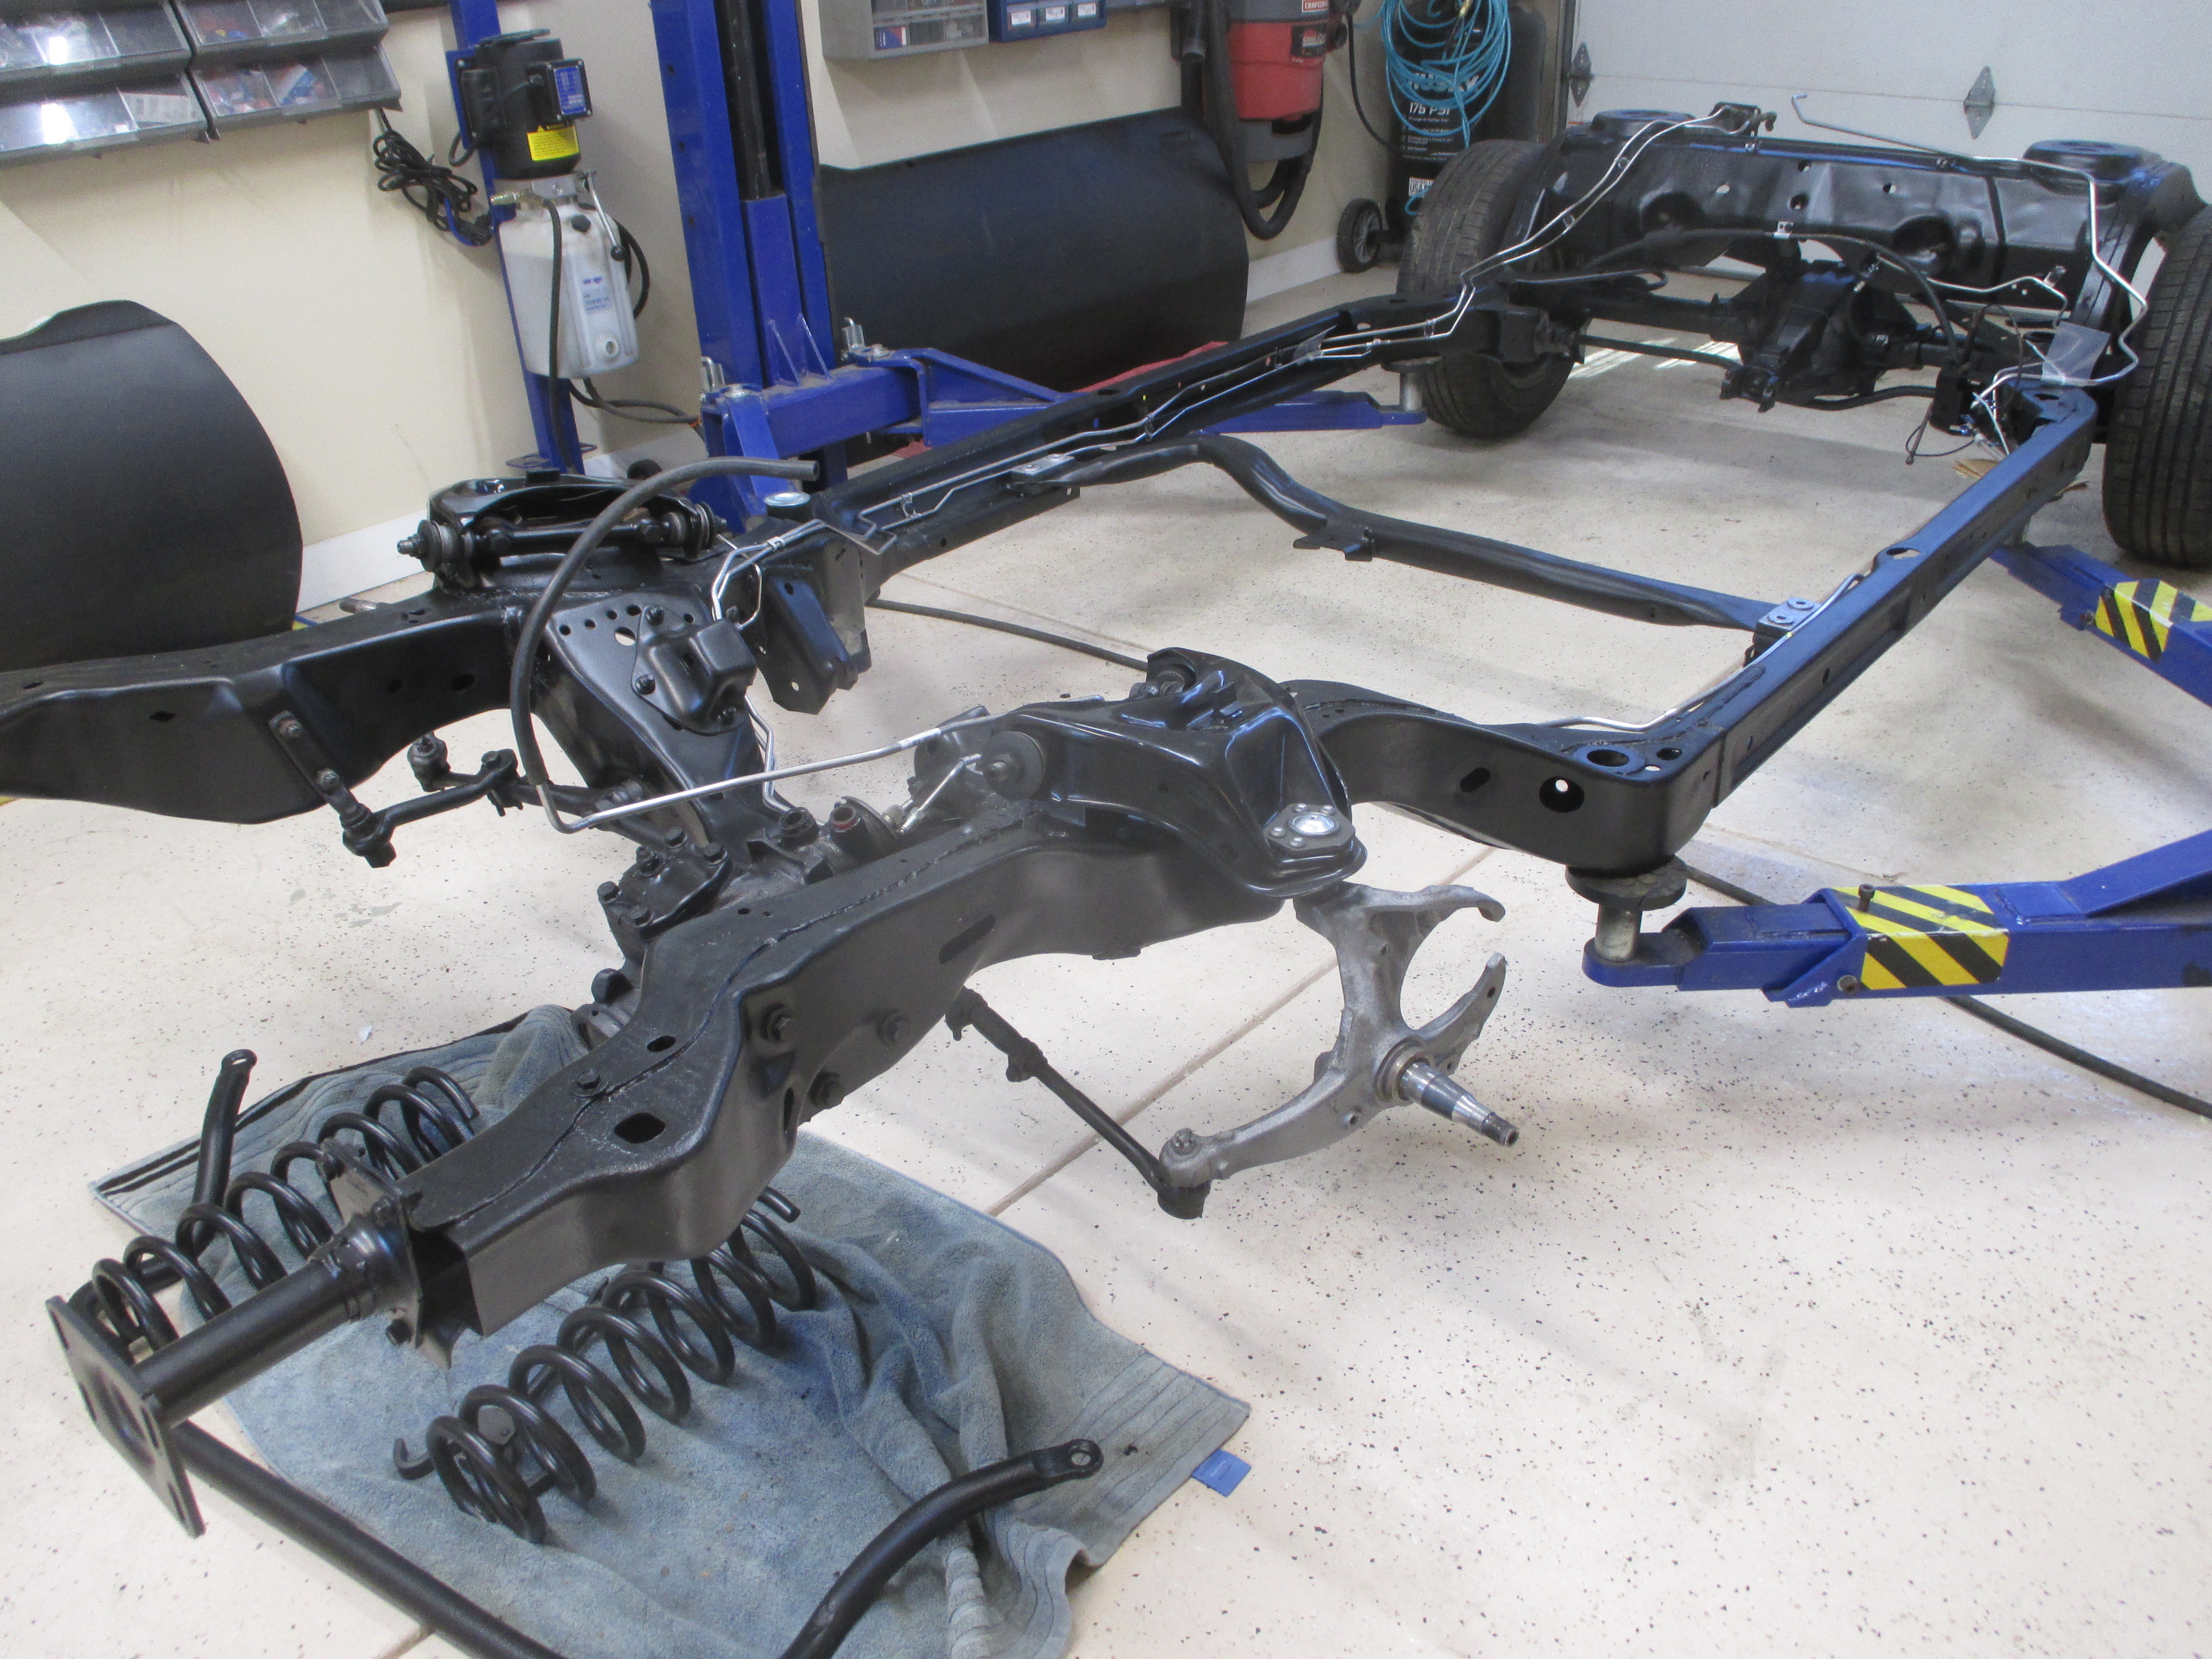
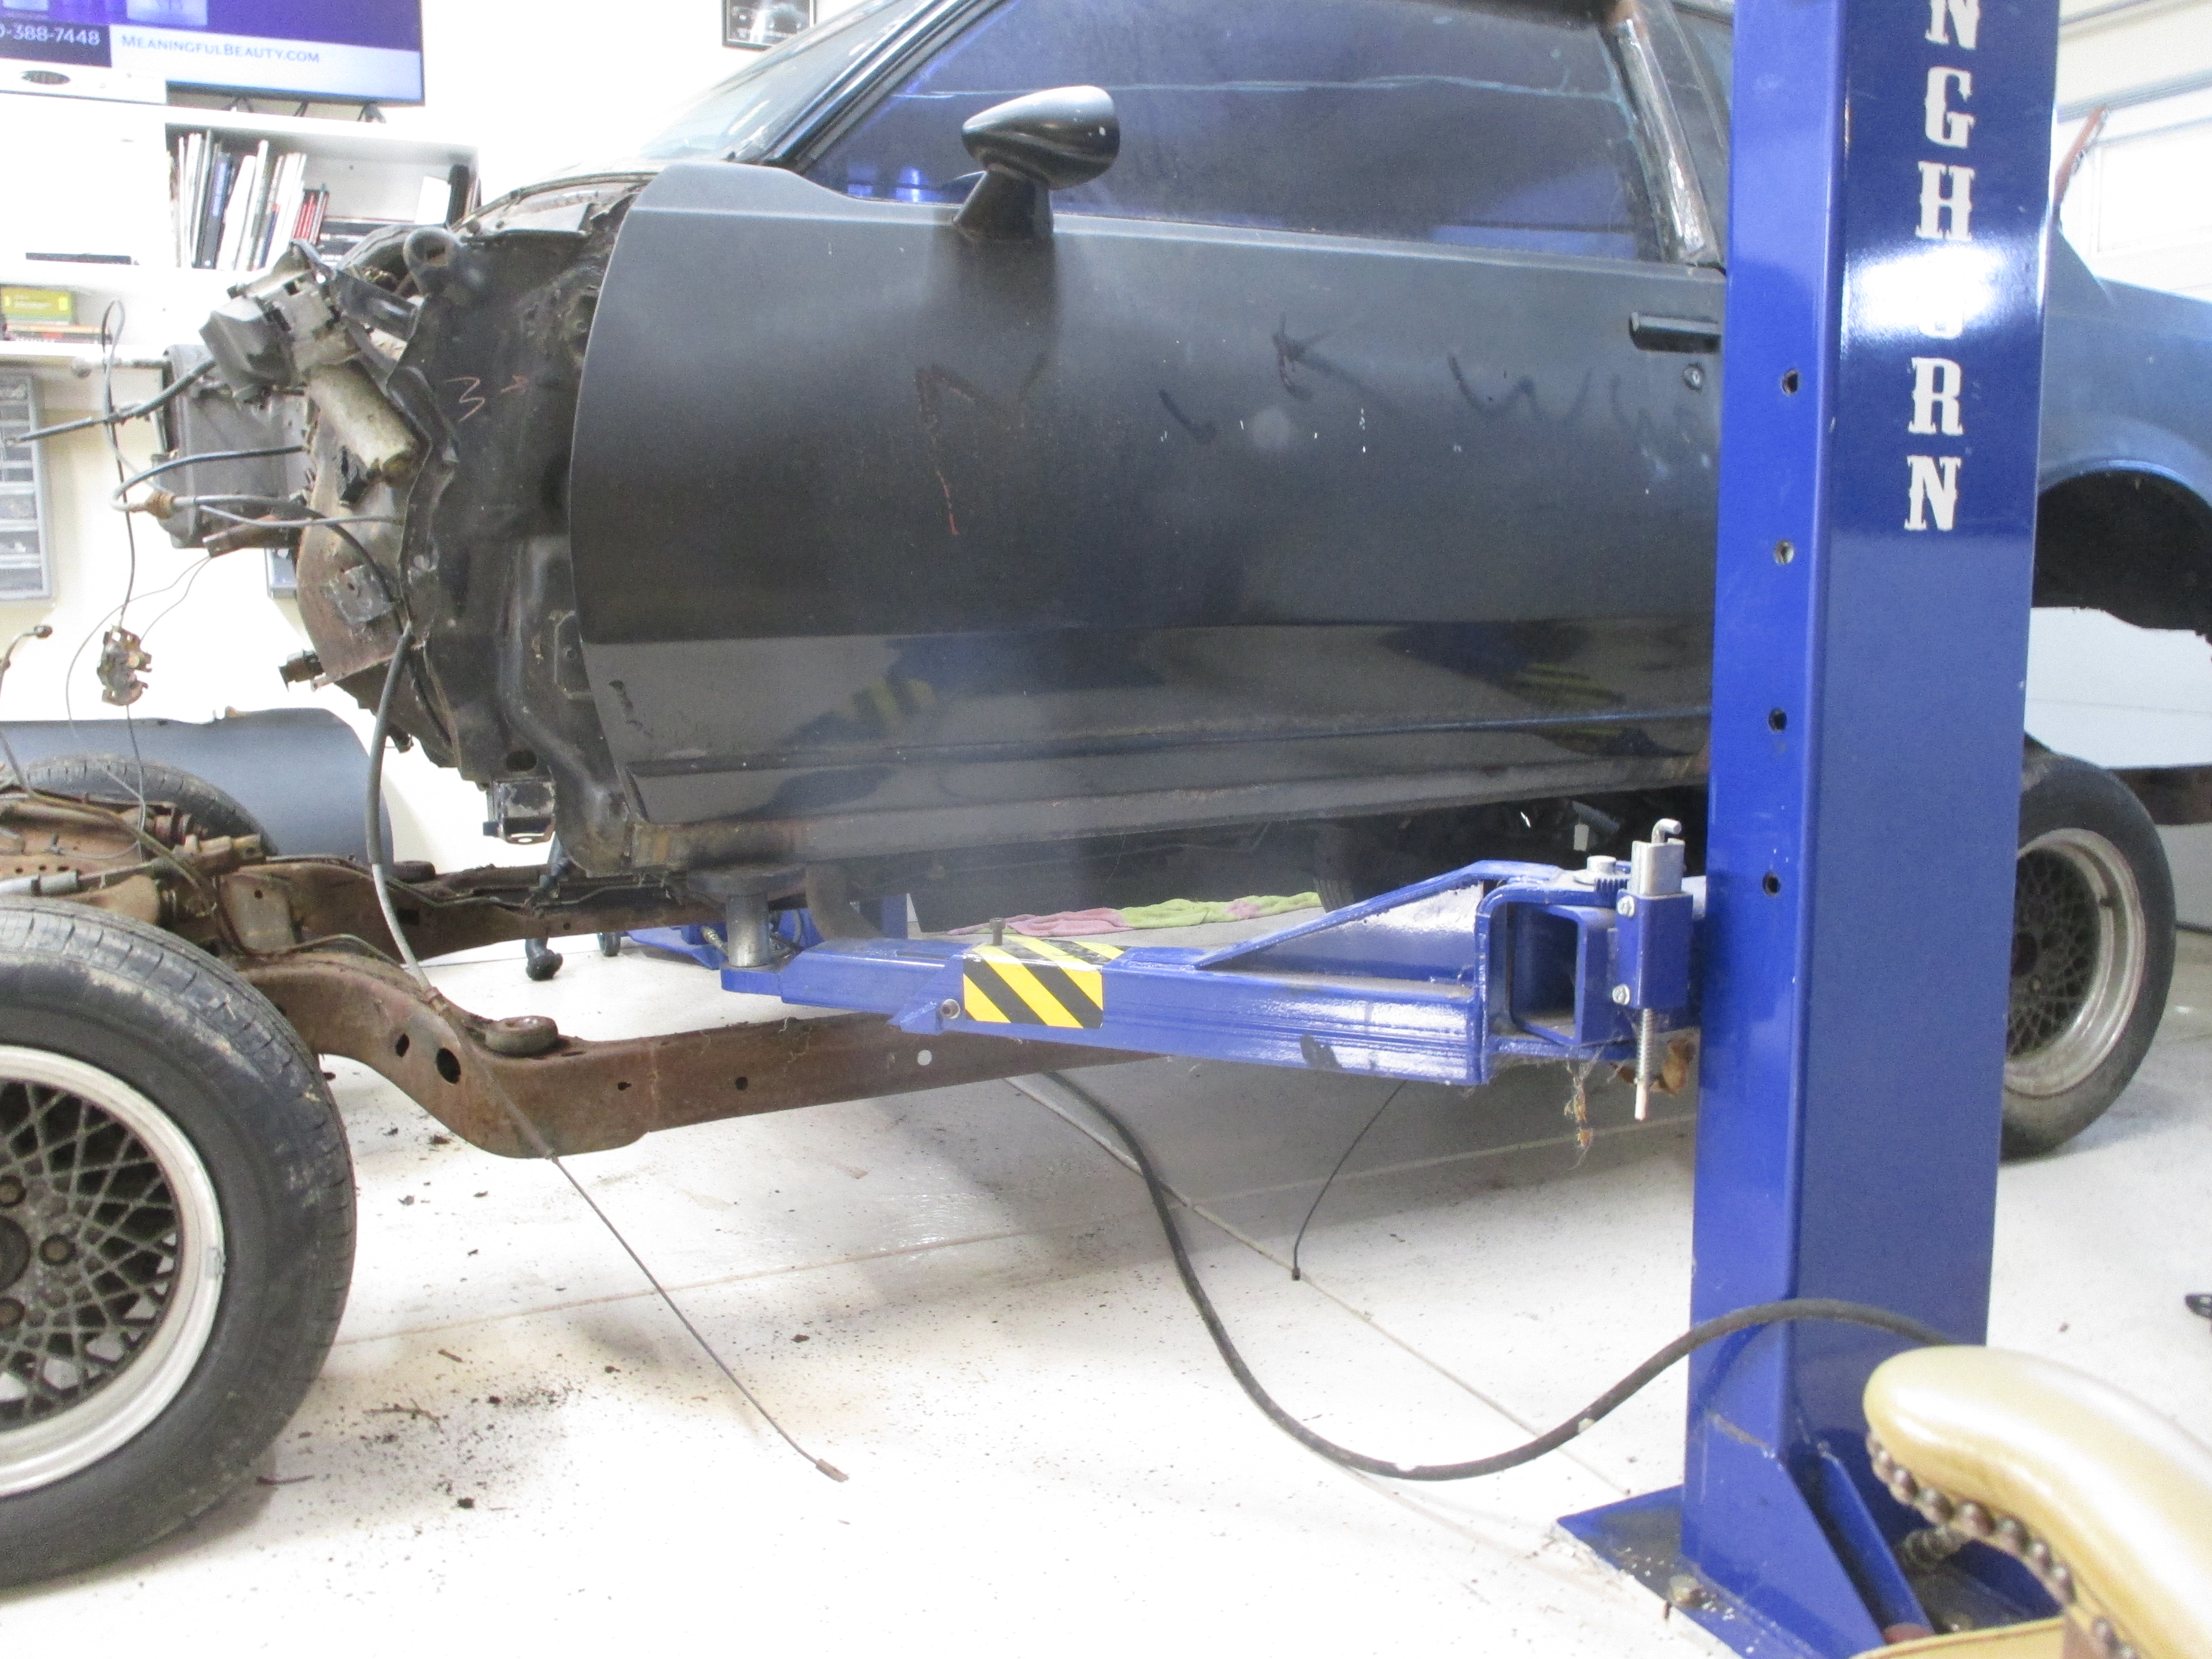
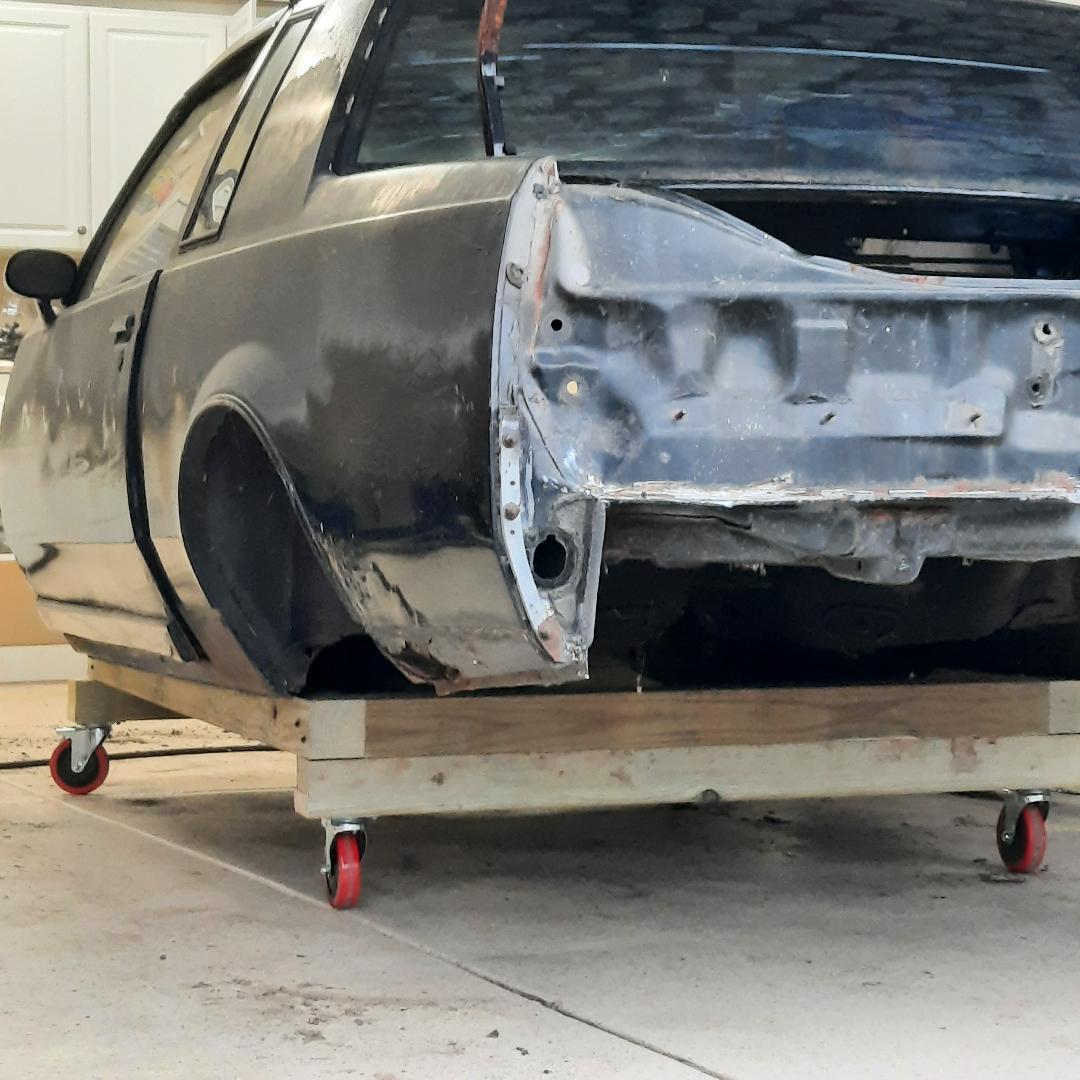
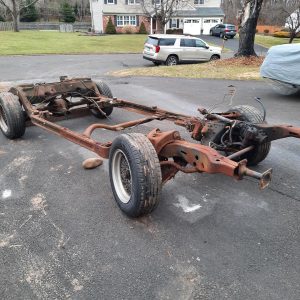
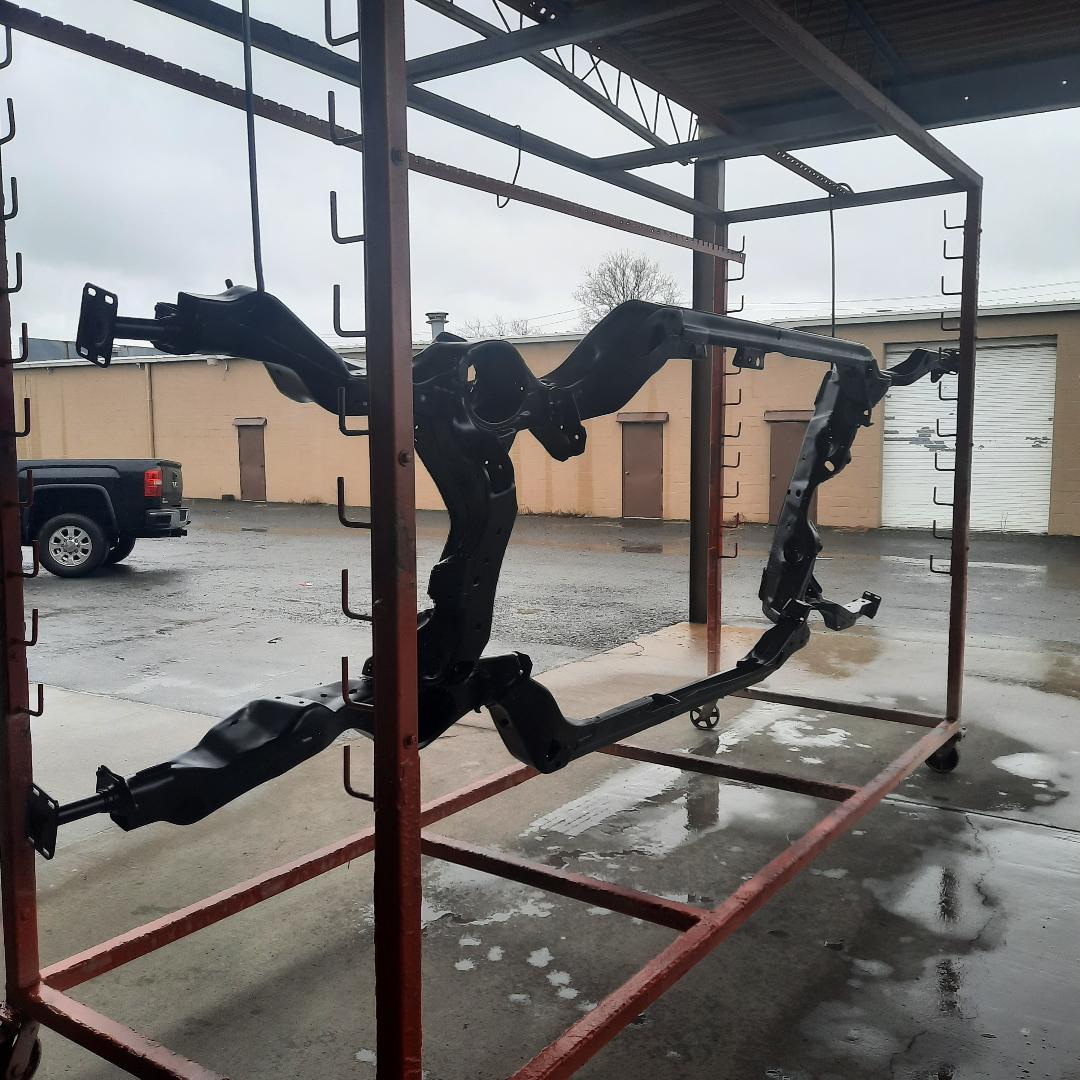
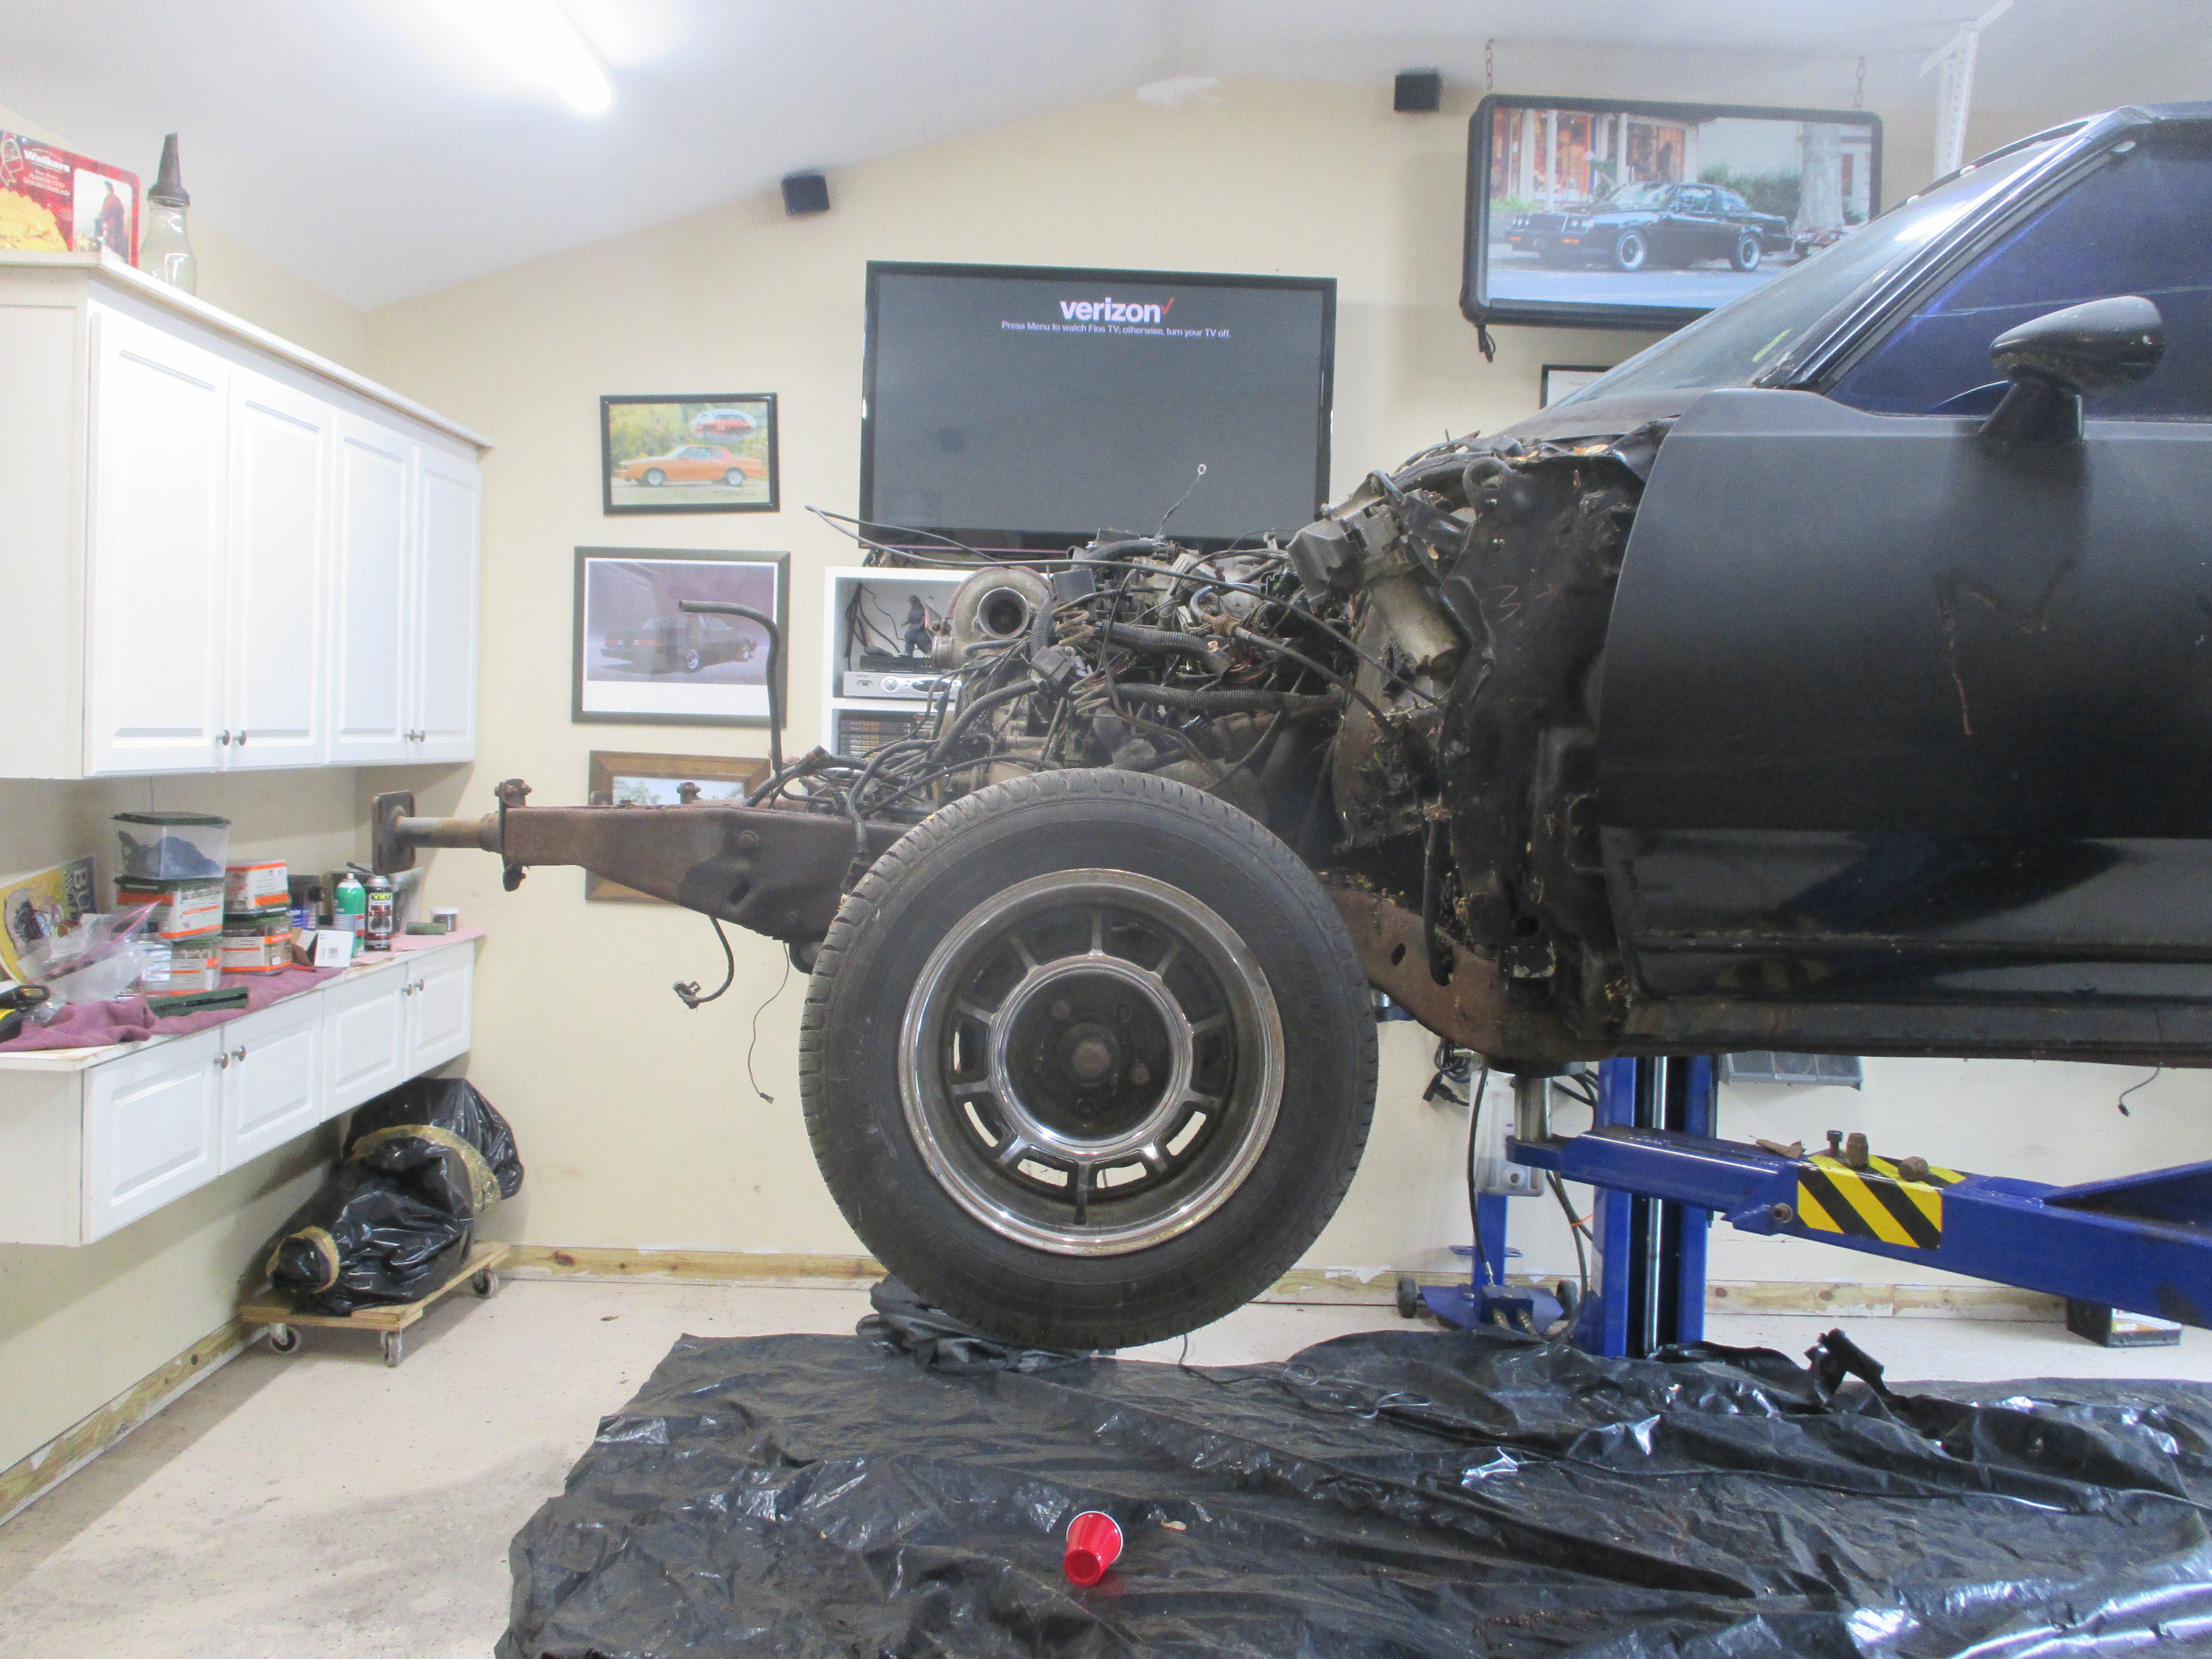
Time to get the body of the frame and restore the chassis

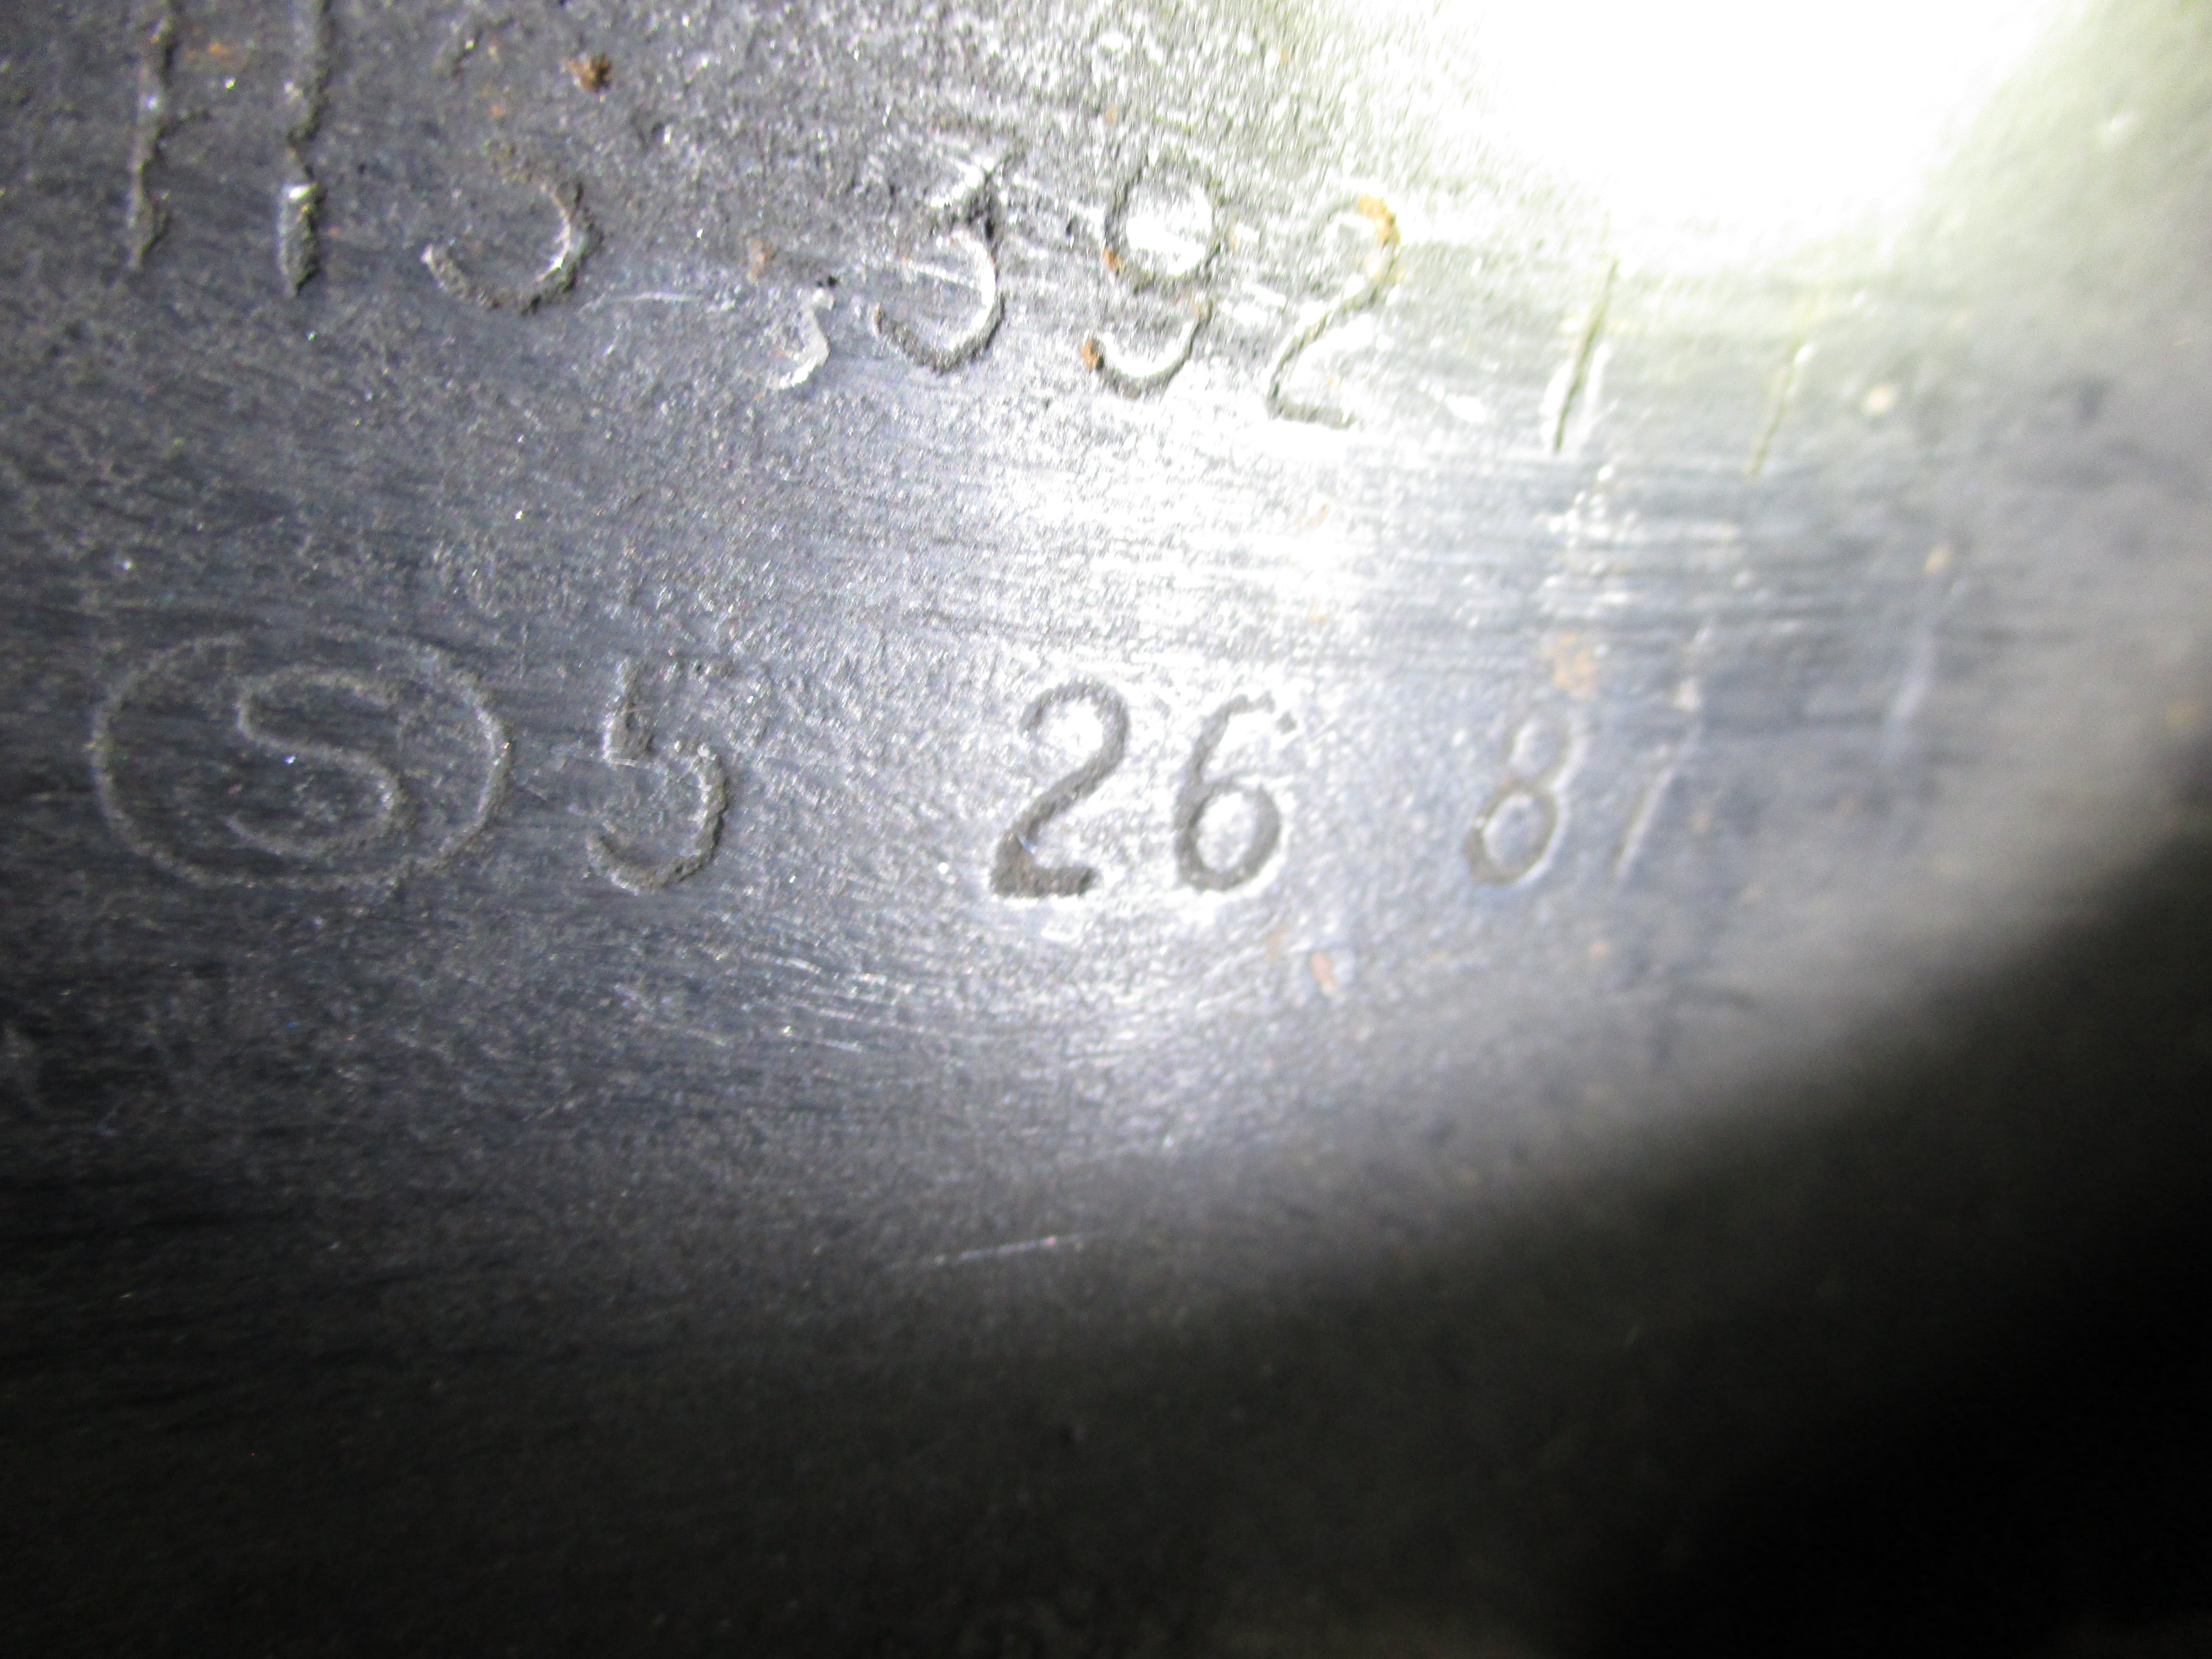
this is the date the frame was produced. Normally it would be about 3 weeks before it would be married the rest of the car.
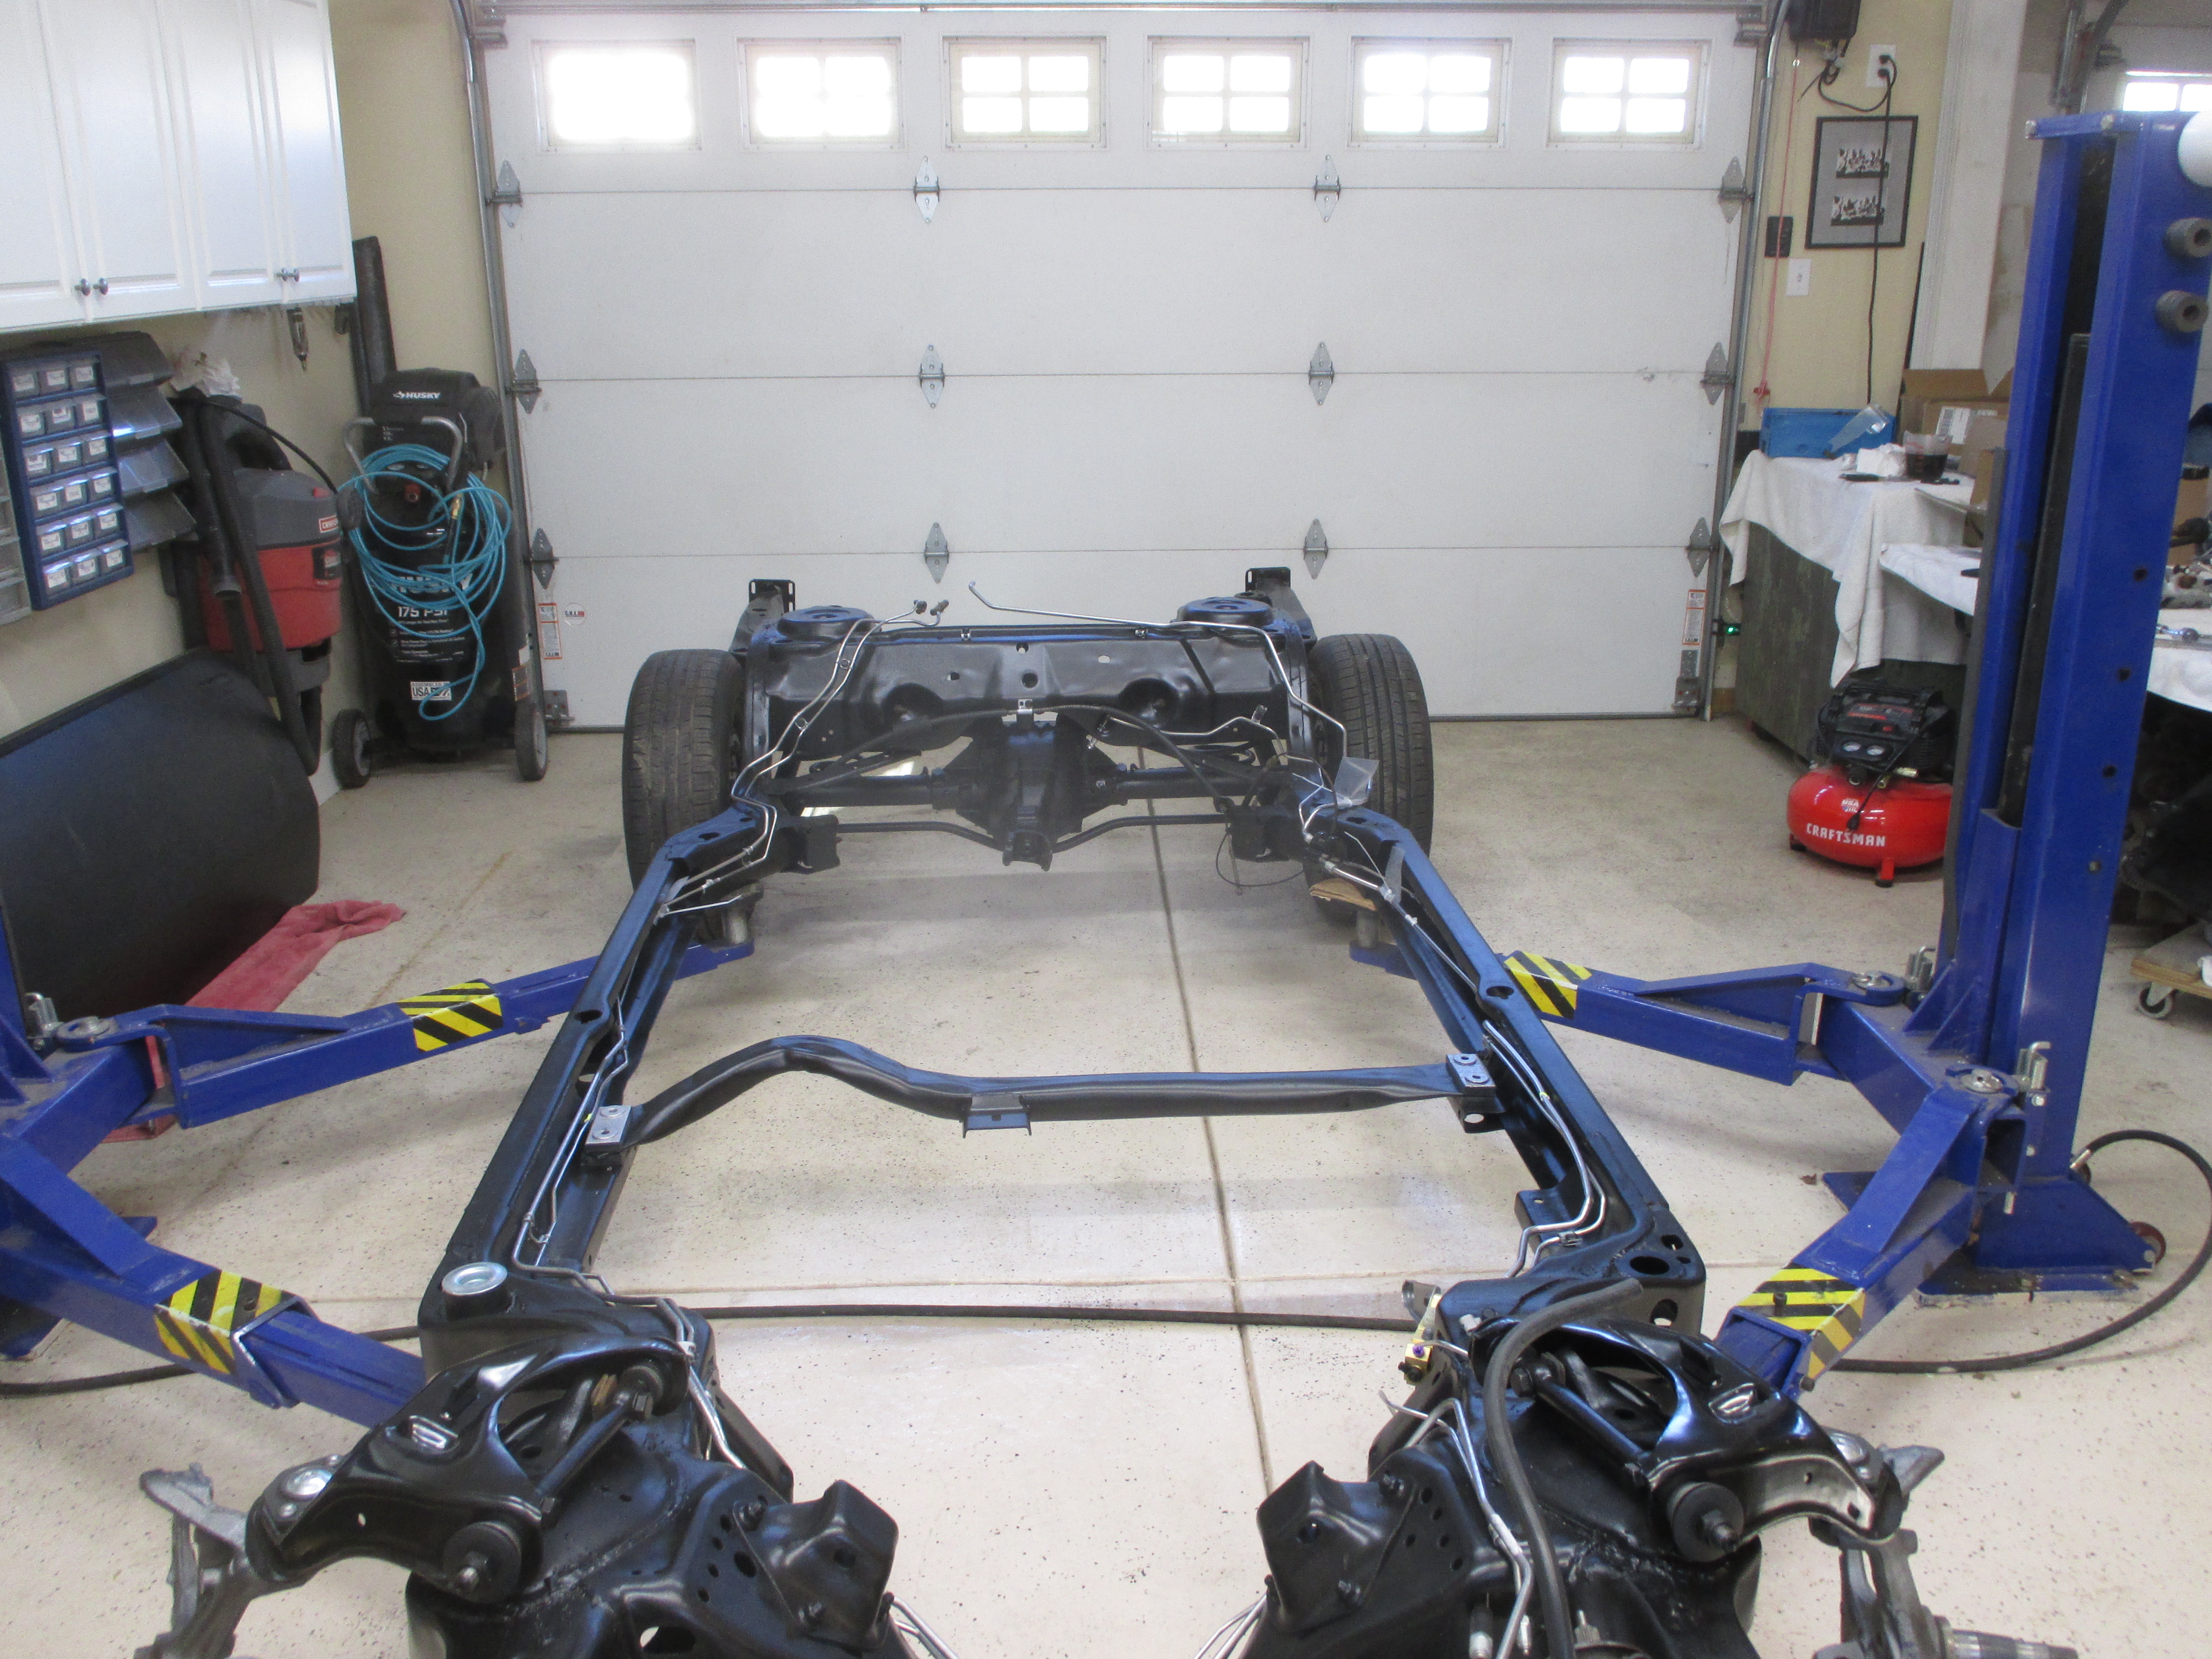
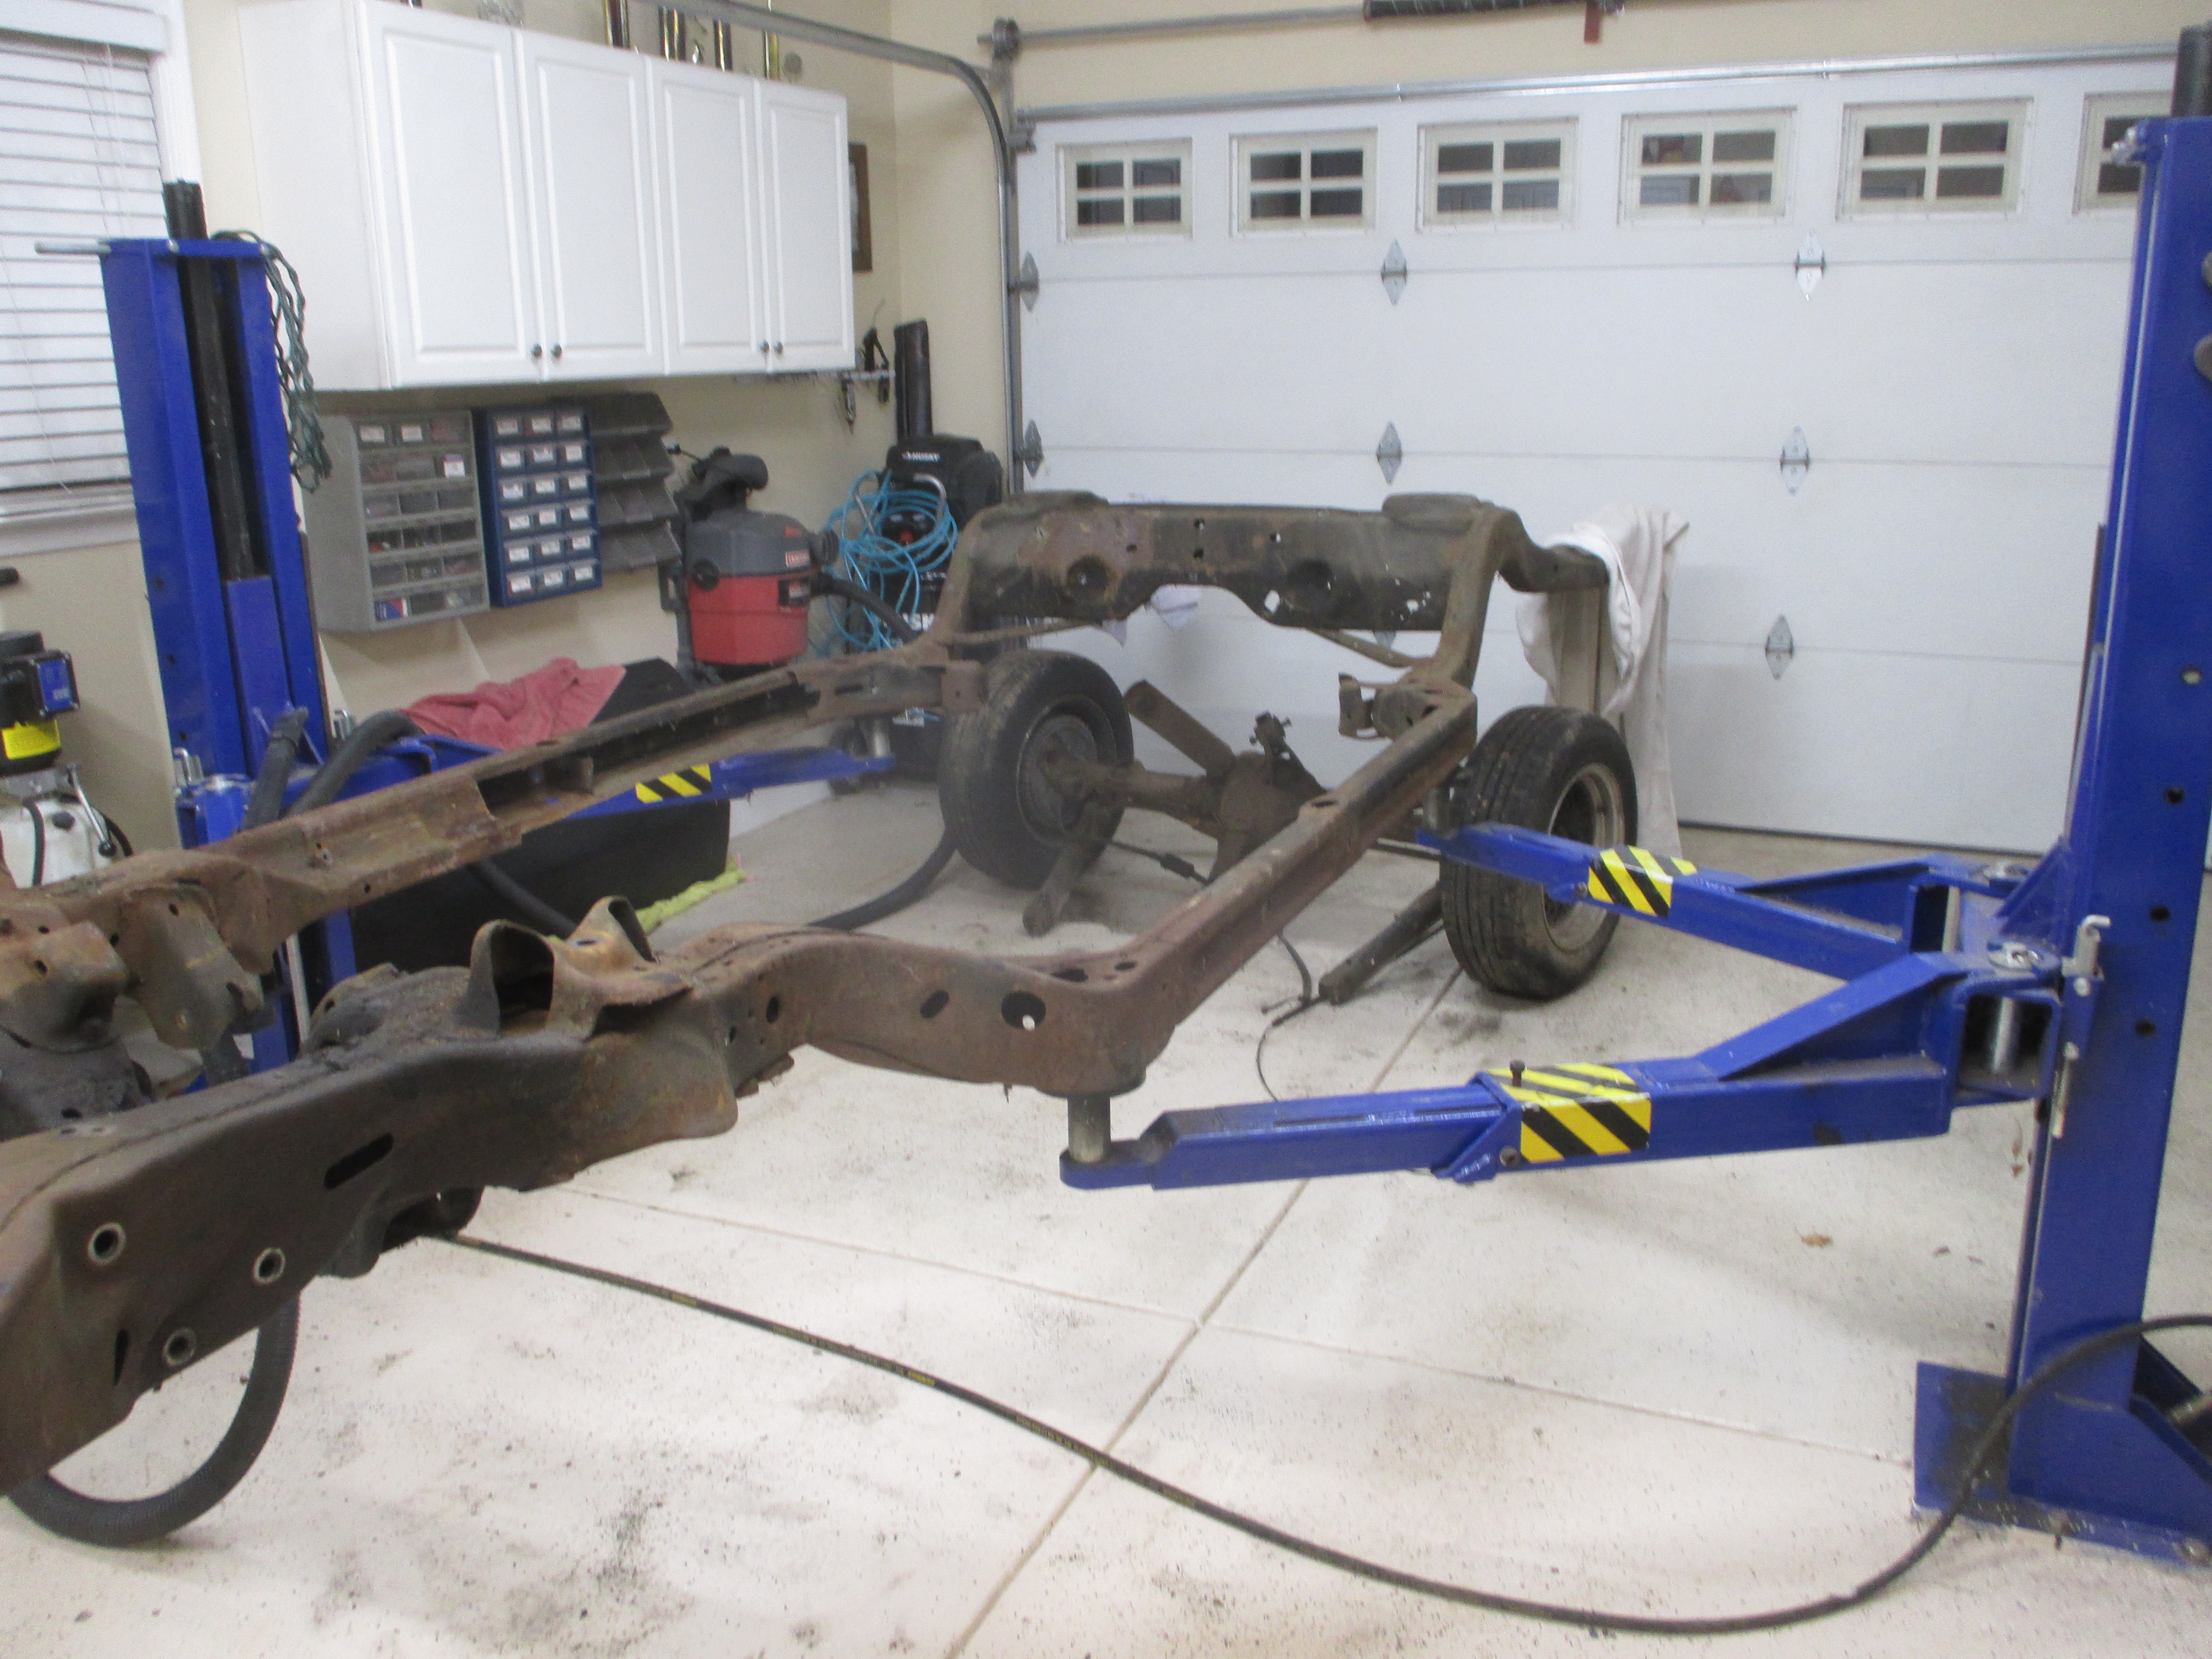
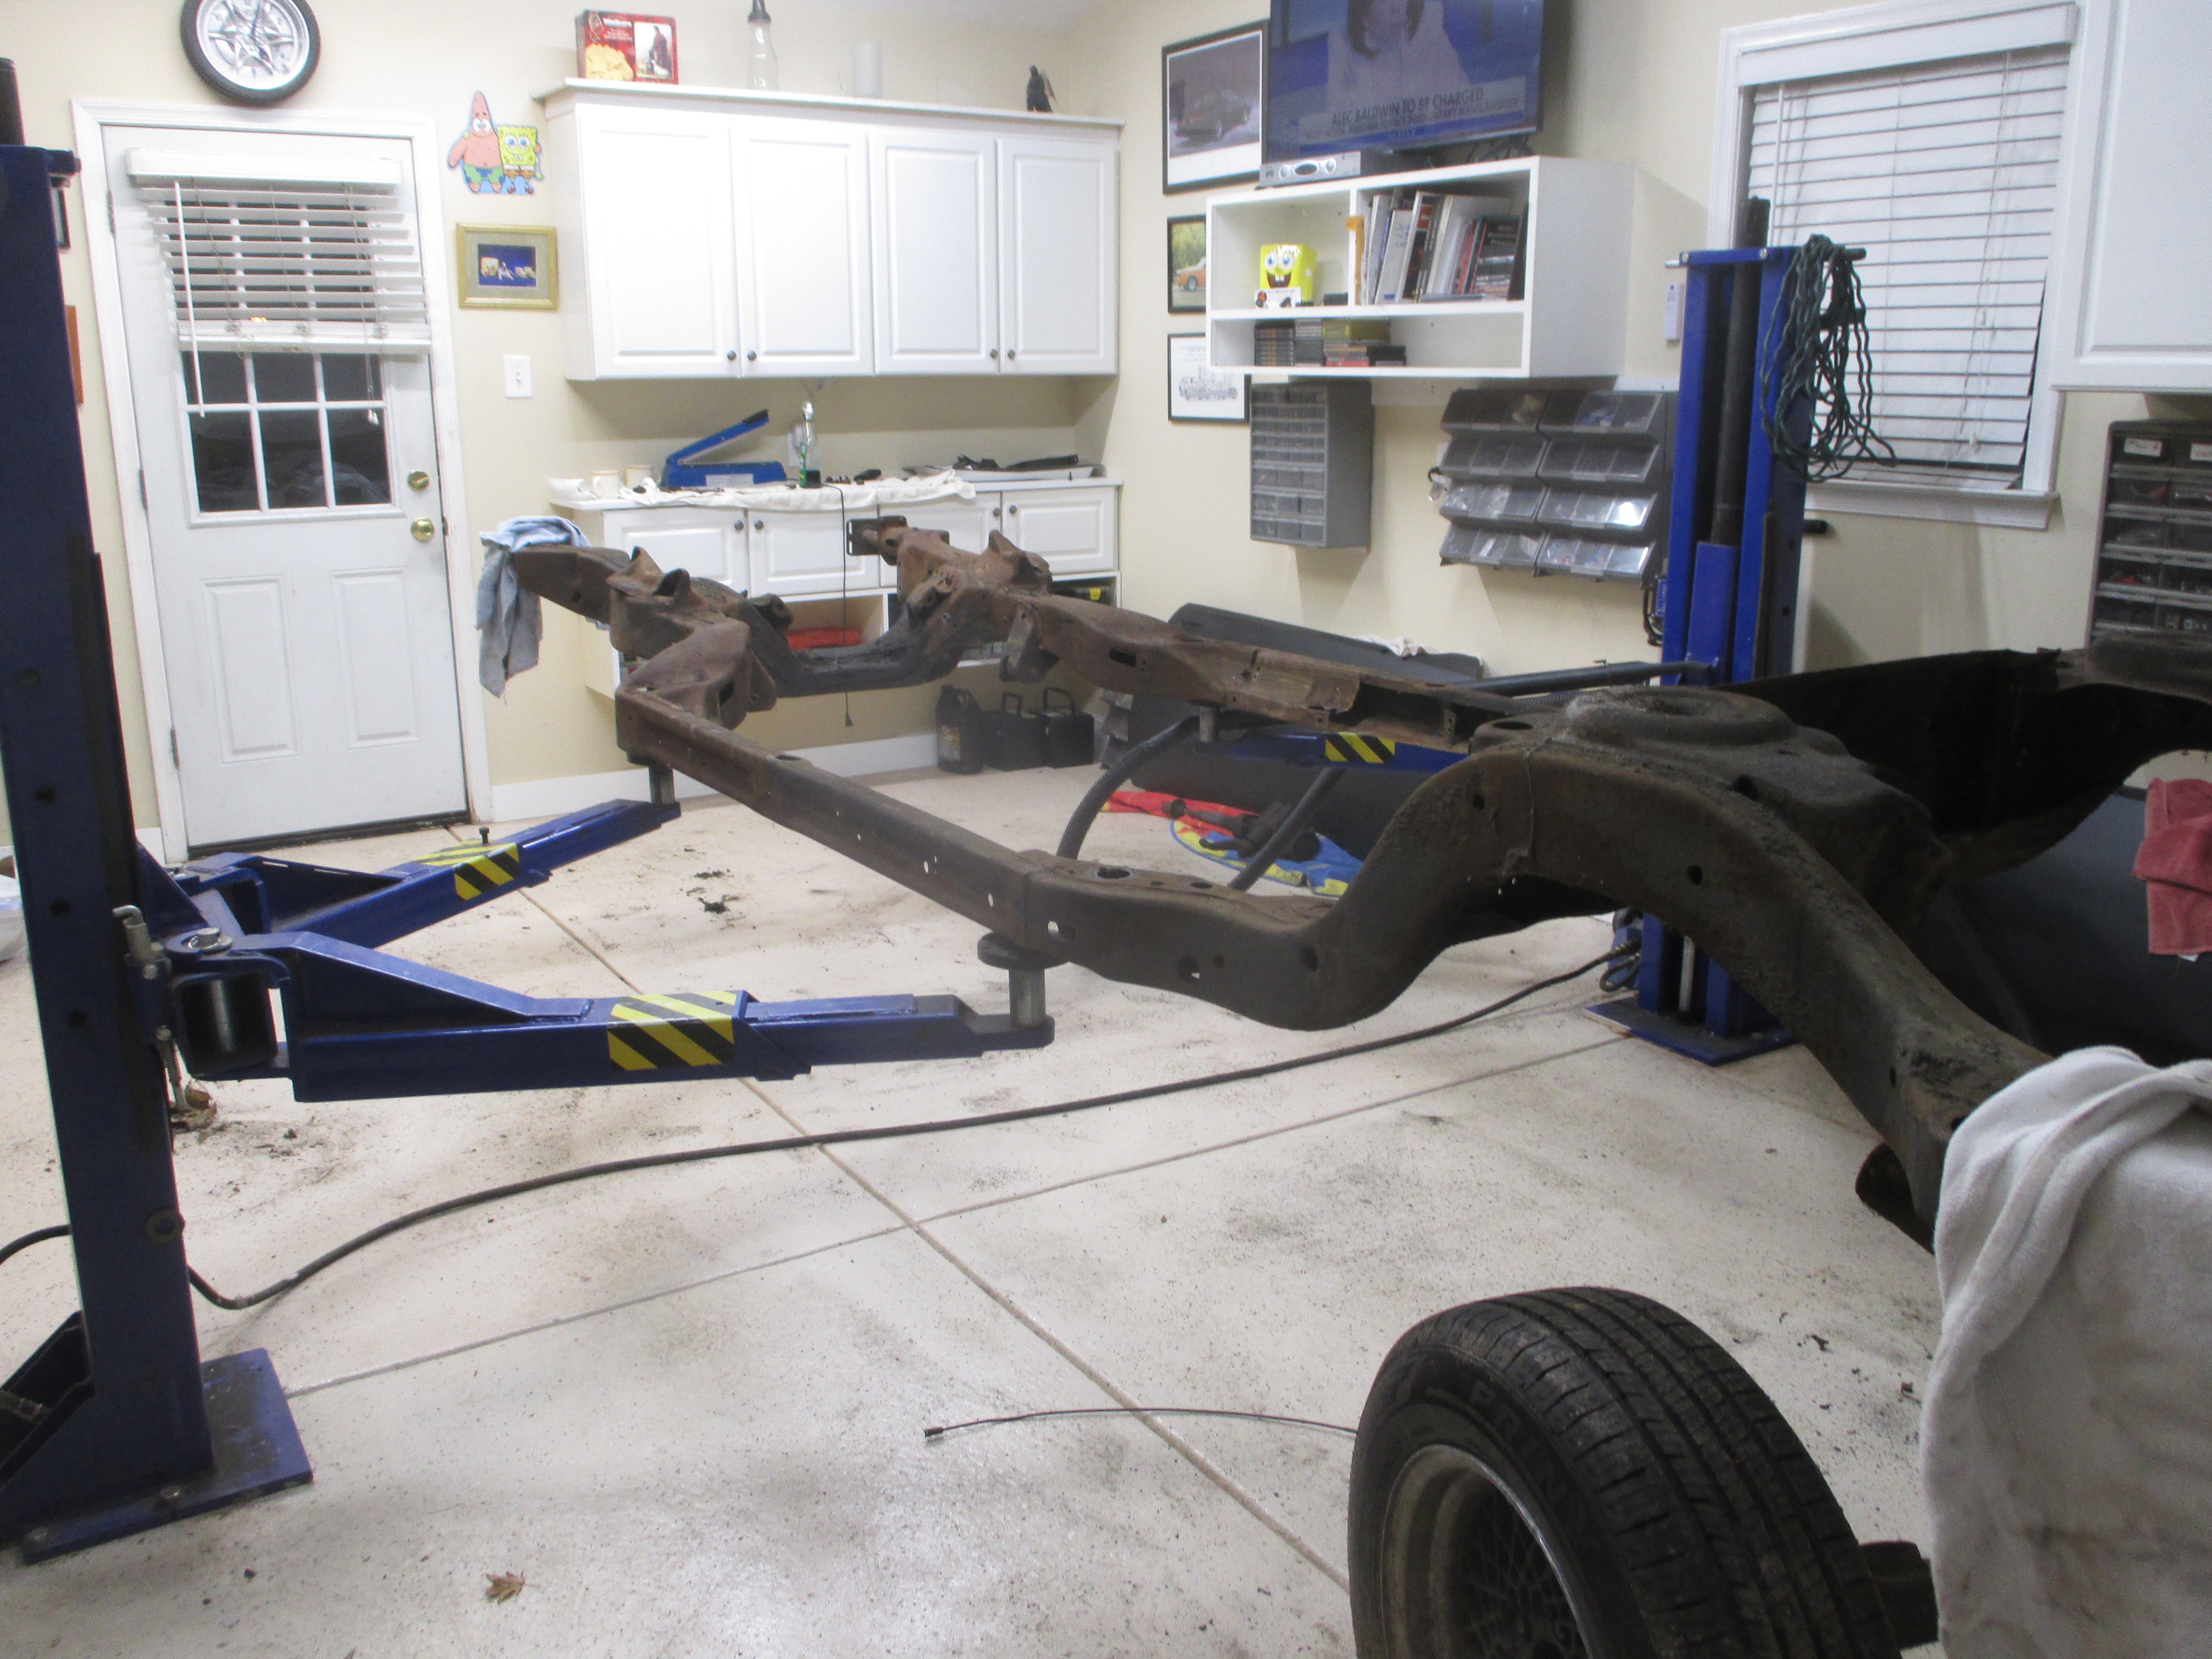
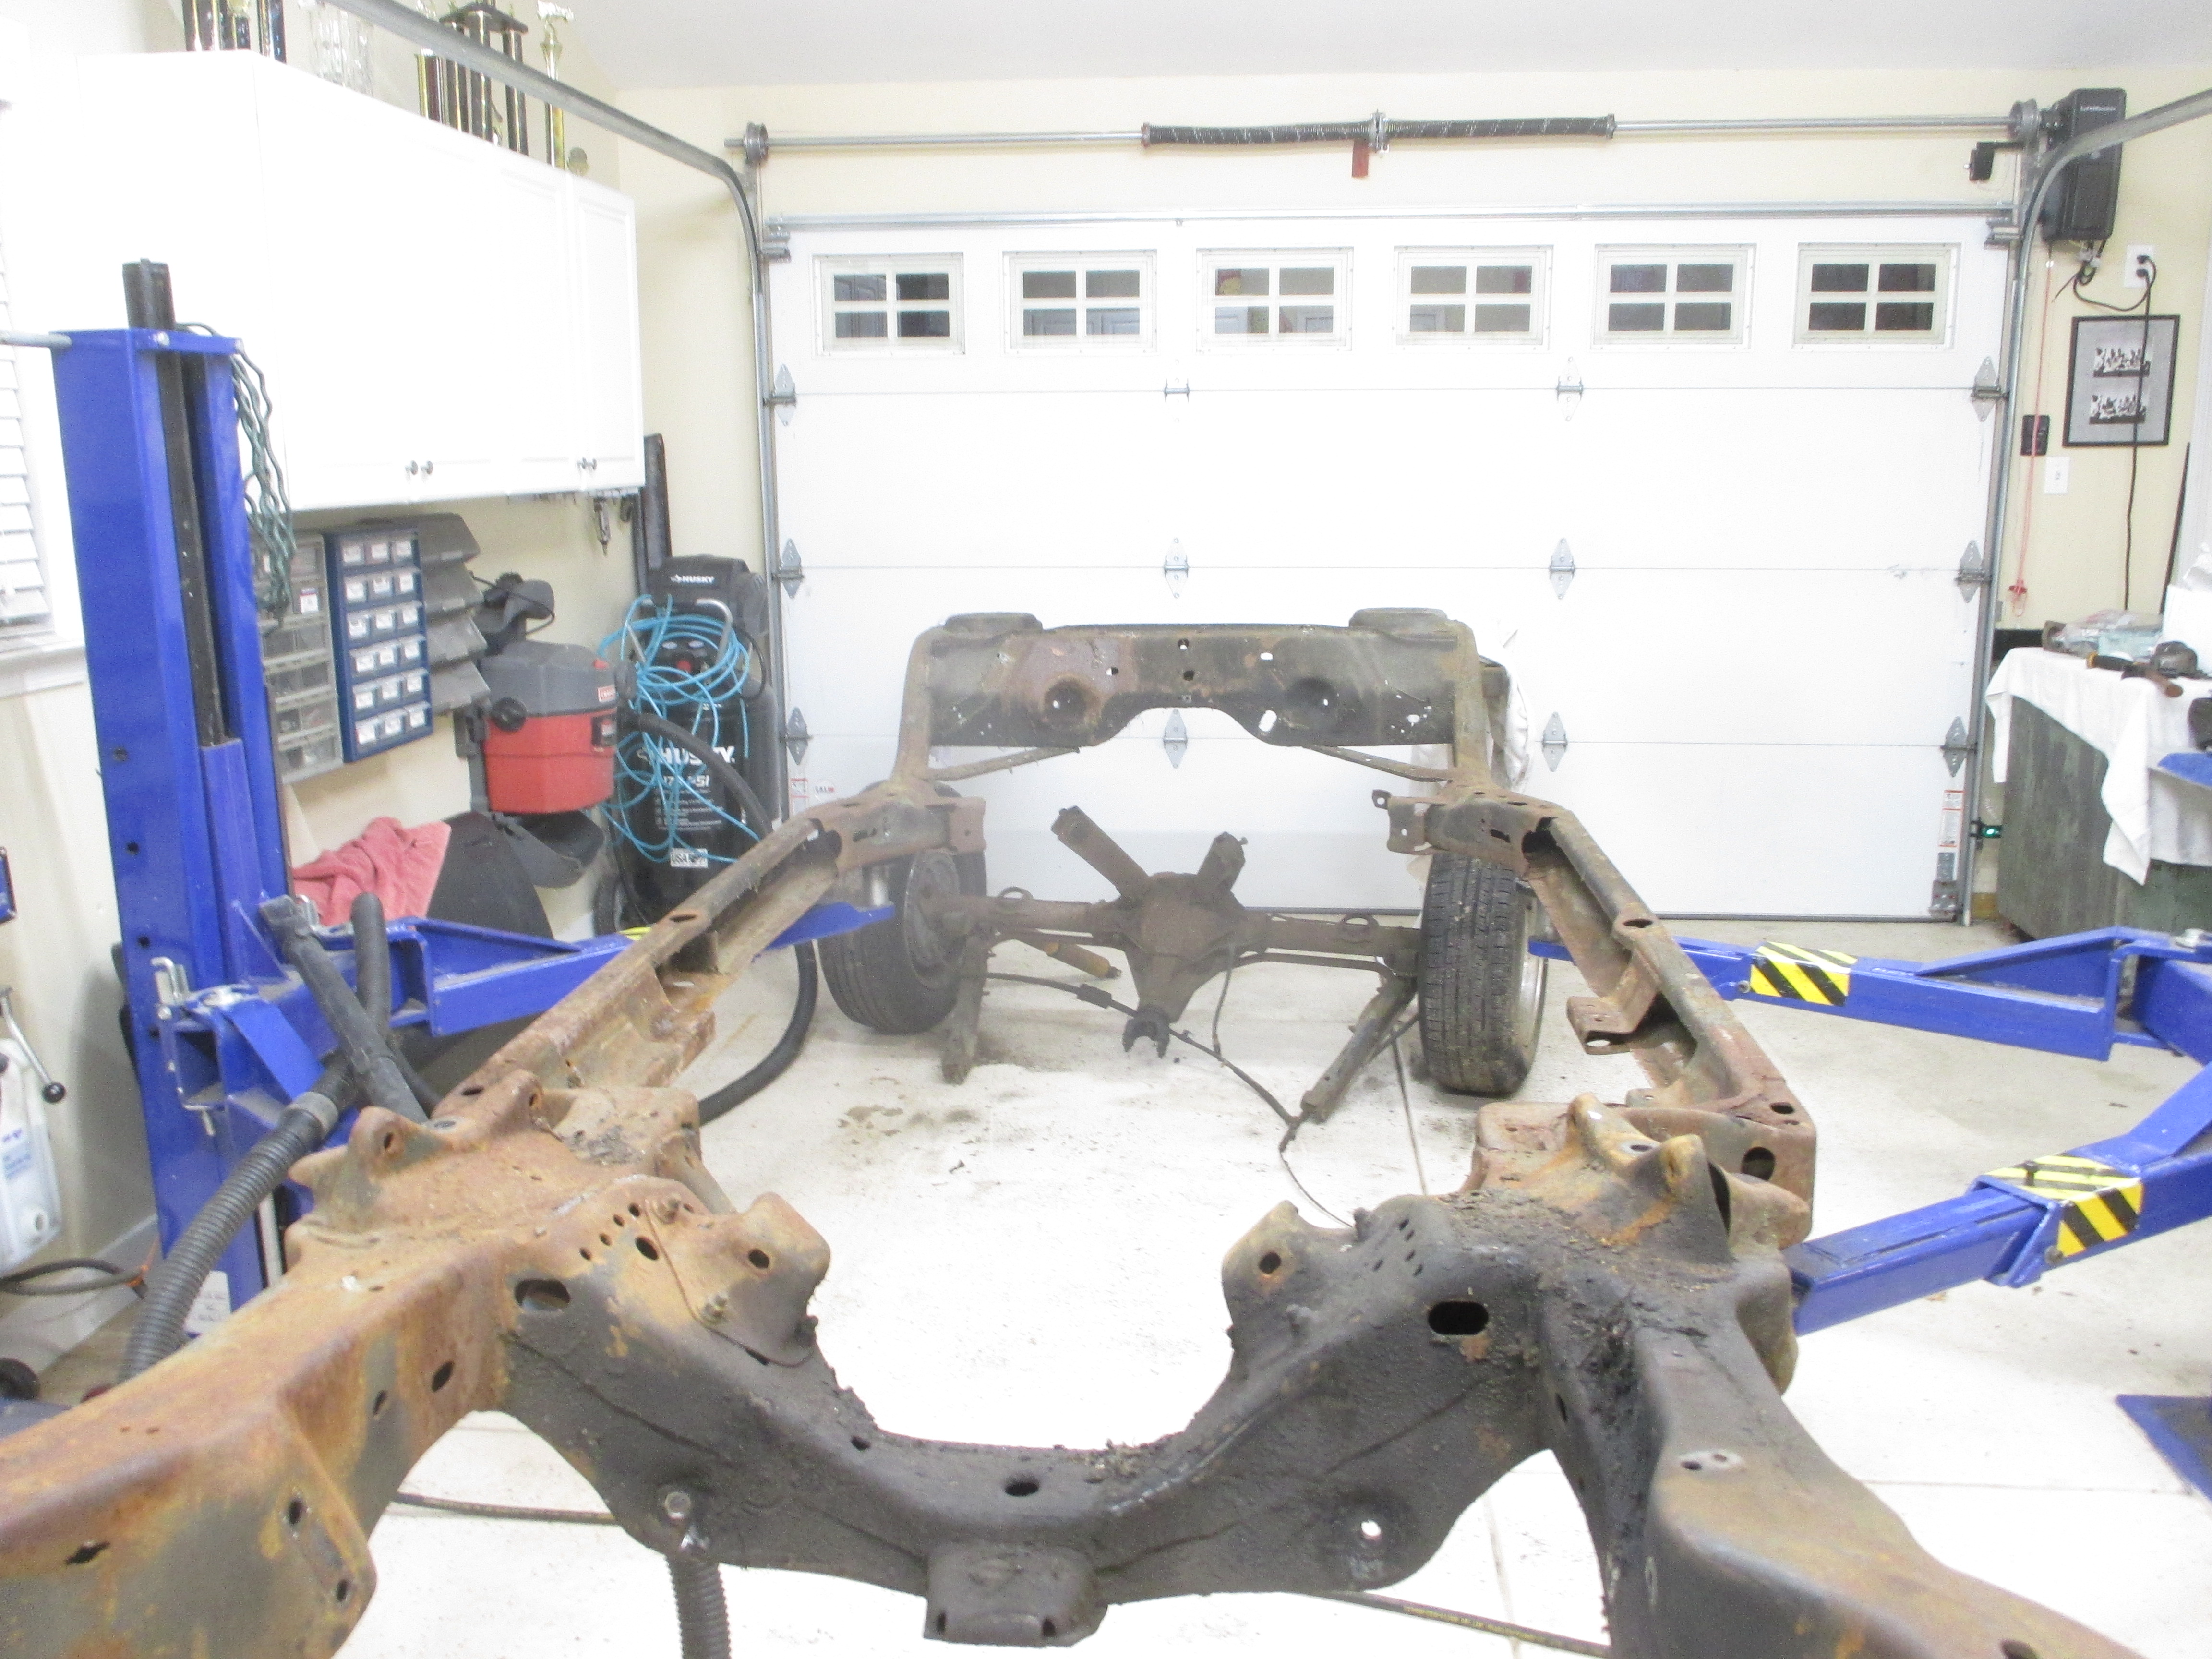
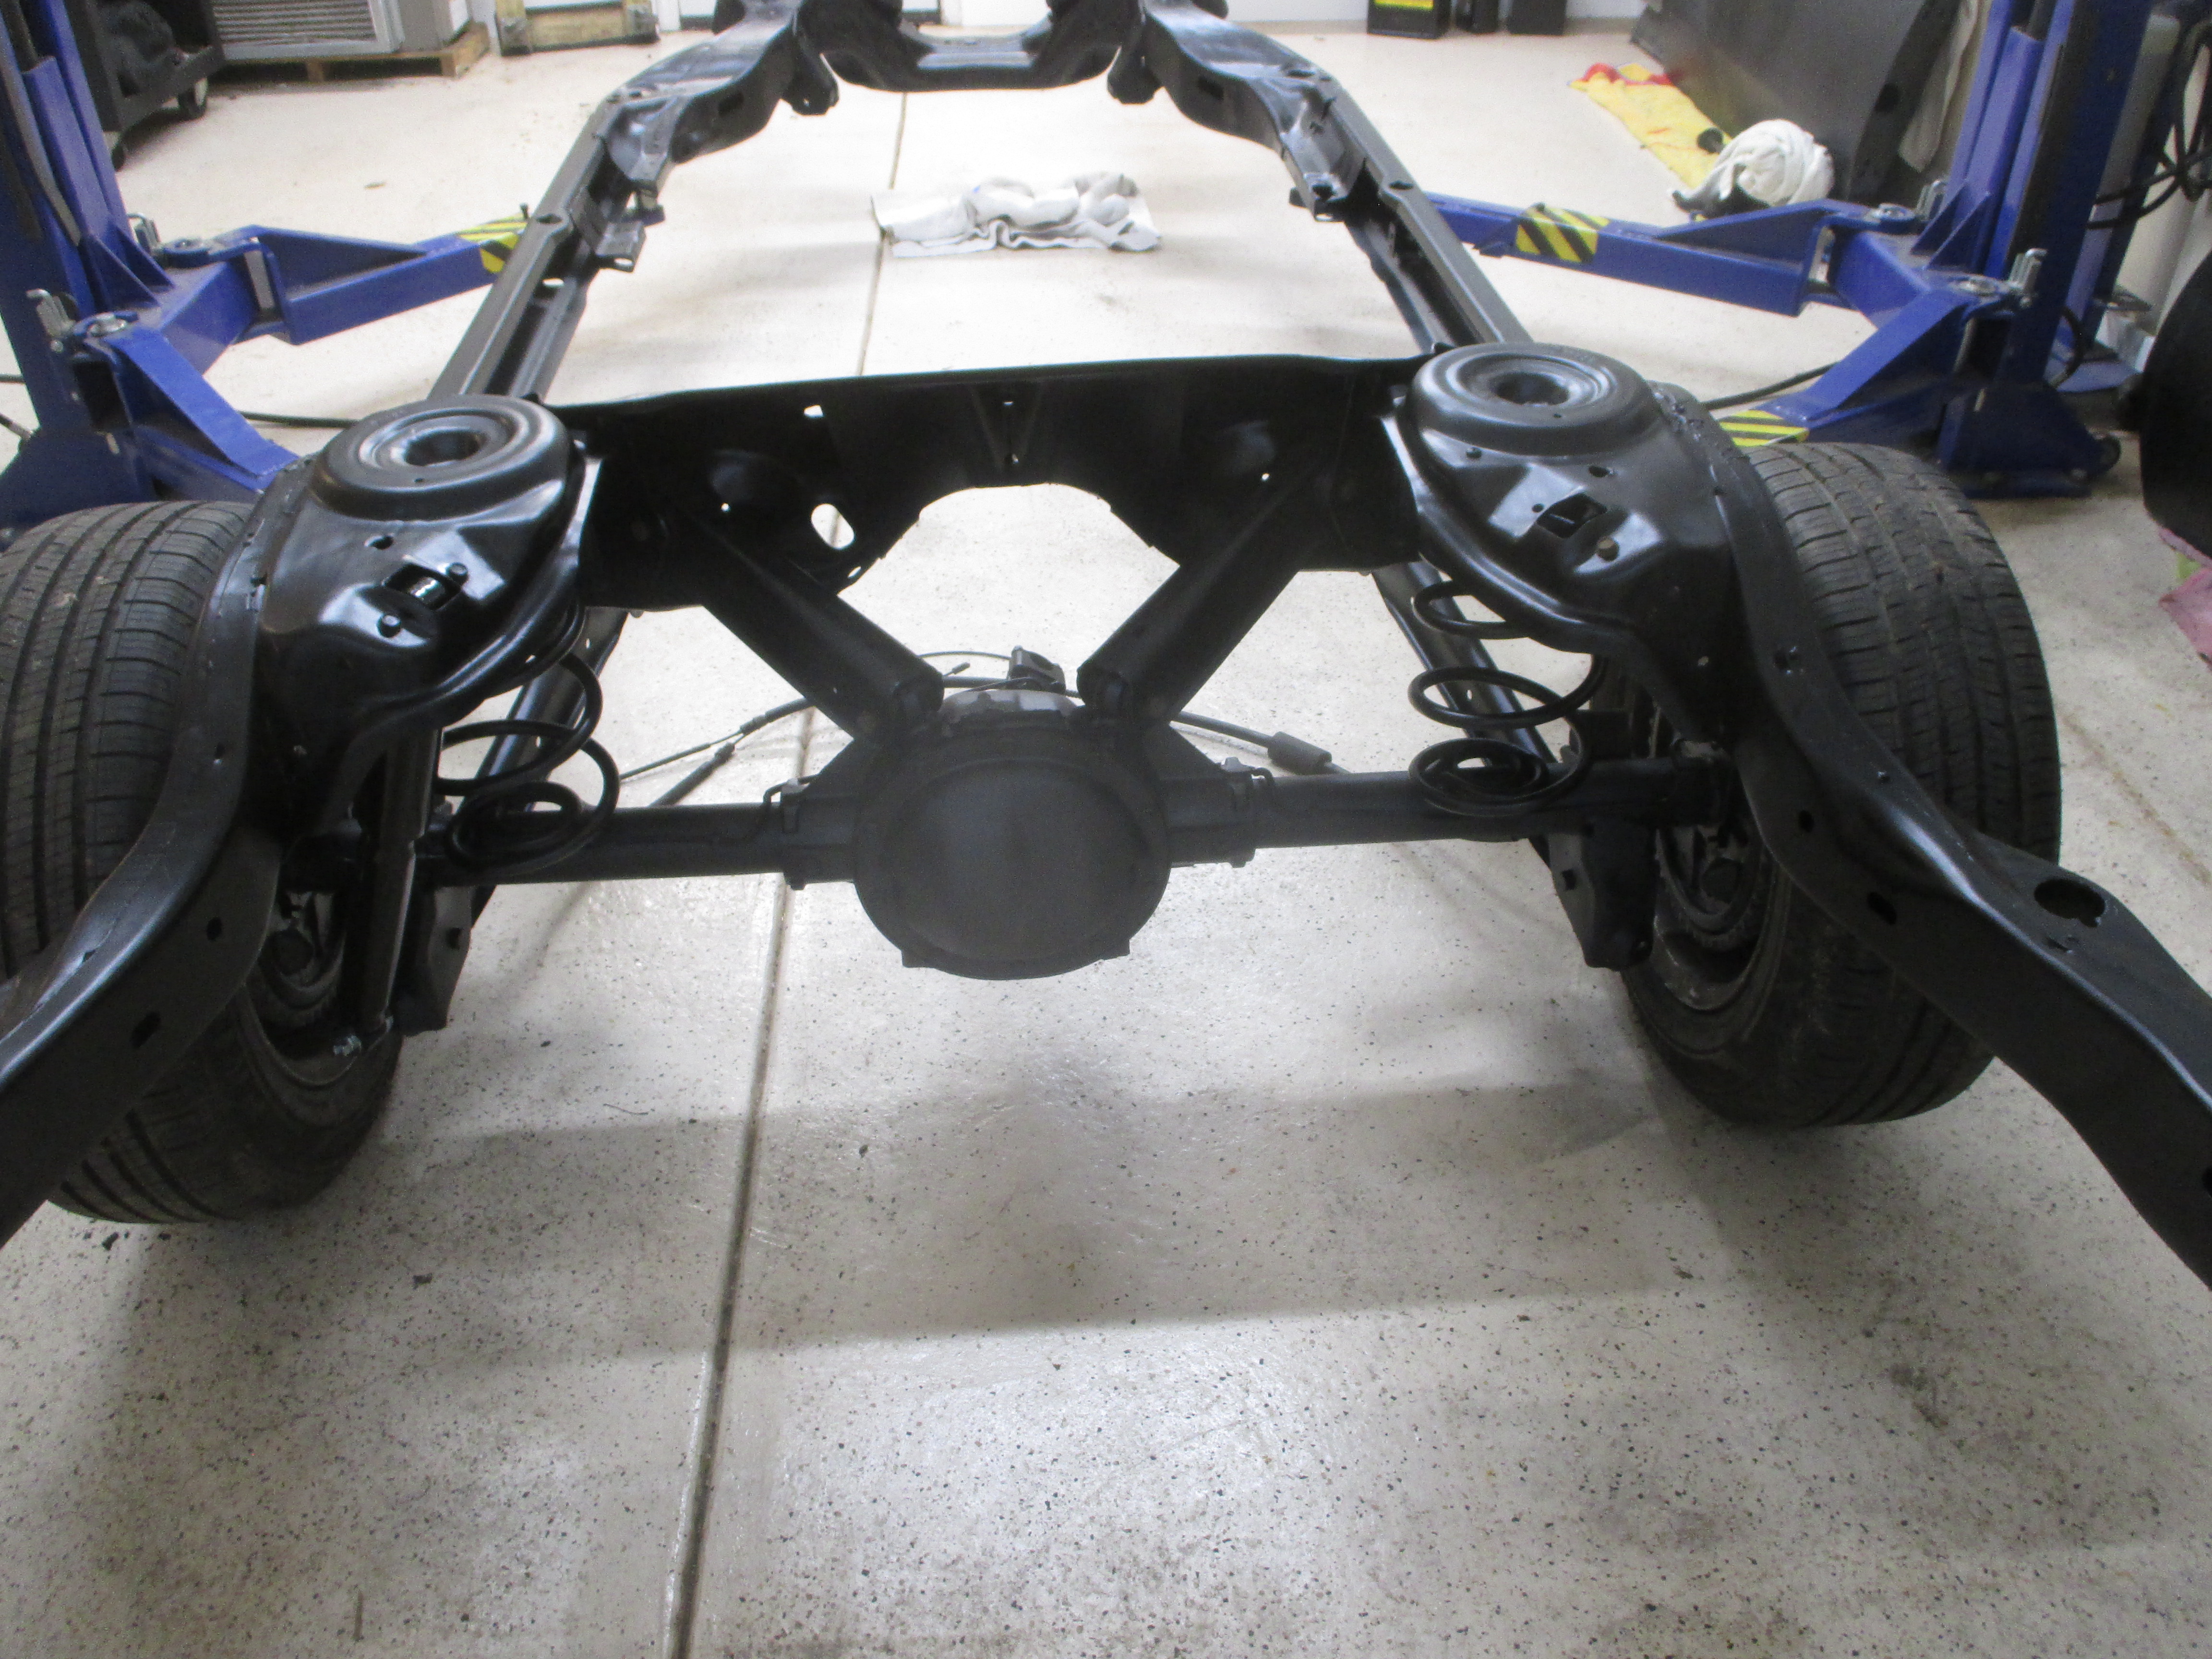
down to the bare frame
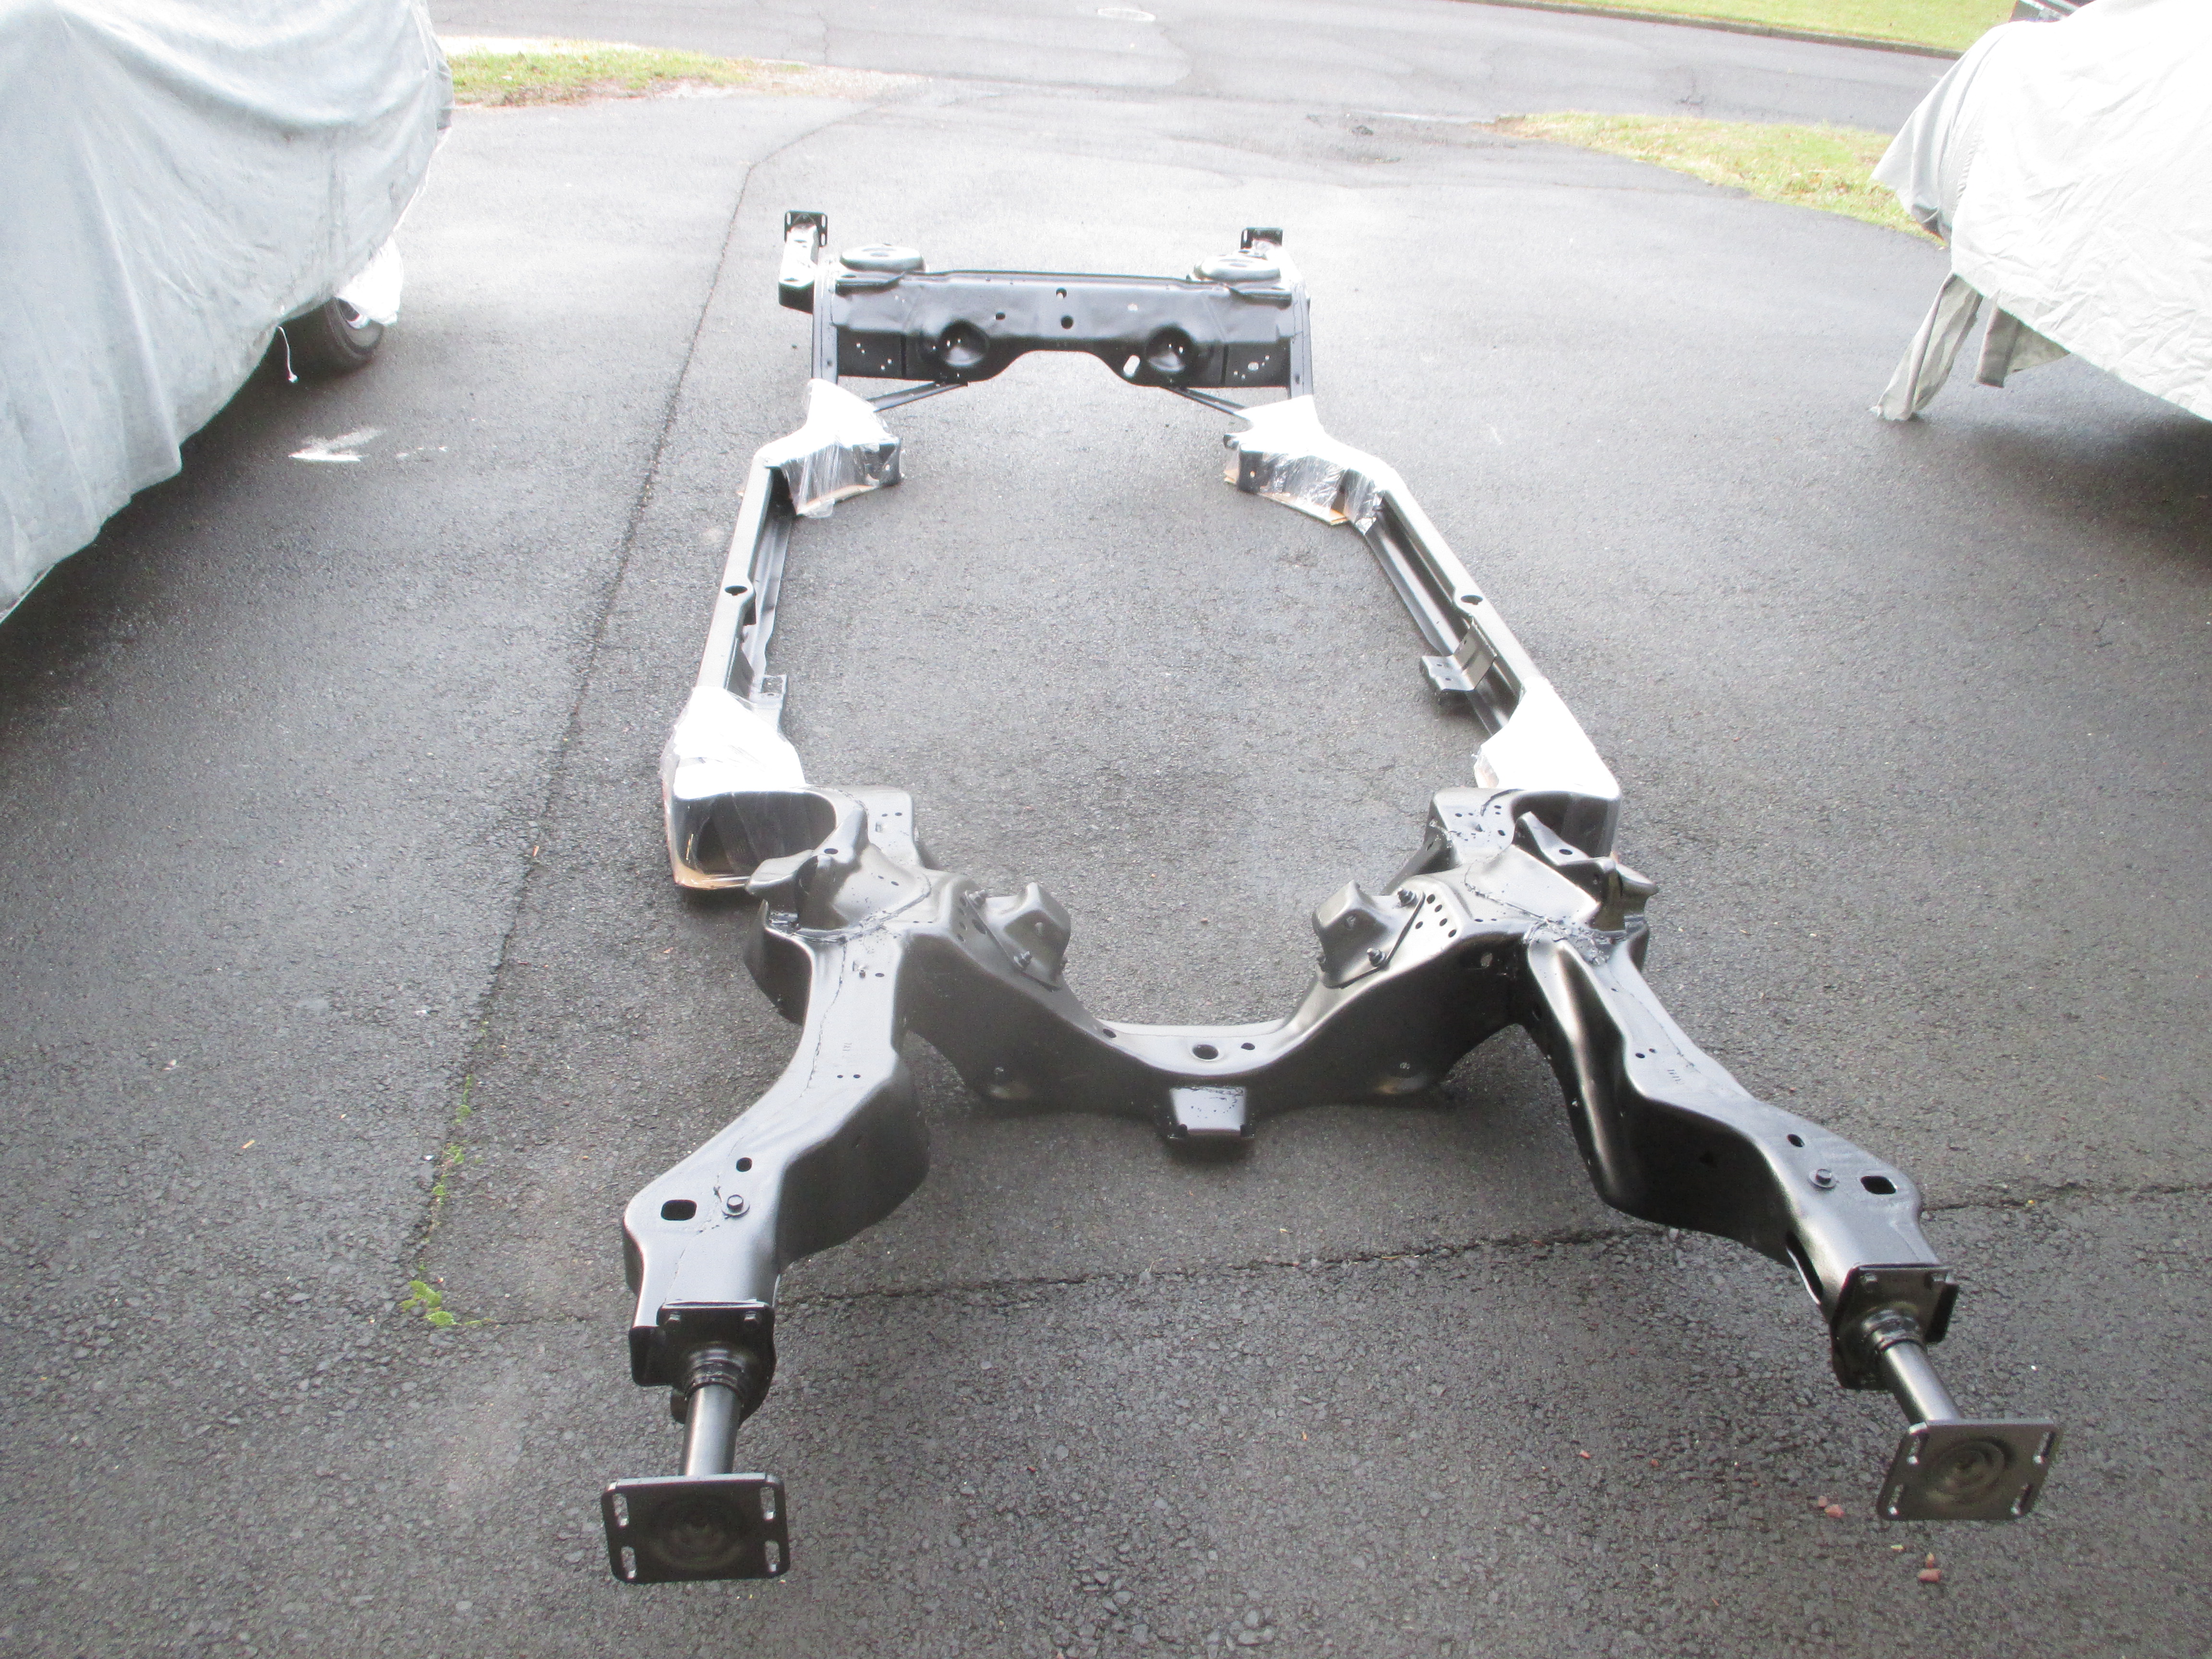
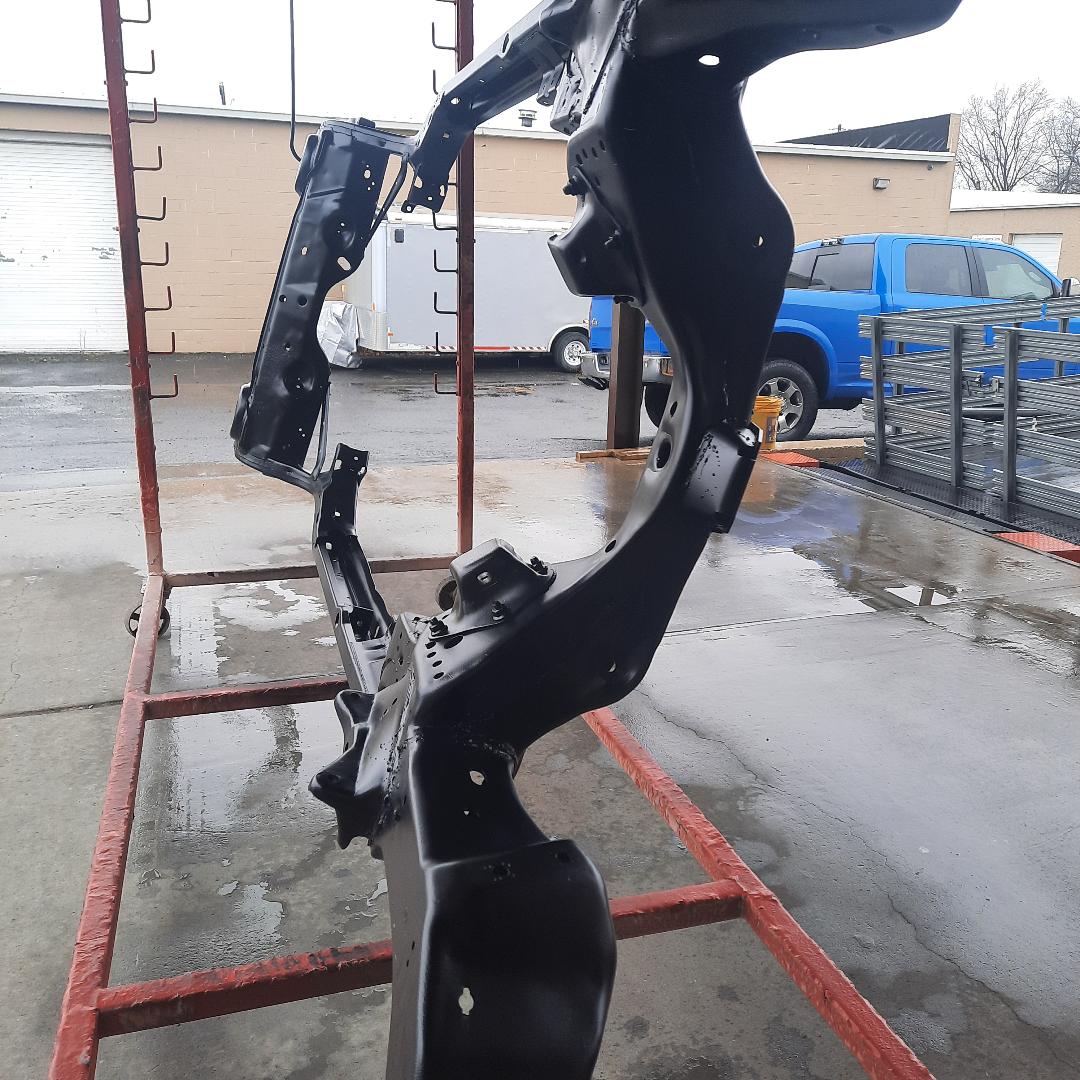
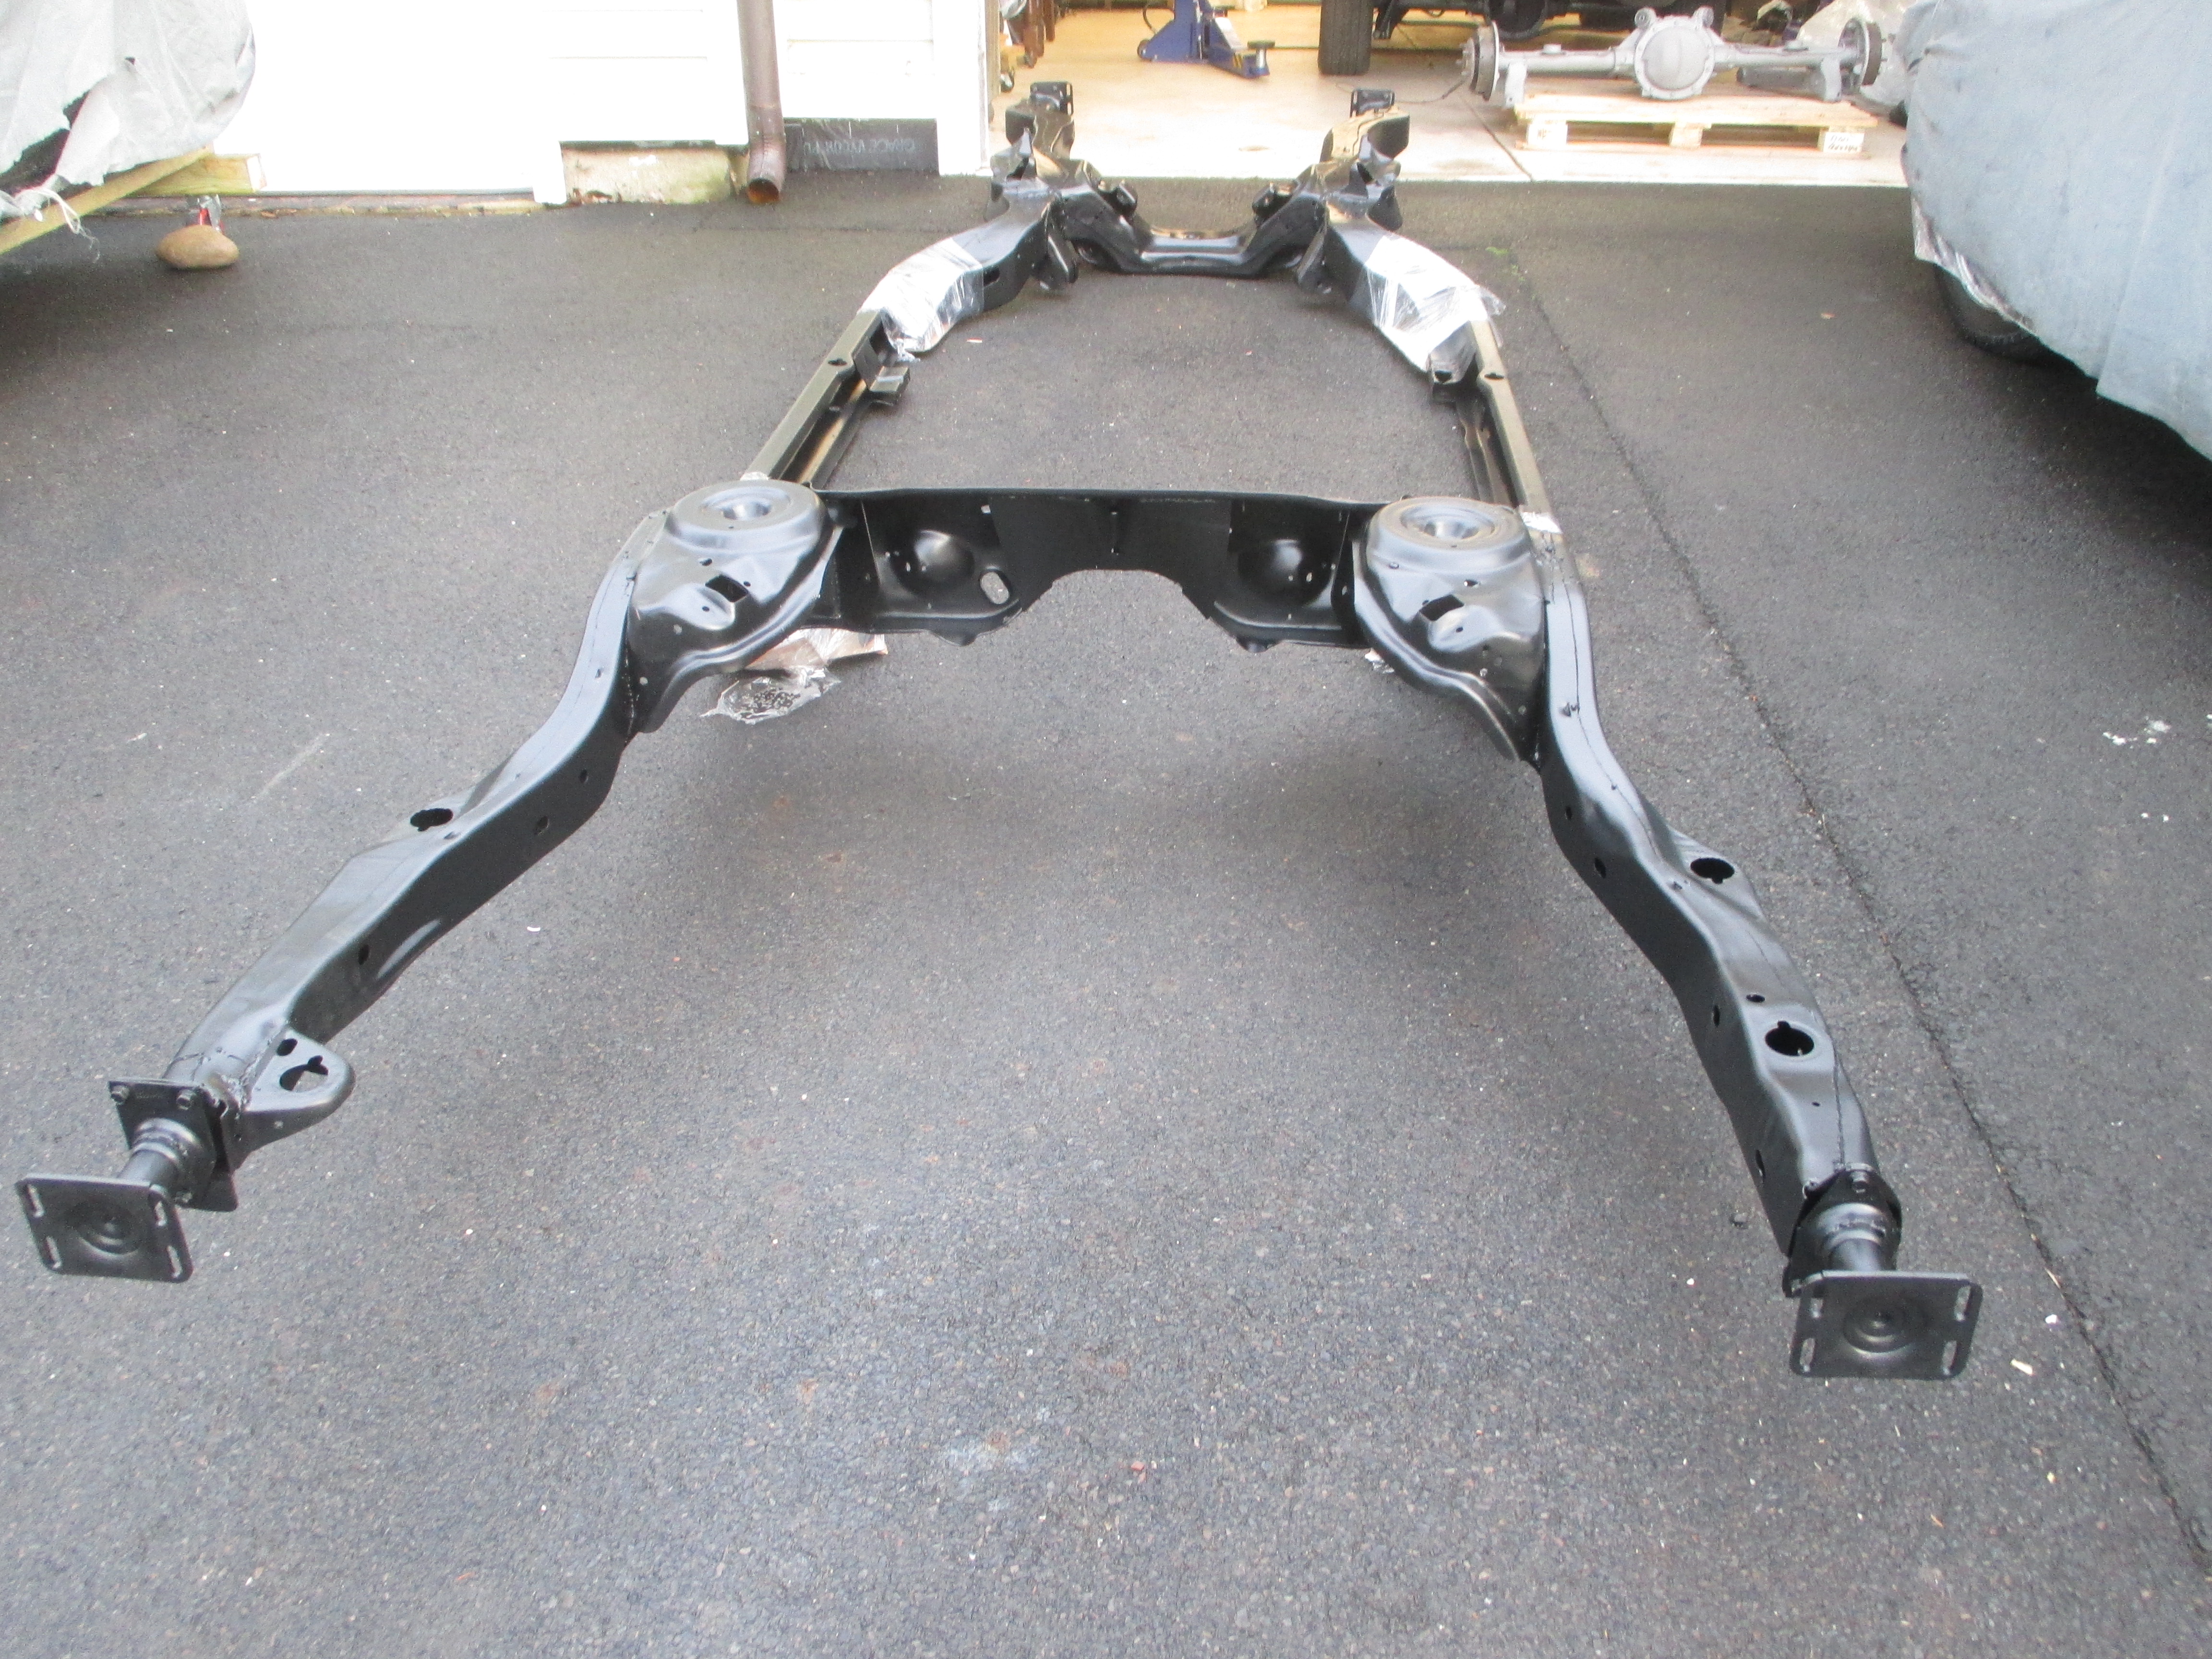
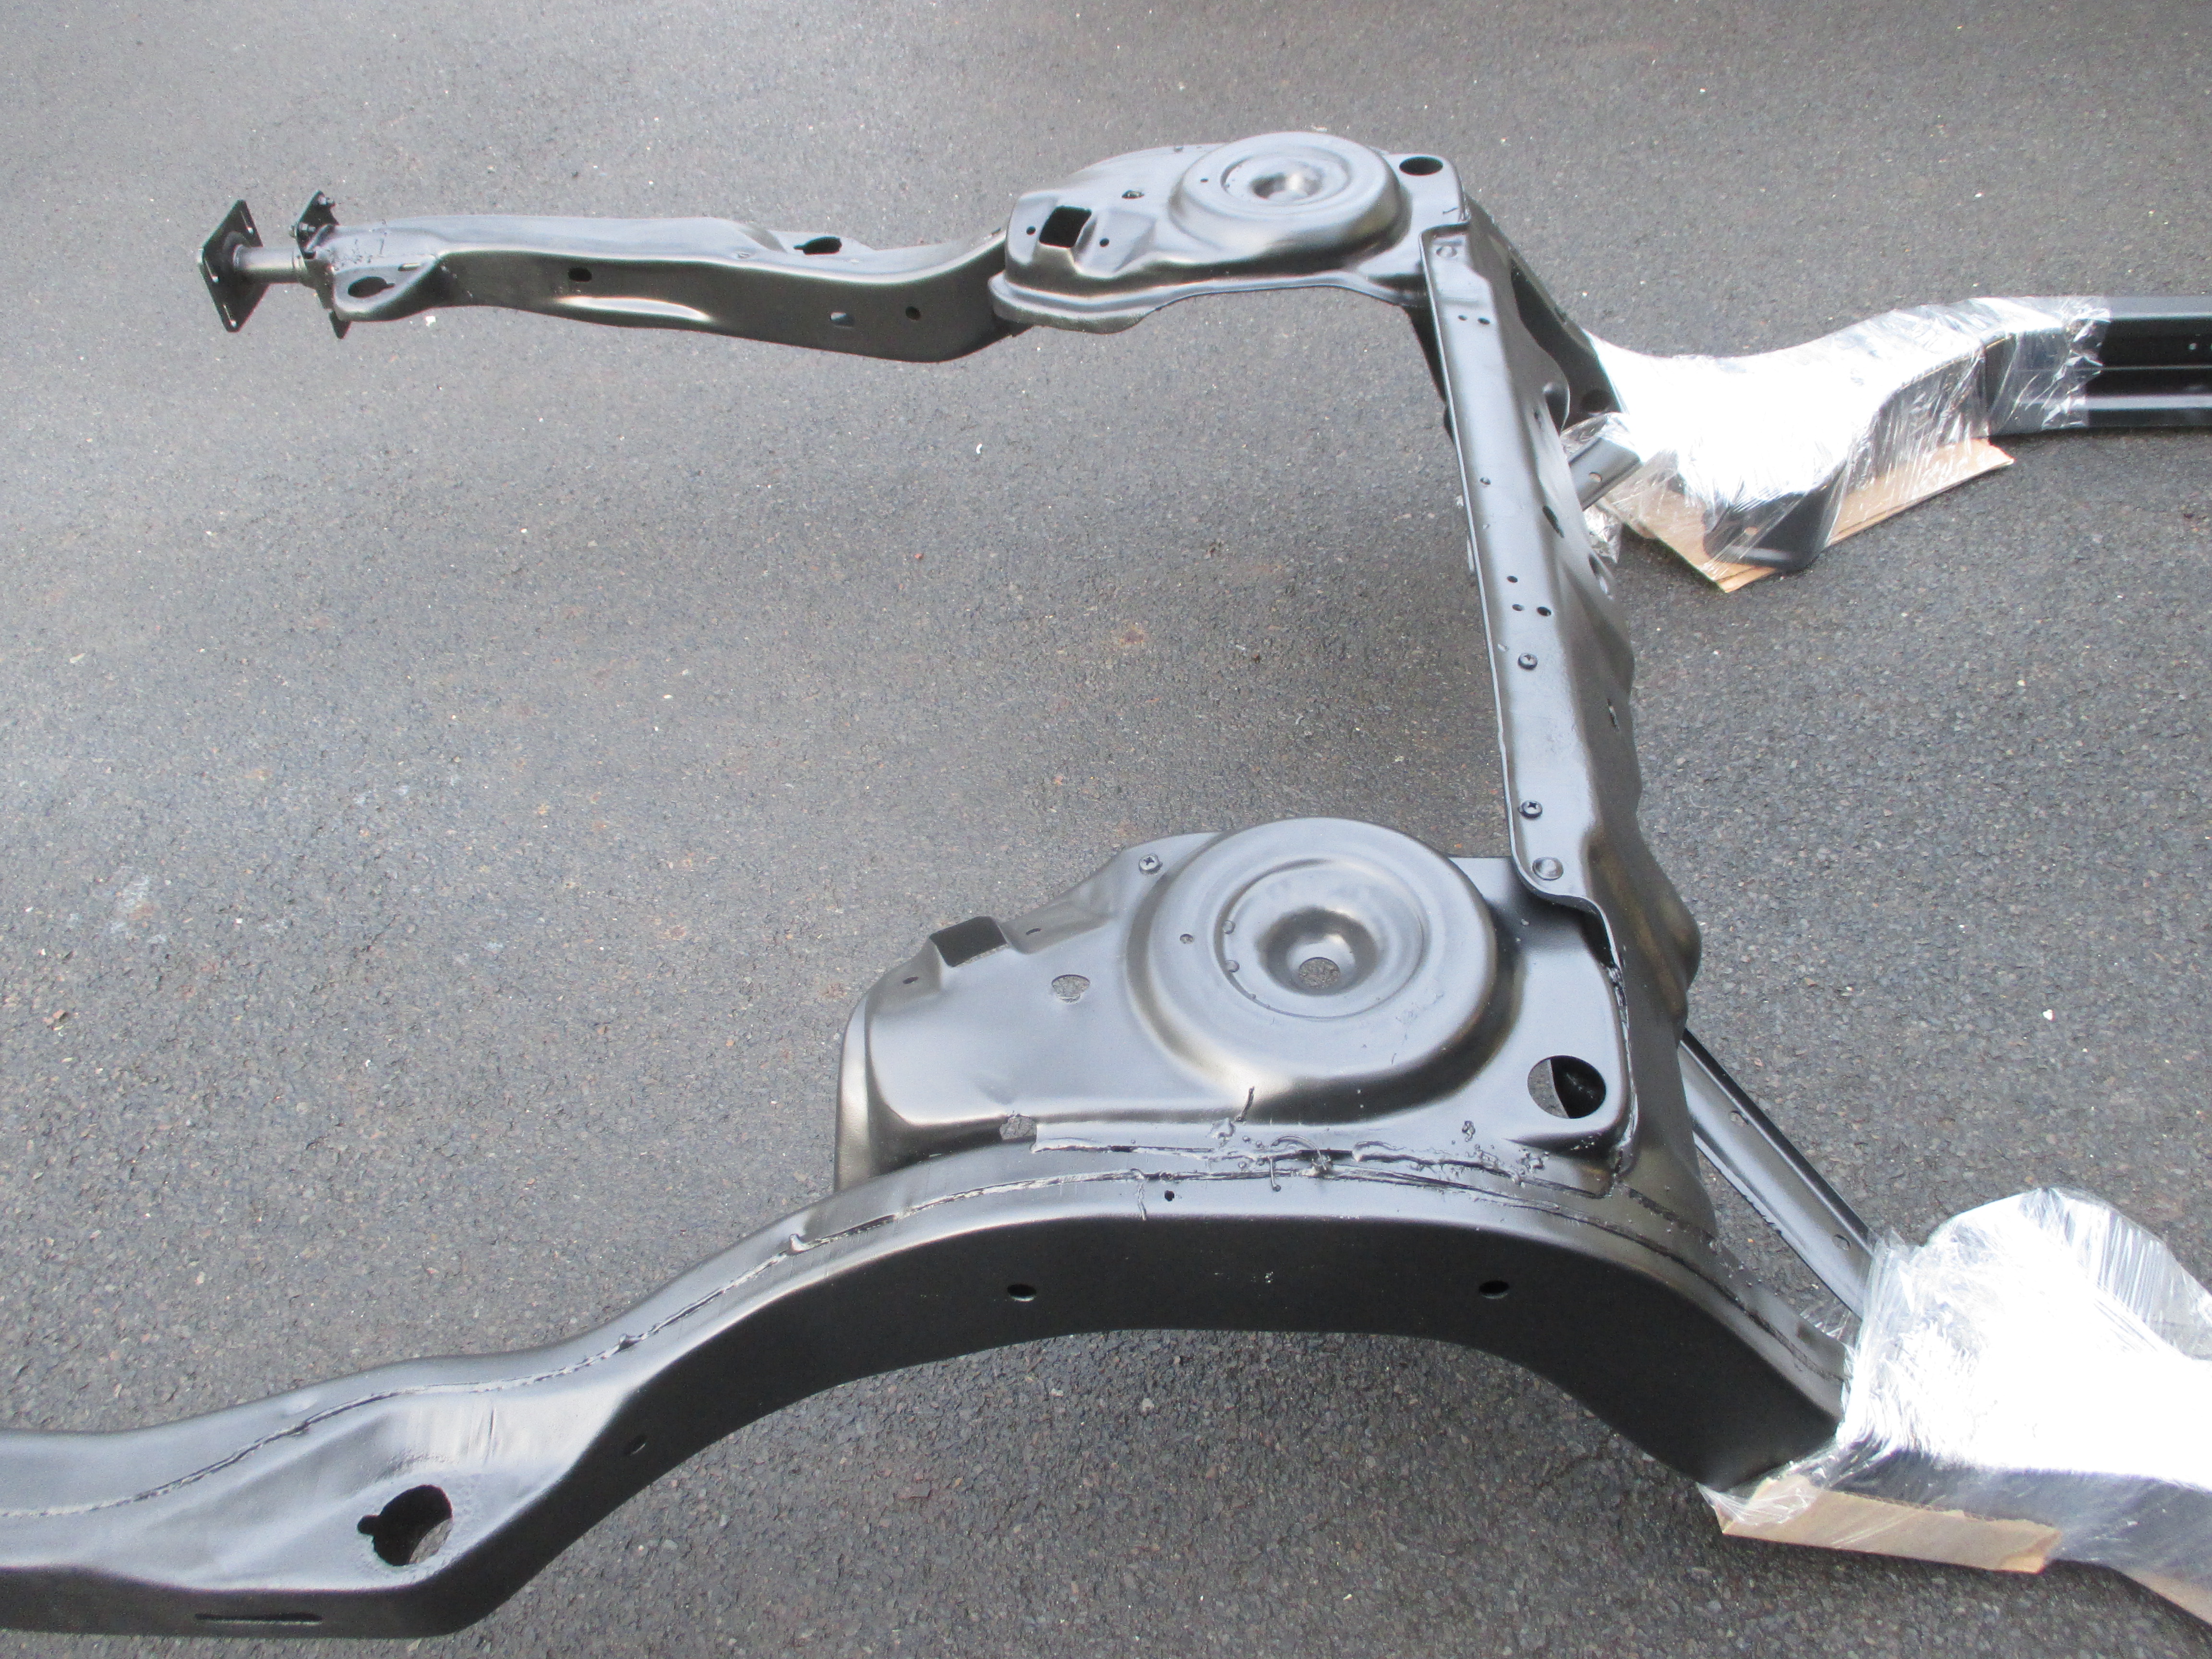
Back from powder coating in the original factory black

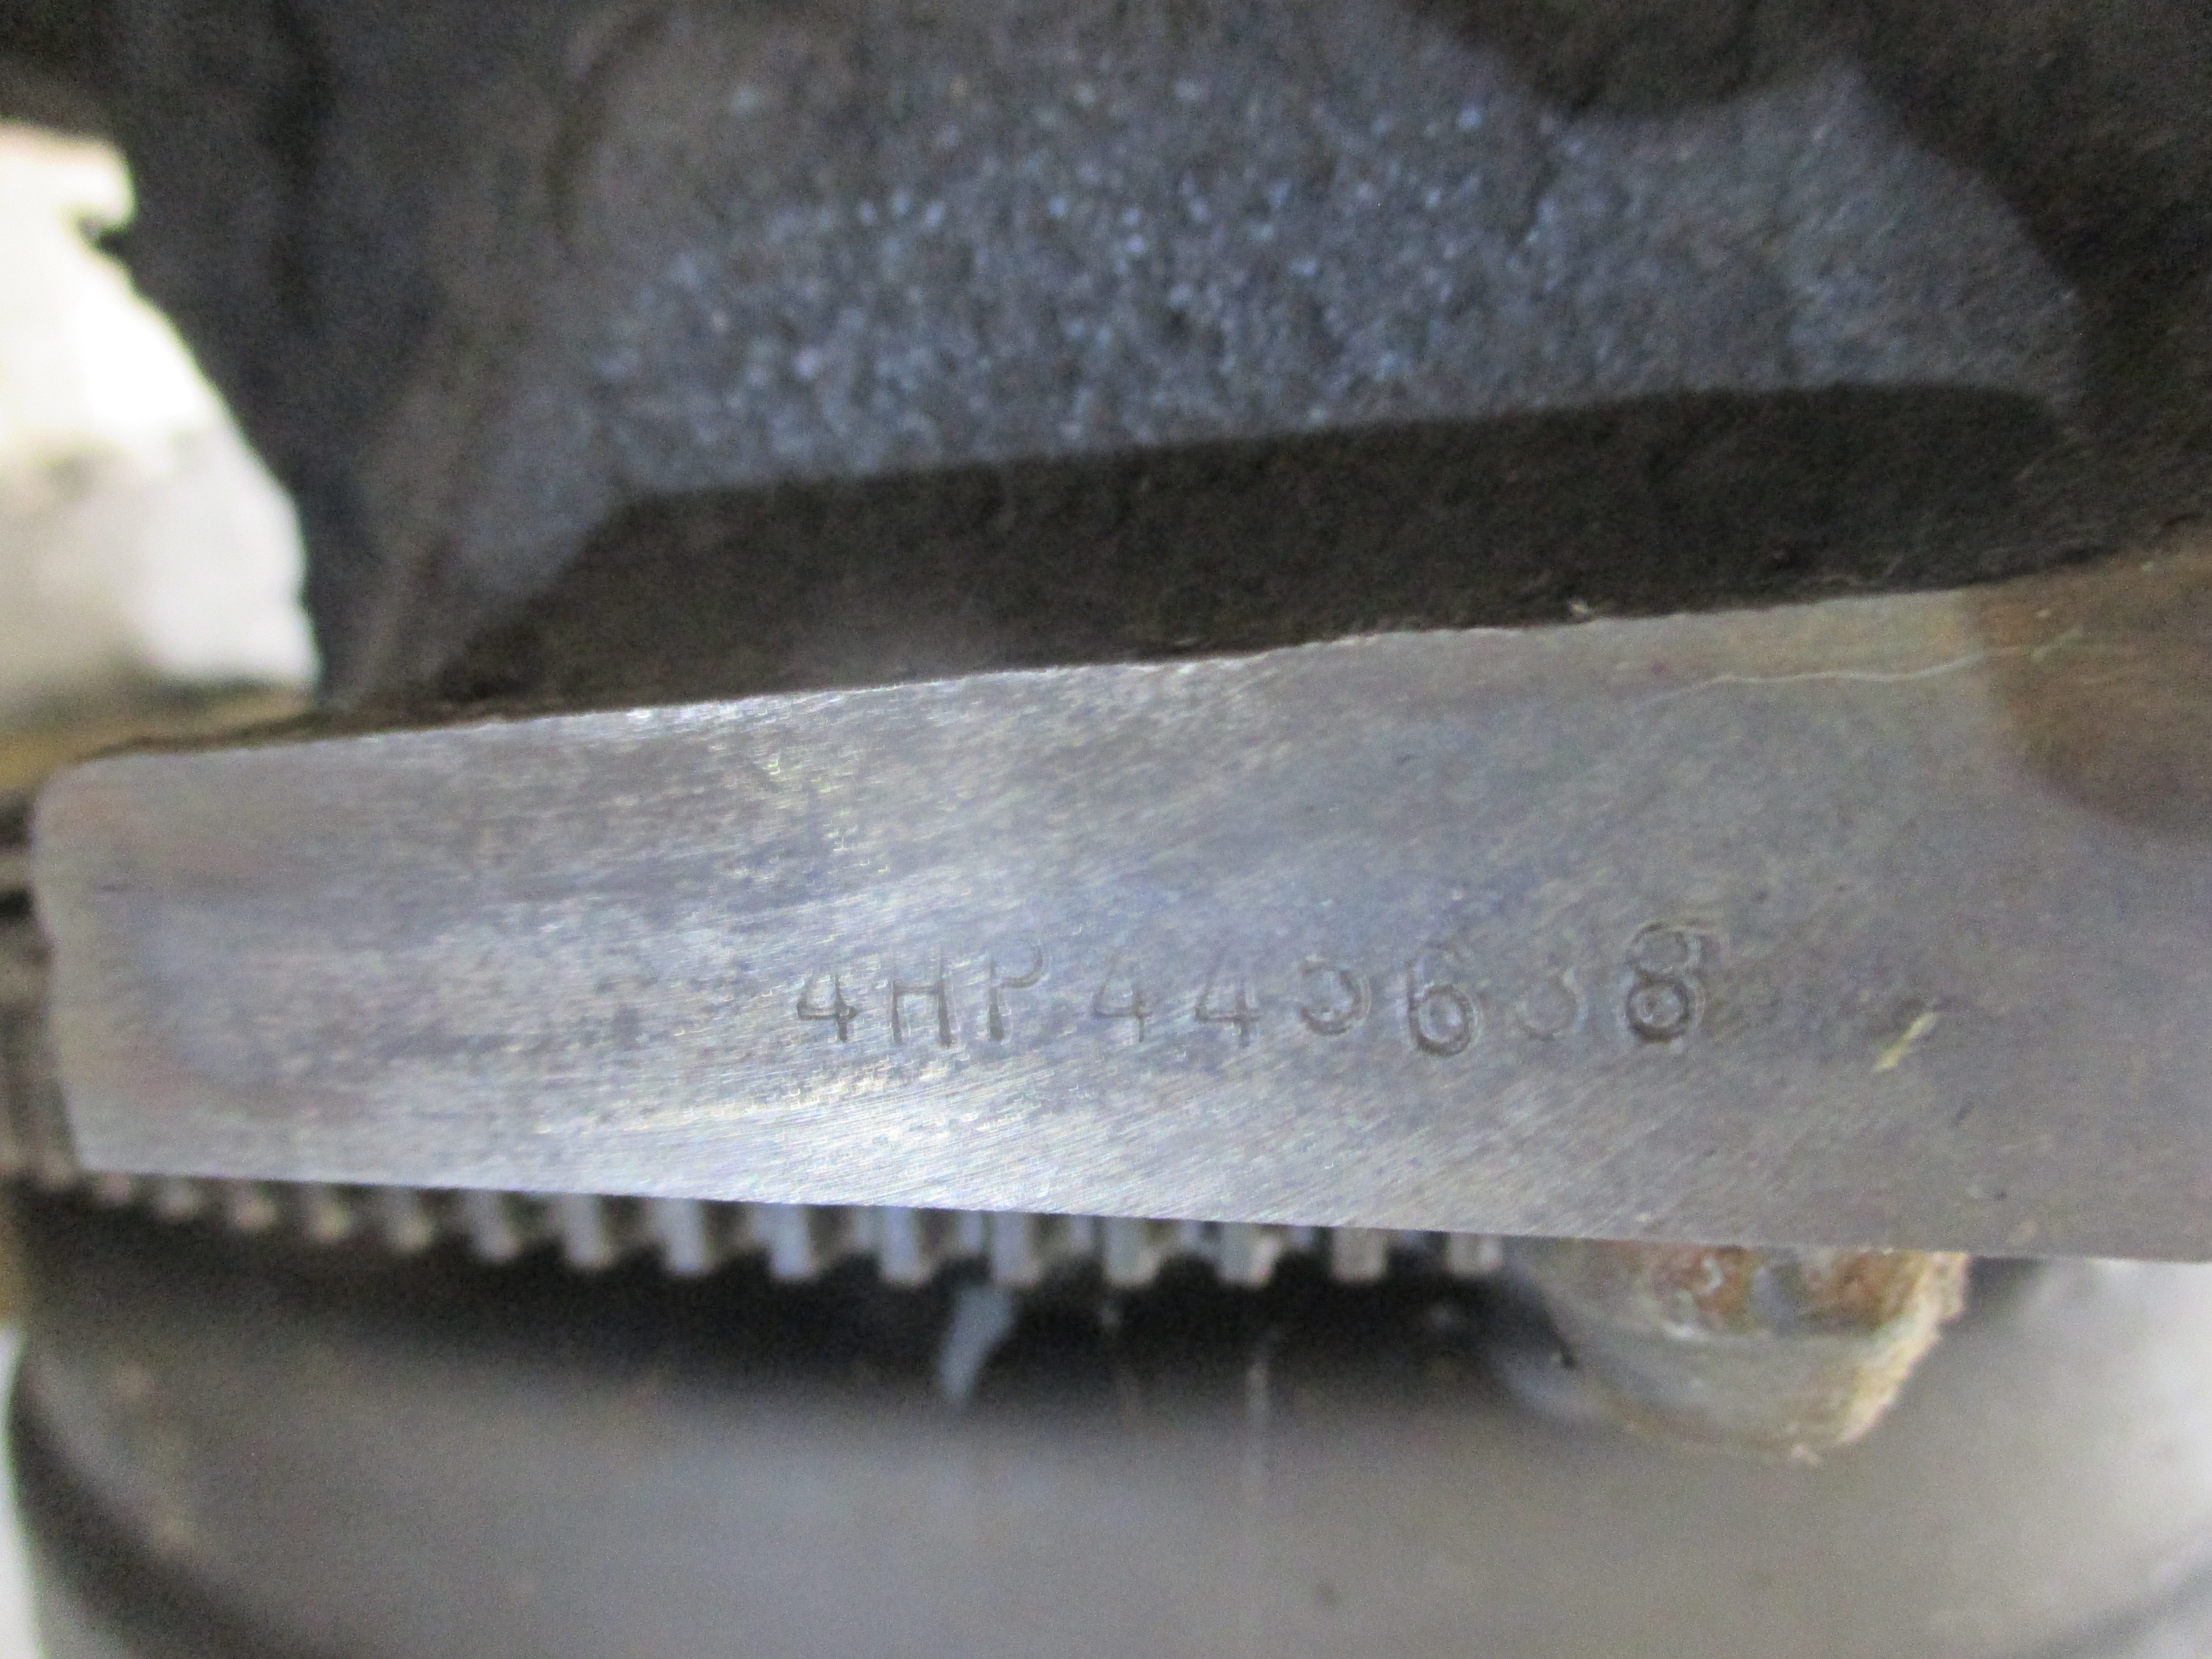
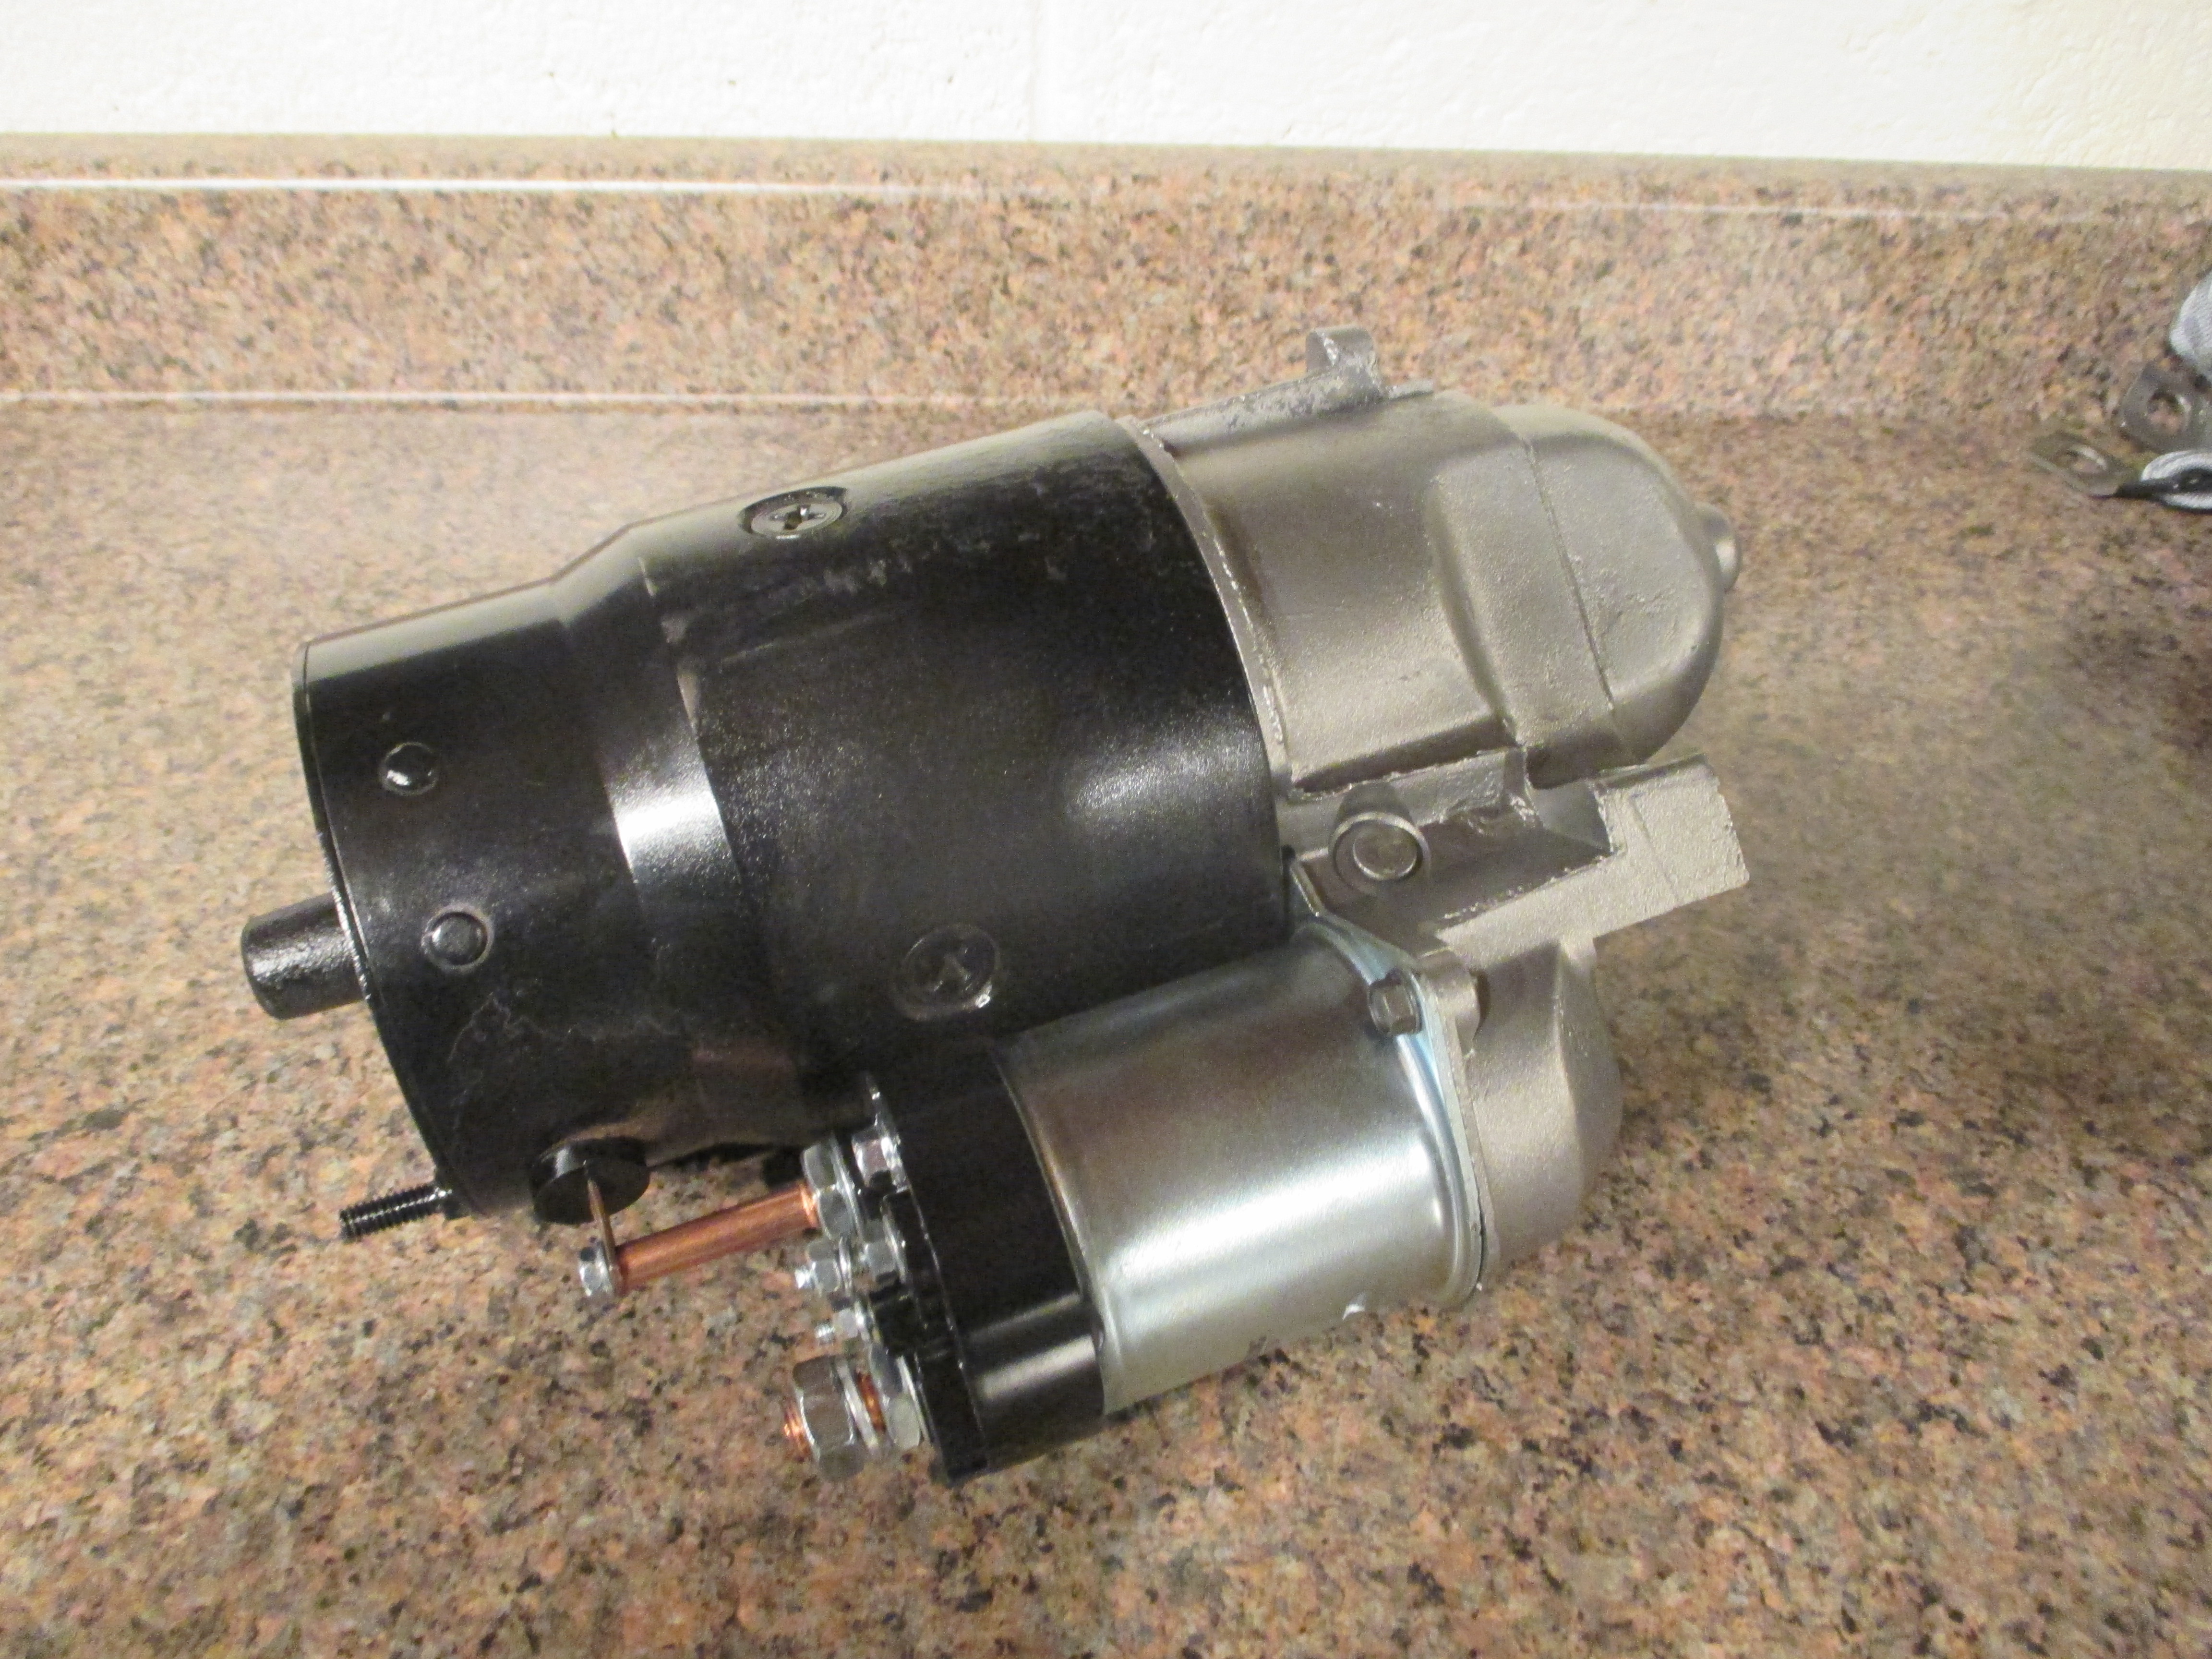
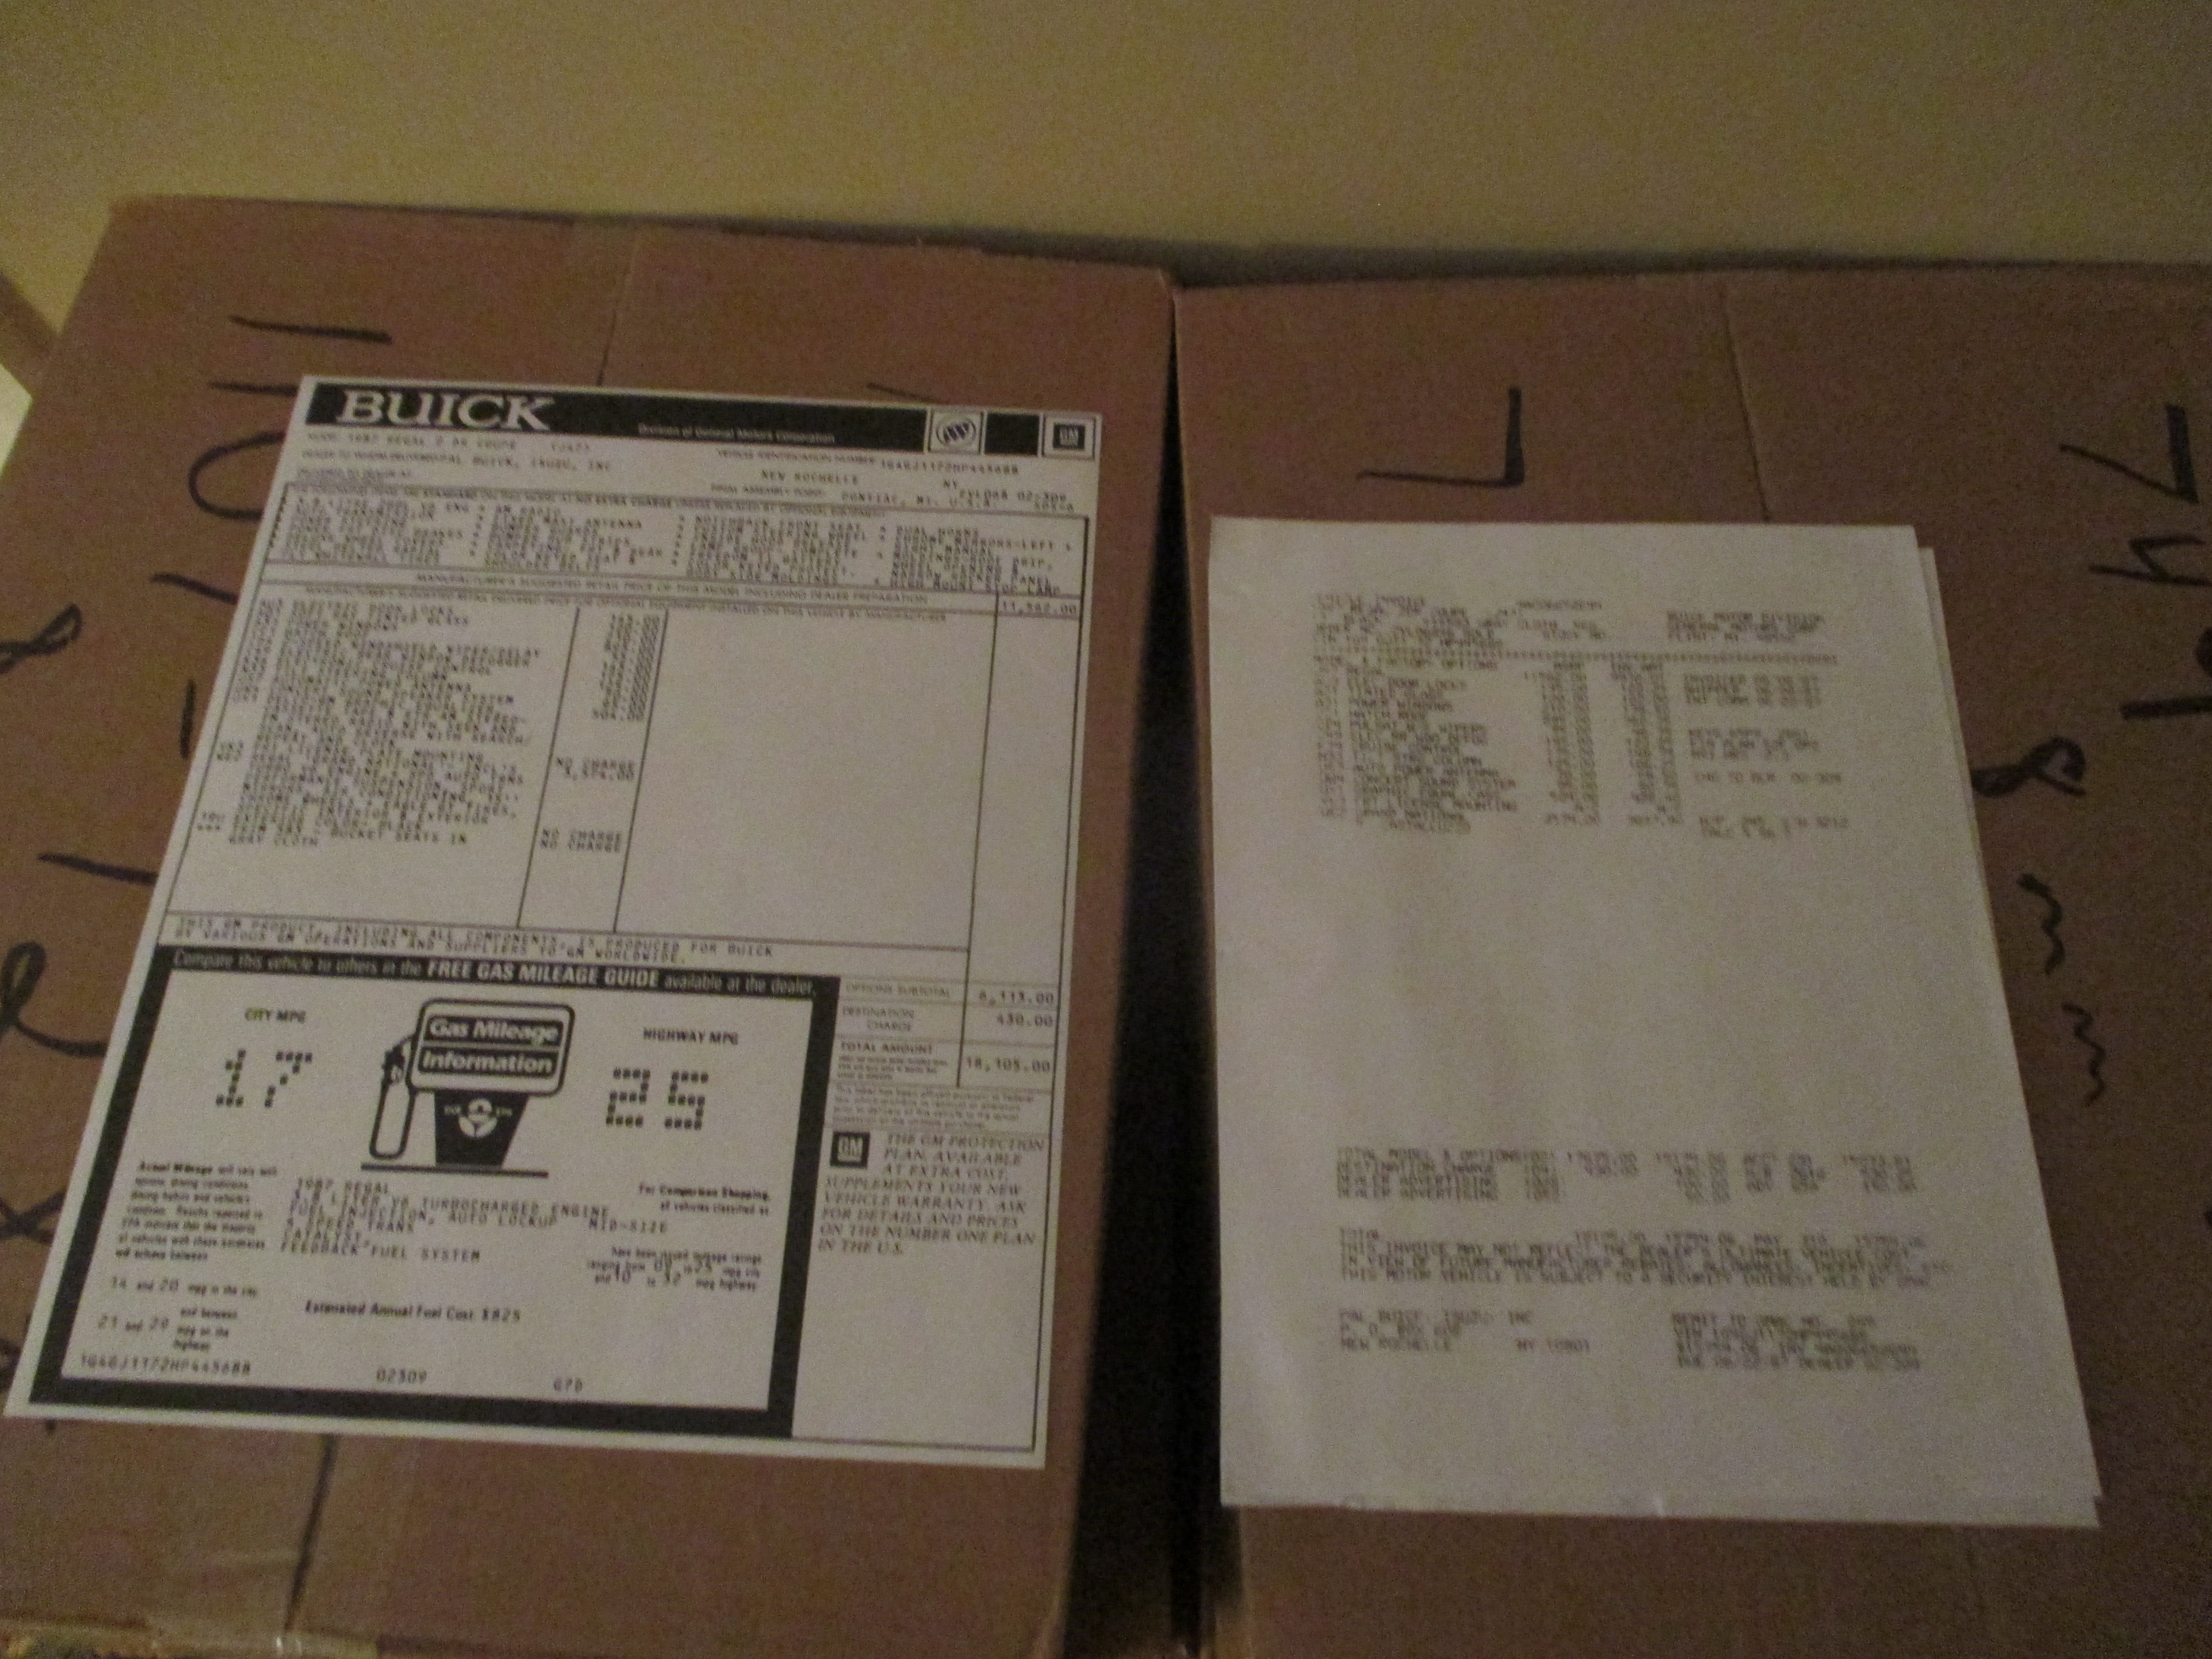
Confirmed numbers matching motor

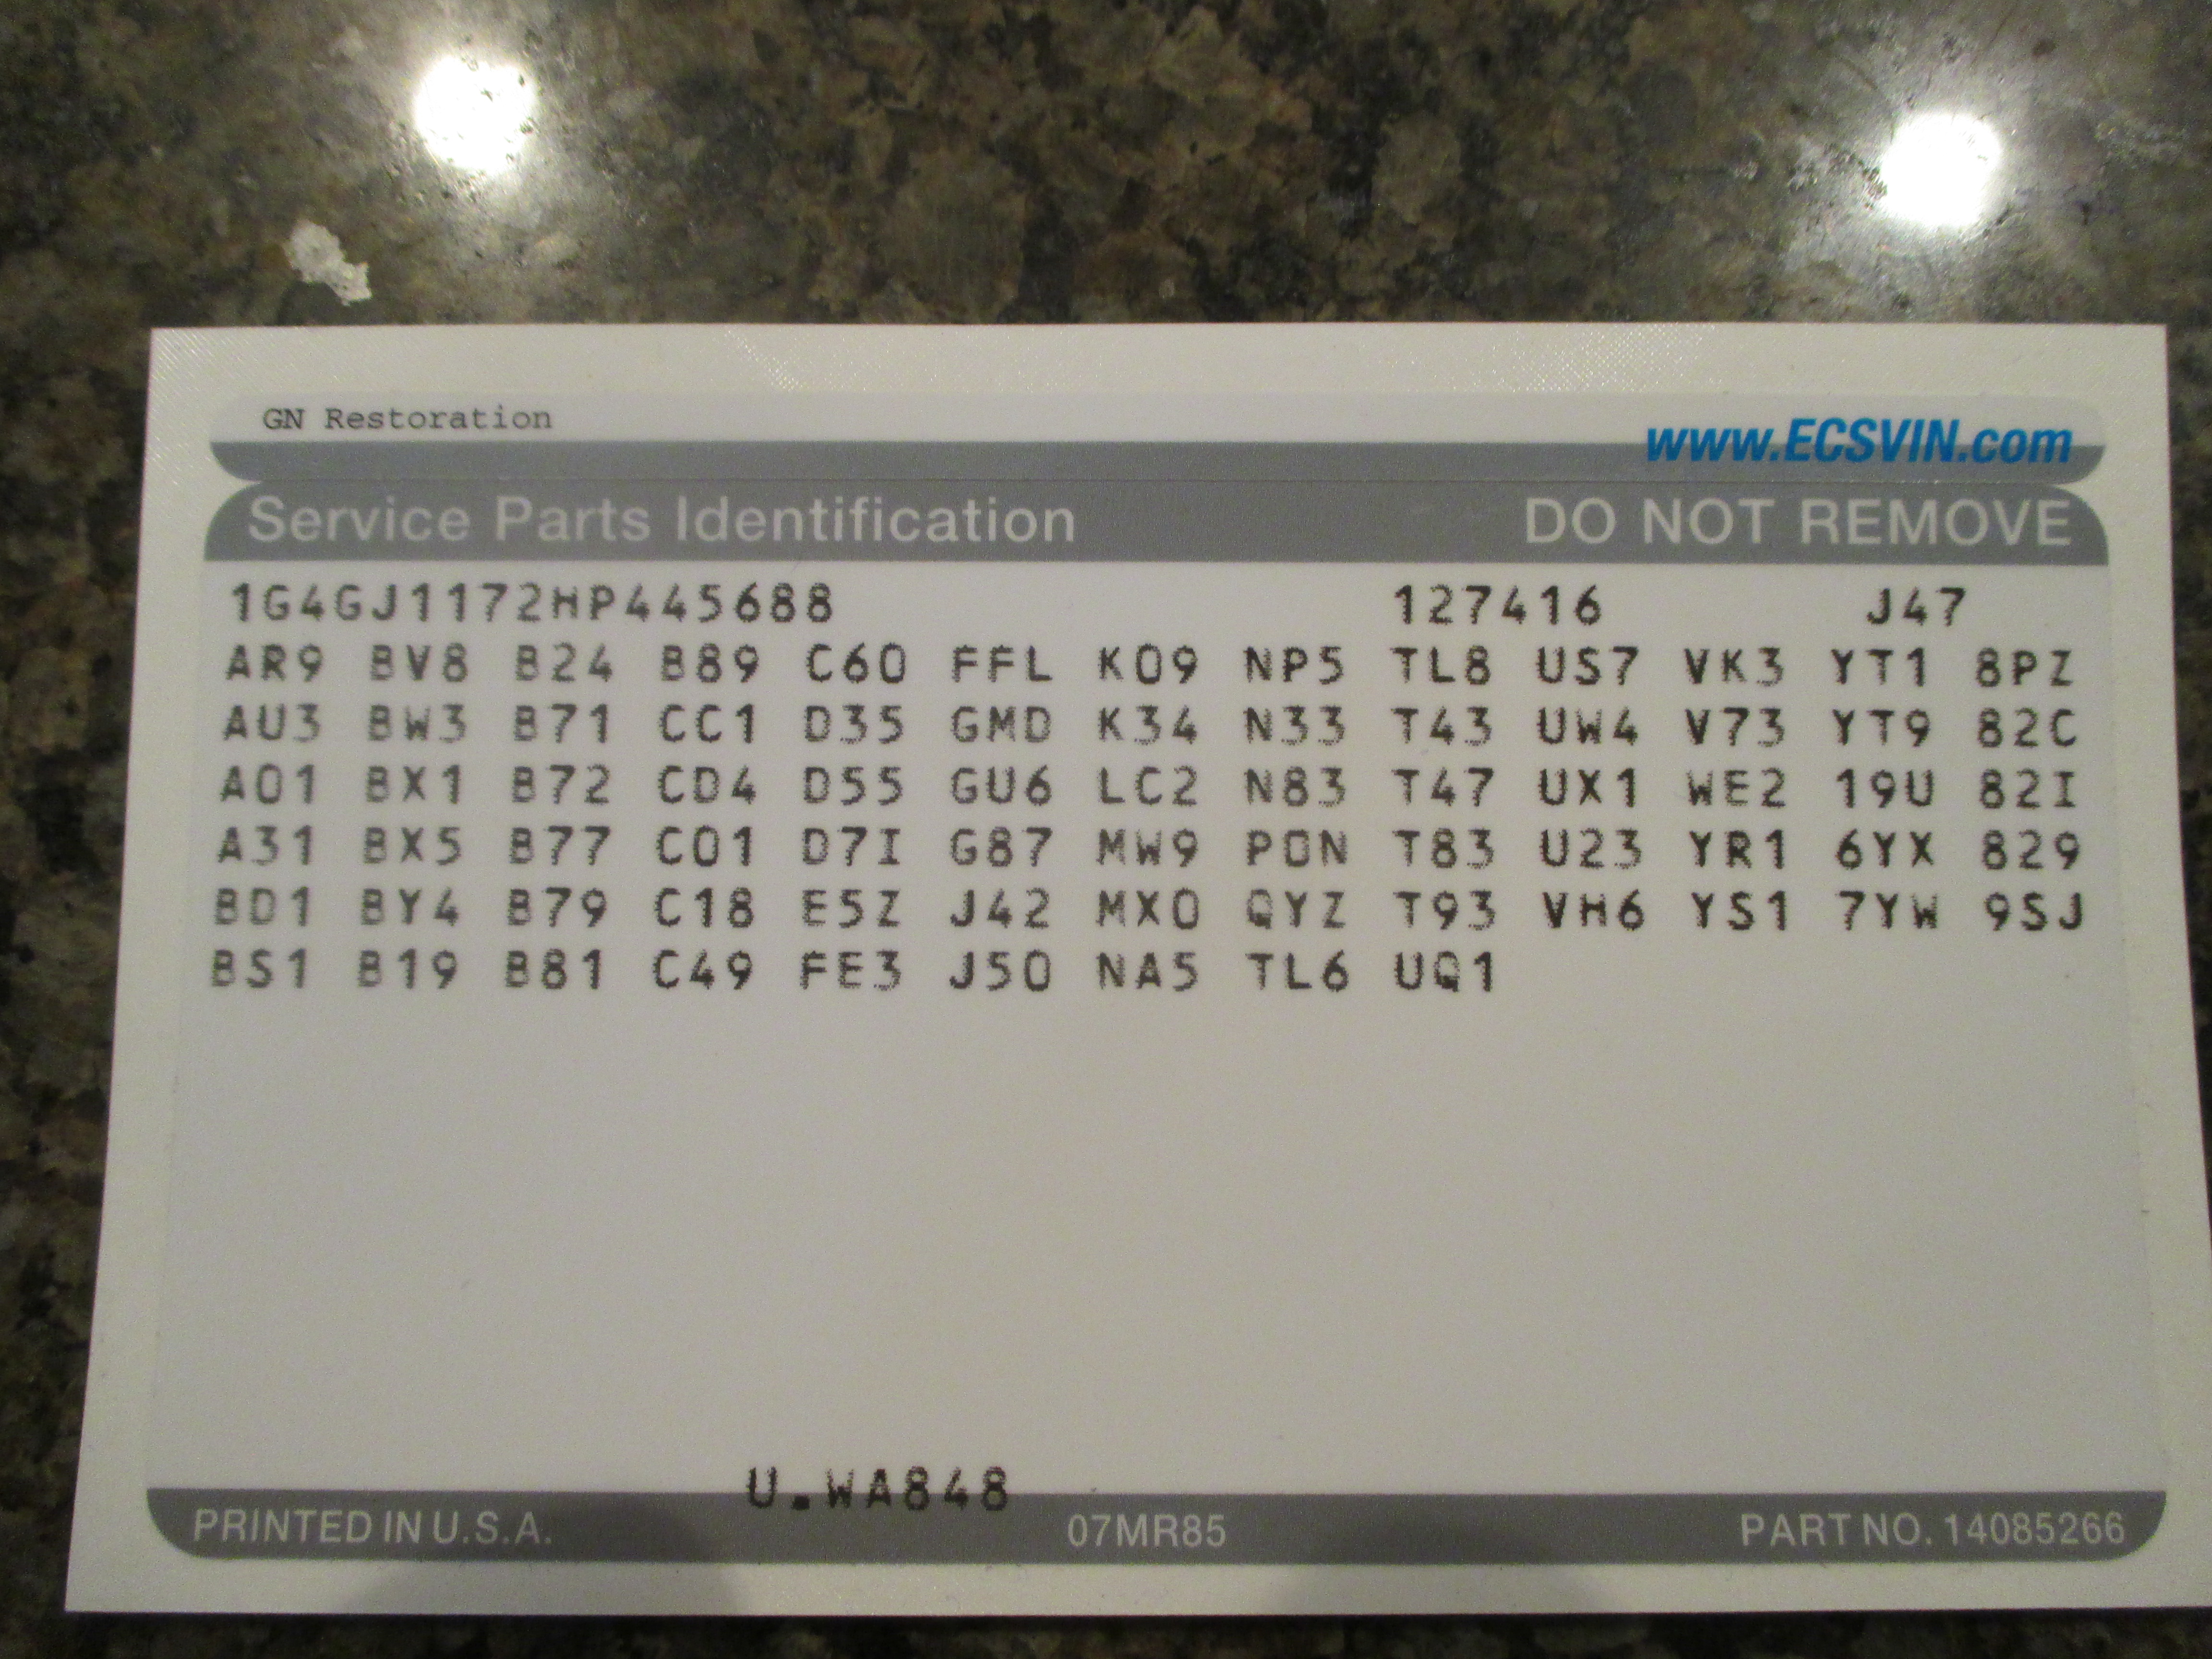
As the trunk lid can’t be used we have a new one and it will need a reproduction of the Service Parts Label.
This is the new label
Some before and after of some smaller but important parts
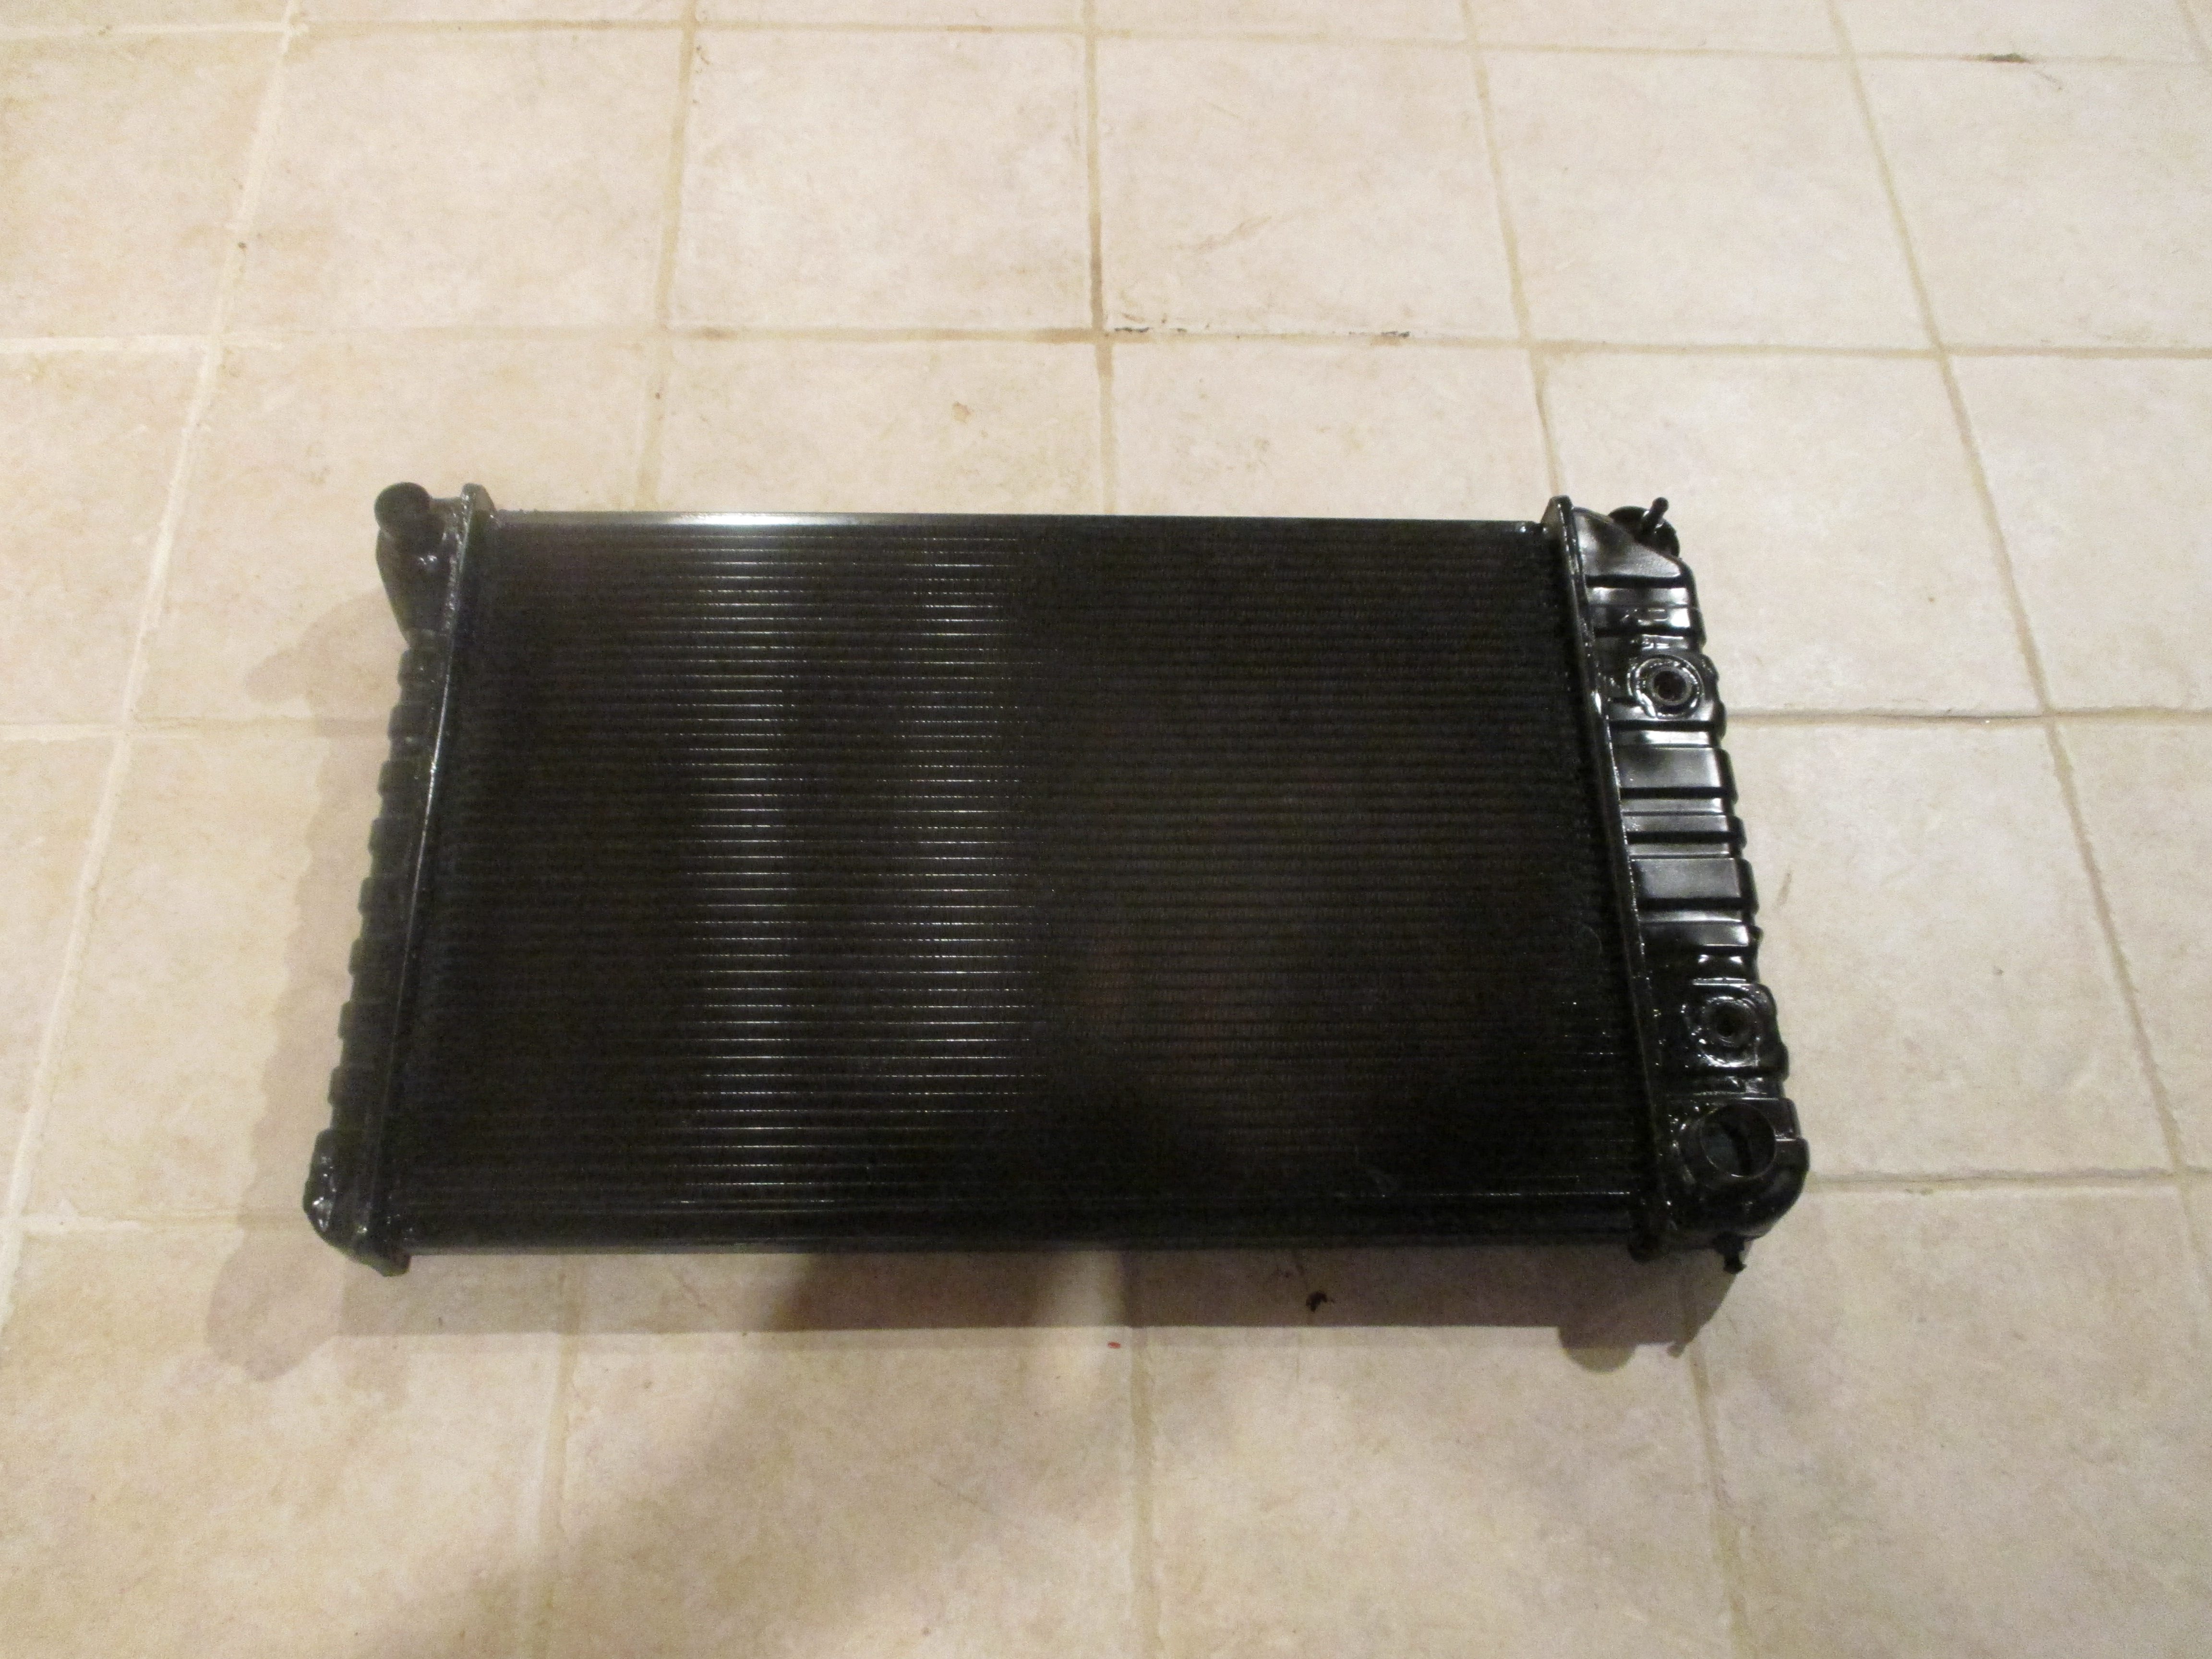
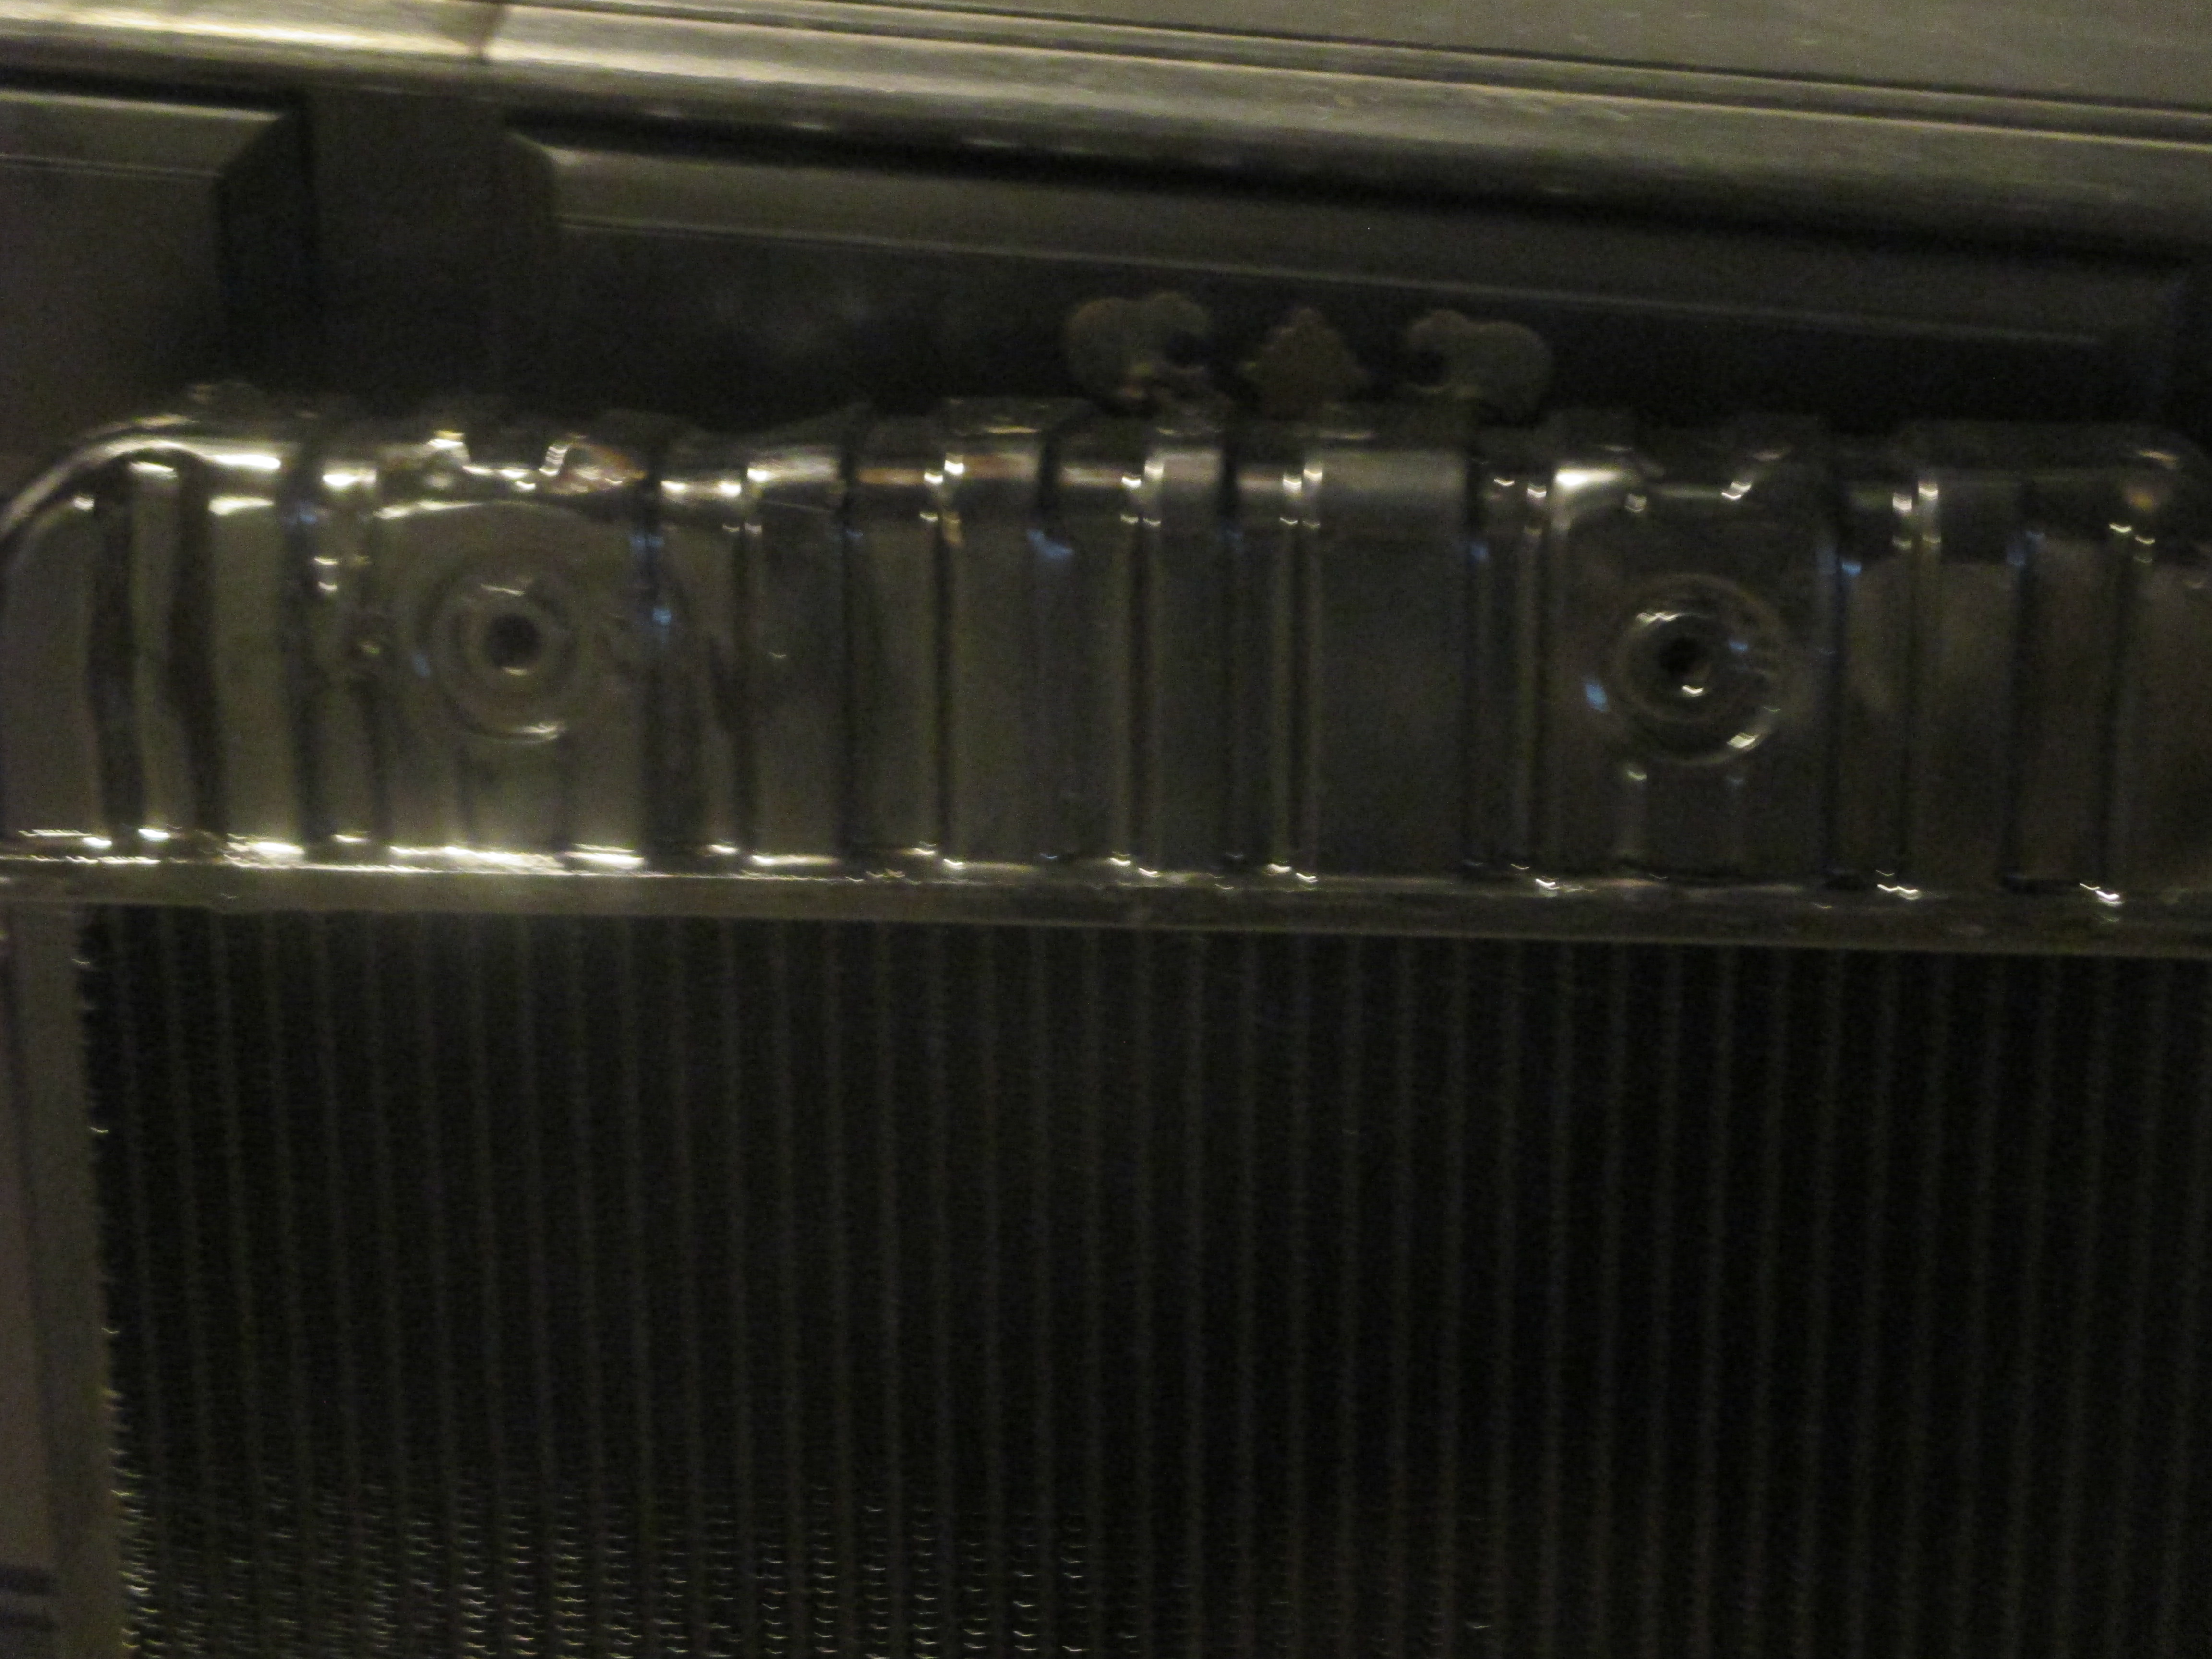
After
afters

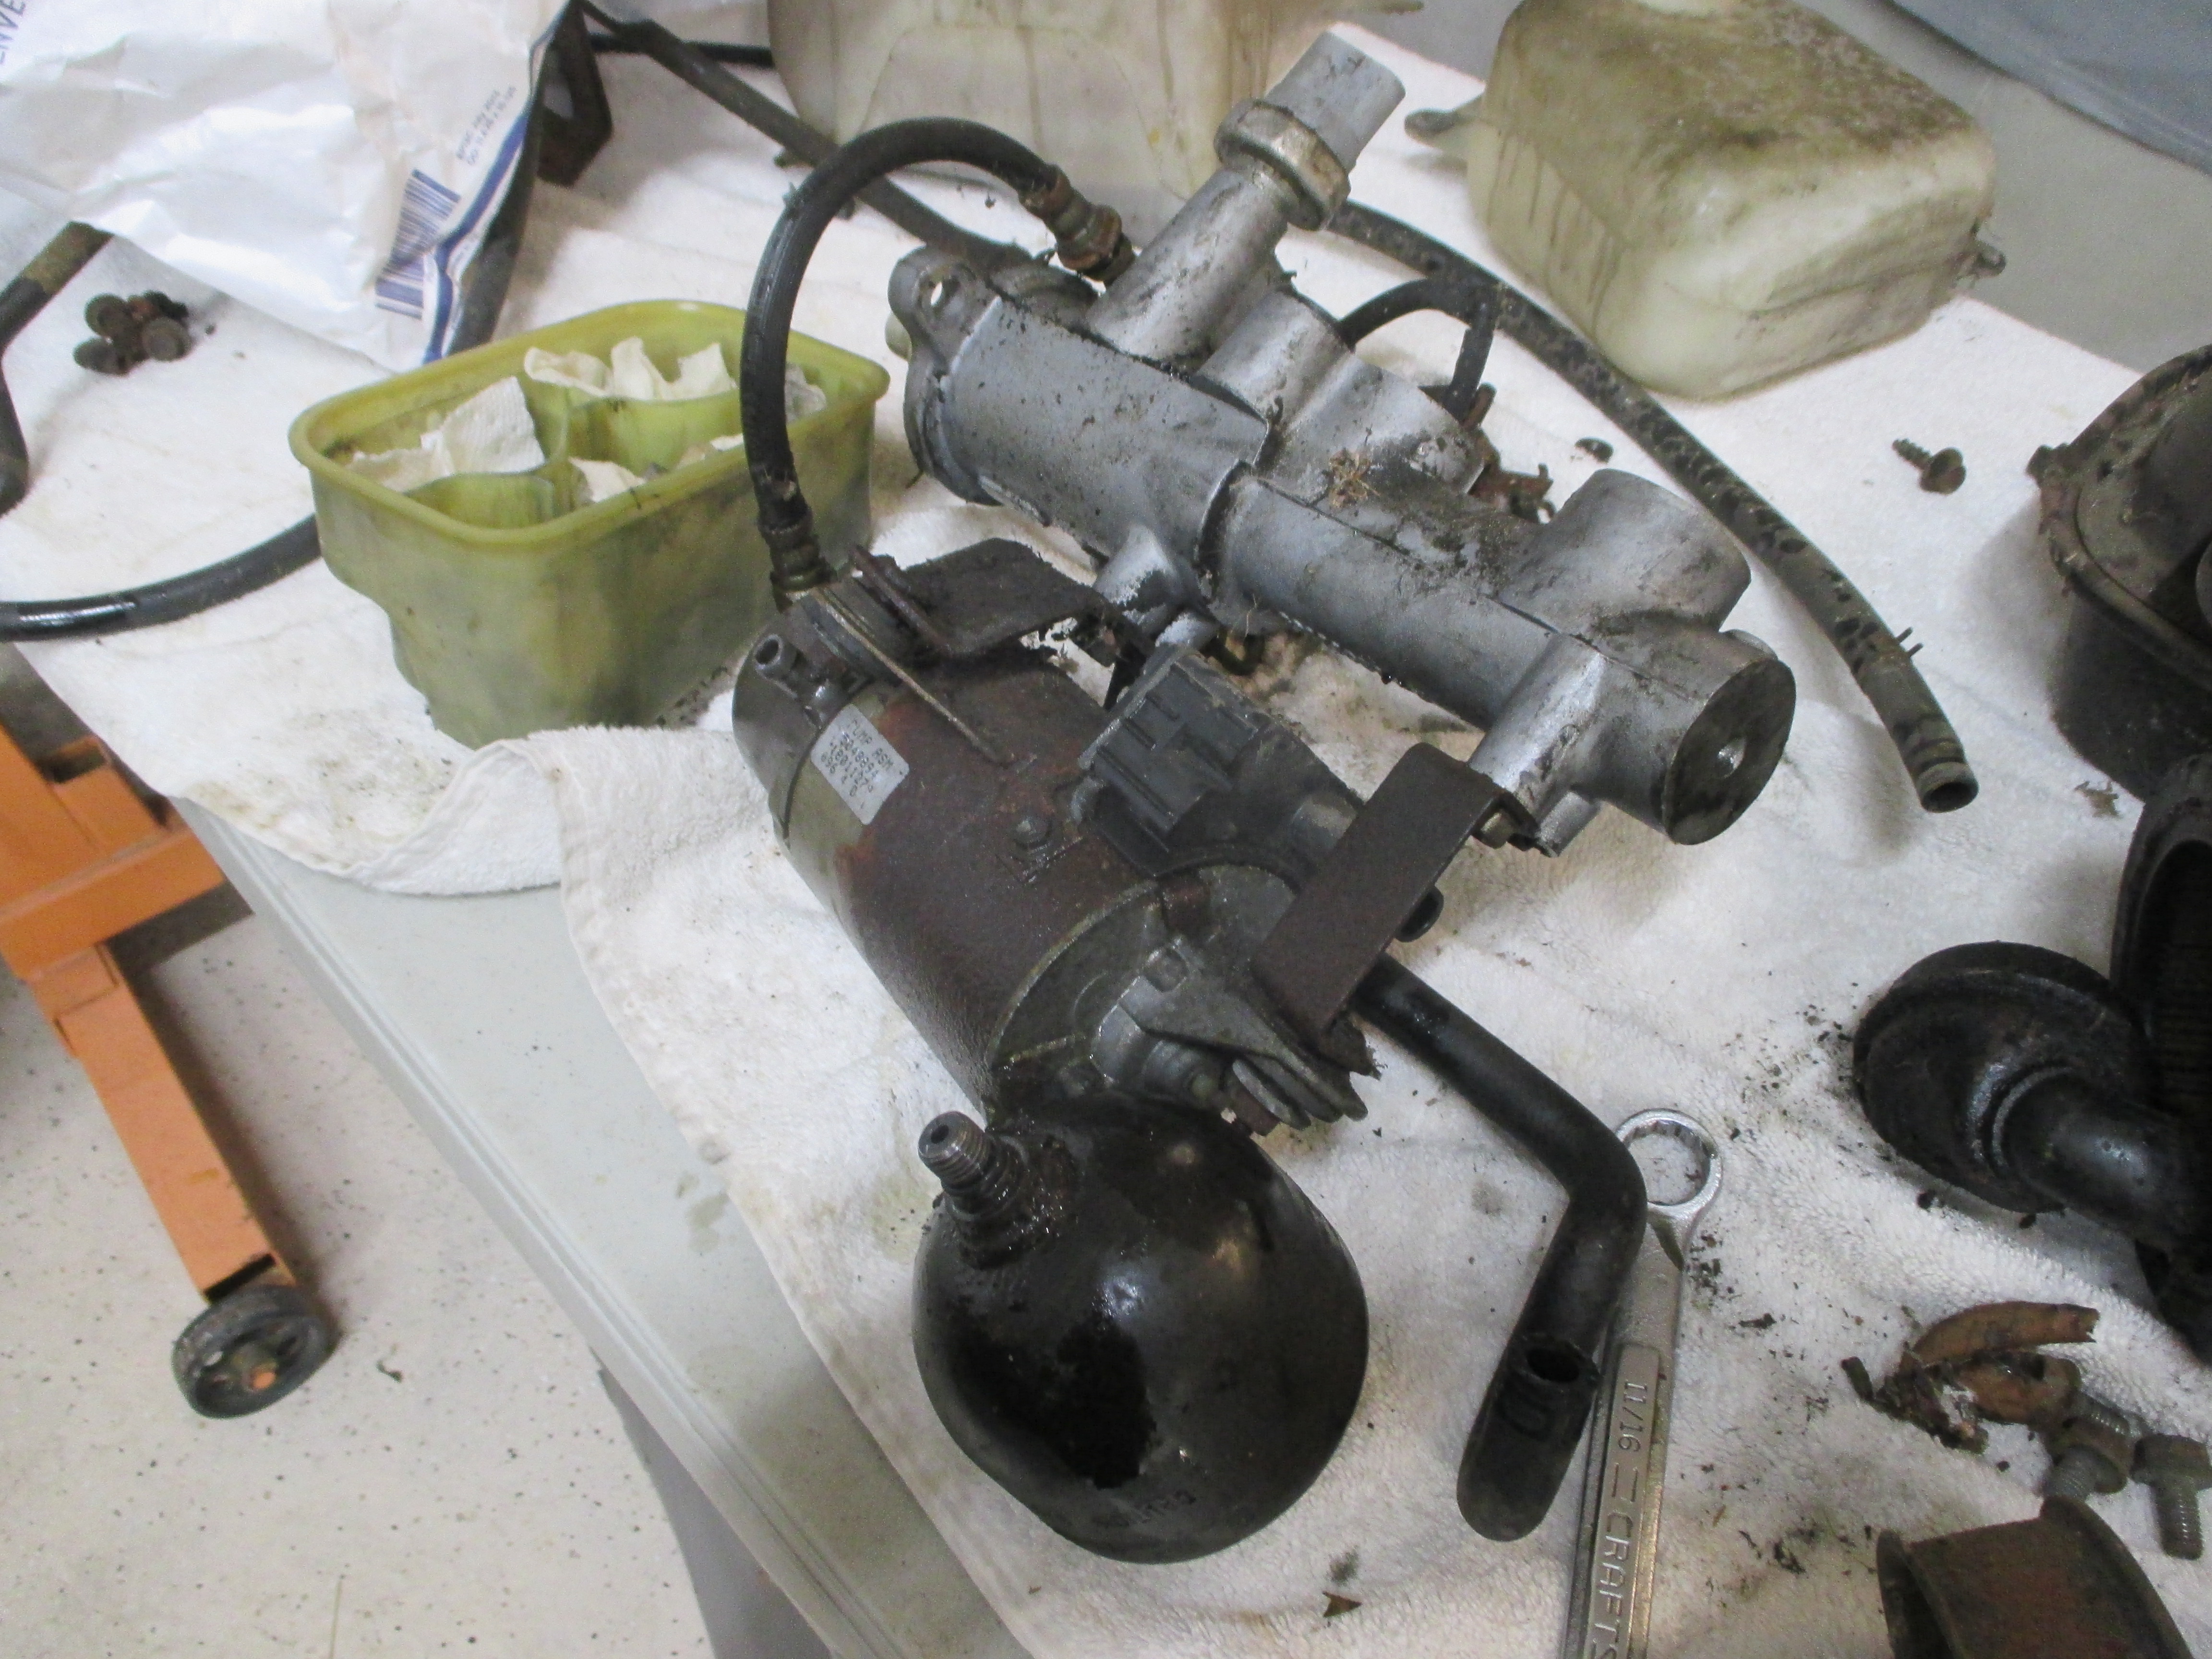
Before of the brake system
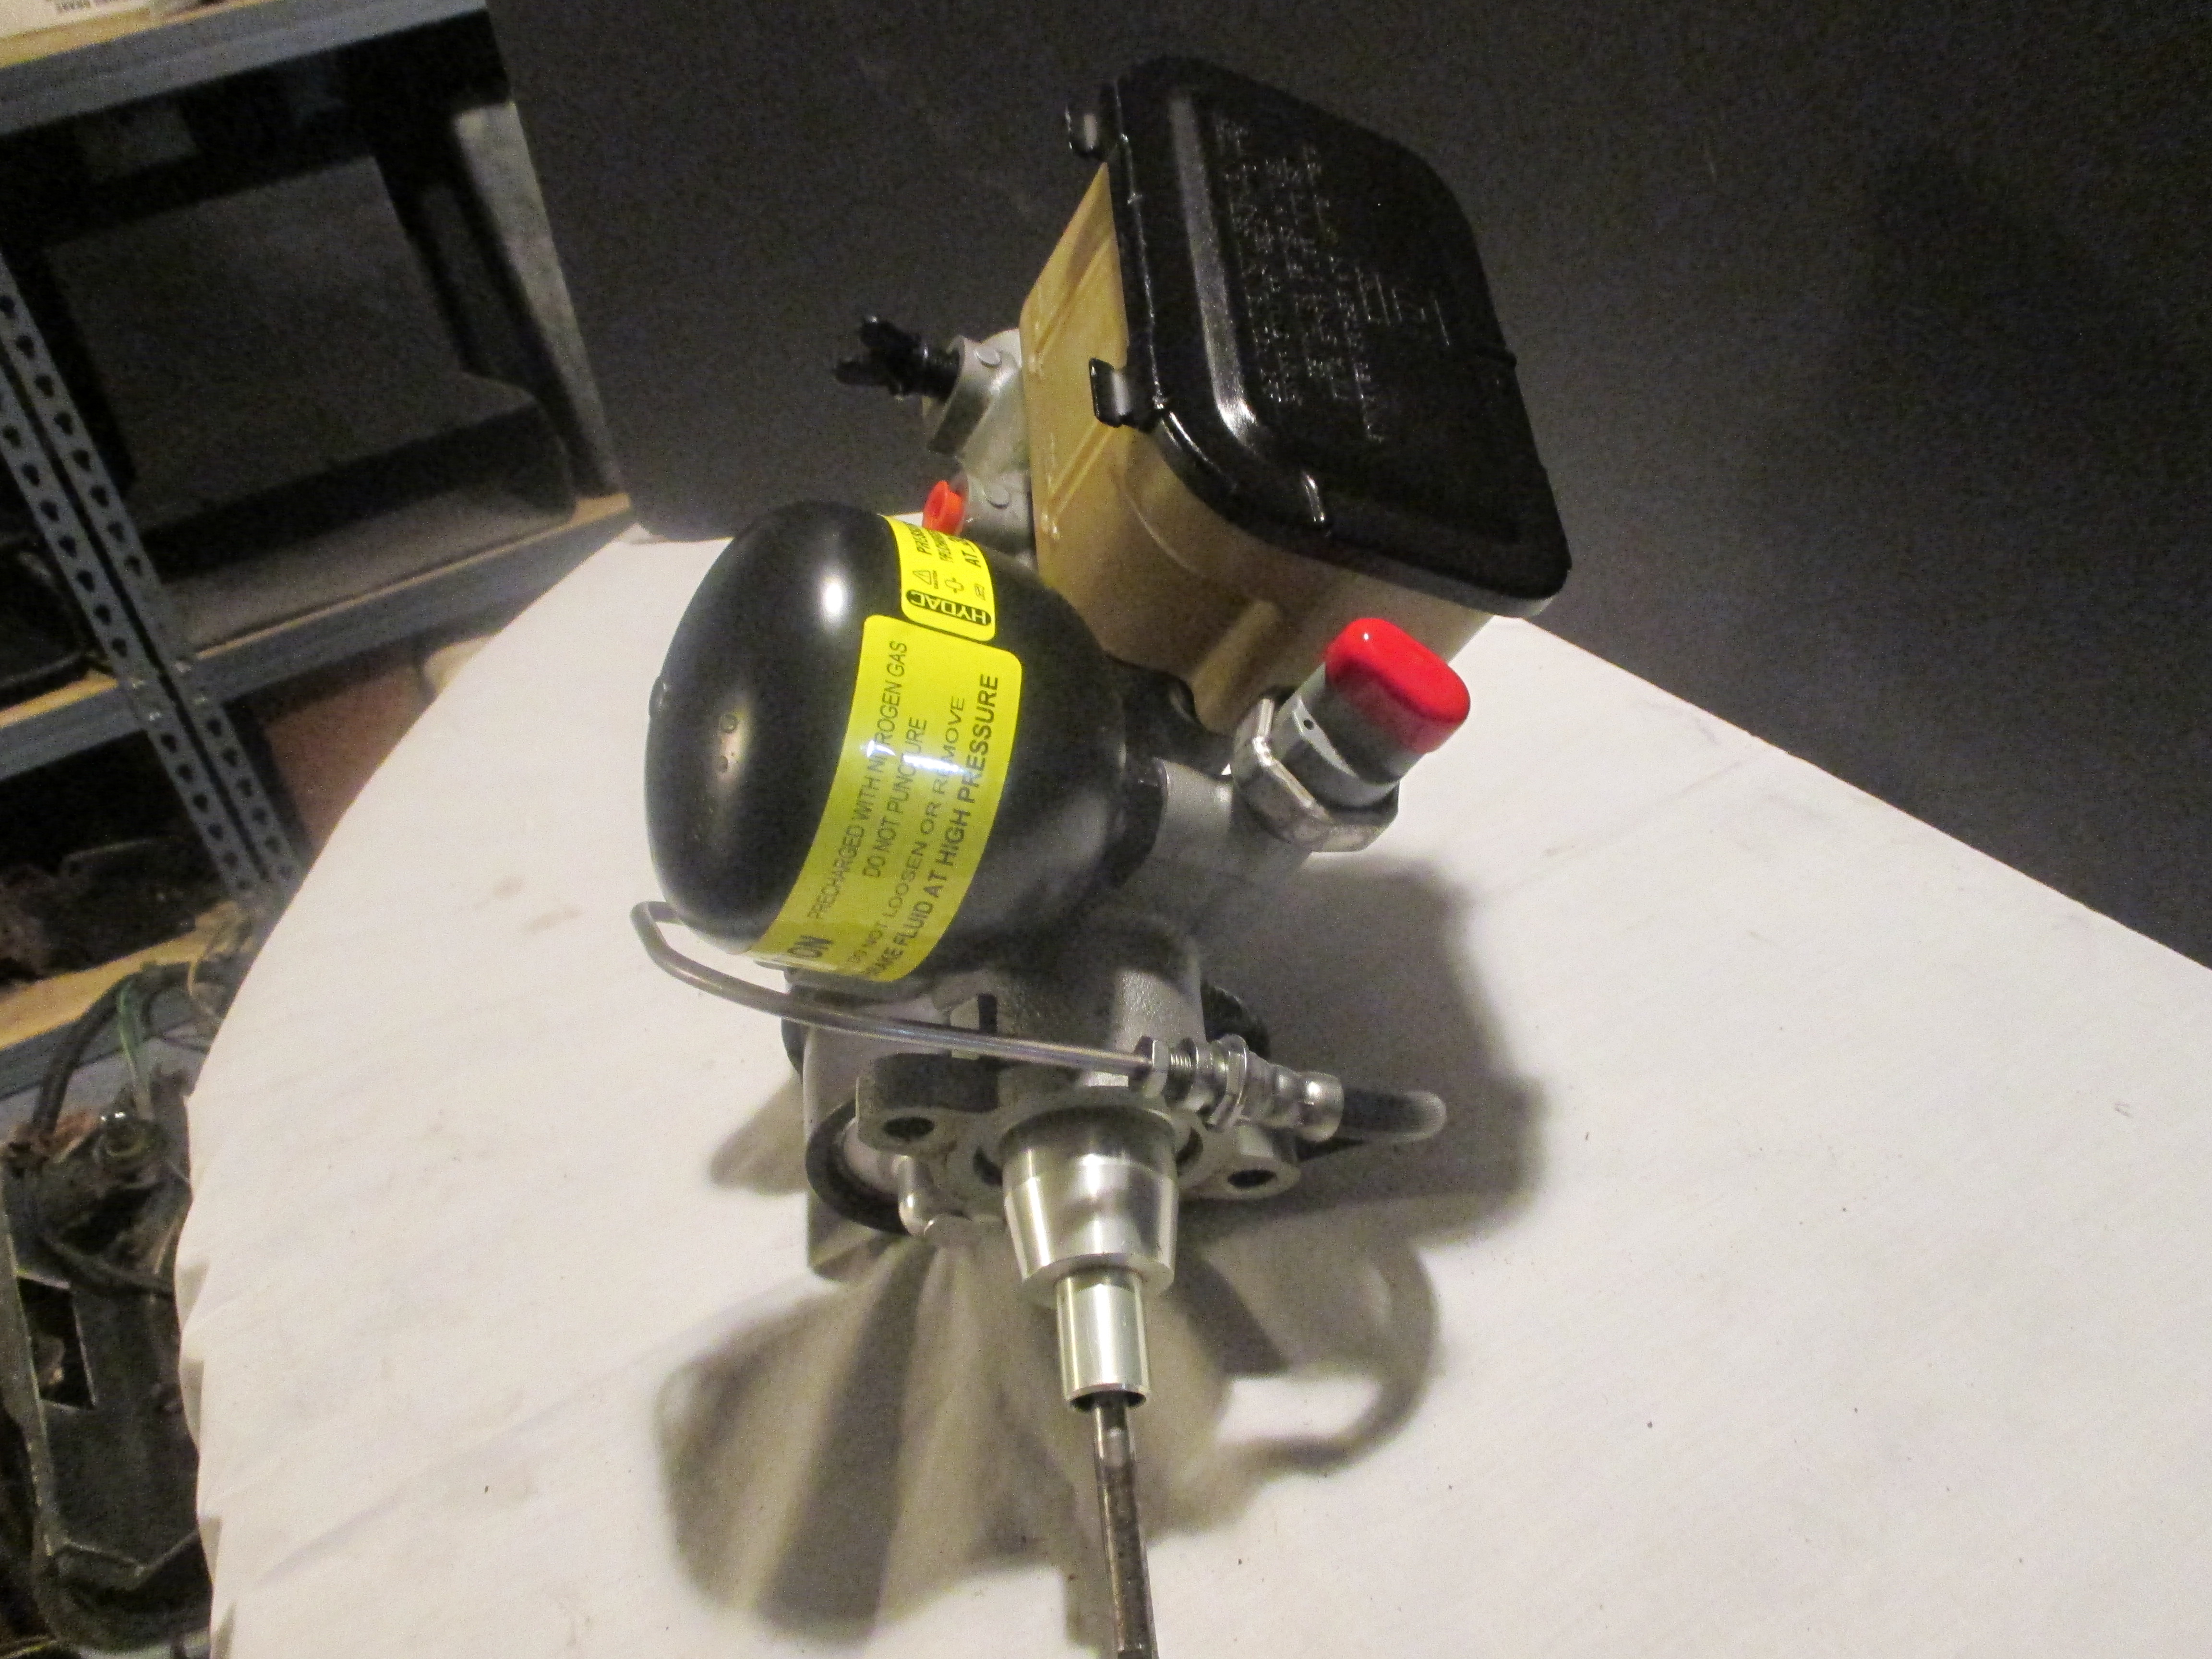
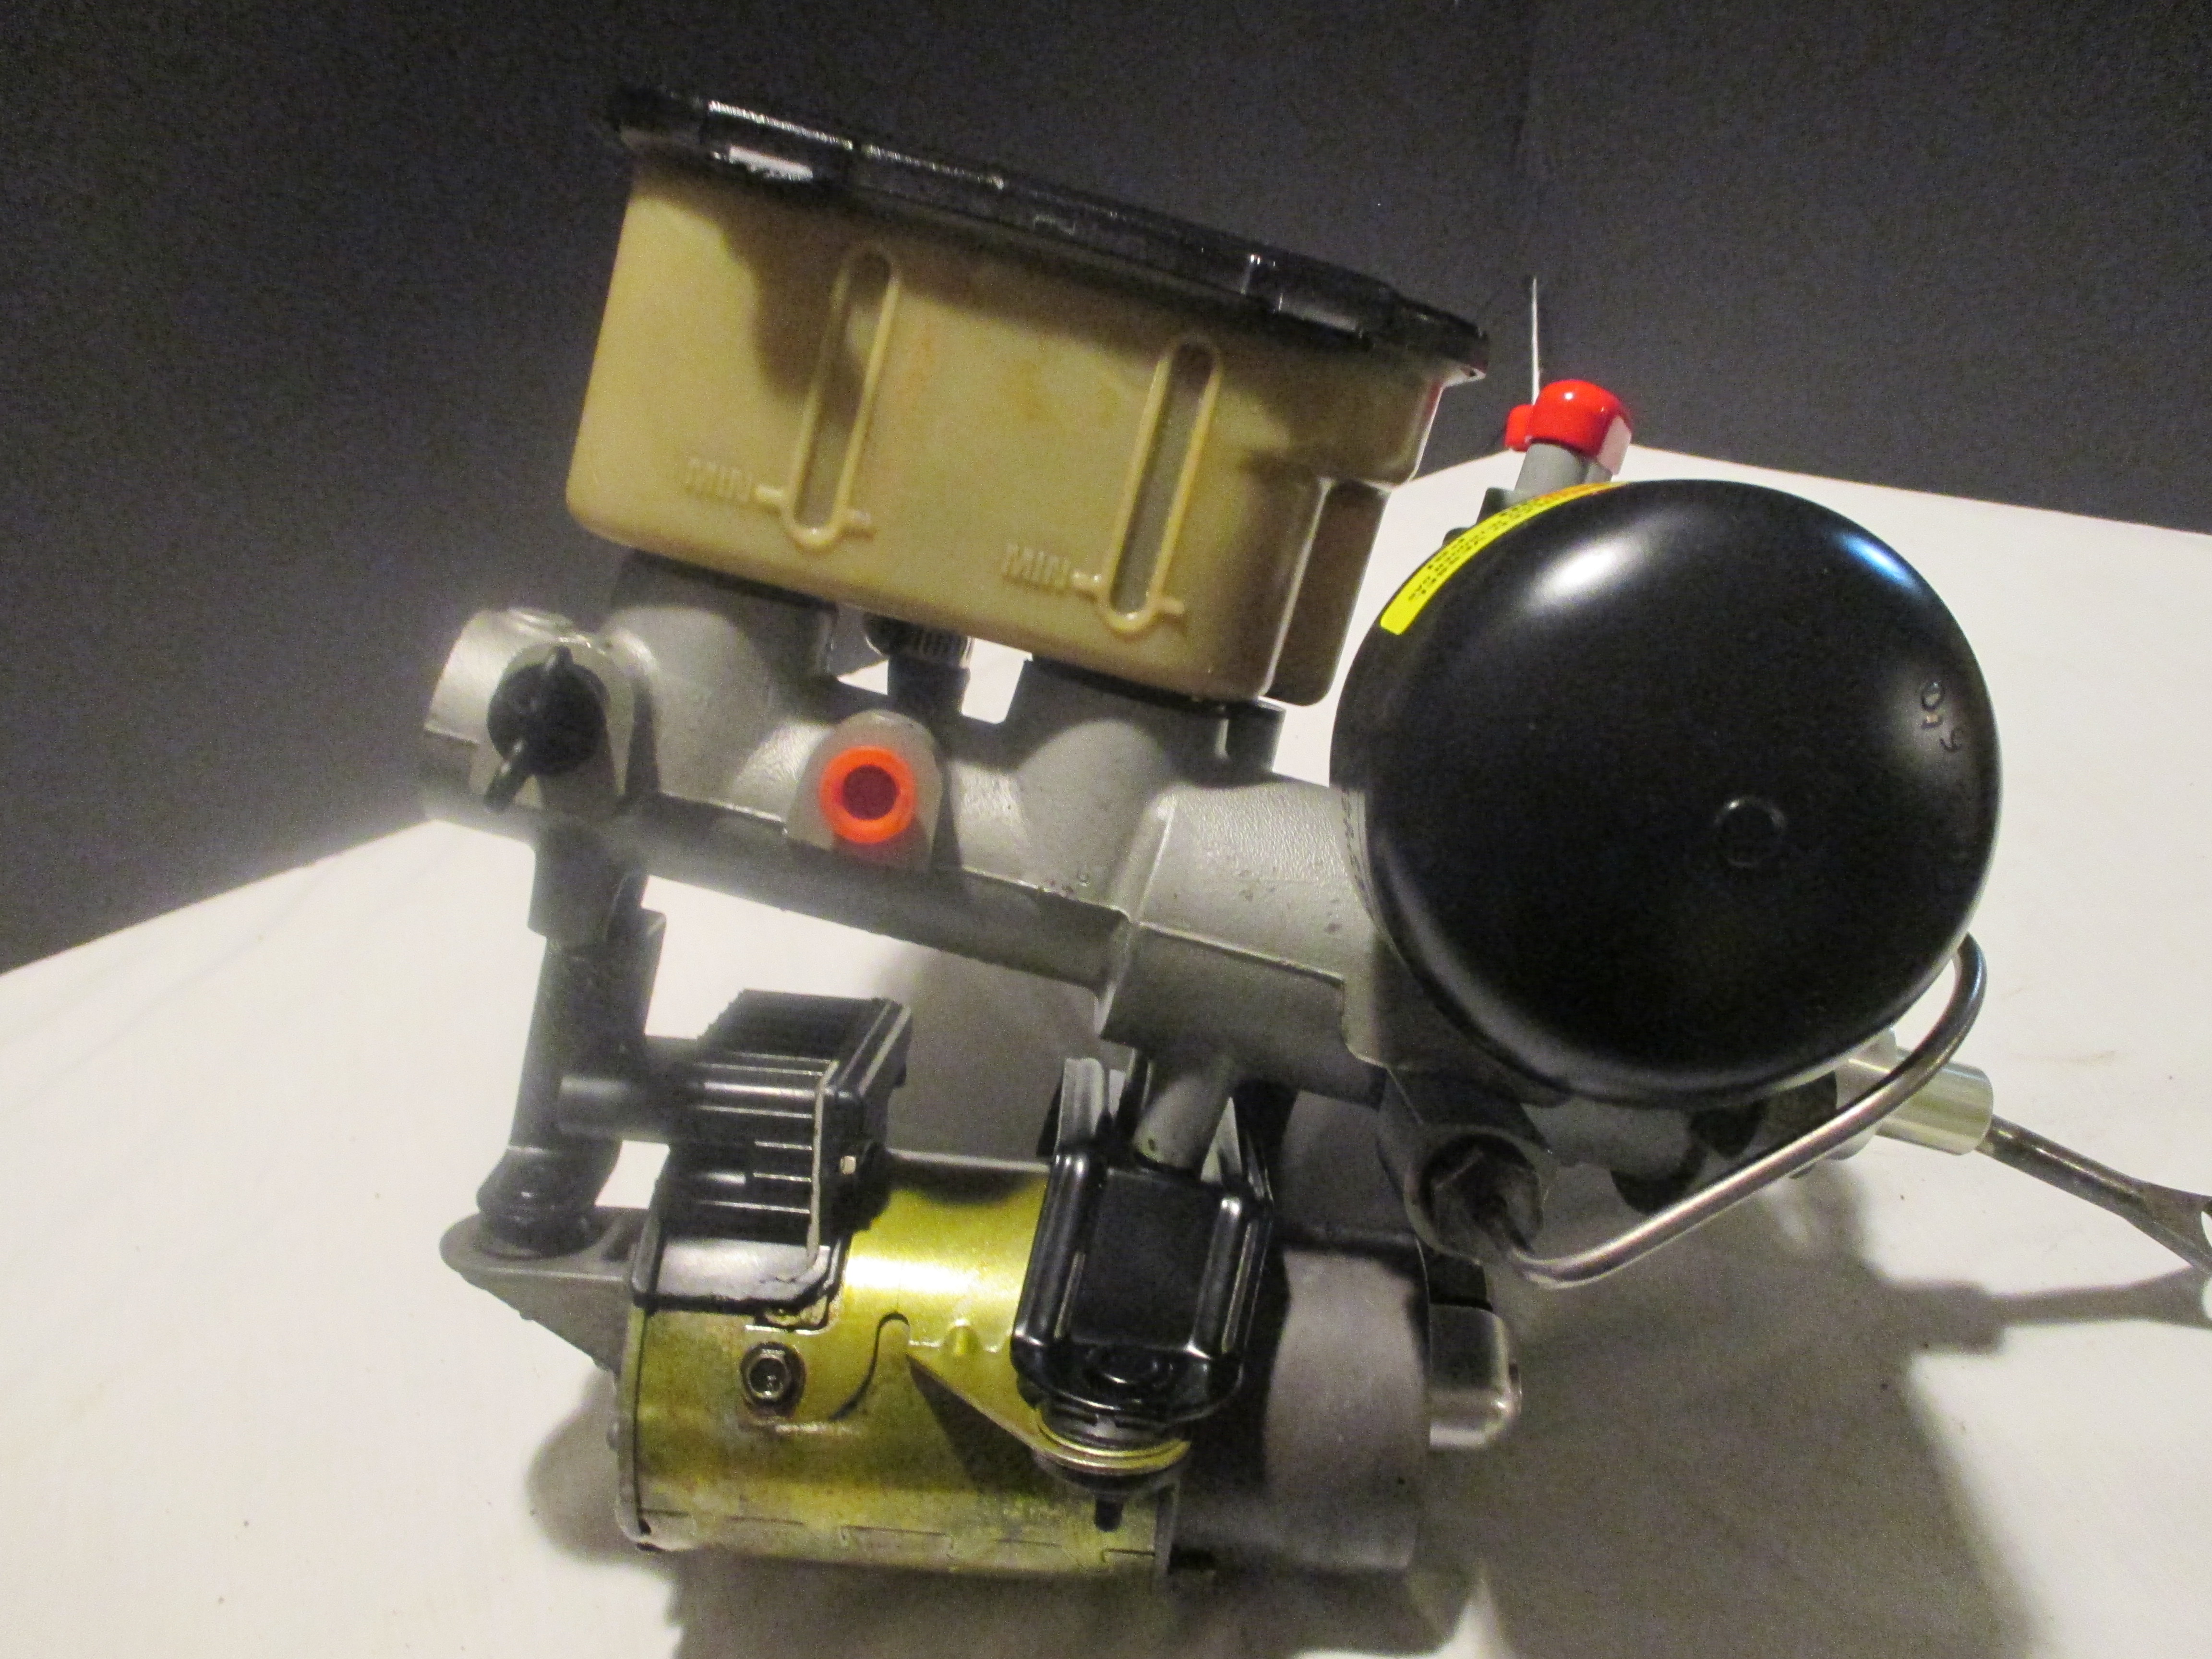
After
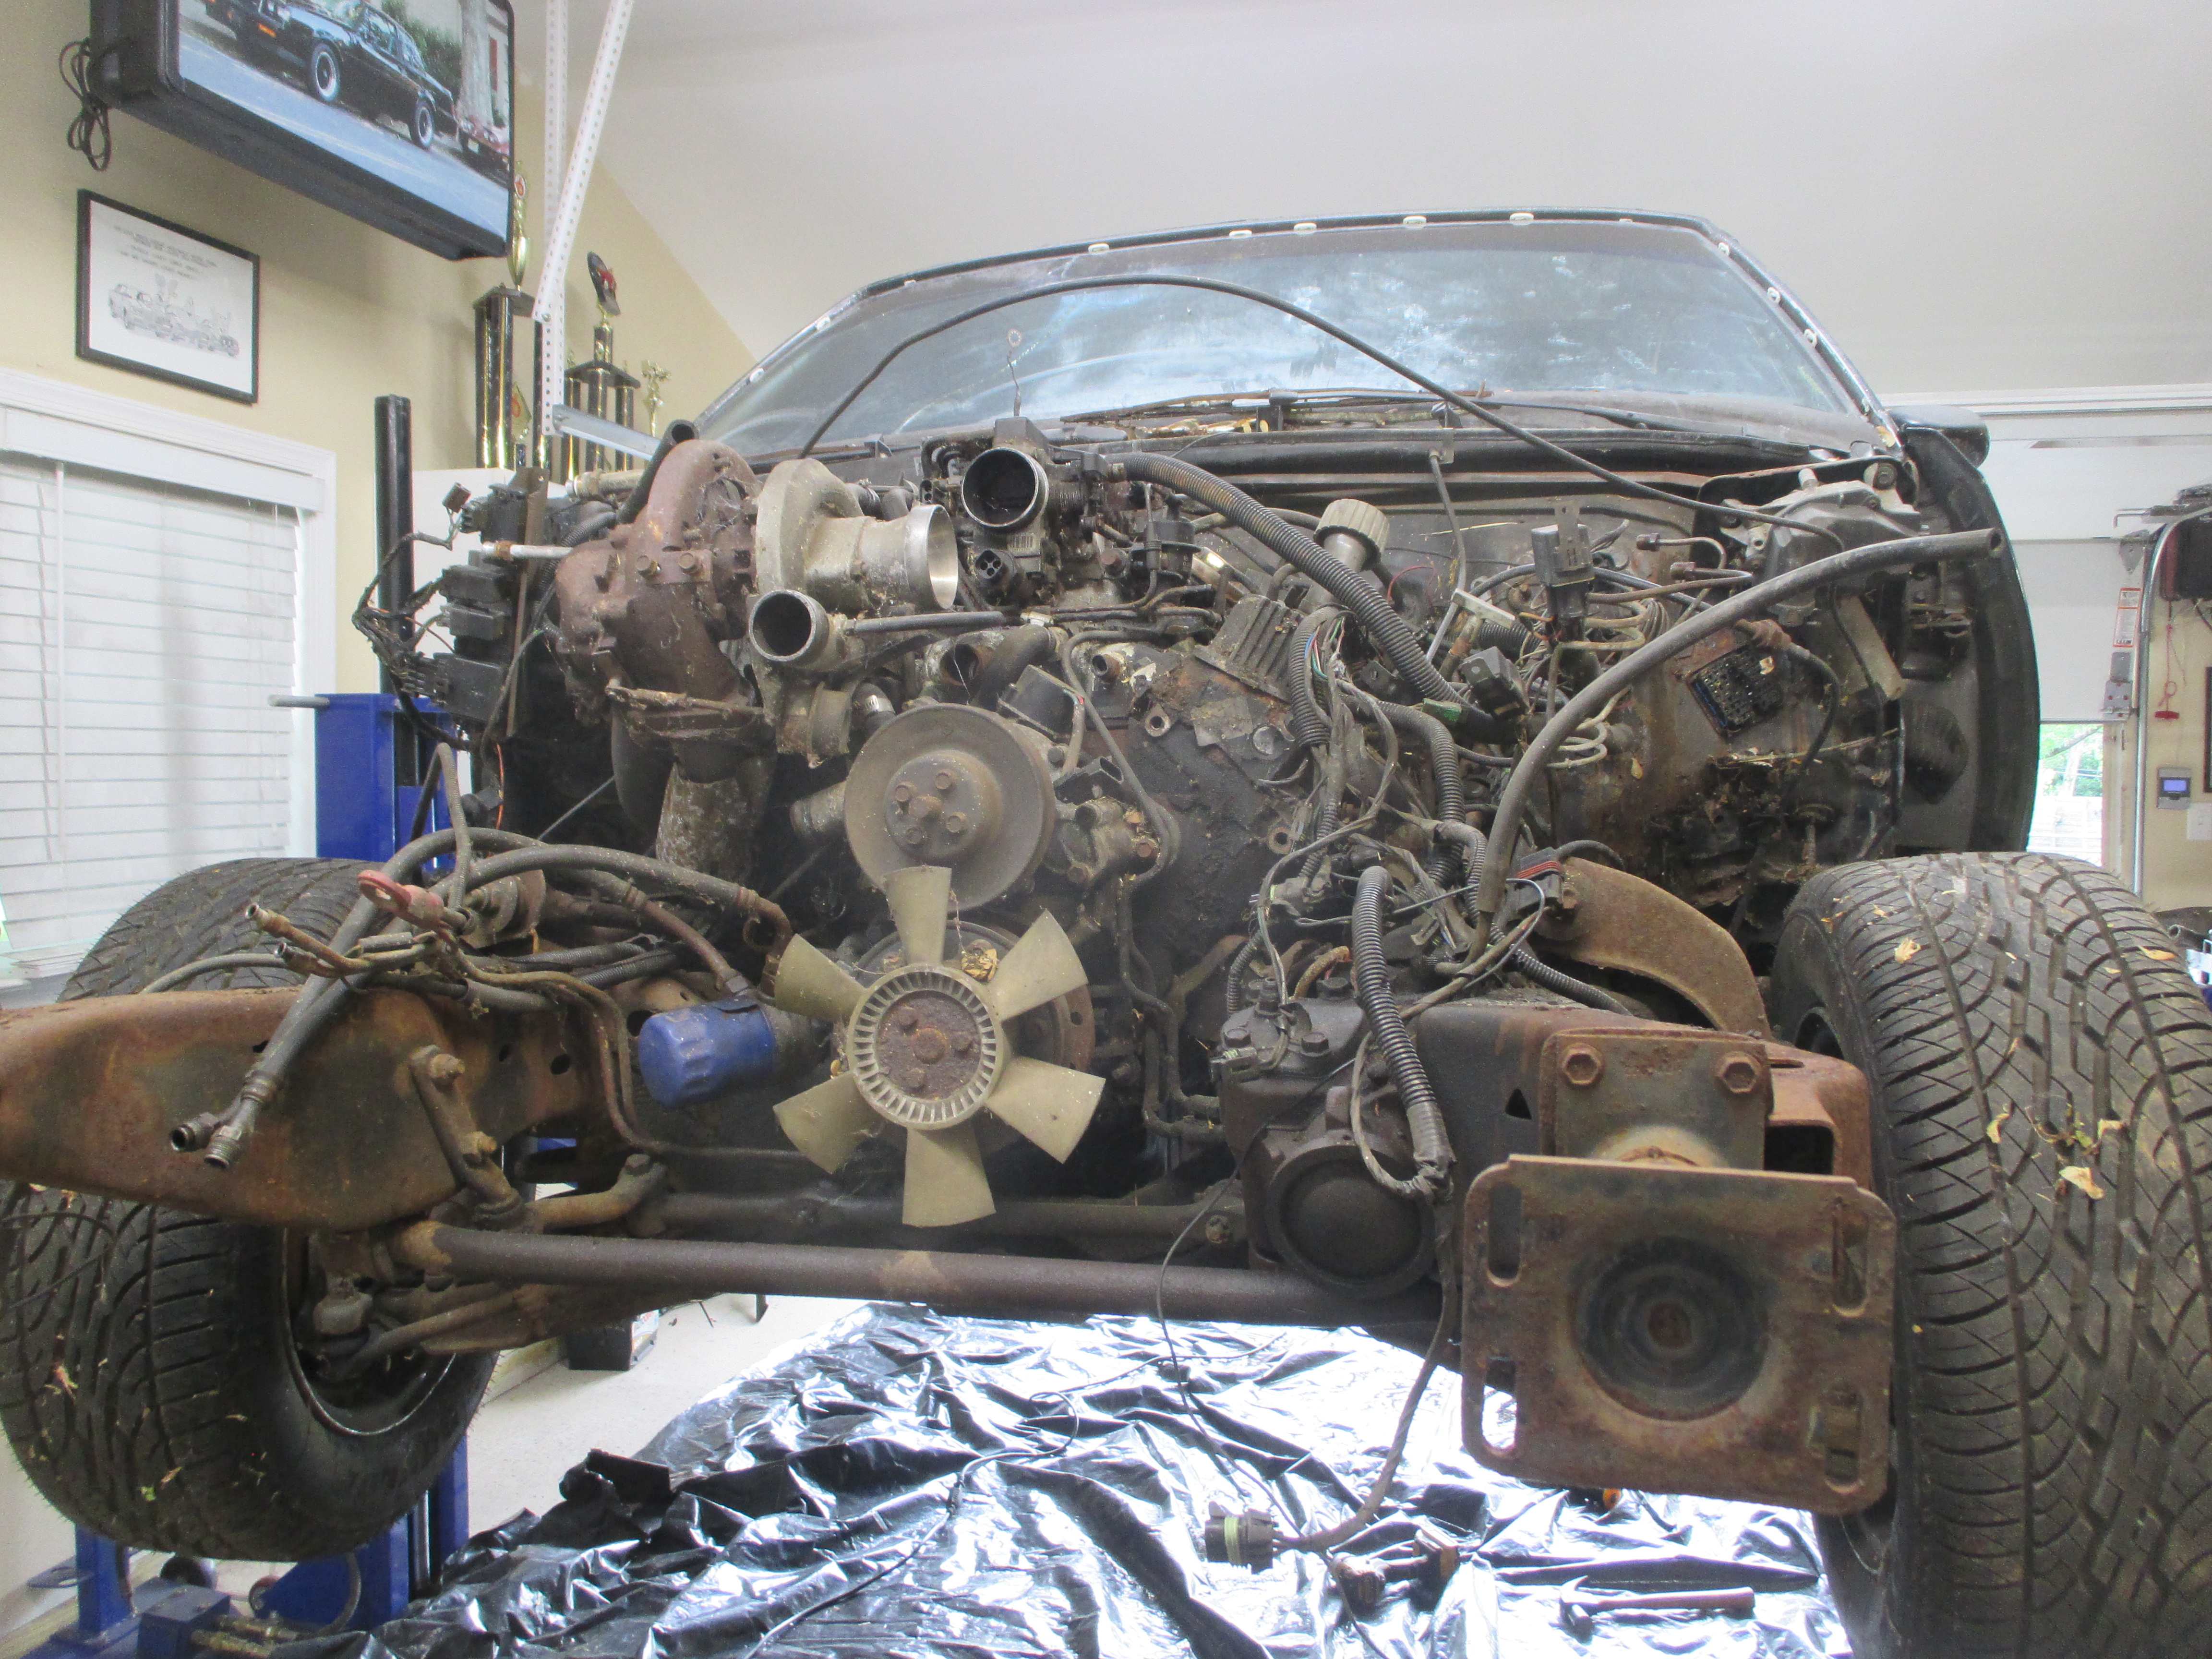
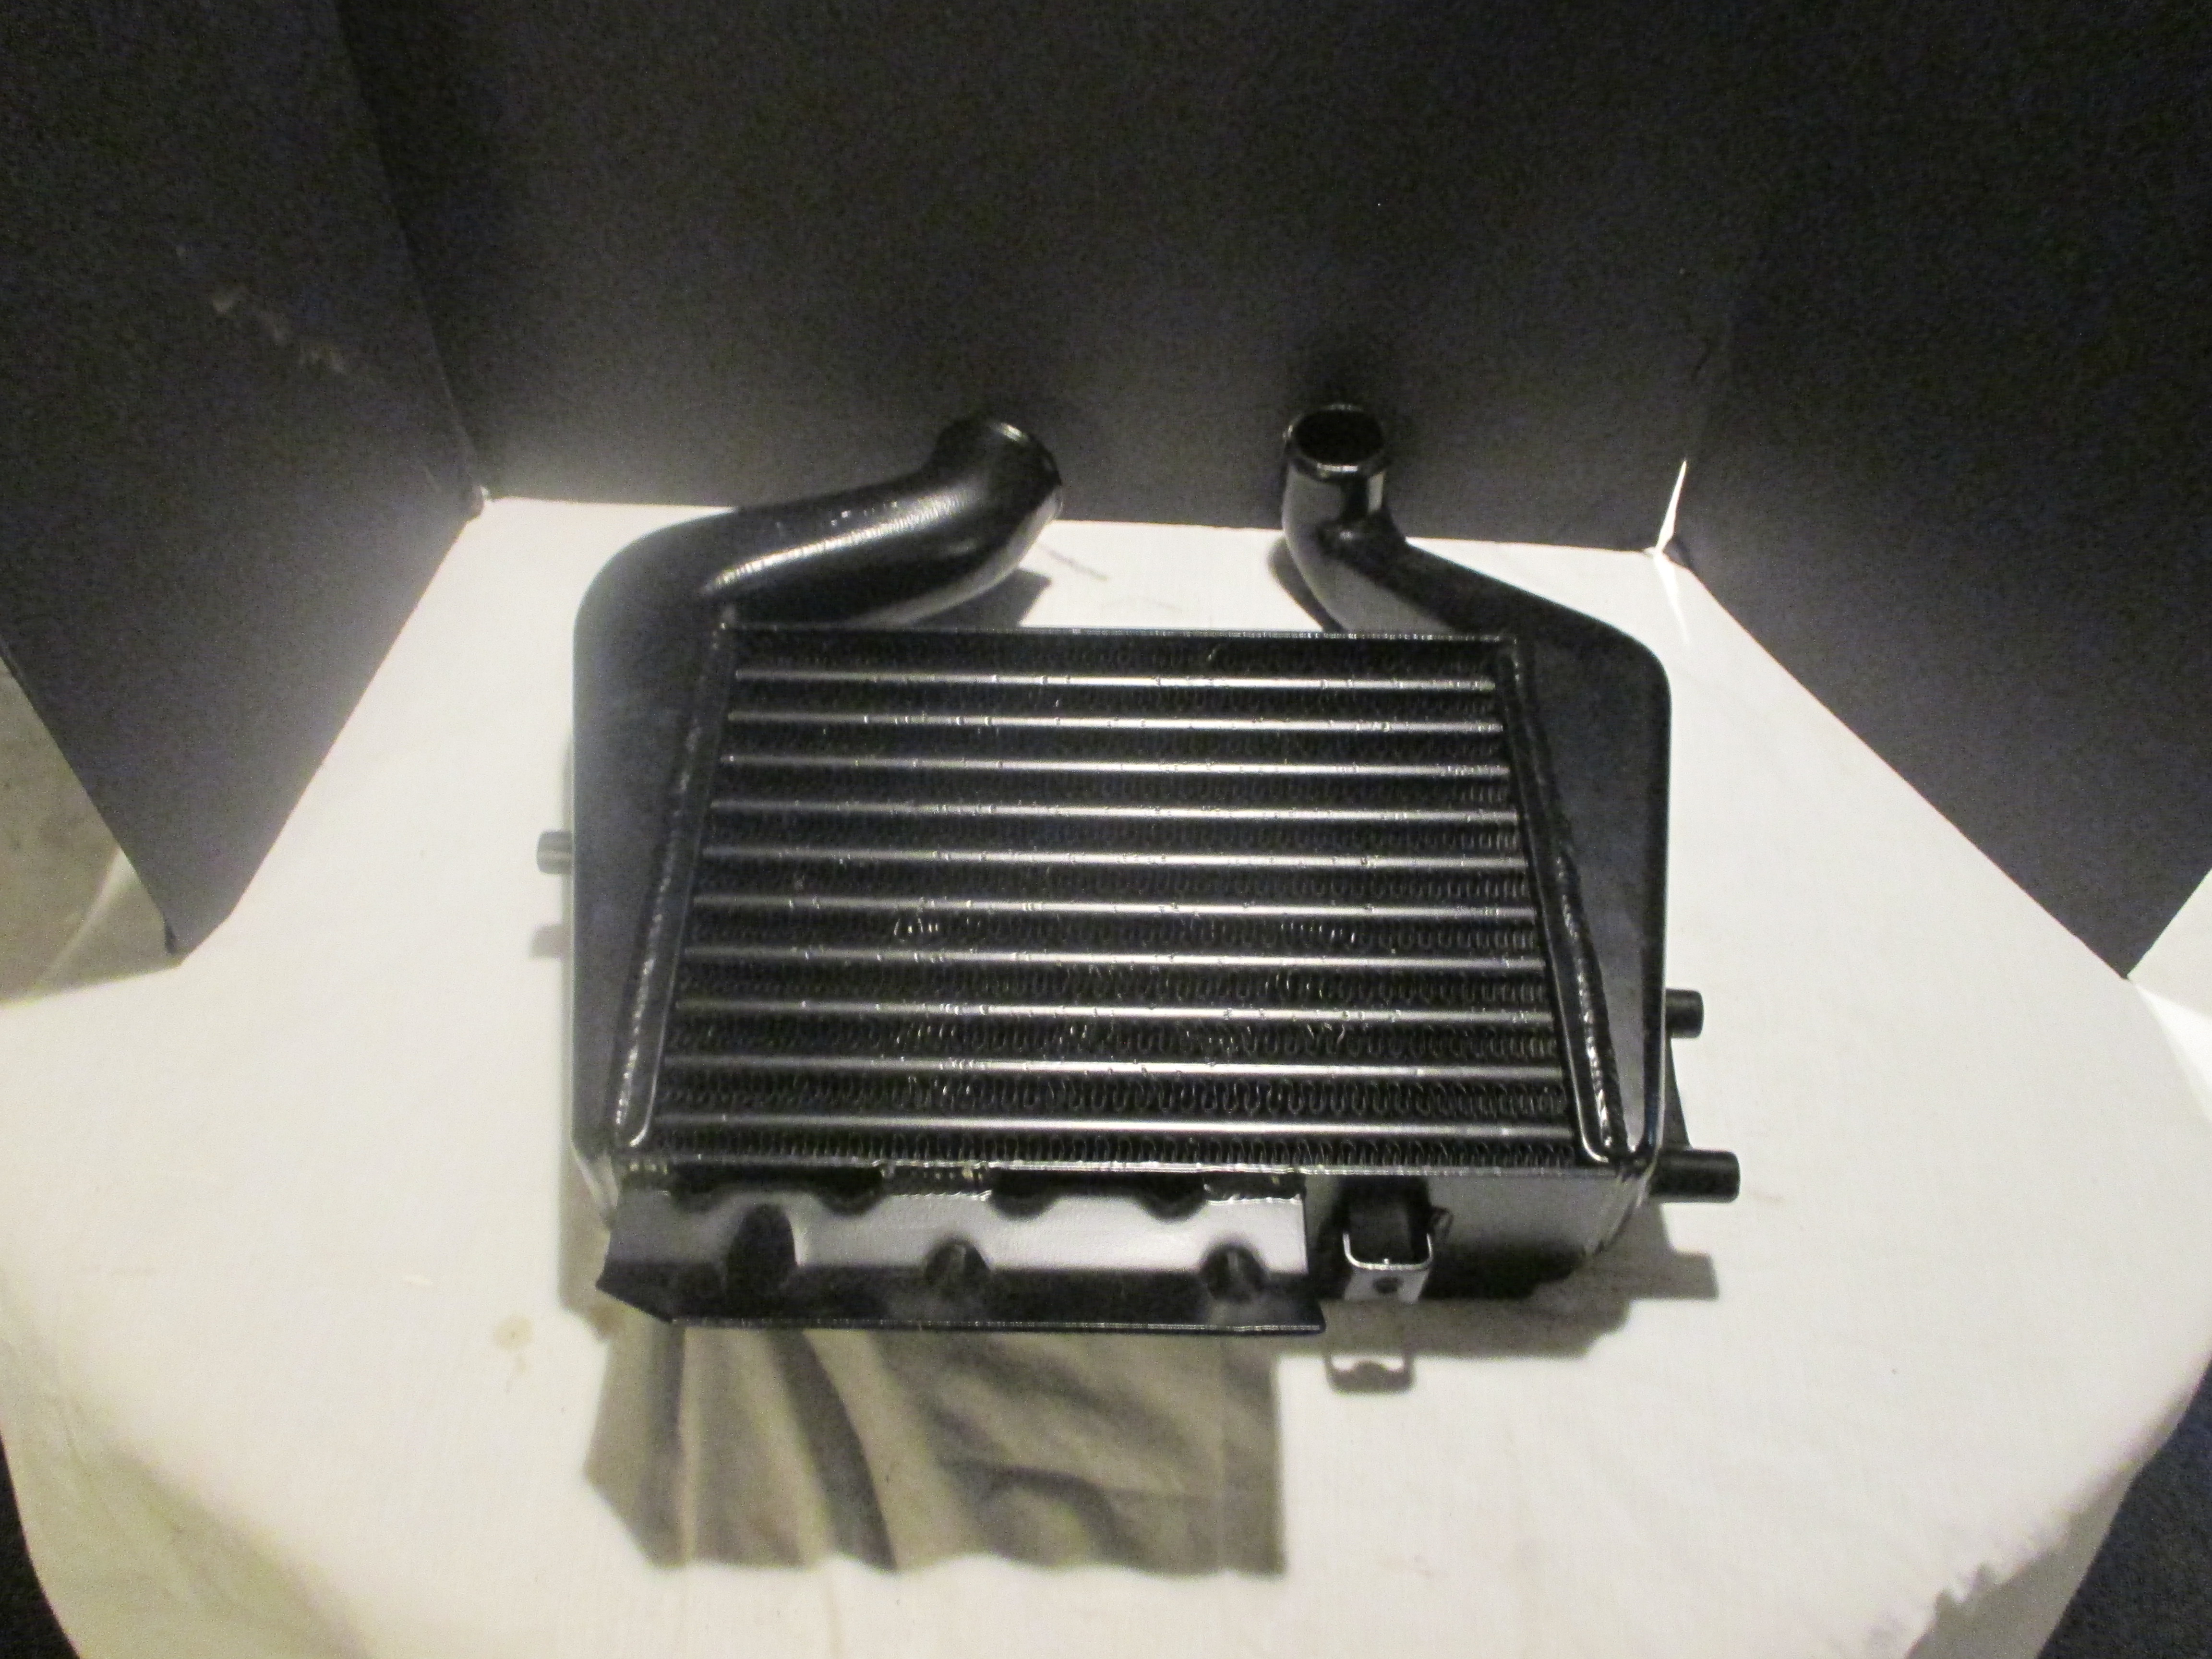
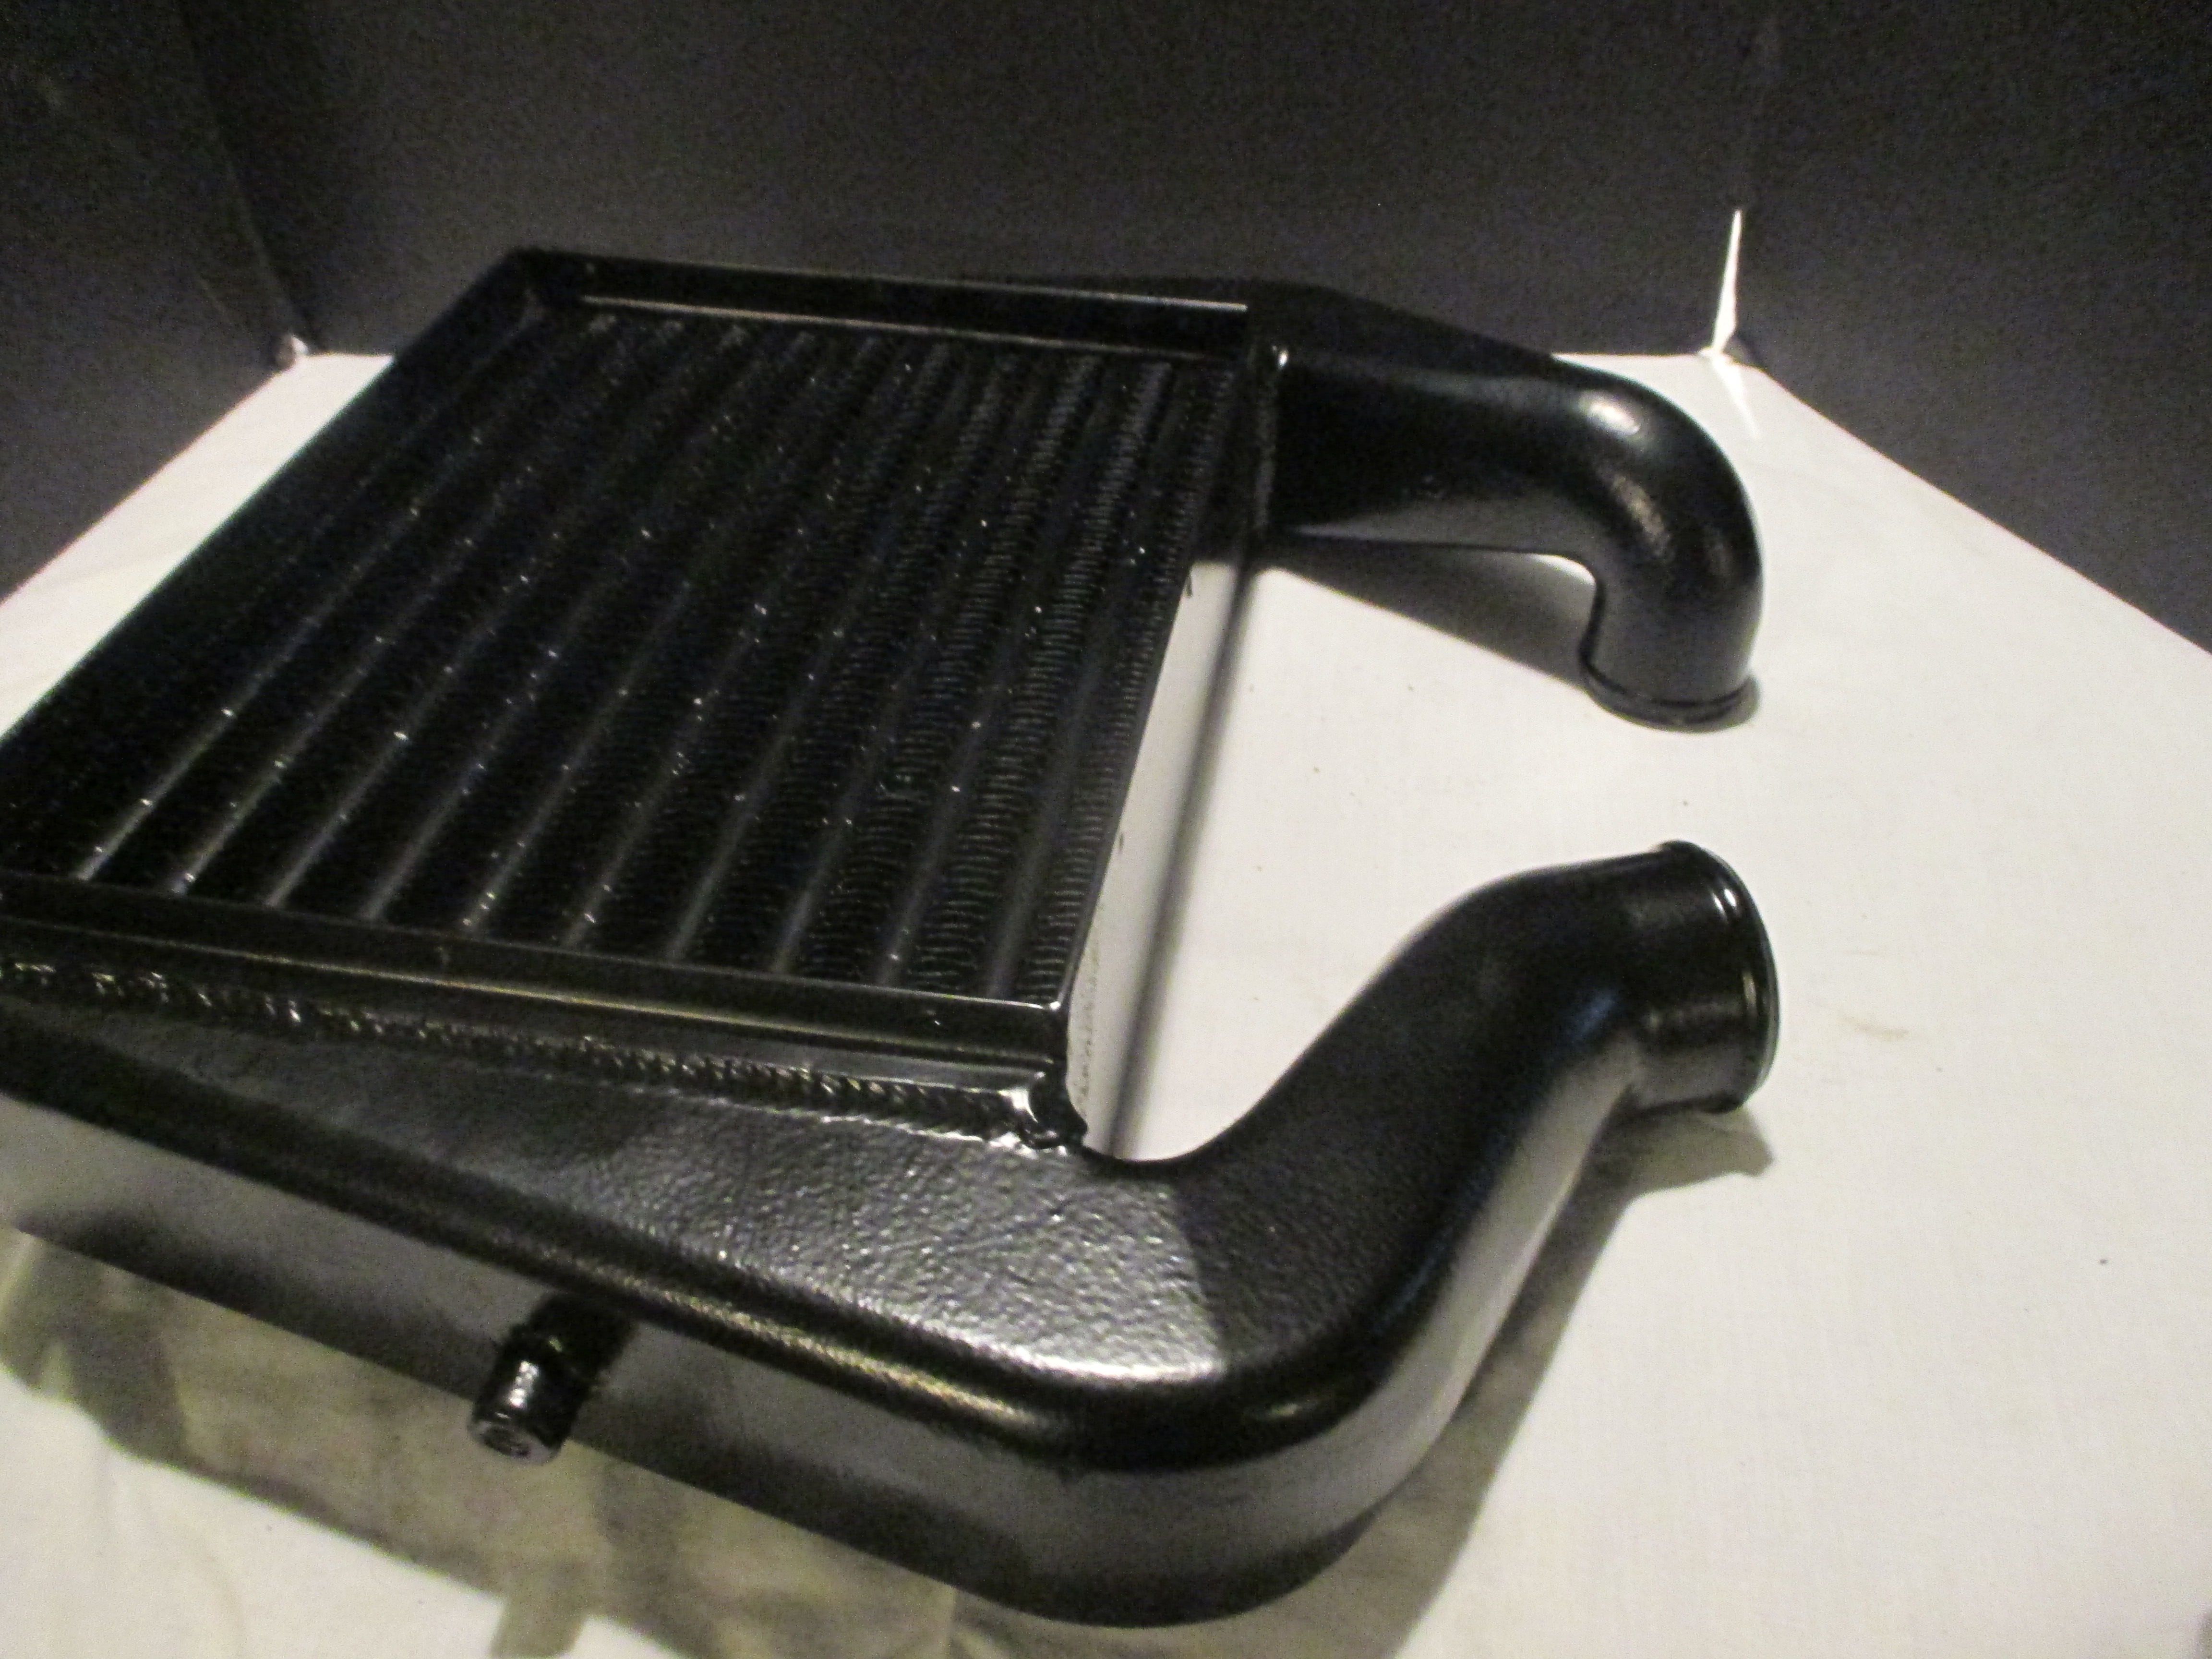
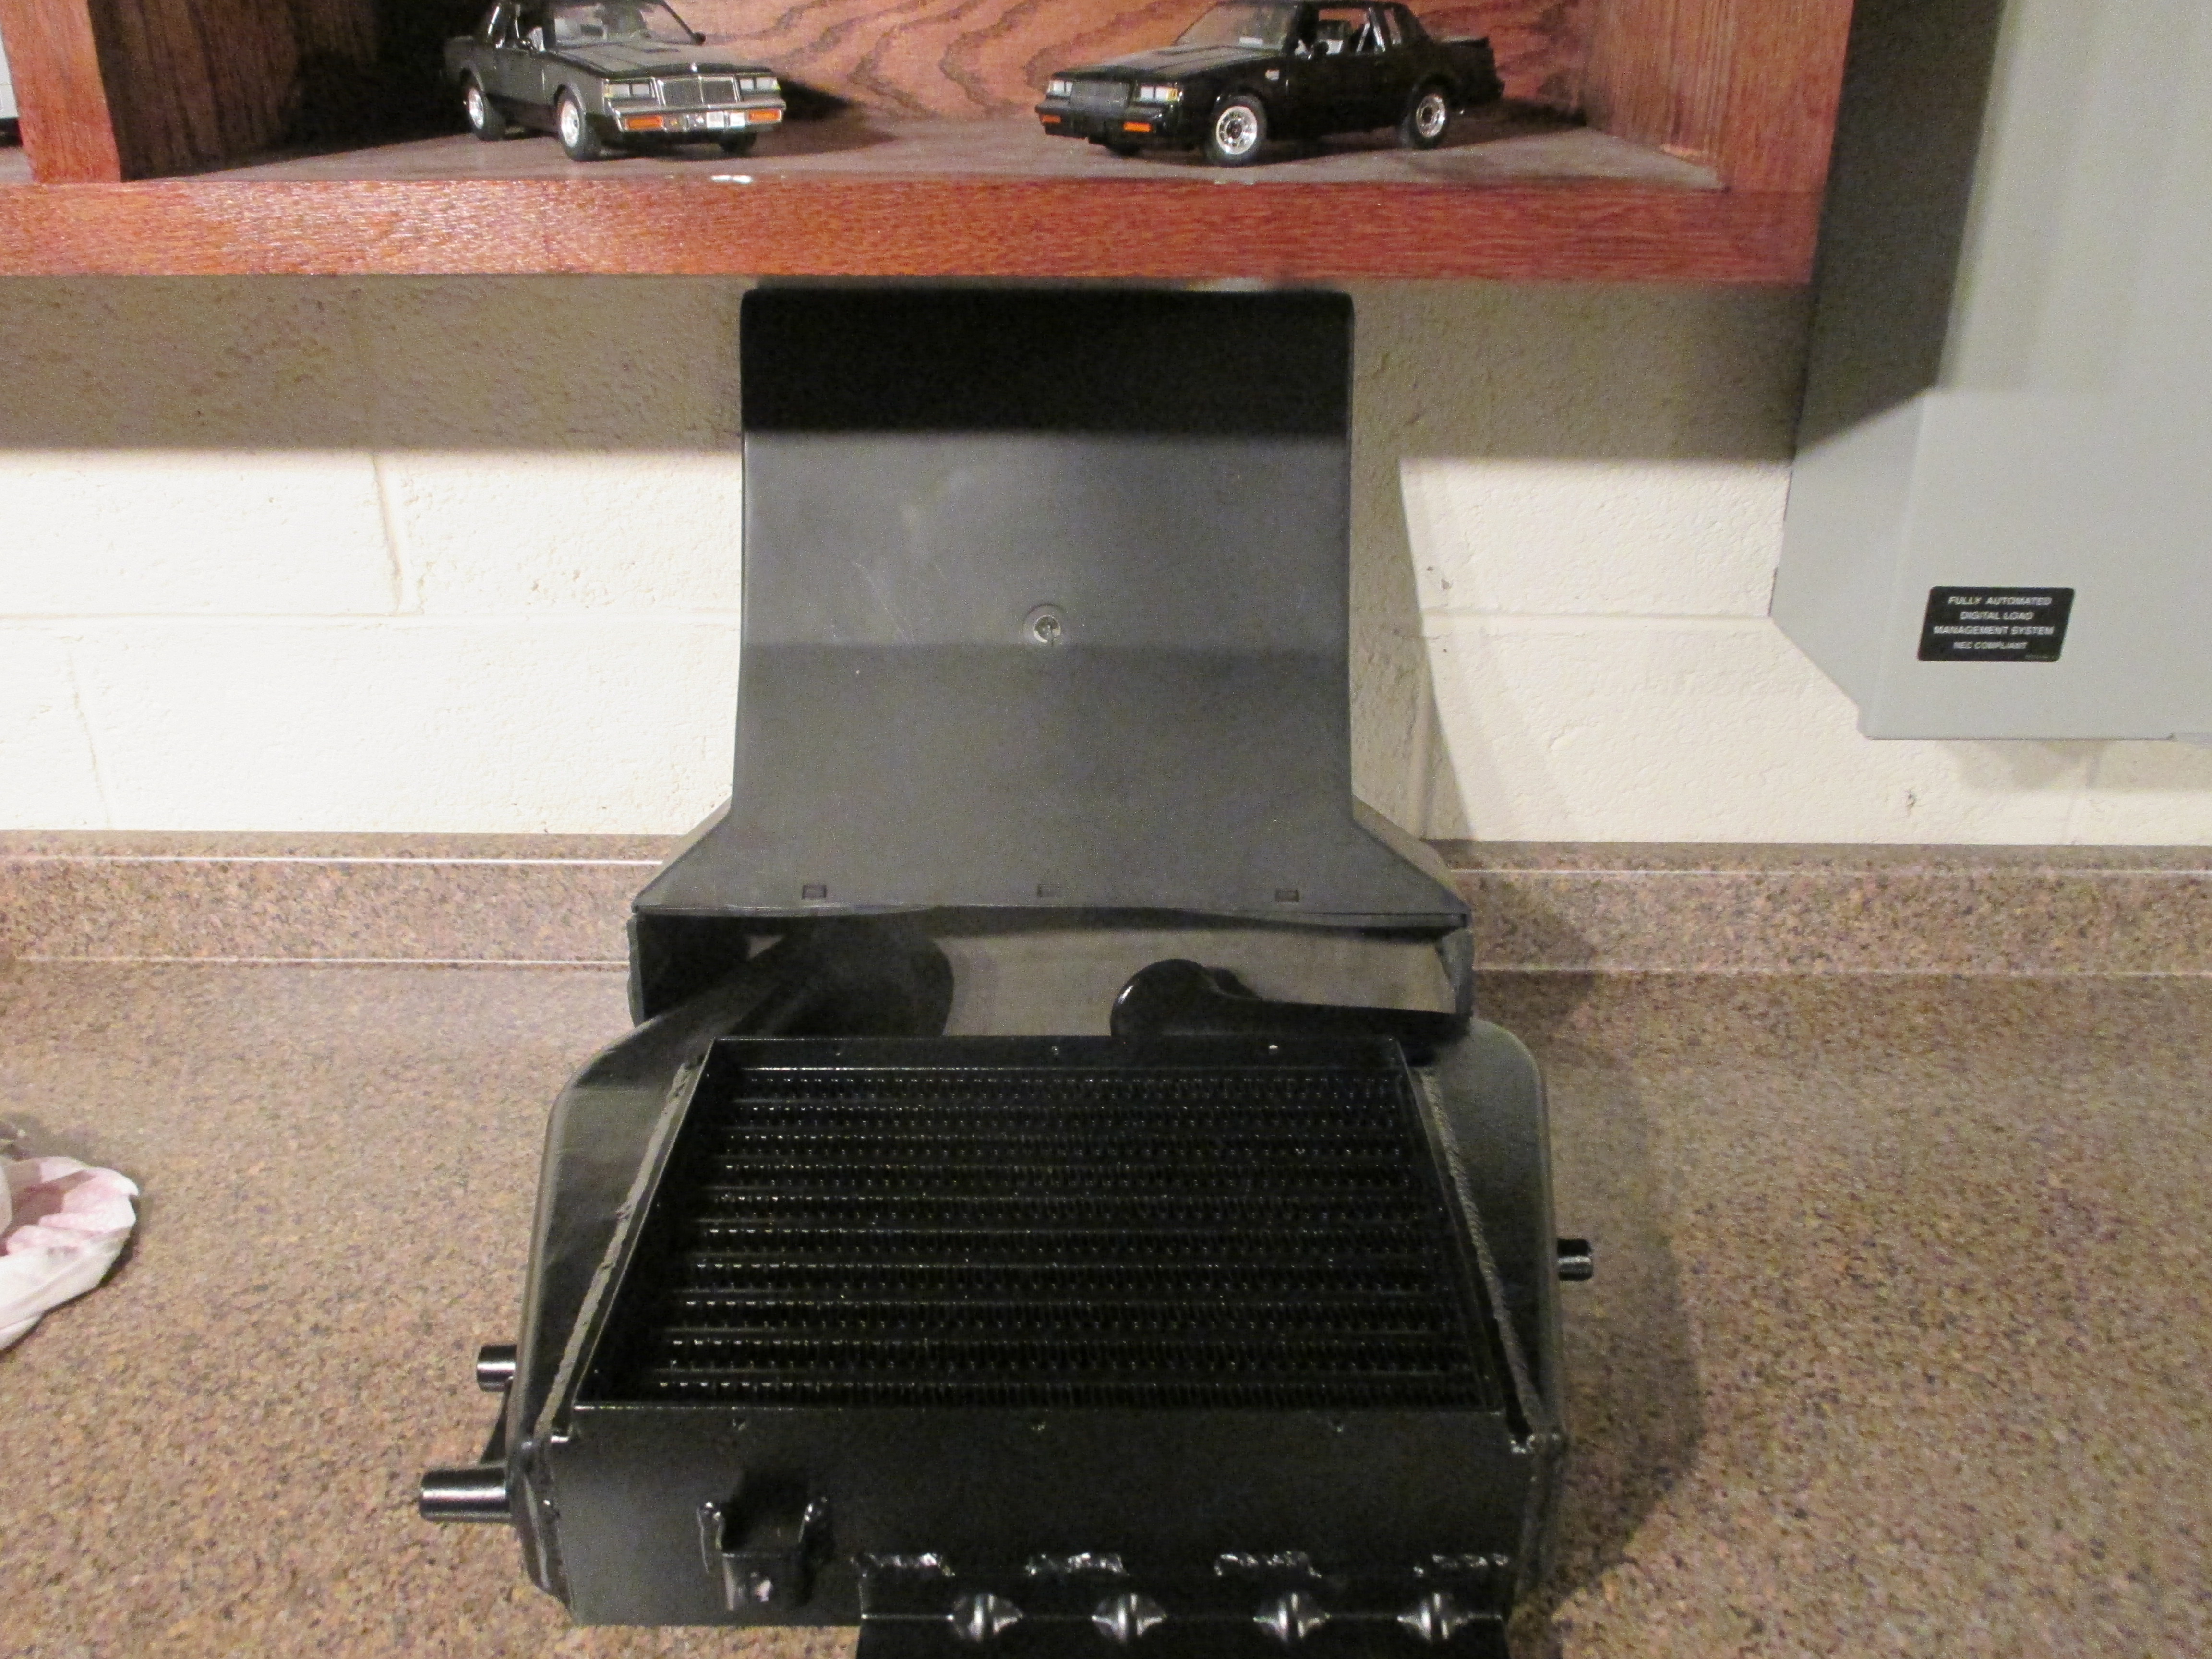
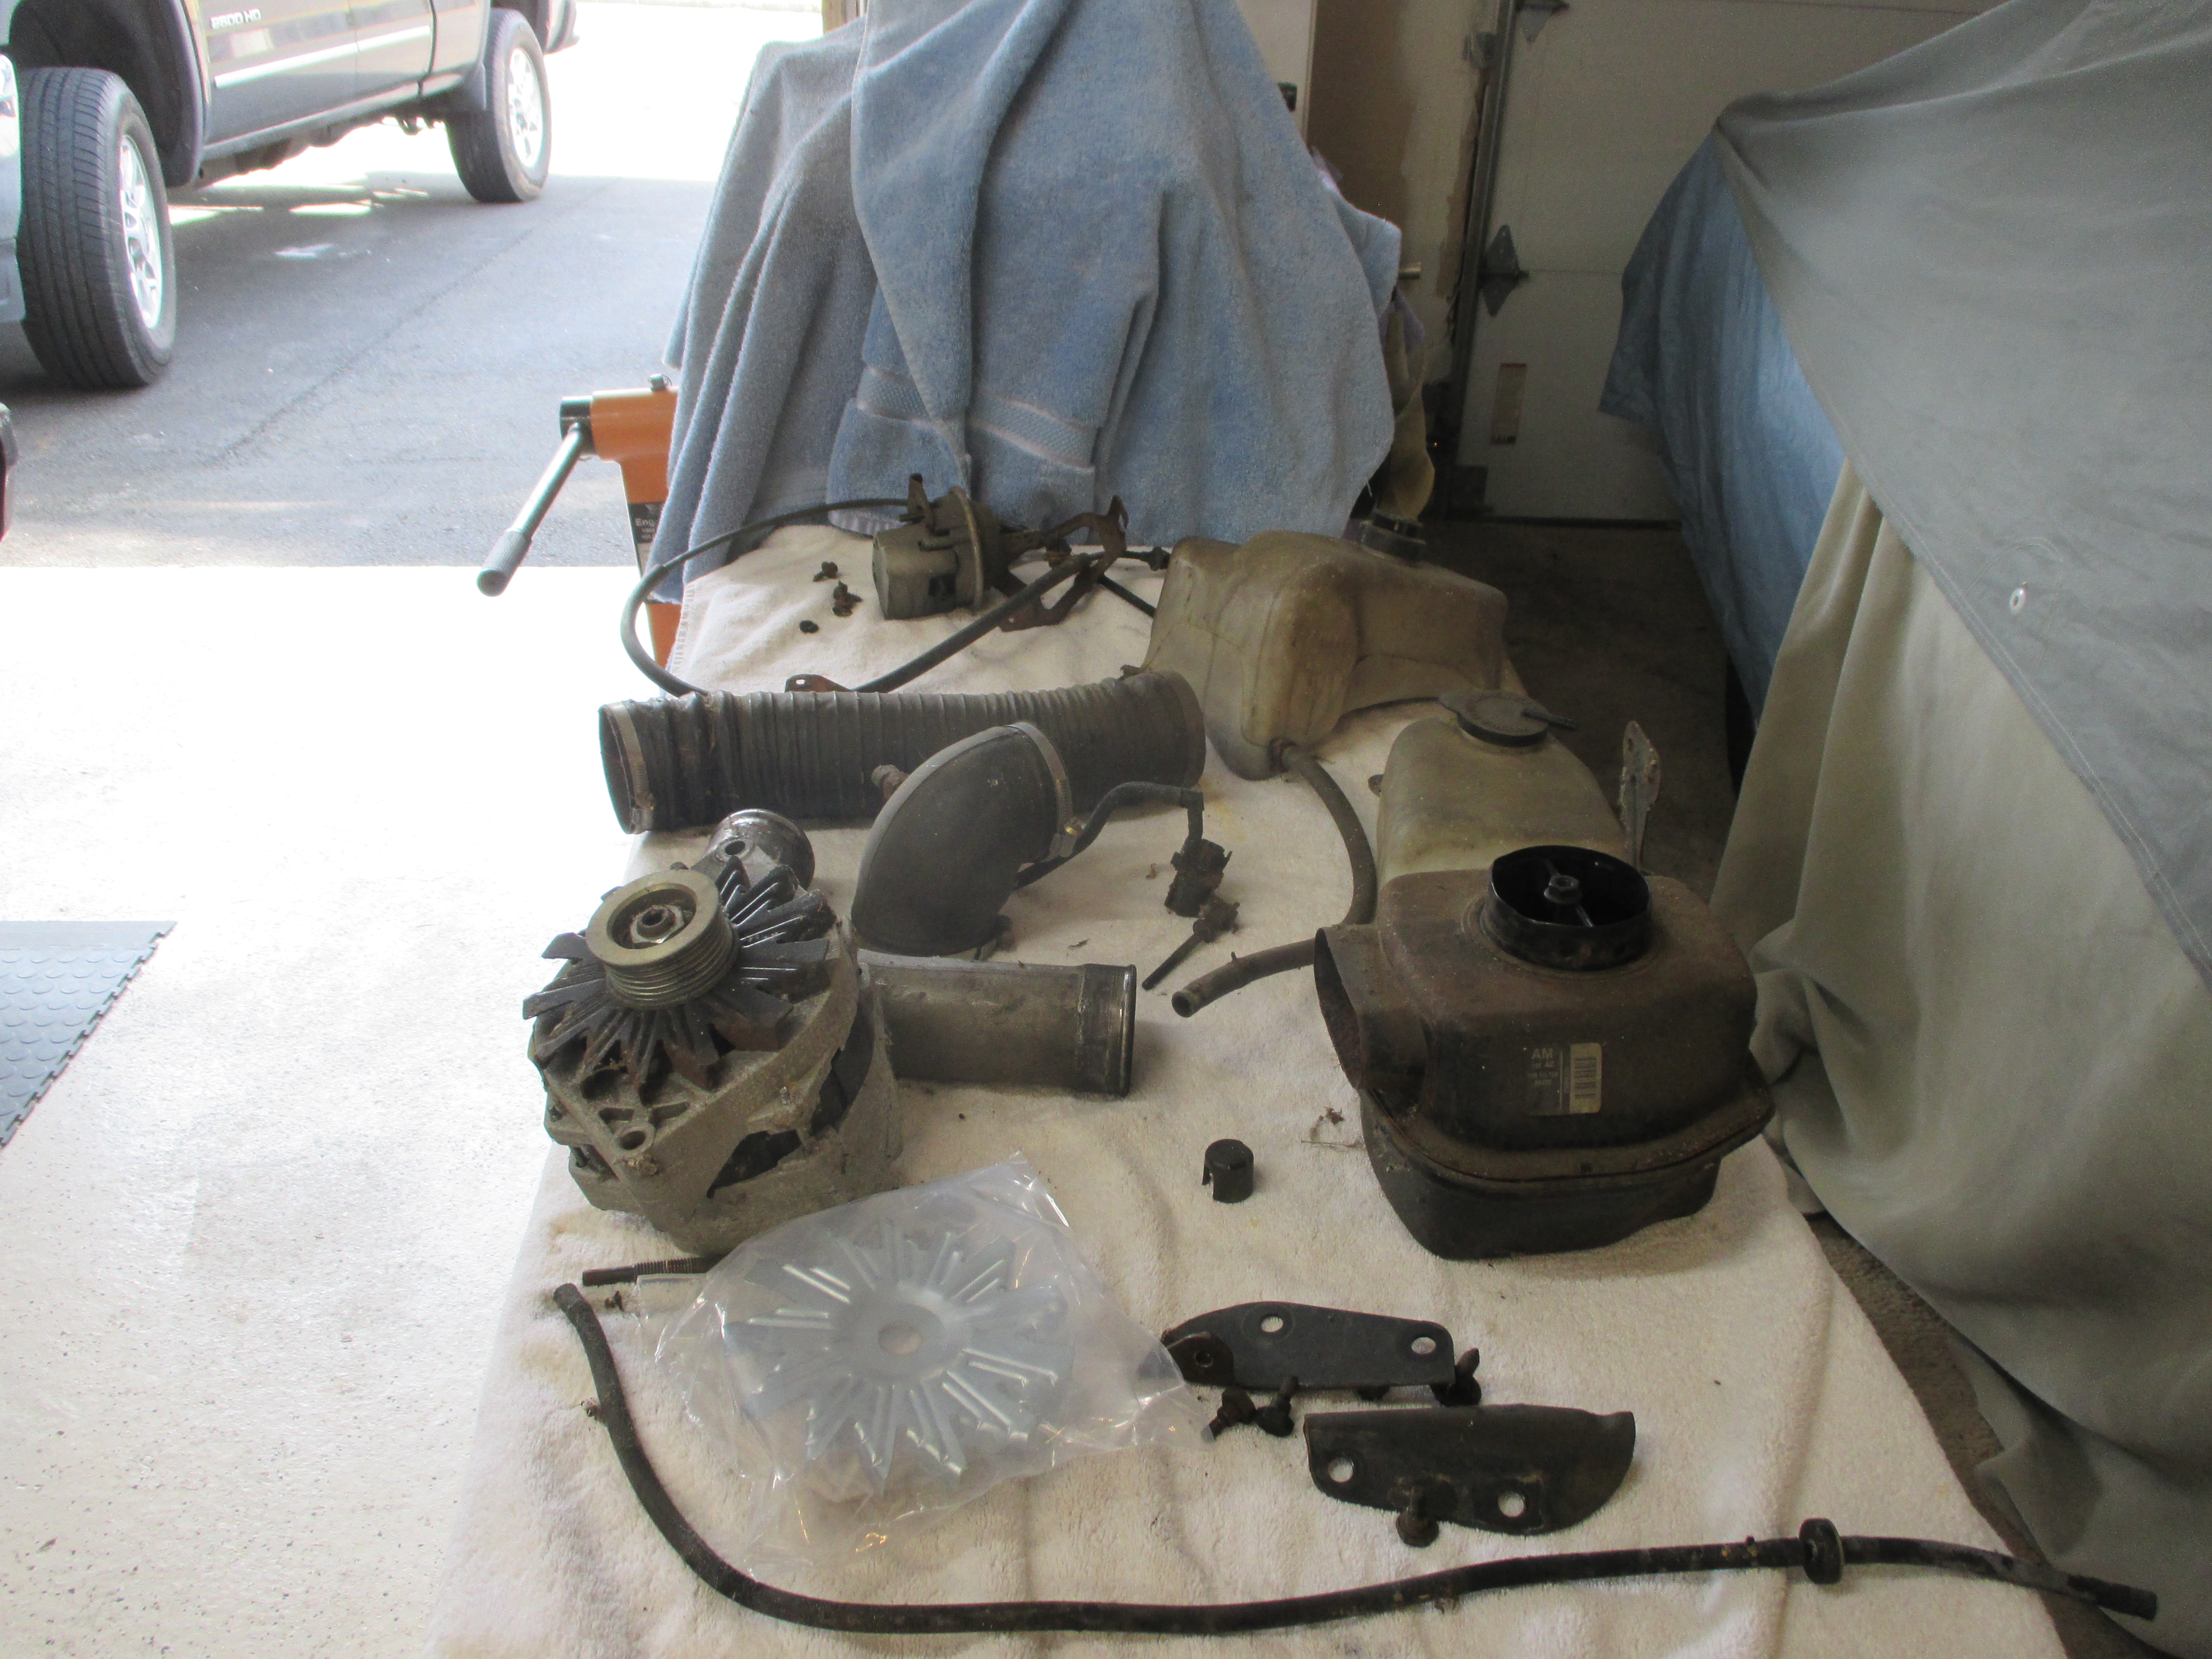
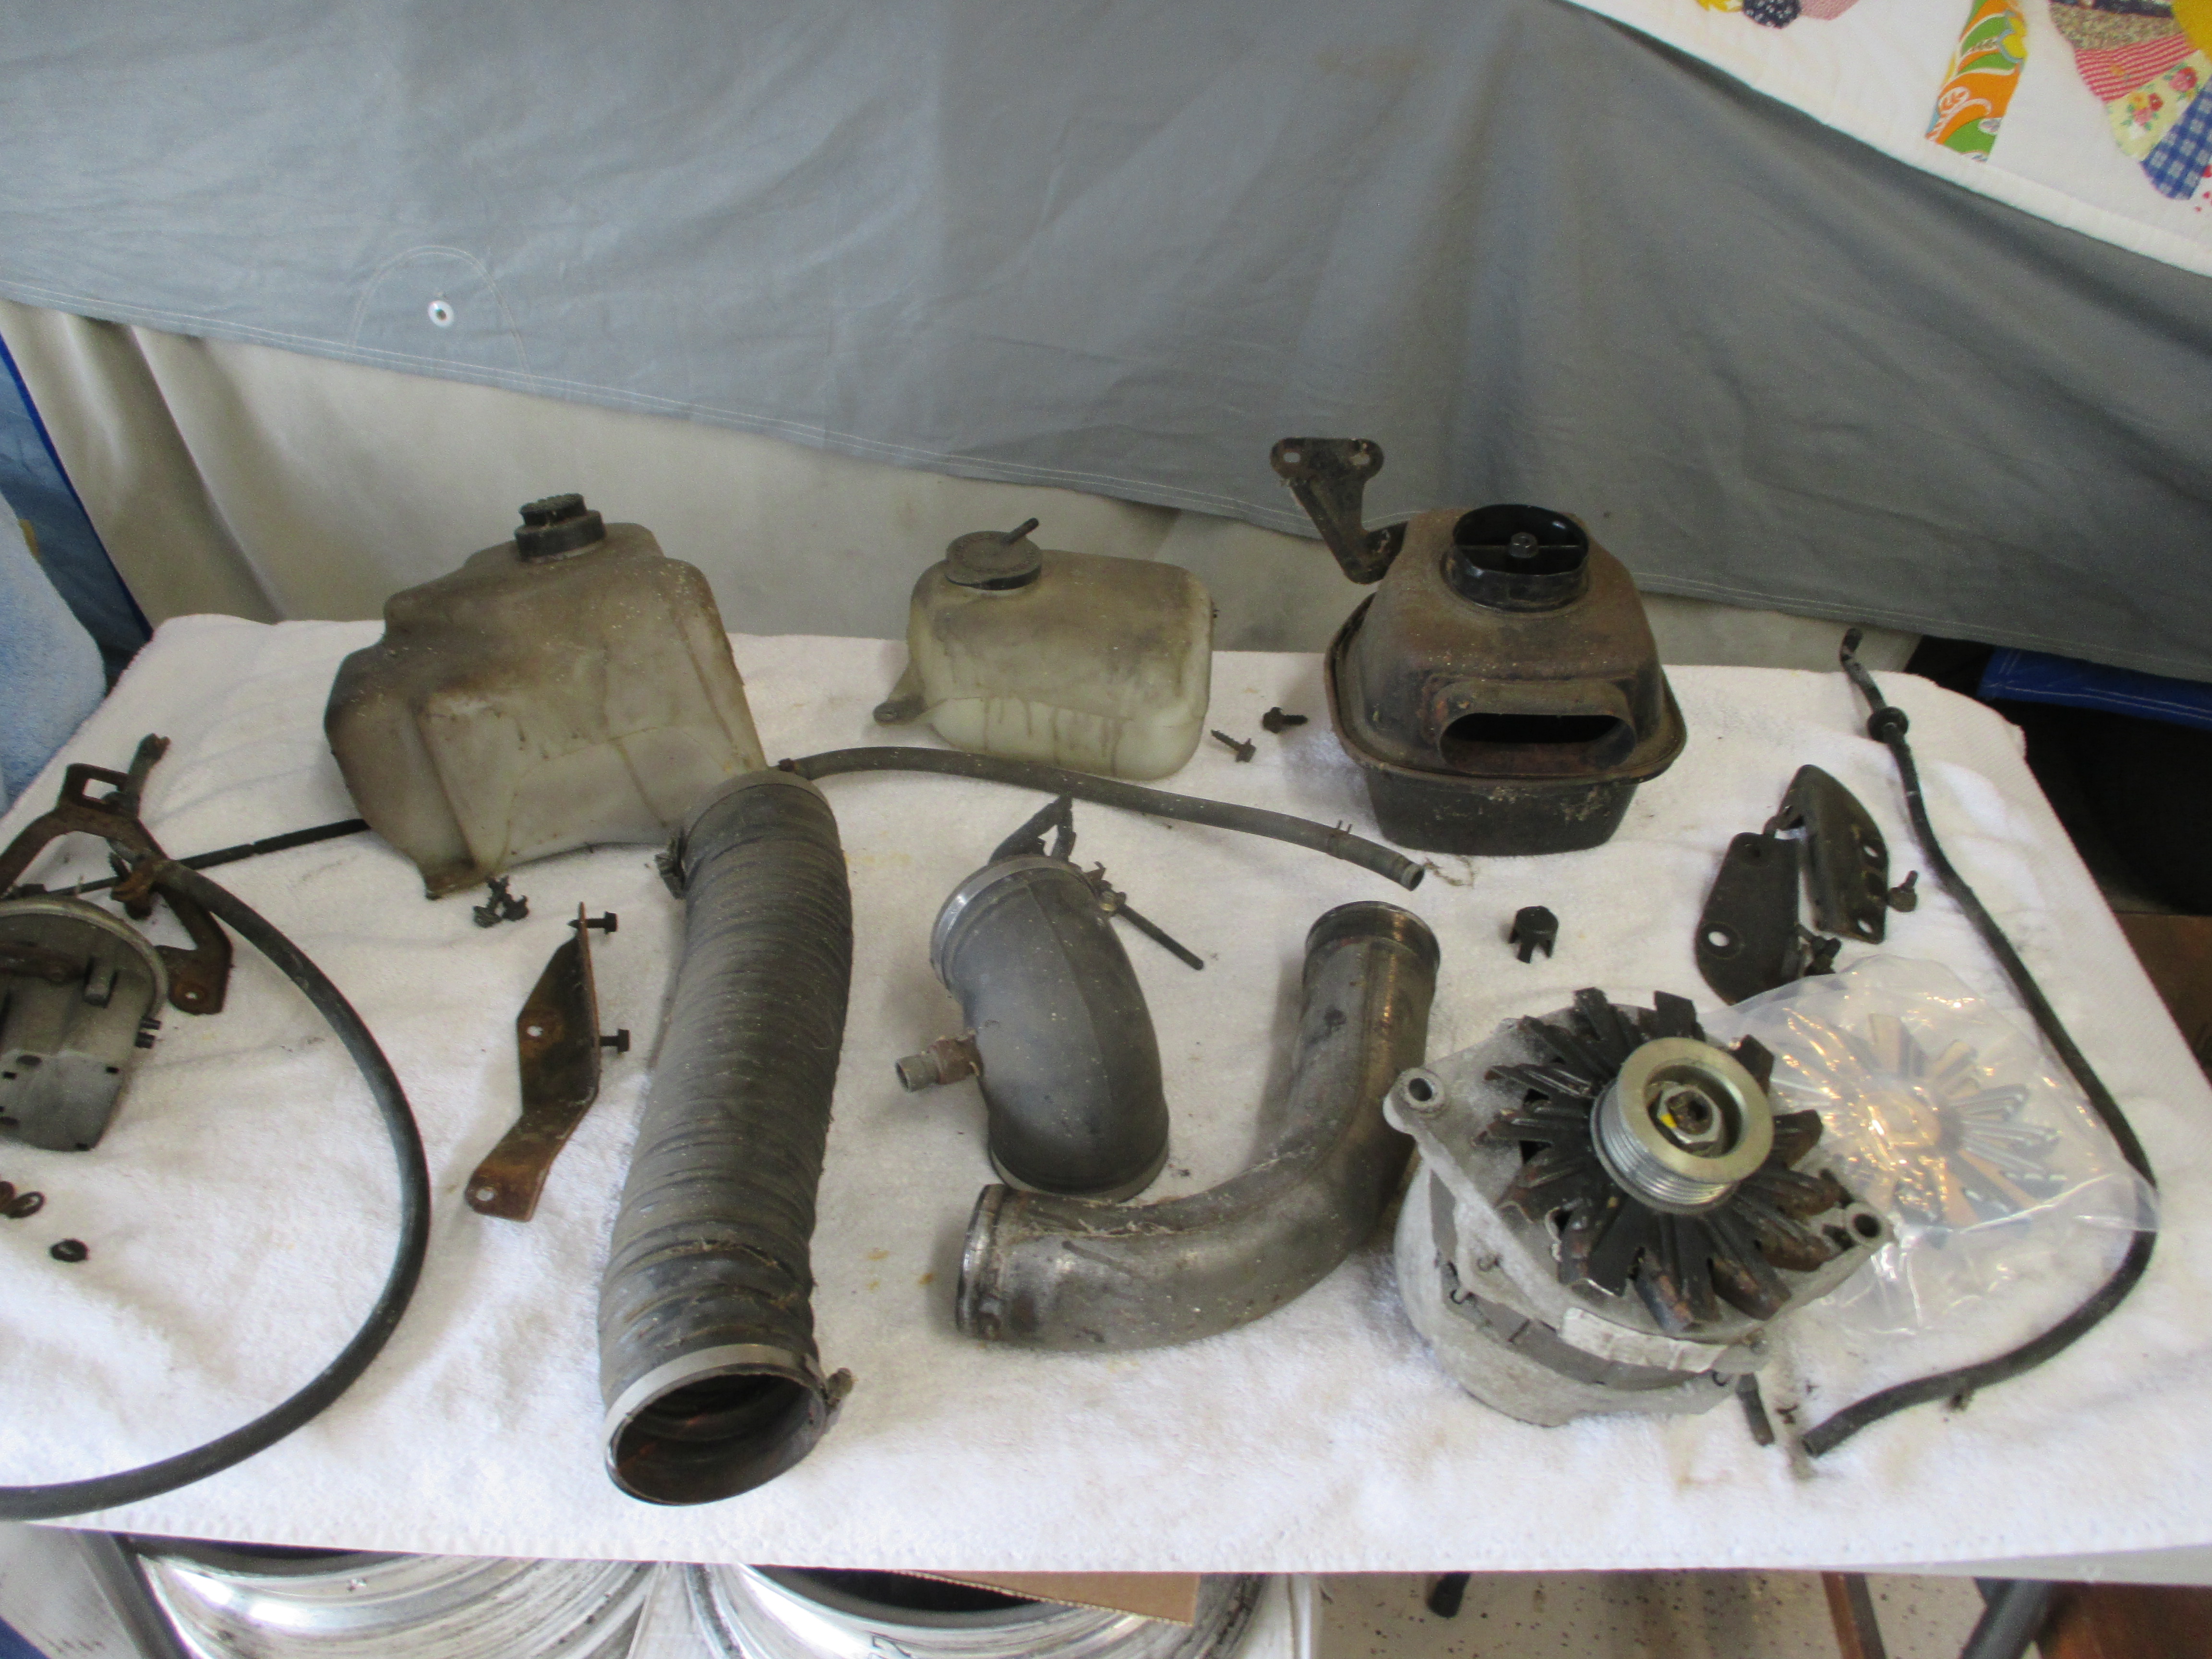
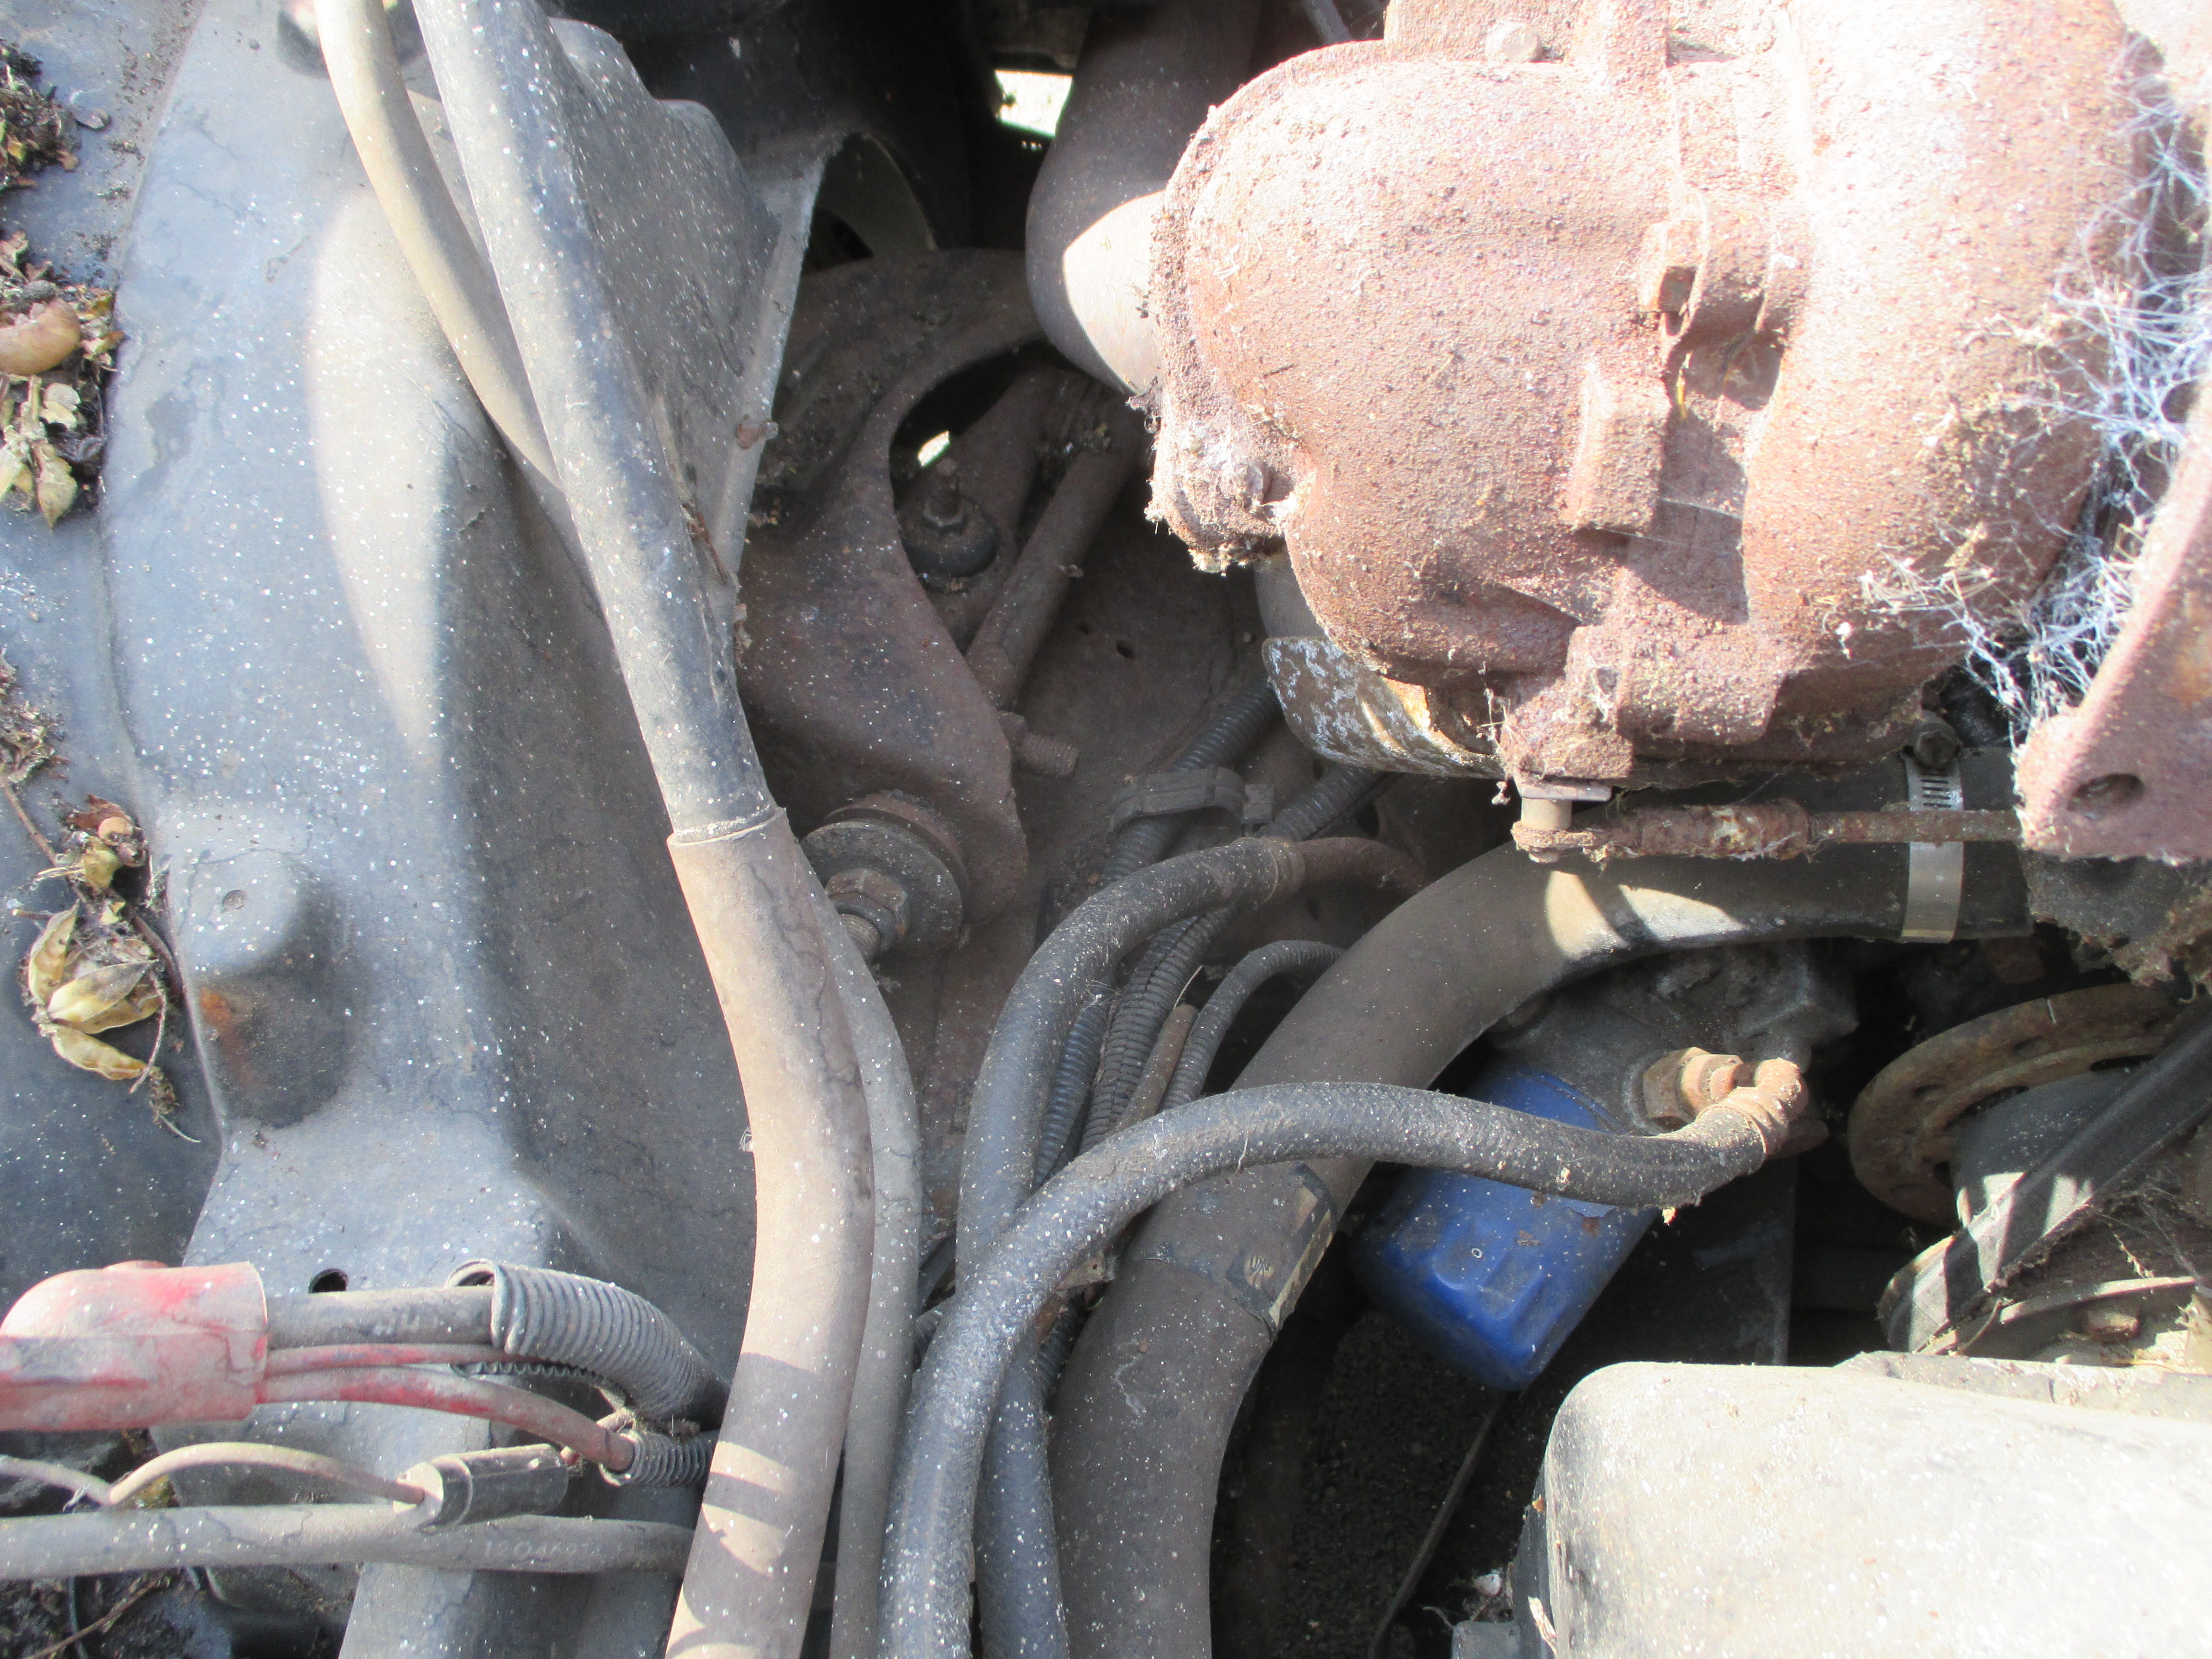
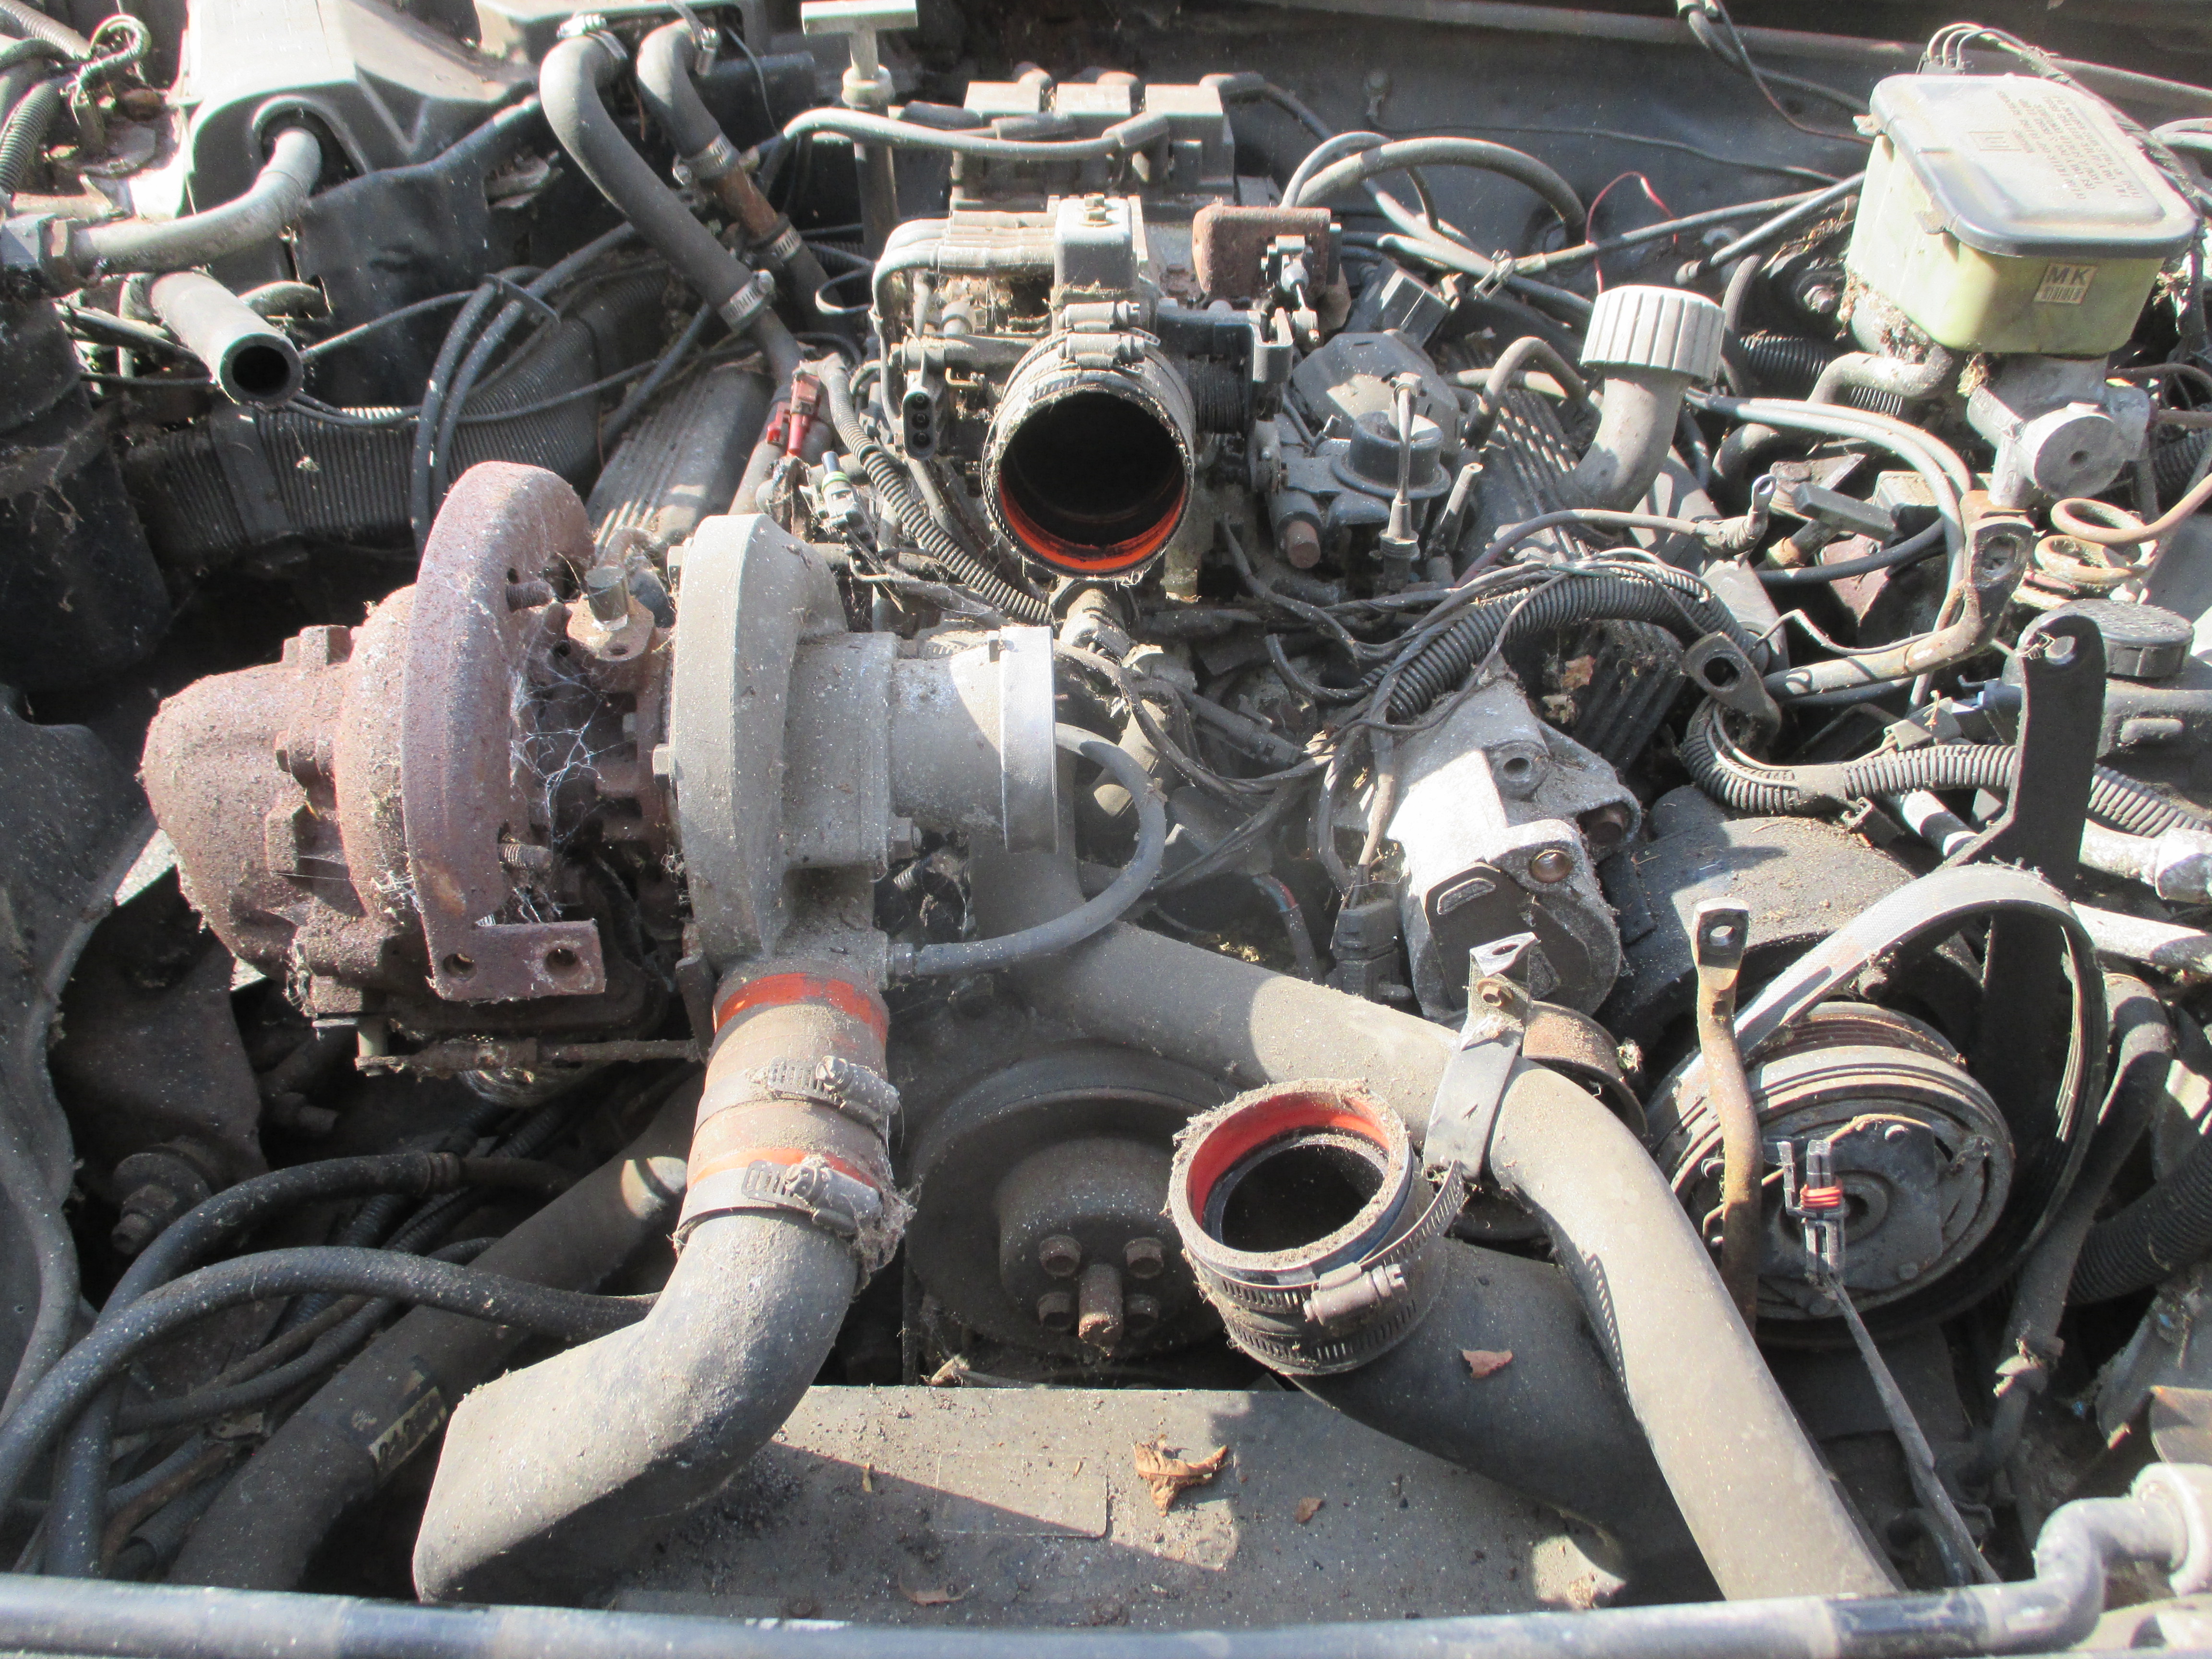
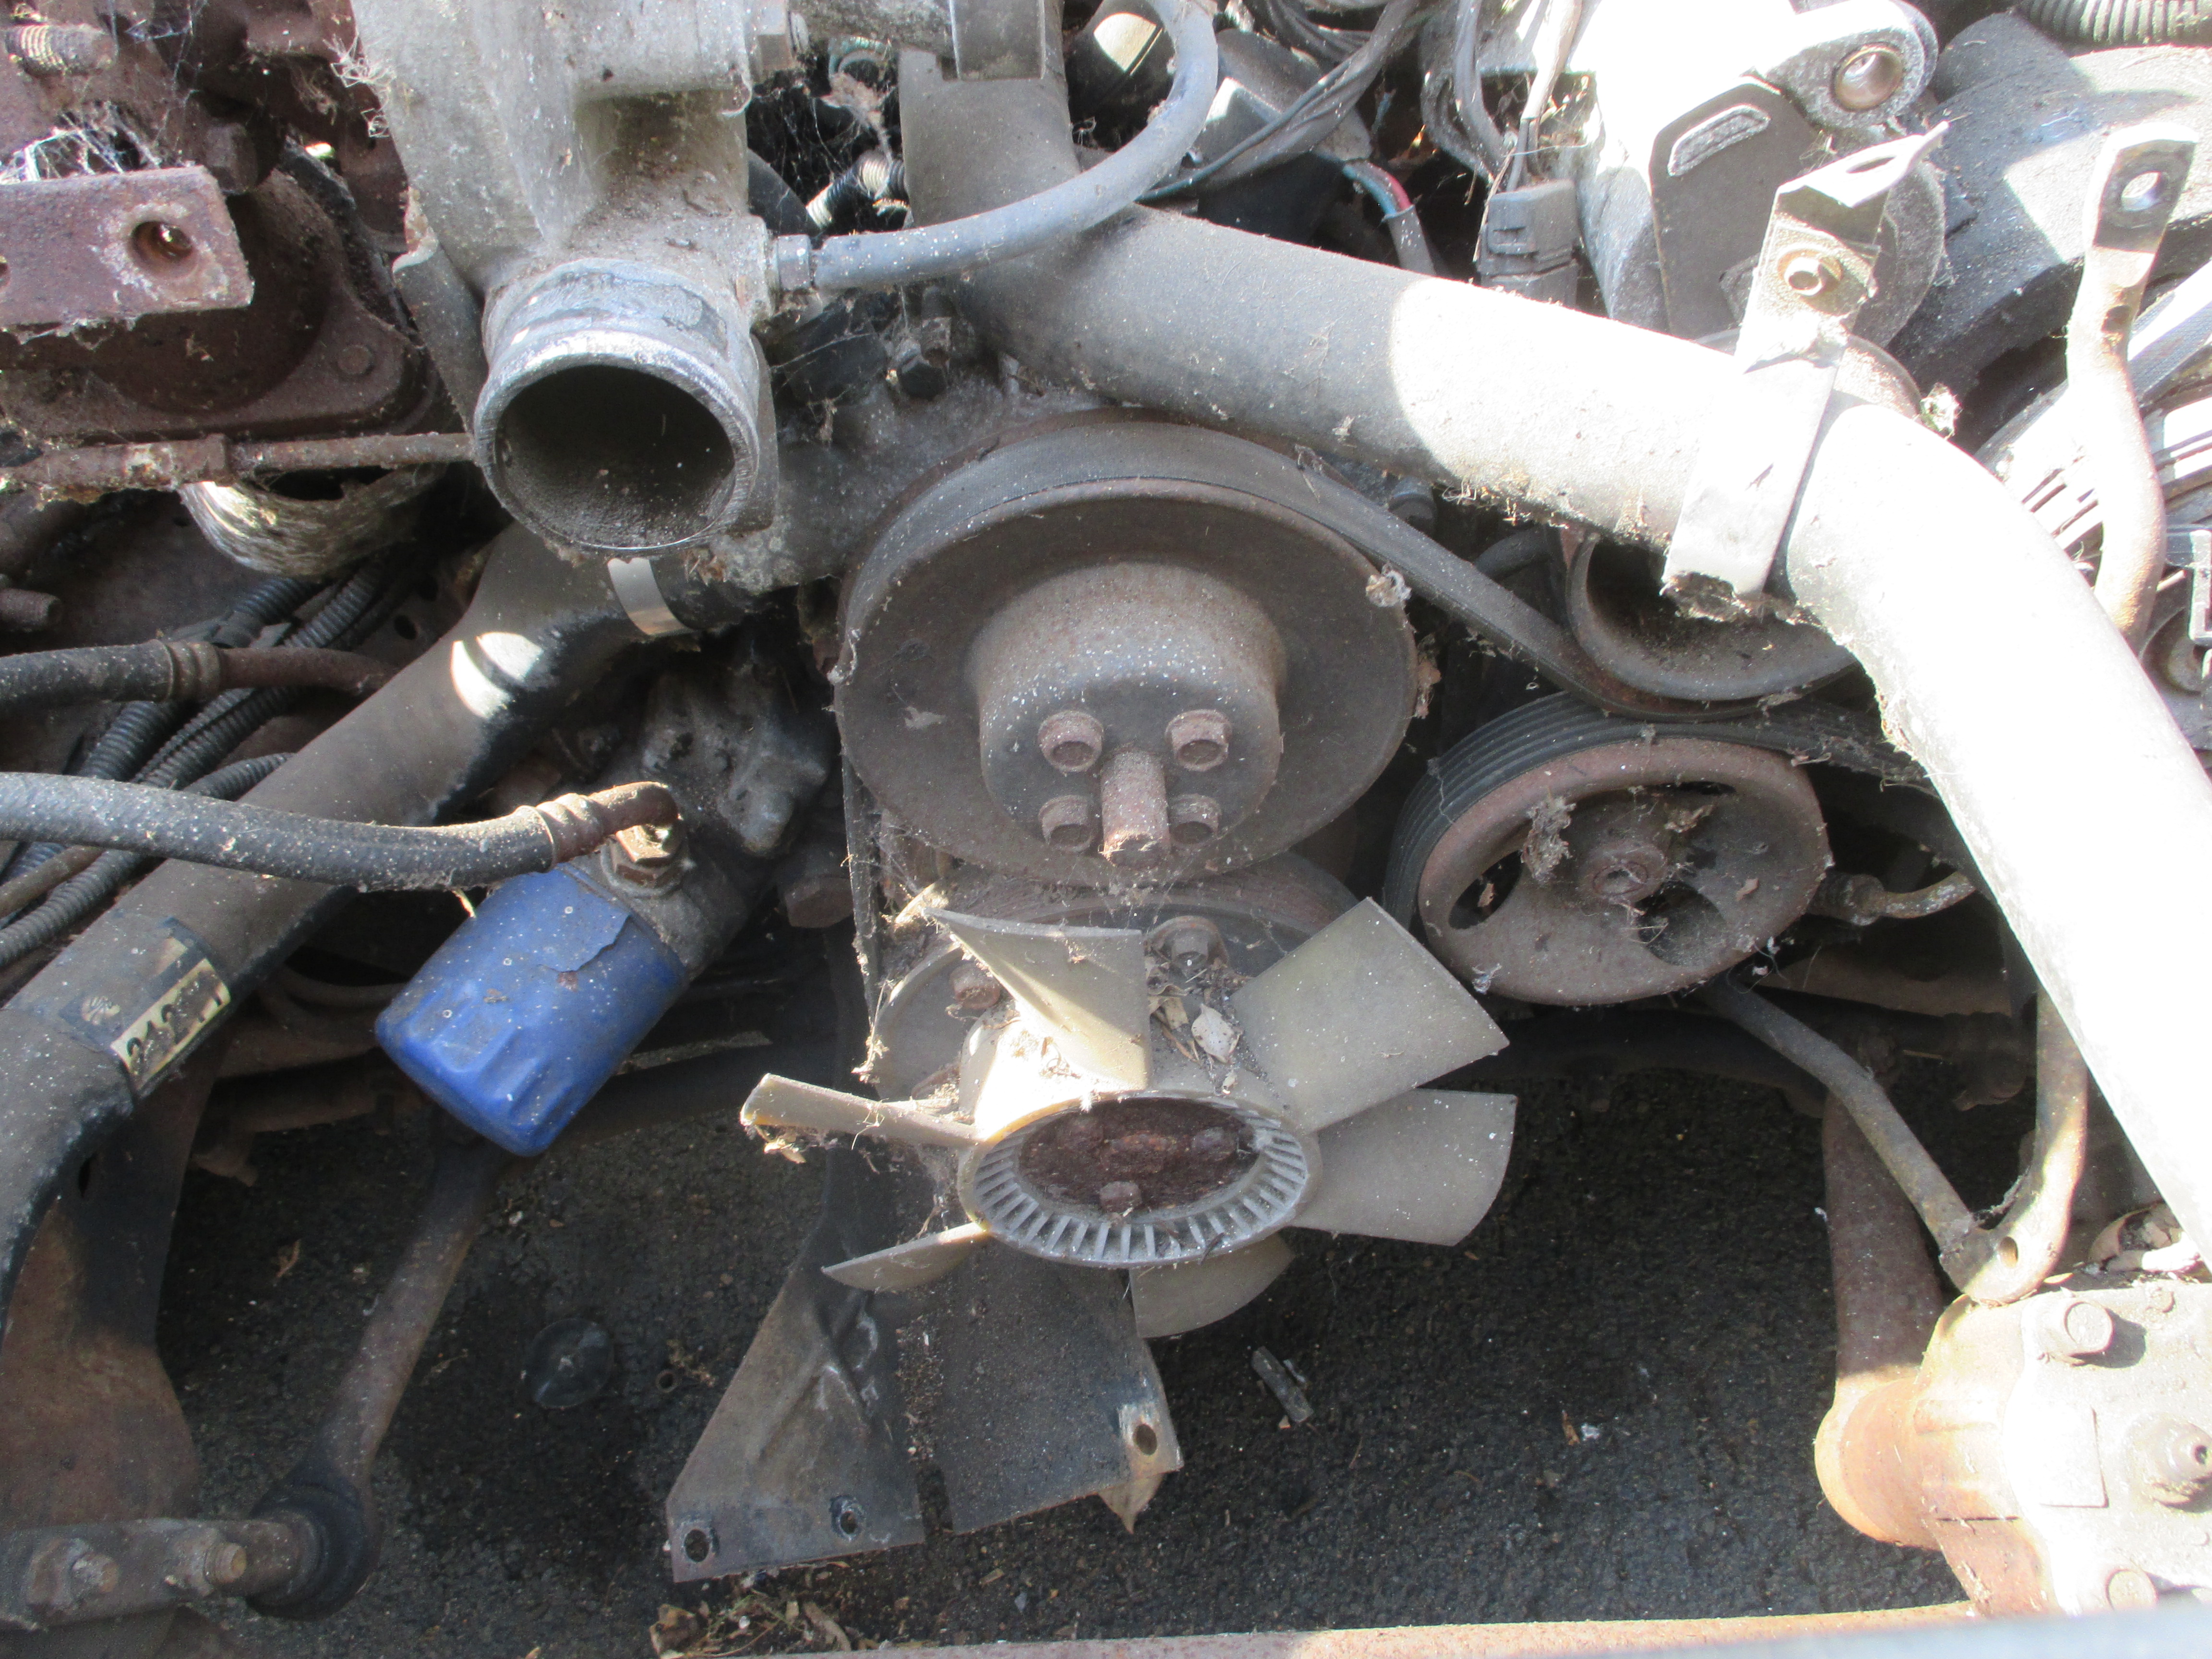
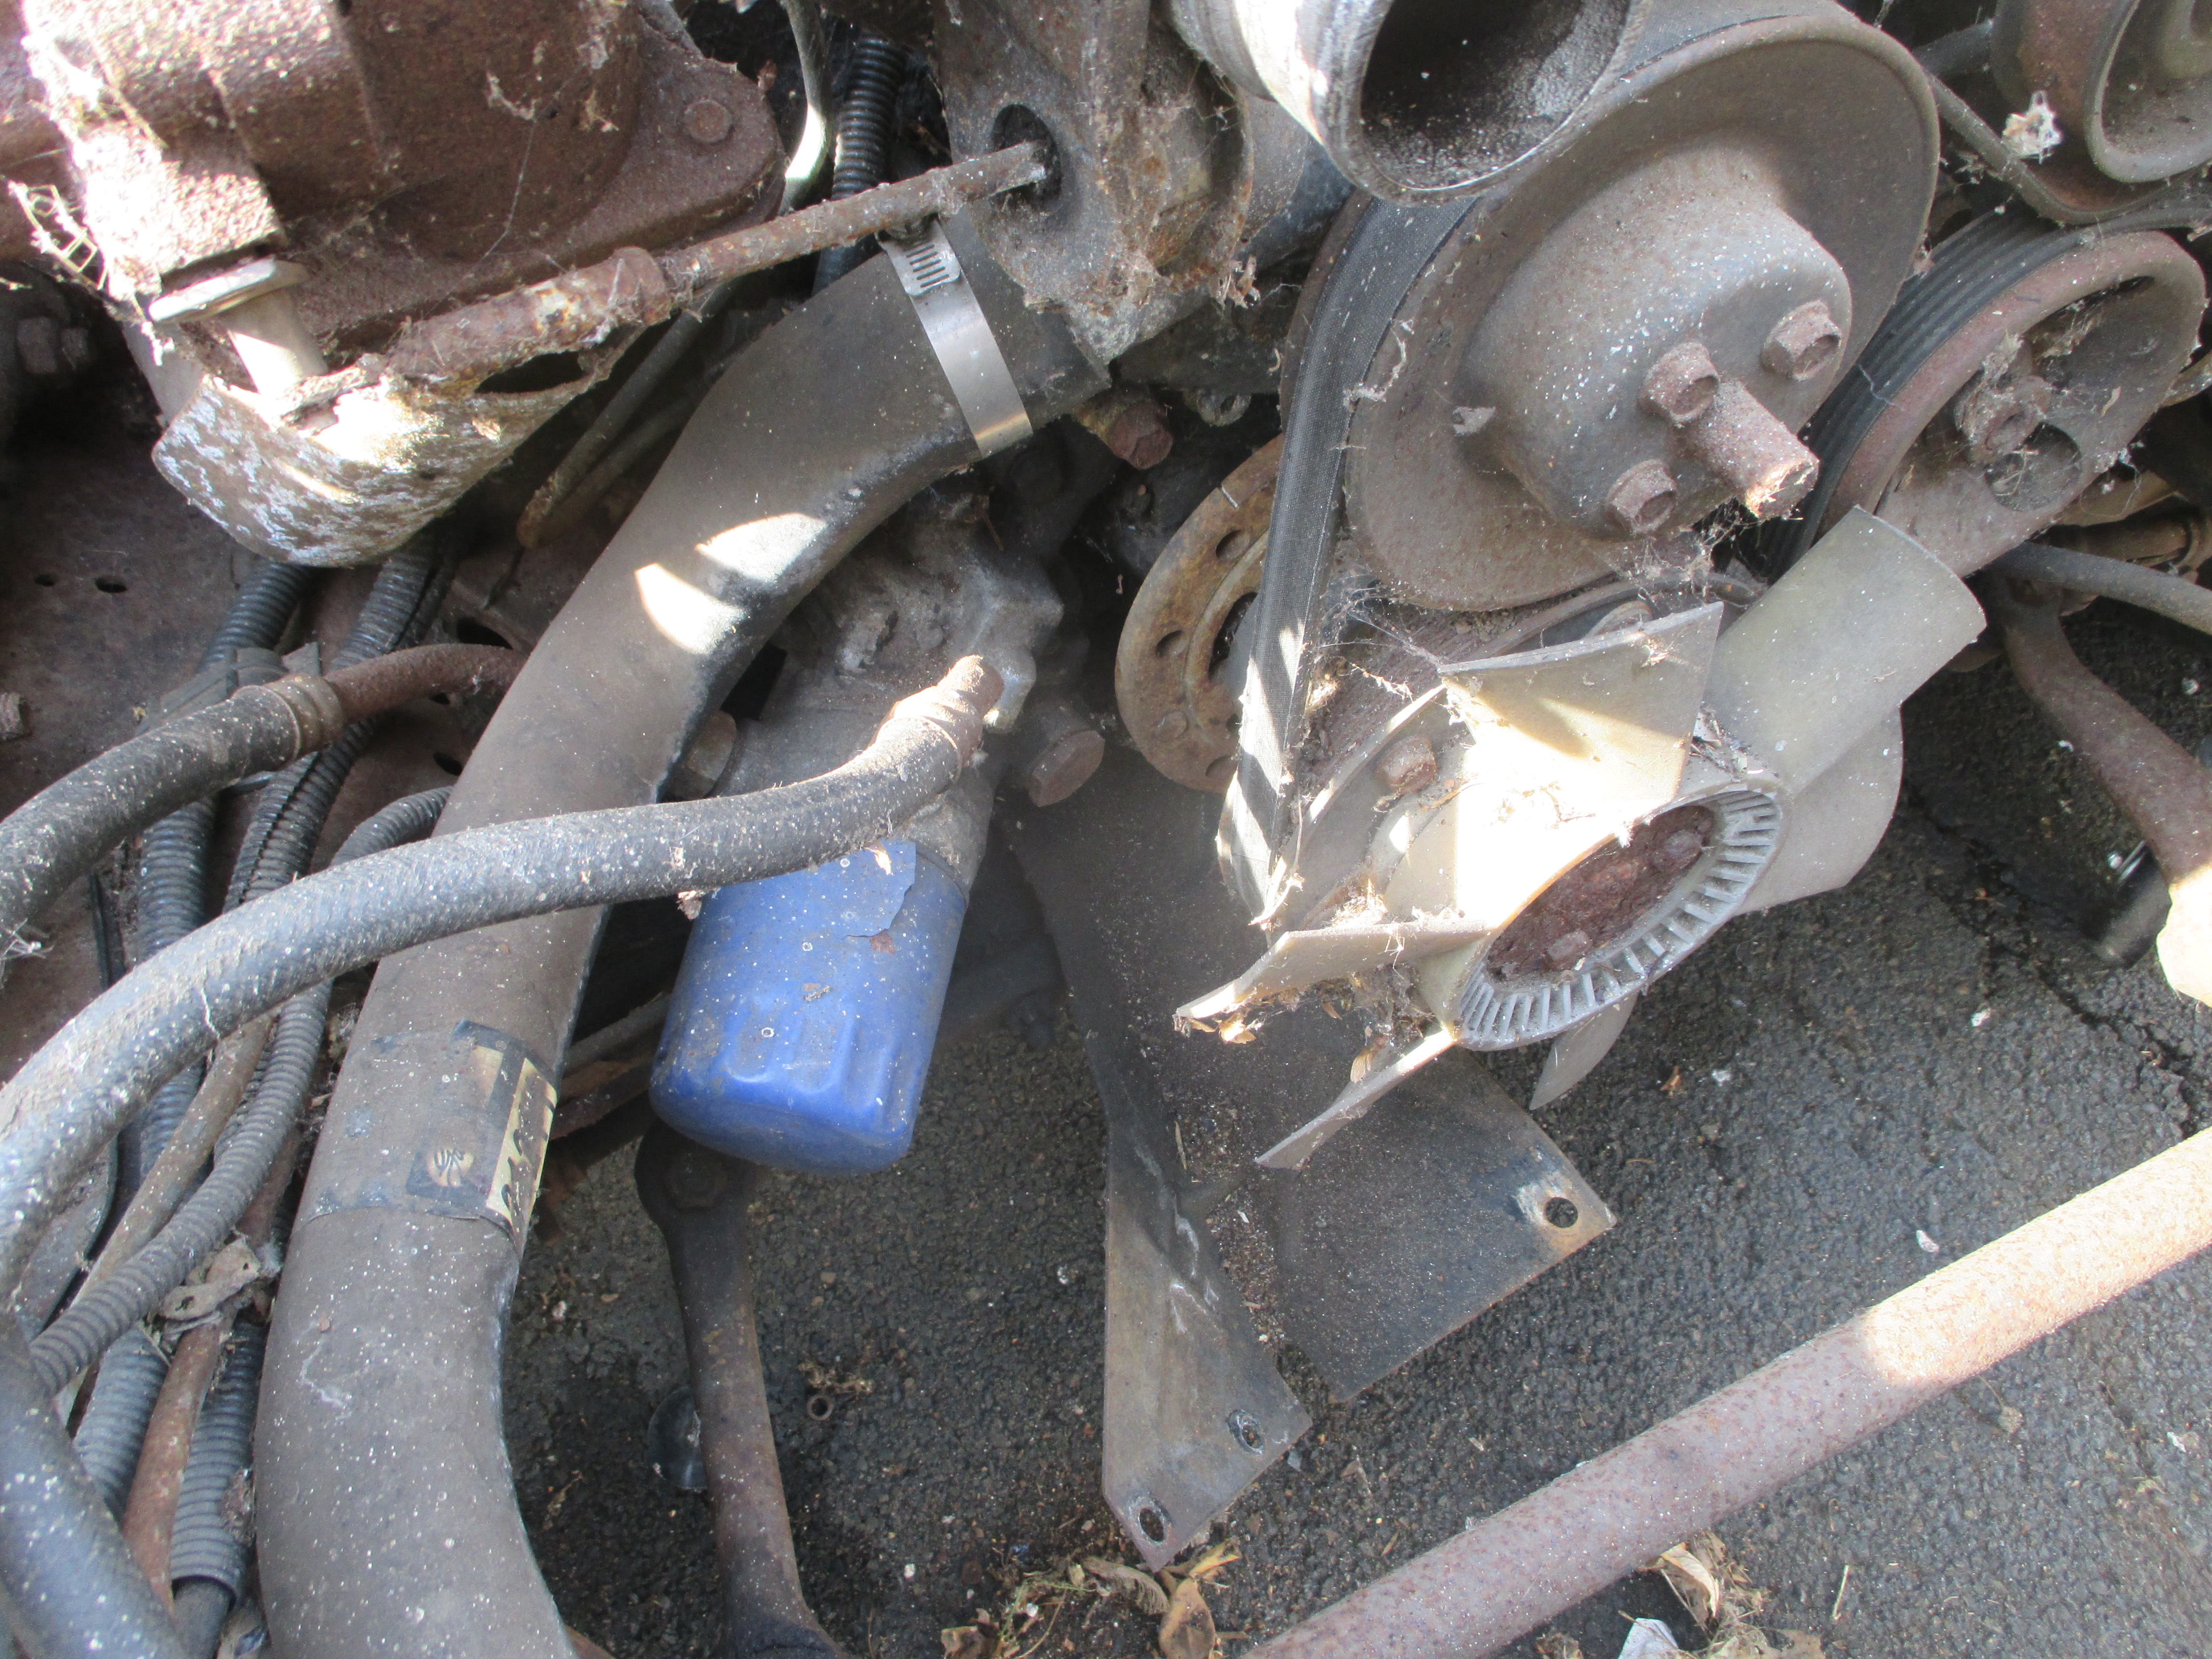
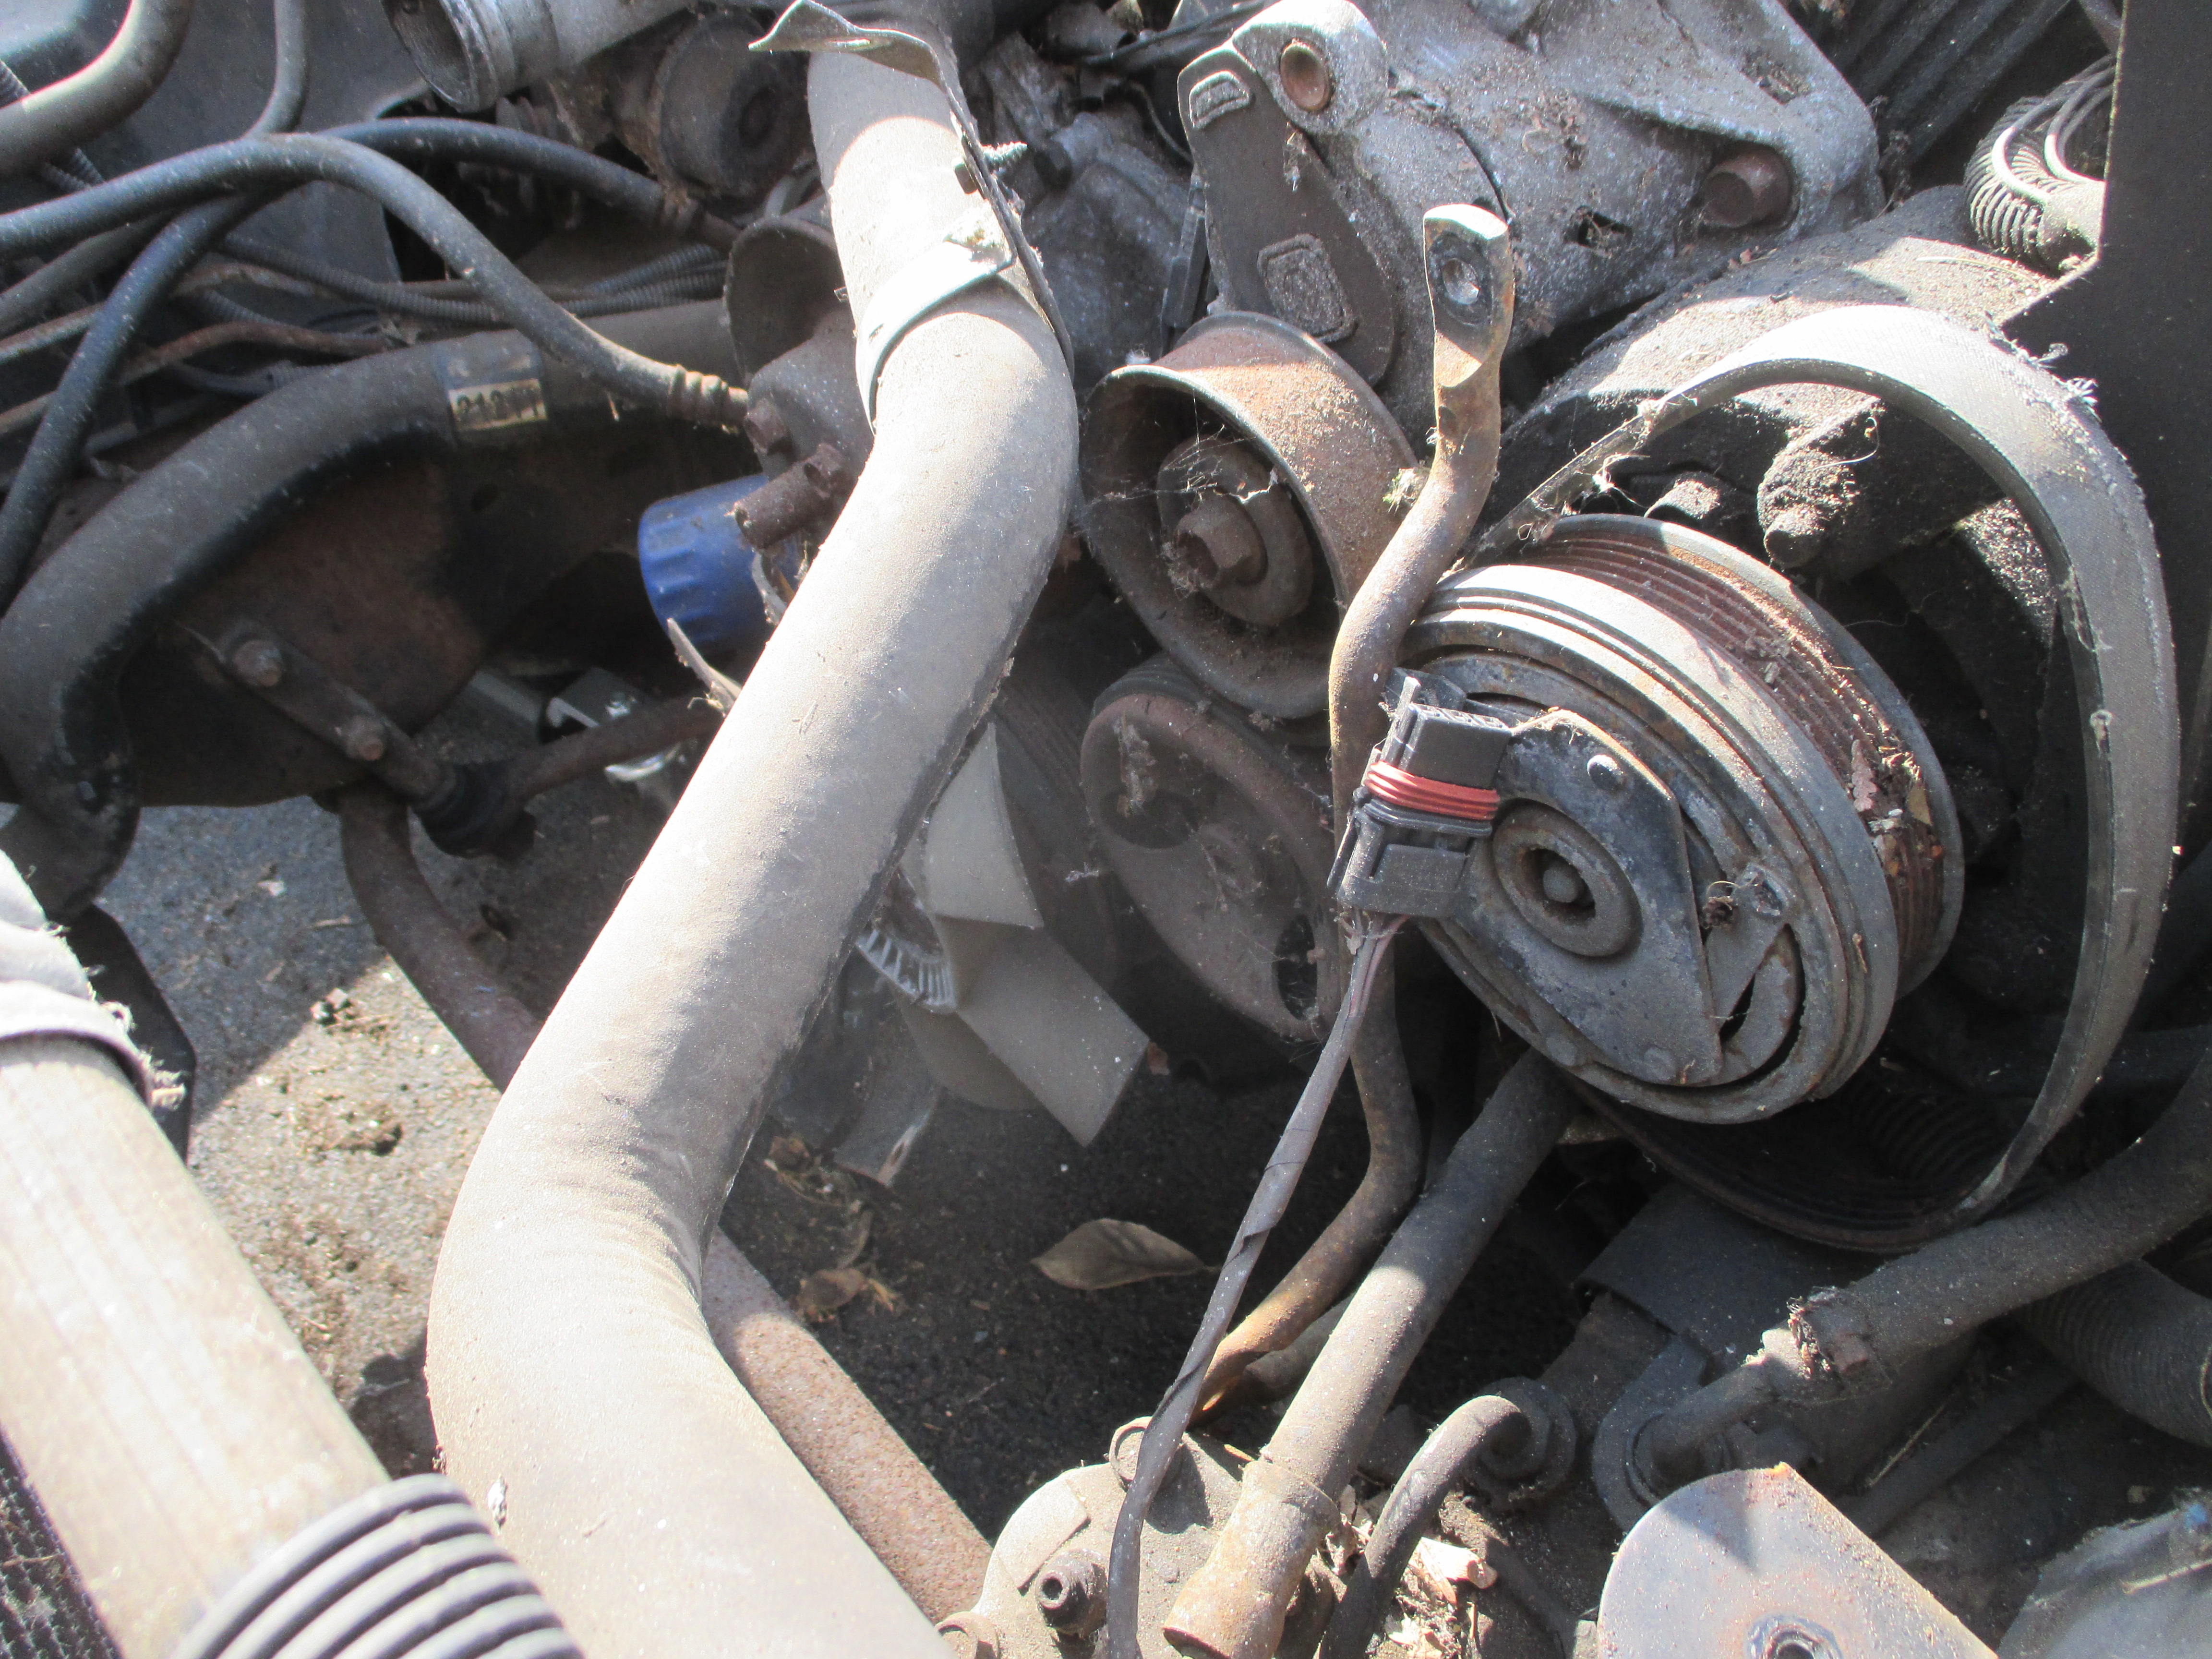
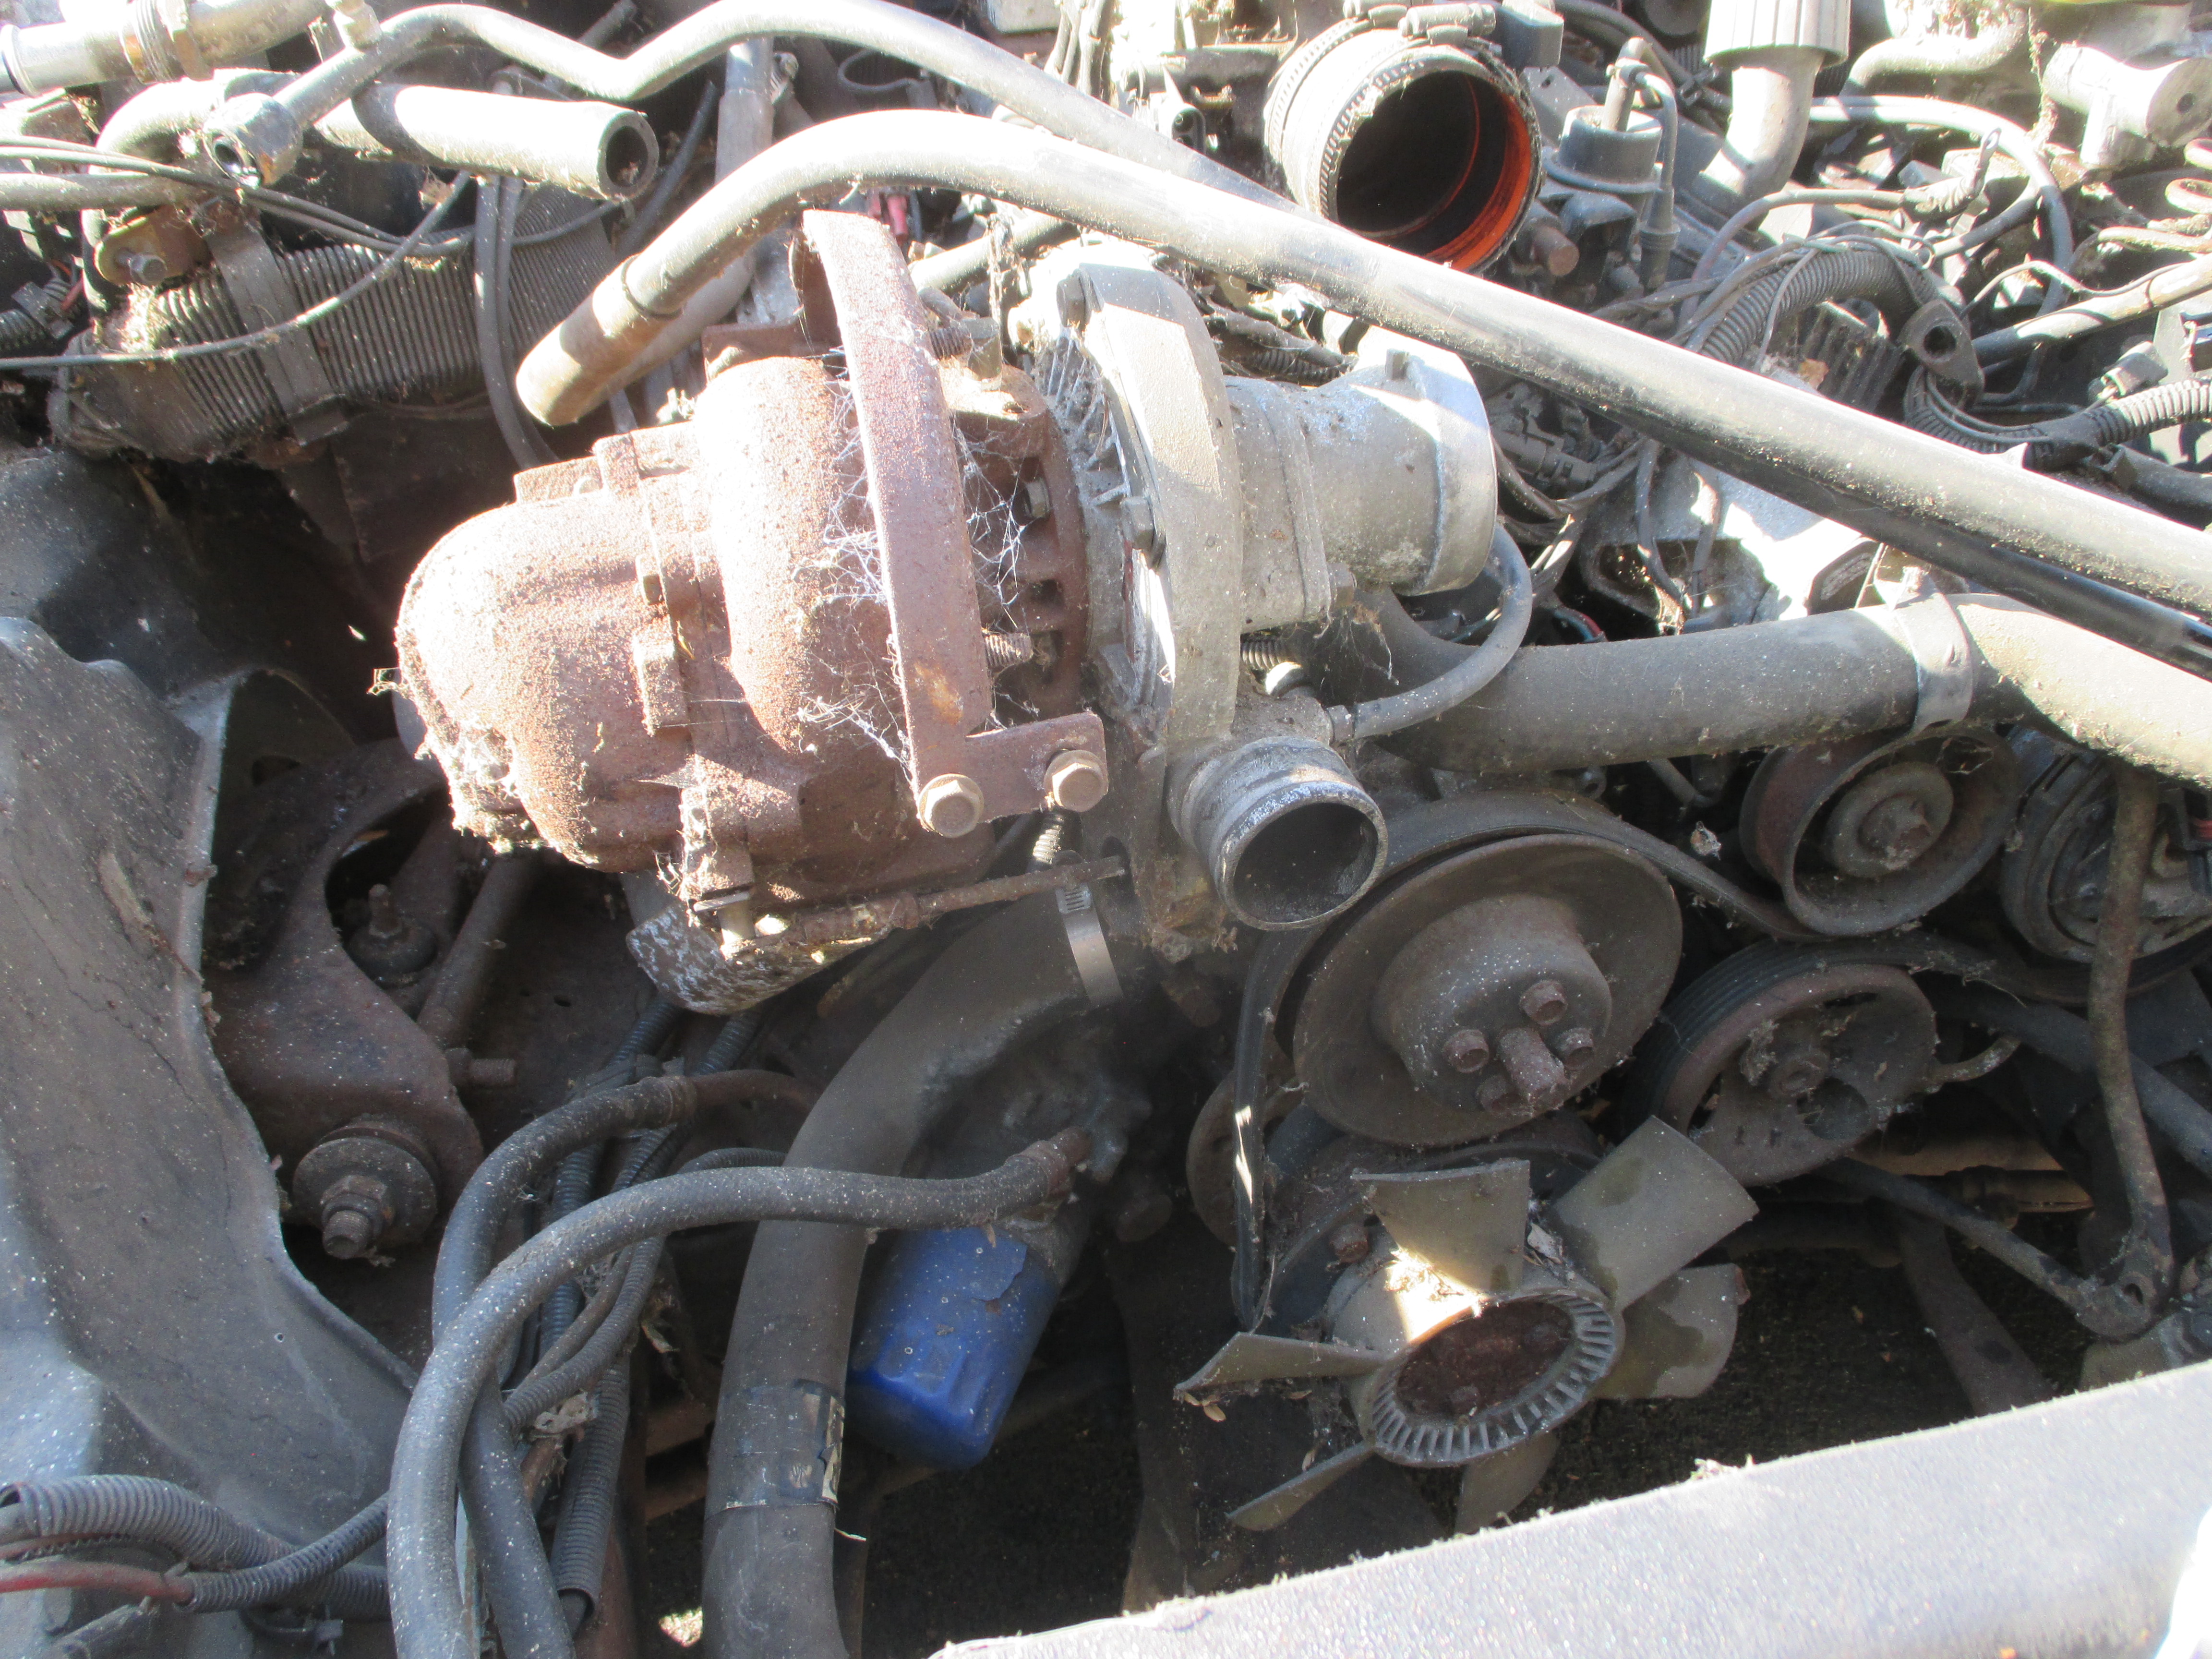
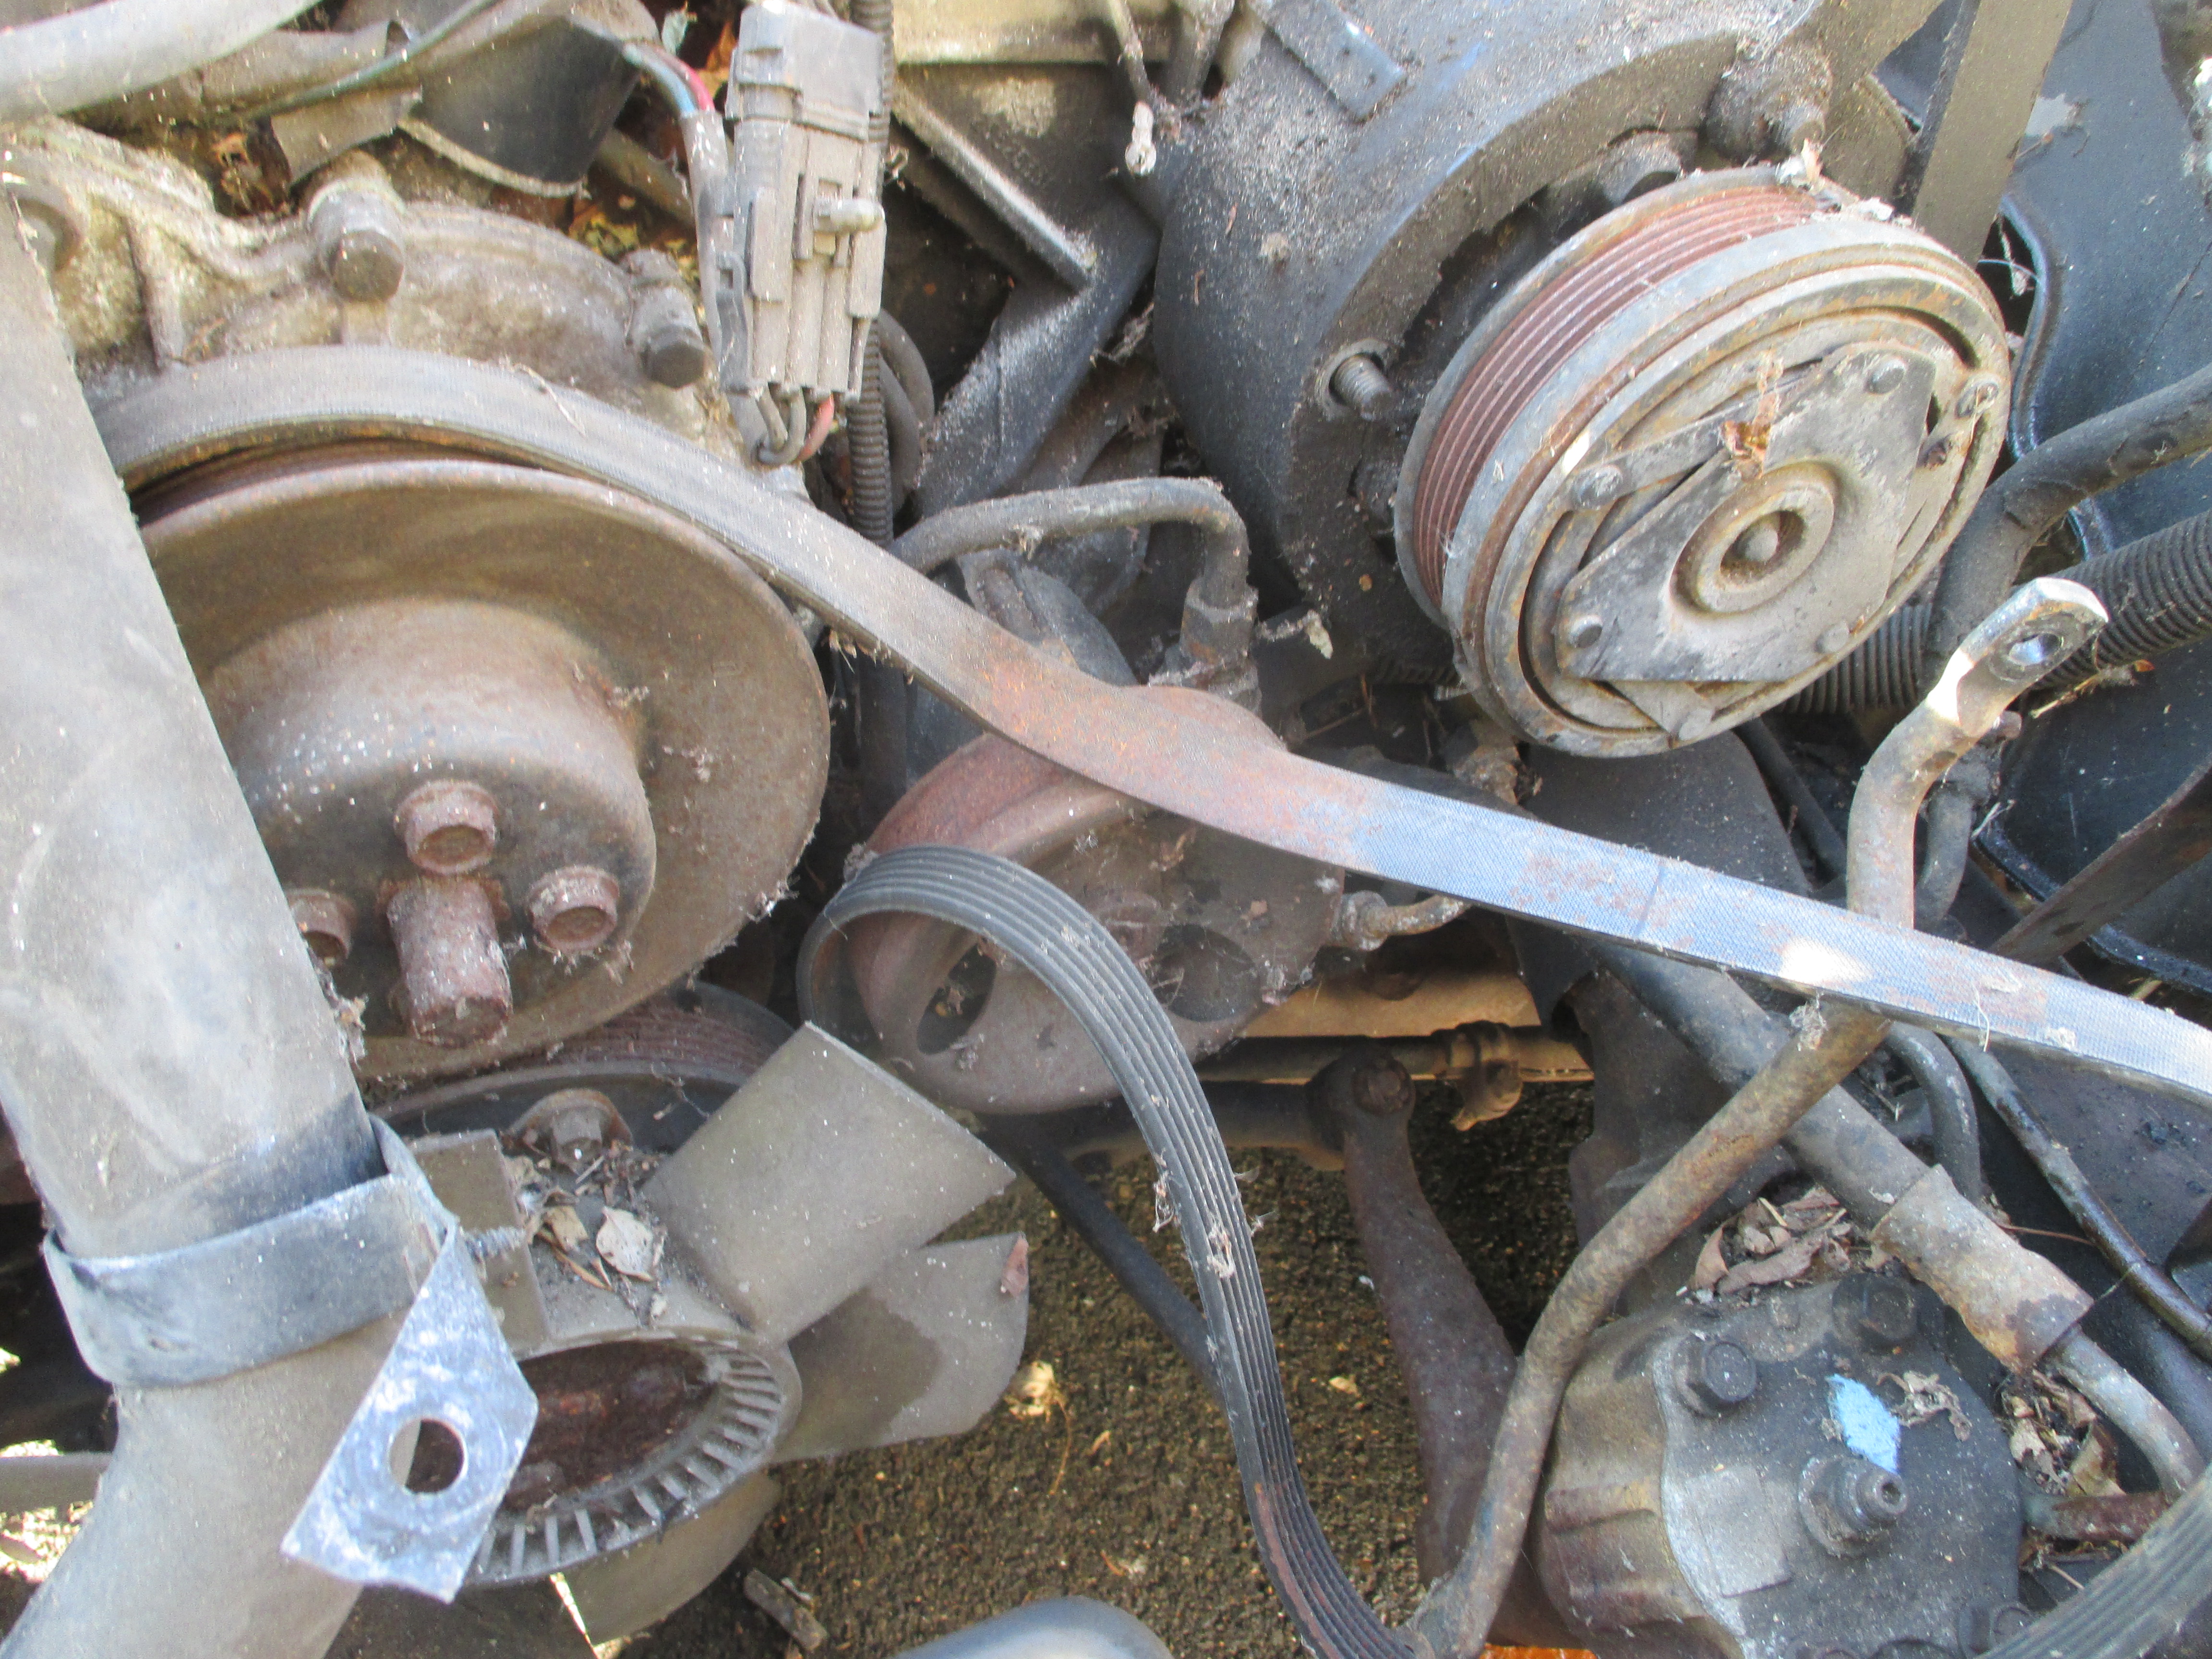
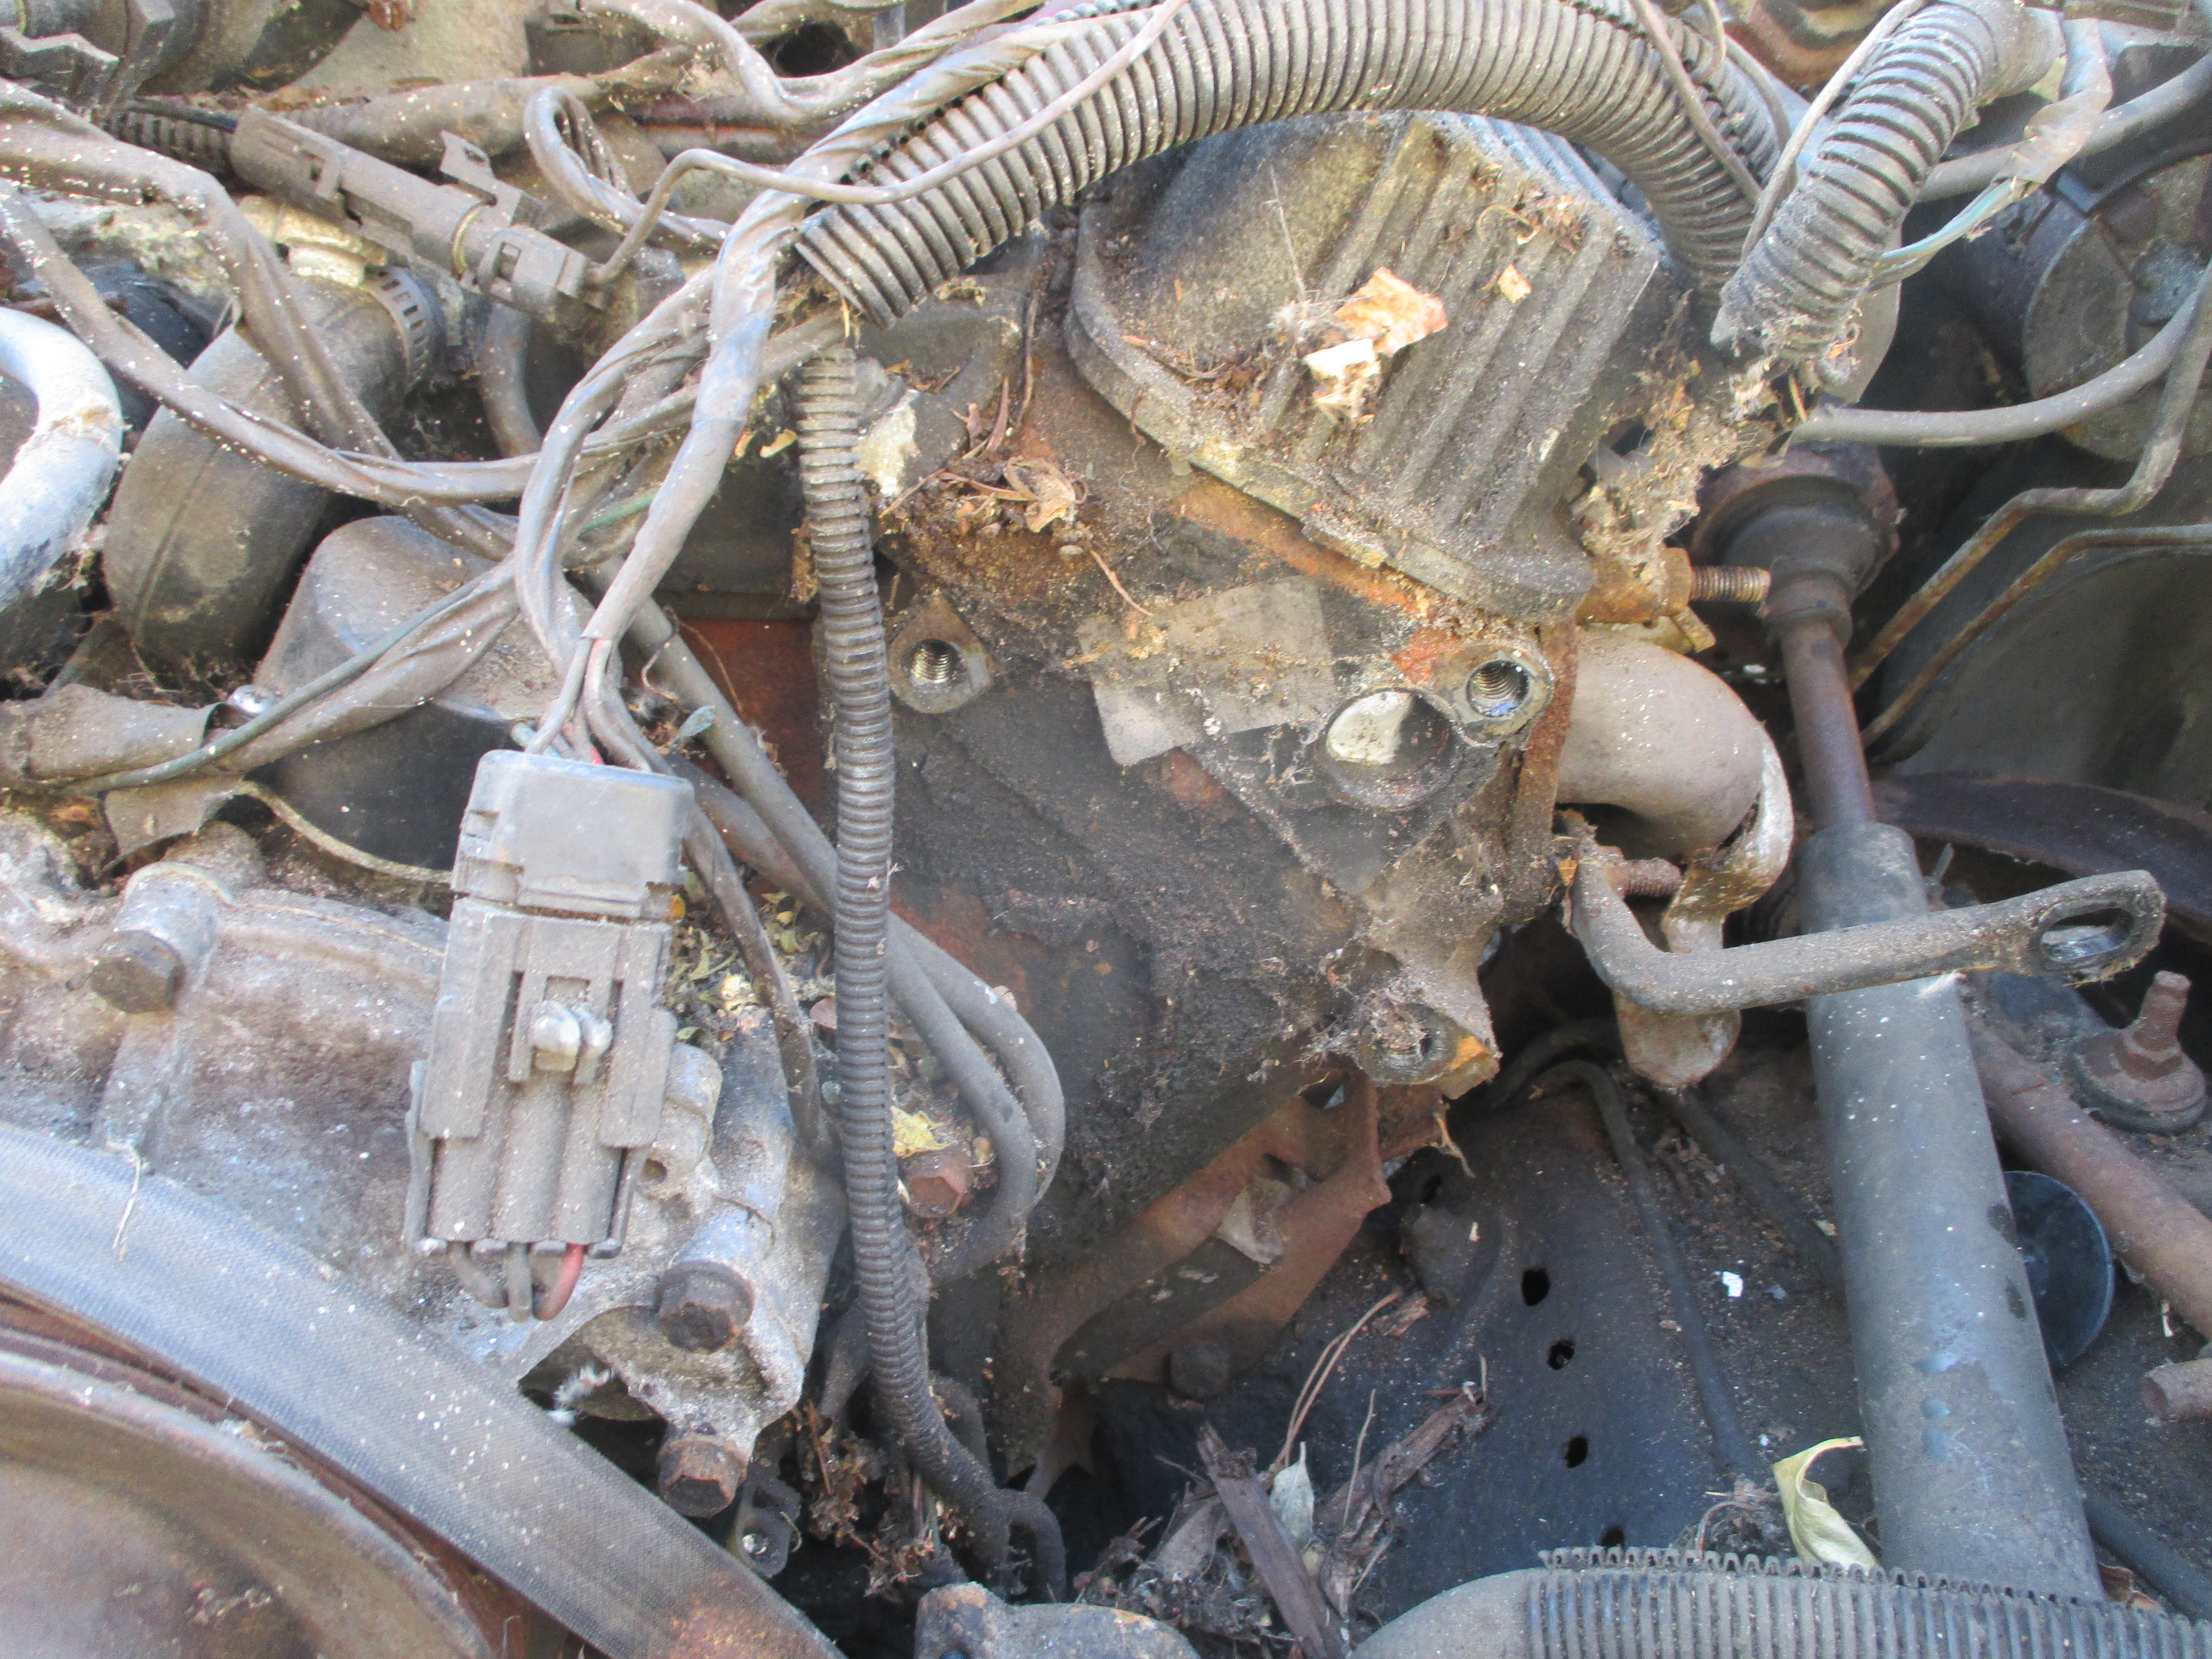
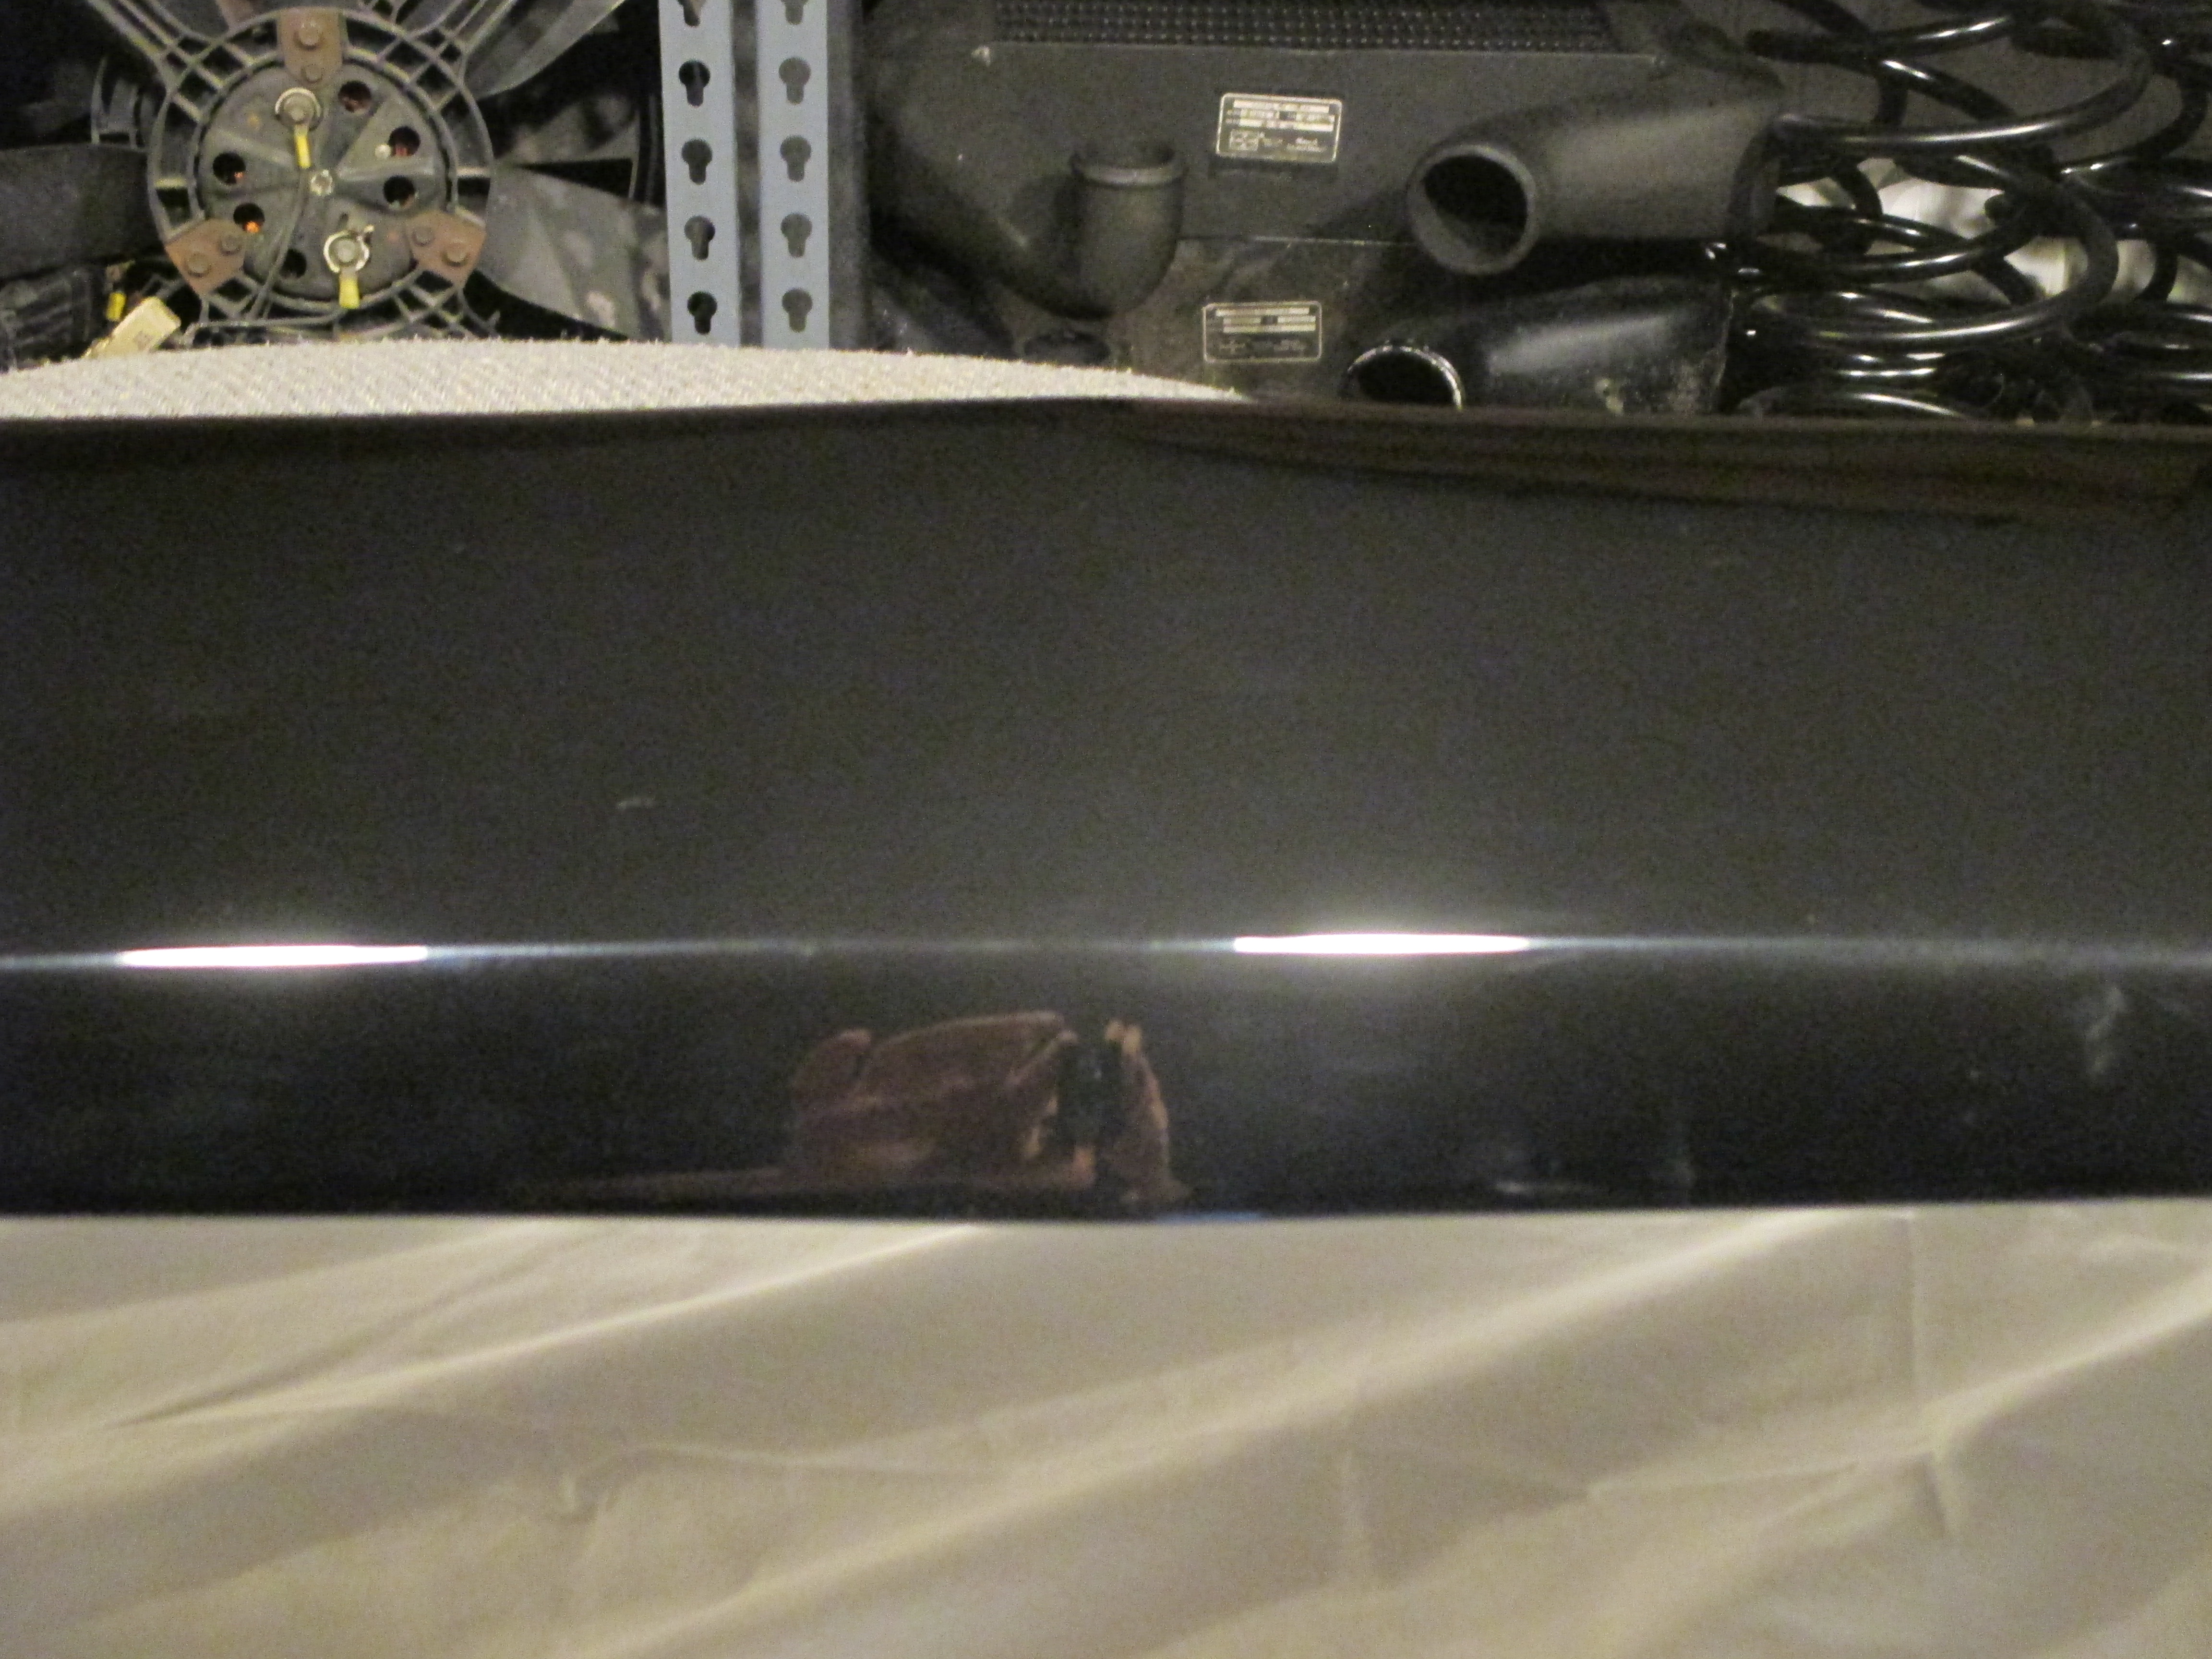
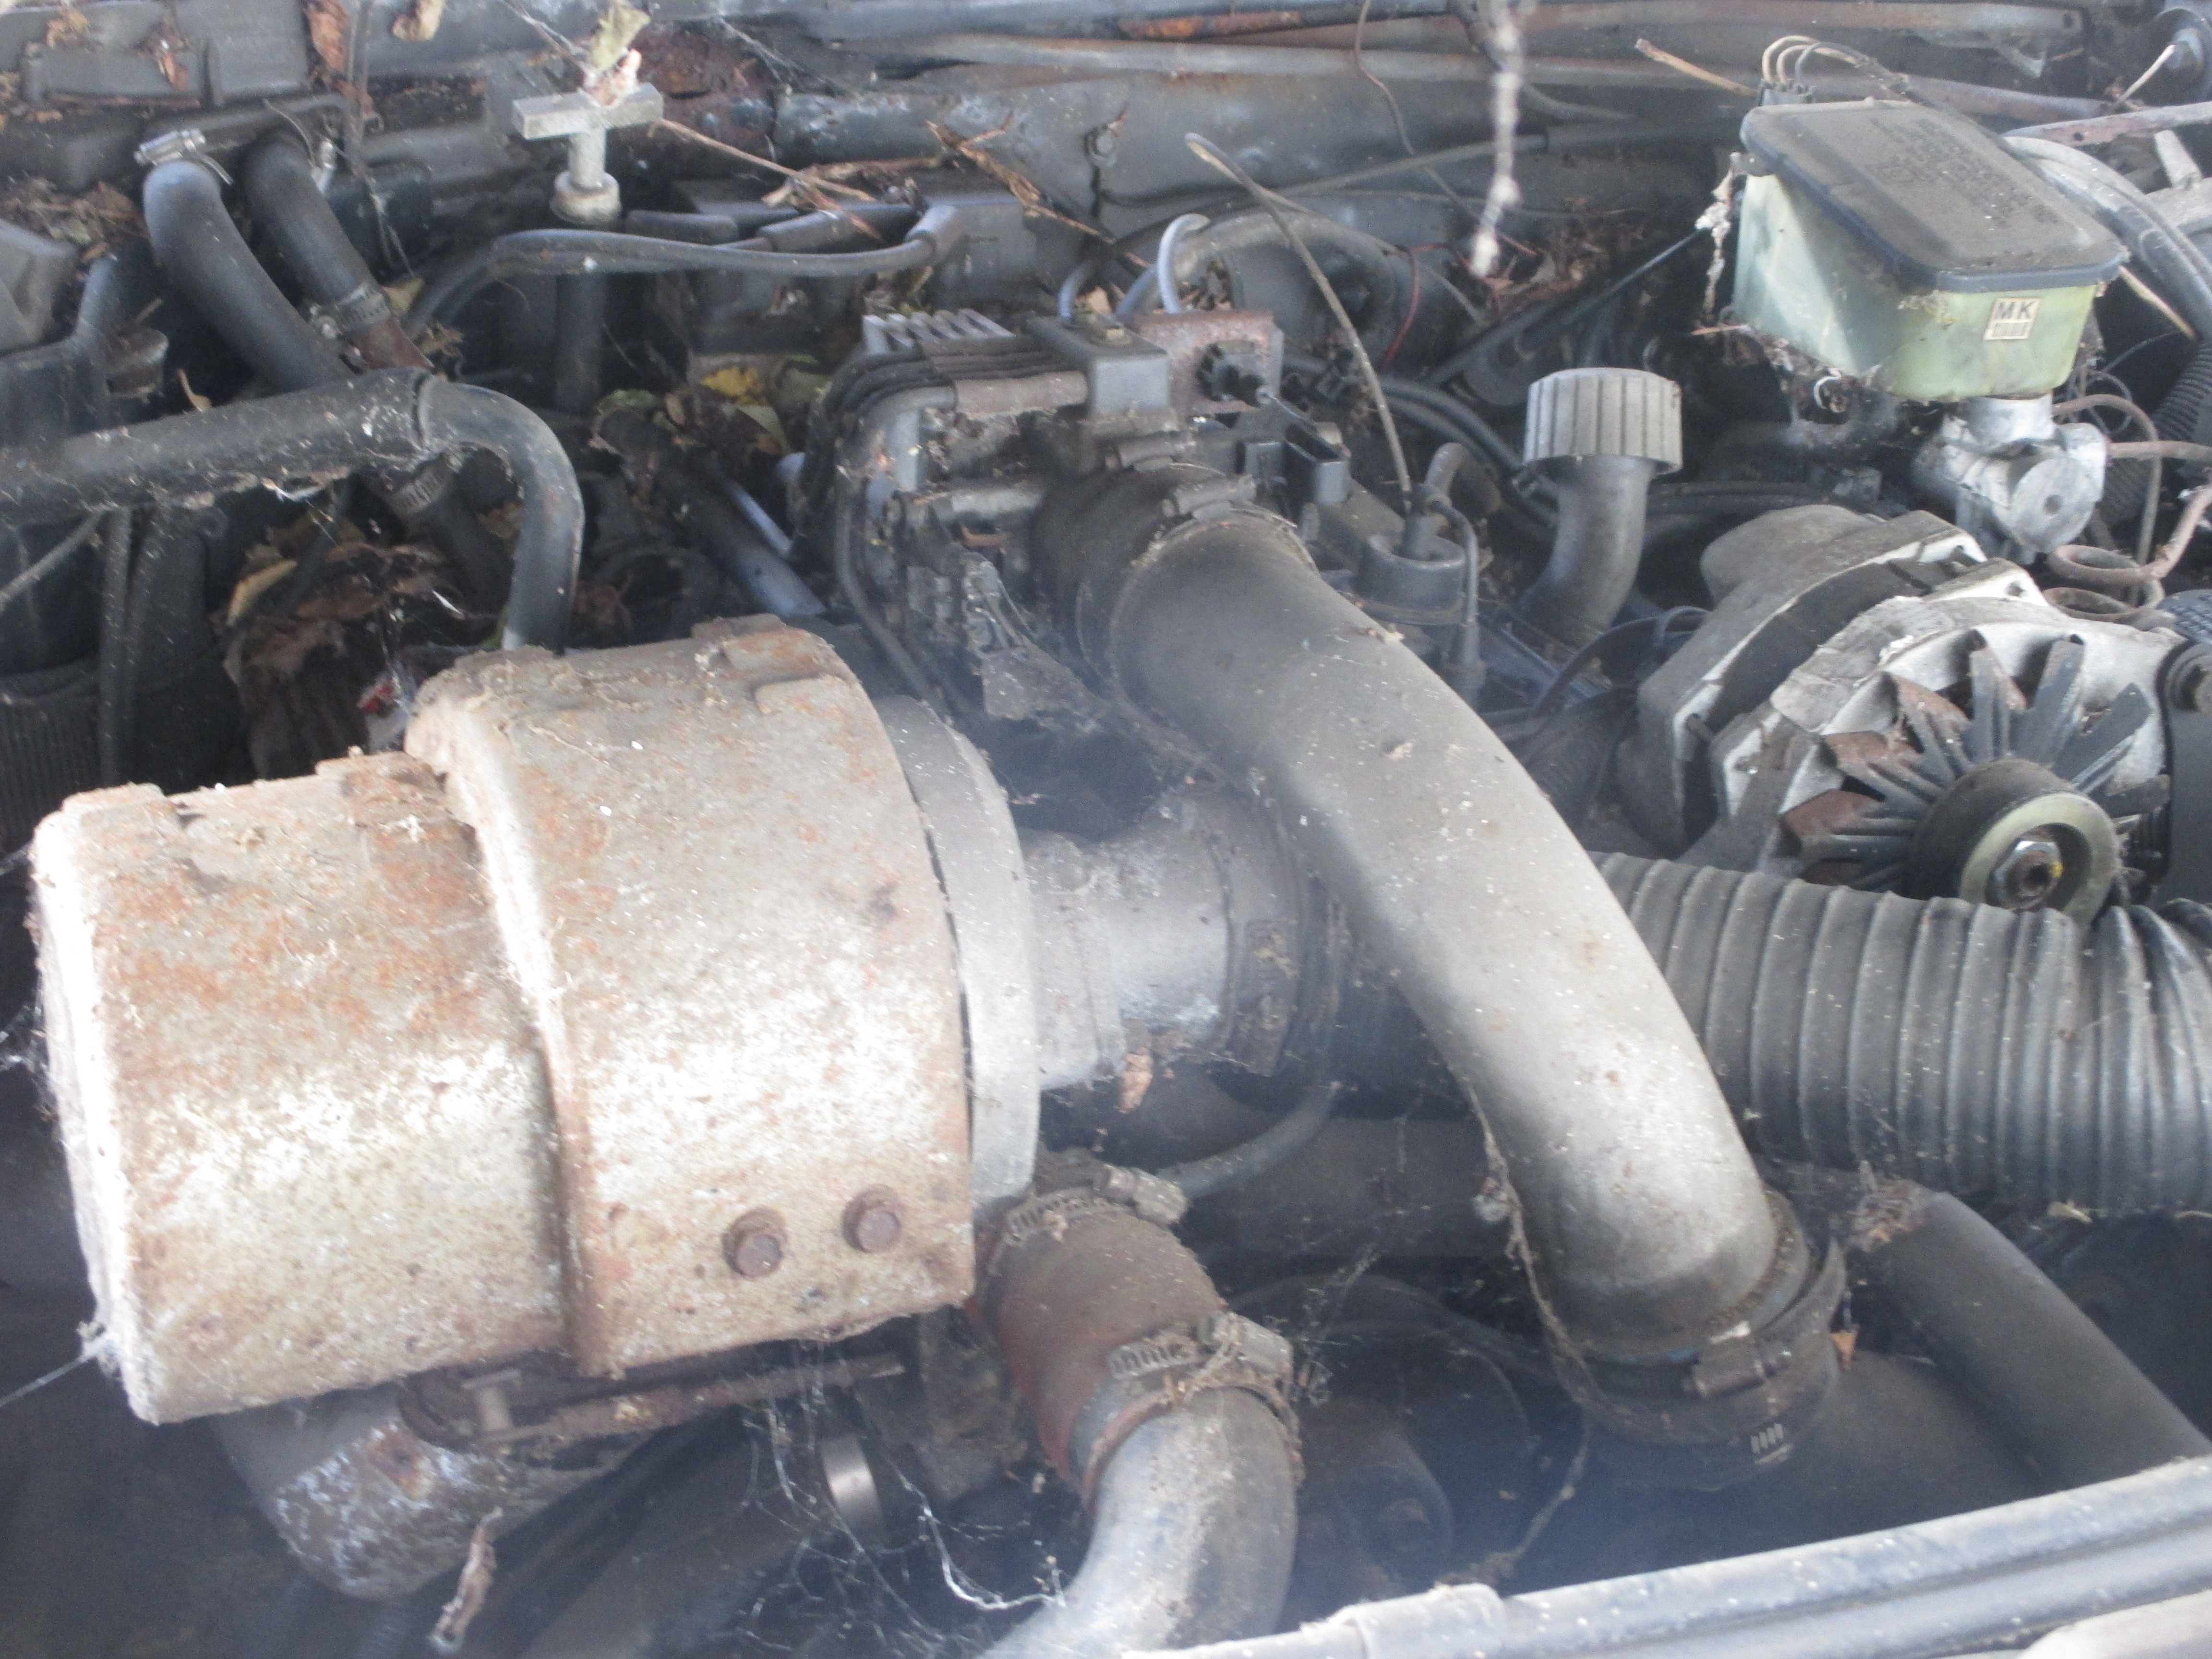
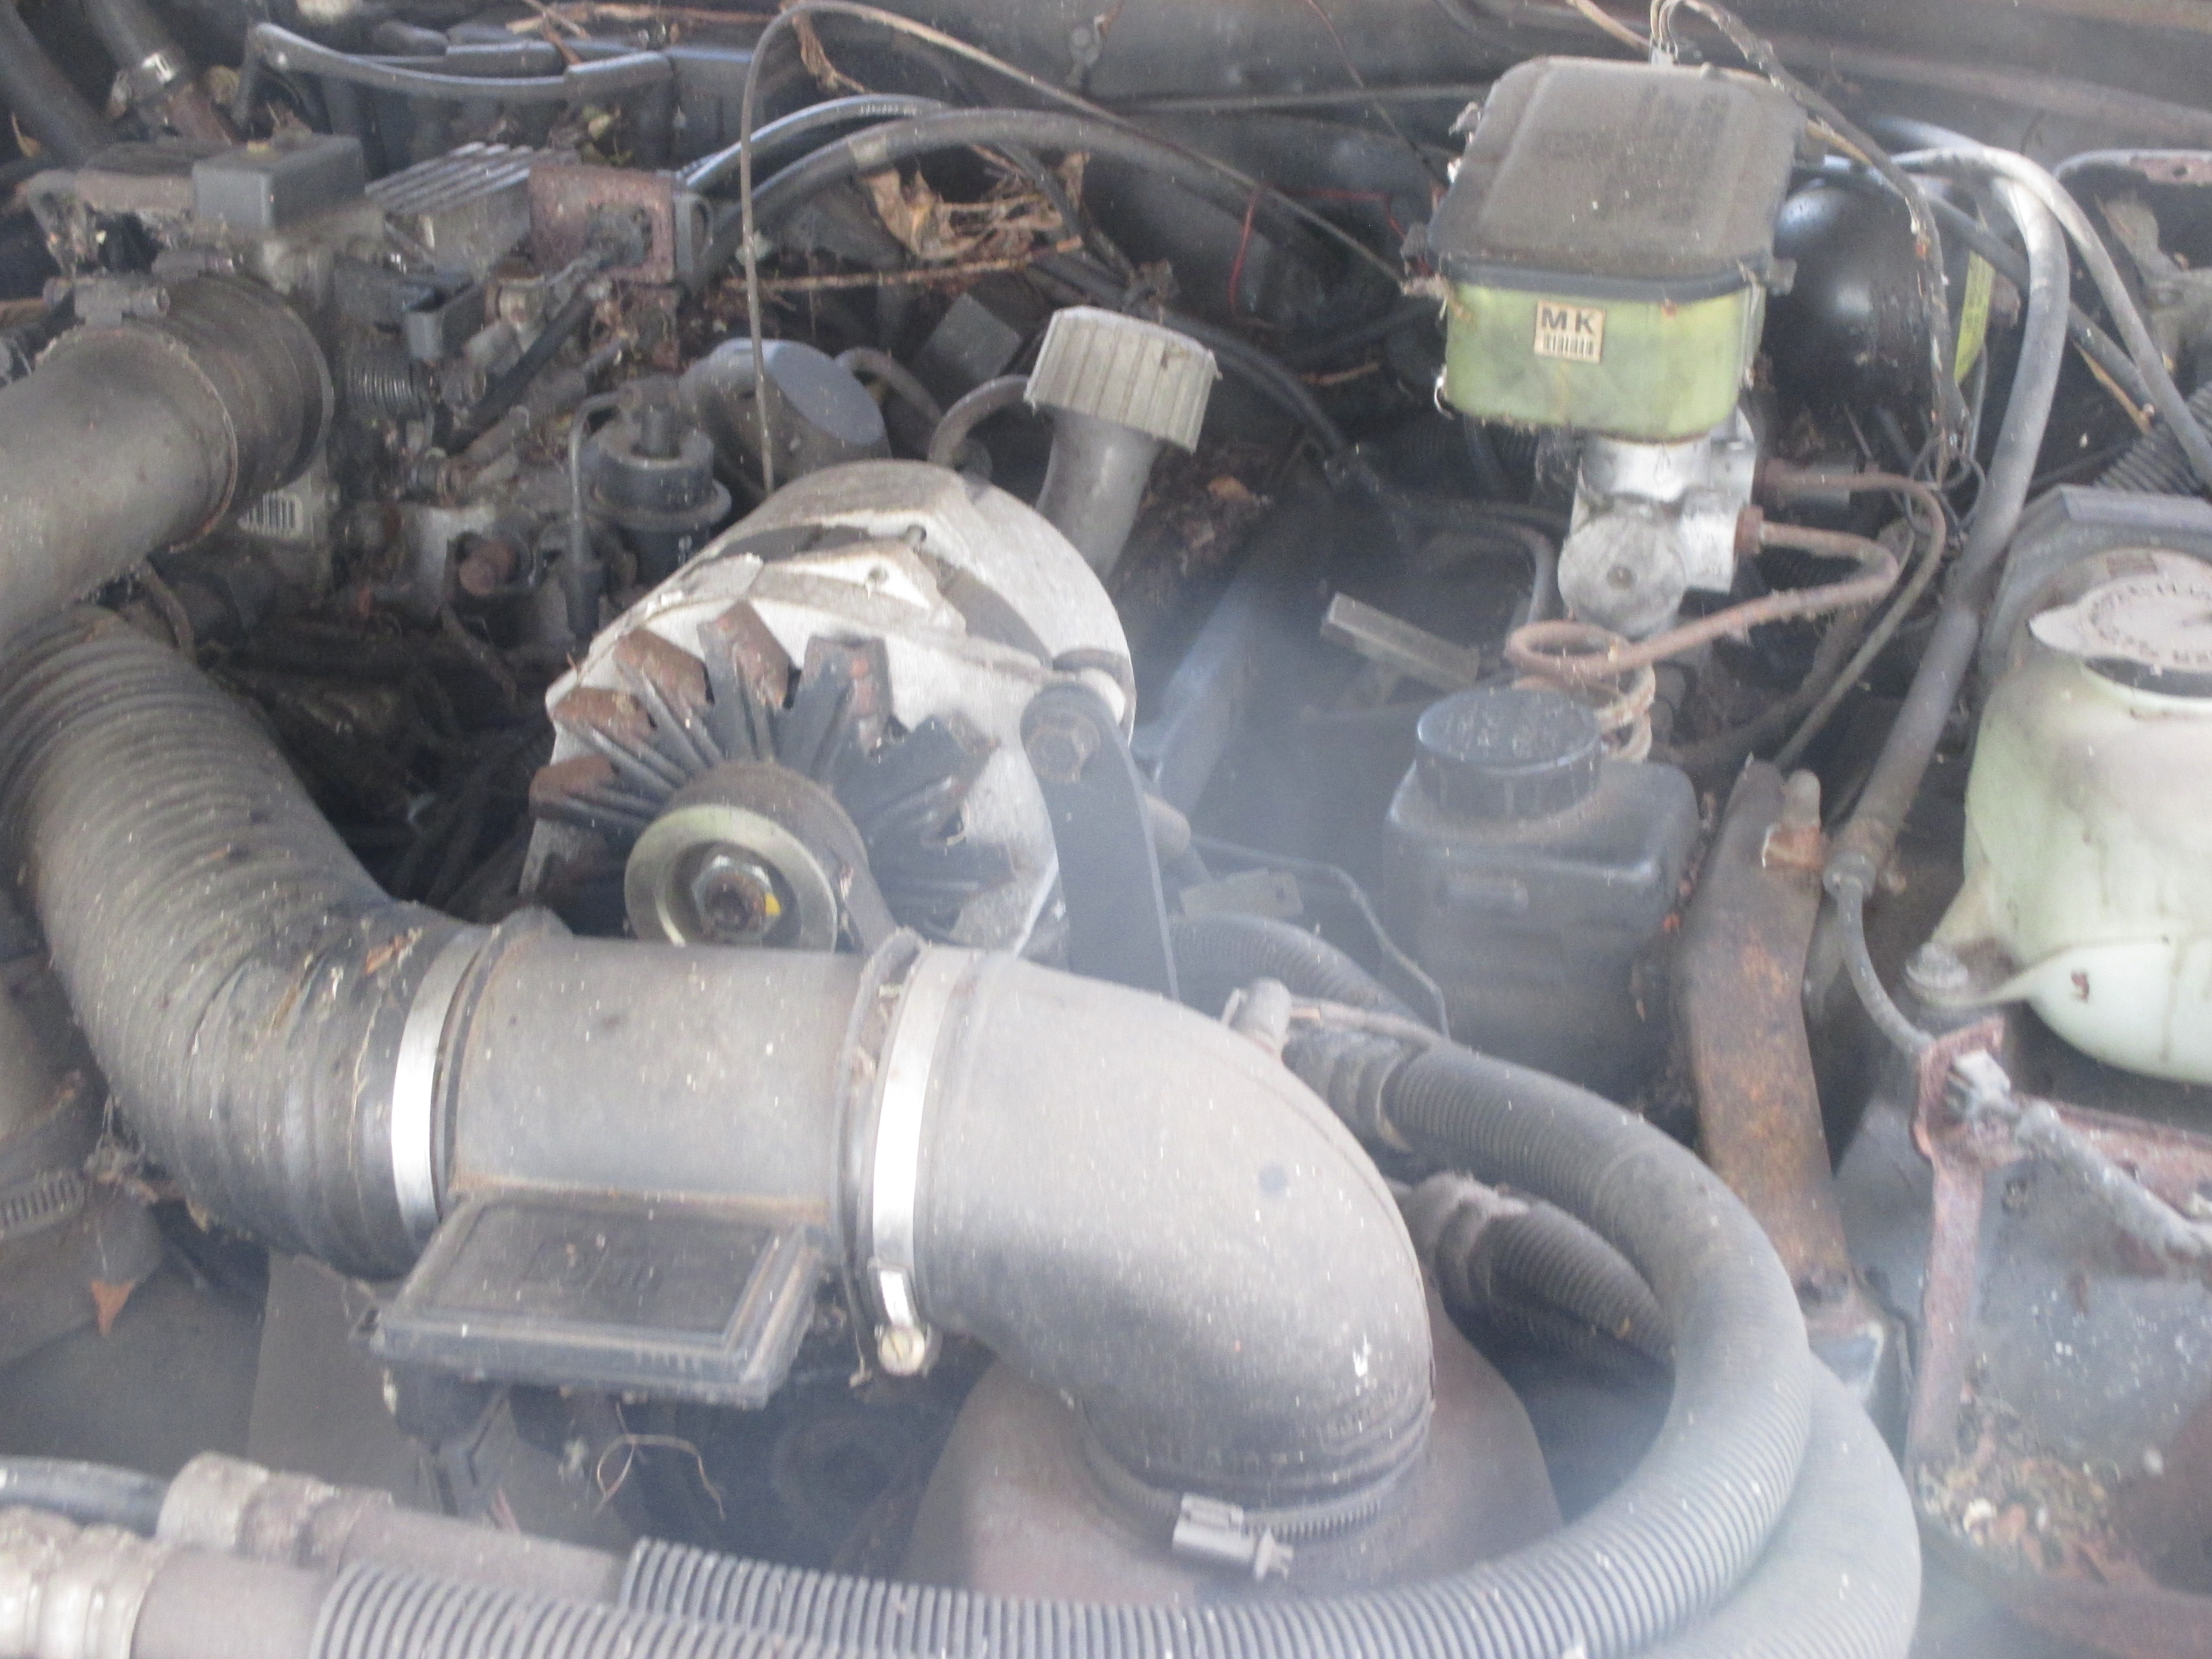
Engine compartment
The engine compartment is disassembled one piece at a time documenting each step. The helps keep the parts in order and determine what parts can be restored vs replaced.
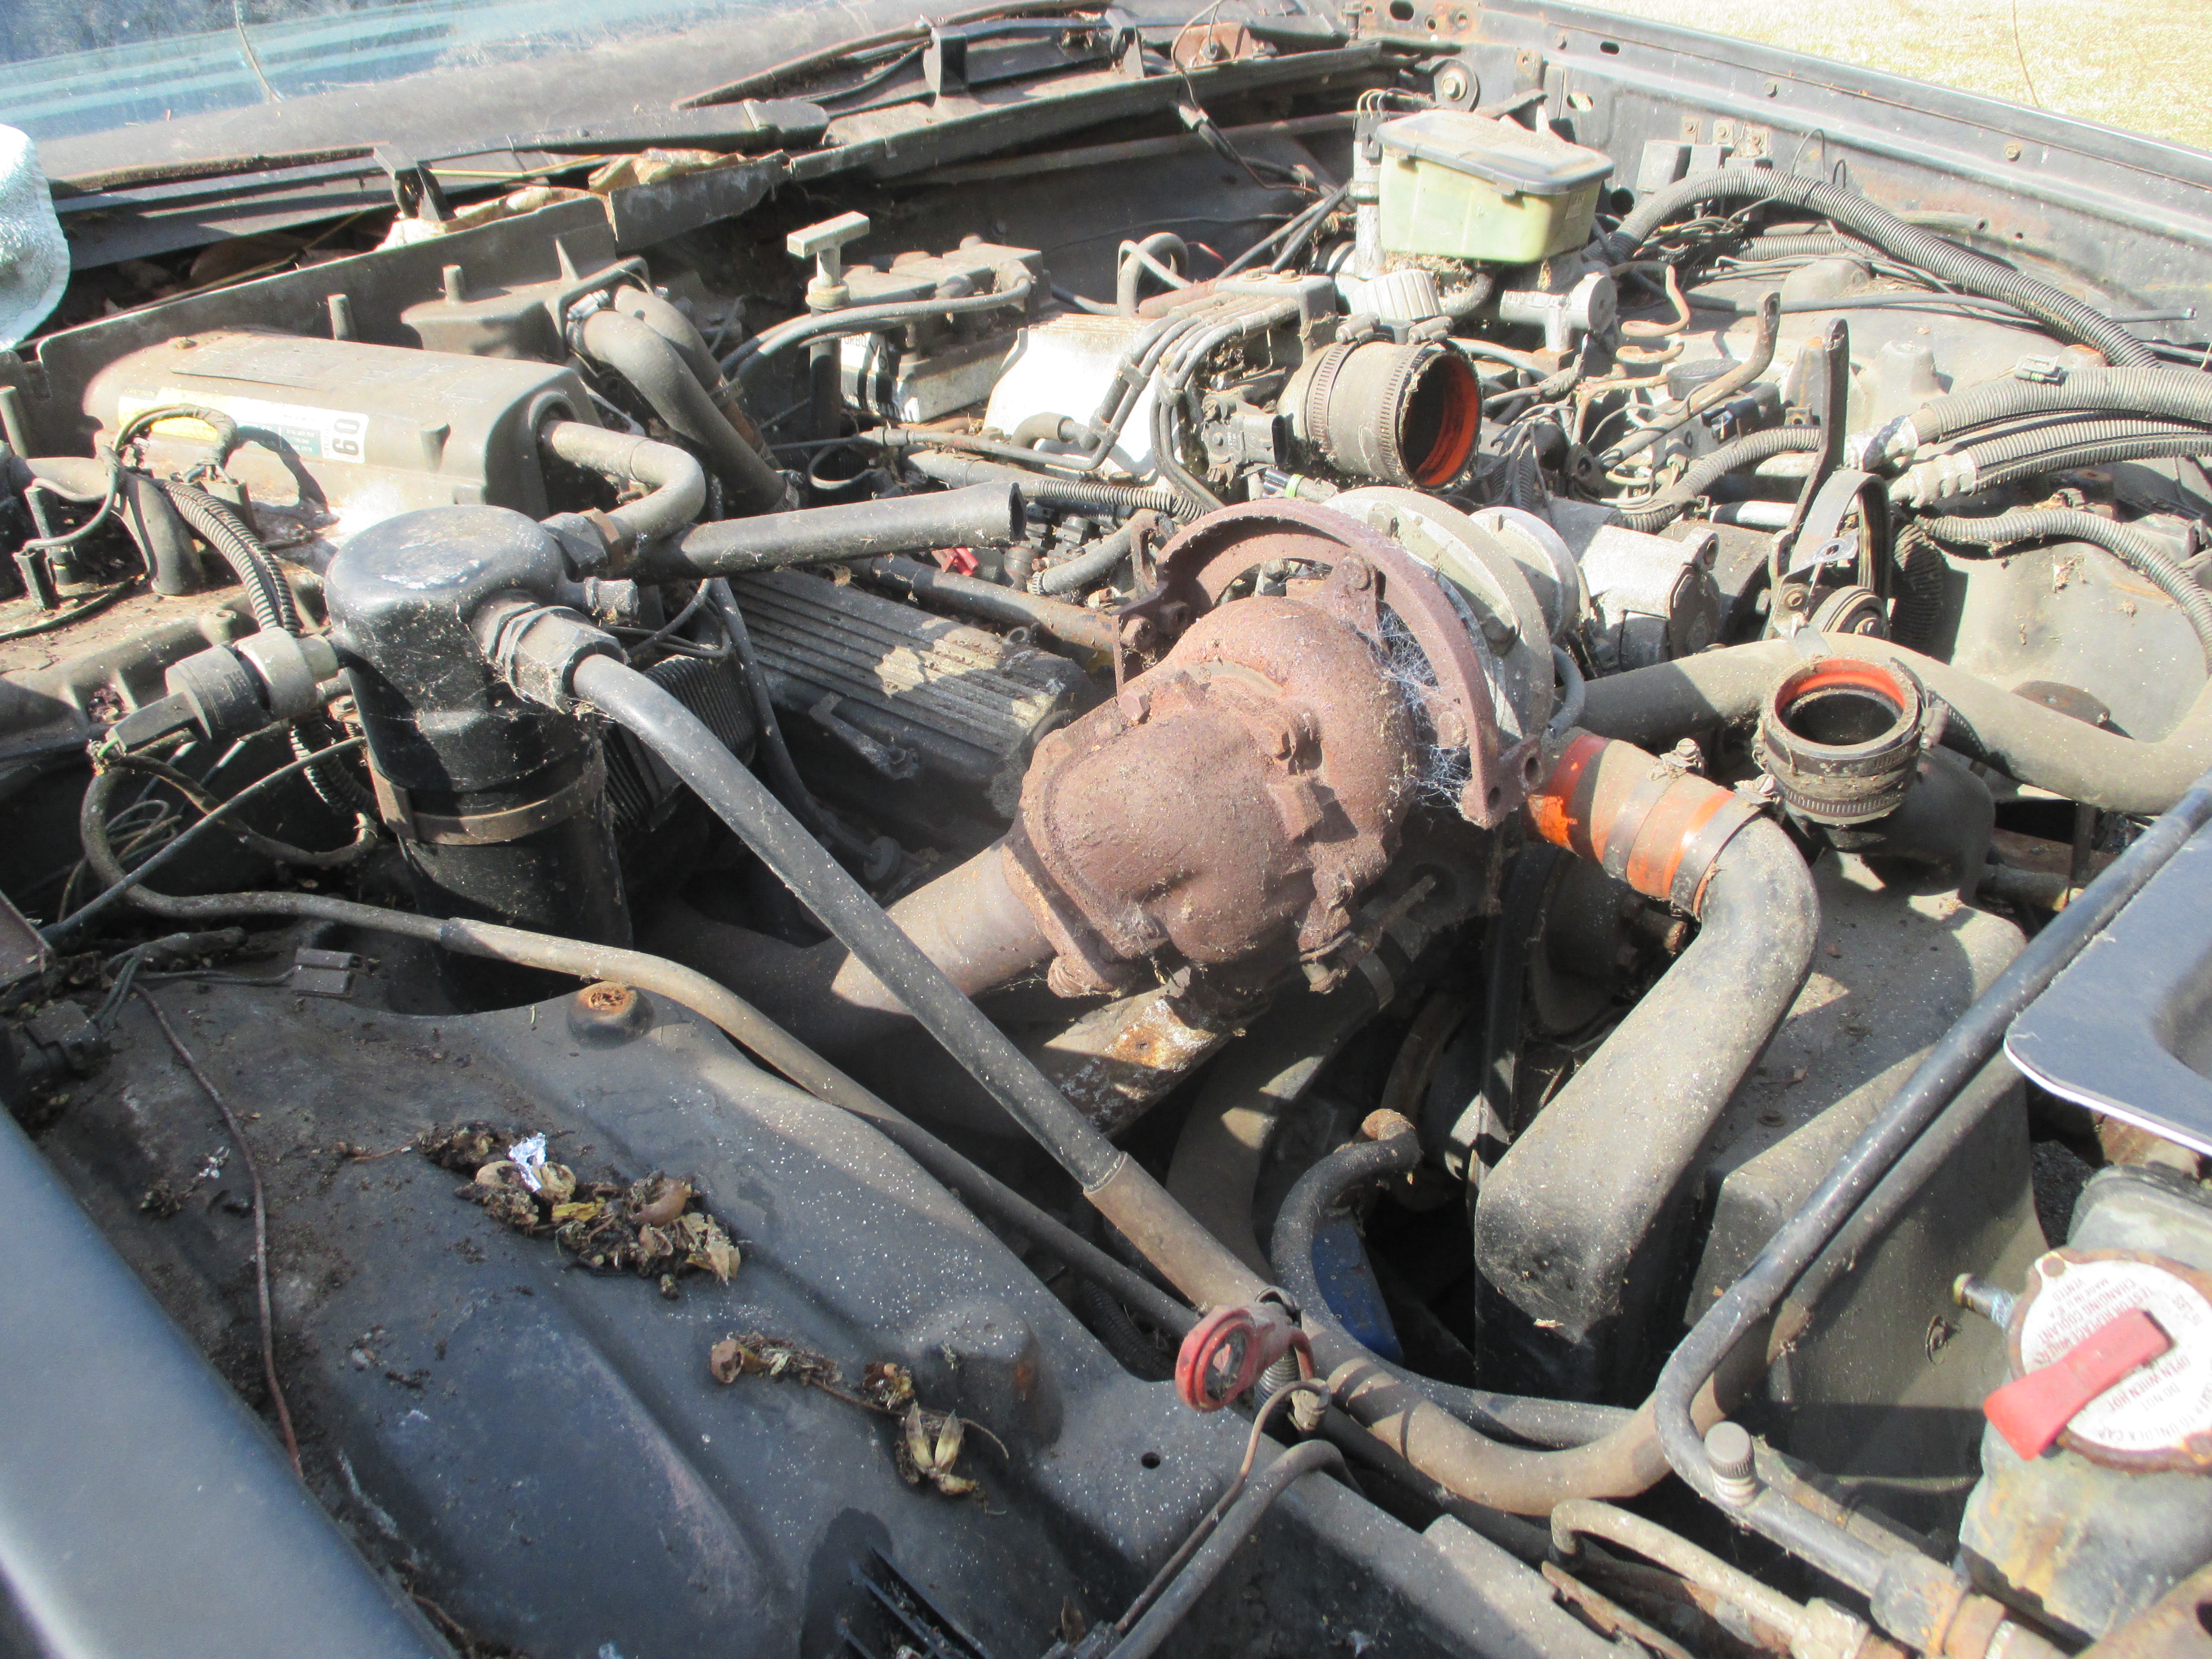

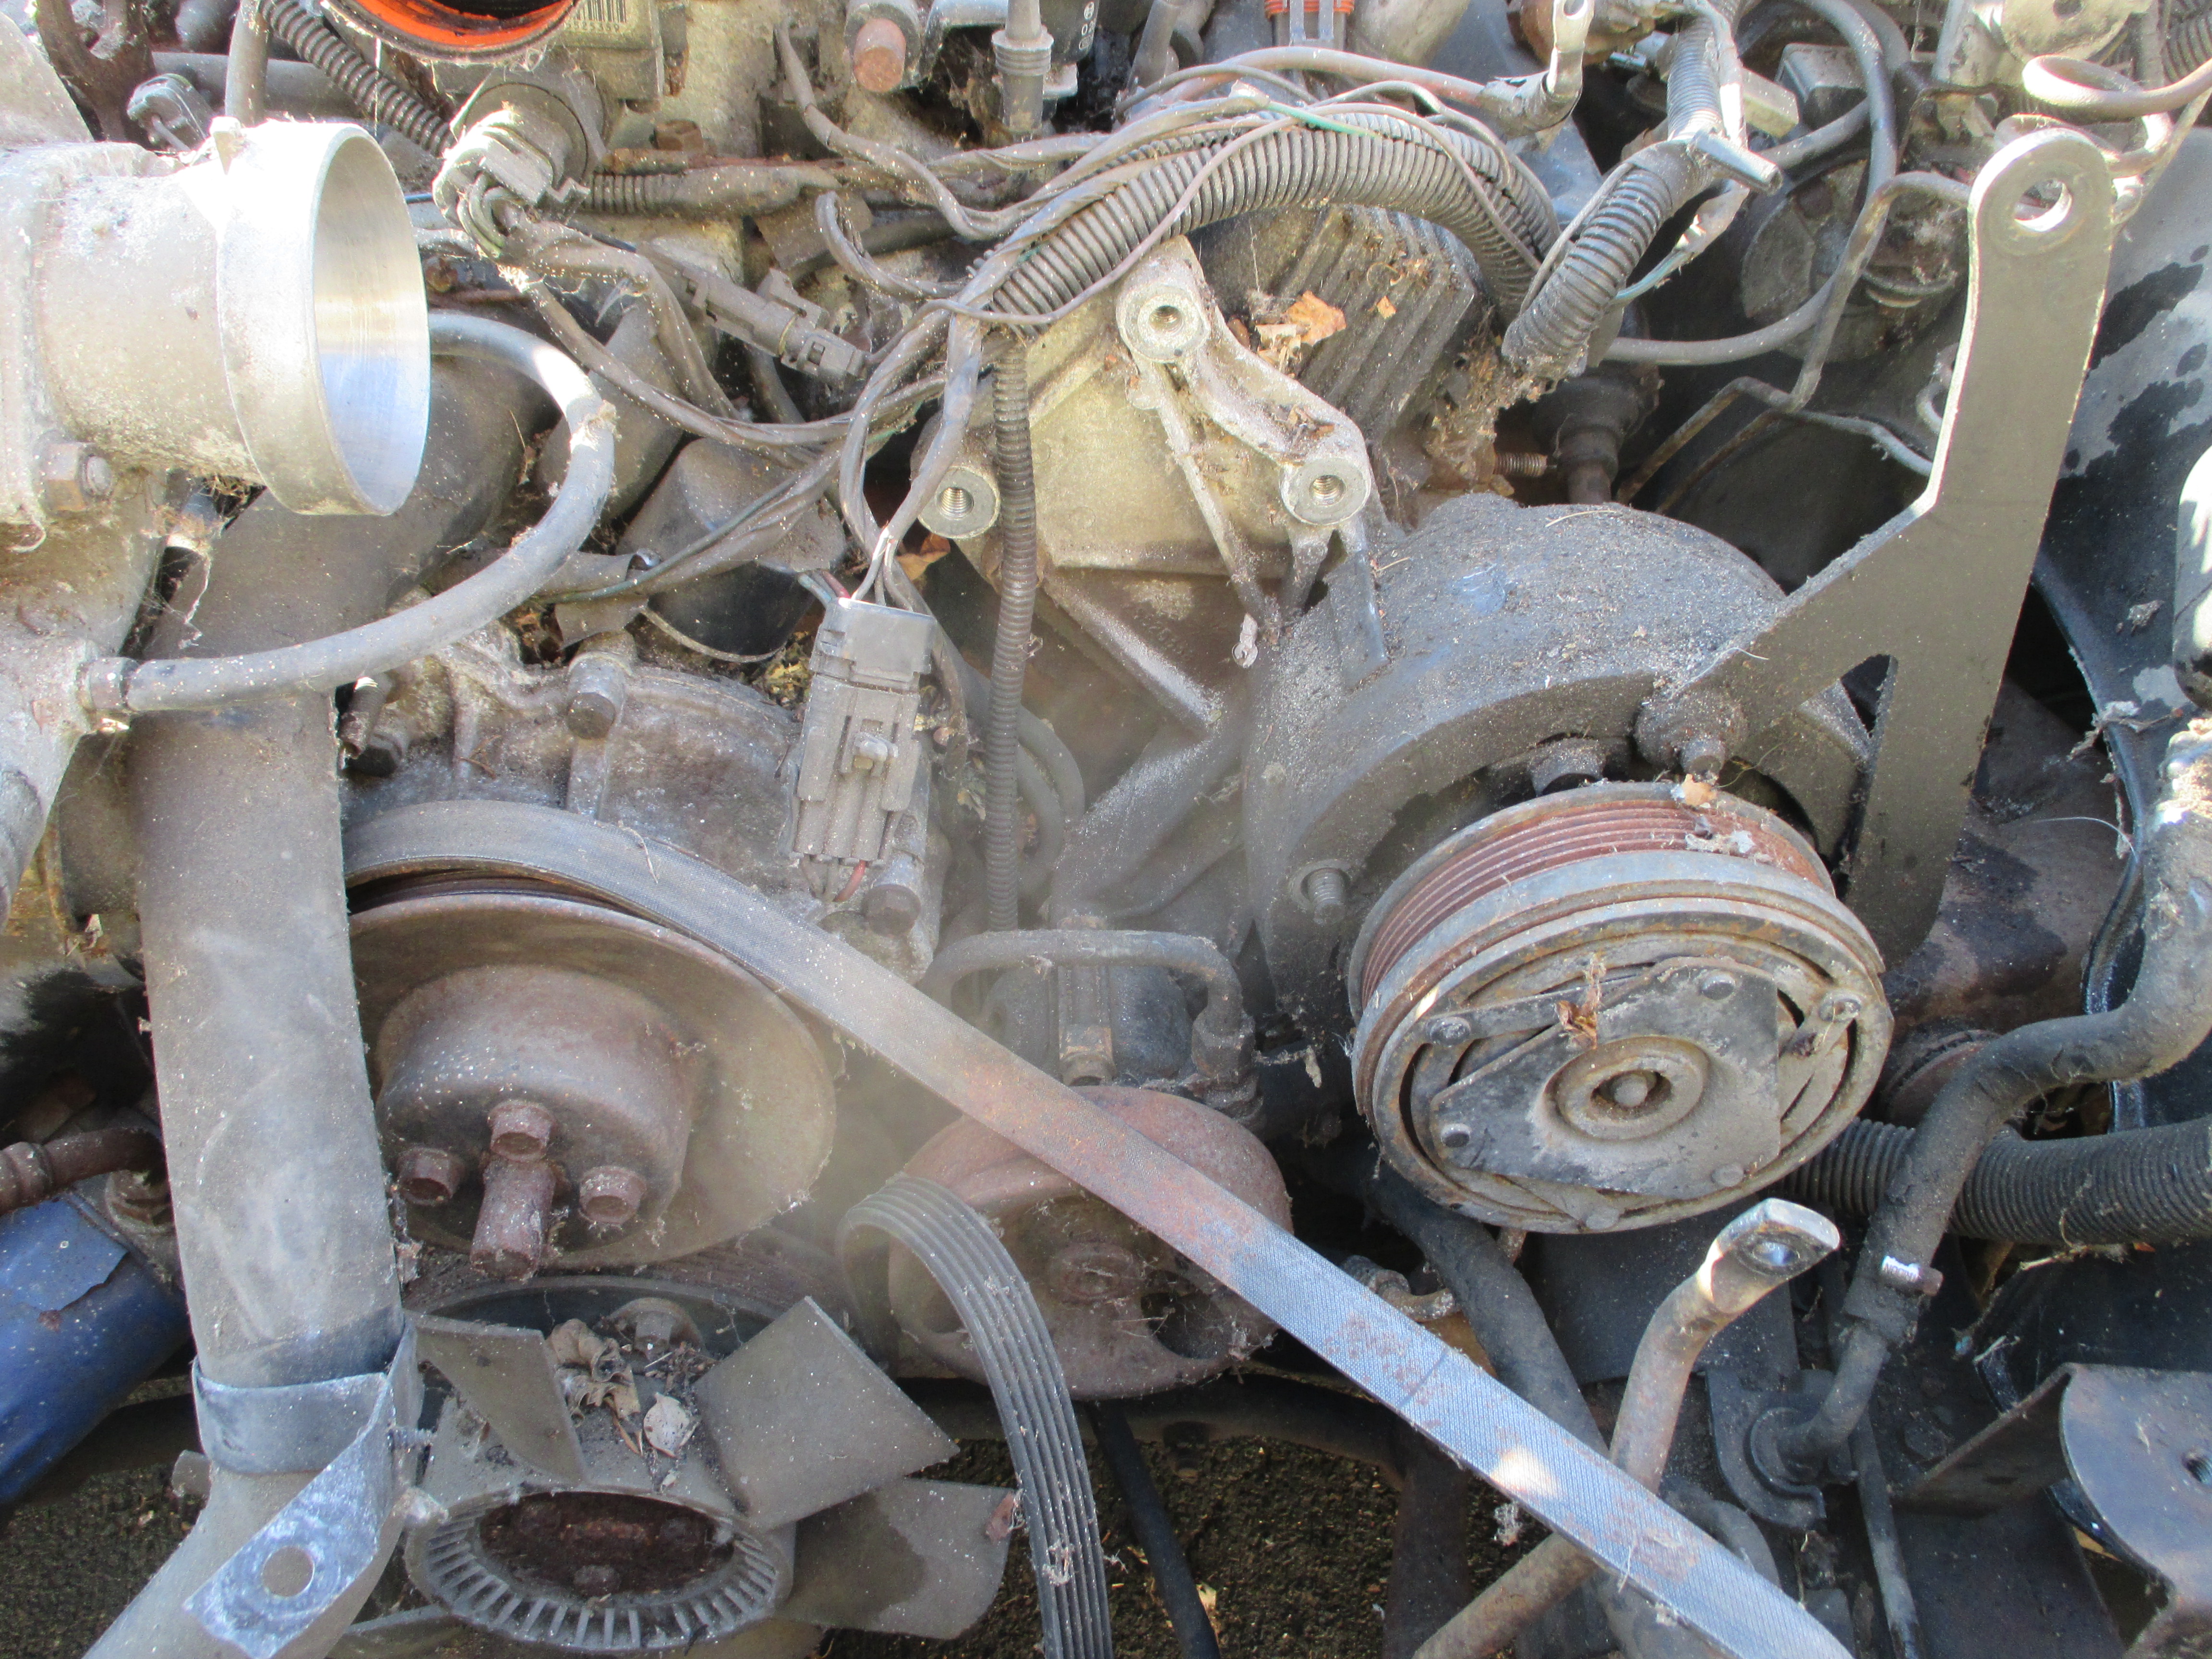
If you look closely you can see the original parts label is still on the driver’s side head
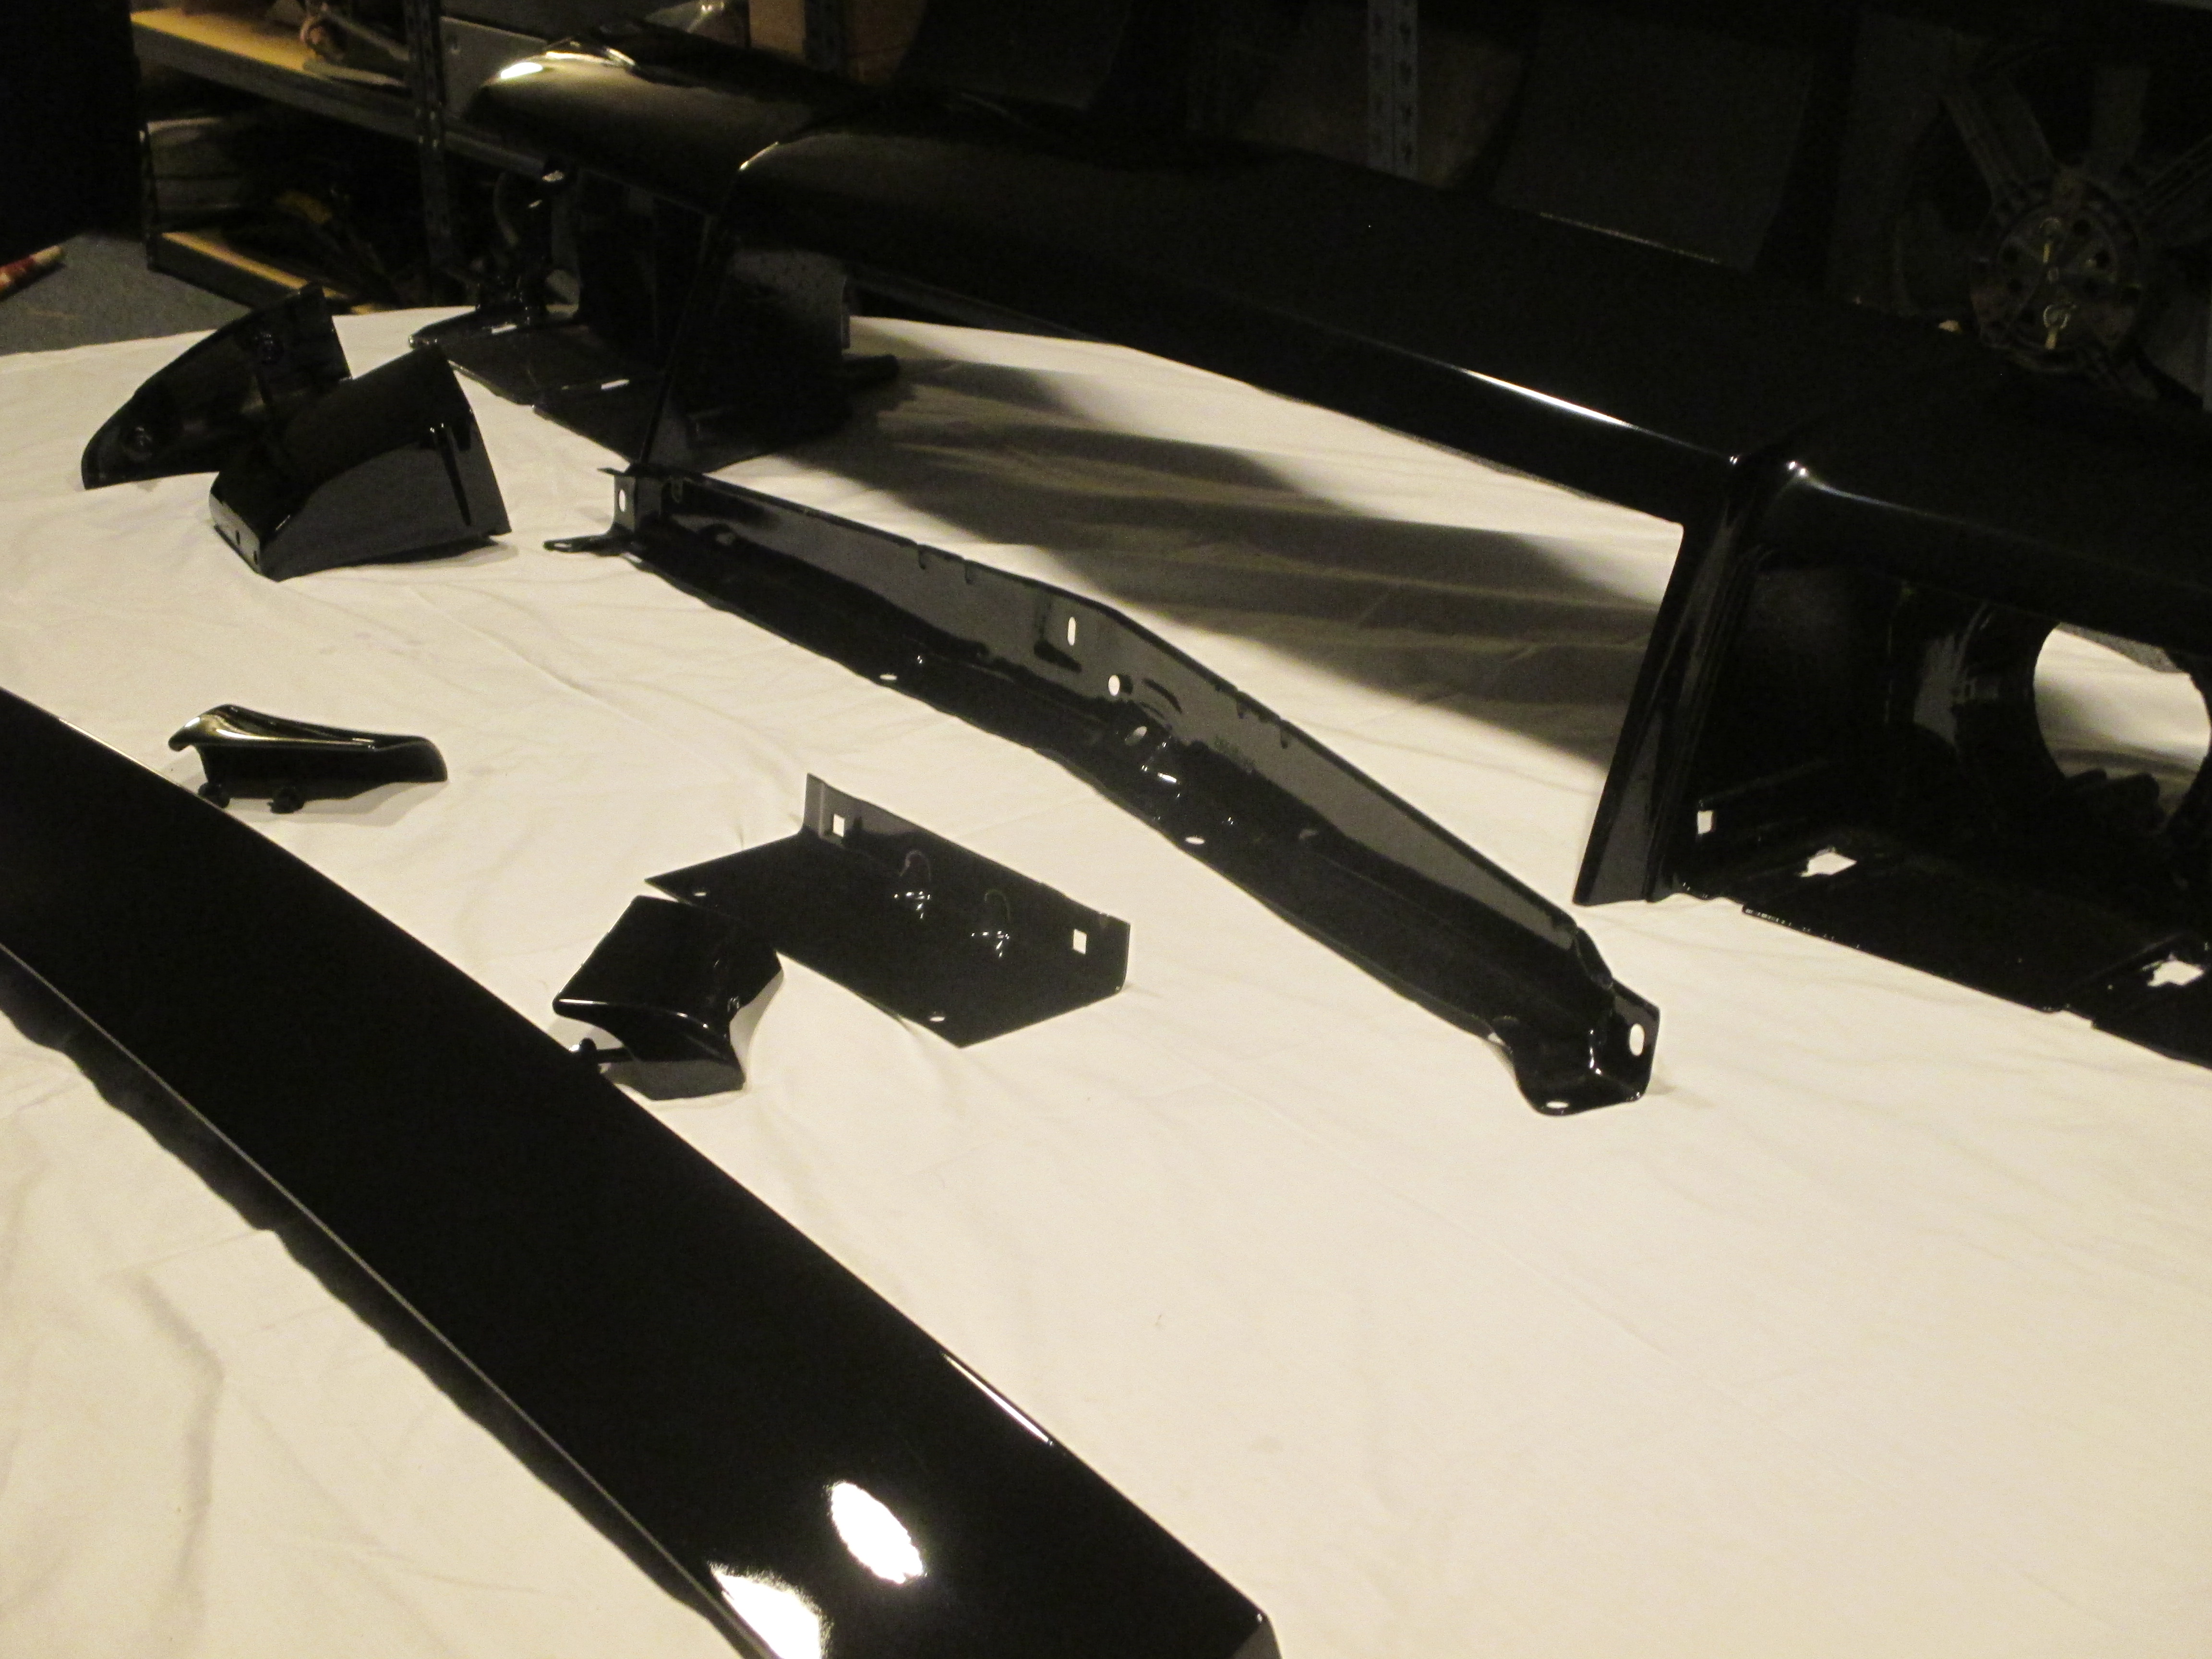
A Grand National has 26 parts that need to be painted. 19 of them are smaller removable parts that can be easily removed and painted. Is seems premature to start painting parts so soon but at the end it saves a lot time.
Some of these parts started out rough
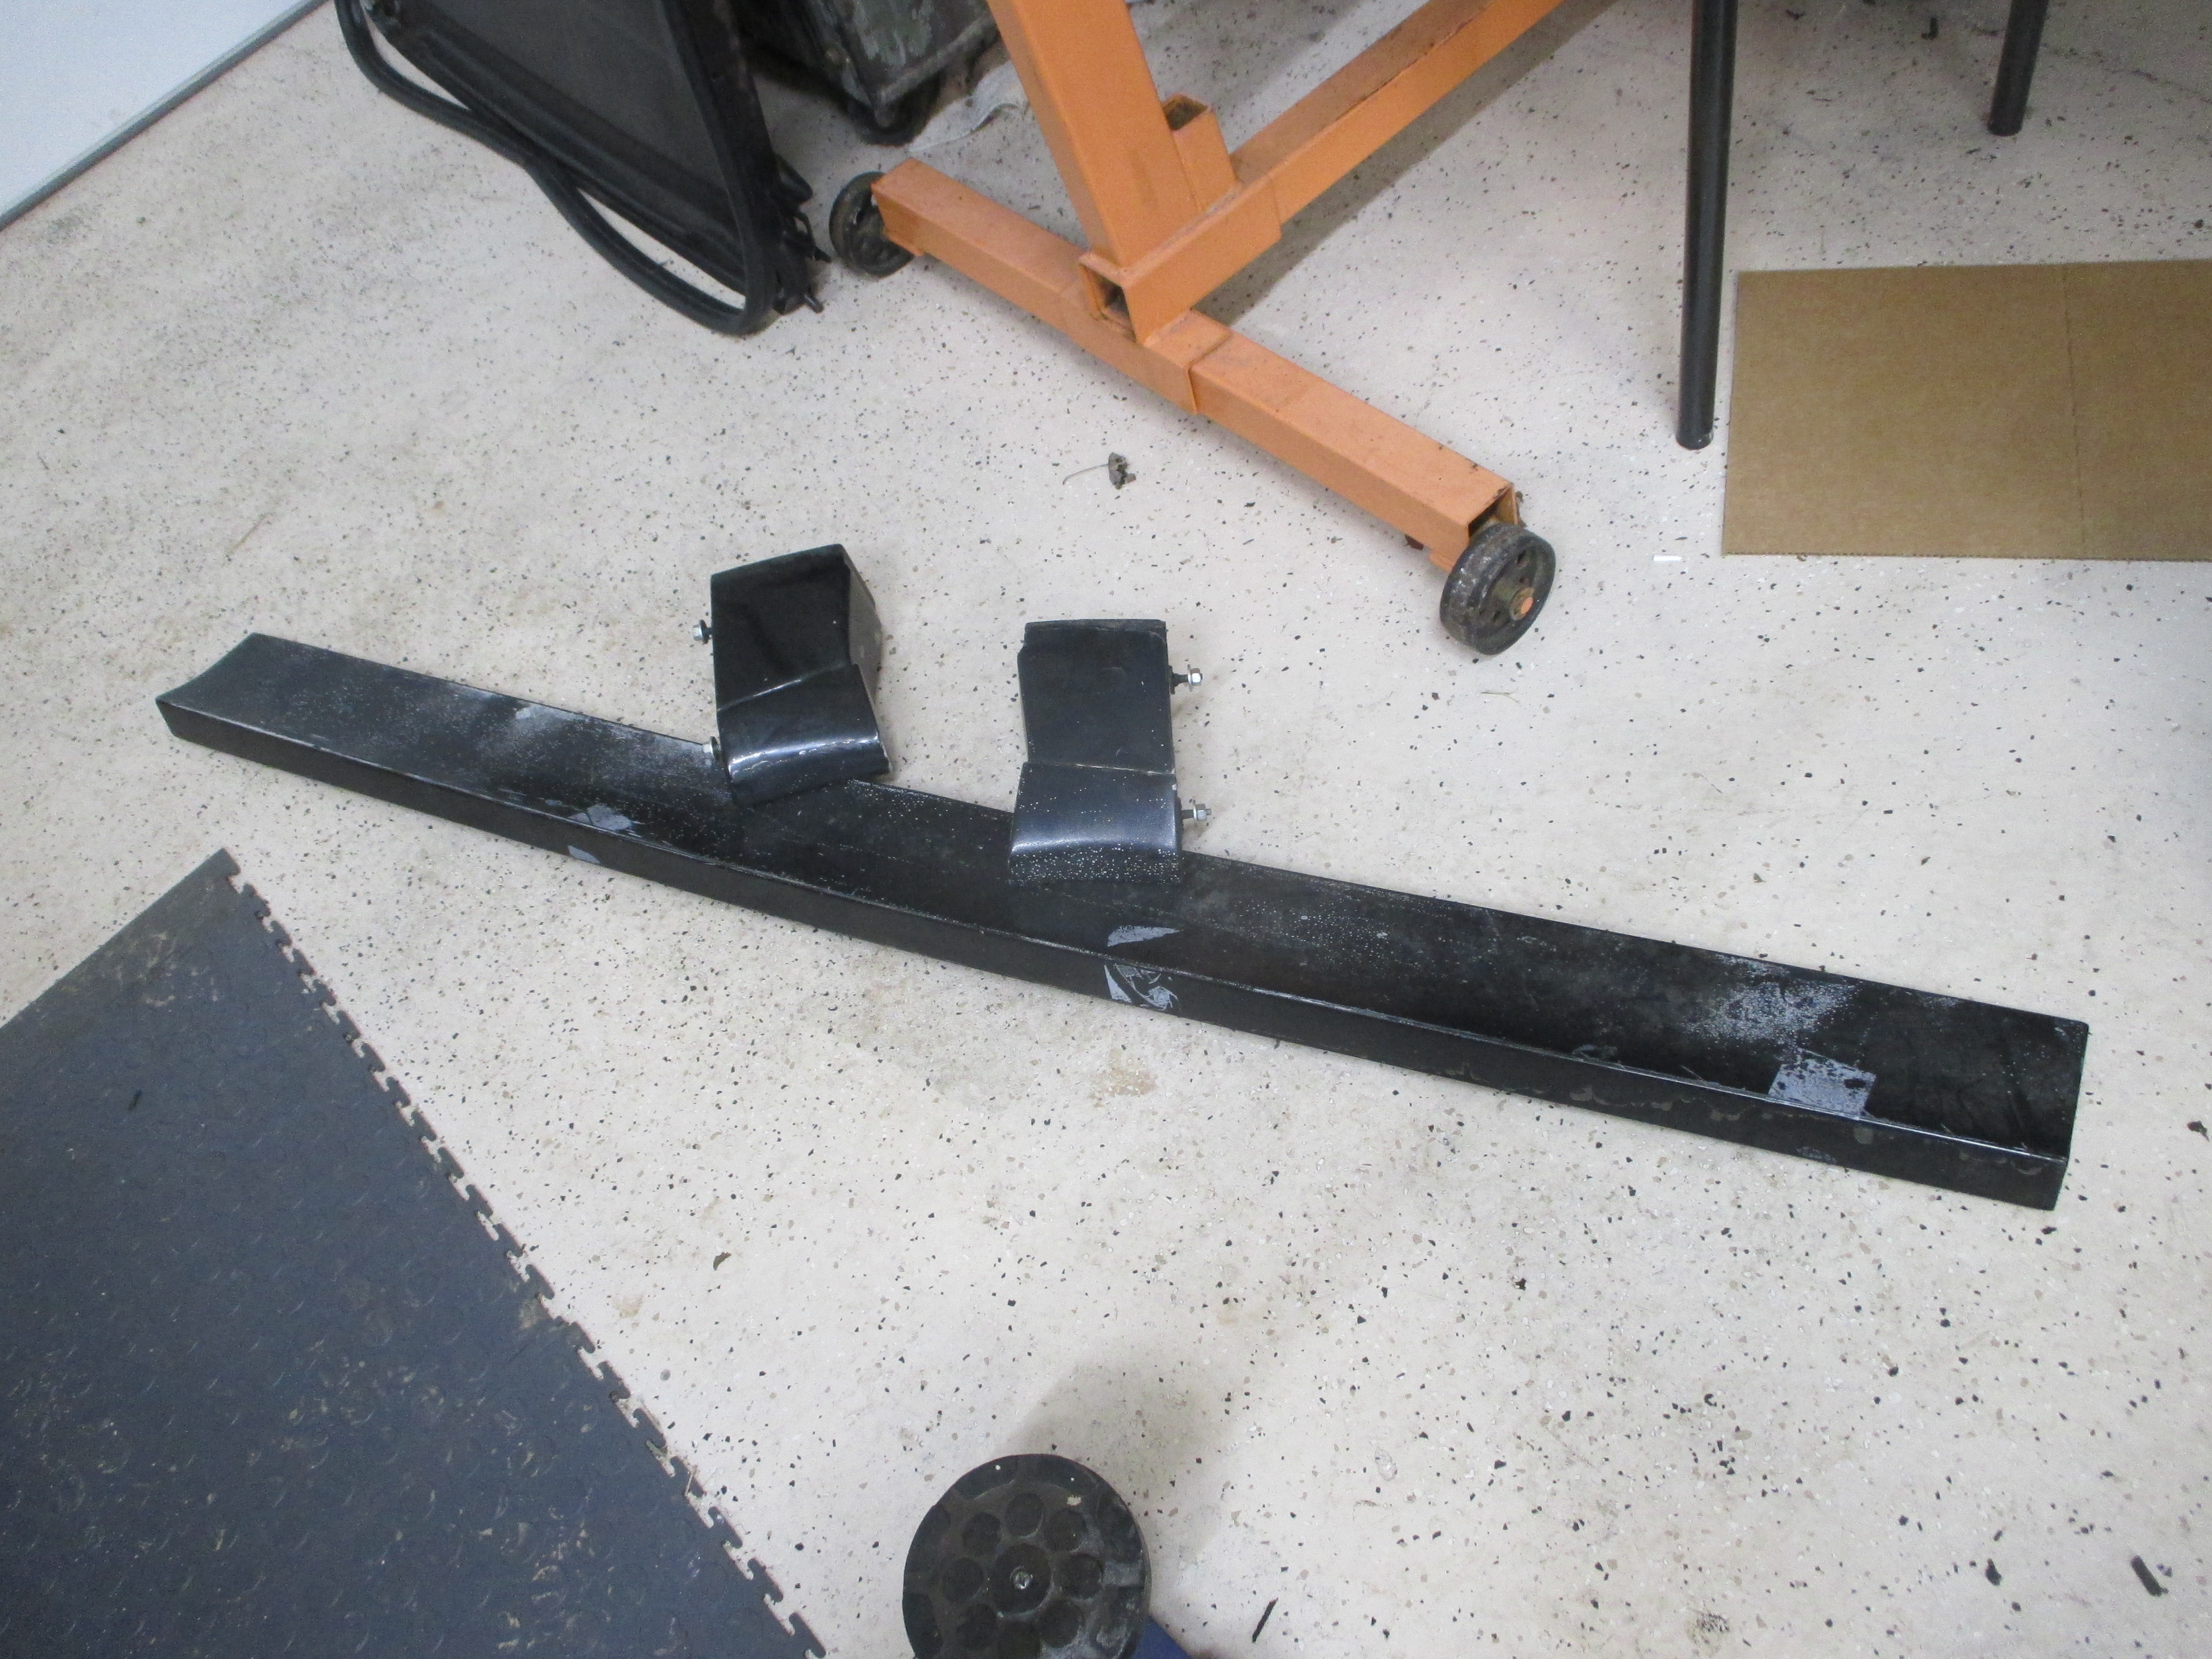
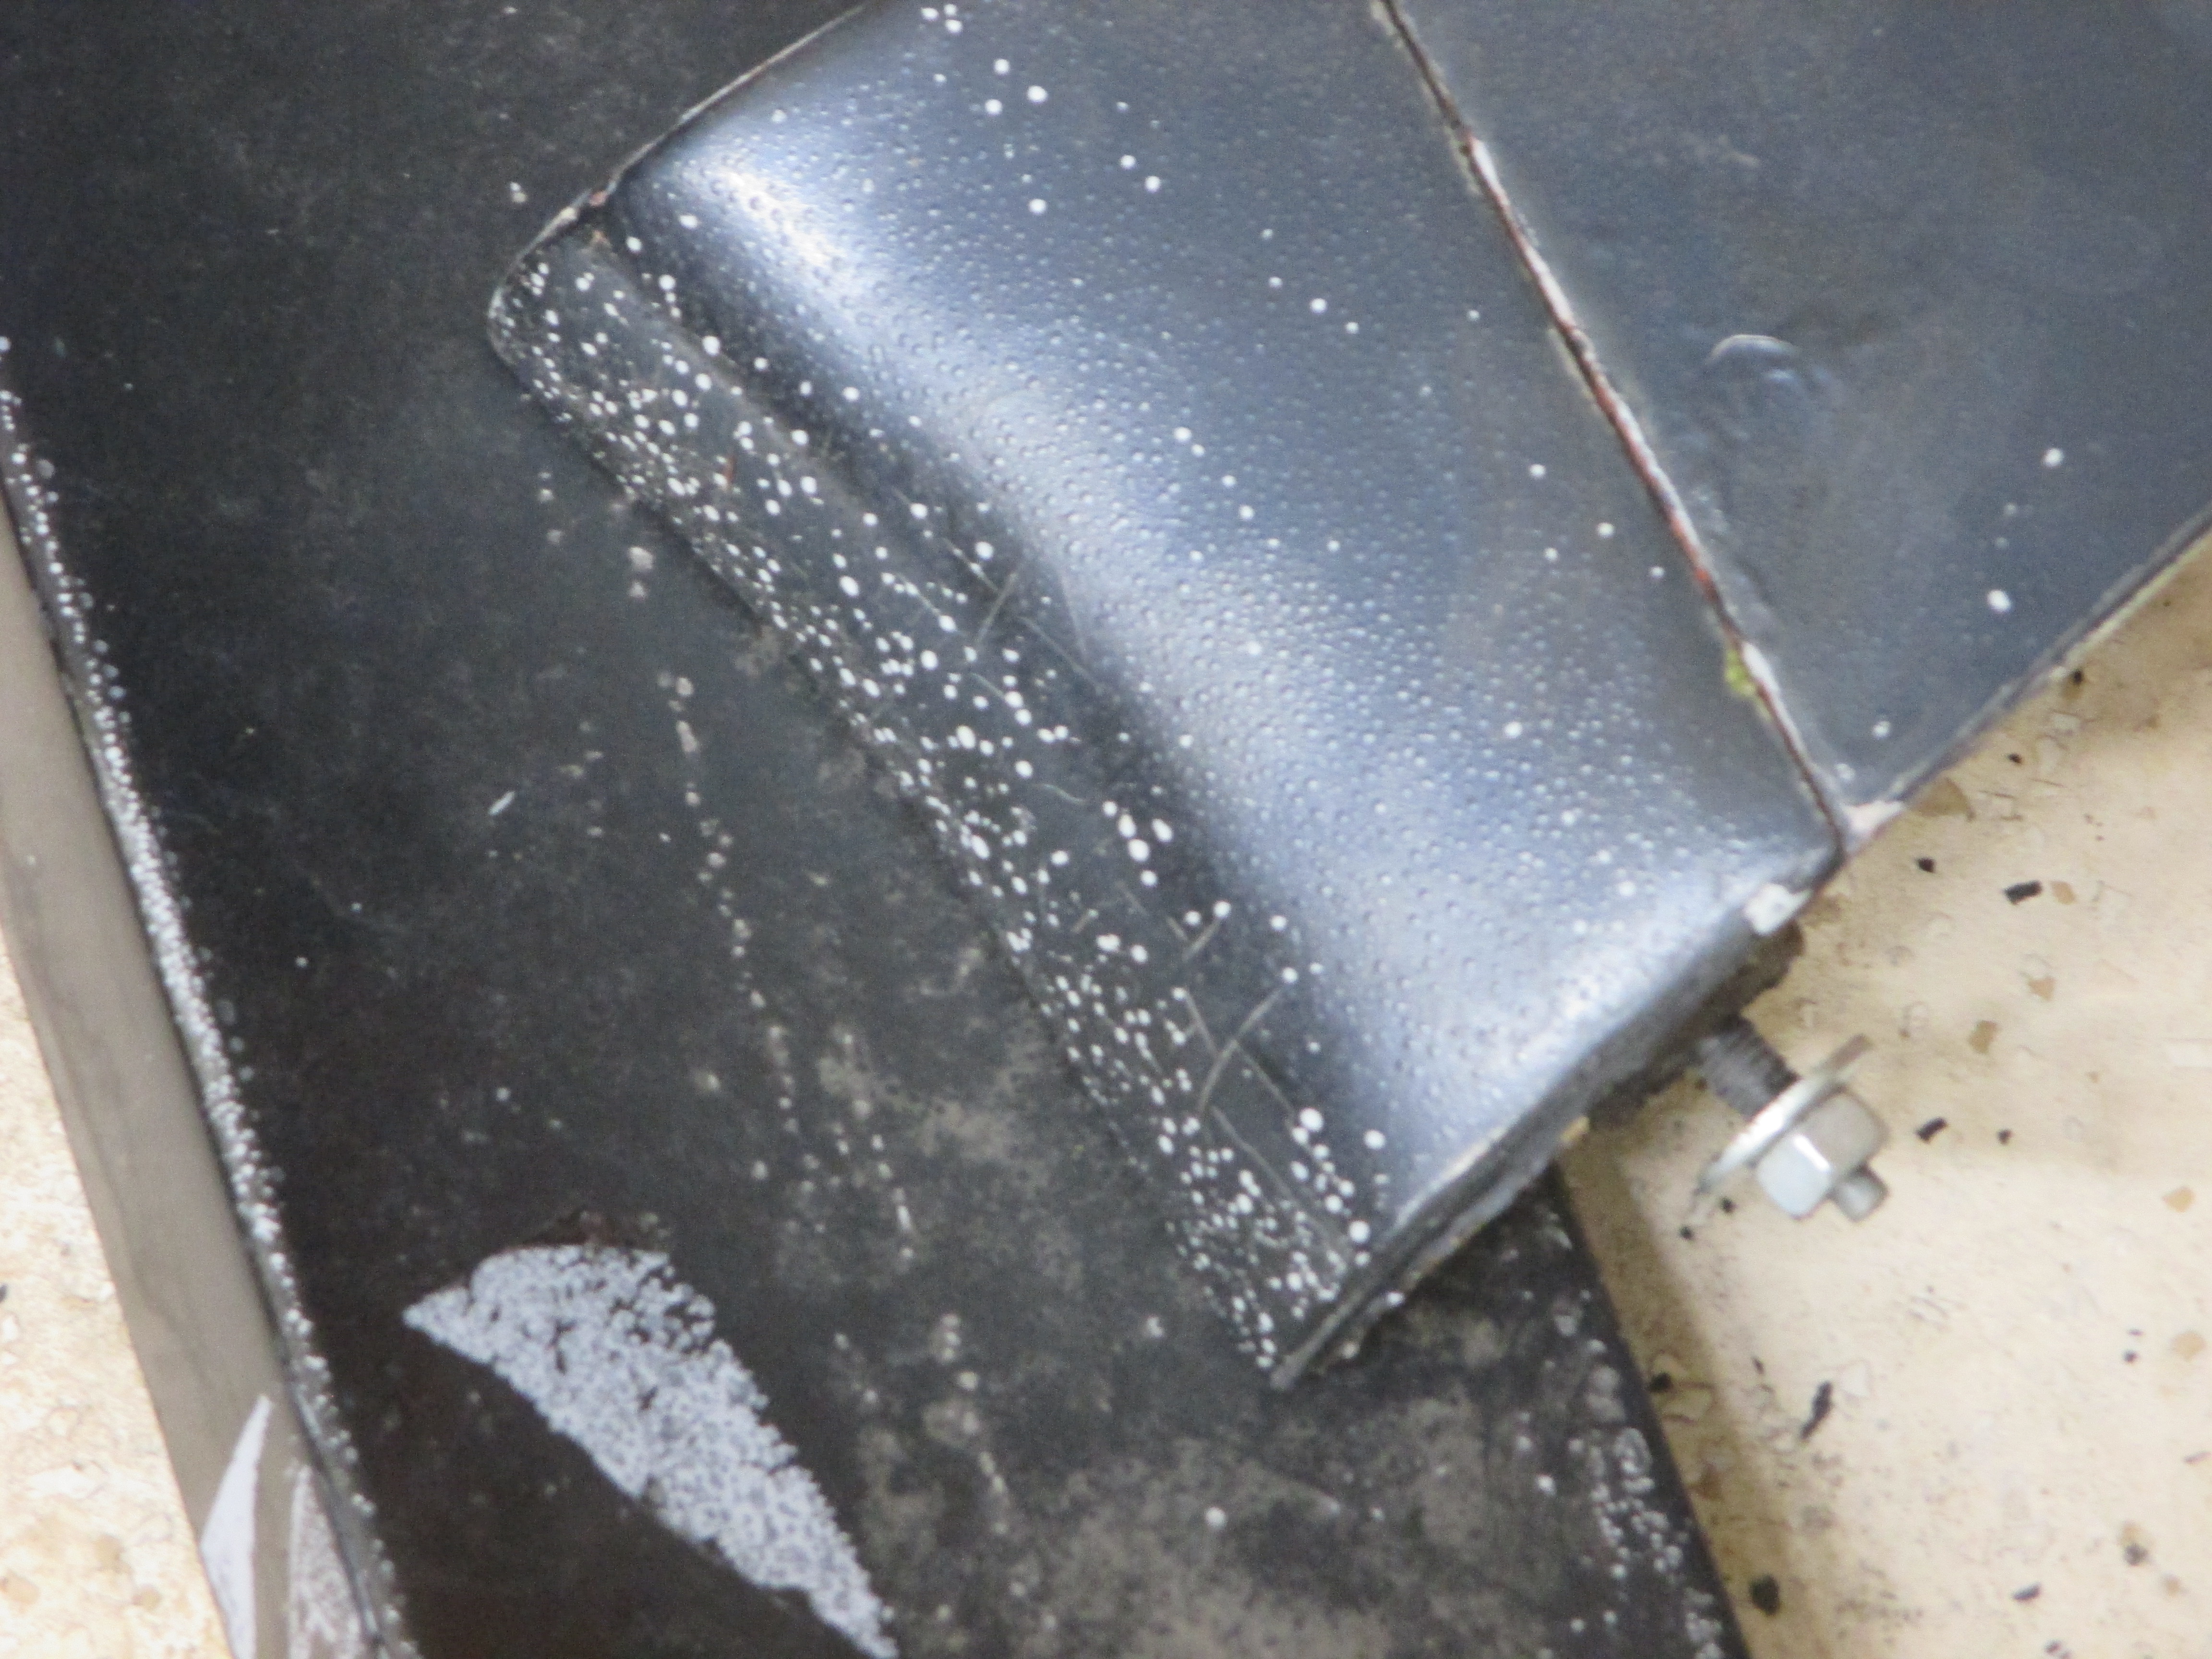
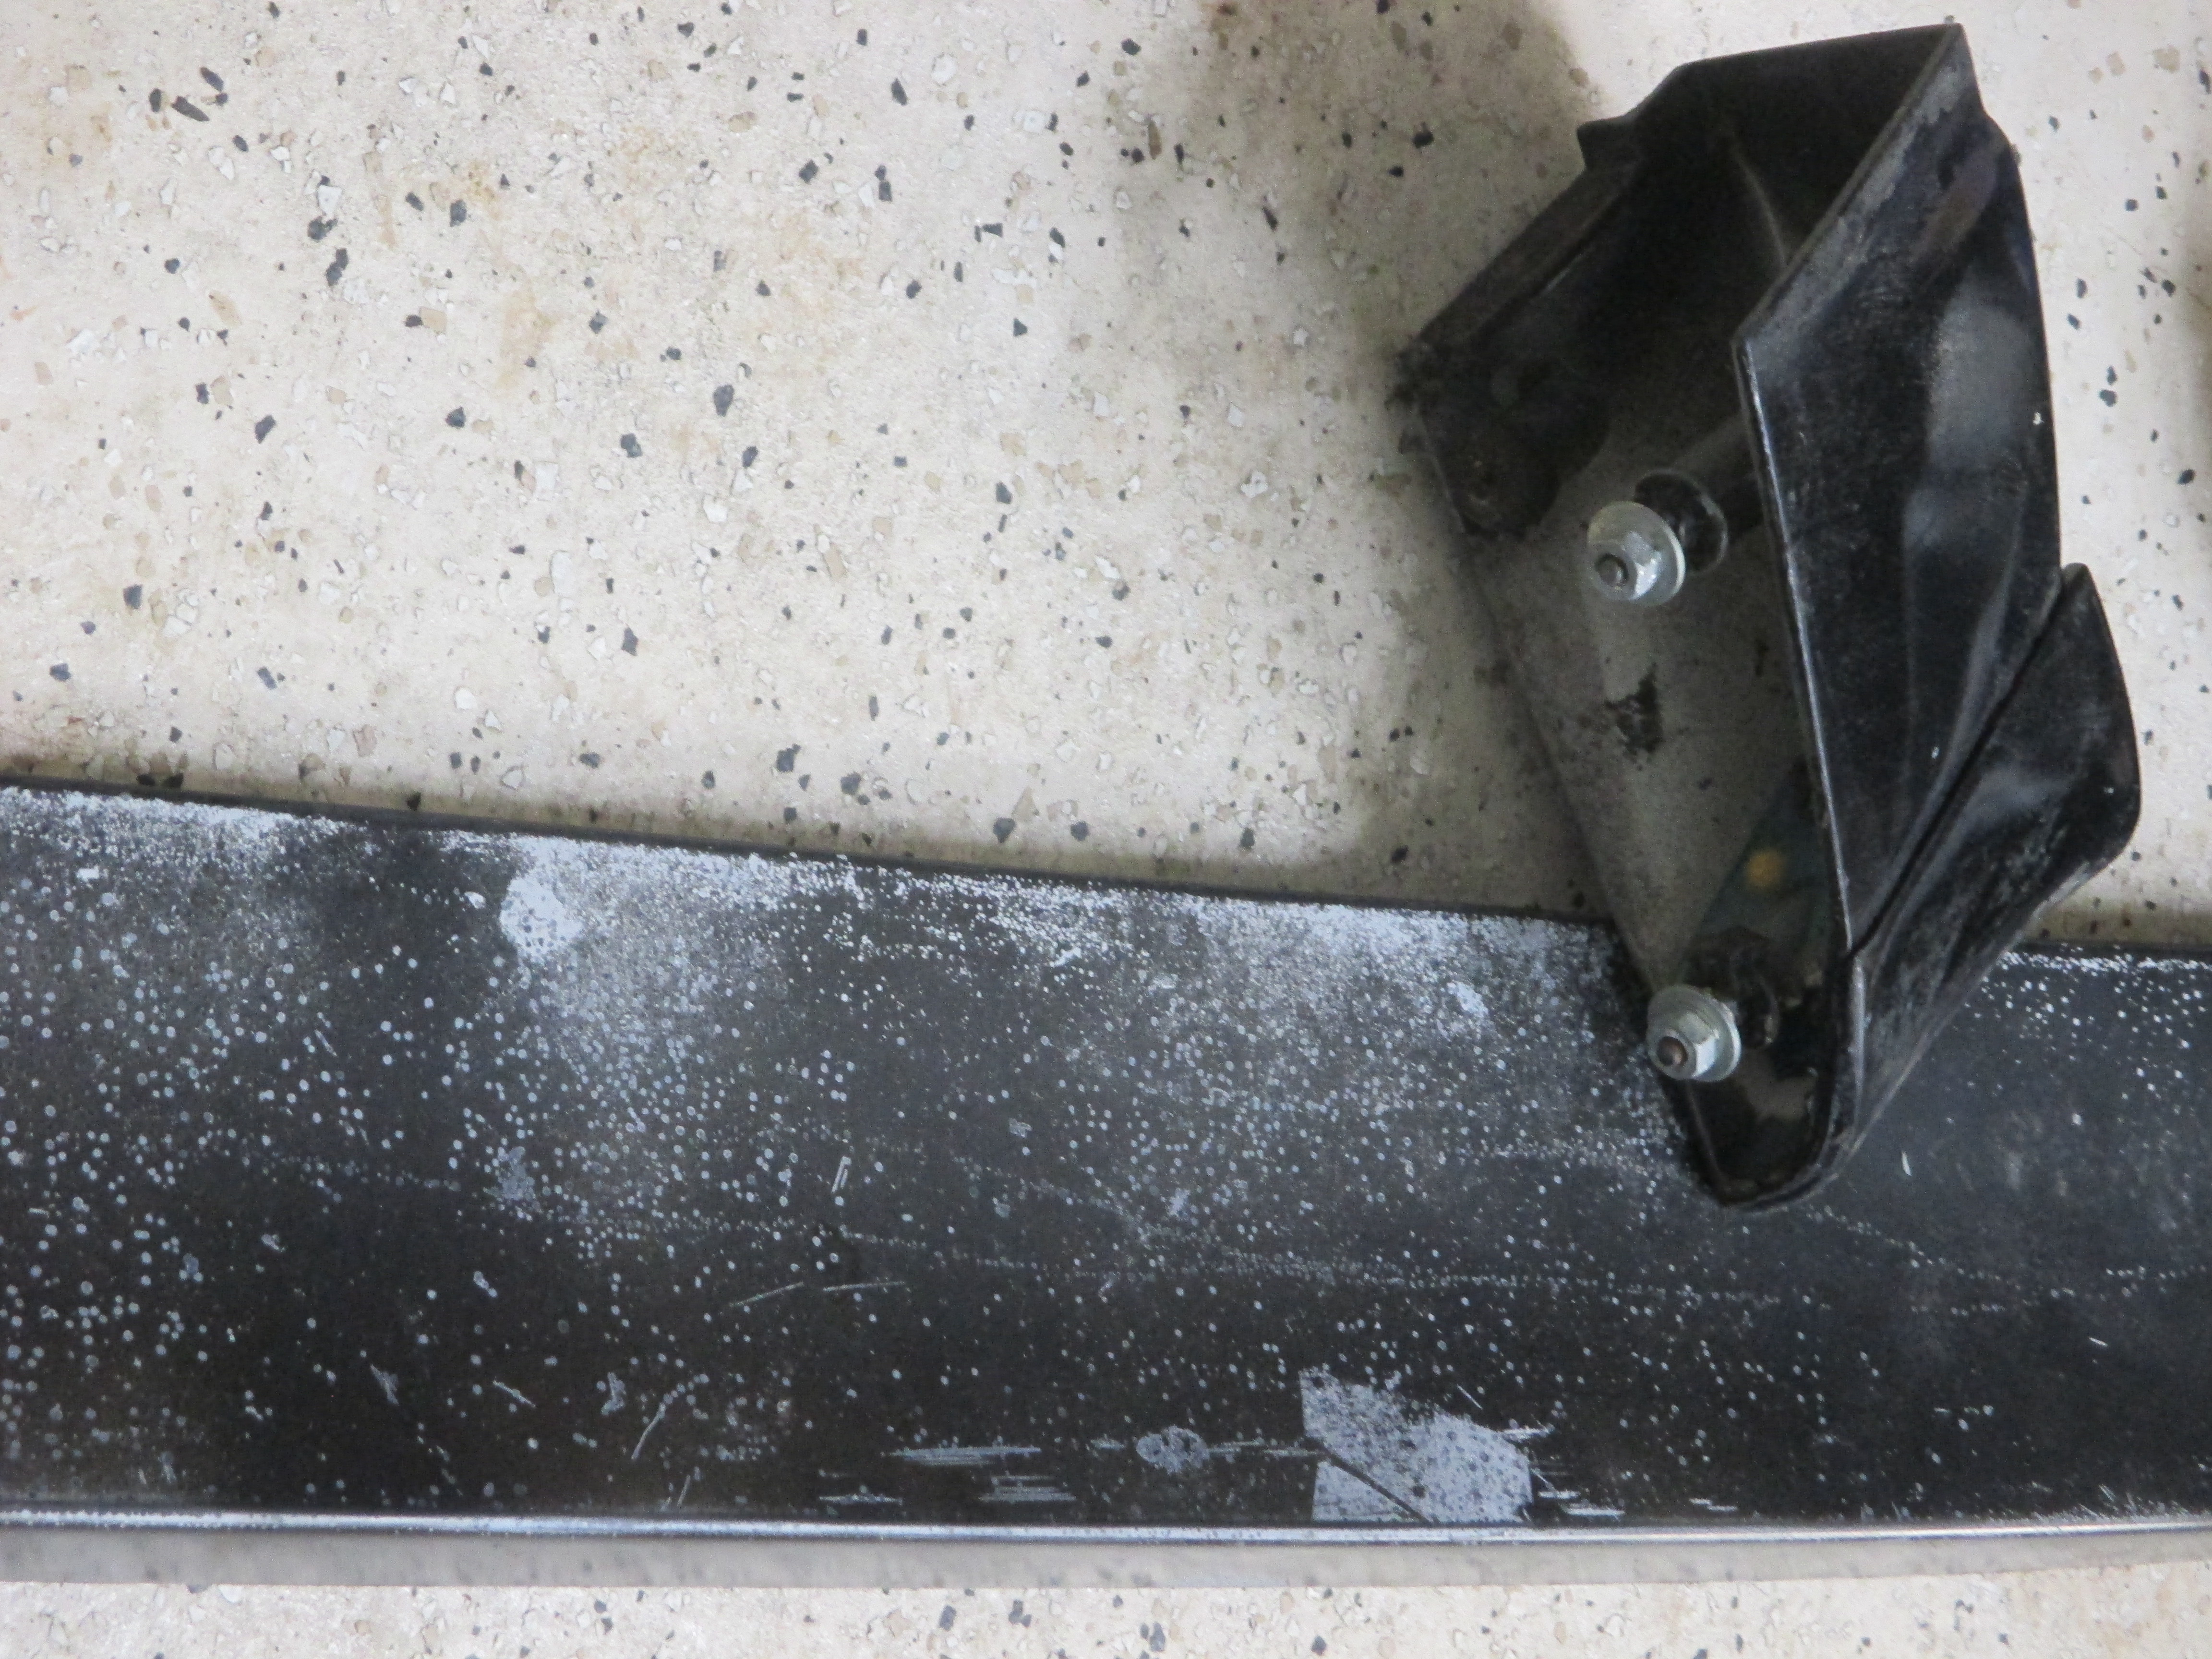
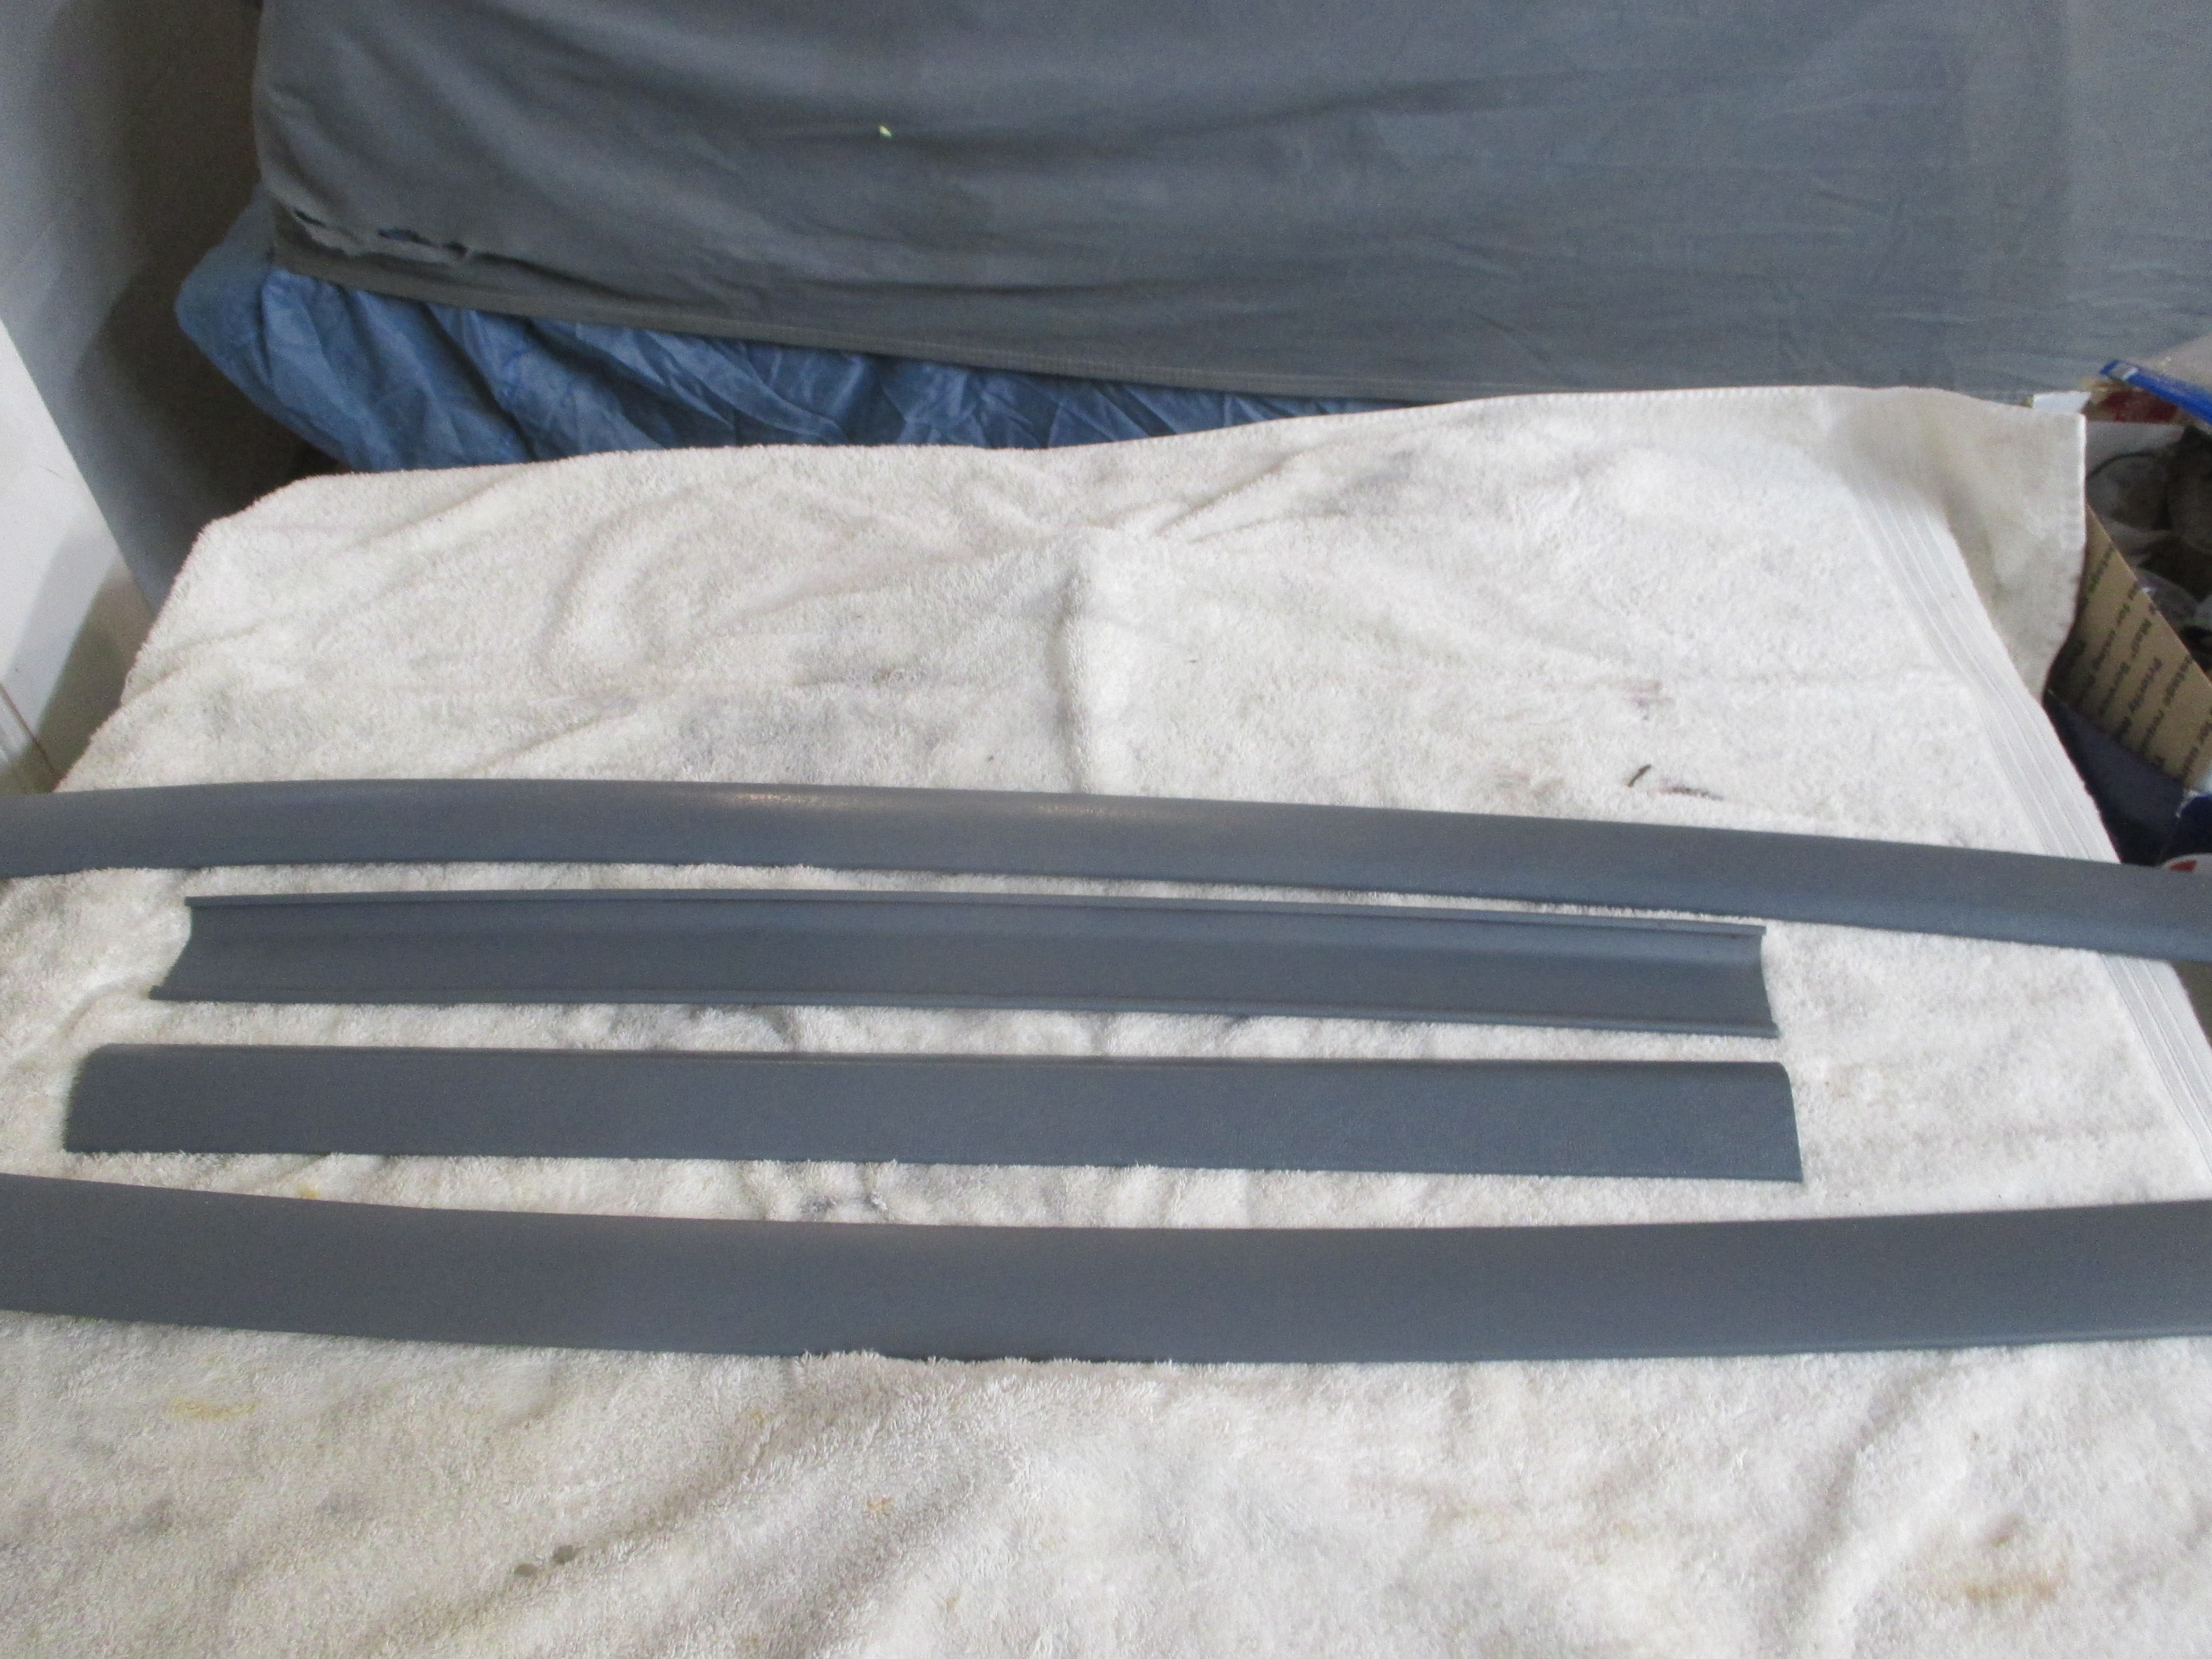
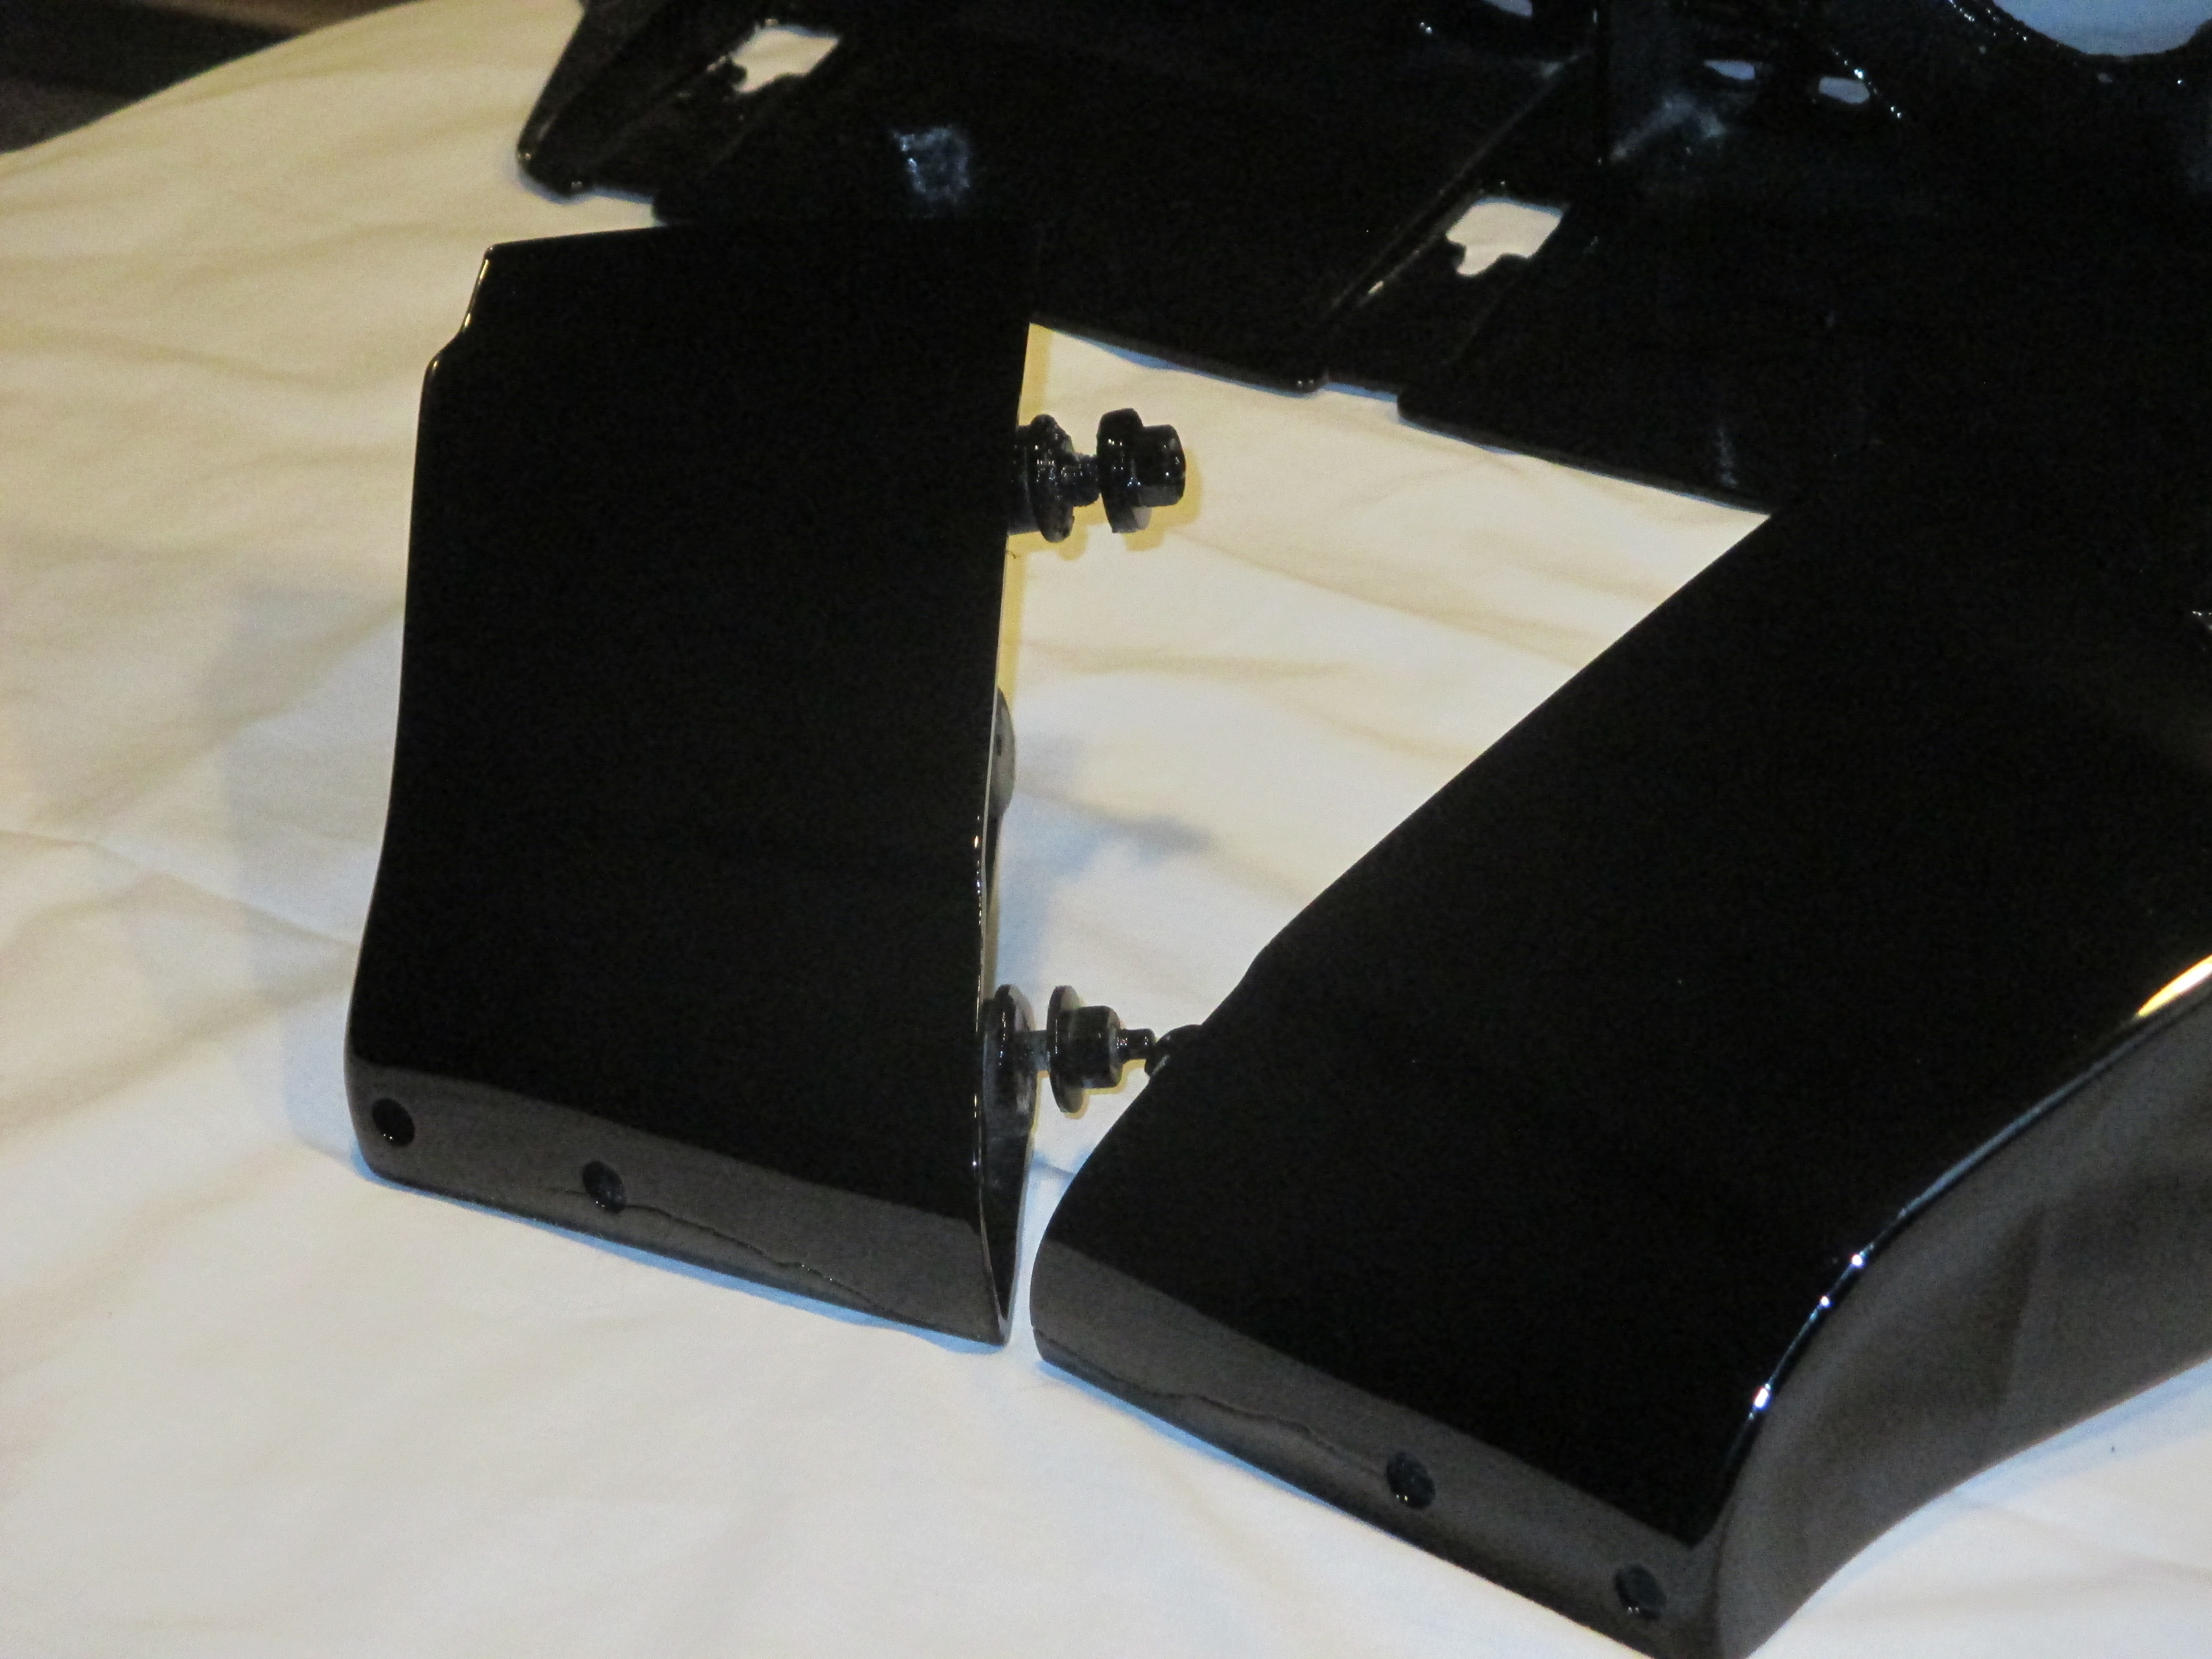
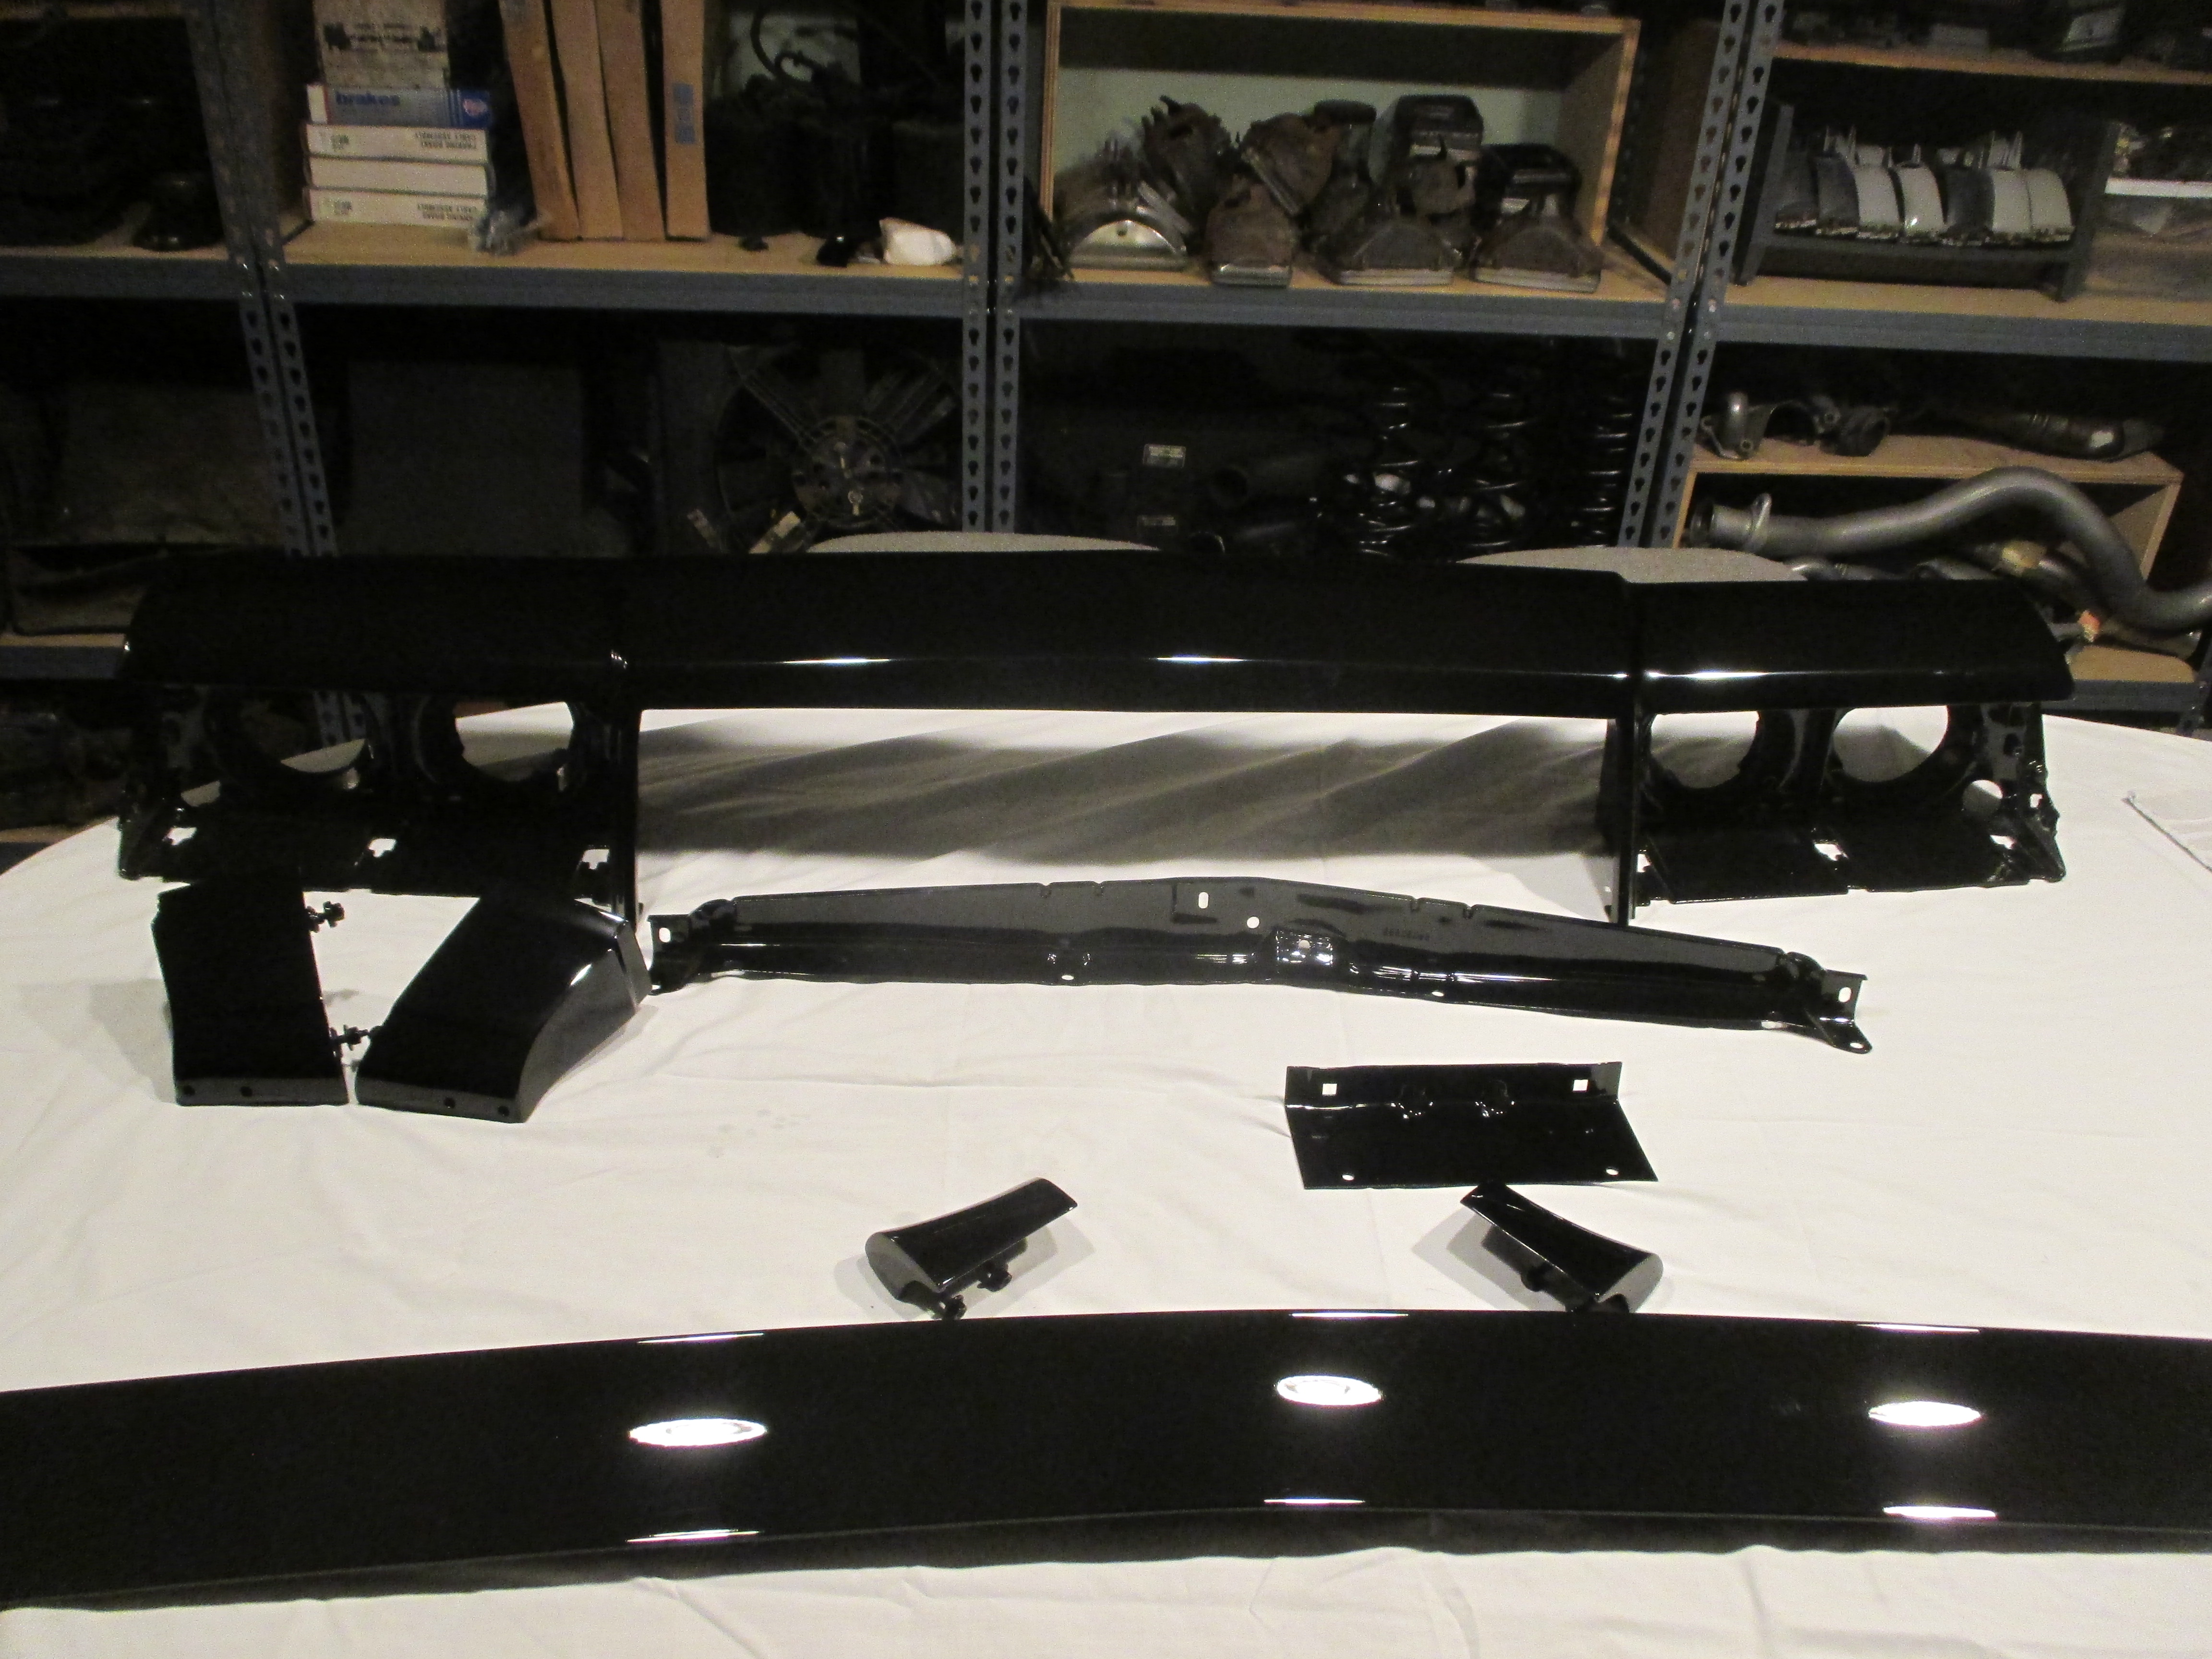
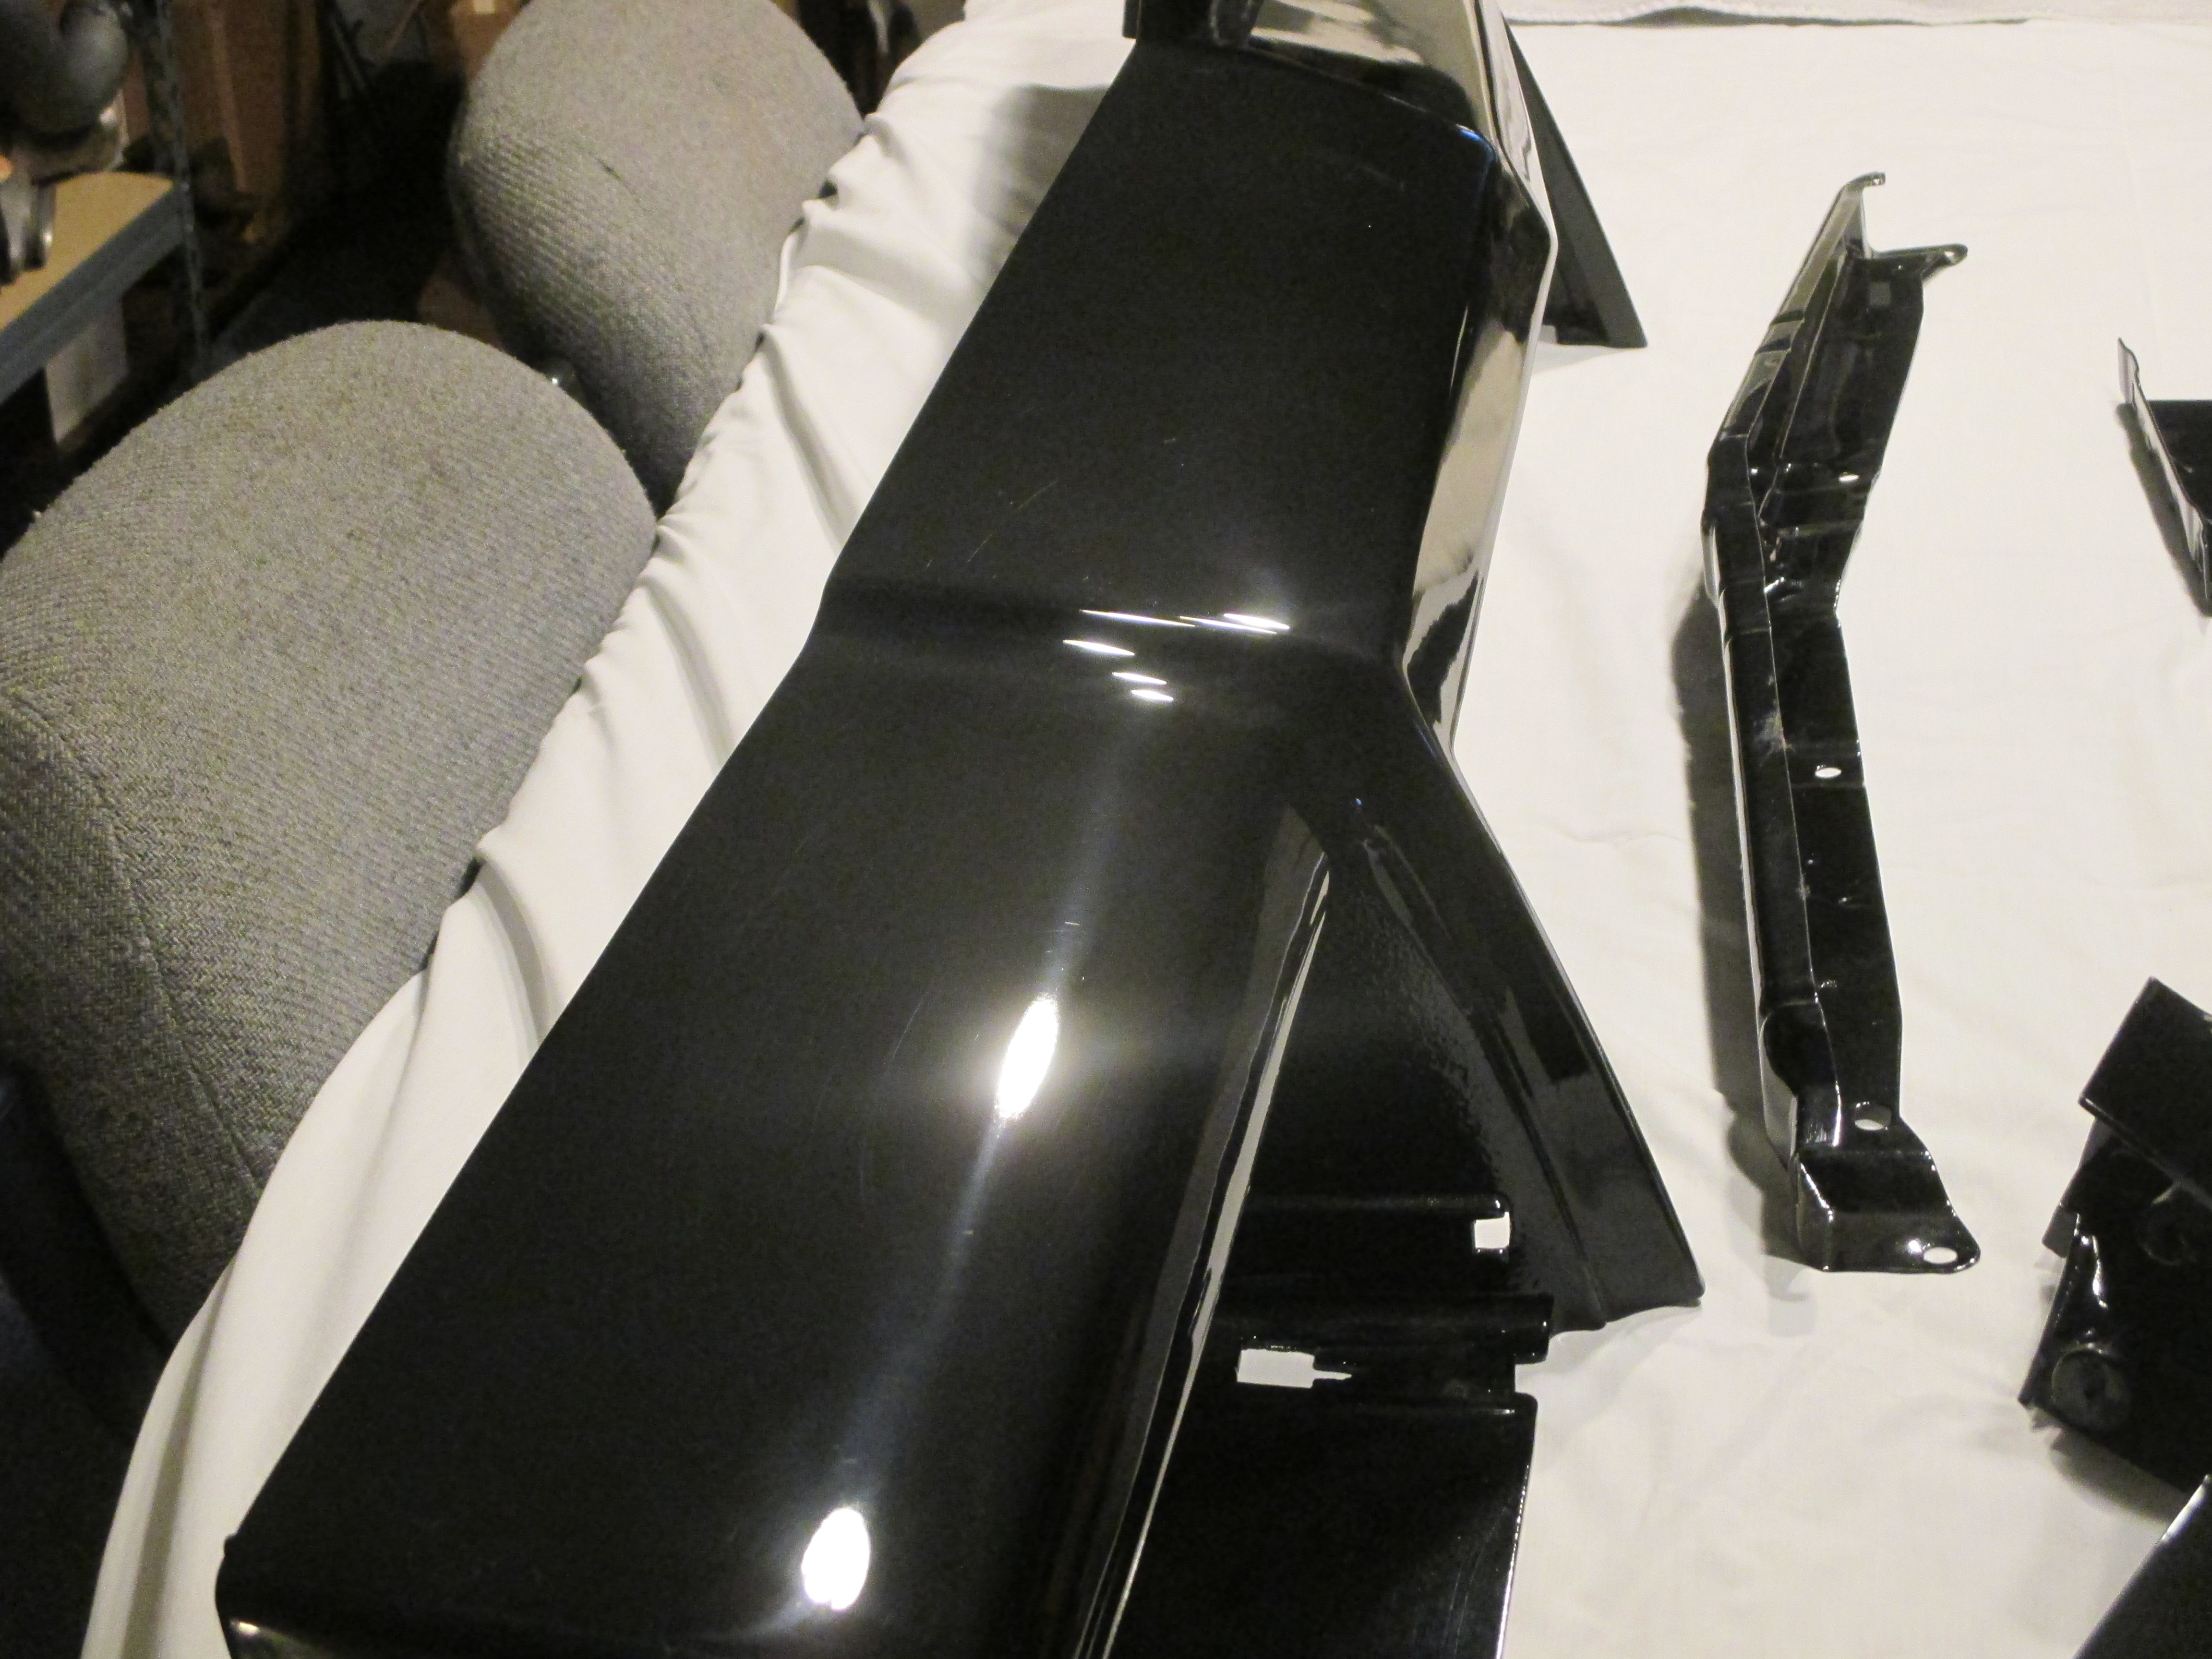
The are some of the parts for this build that are painted and ready to go:
- Header panel
- header panel brace
- 3 piece spoiler
- quarter extensions
- Front license plate holder

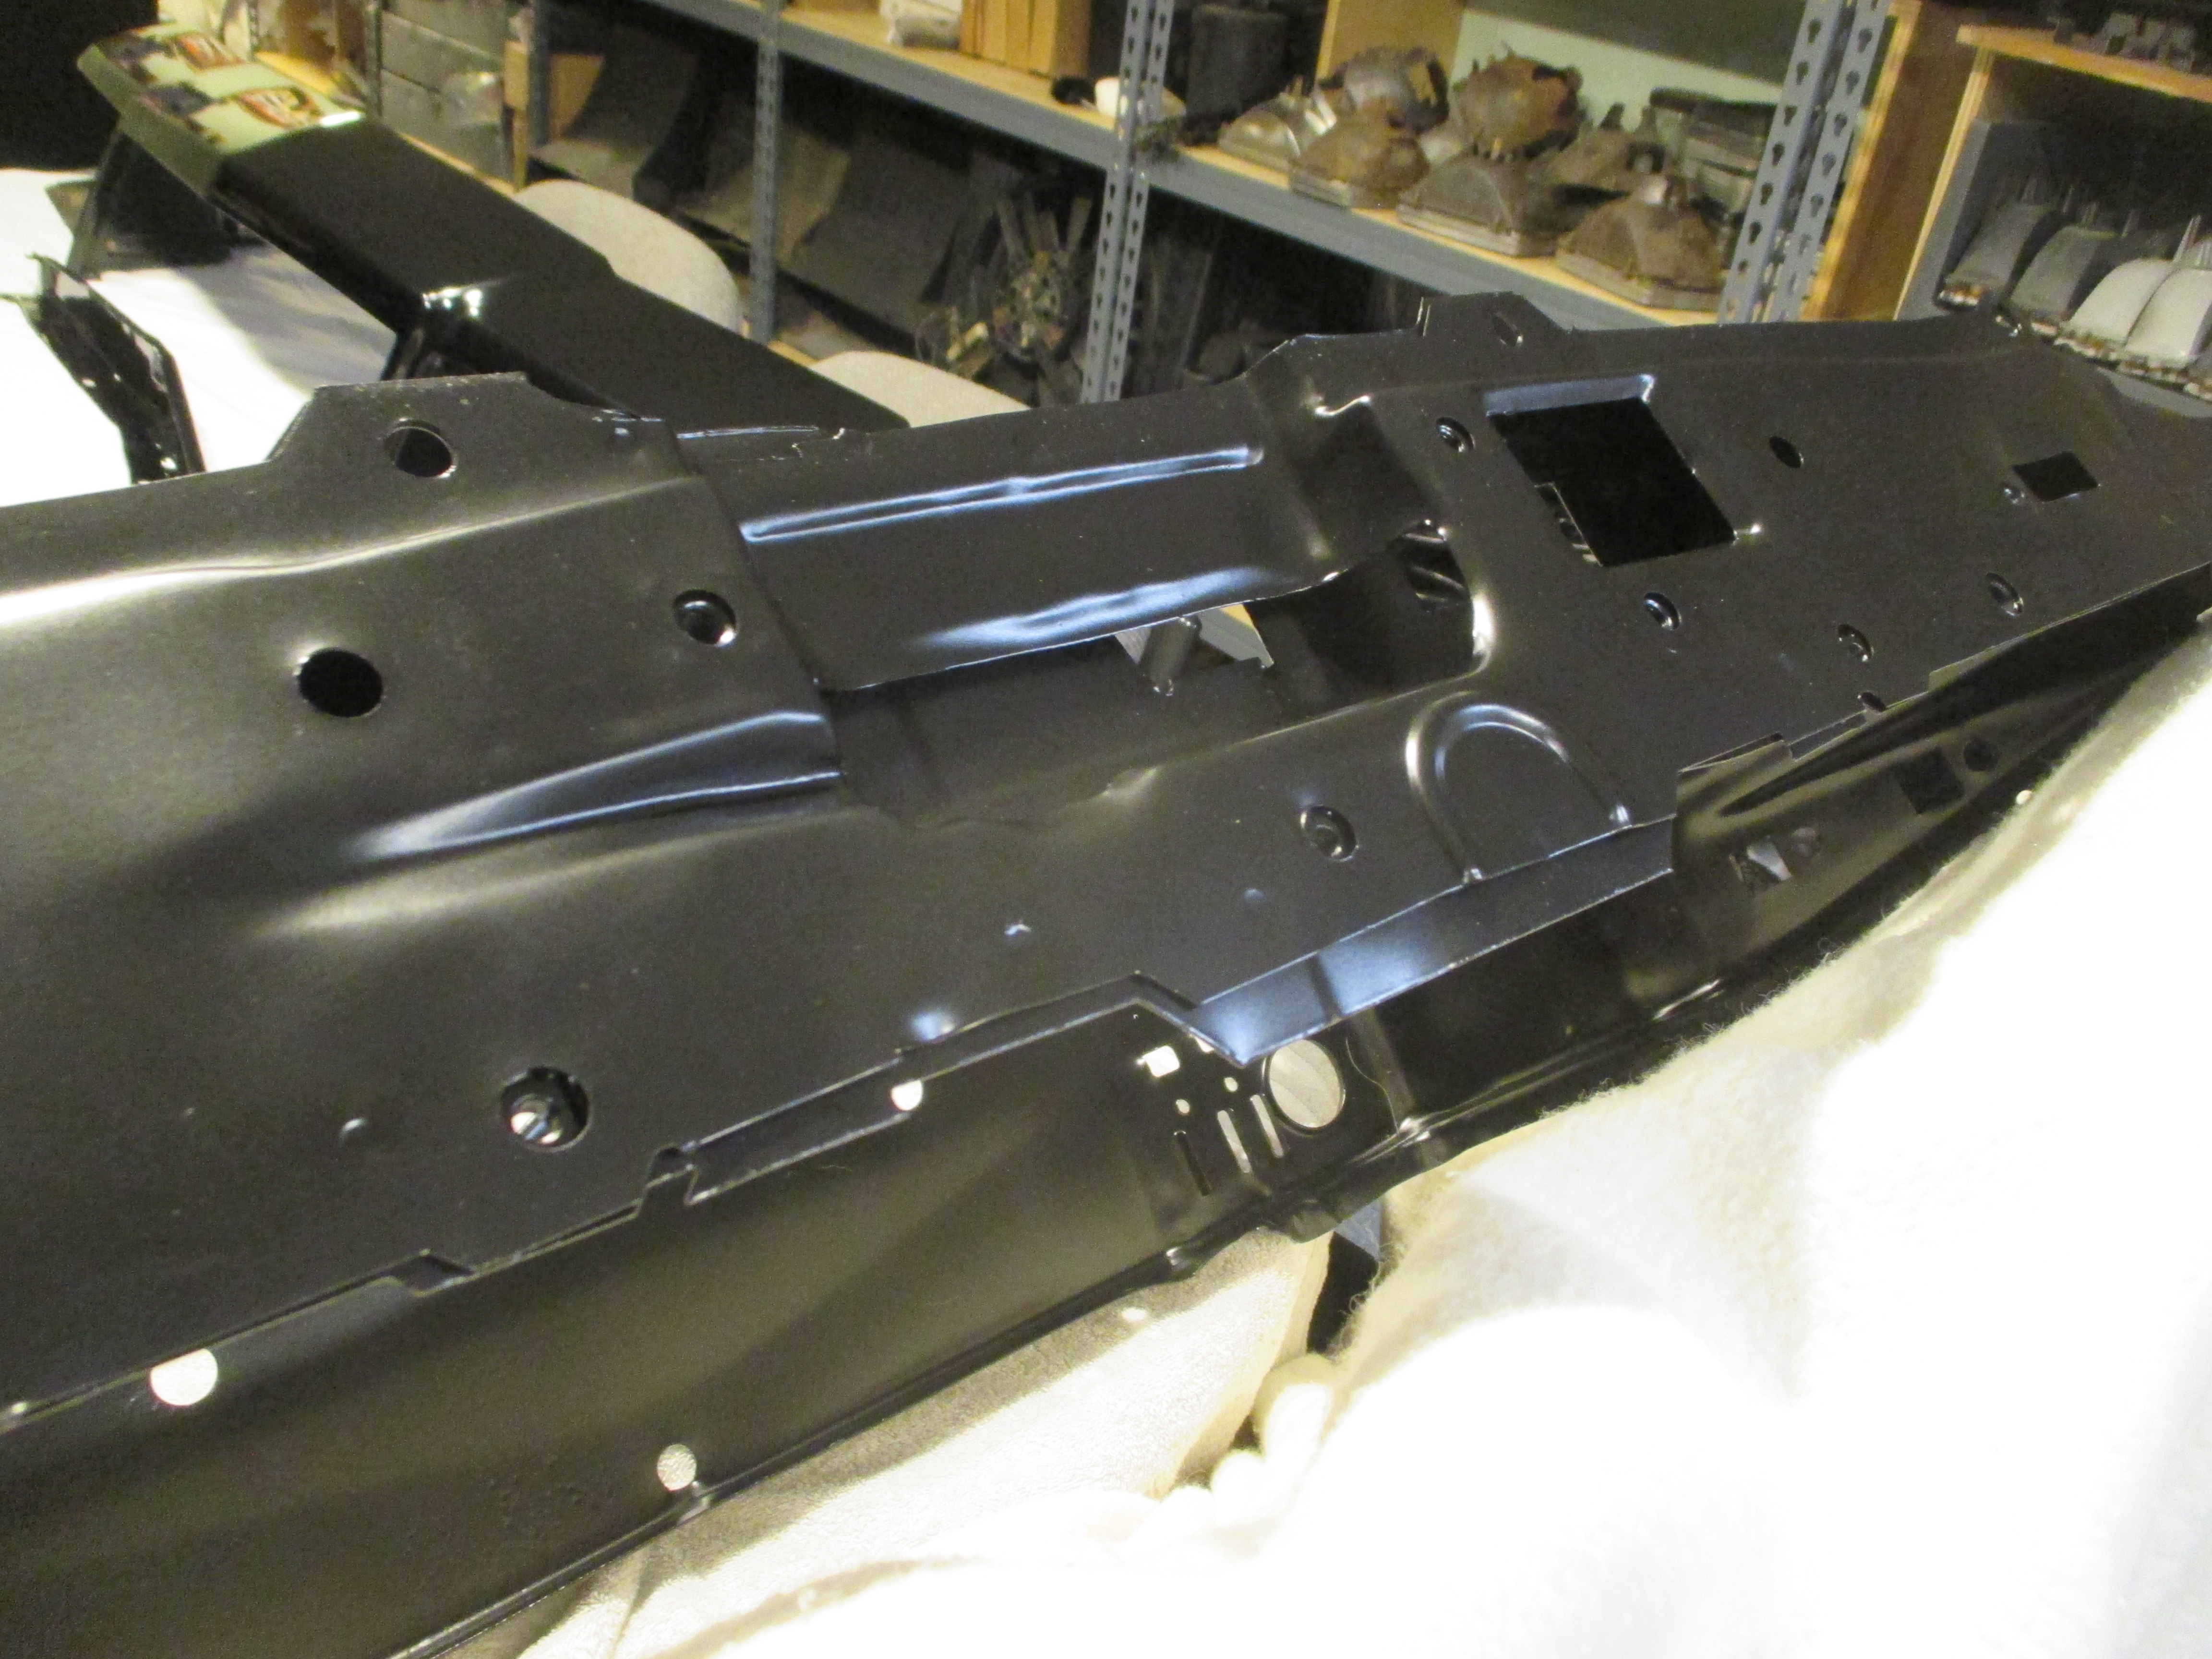
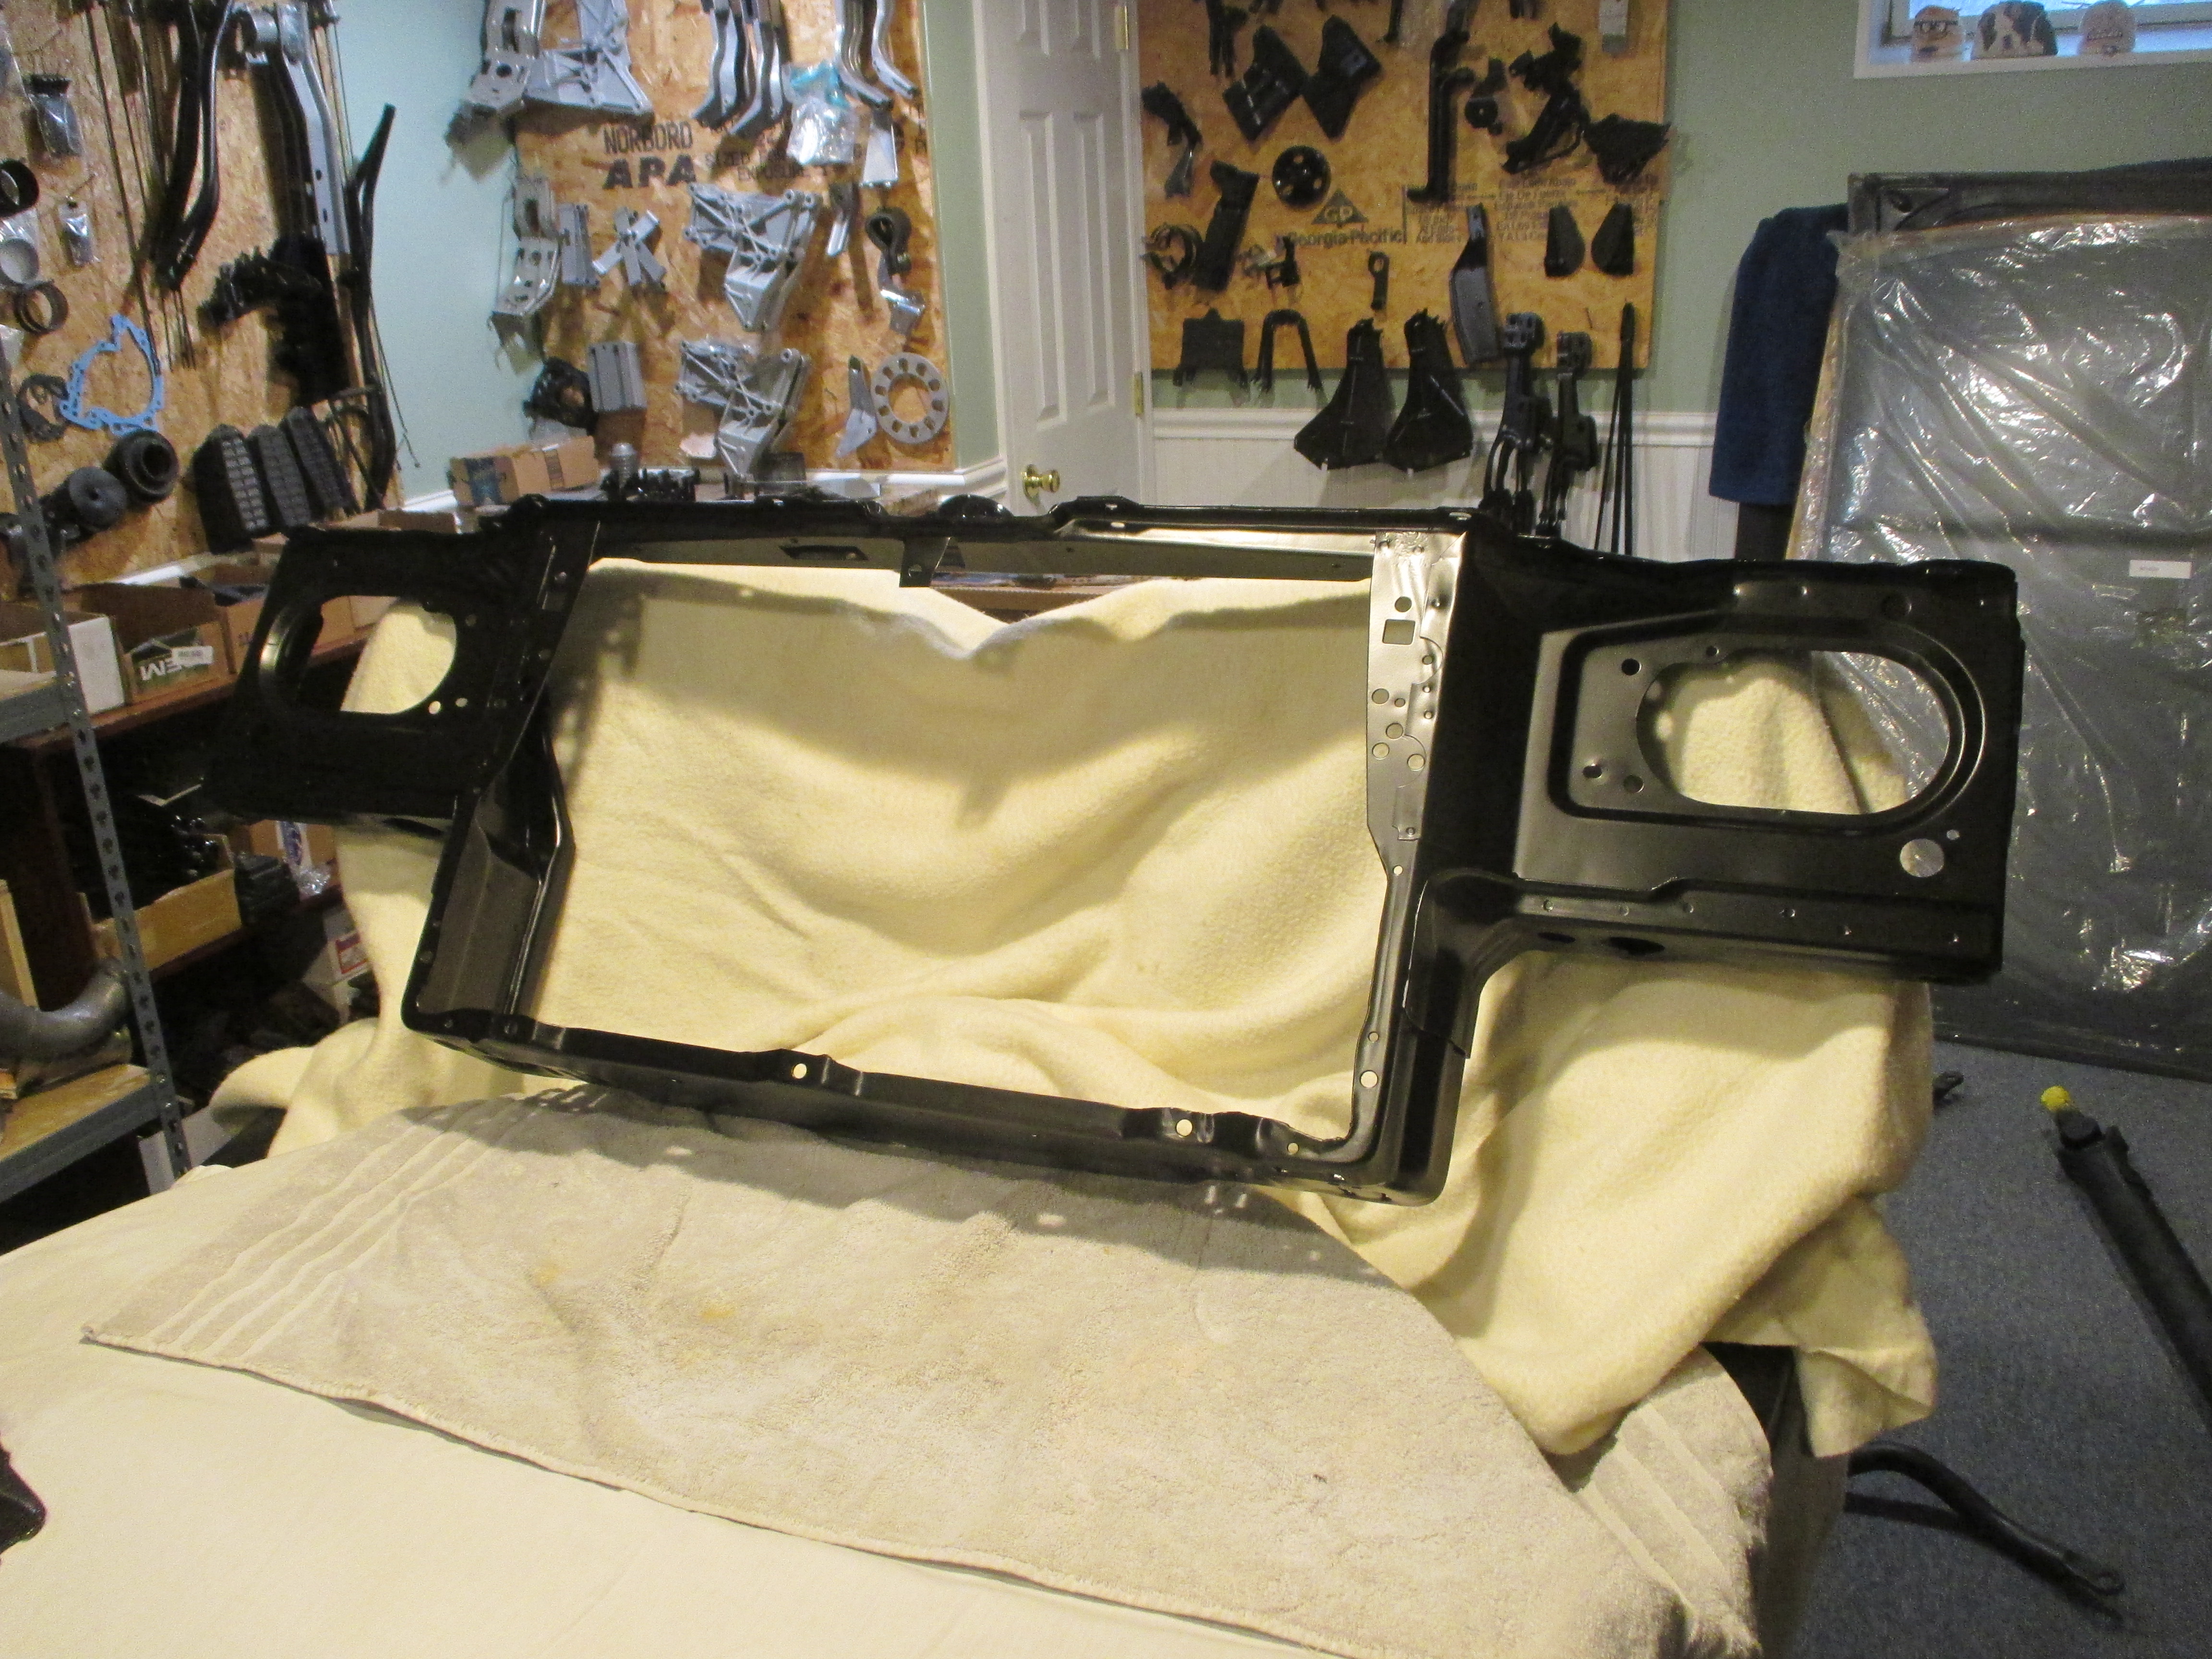
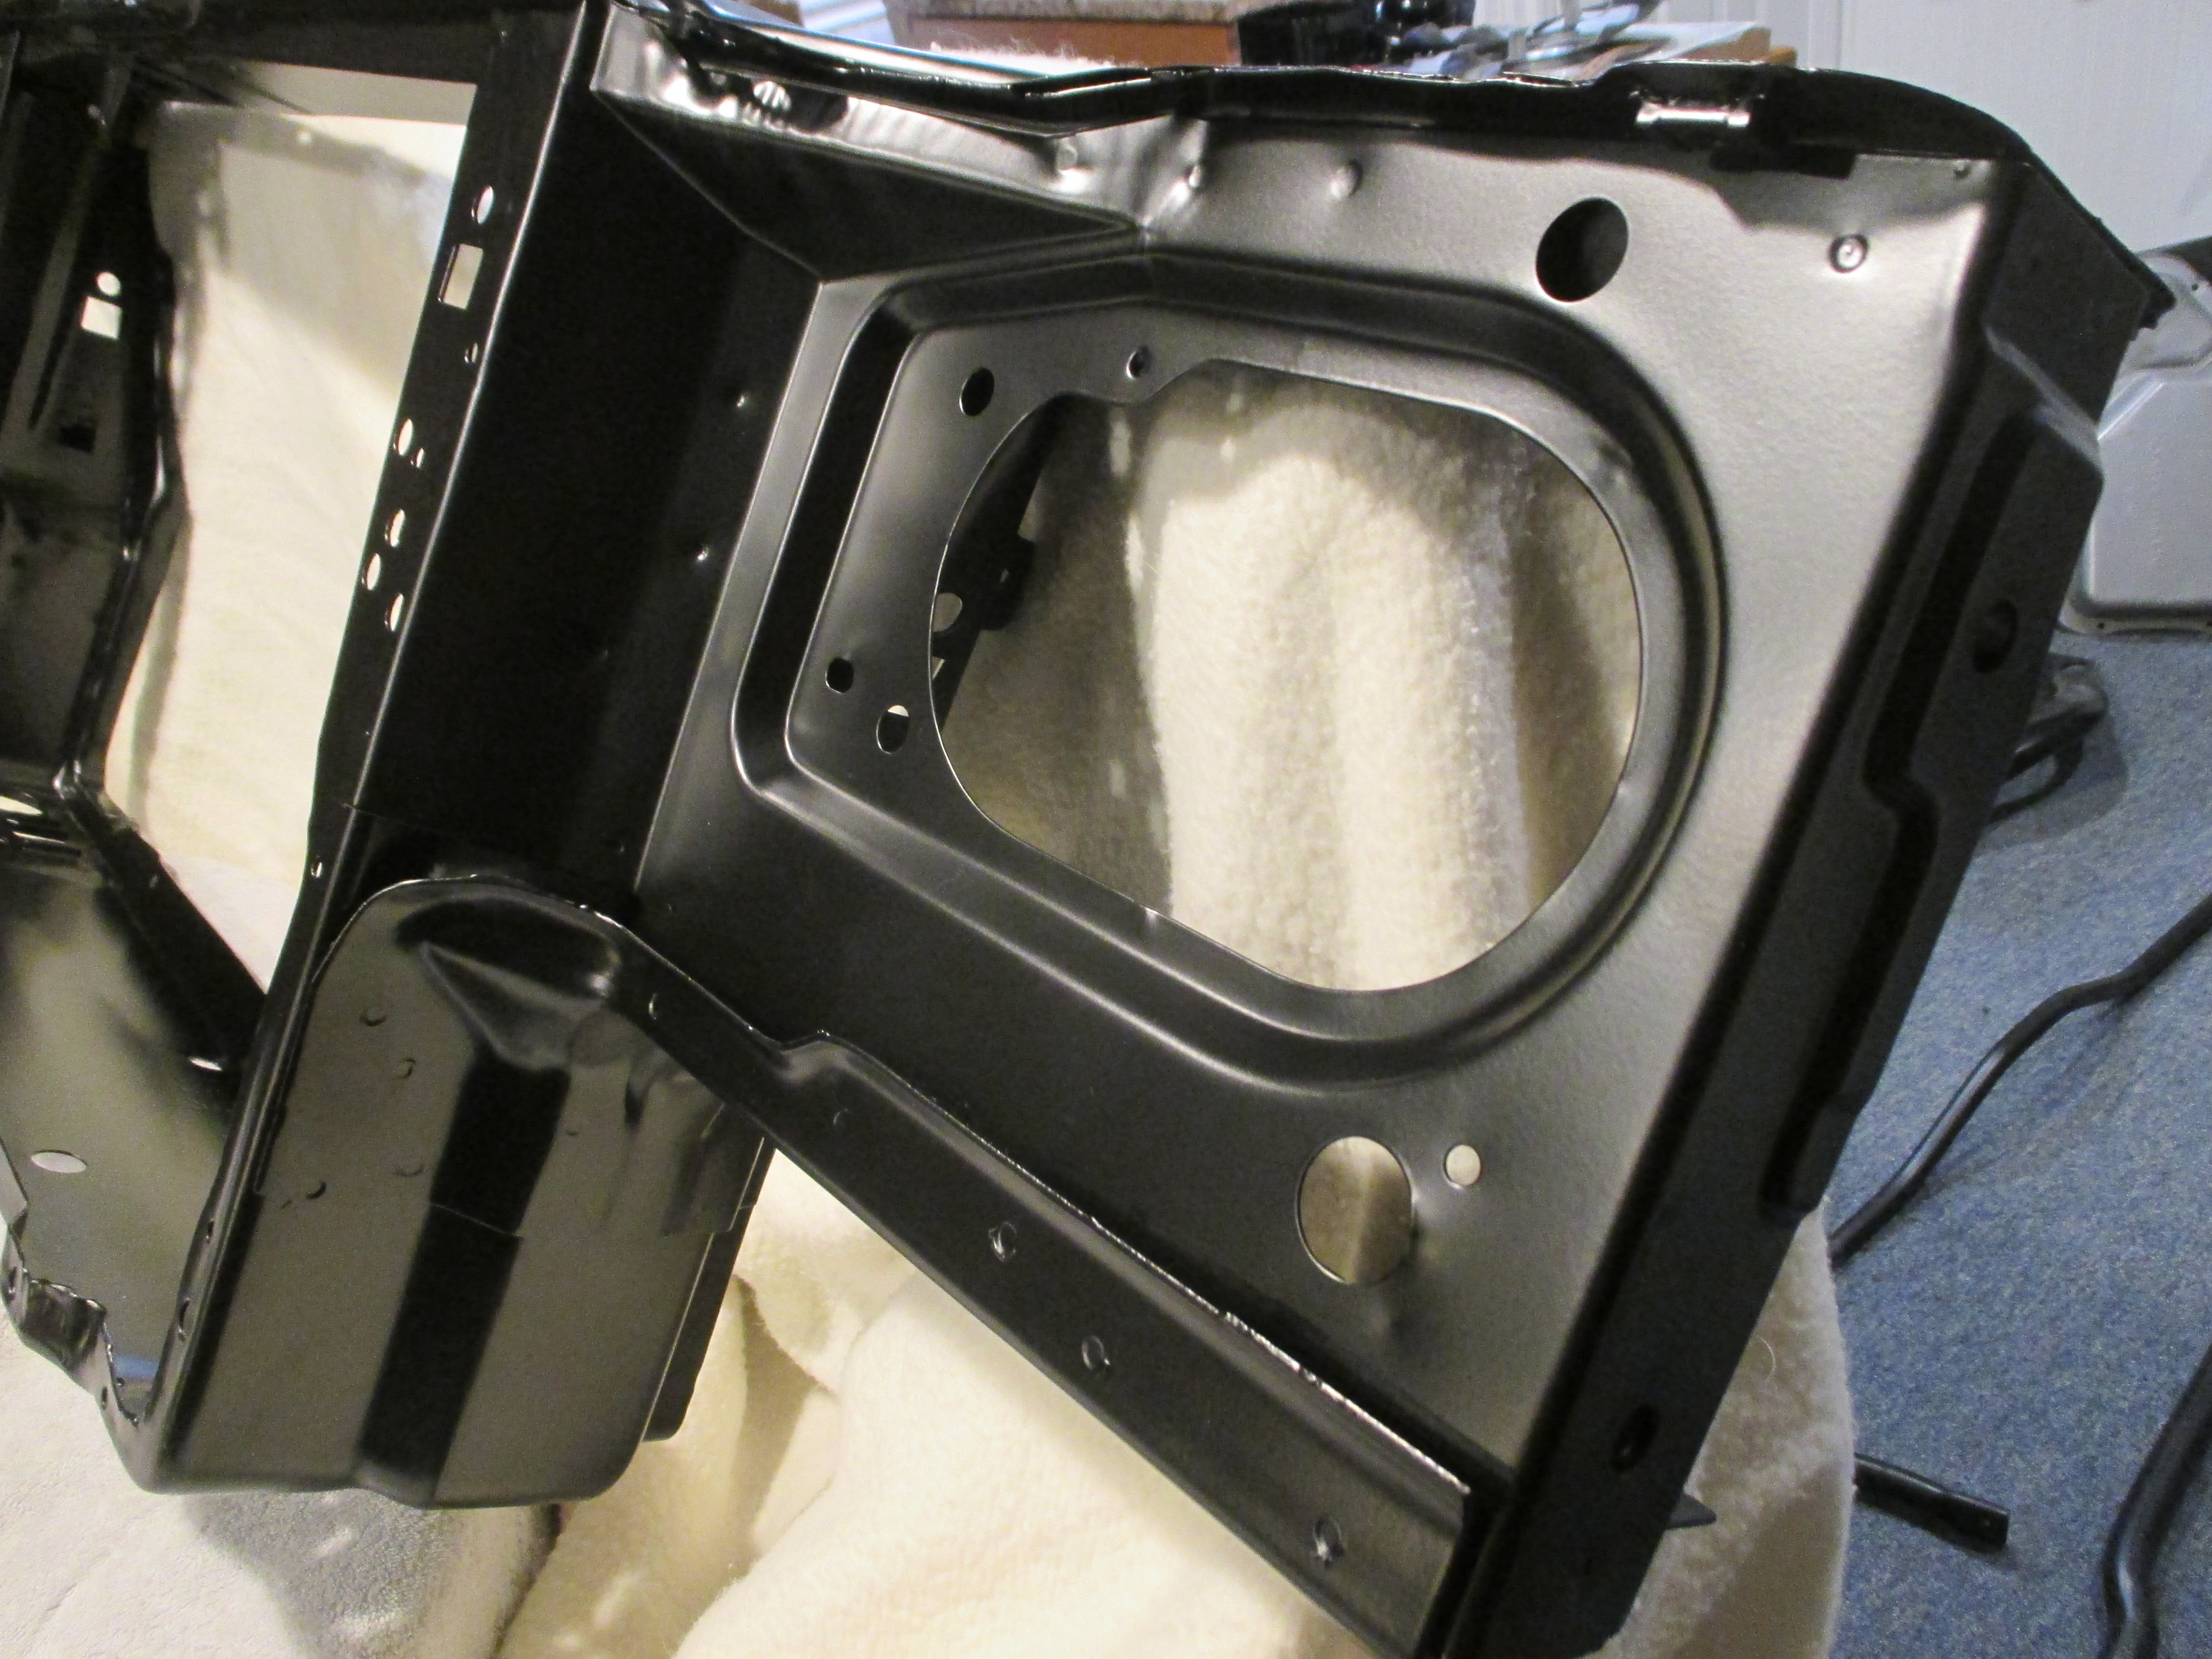
The radiator support was stripped and powder coated so it will never rust again
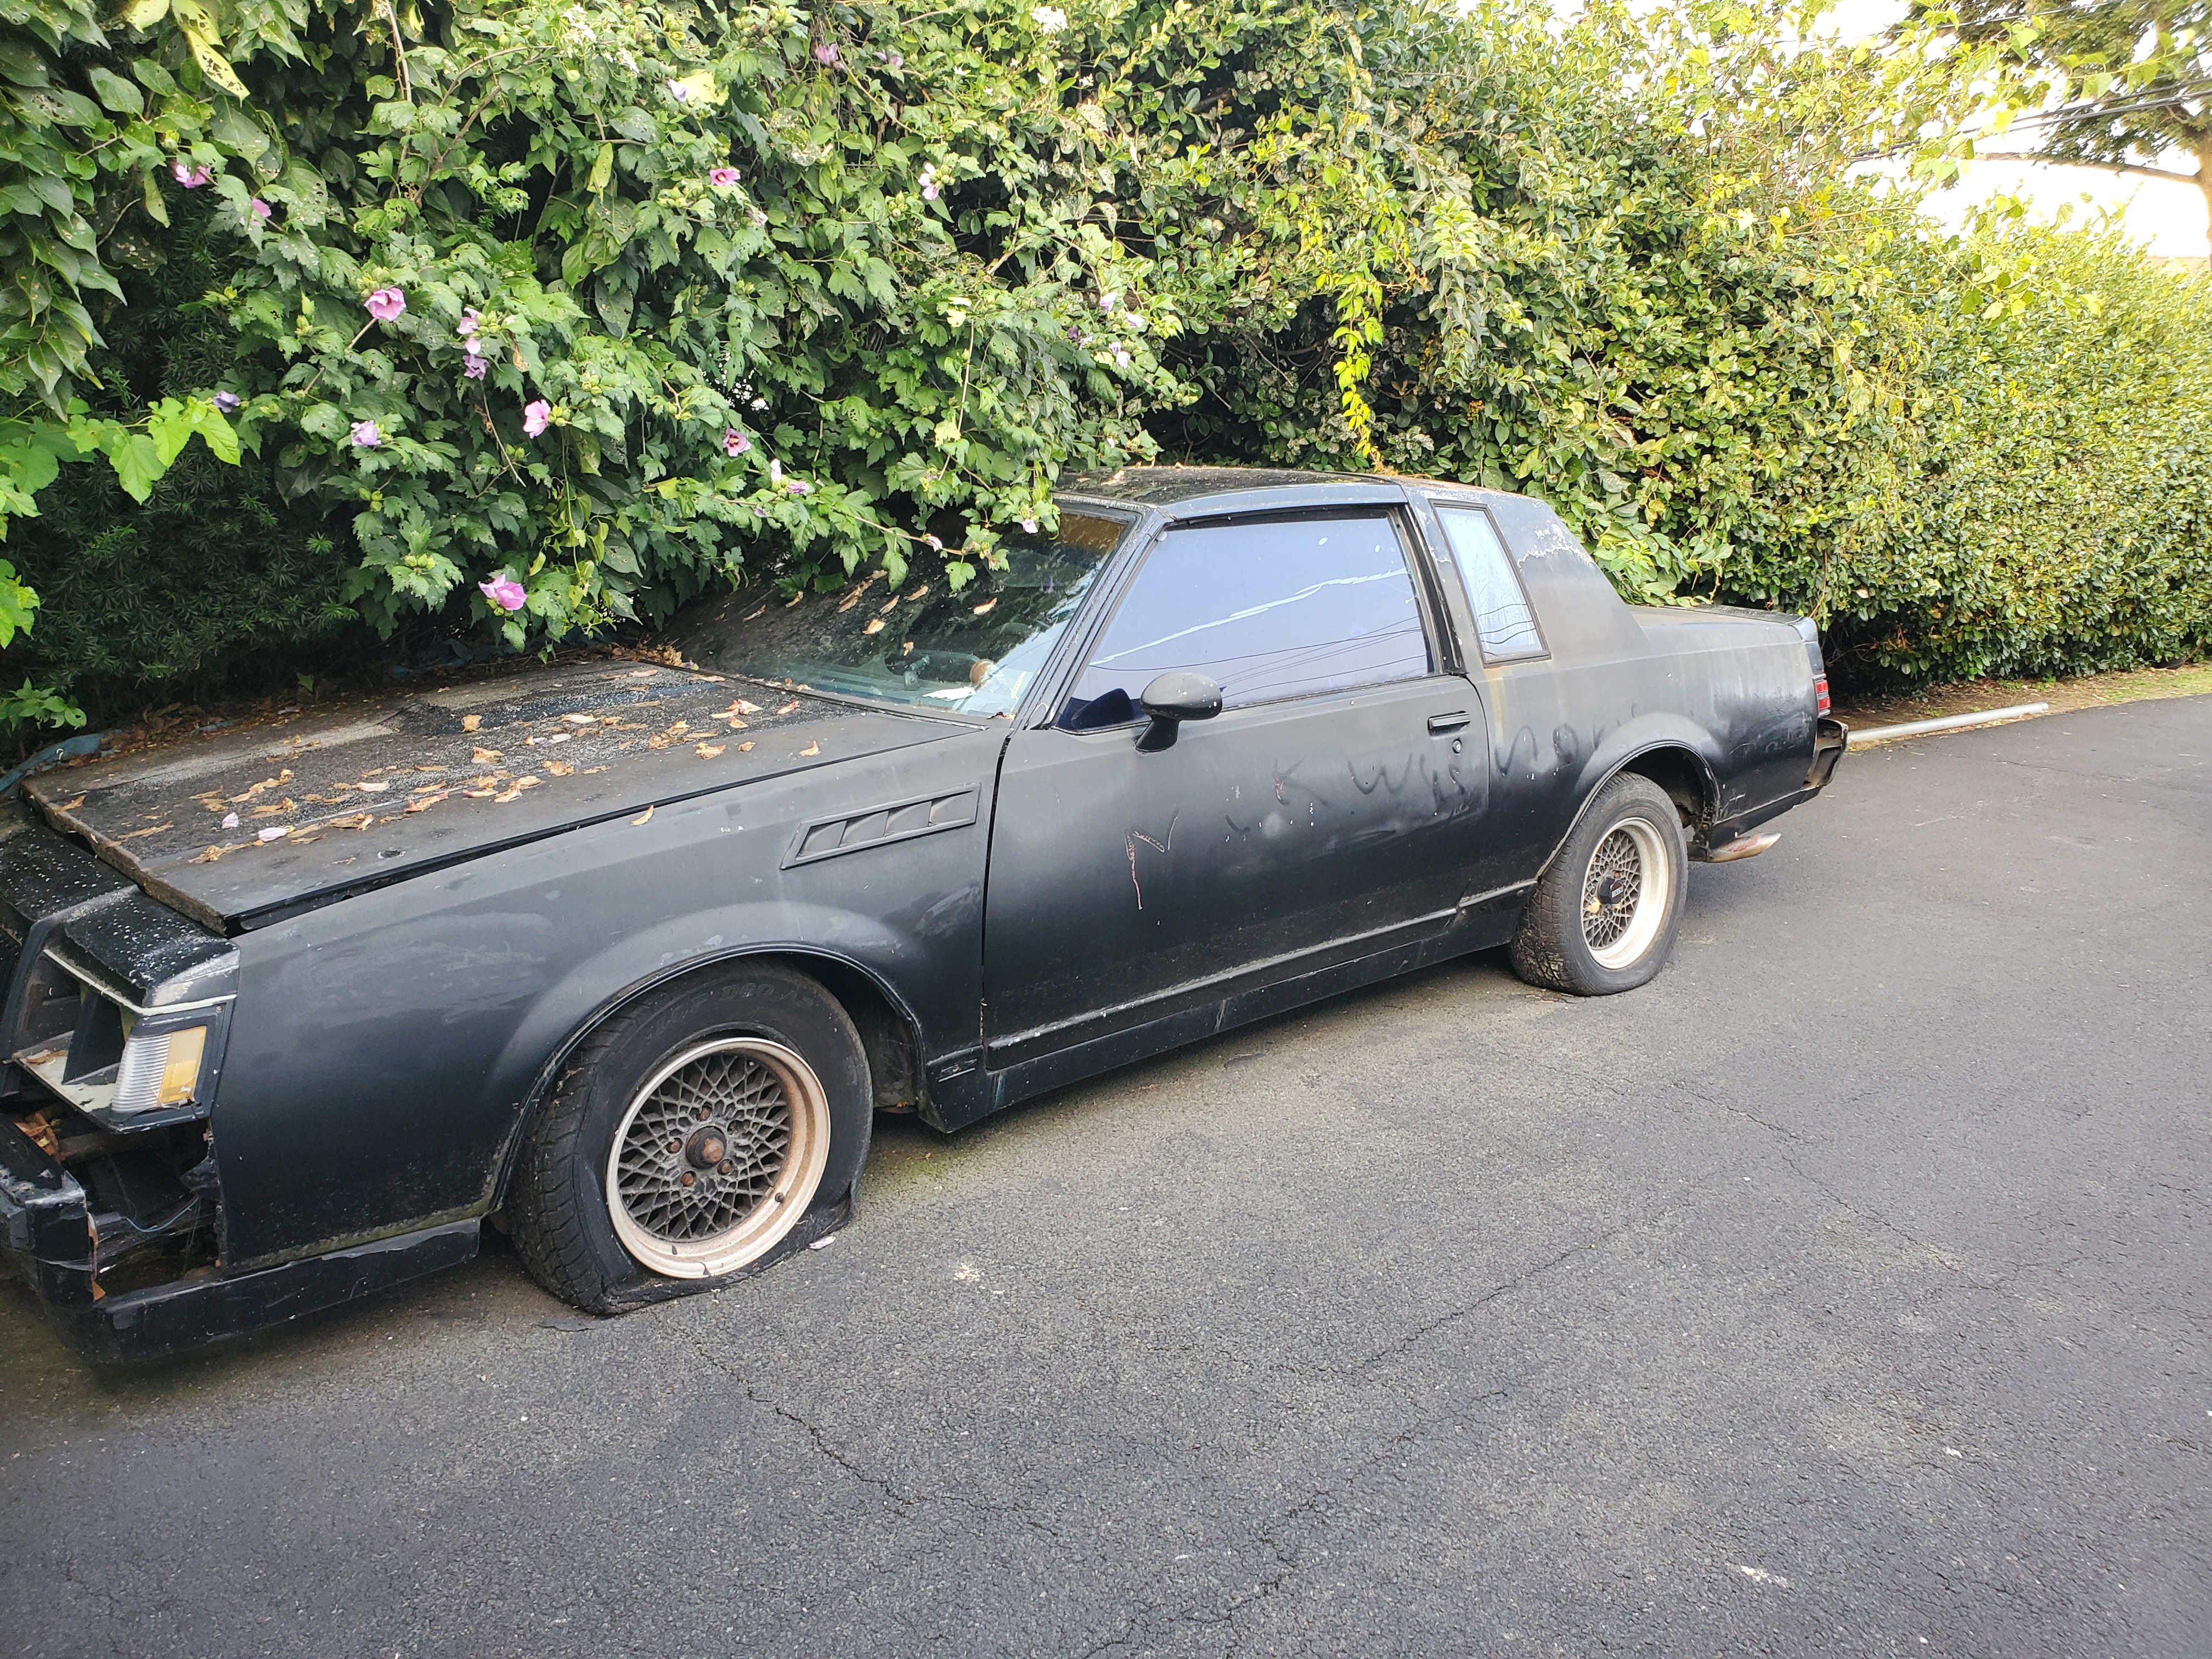
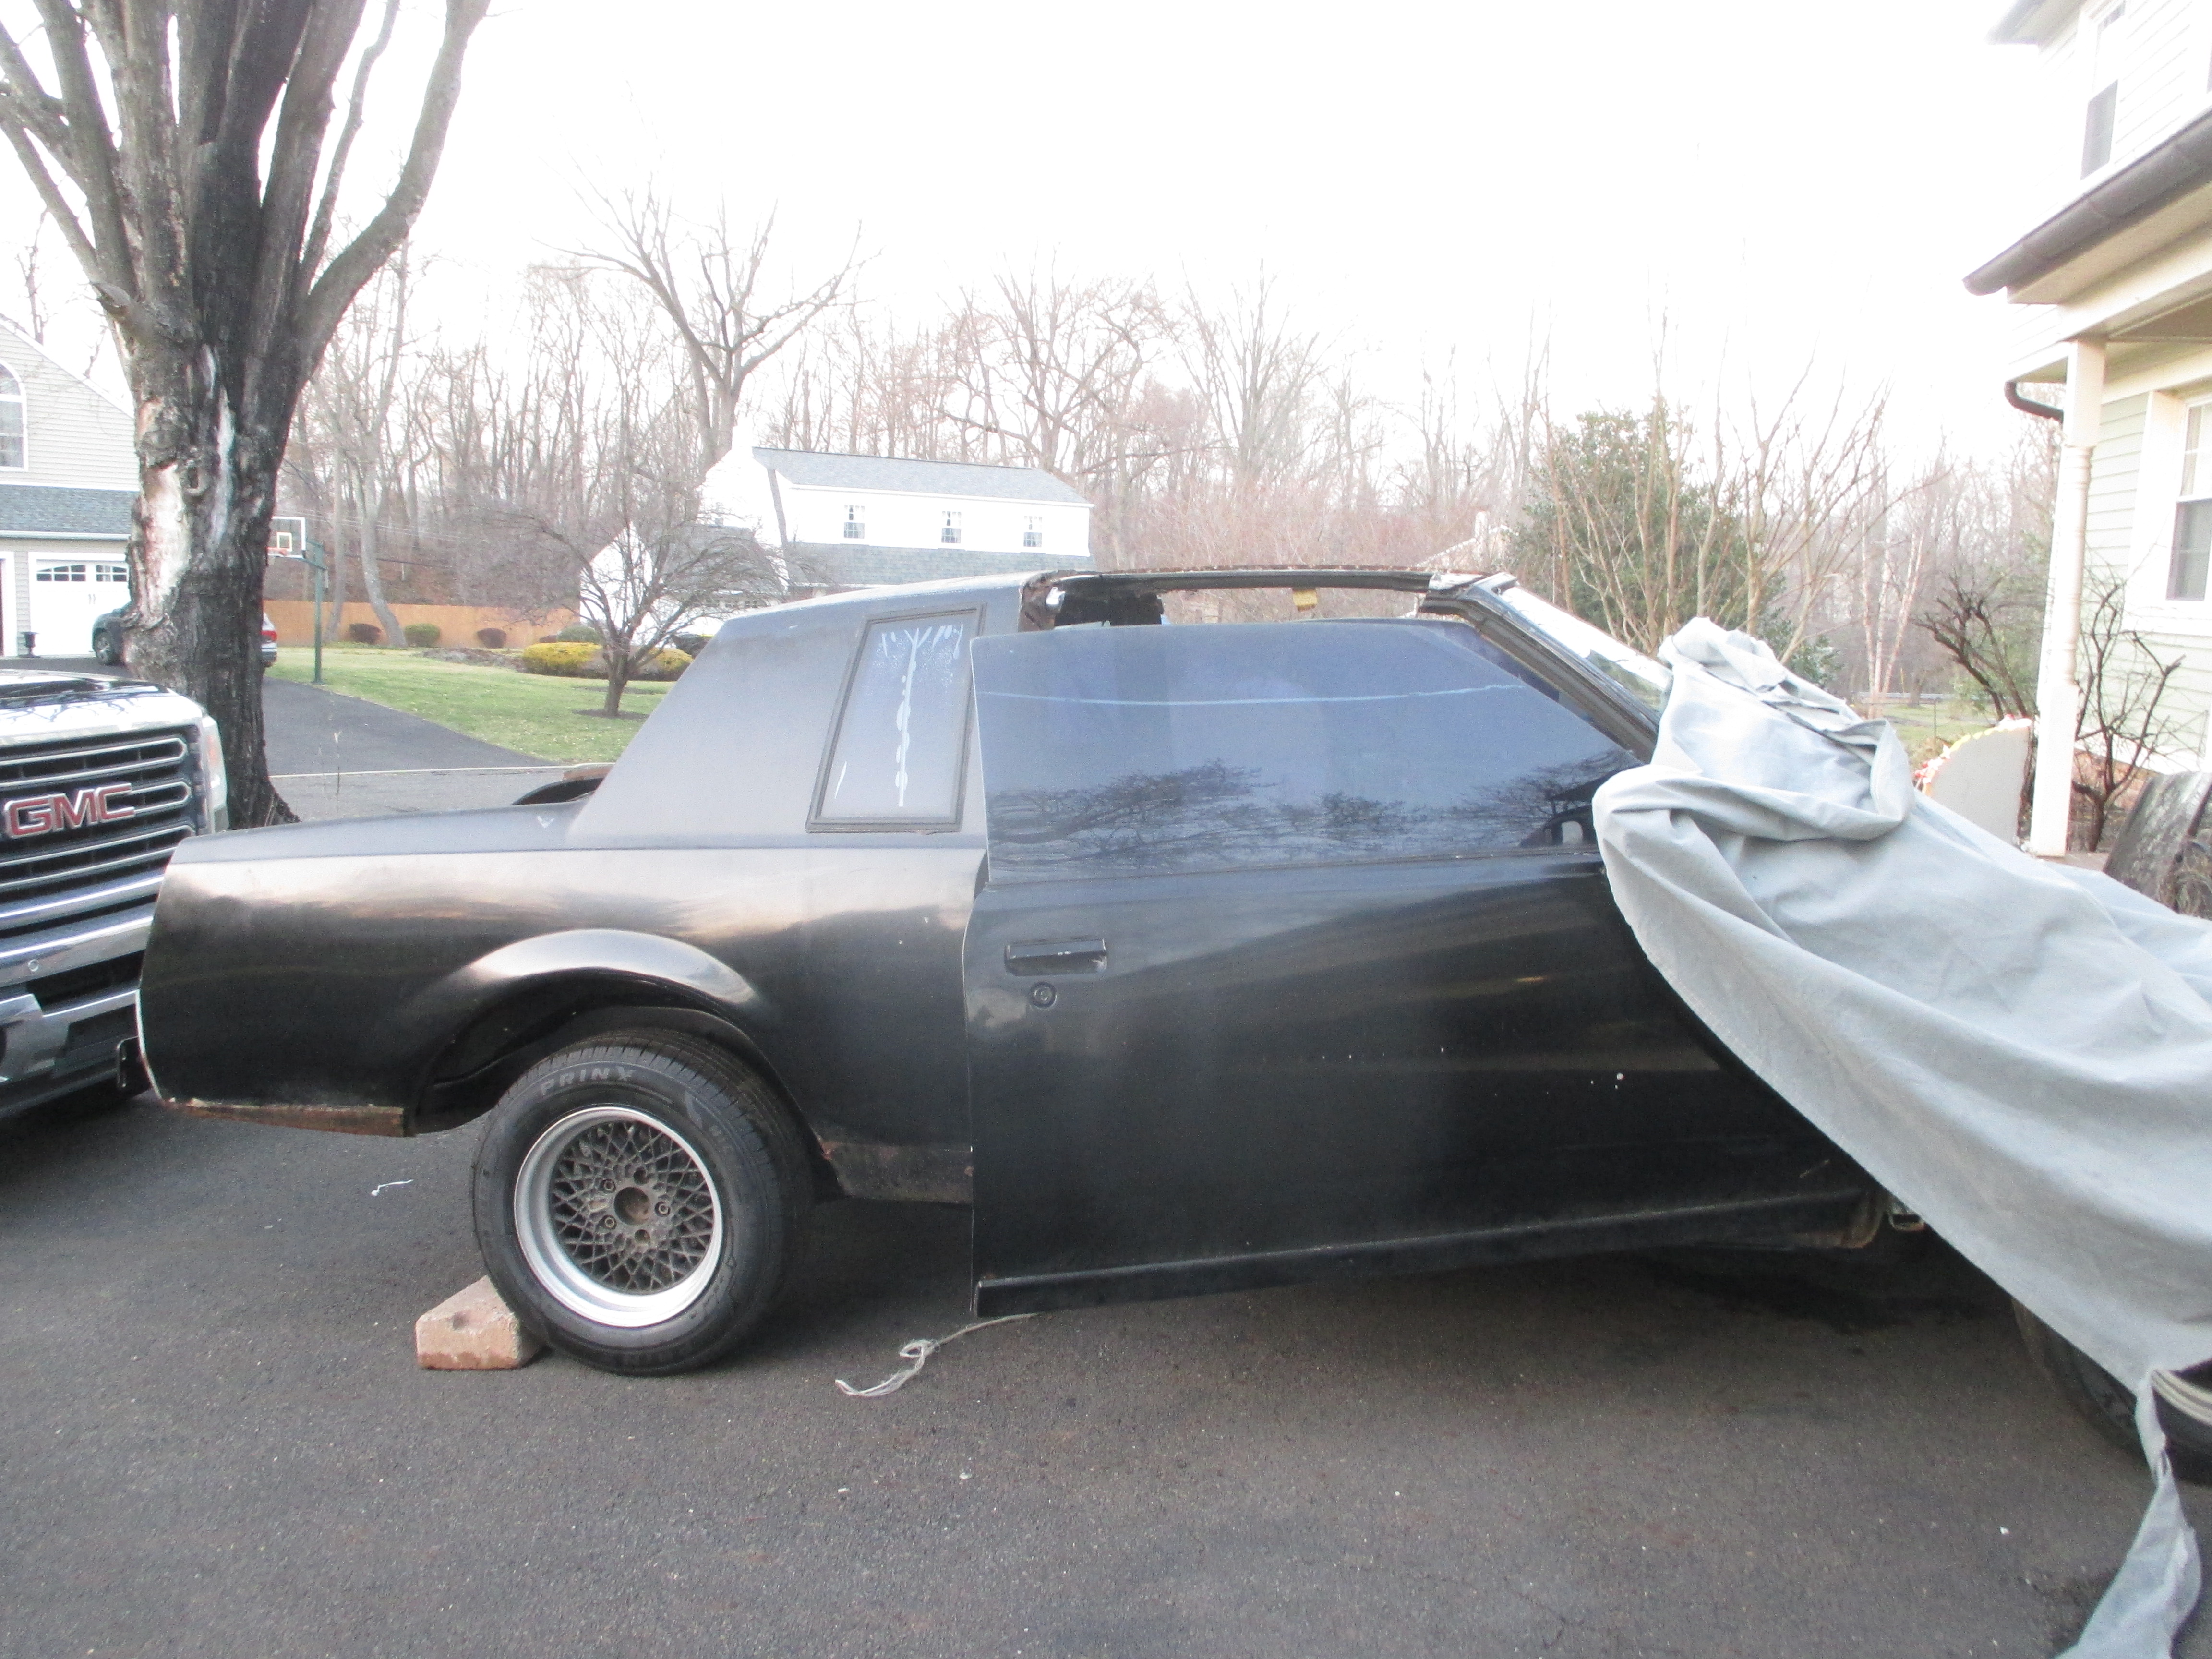
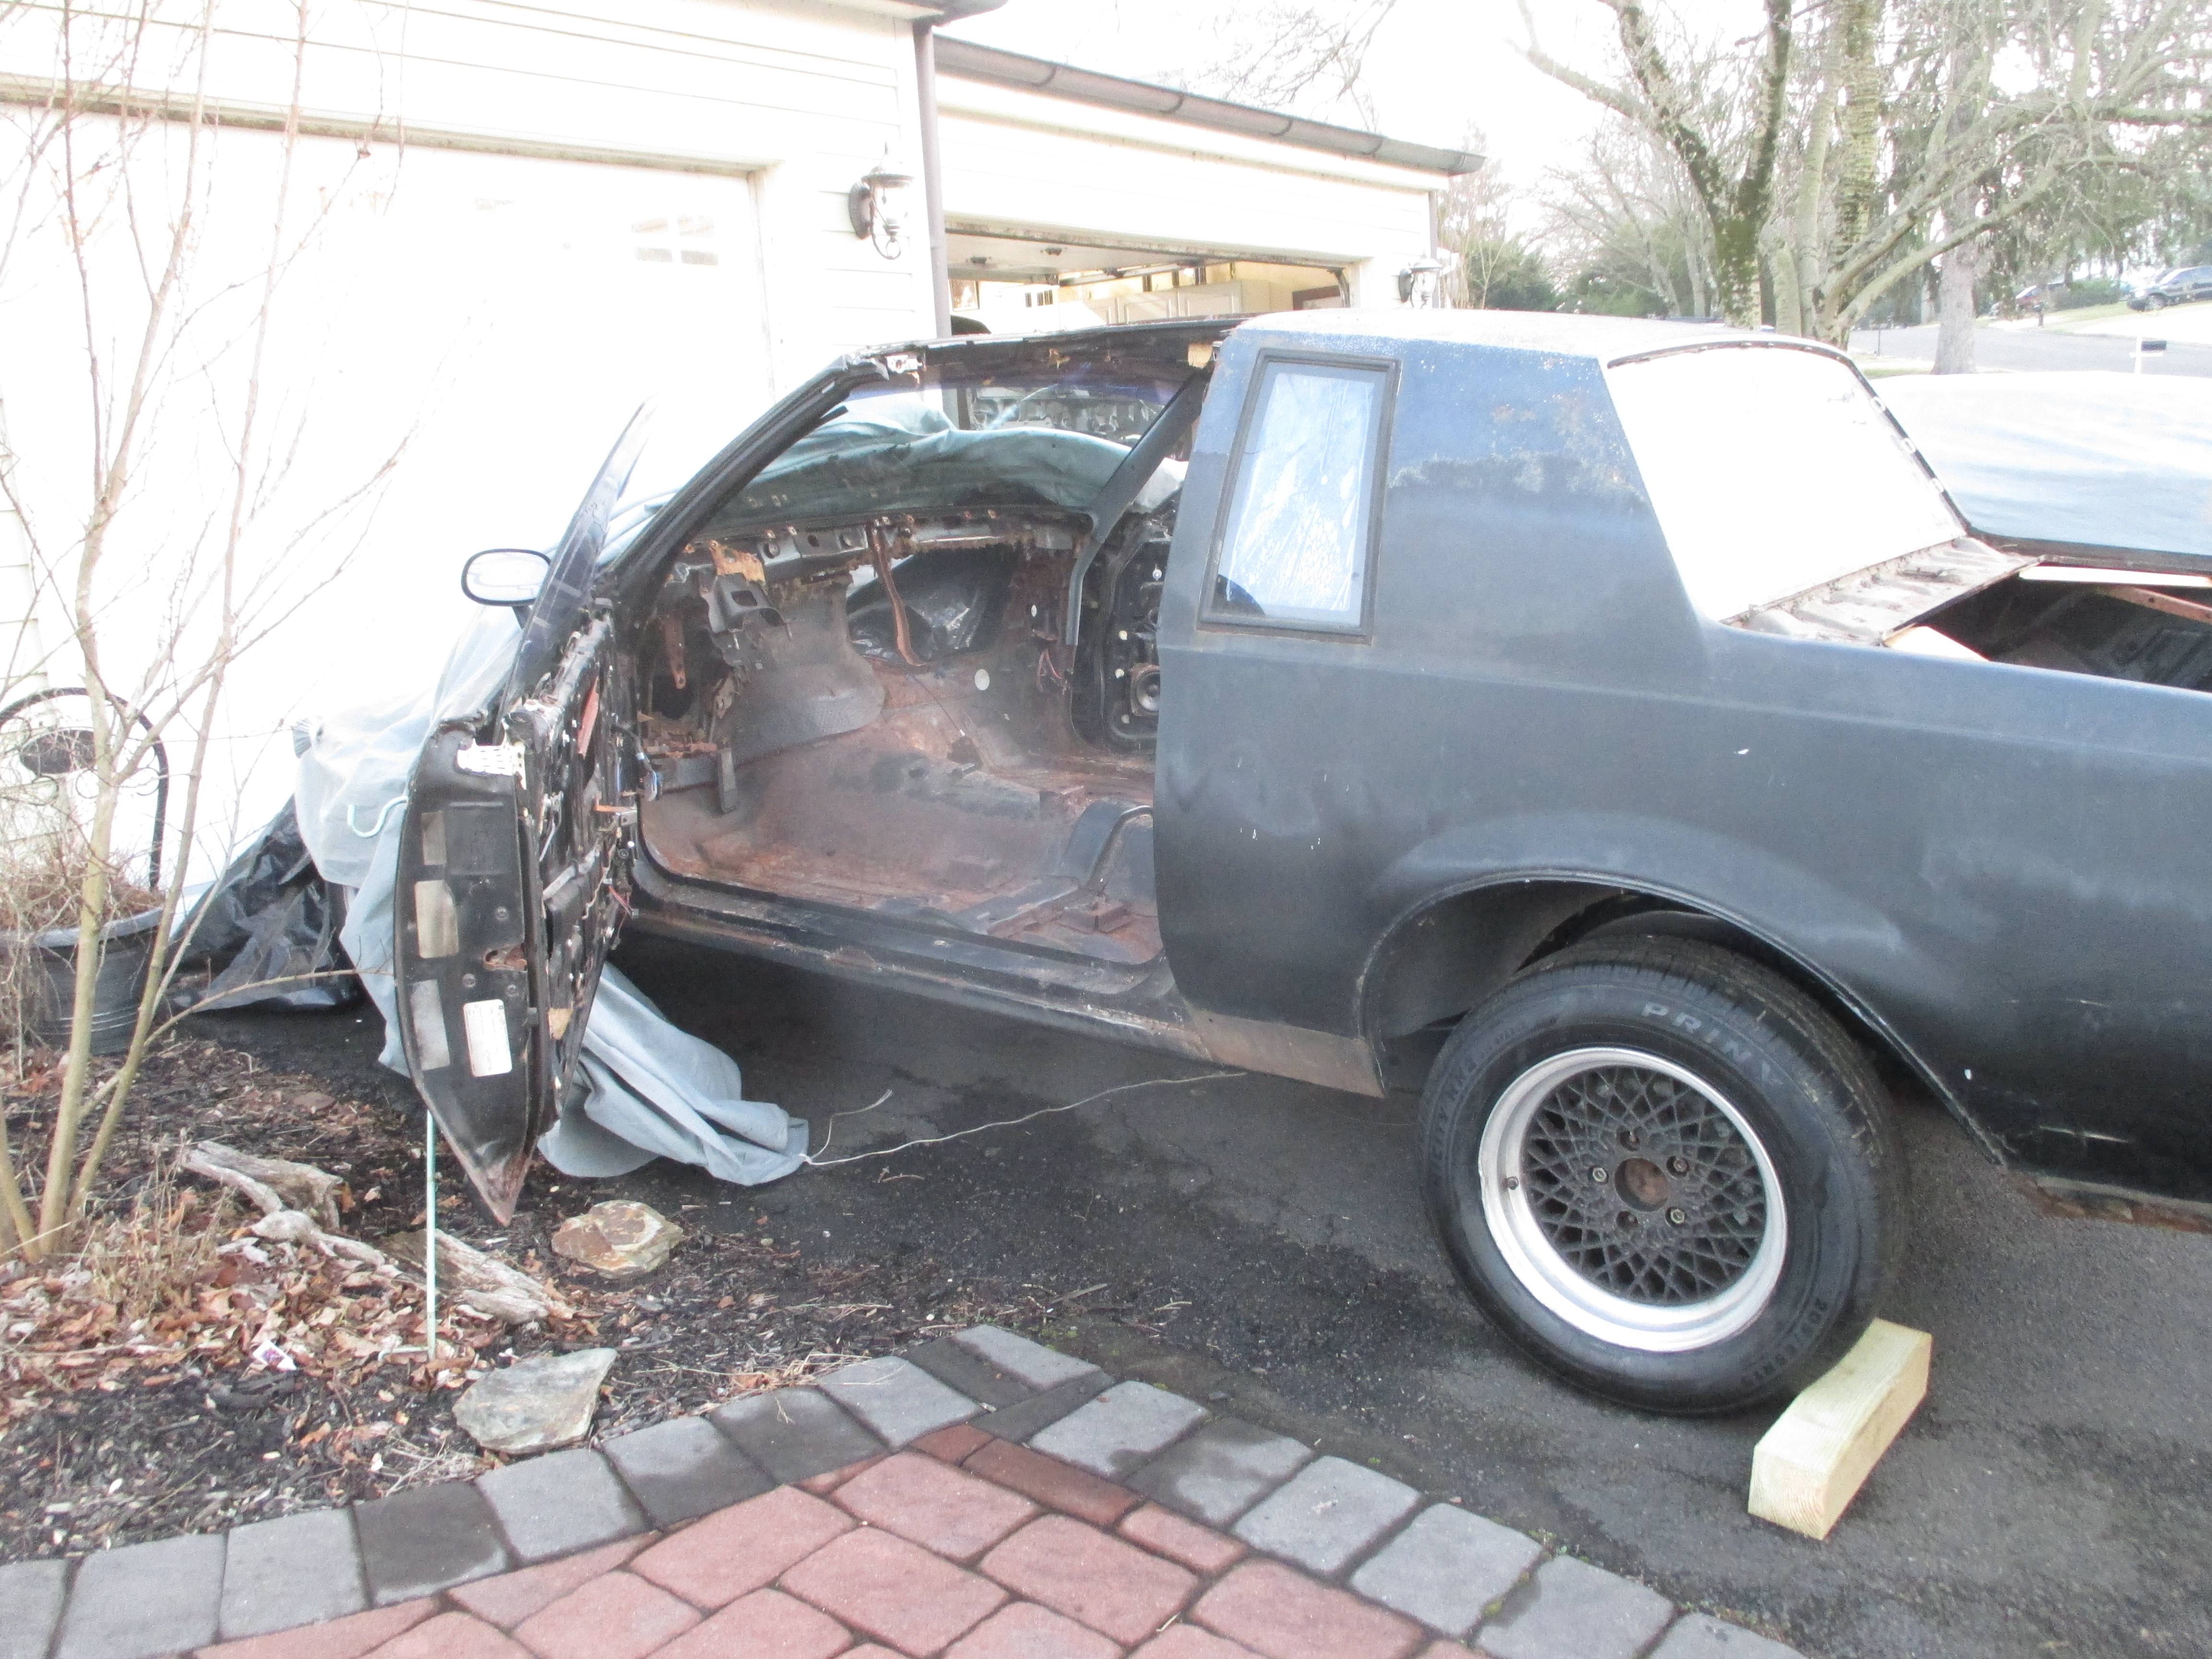
The 1987 CC1 T-top Grand National went into the bushes for a nap in 1999 and like Rip Van Winkle woke up 21 years later
Lots to do with this one…..pictures and details to follow
The beginning
We started with a 1987 Buick Grand Nation T-top car. A car the work many, many hours at a pizza shop to show his work ethic and earn a car he could be proud of. After endless moths of making pizza our hard working owner was rewarded with this classic car.
What happened? Life happened. After years of enjoyment in the car life happened. Owner parked the car to begin a carrier and build a family. Now 21 years later he would like this returned to its former glory and become a generational part of the family.
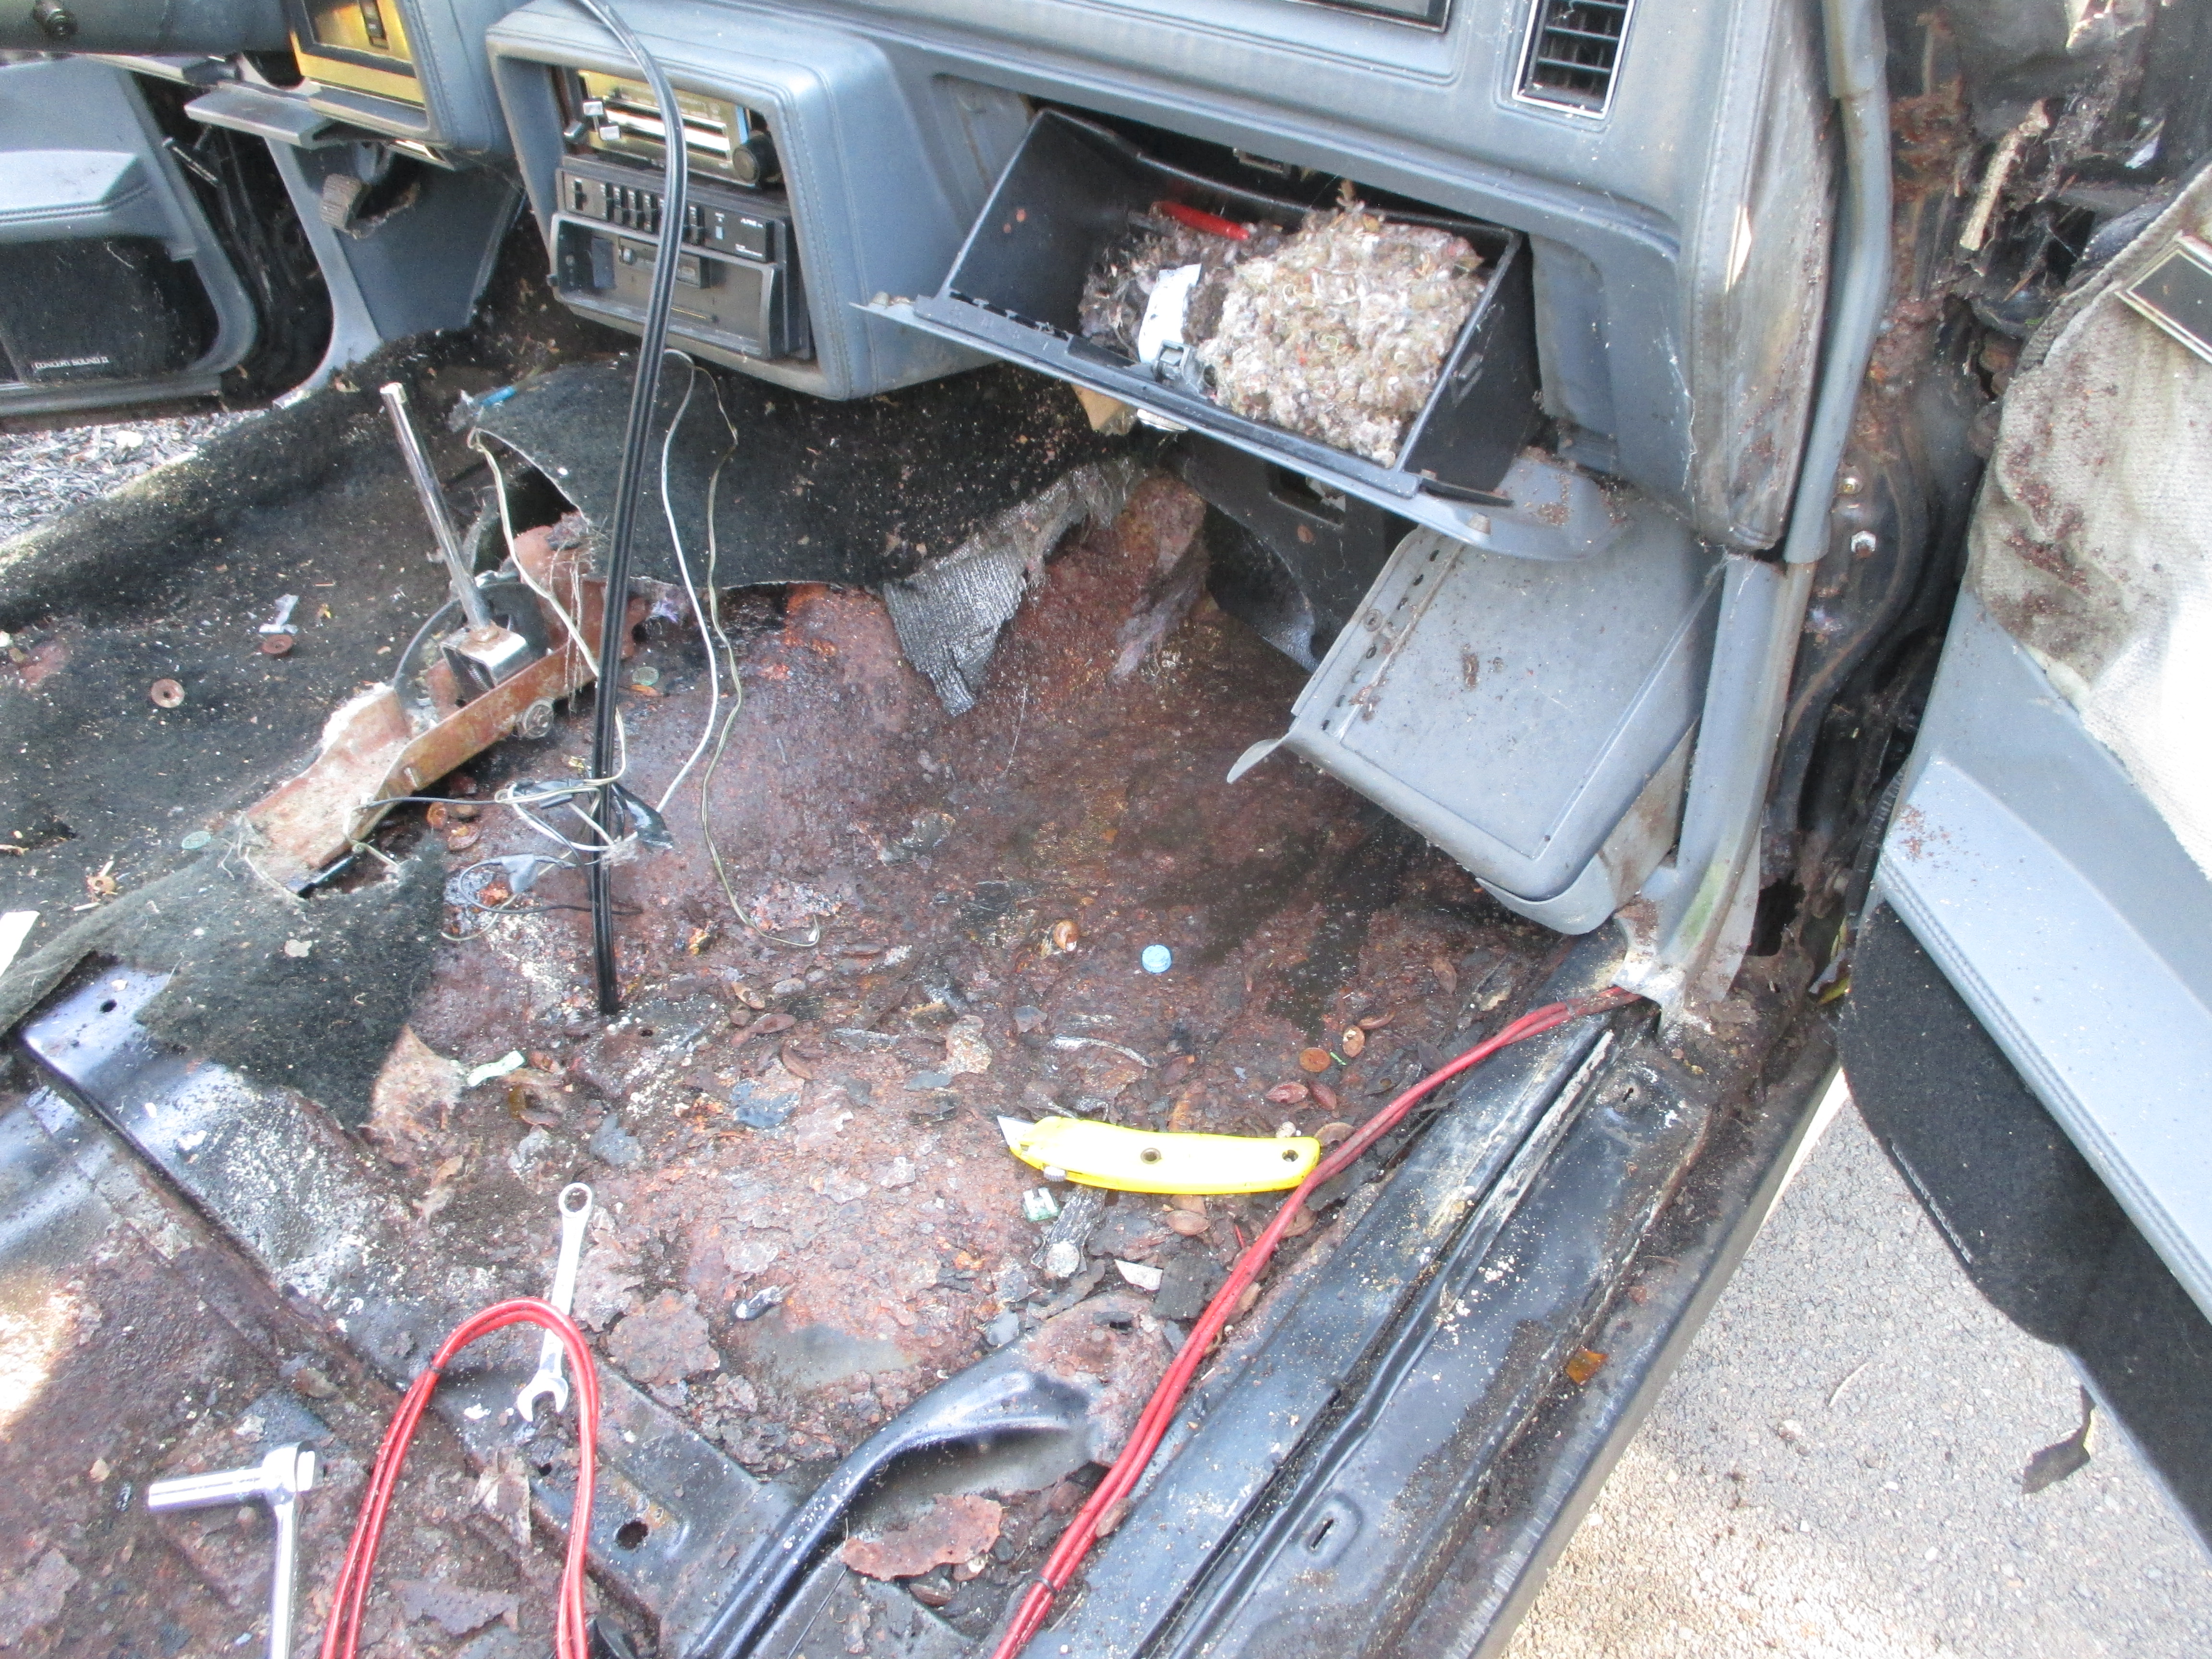
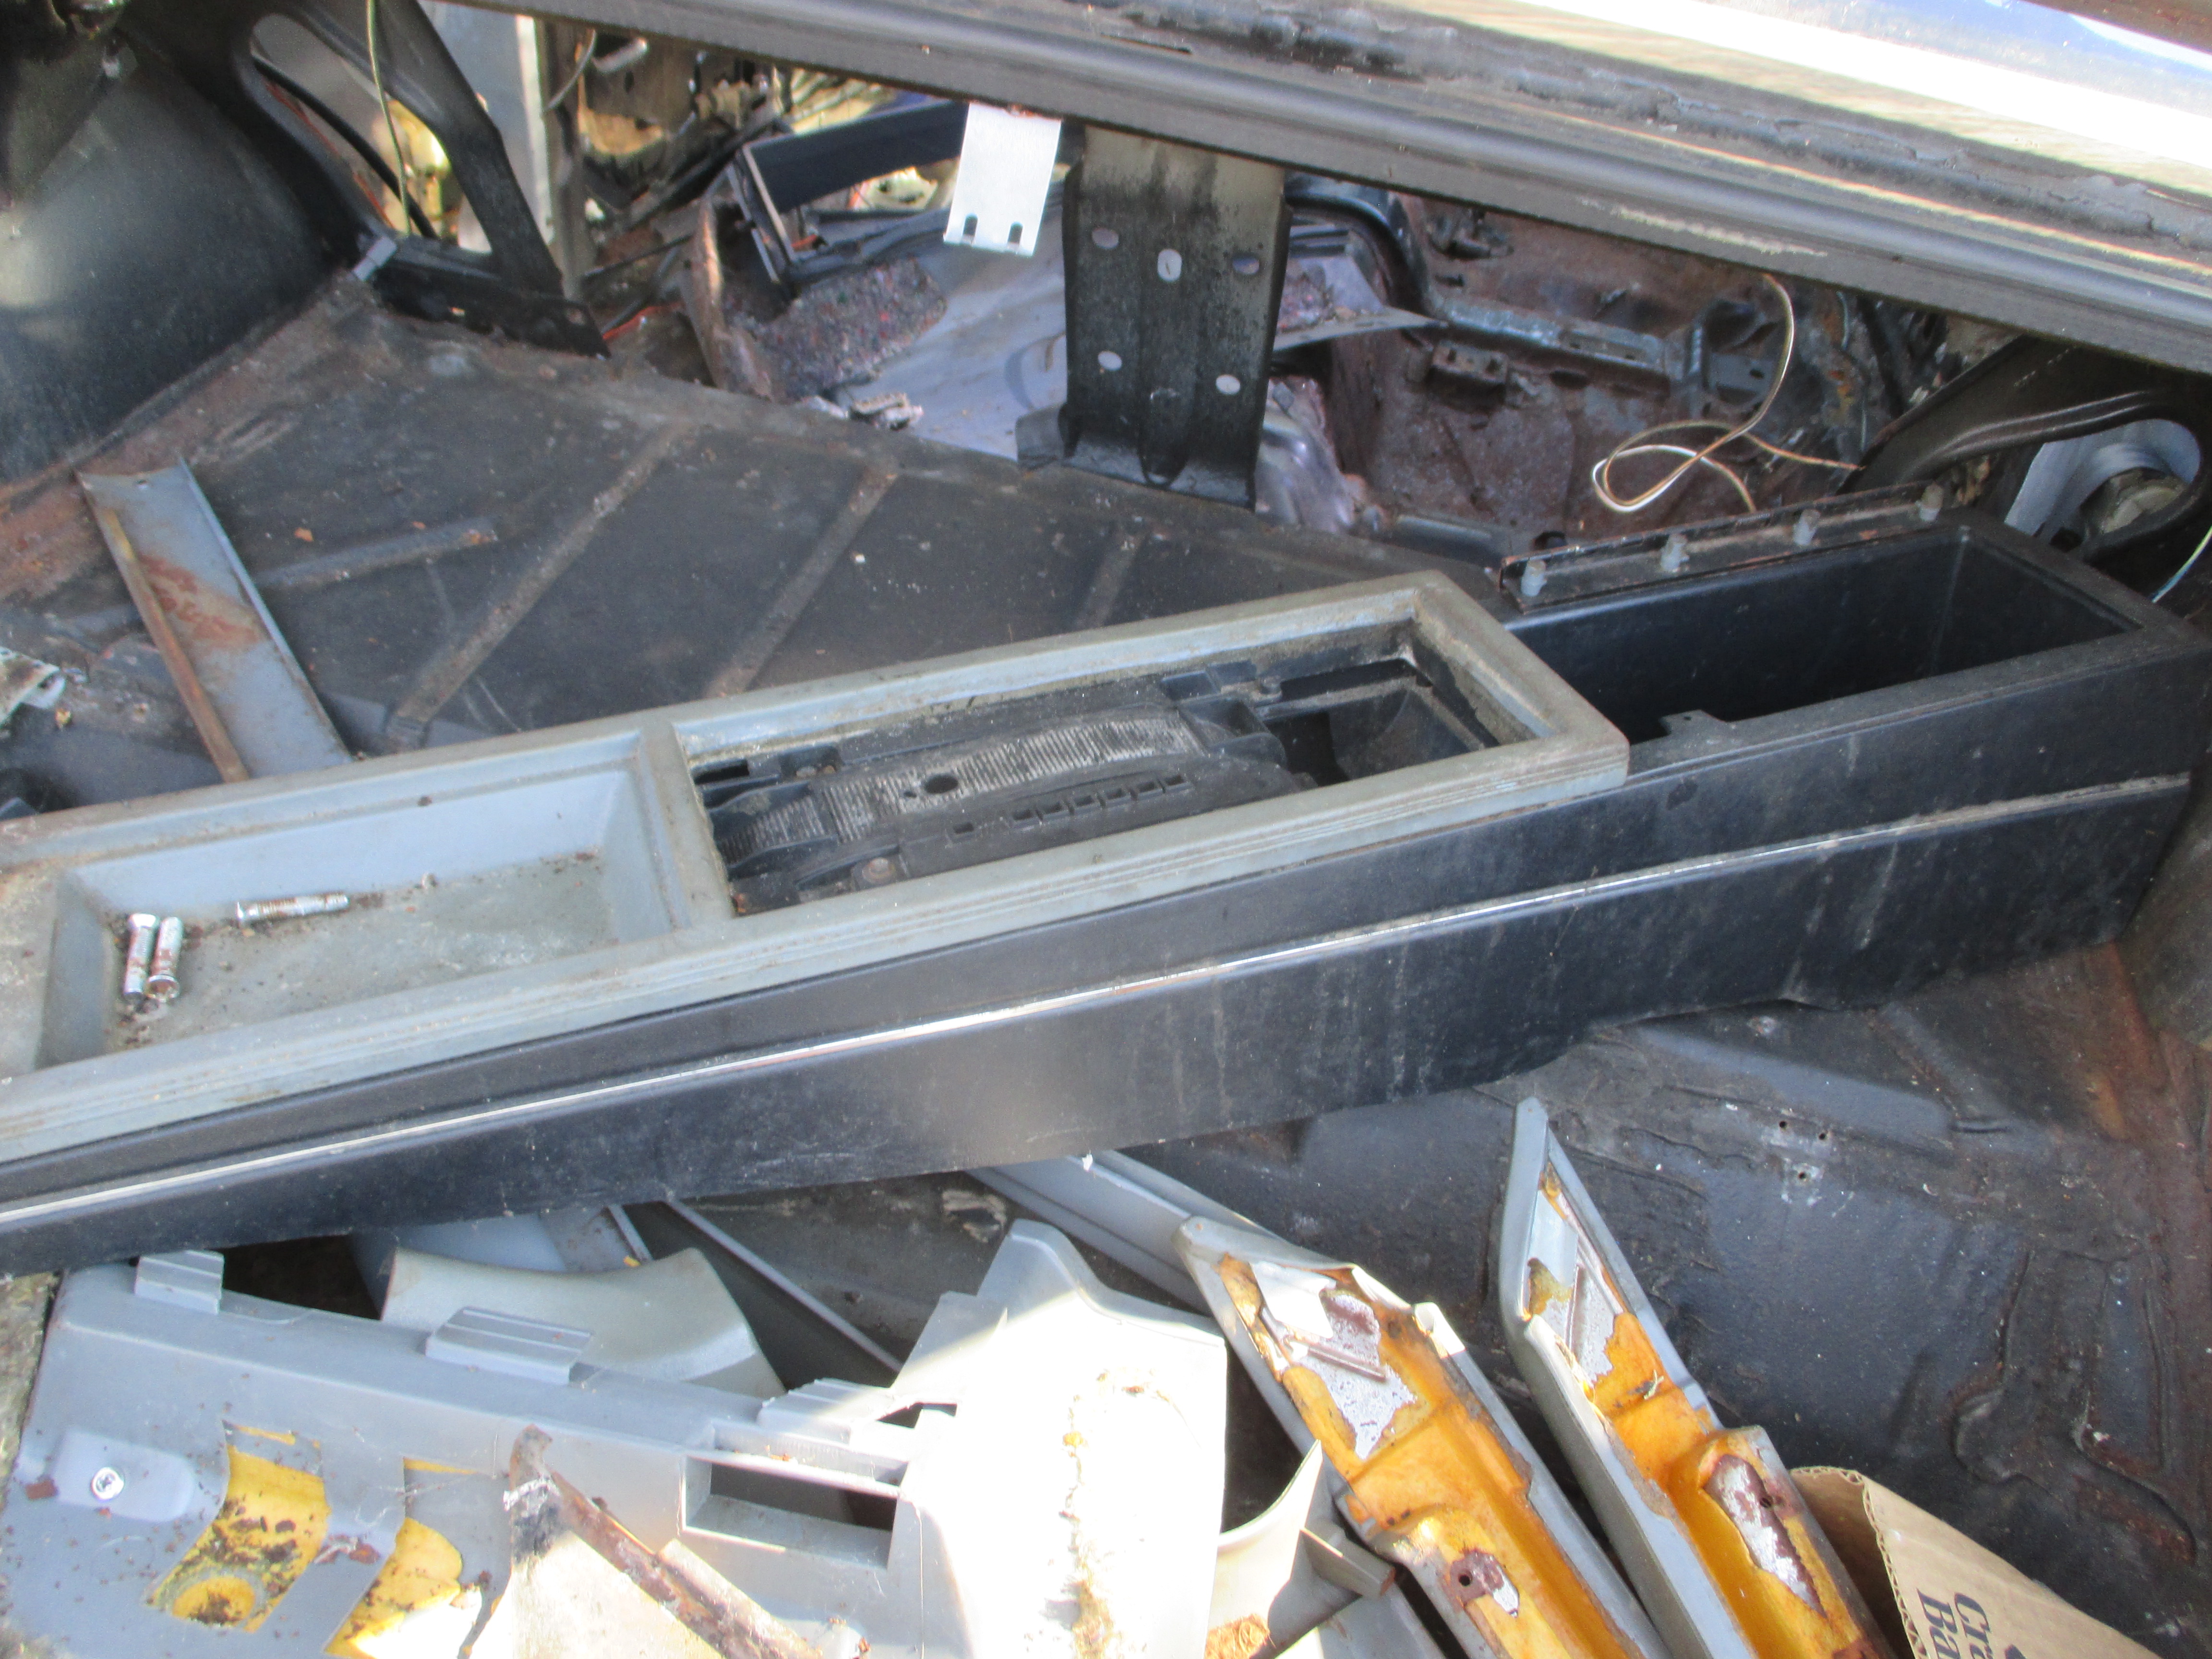
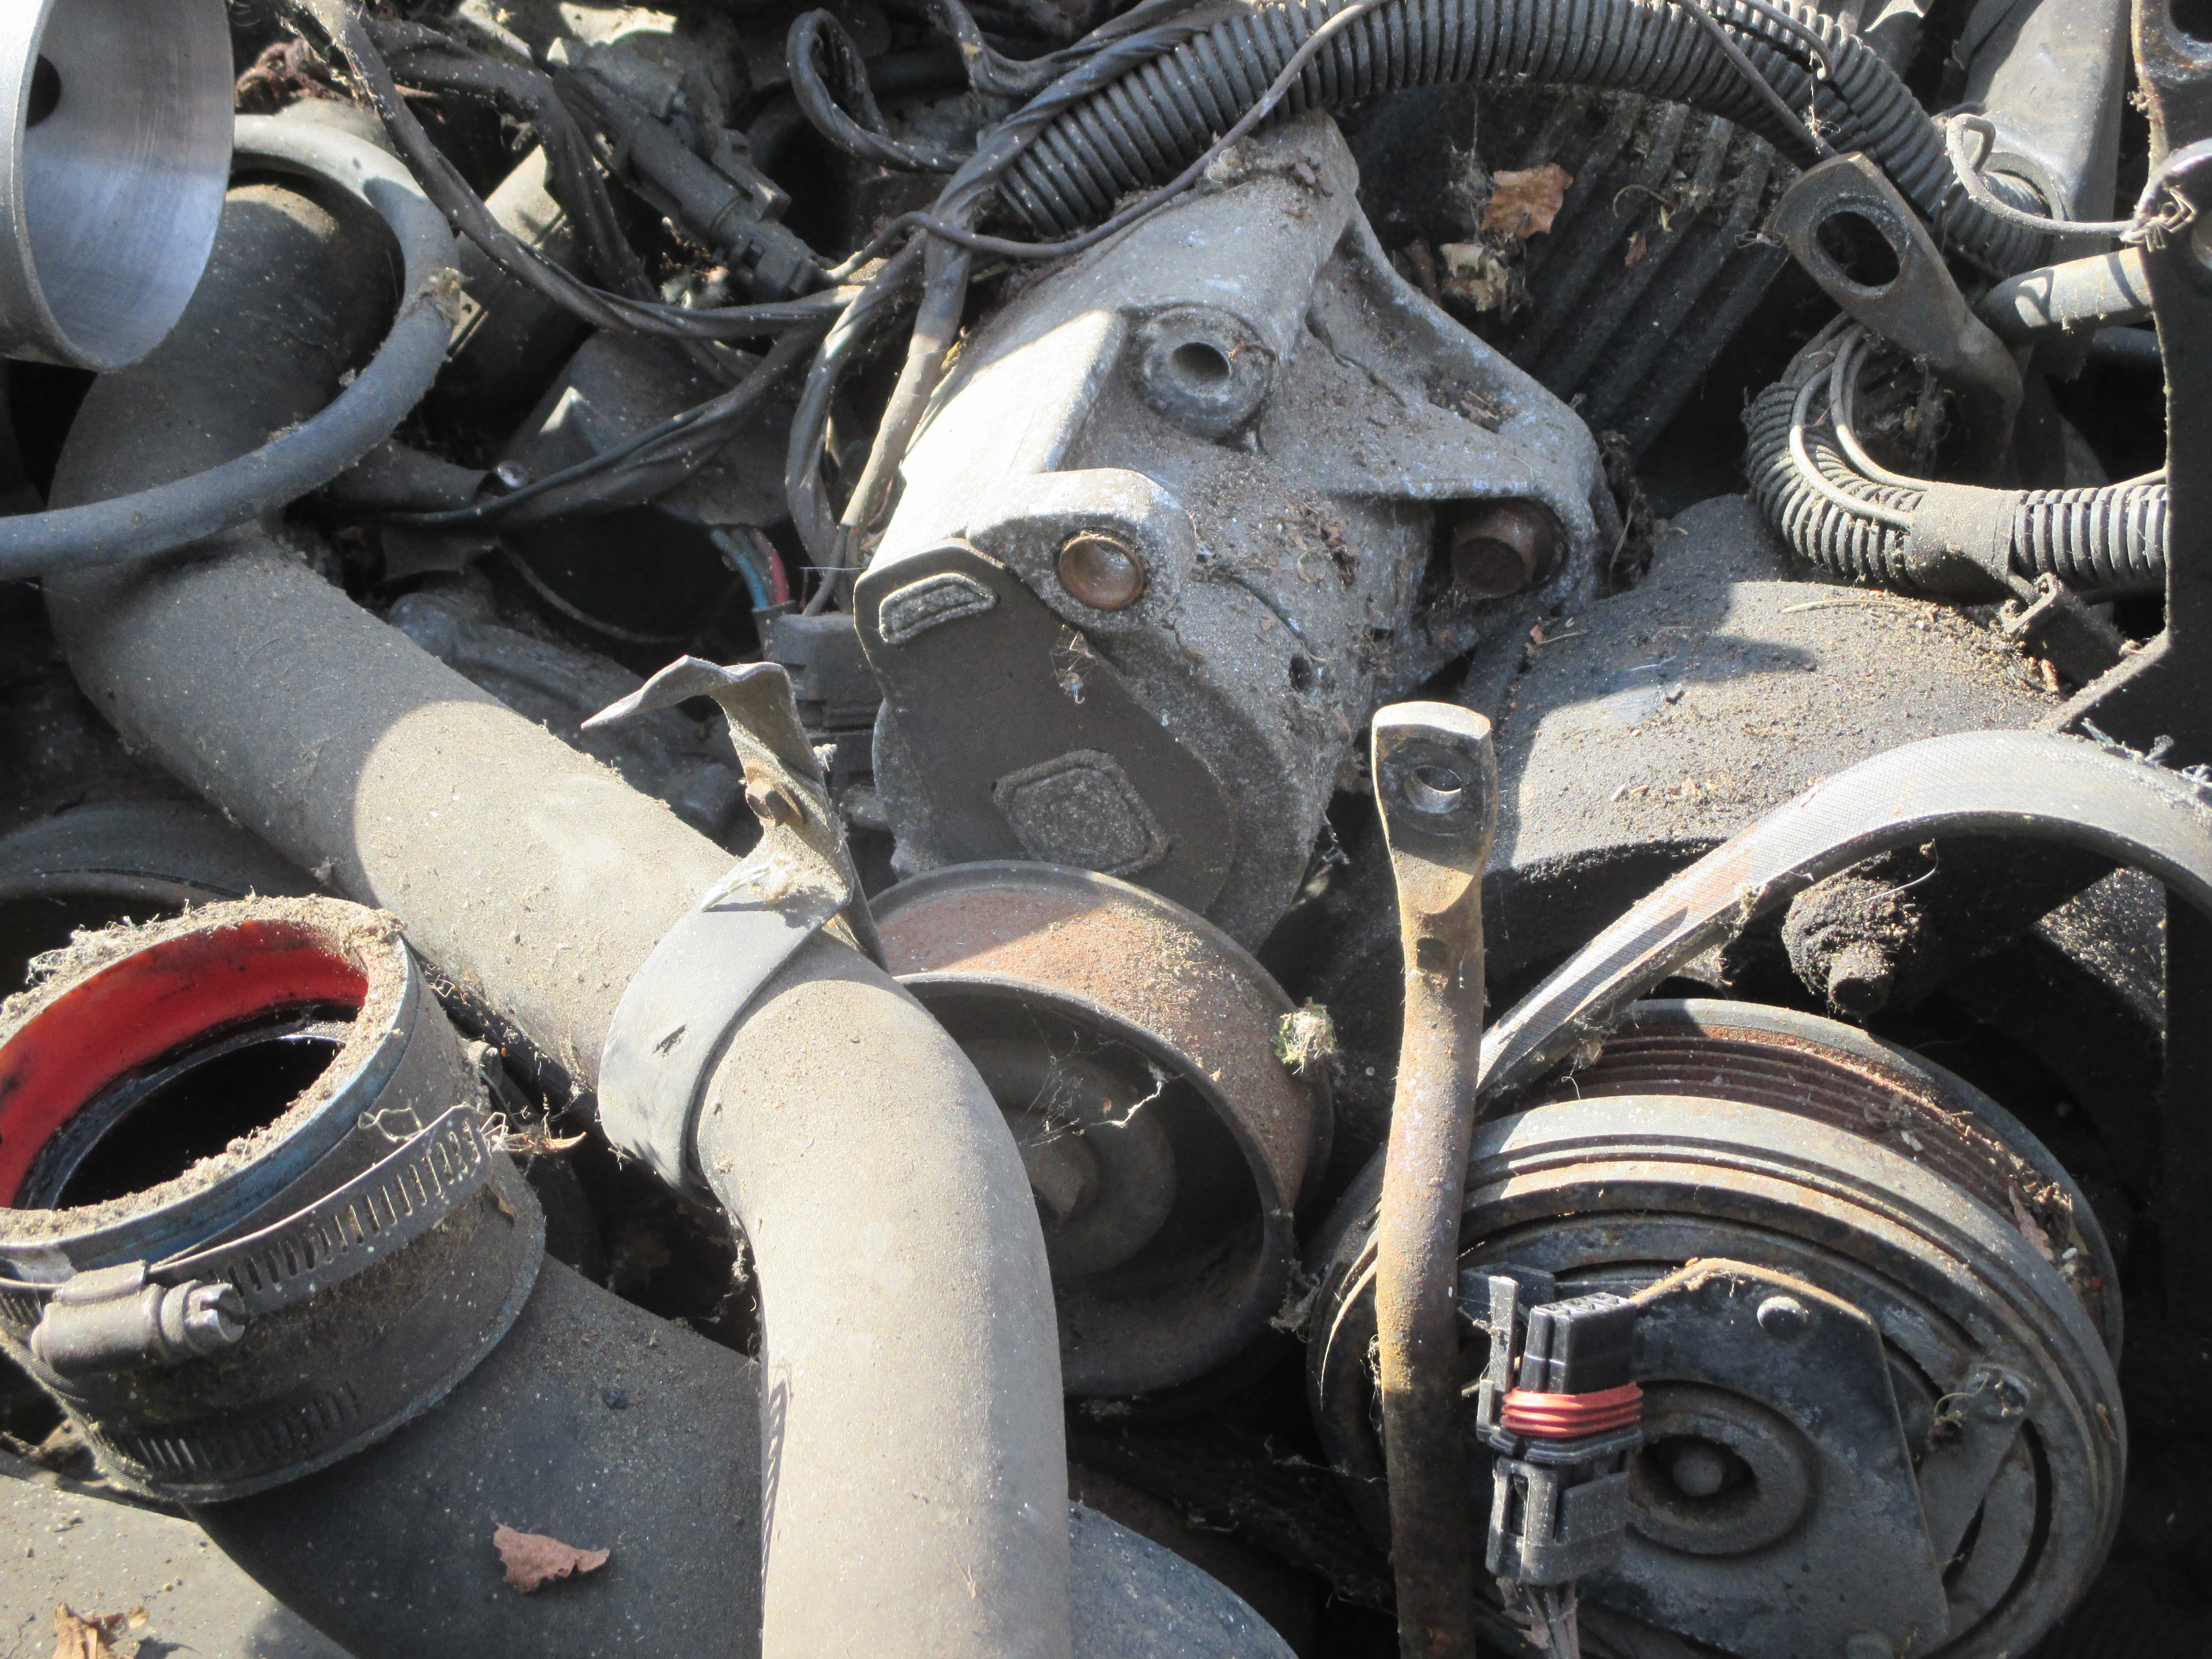
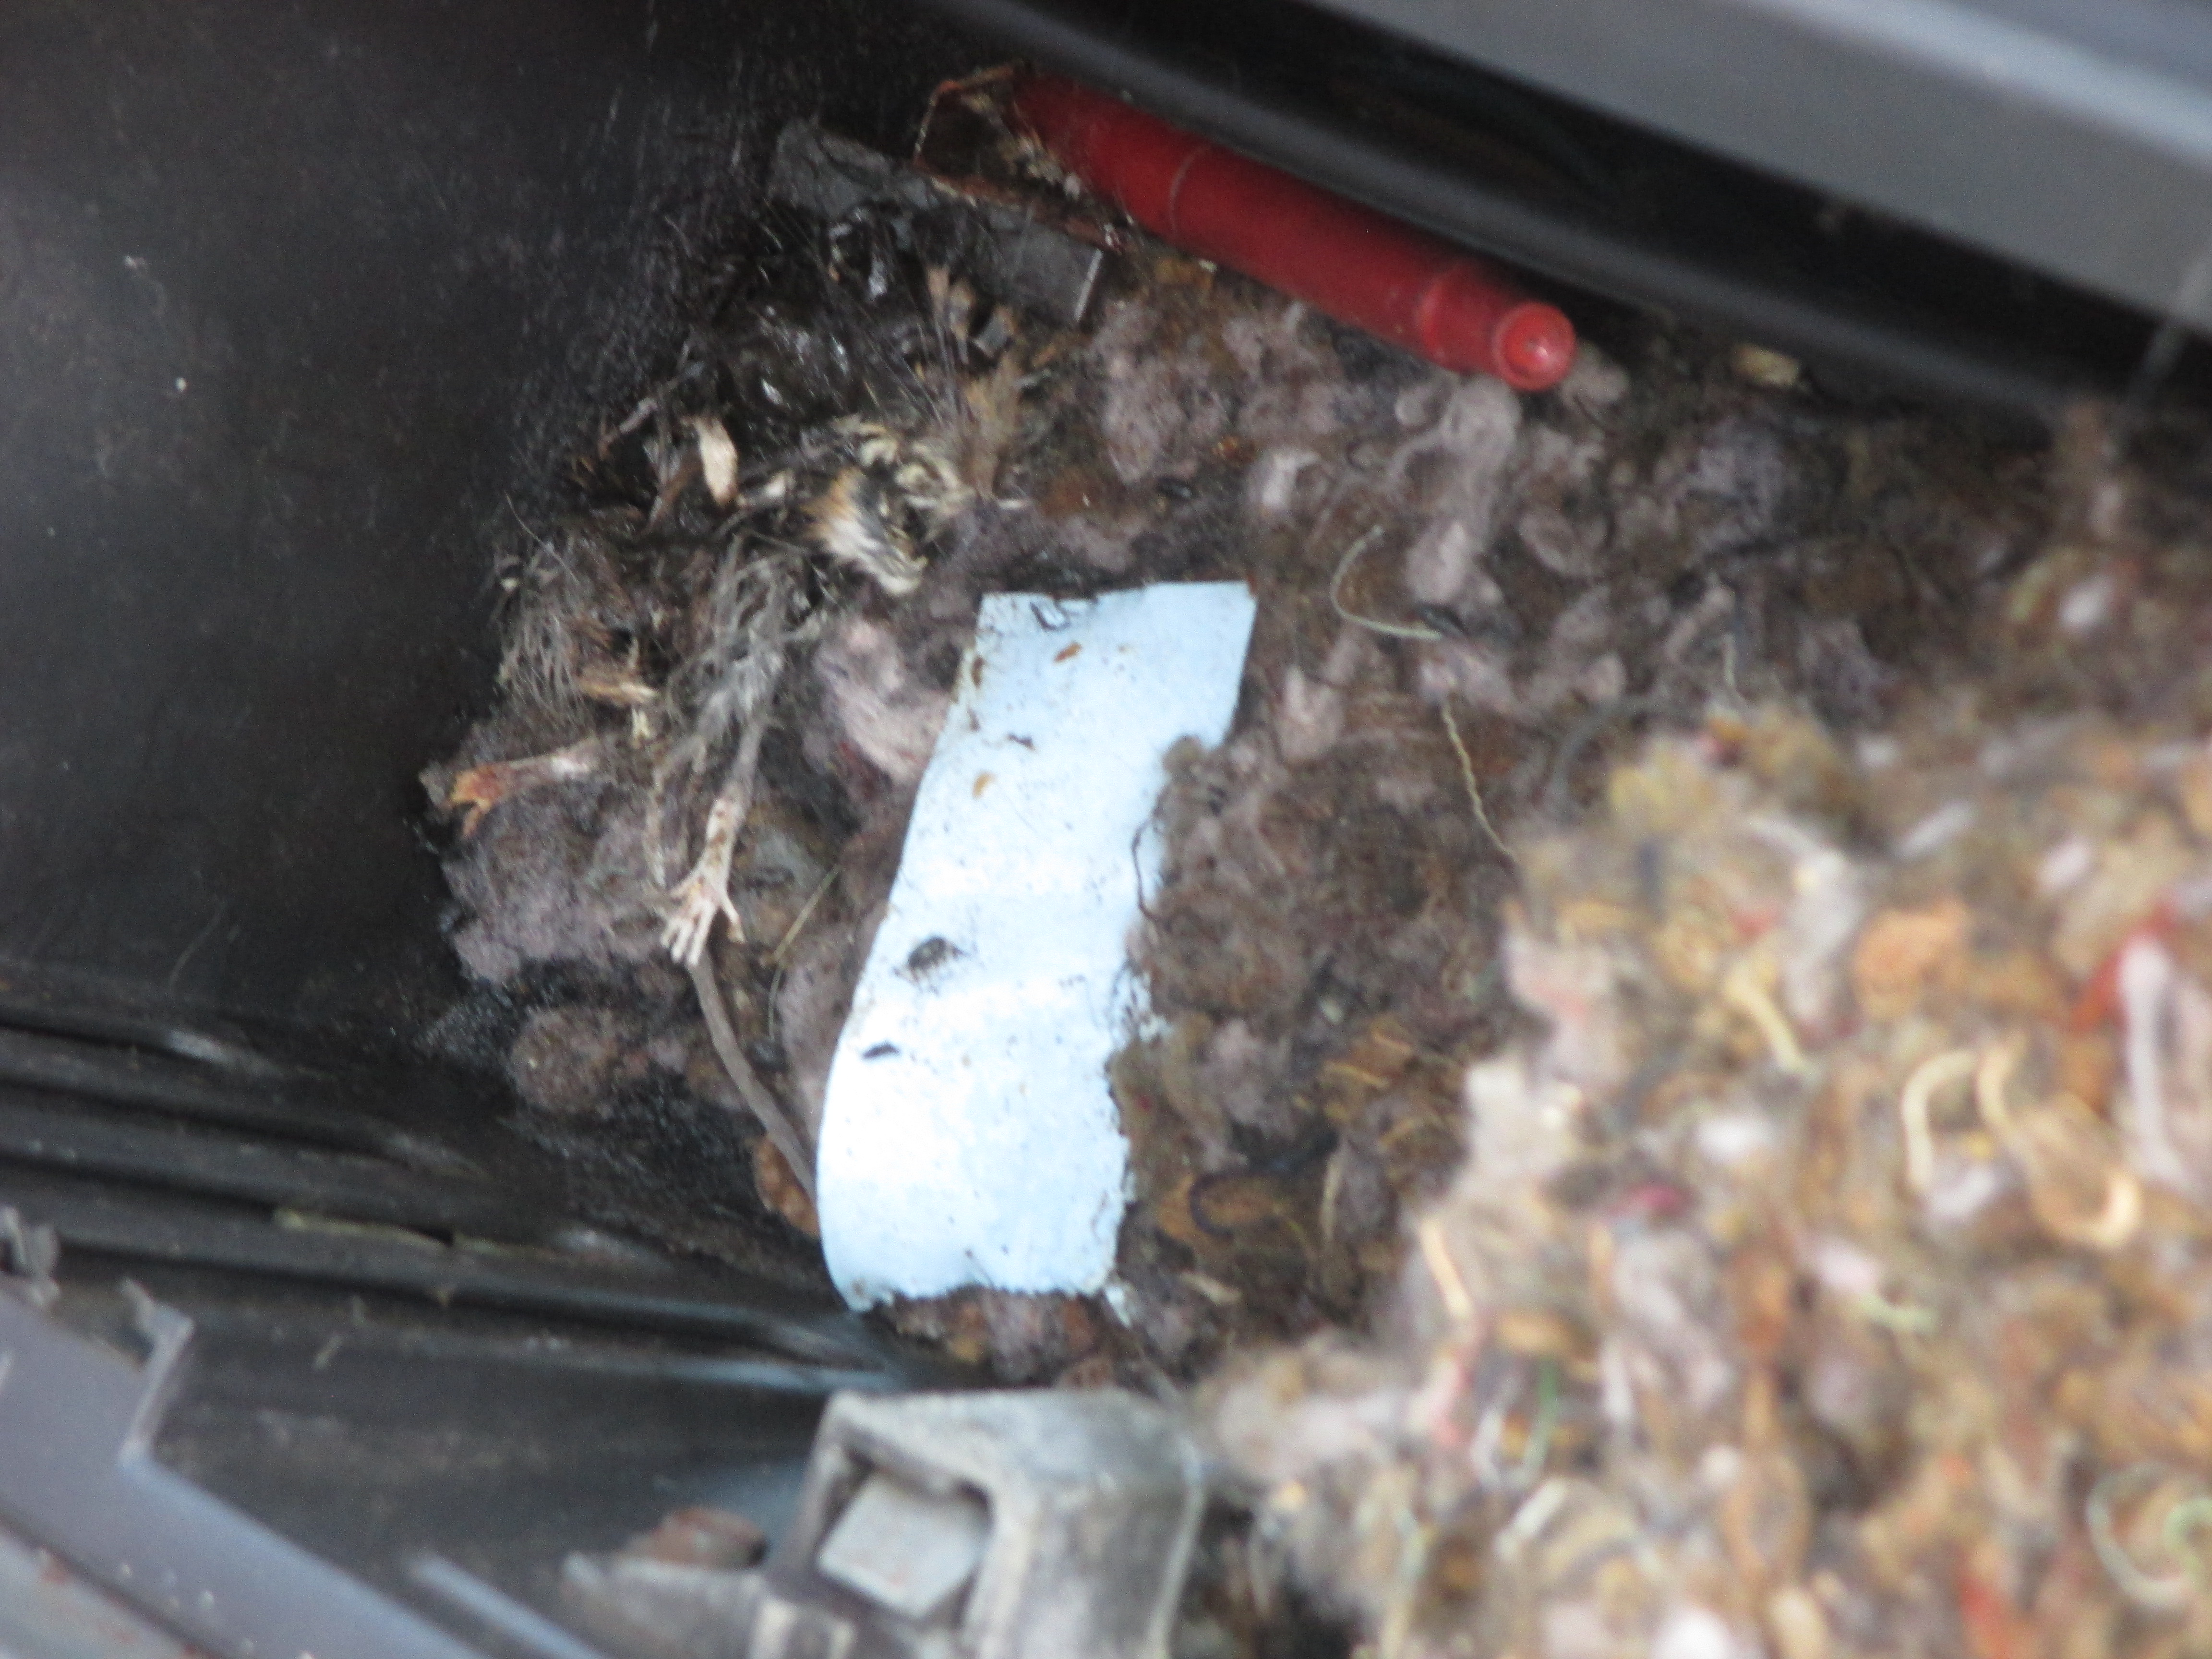
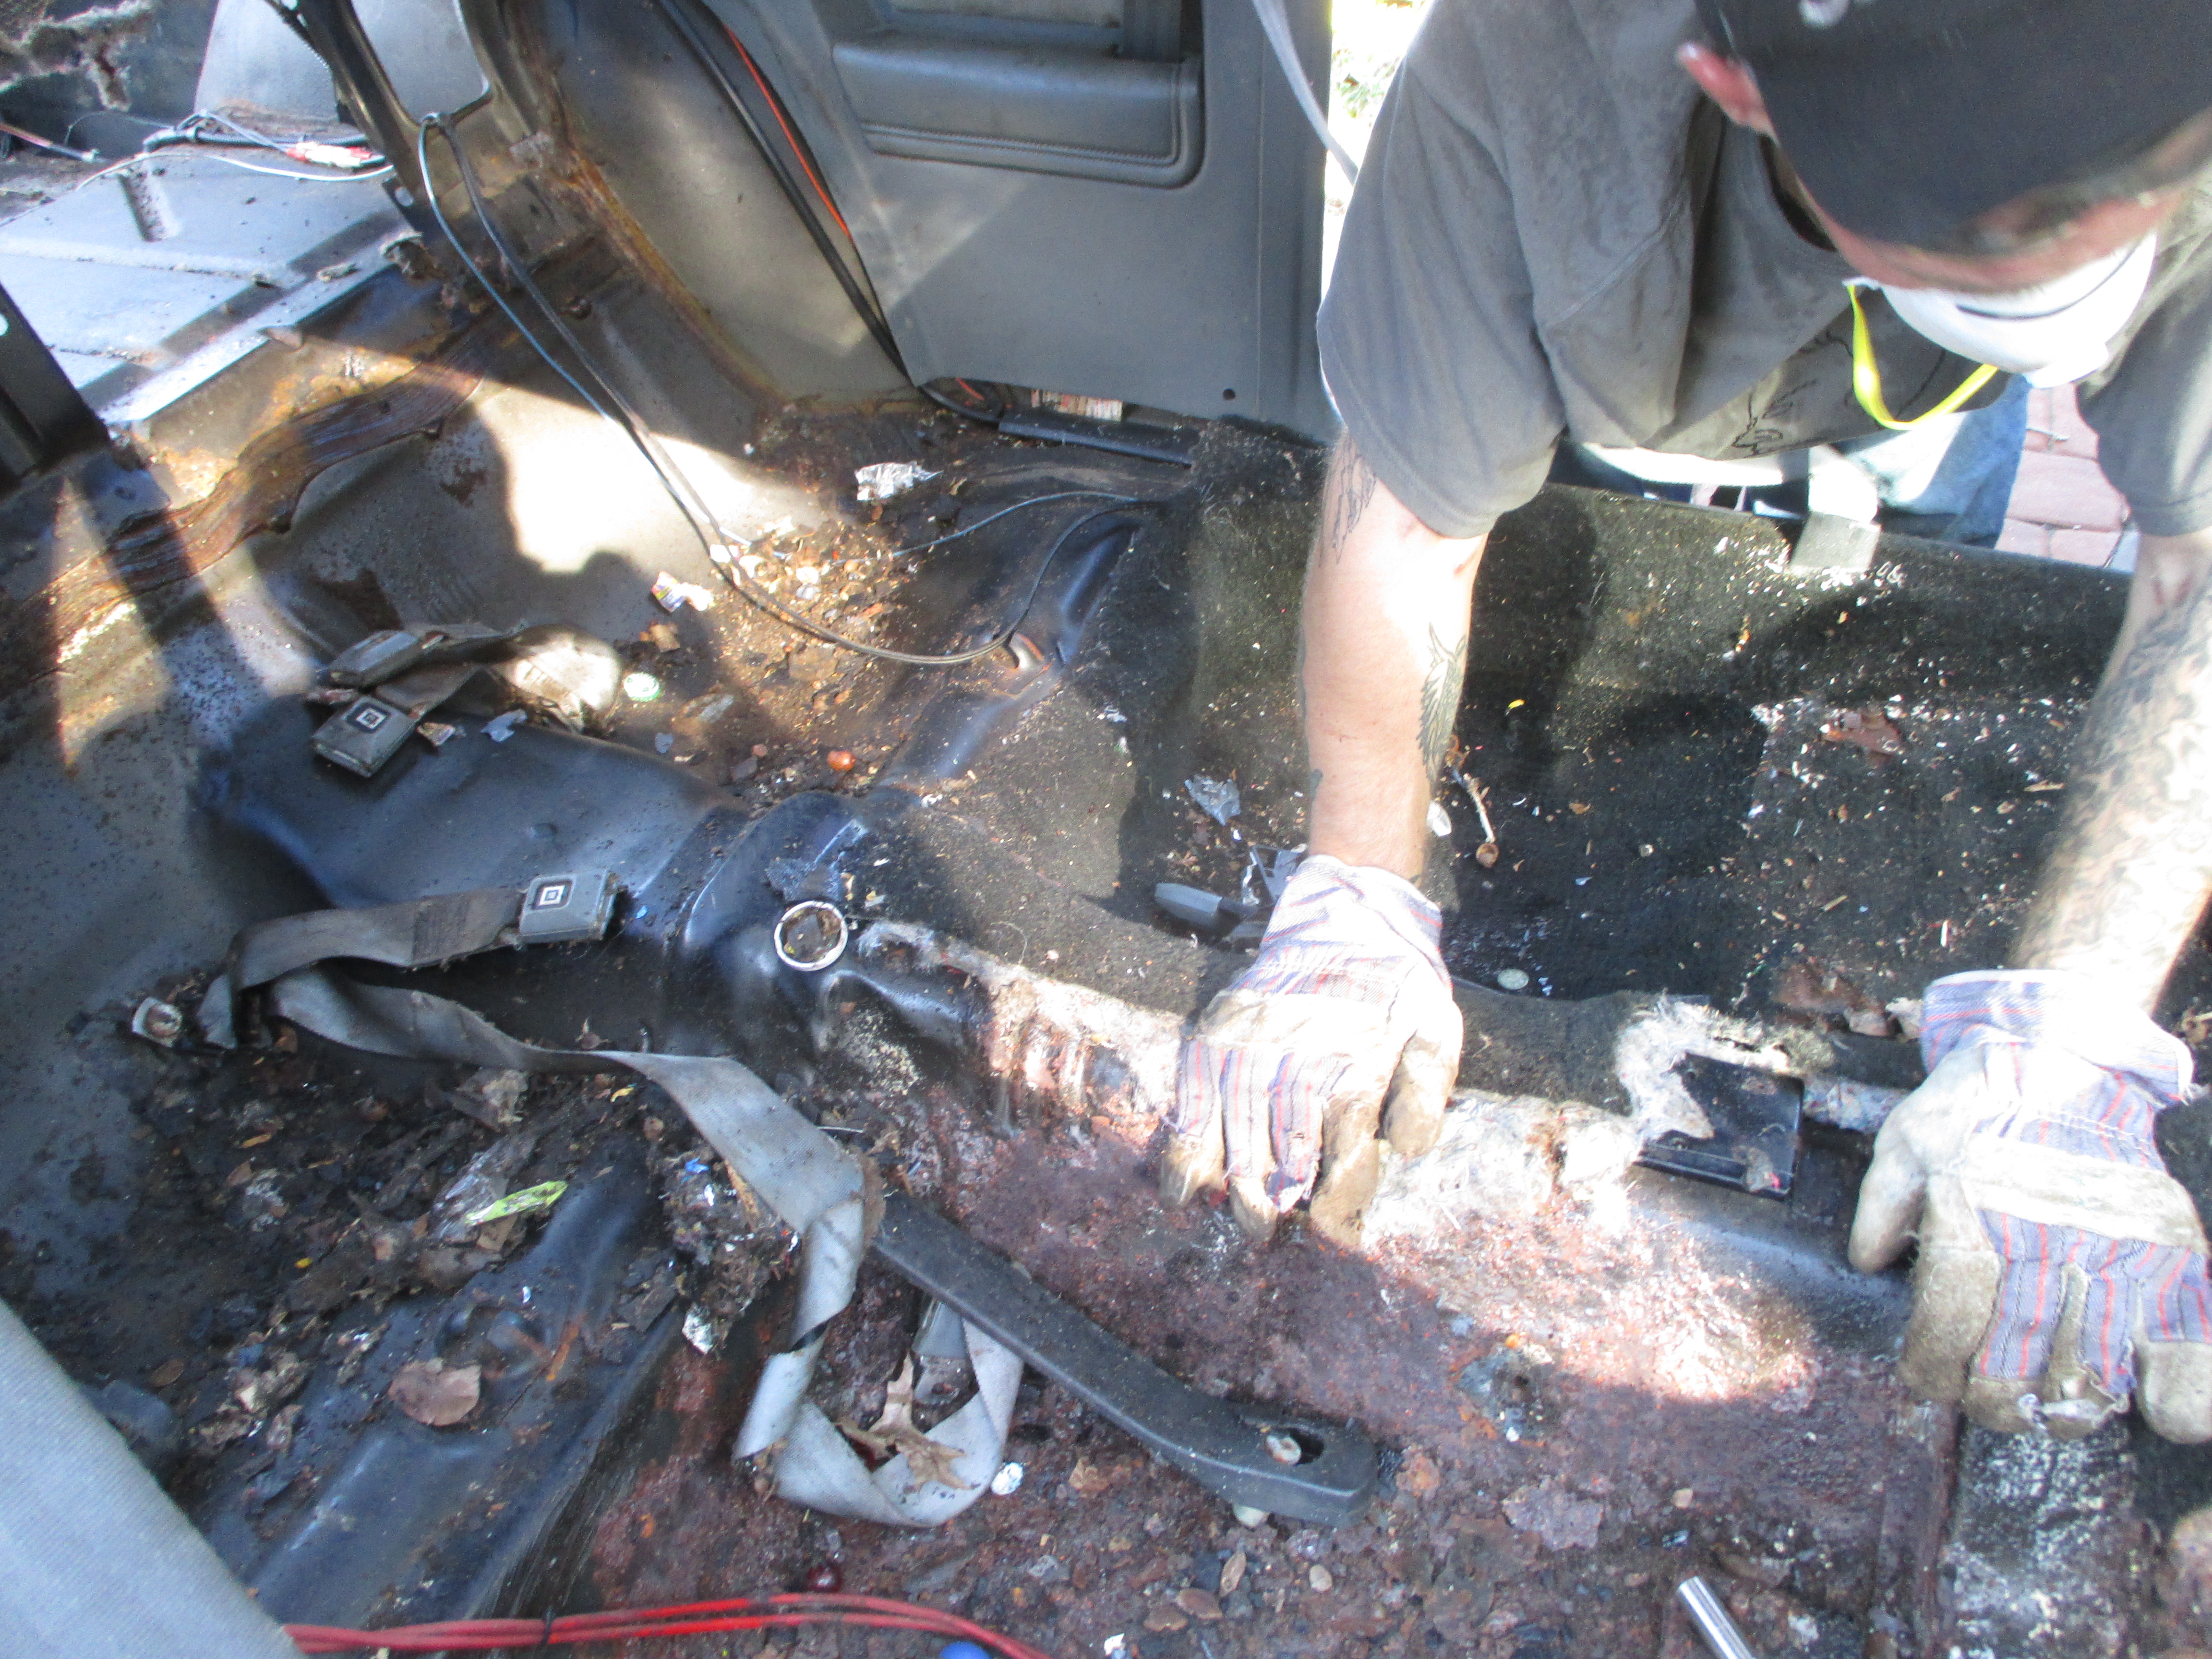
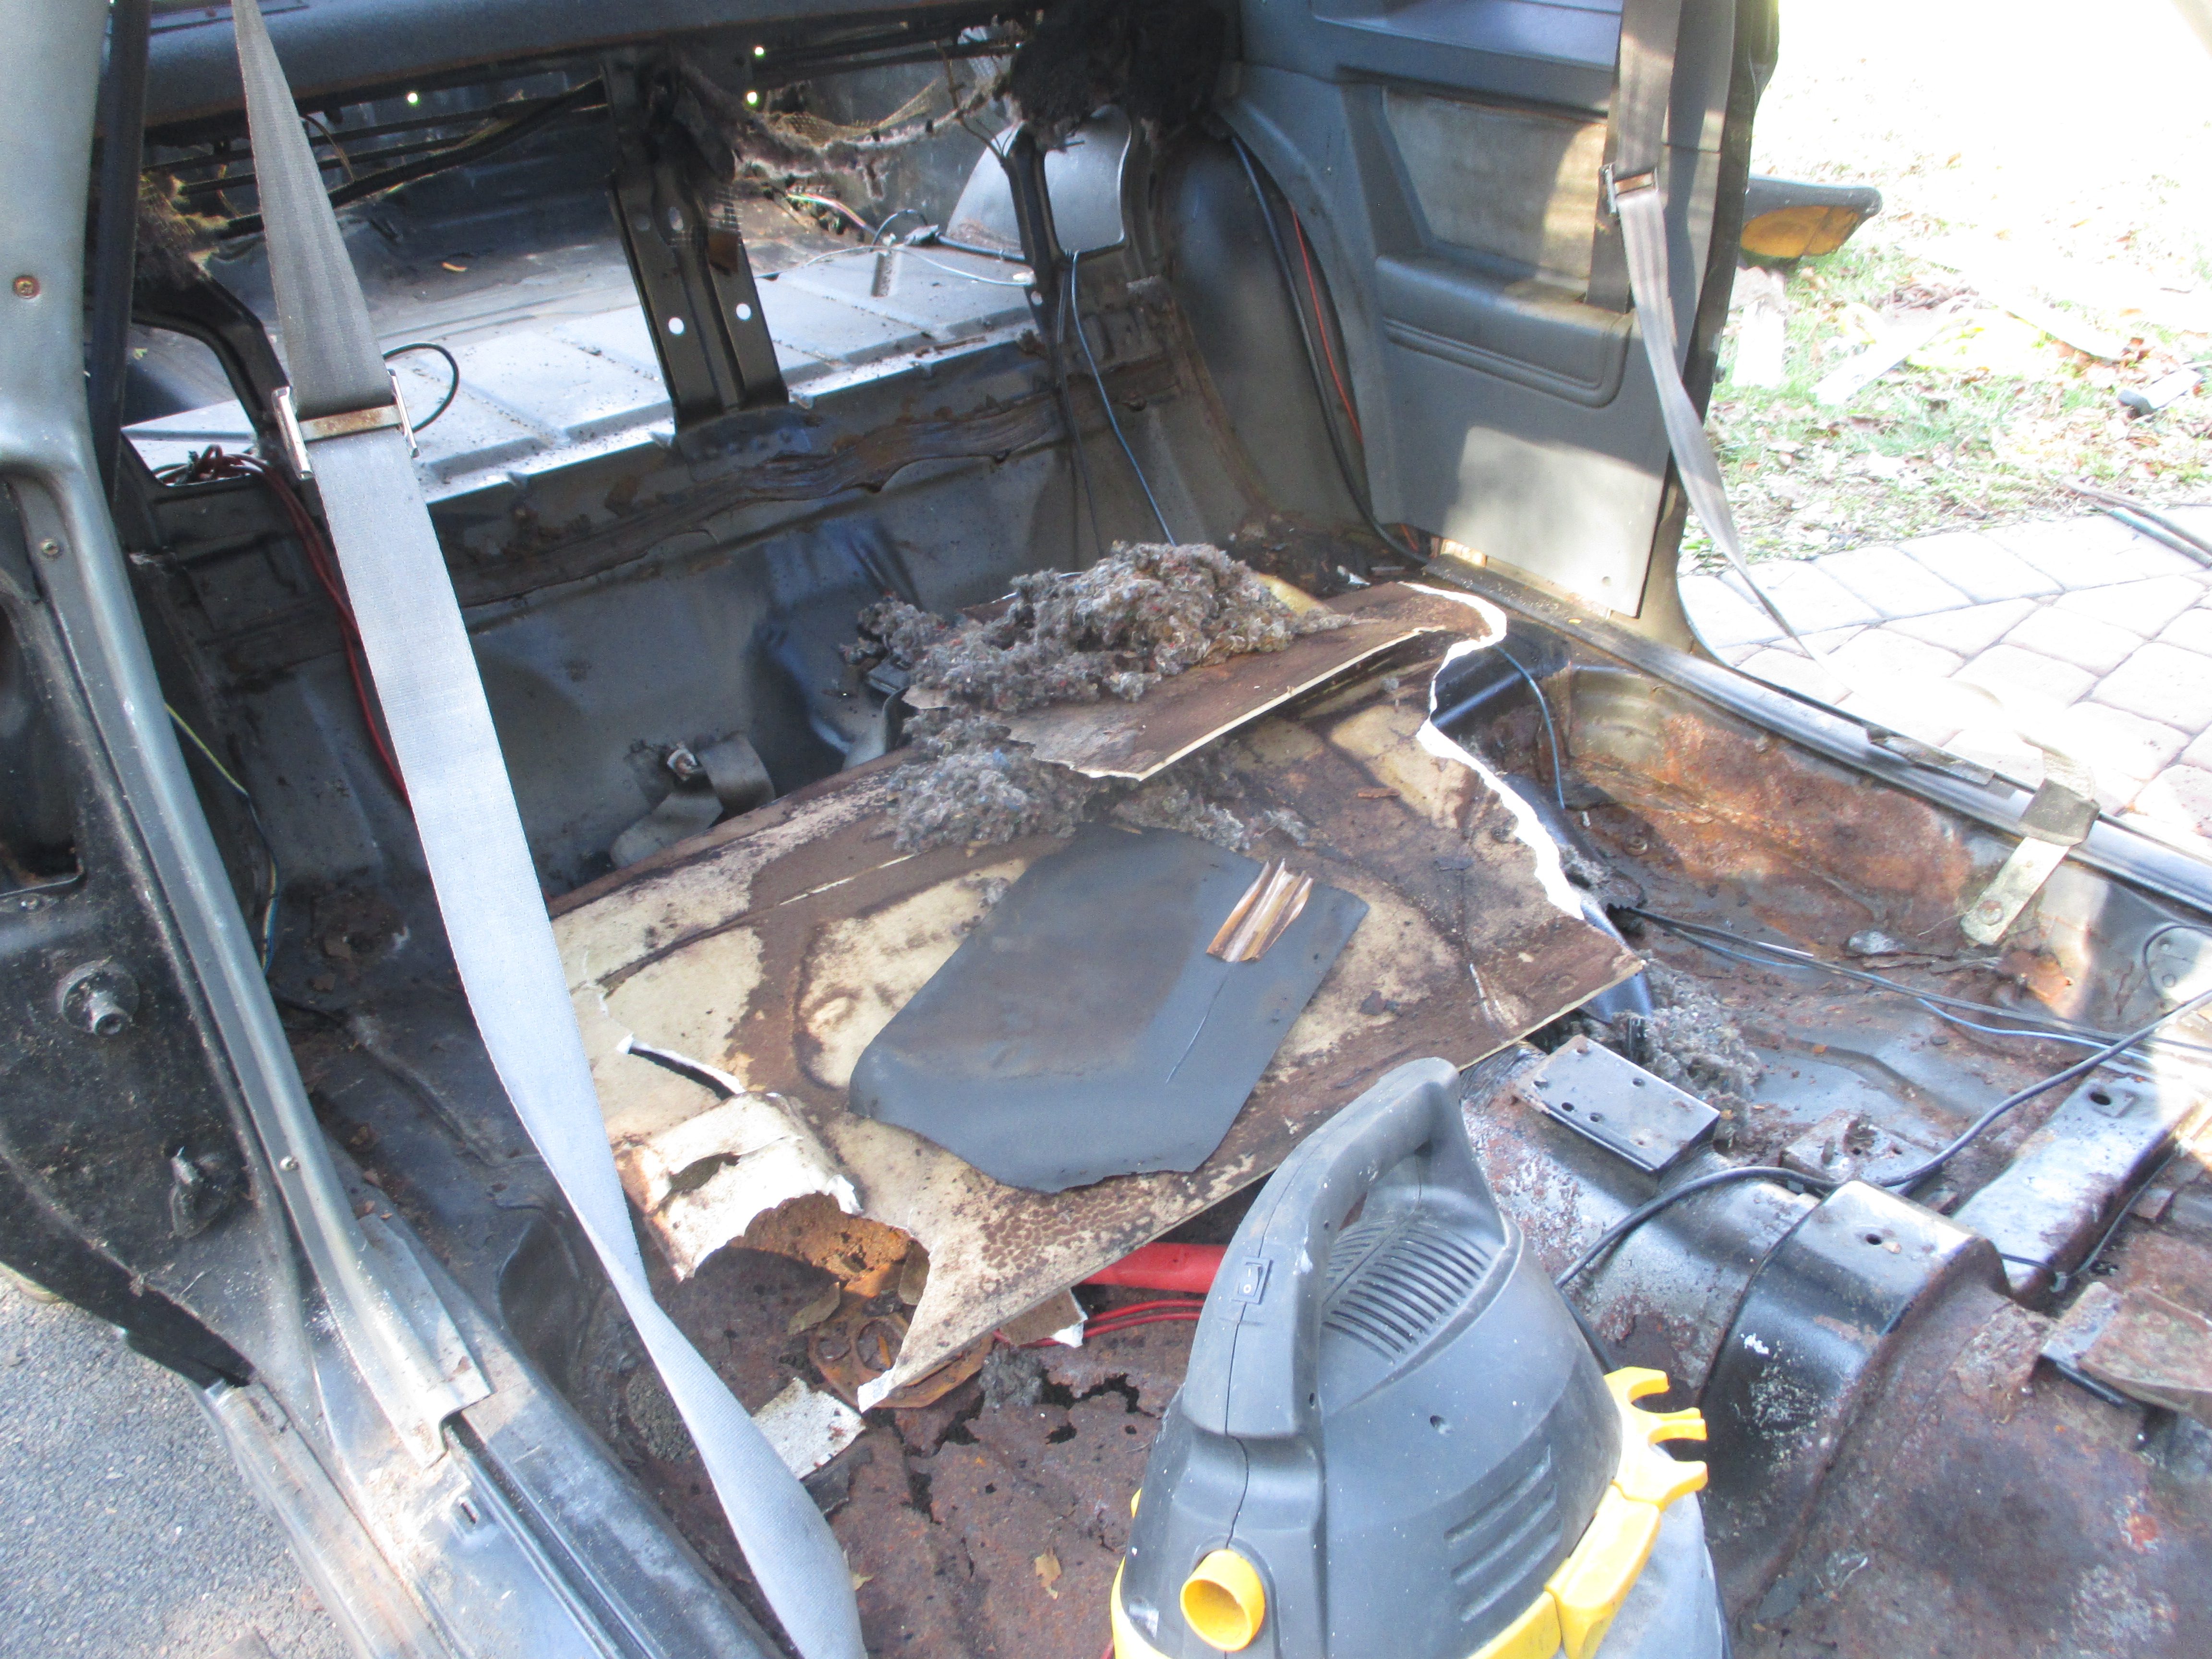
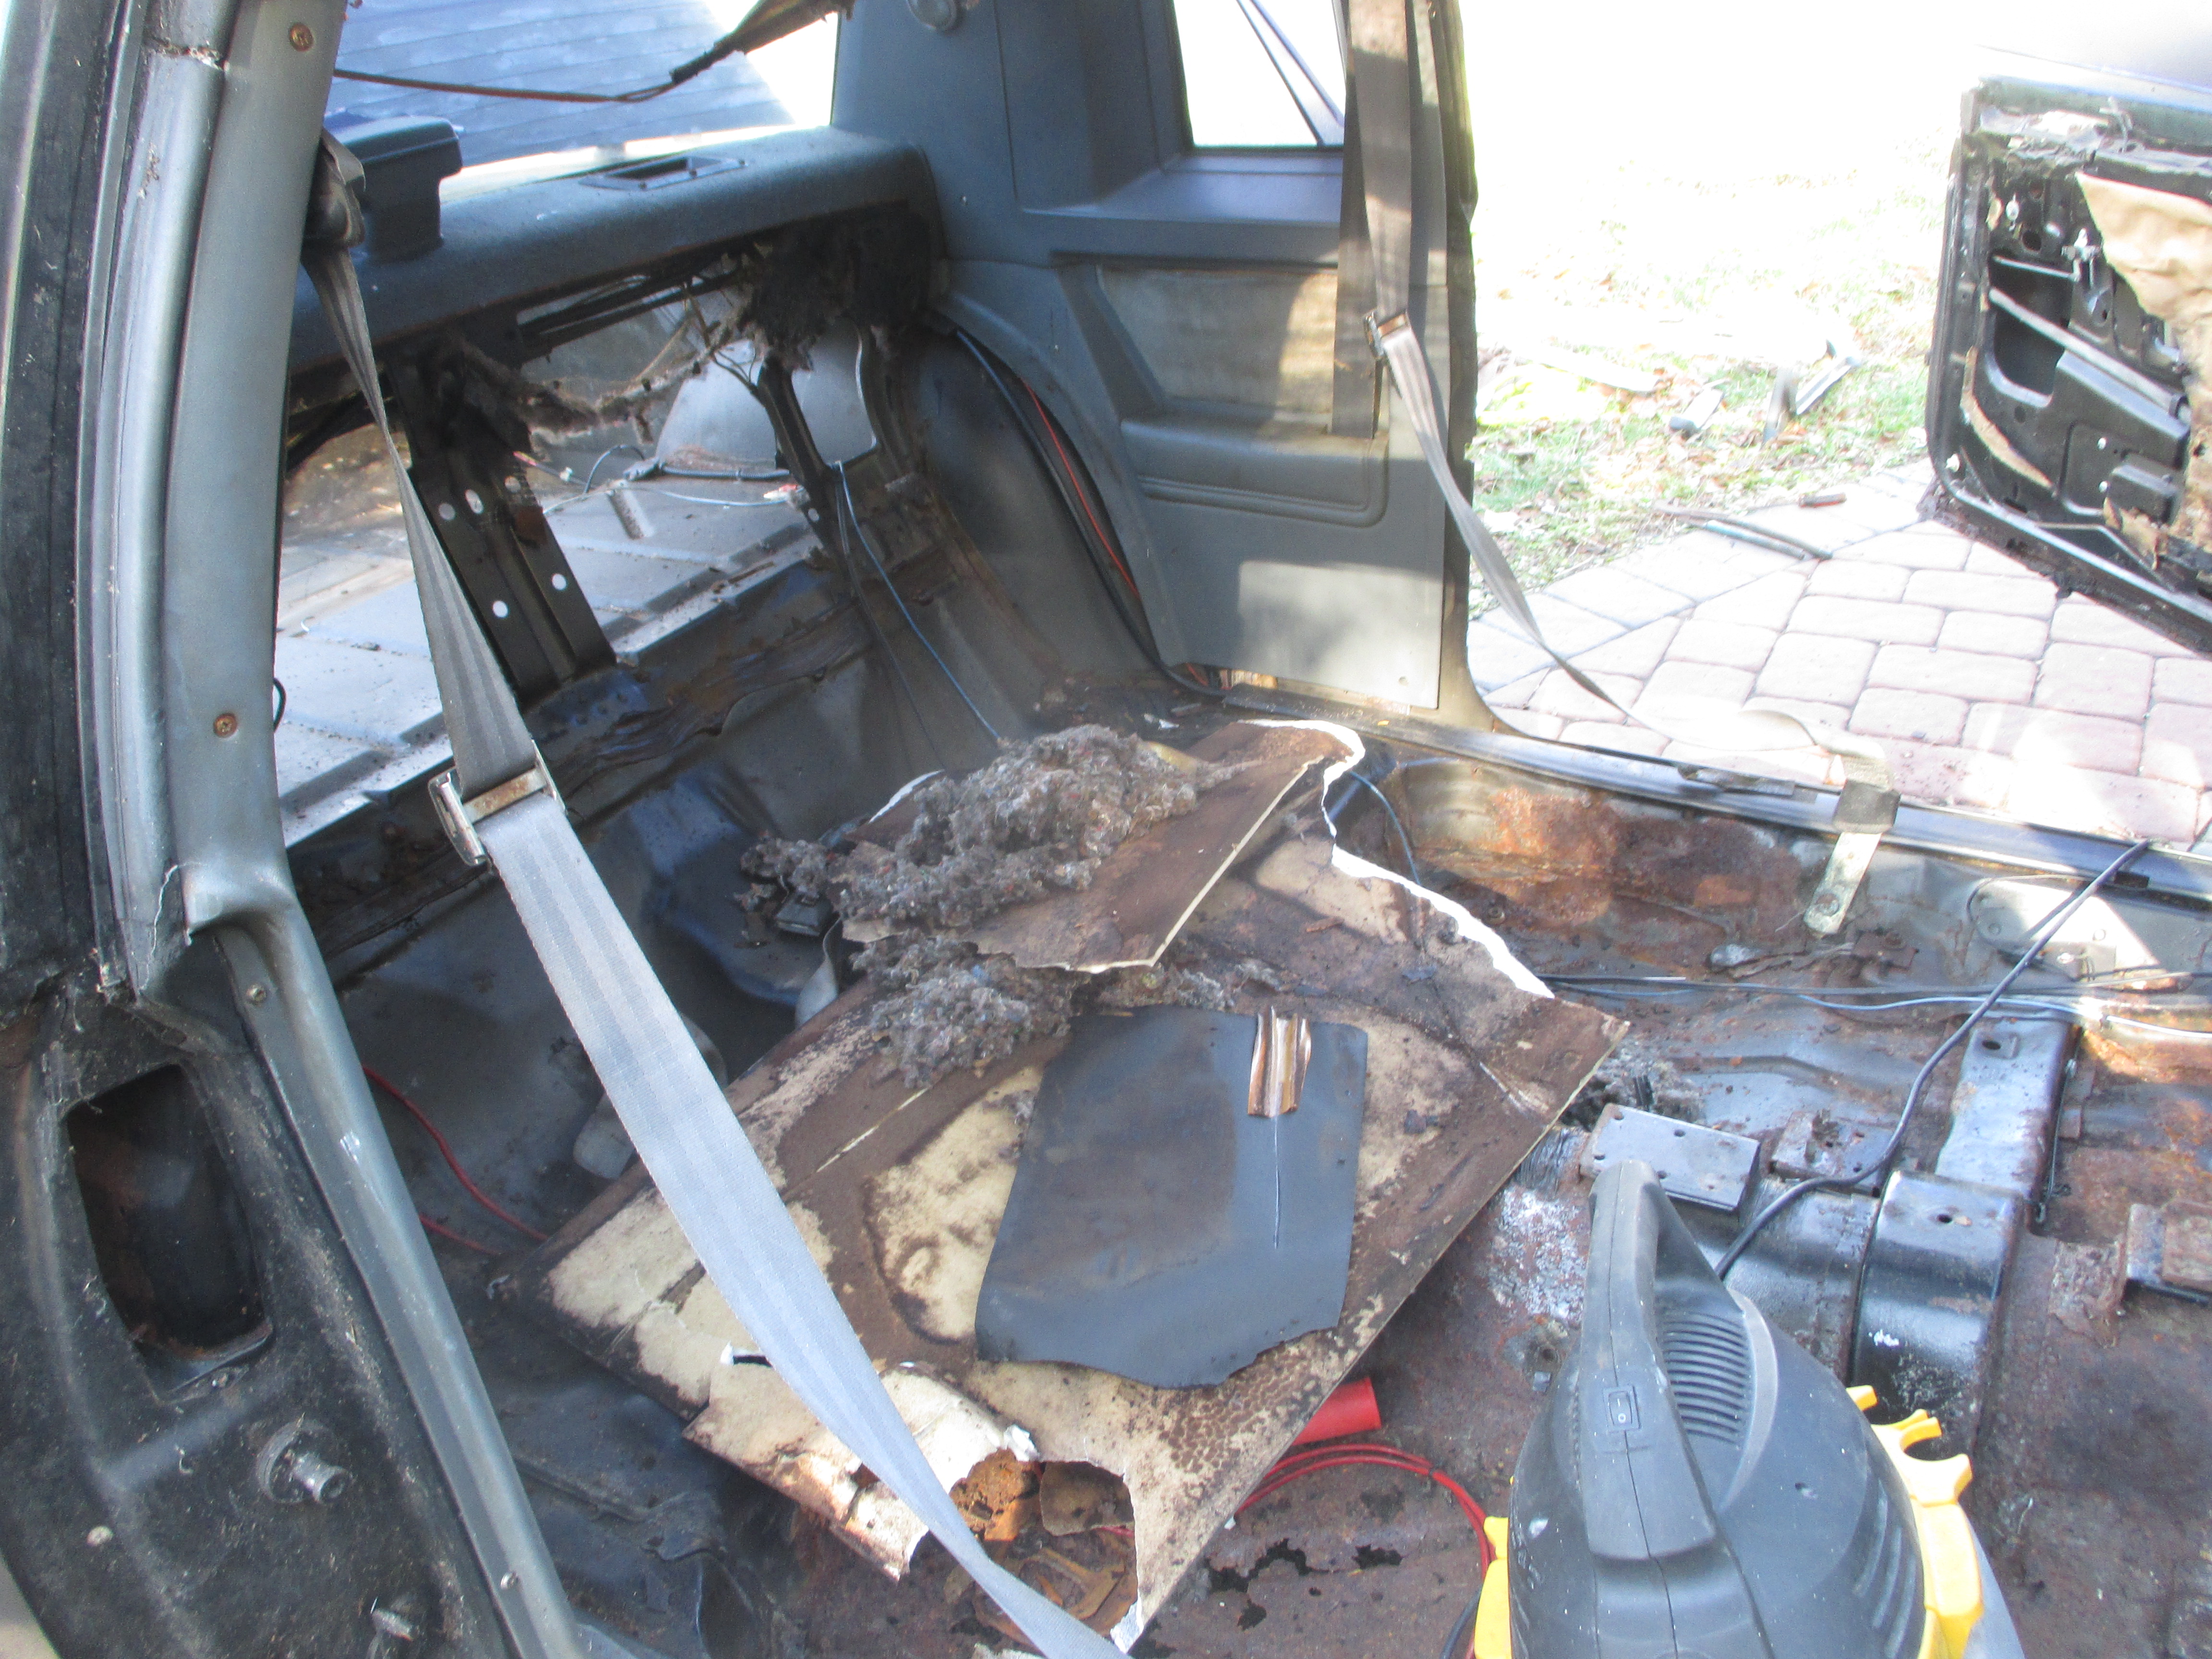
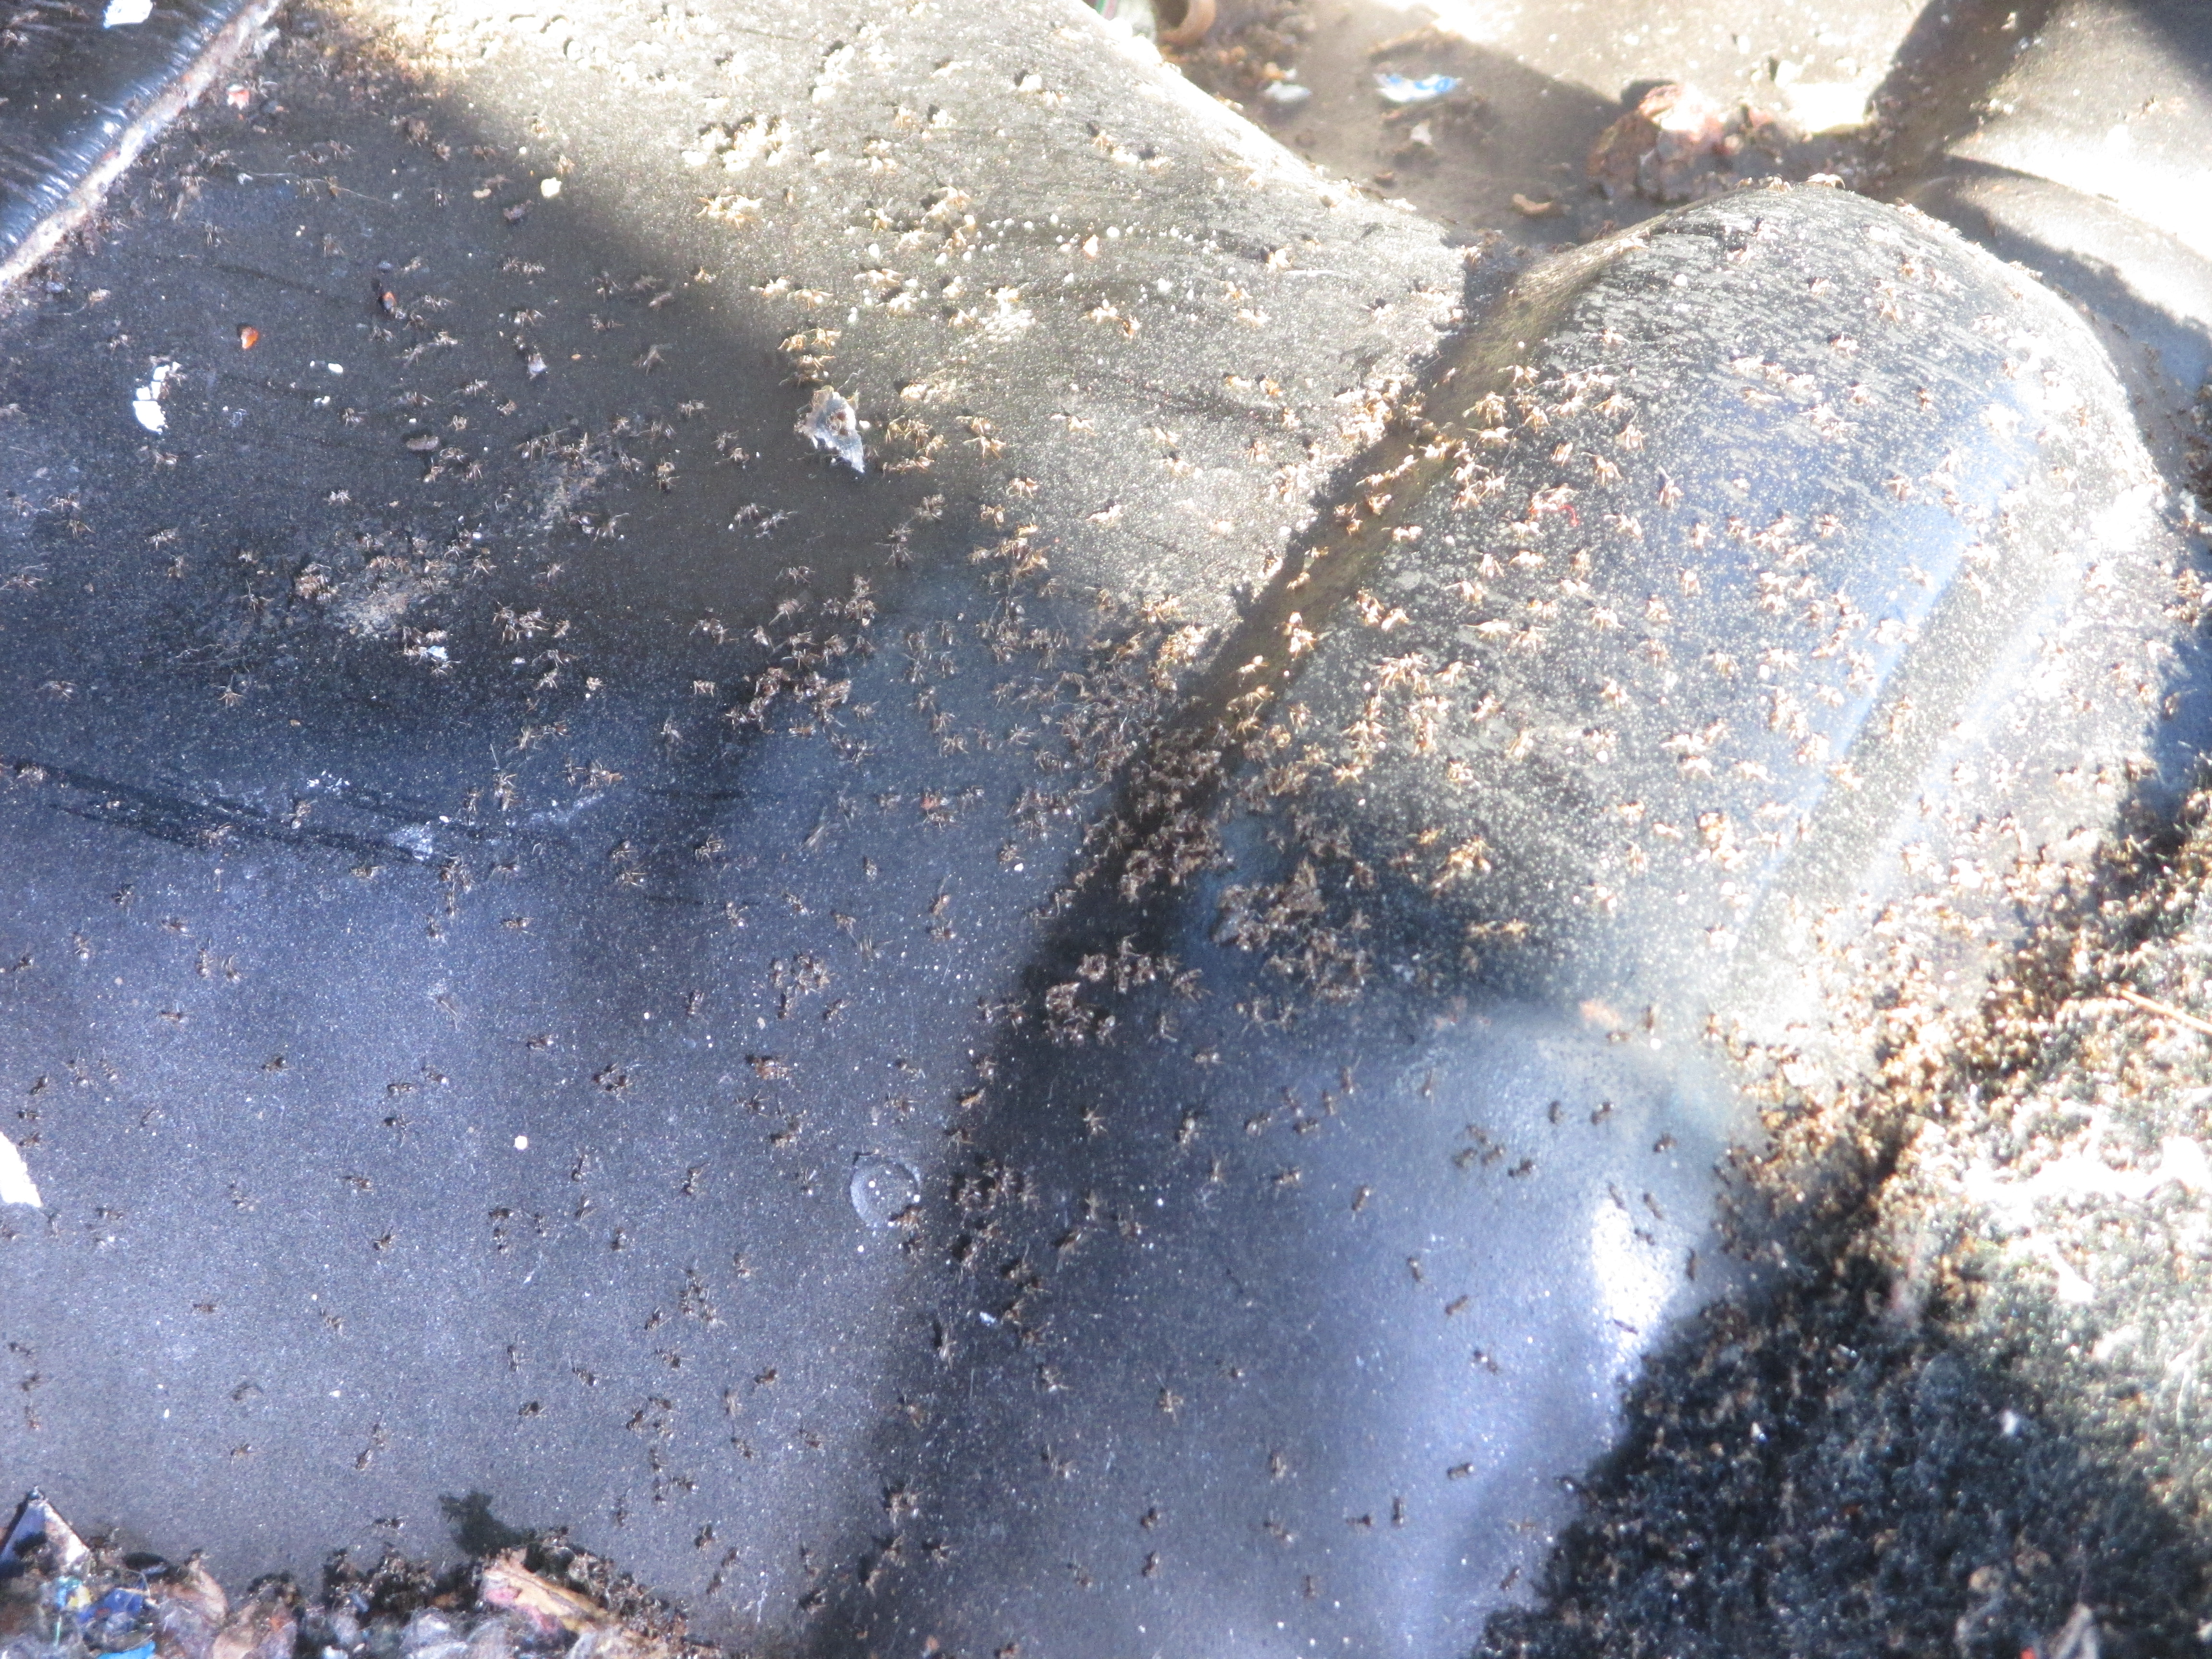
What do we have to work with? Its a compete, that’s the good news. The bad news is that is has been ravaged by rust dead rodents and bugs
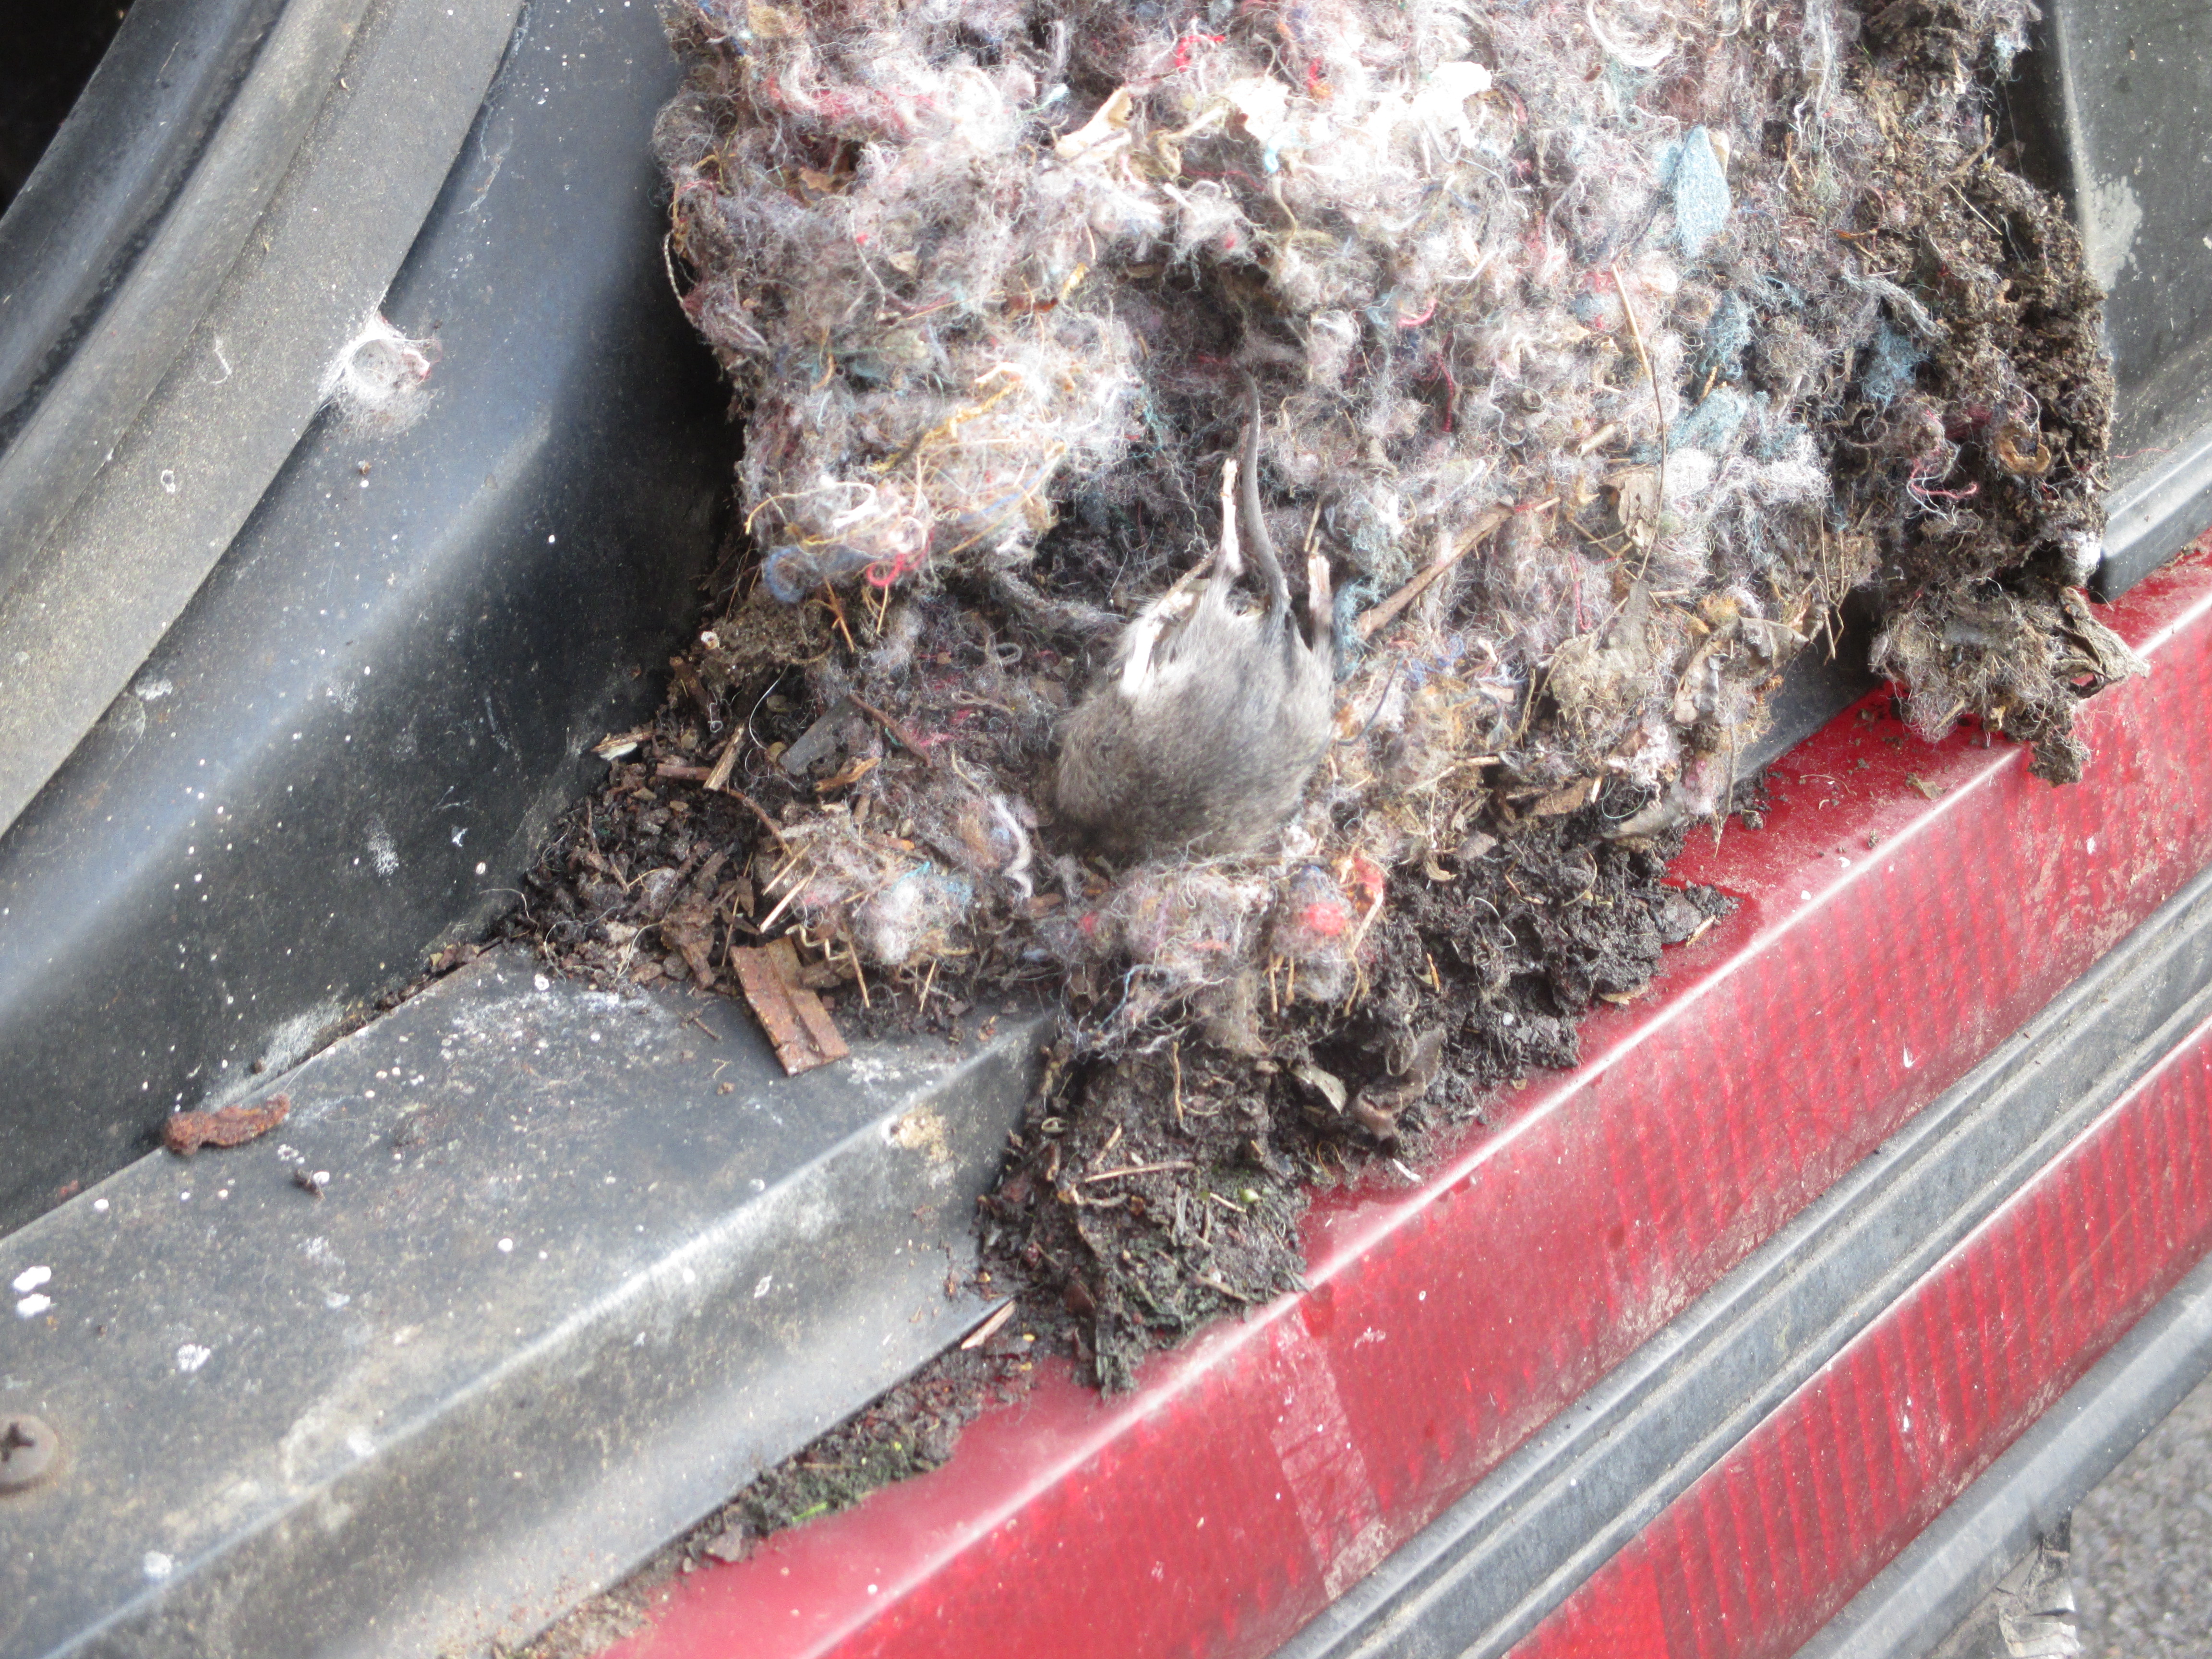
Dead mice everywhere and an odor to match
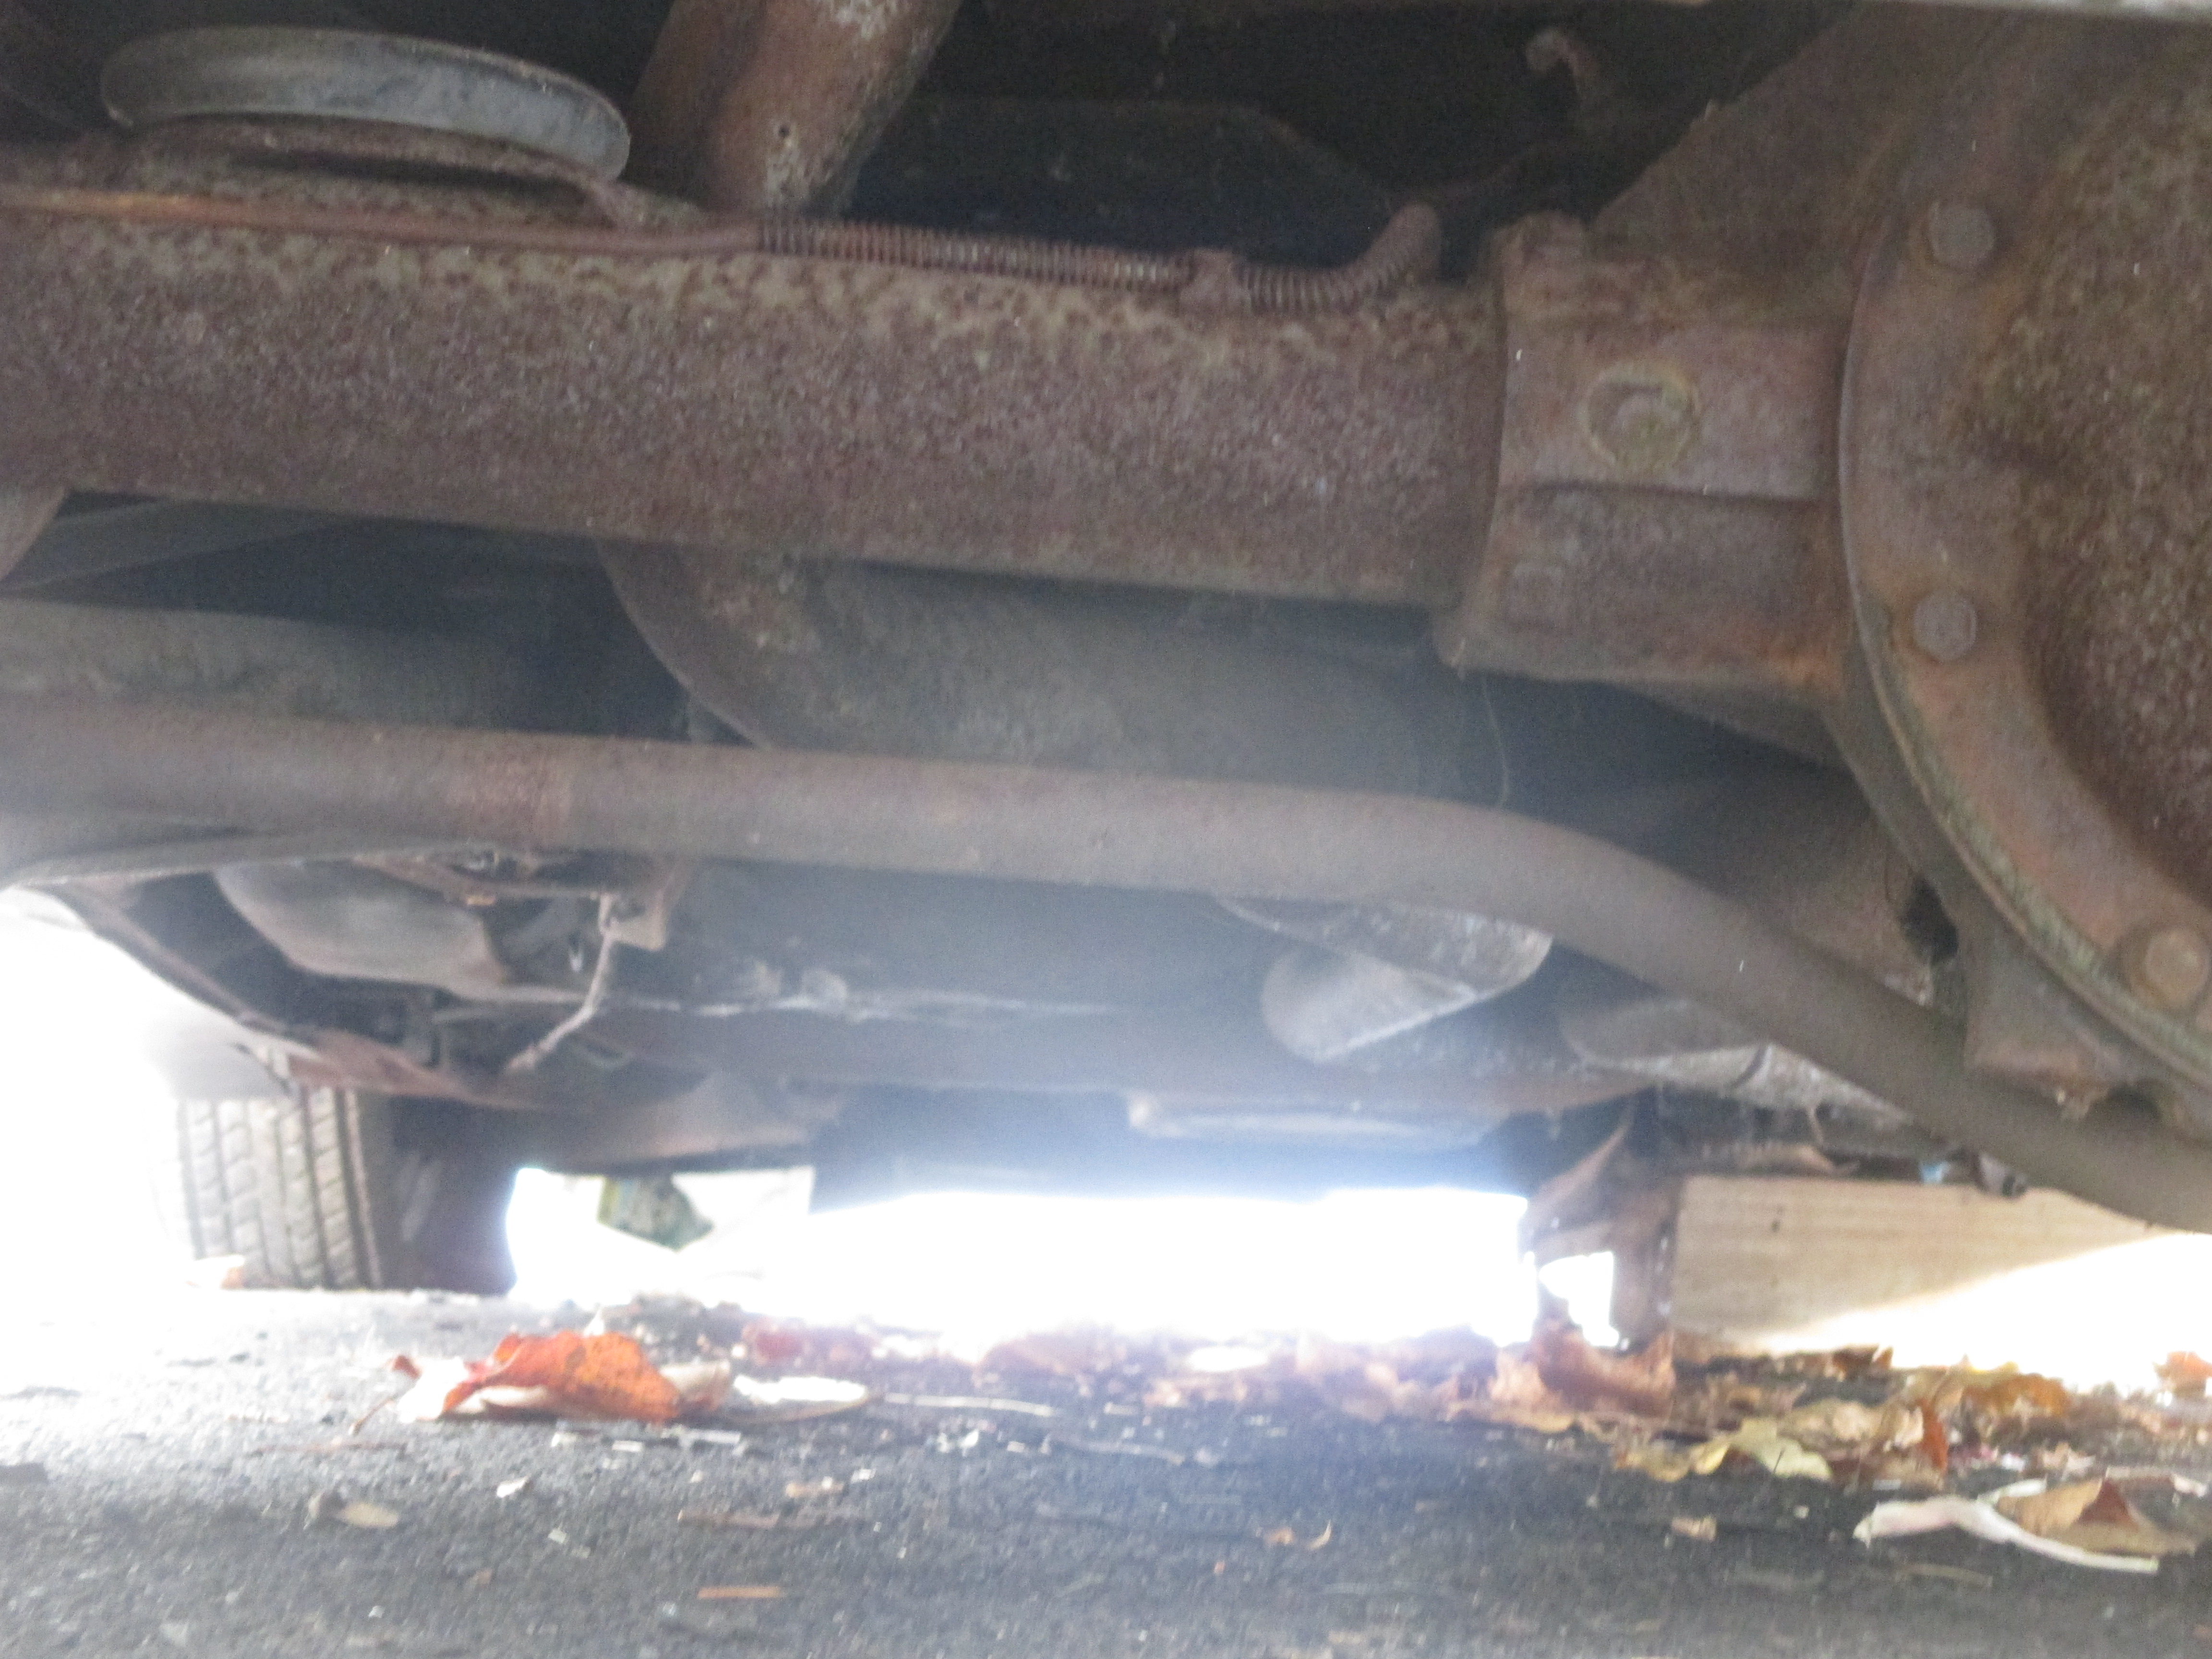
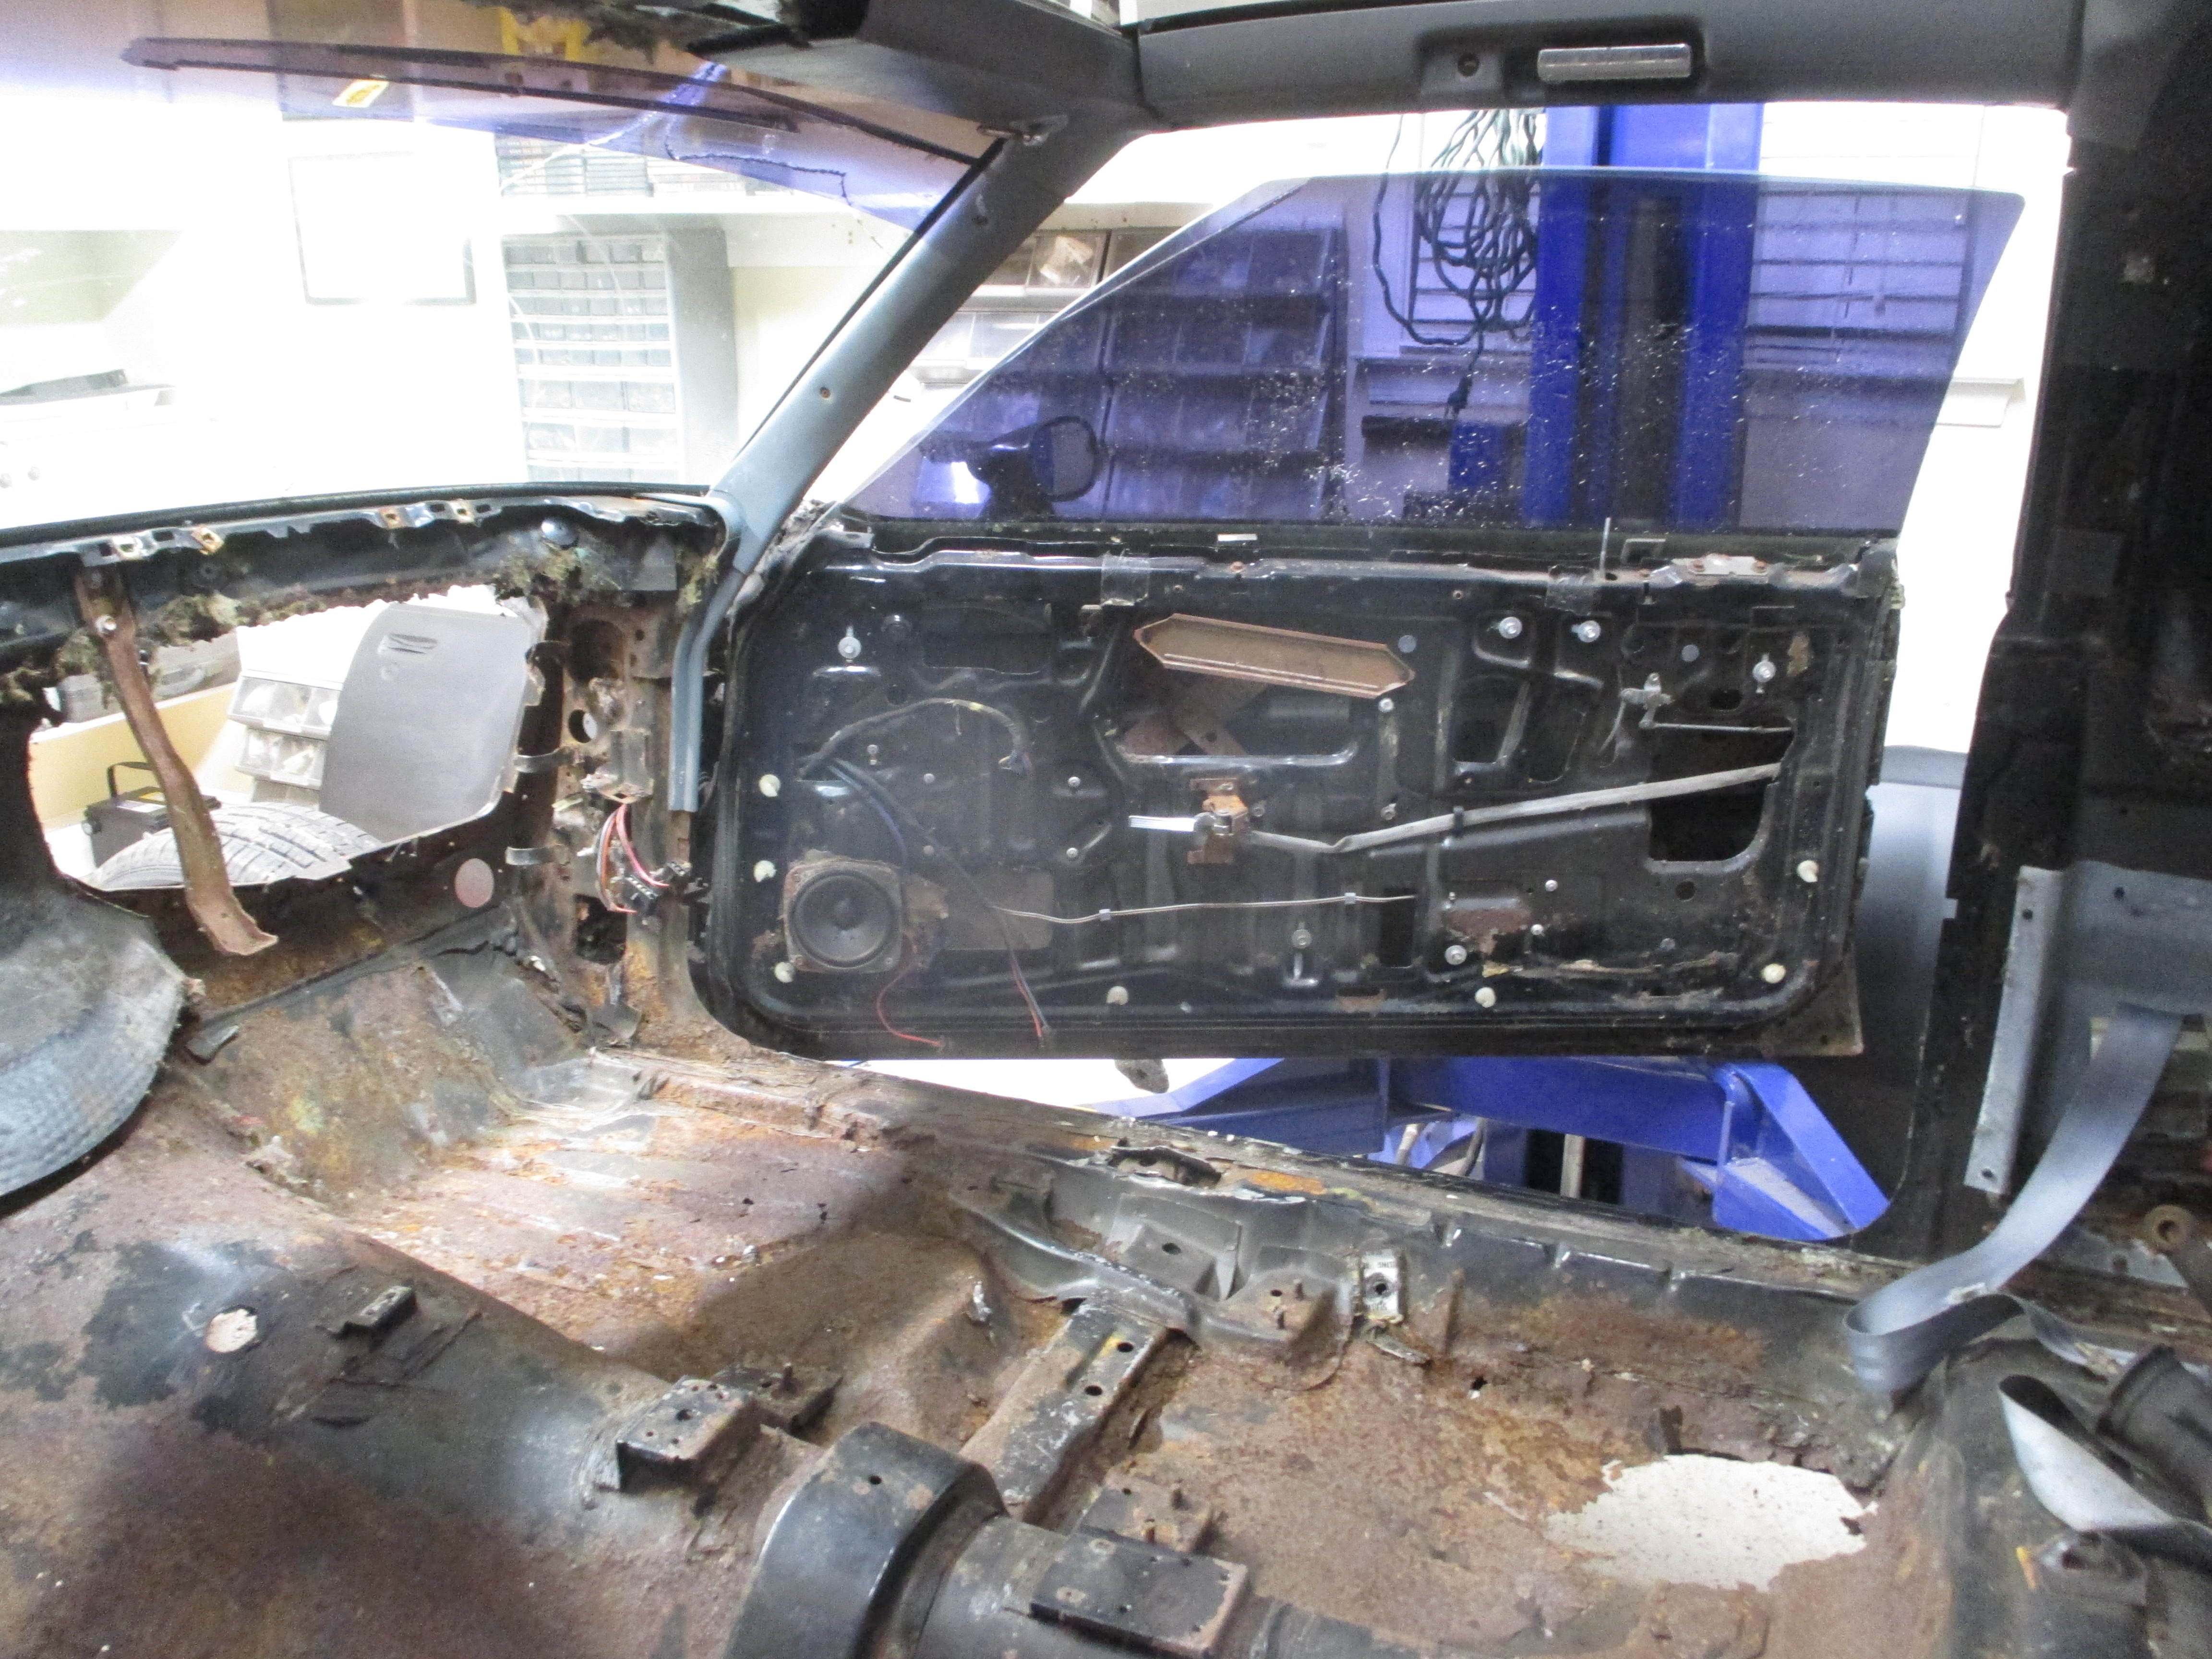
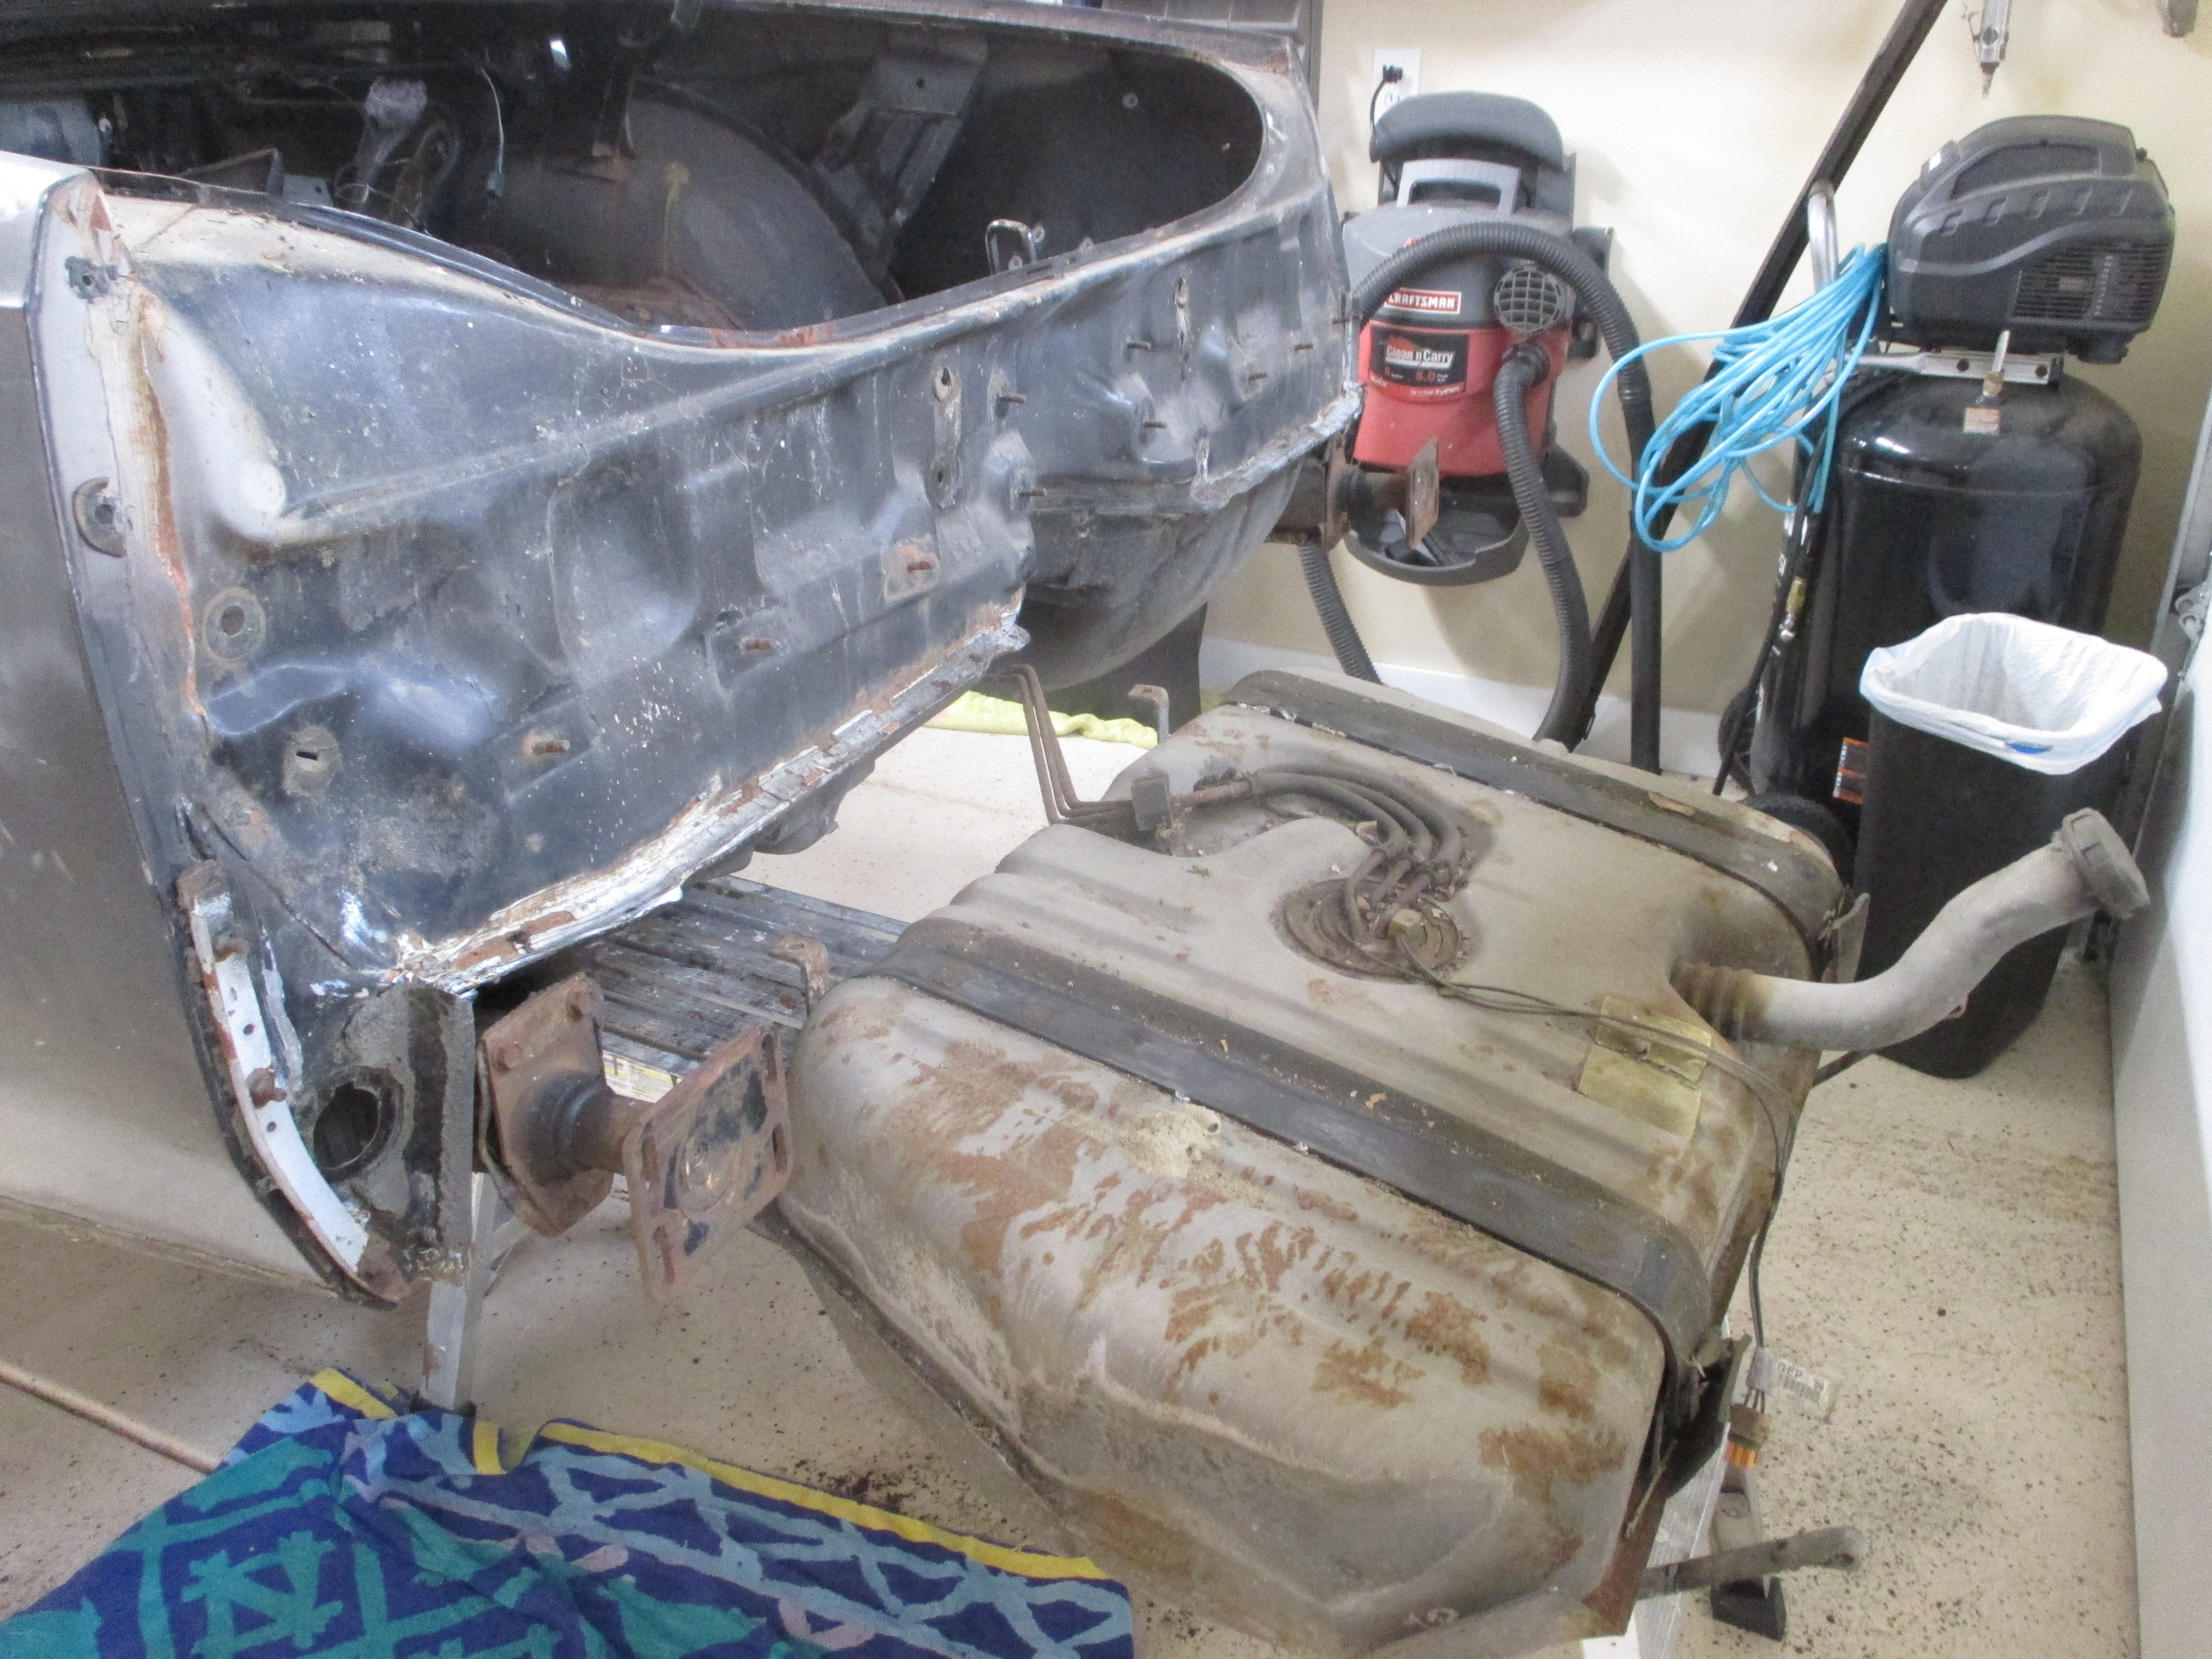
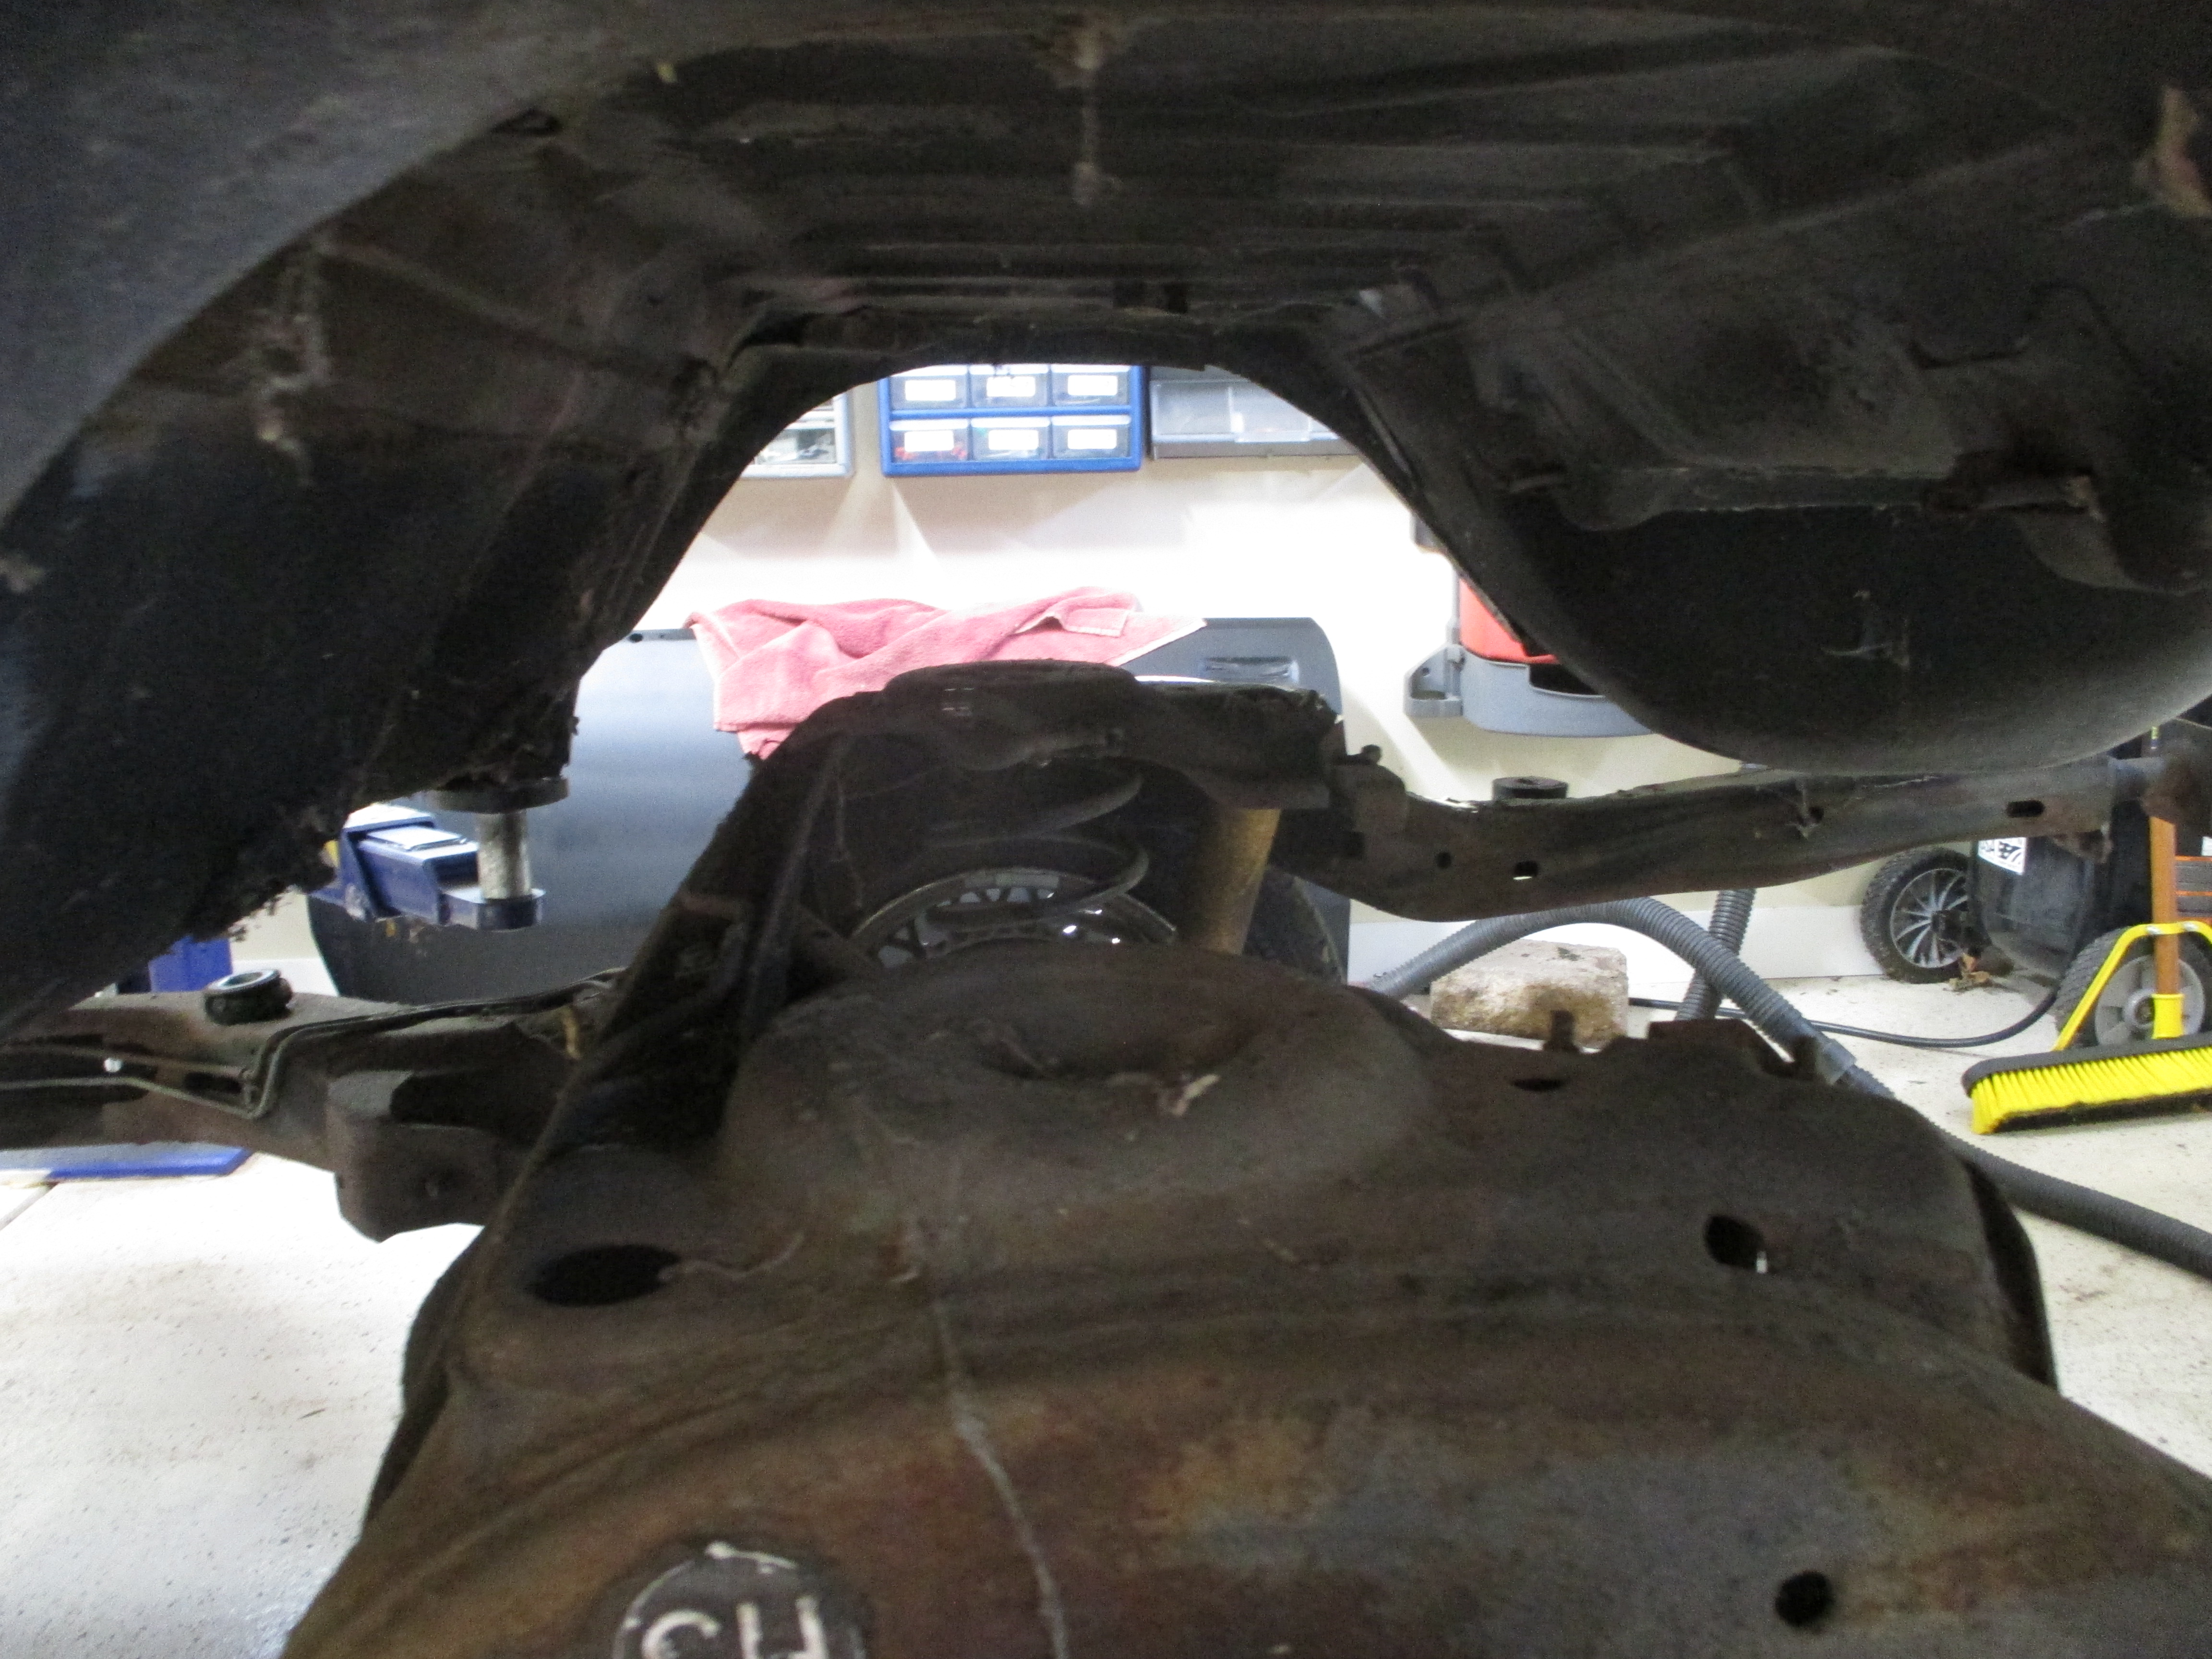
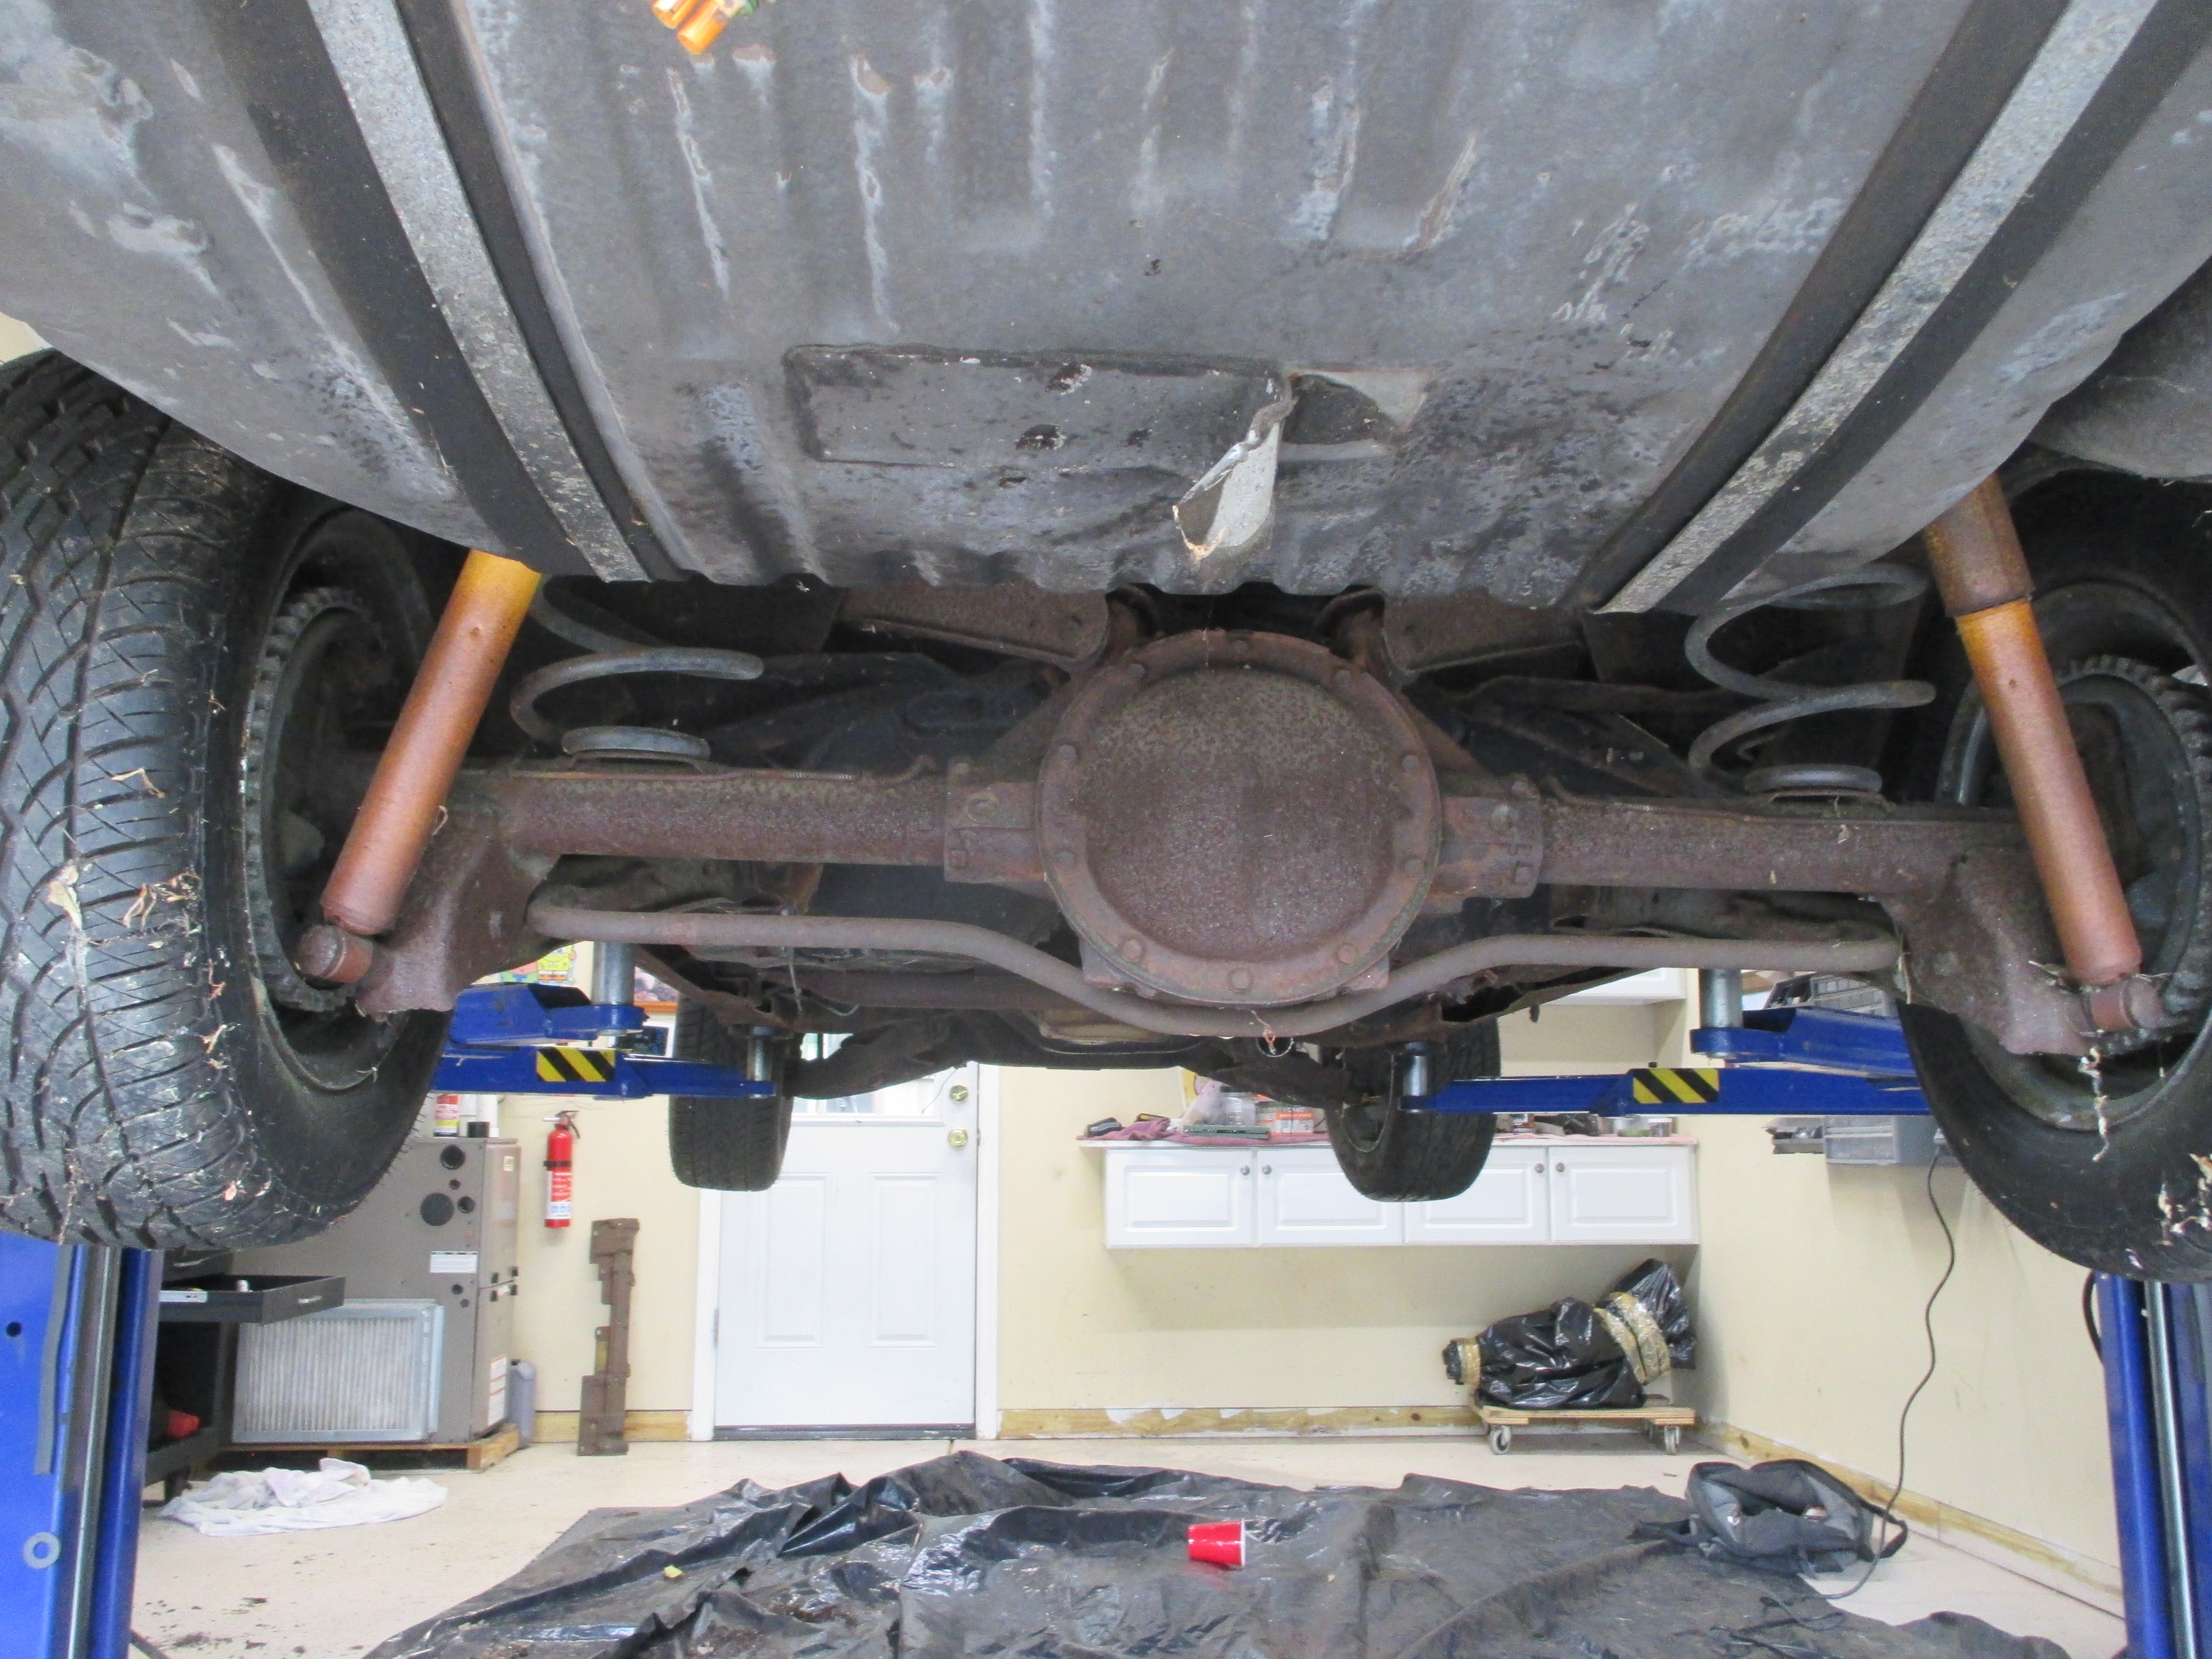
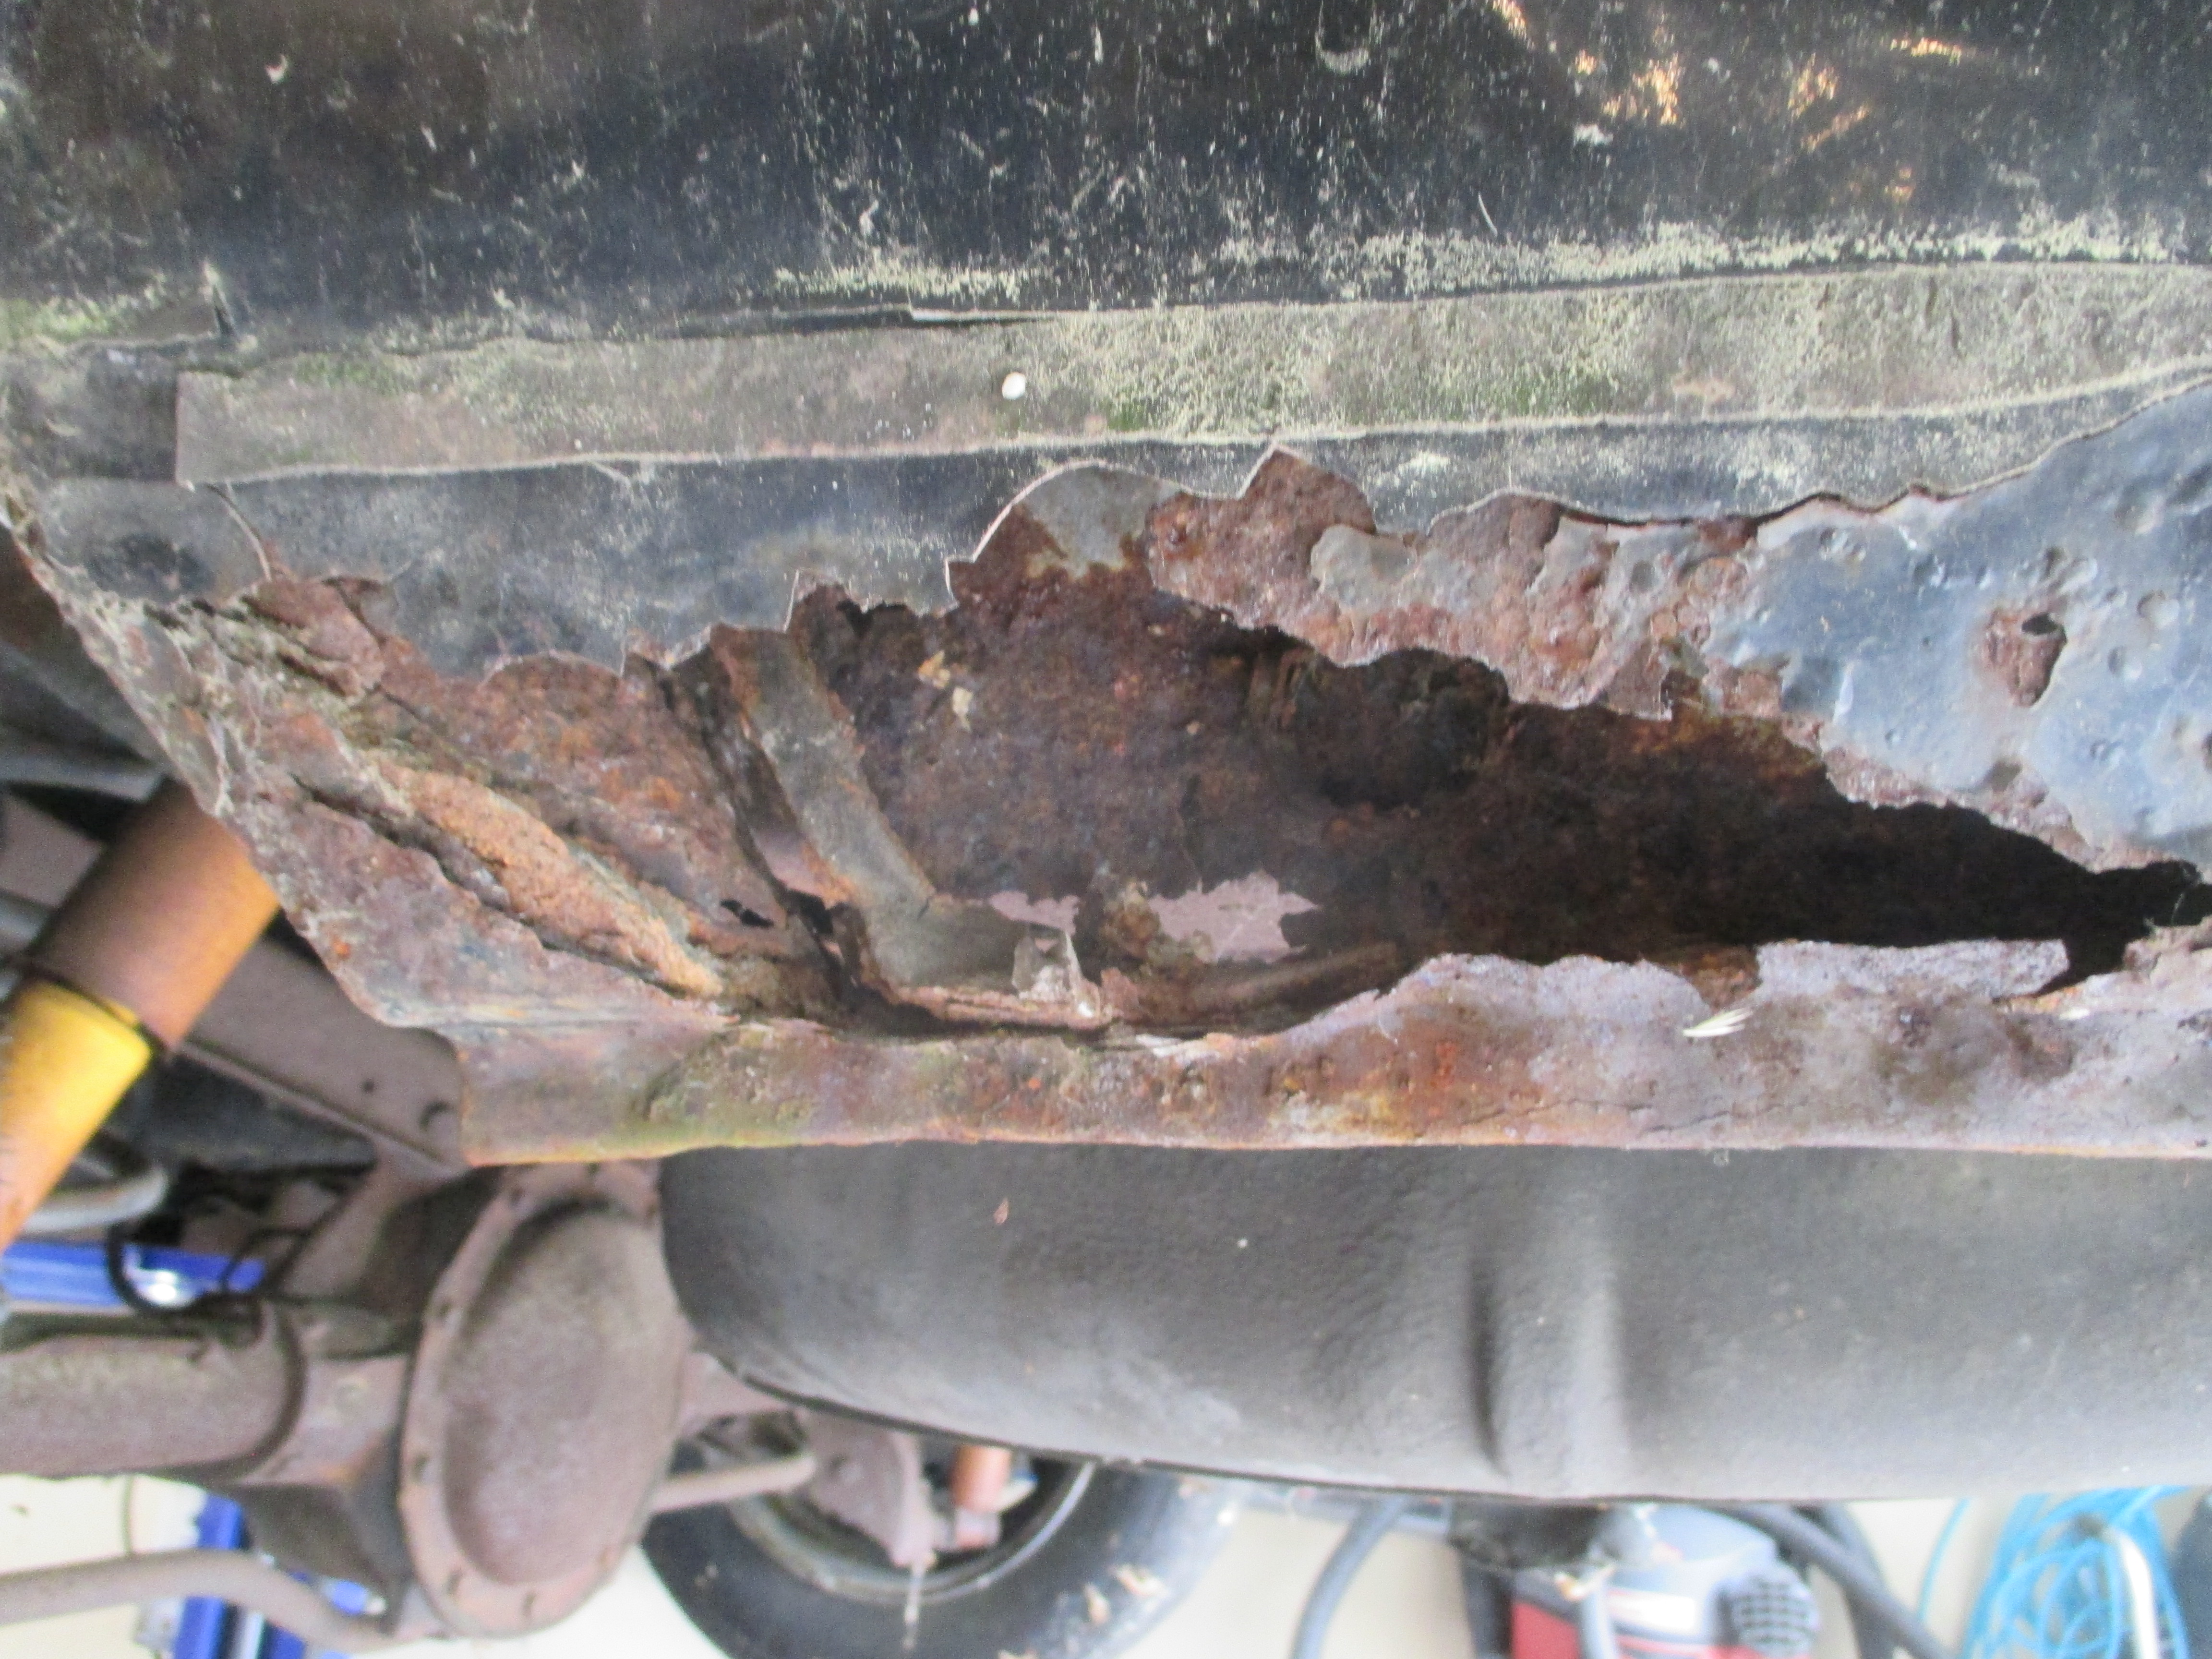
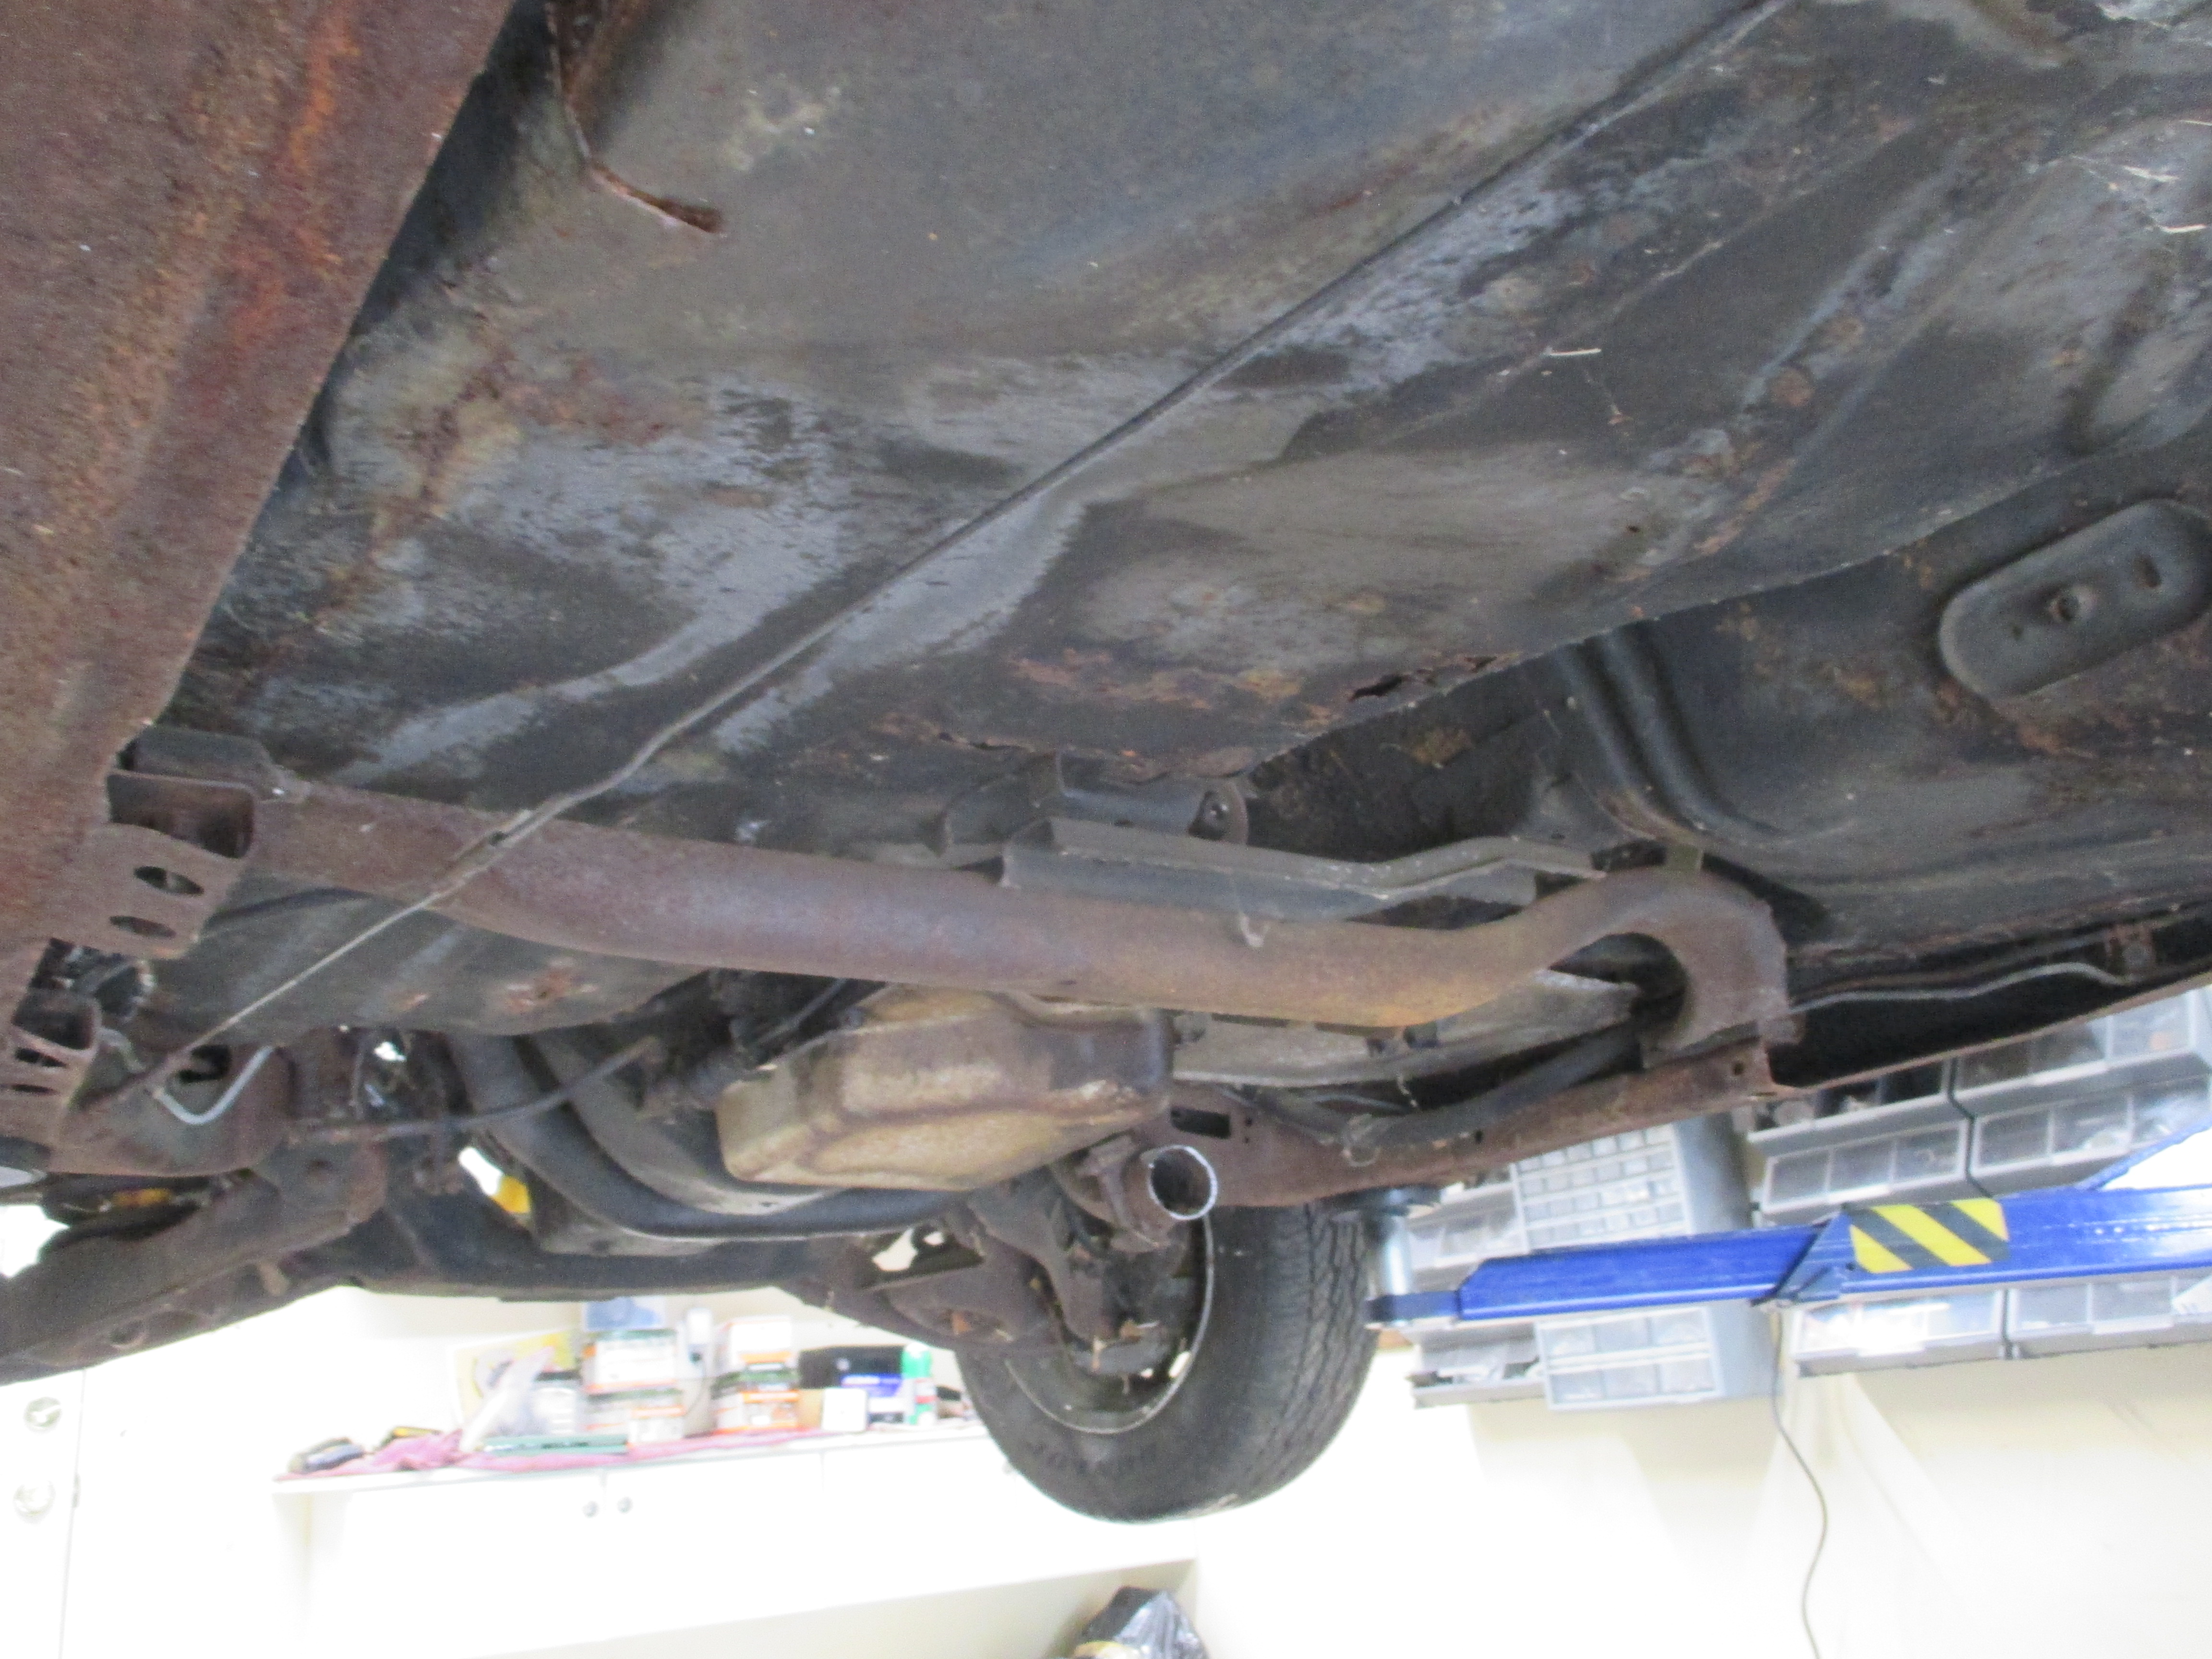
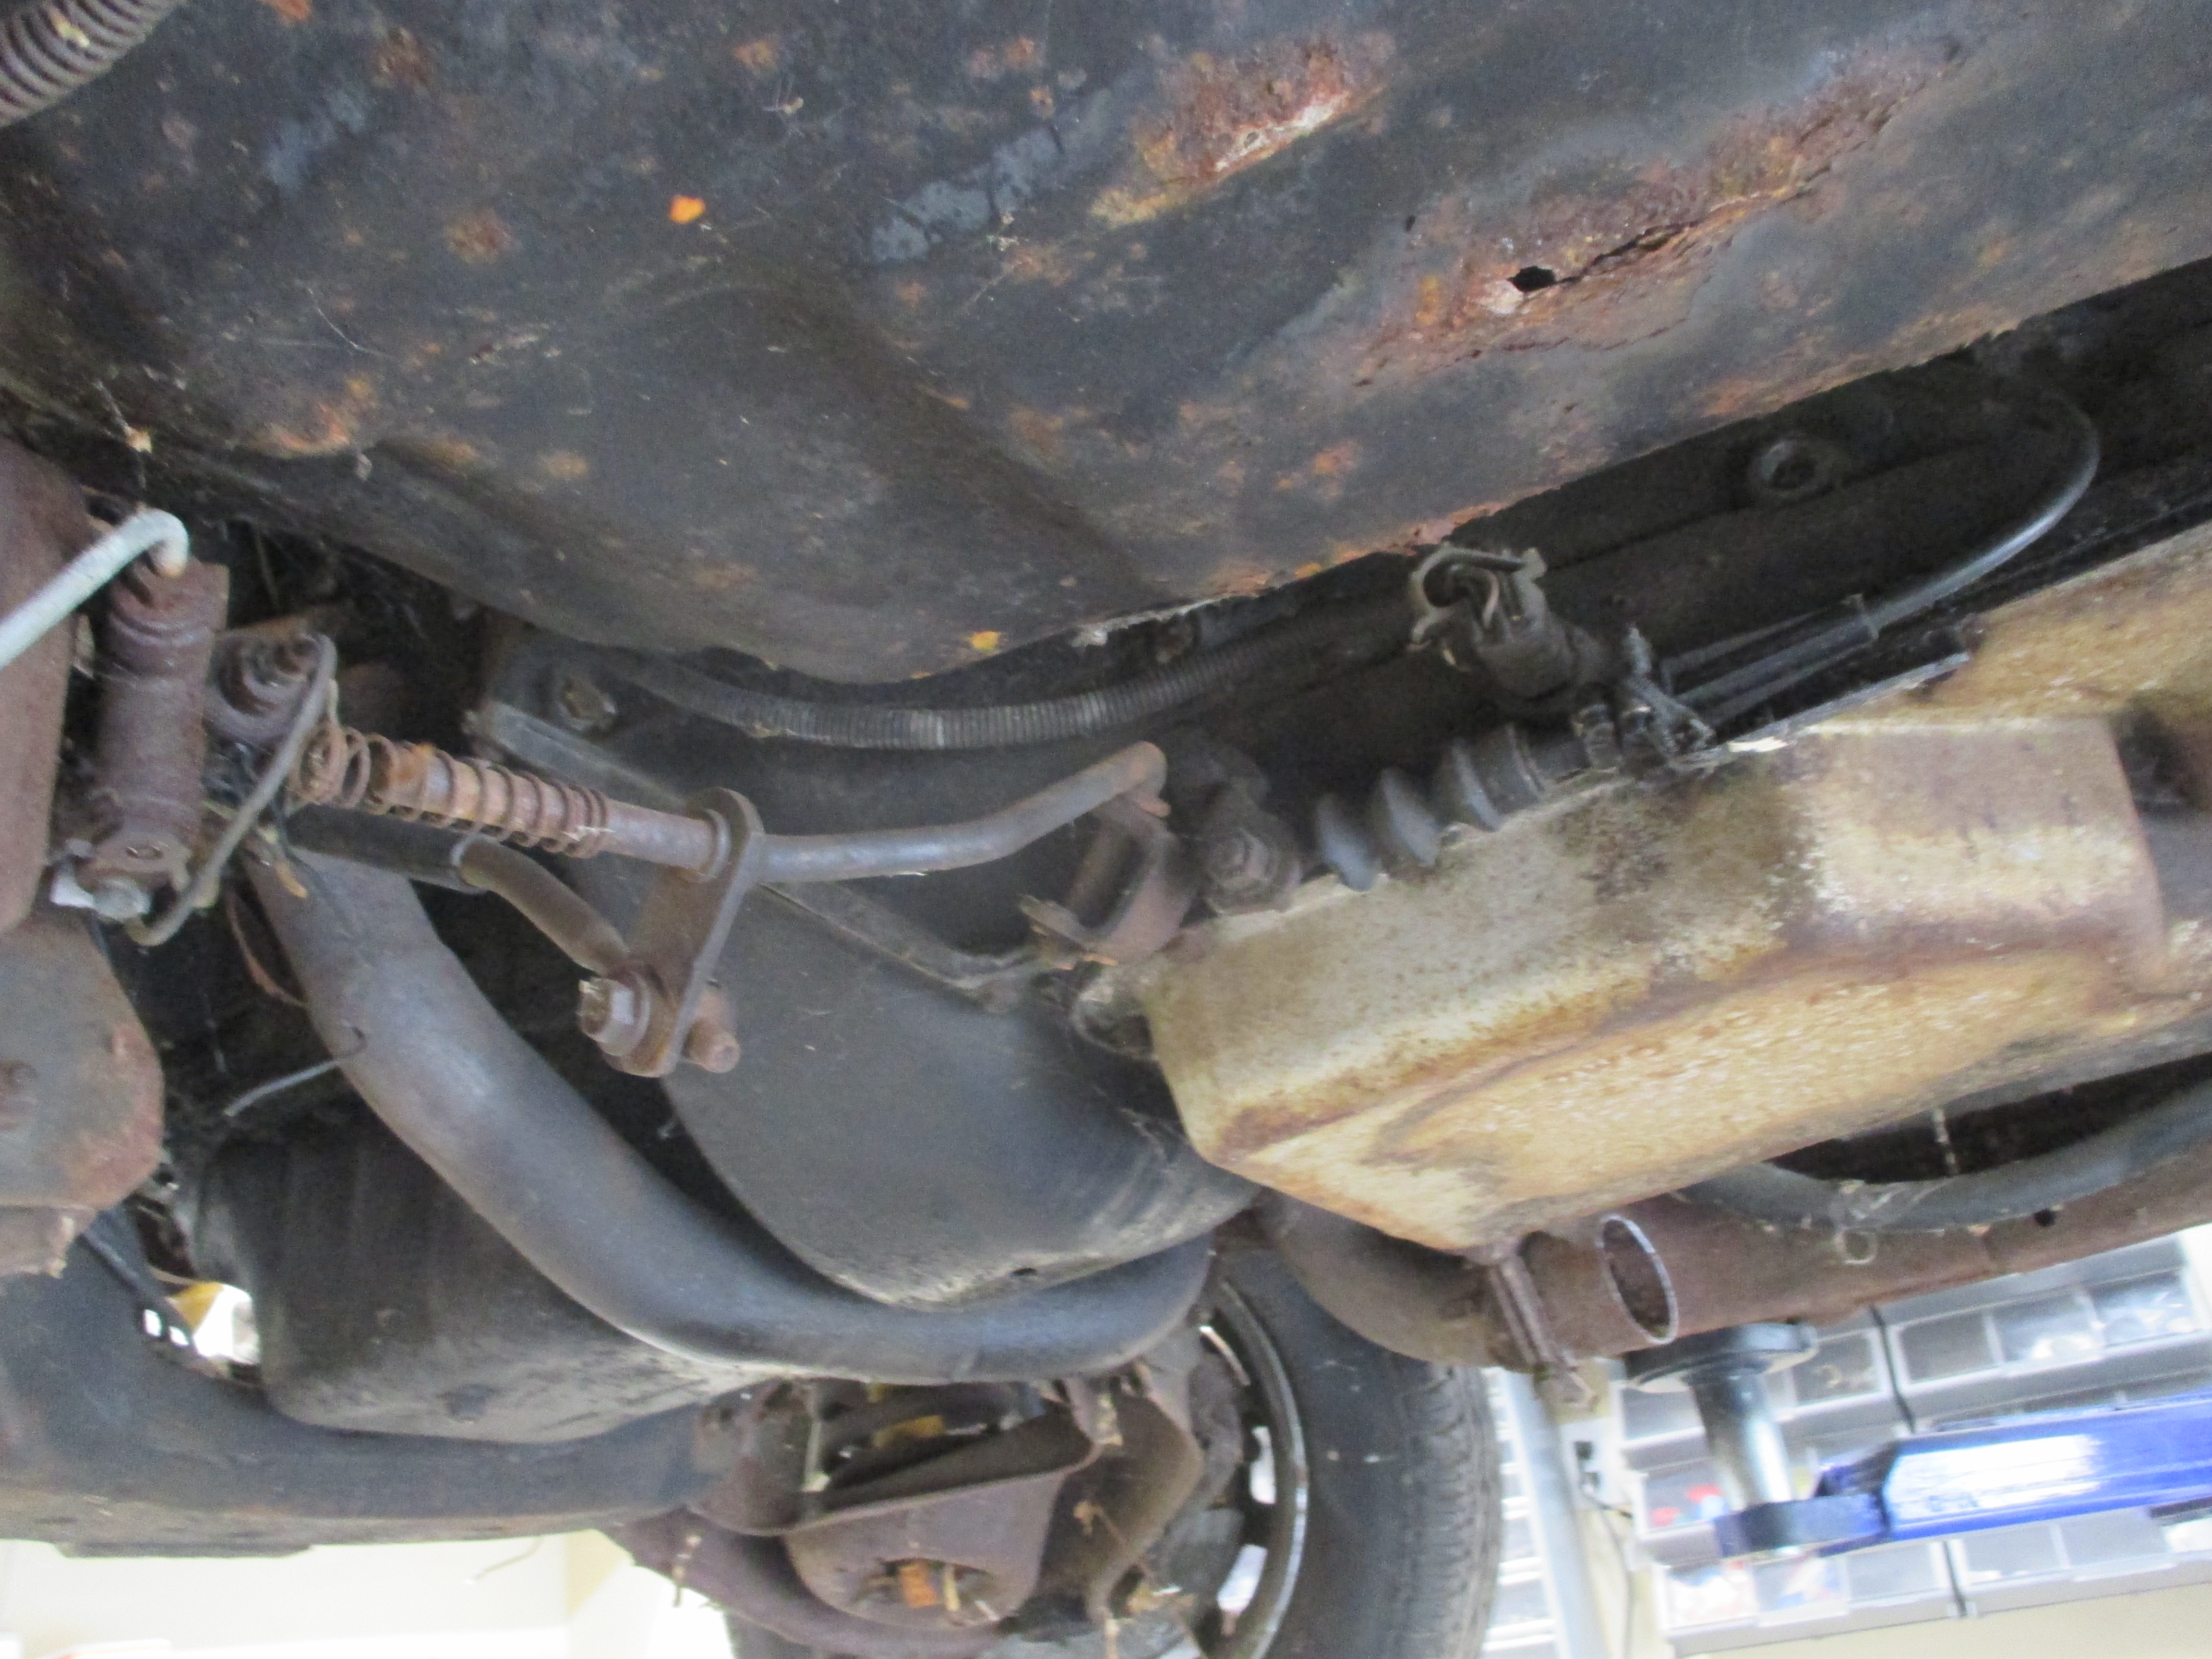
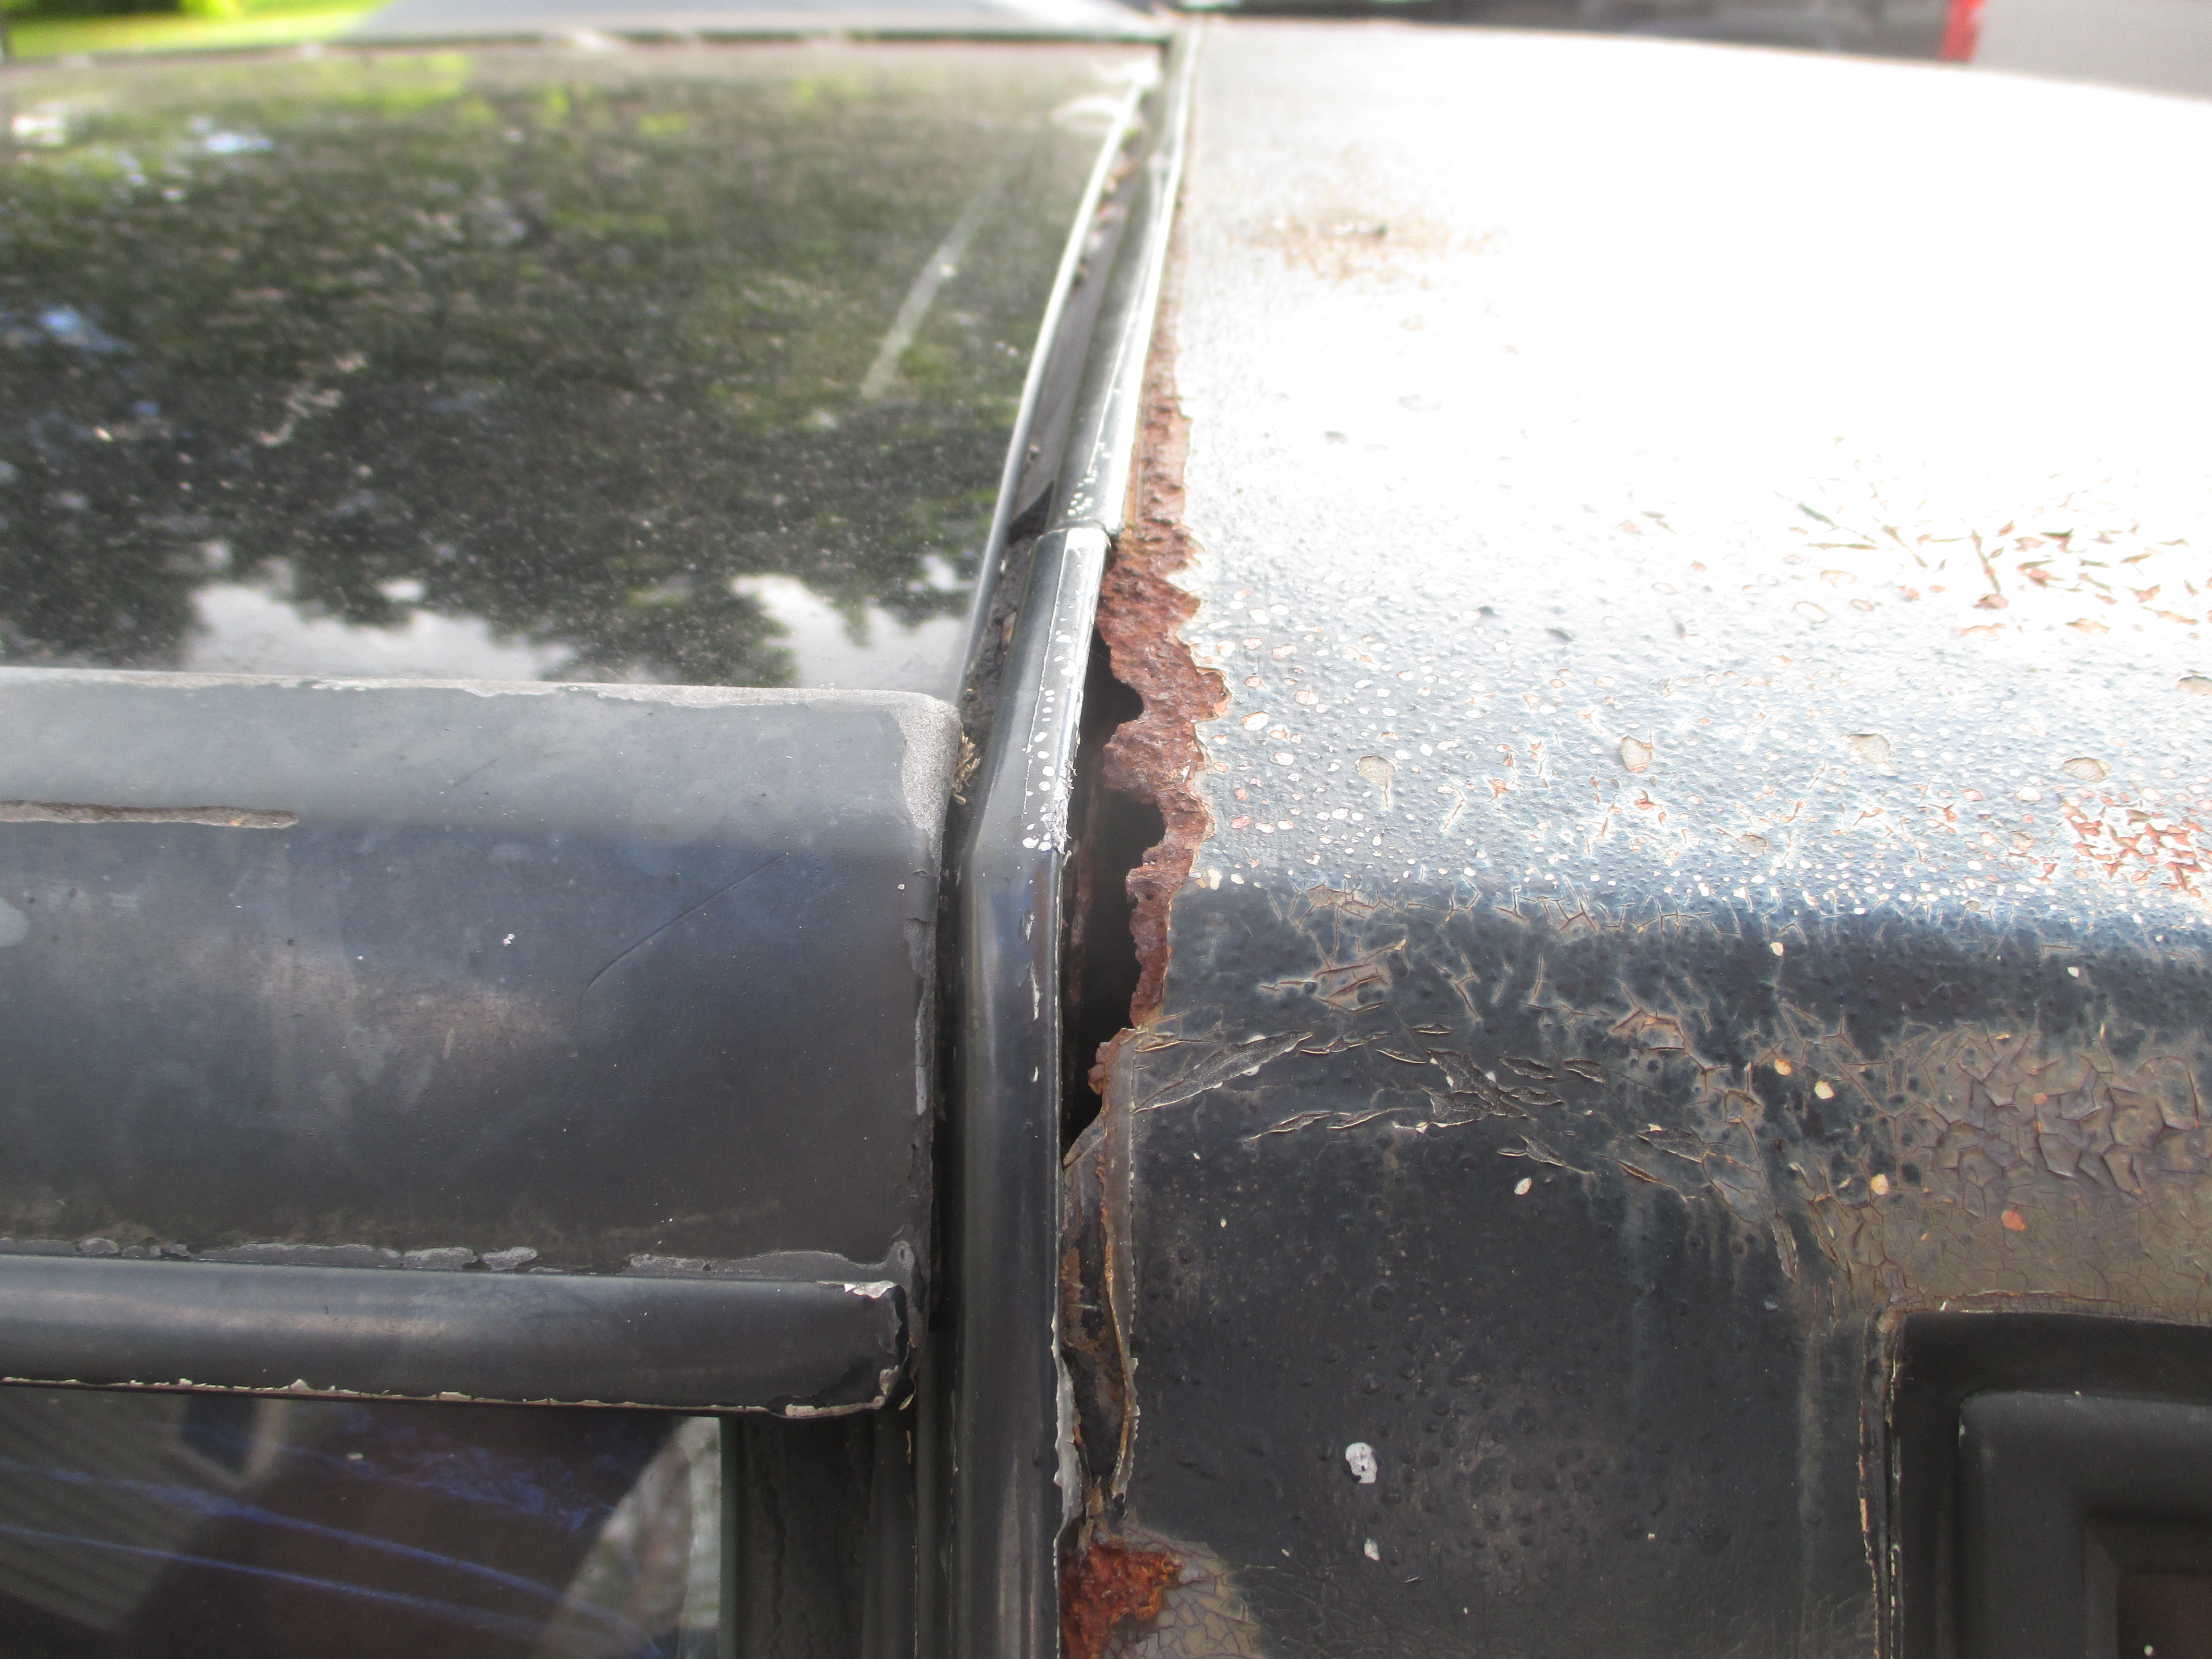
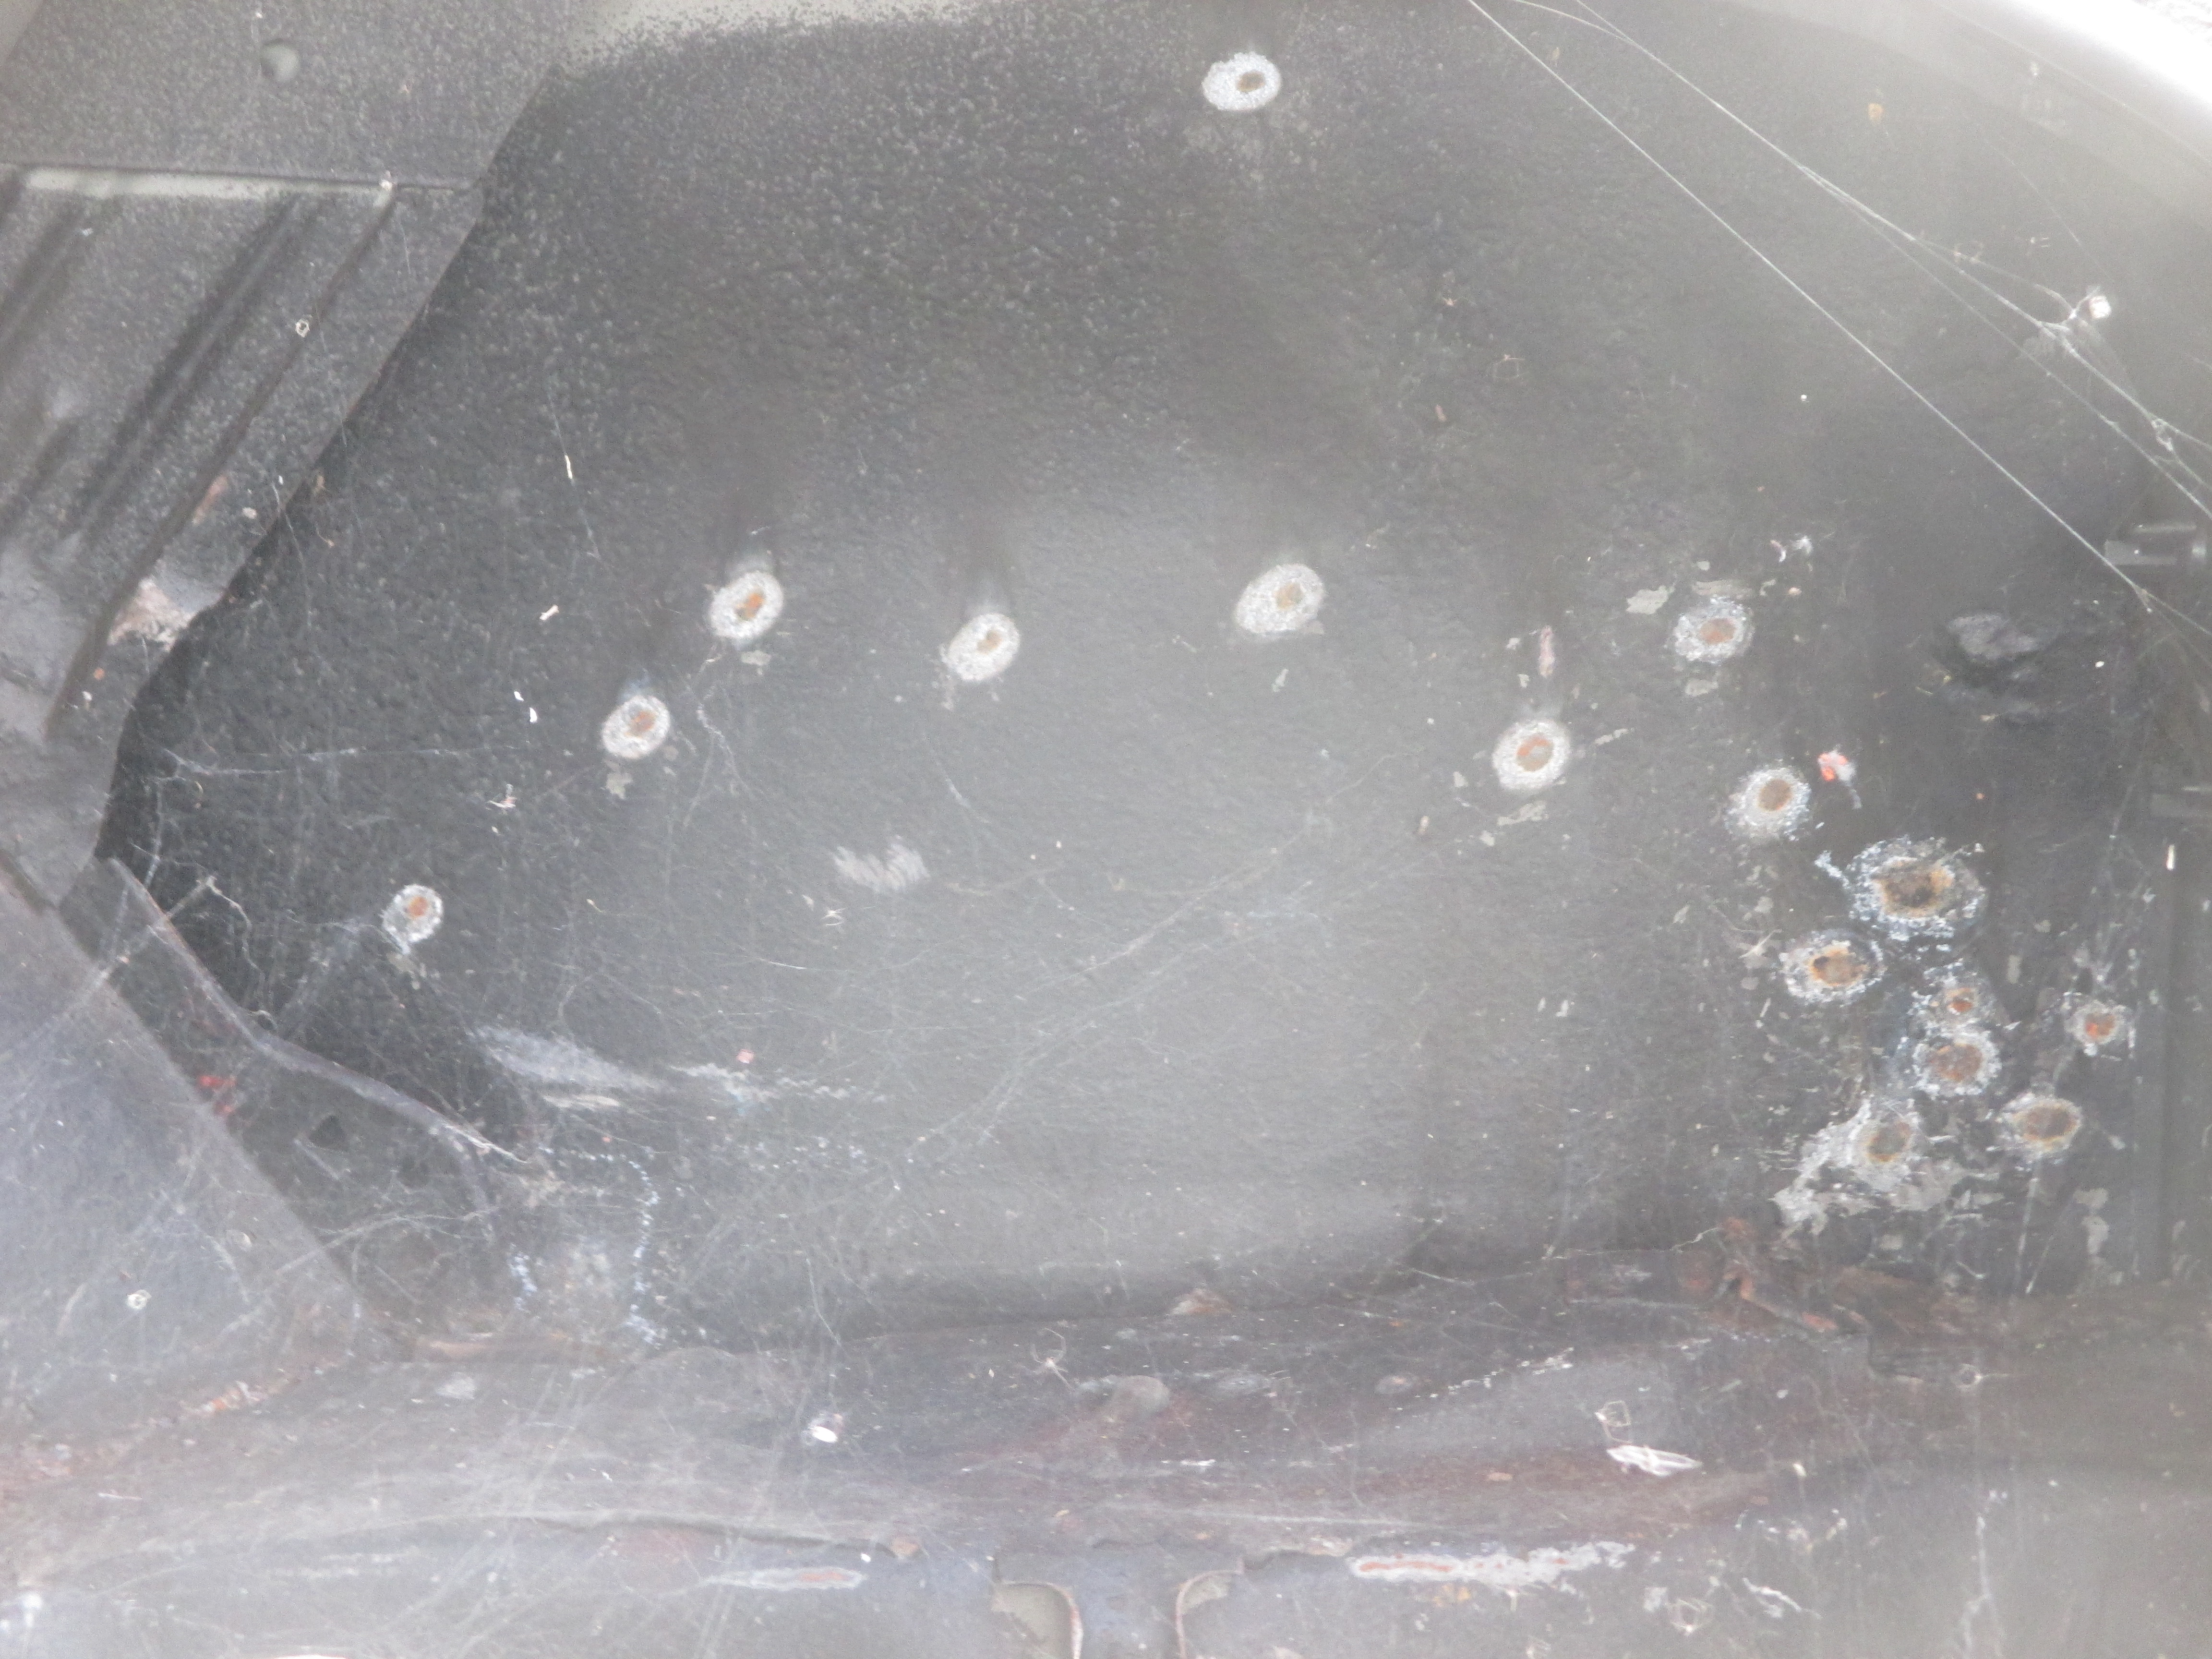
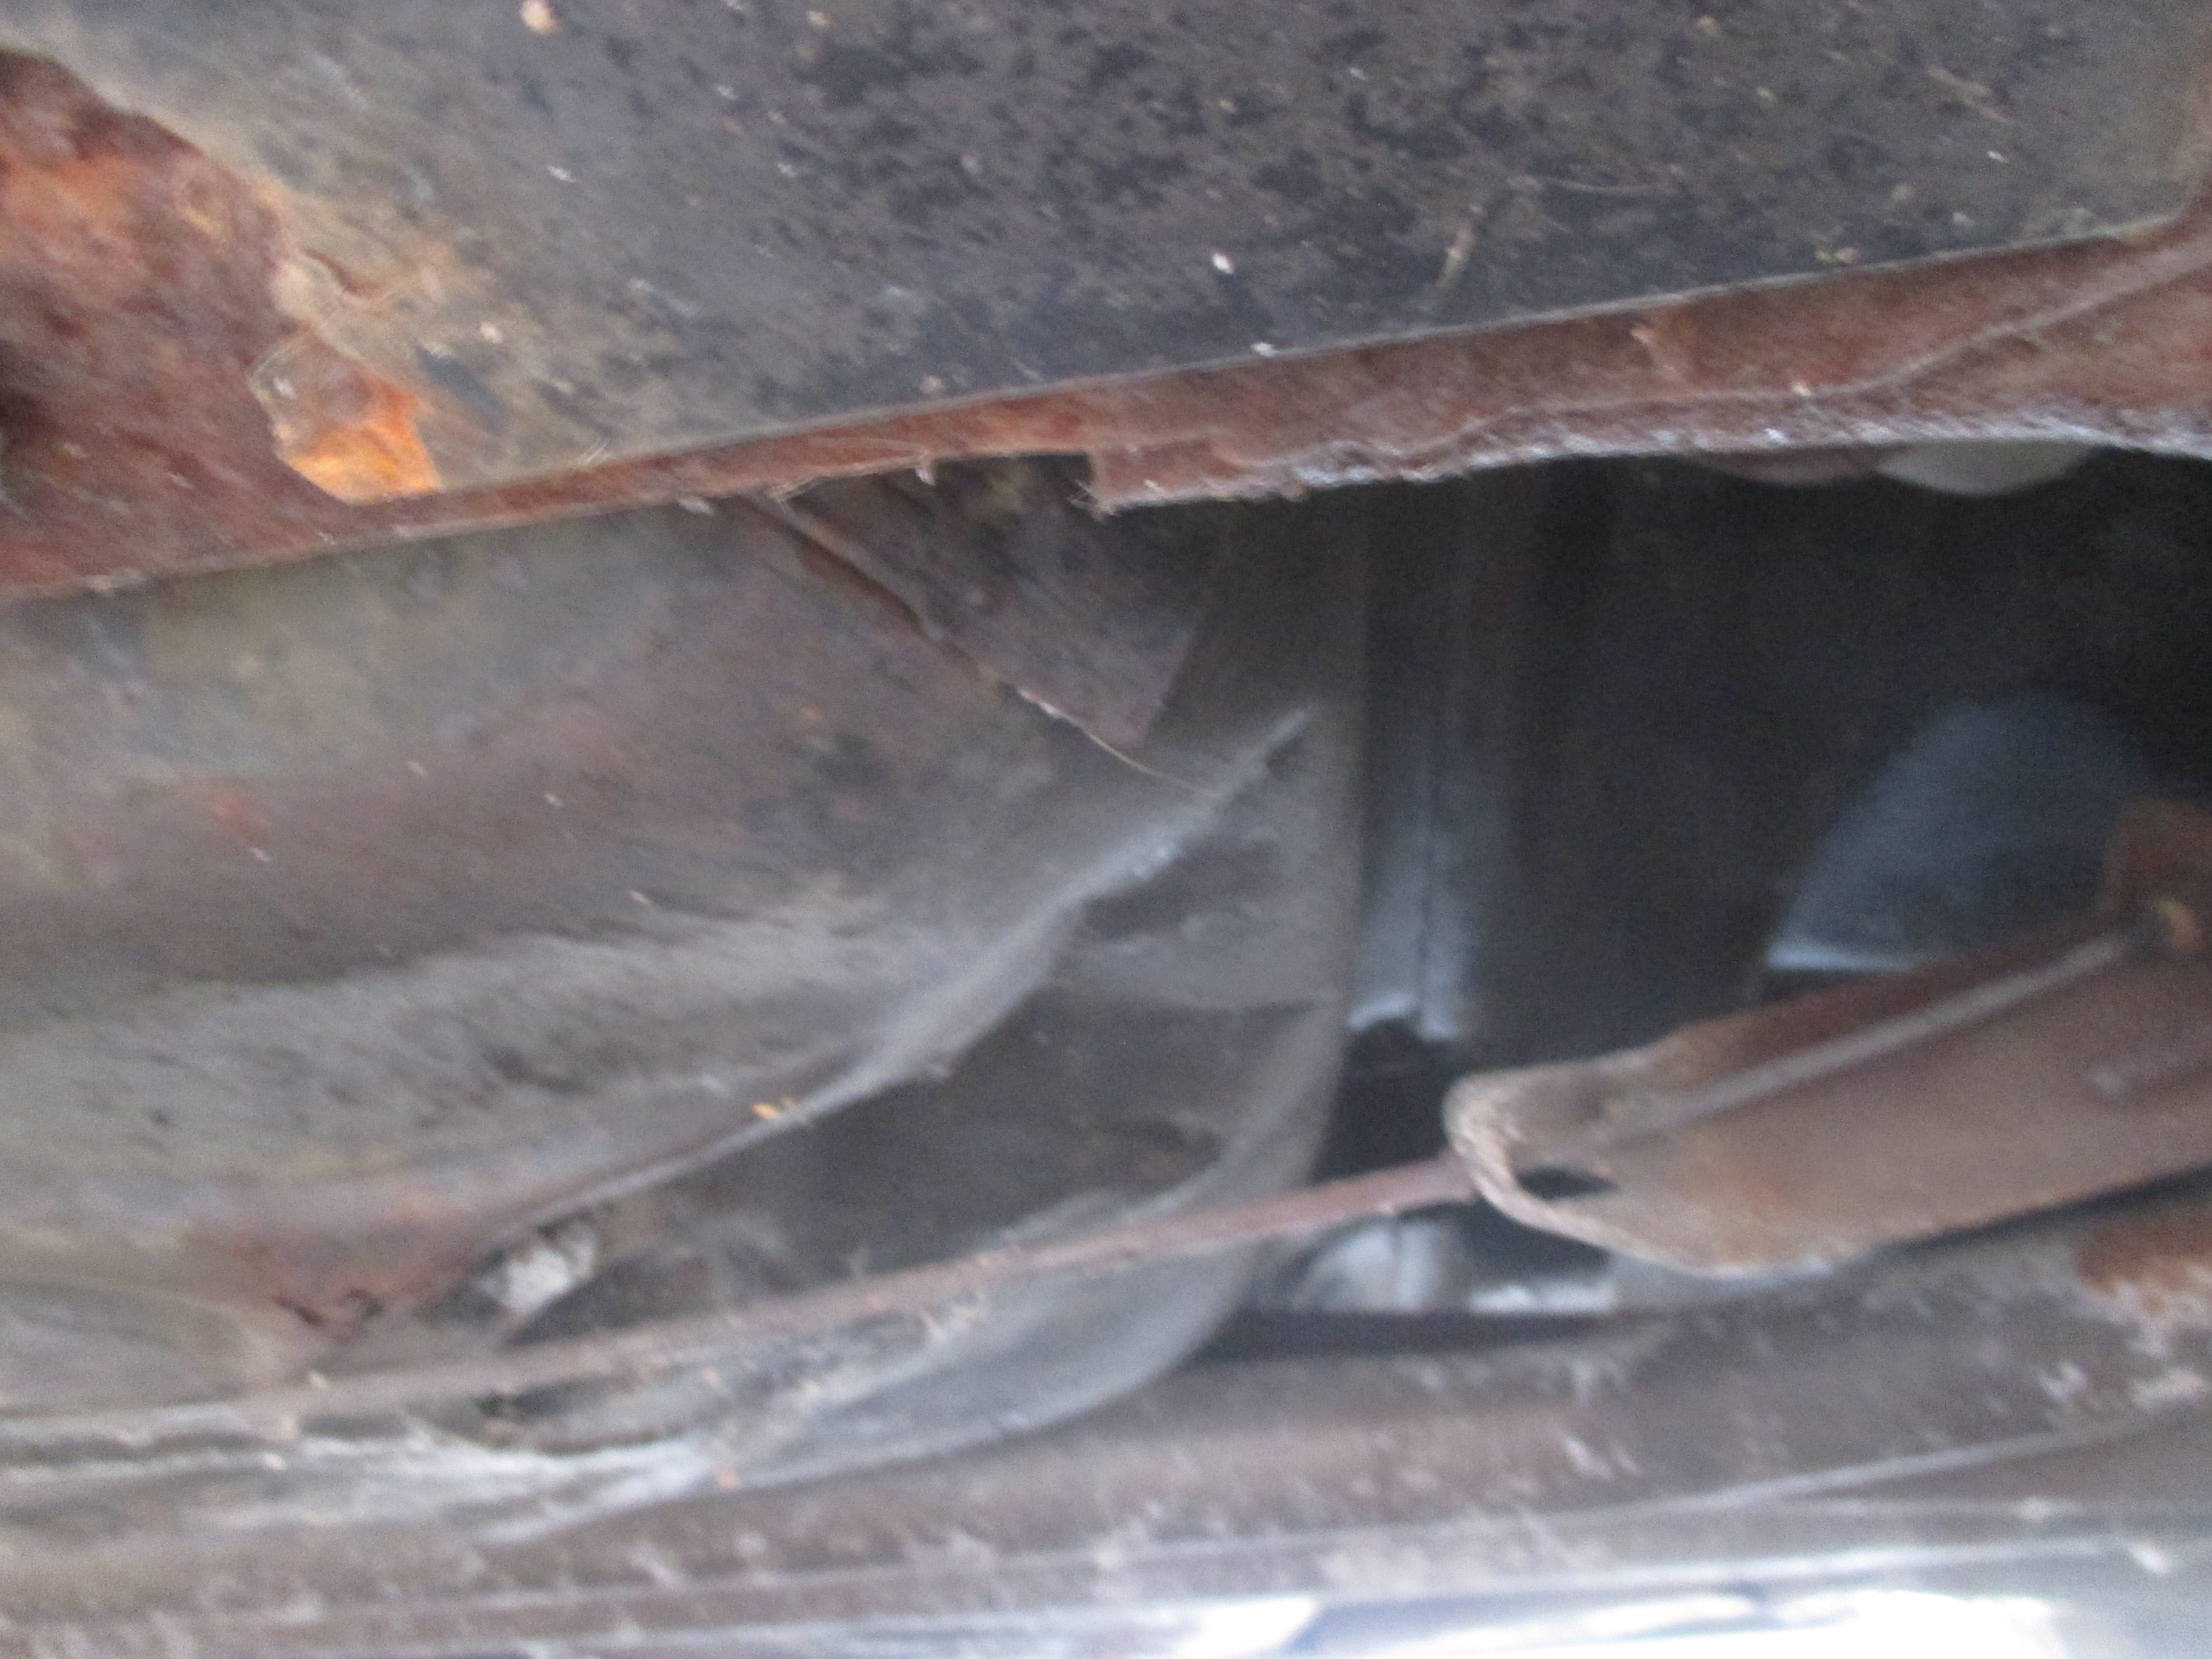
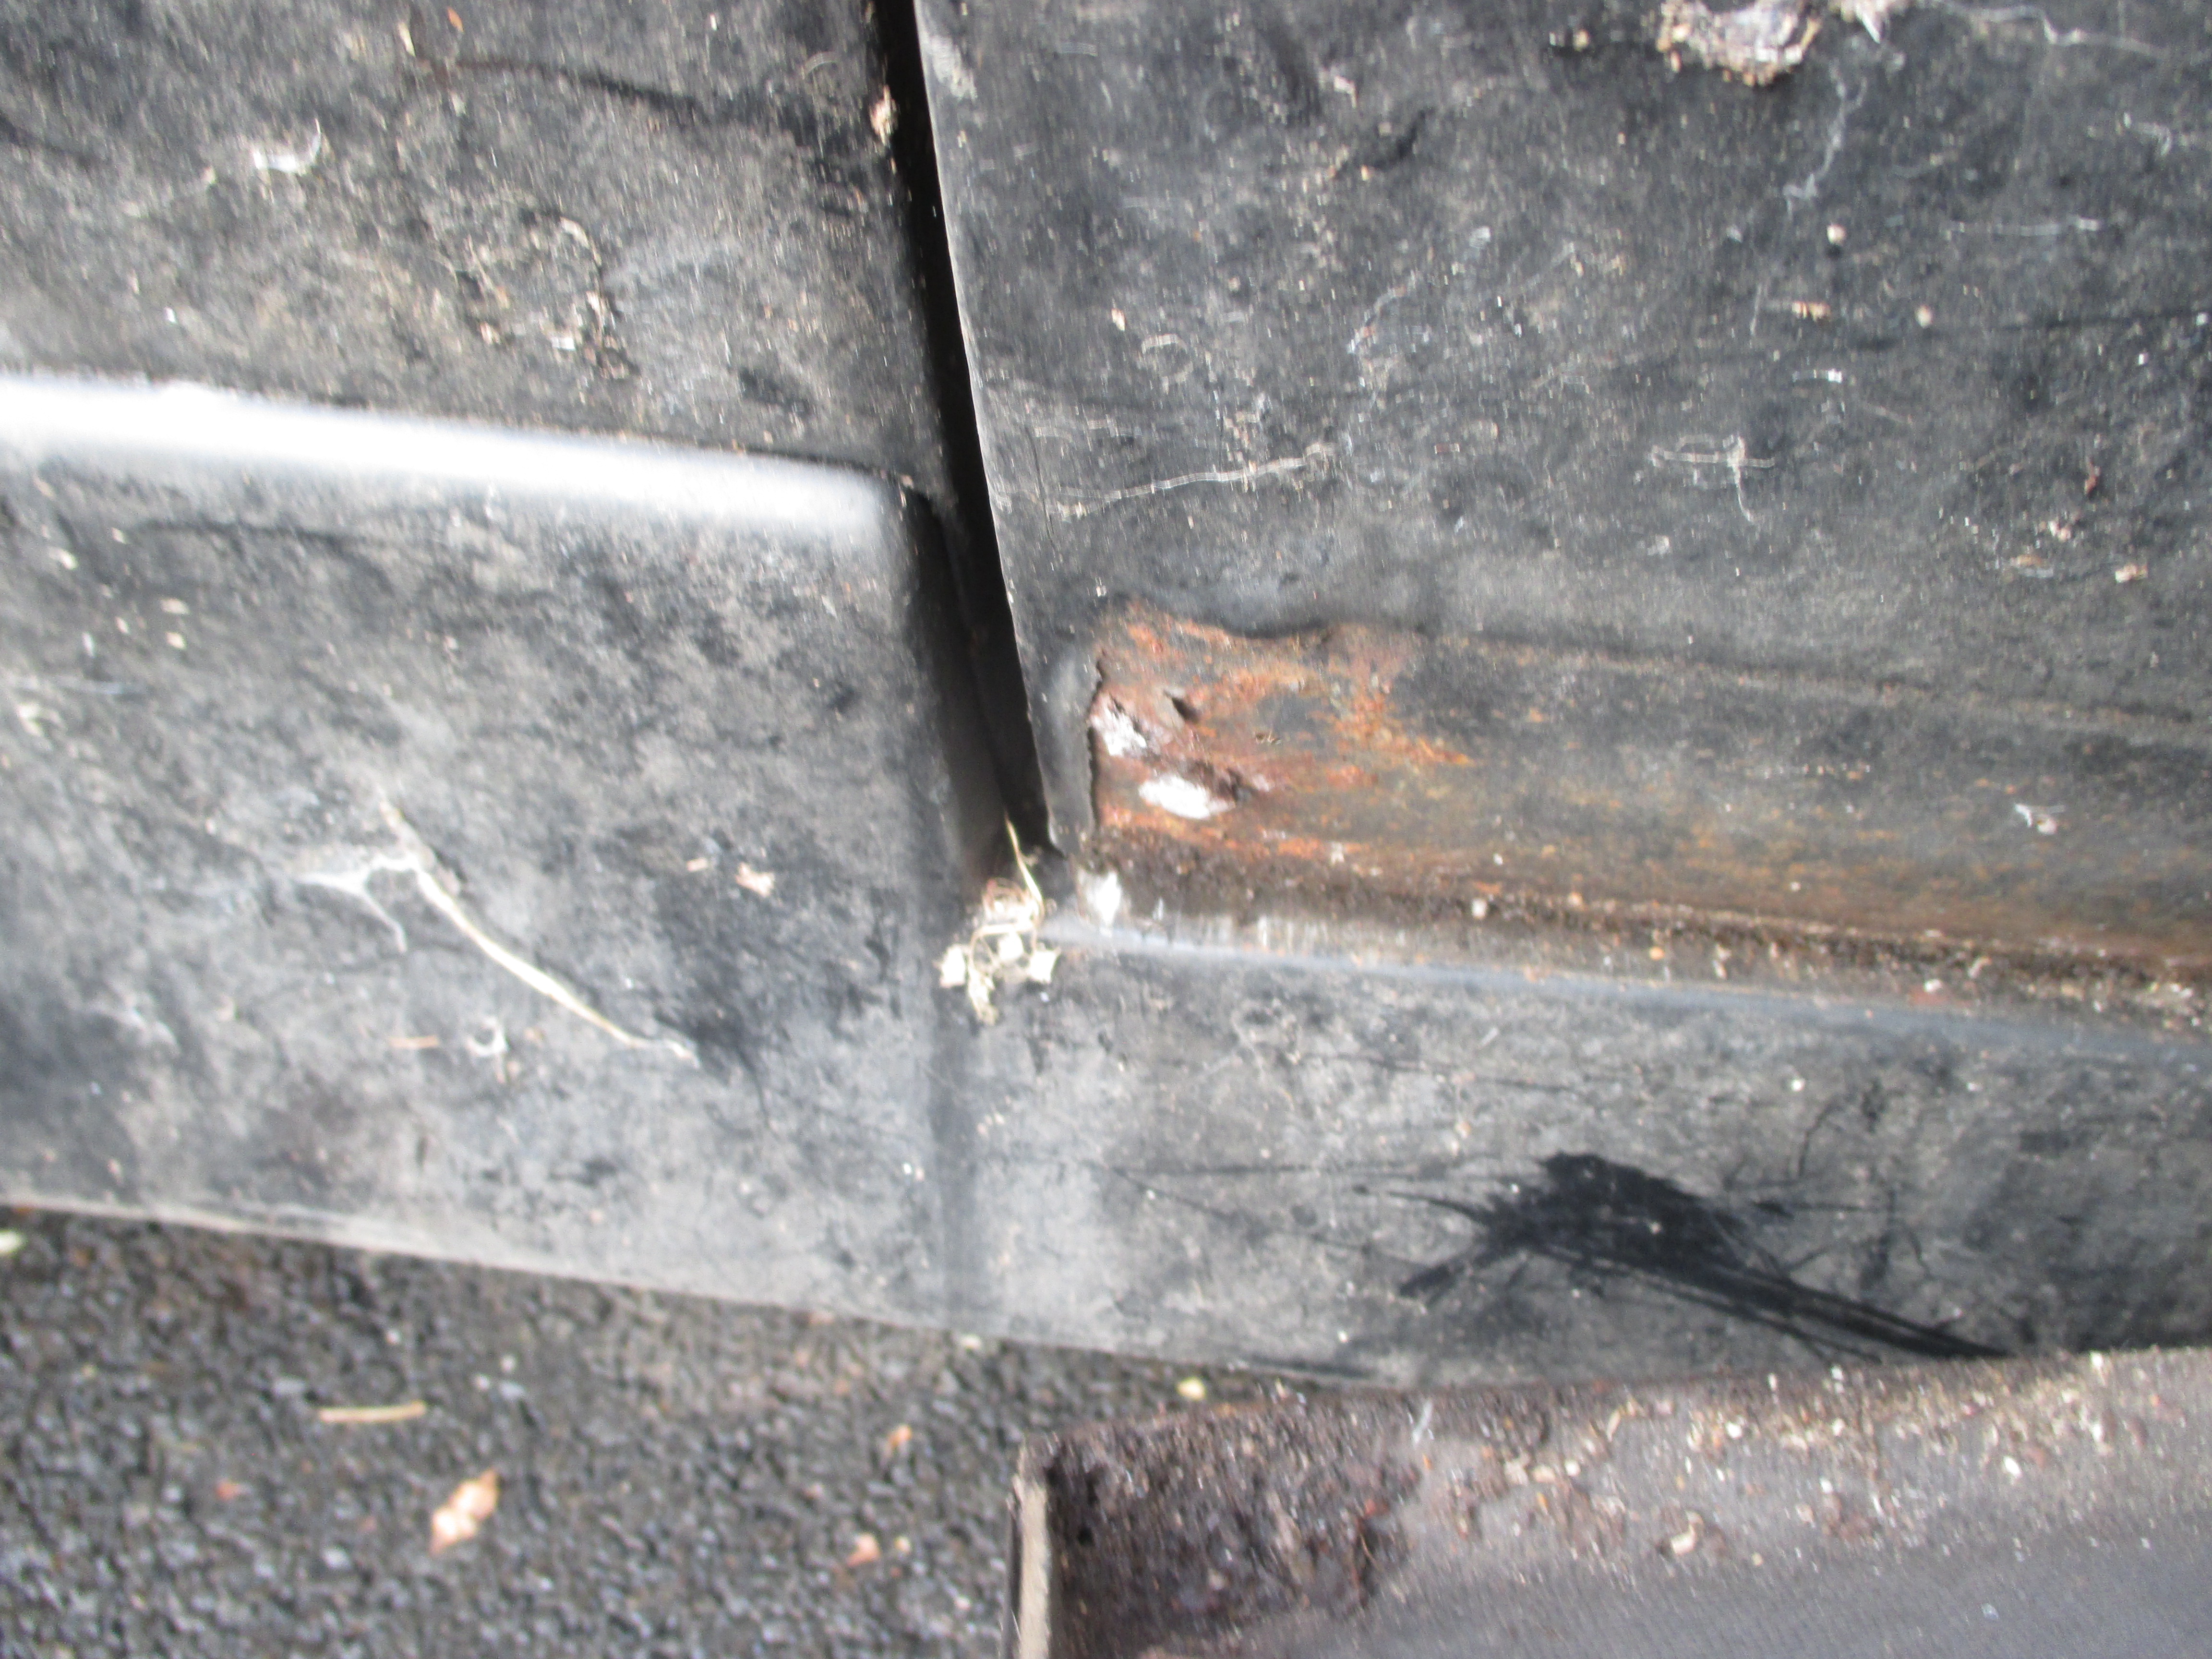
Lots of rust, roof, floor pan, quarters etc.
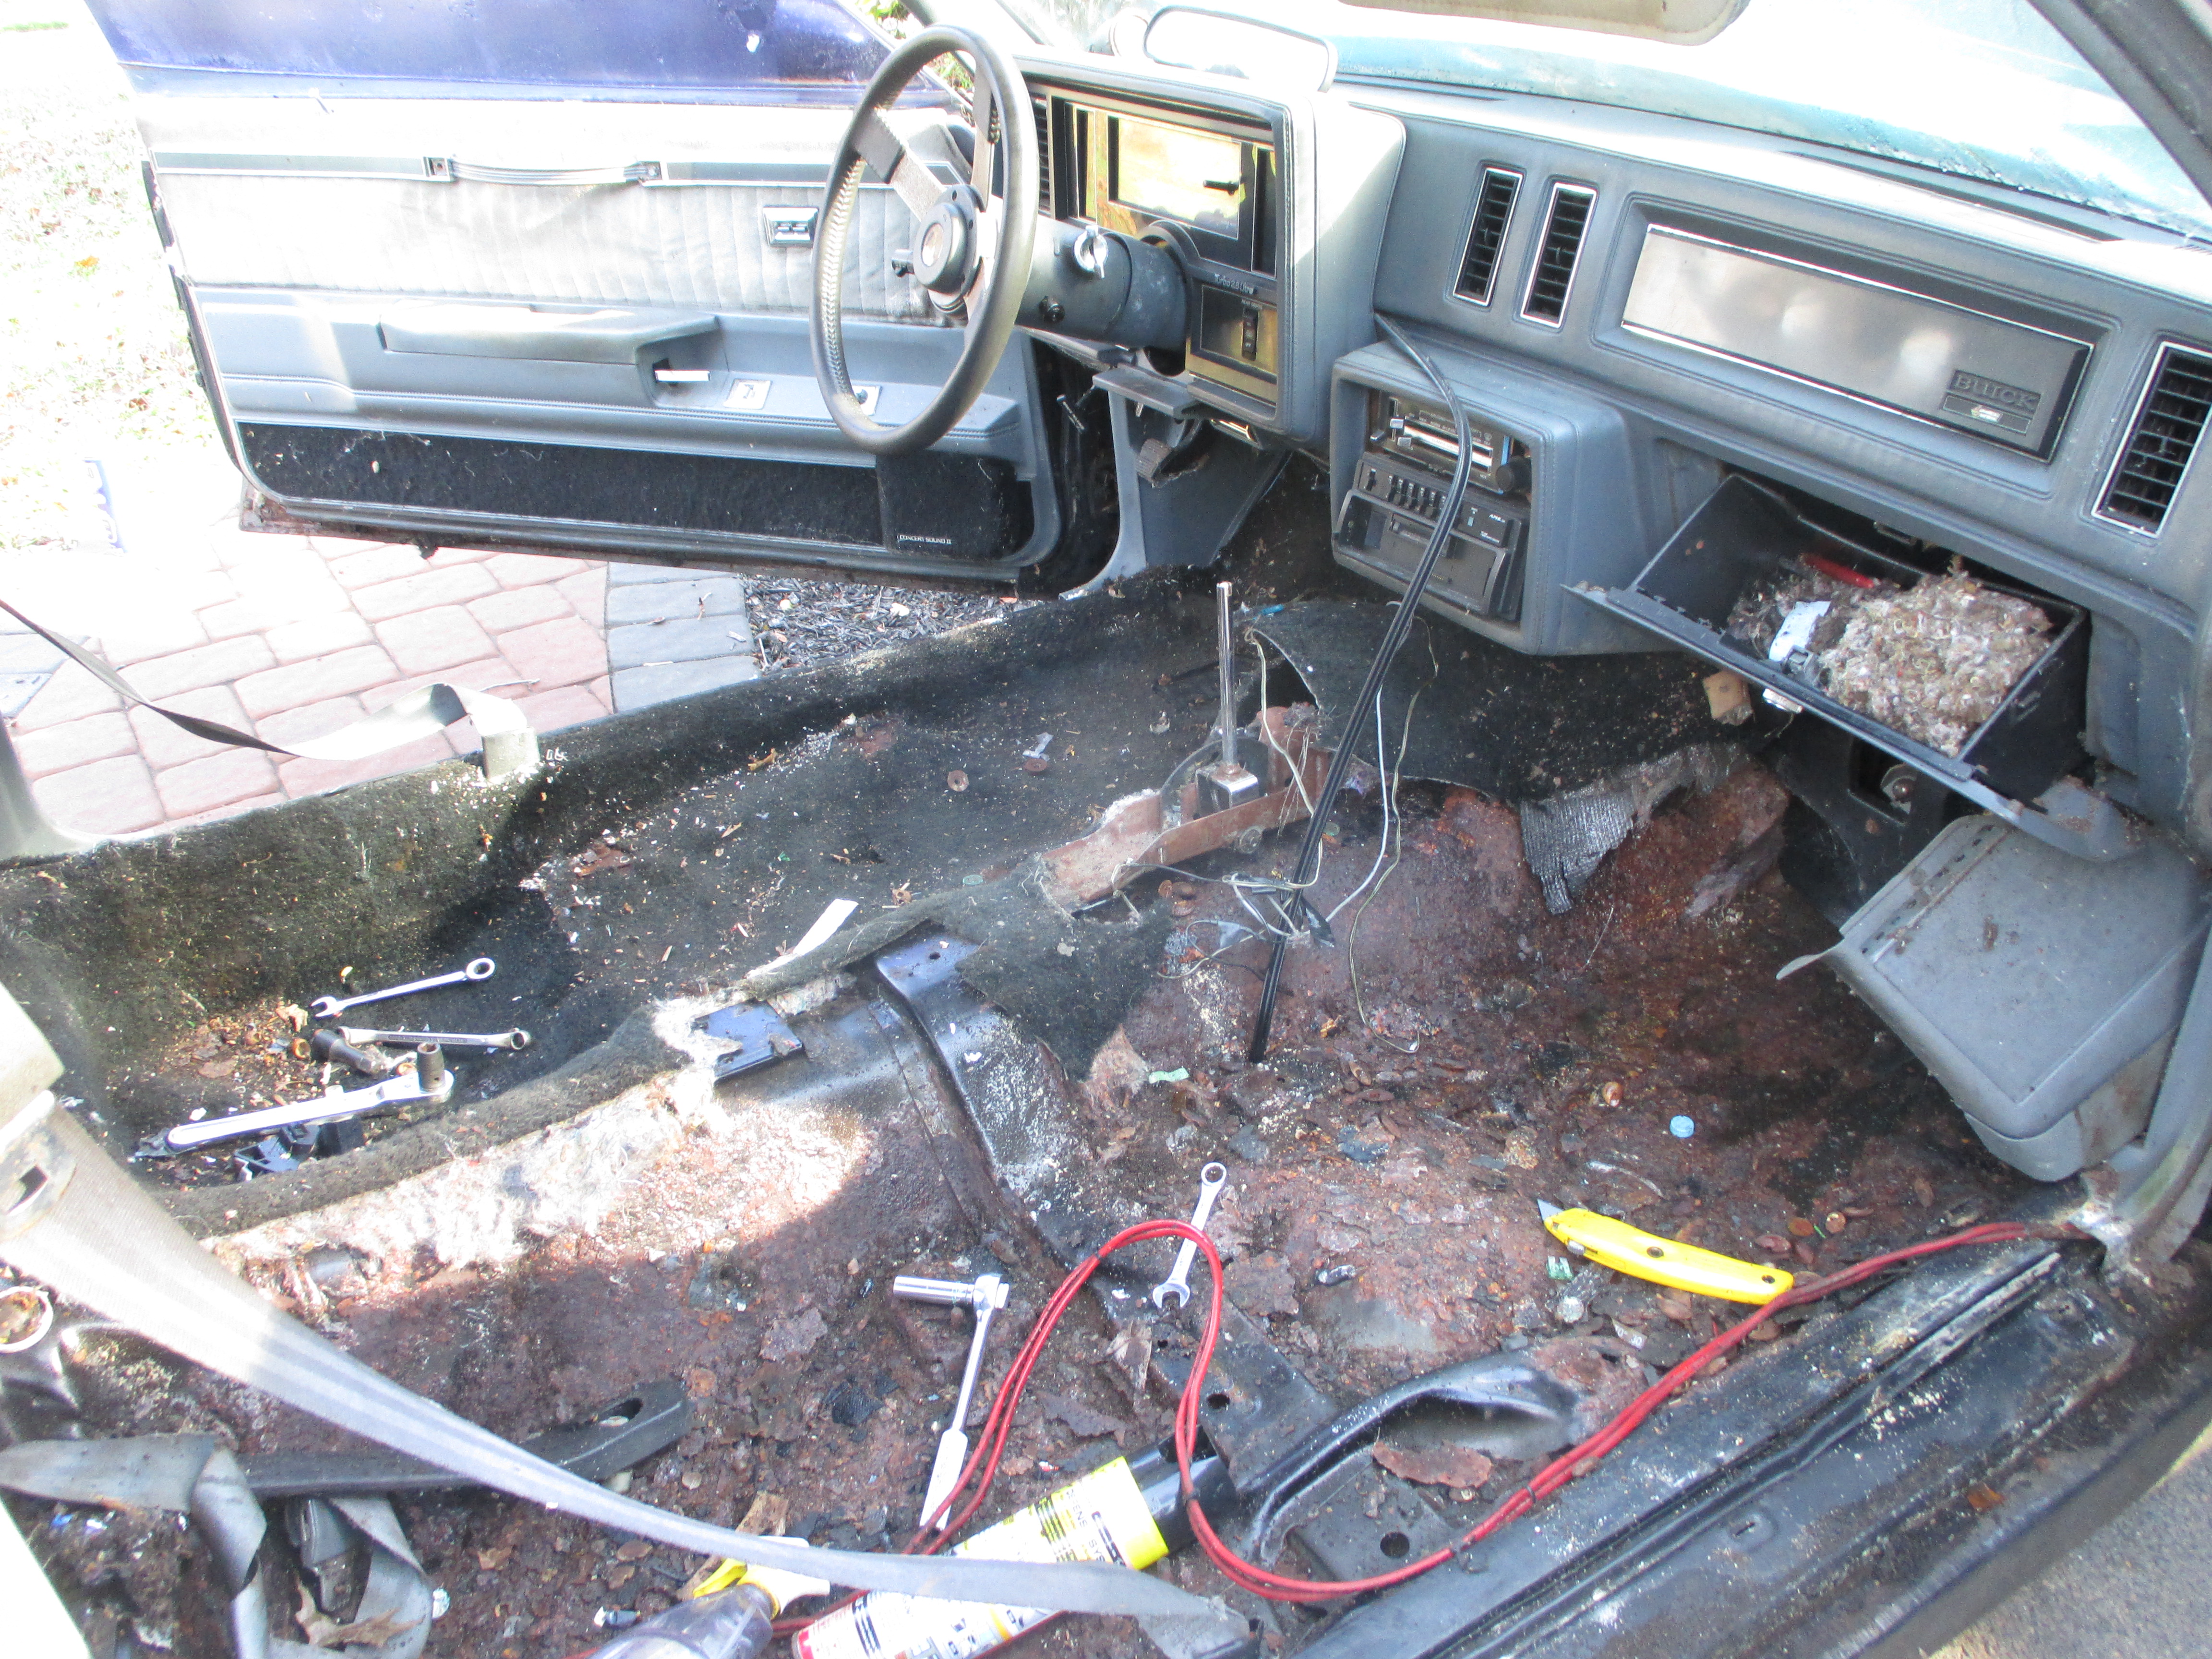
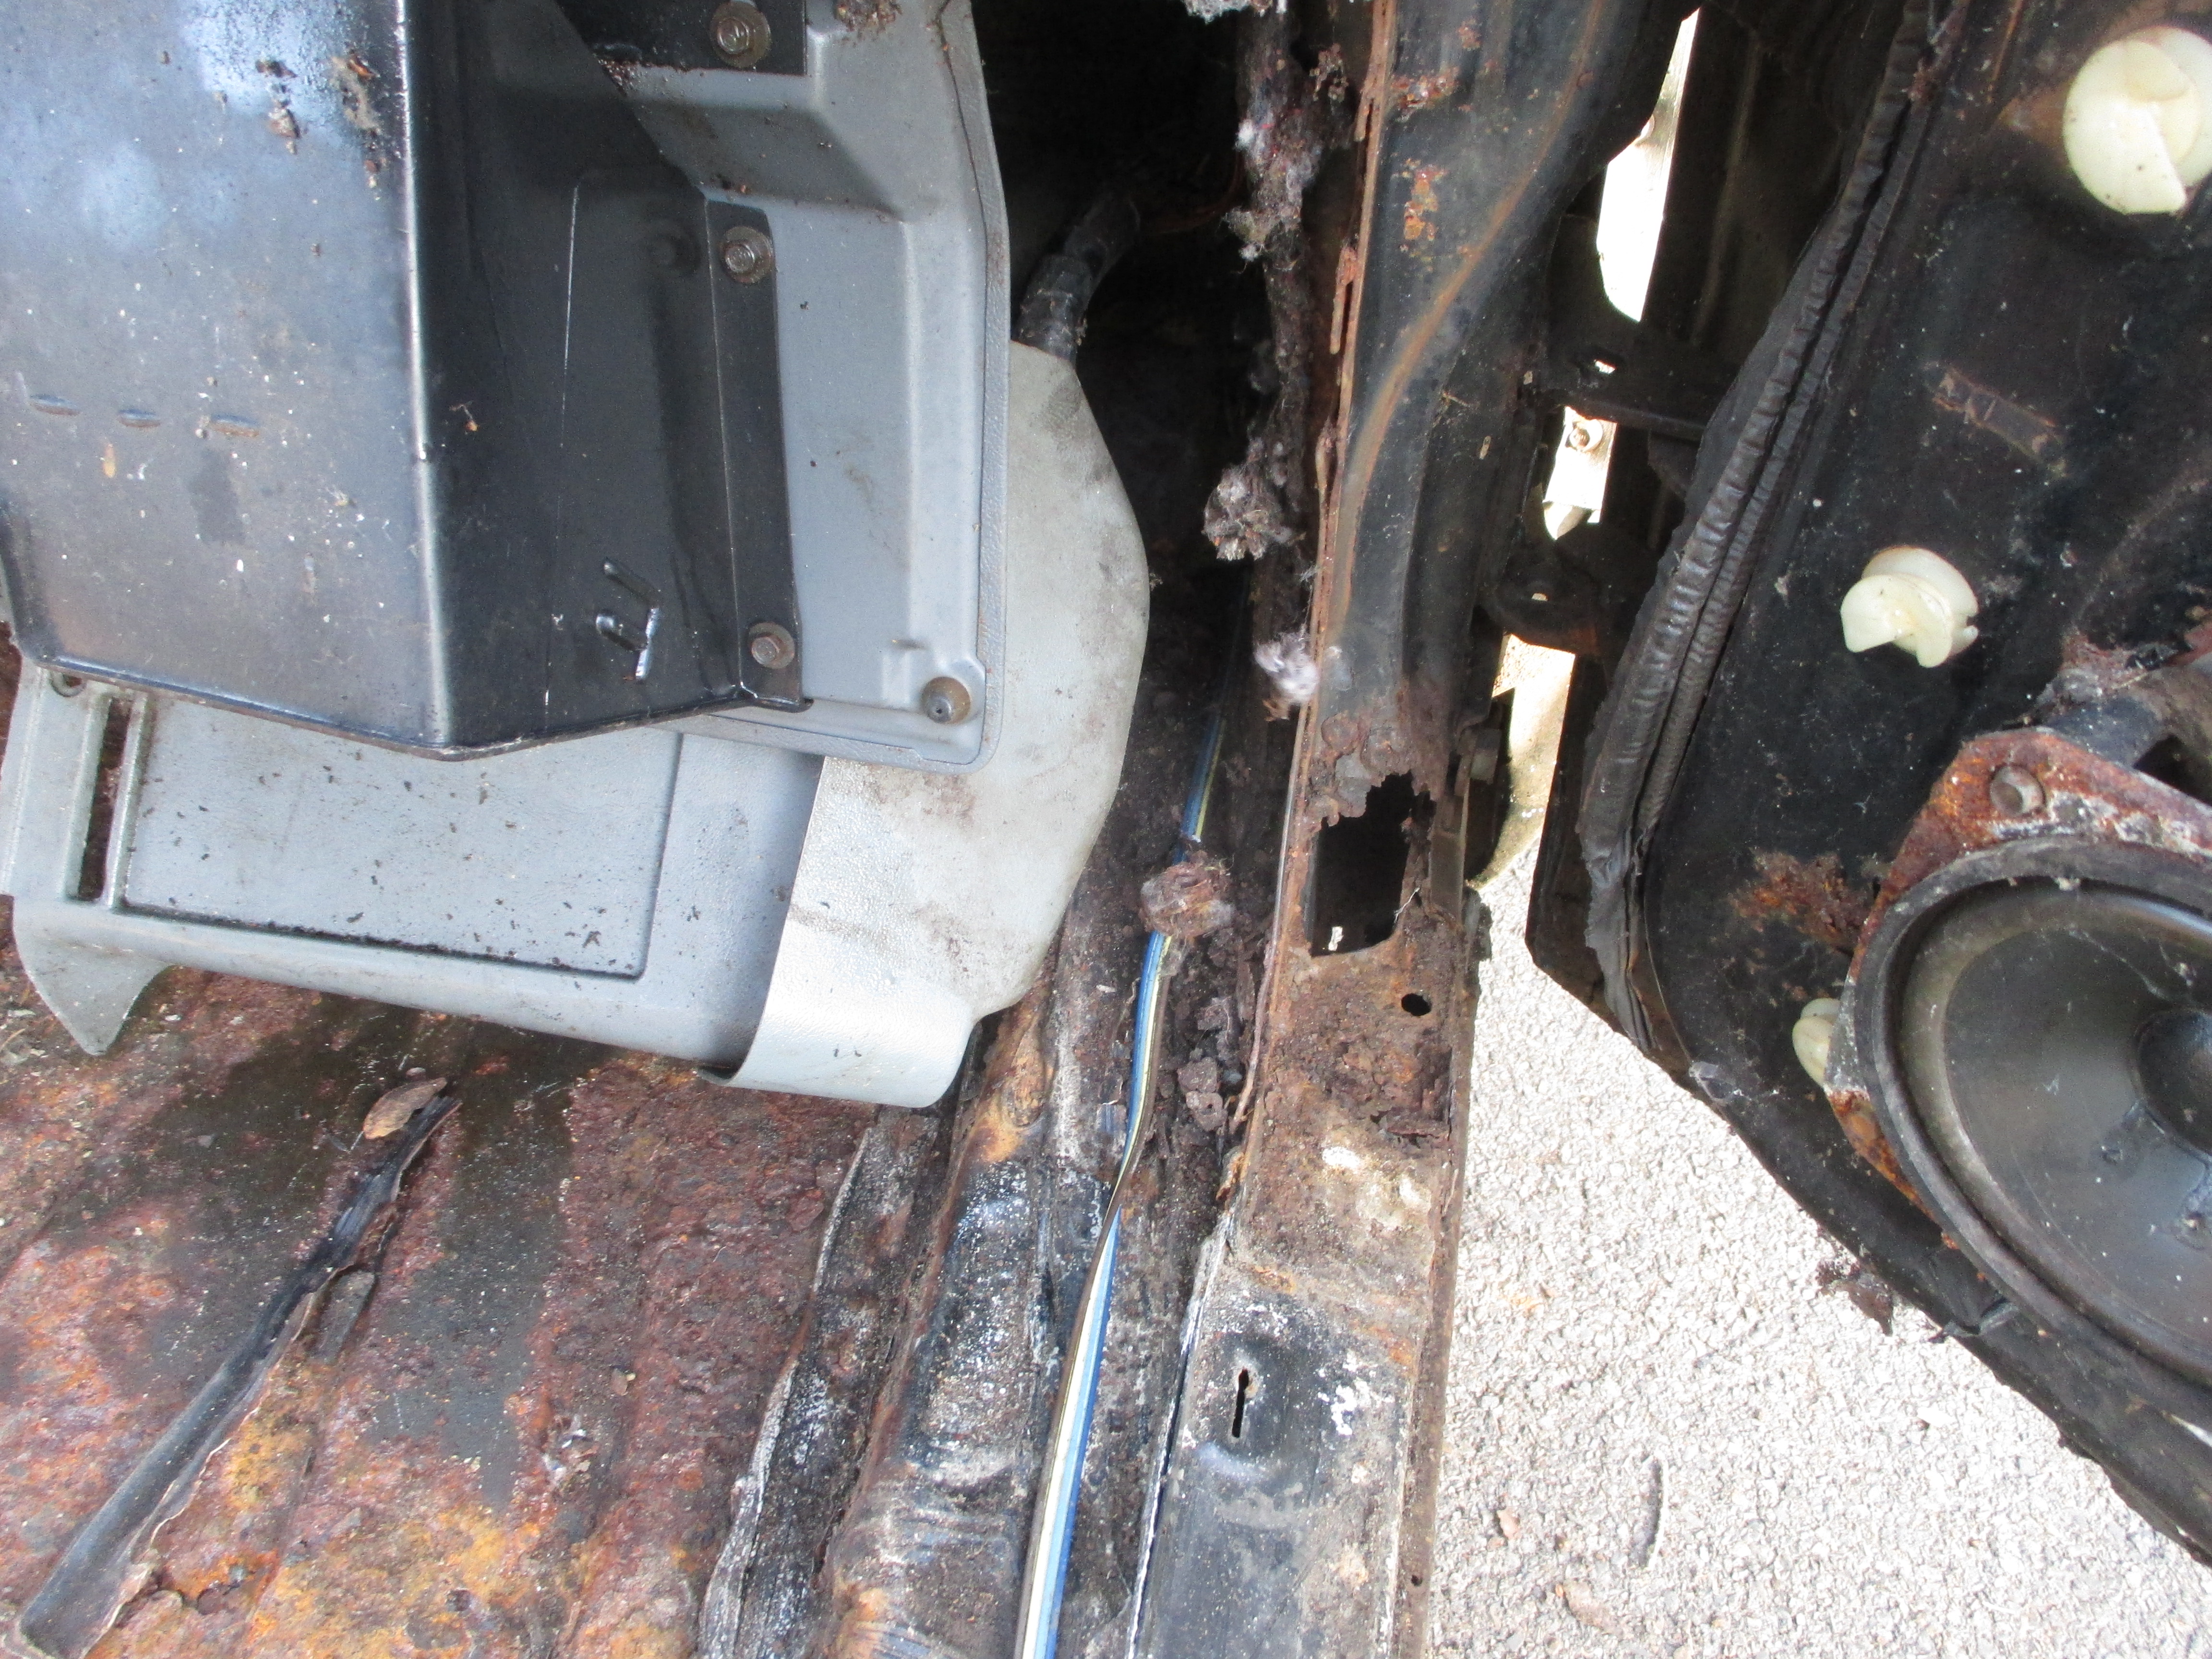
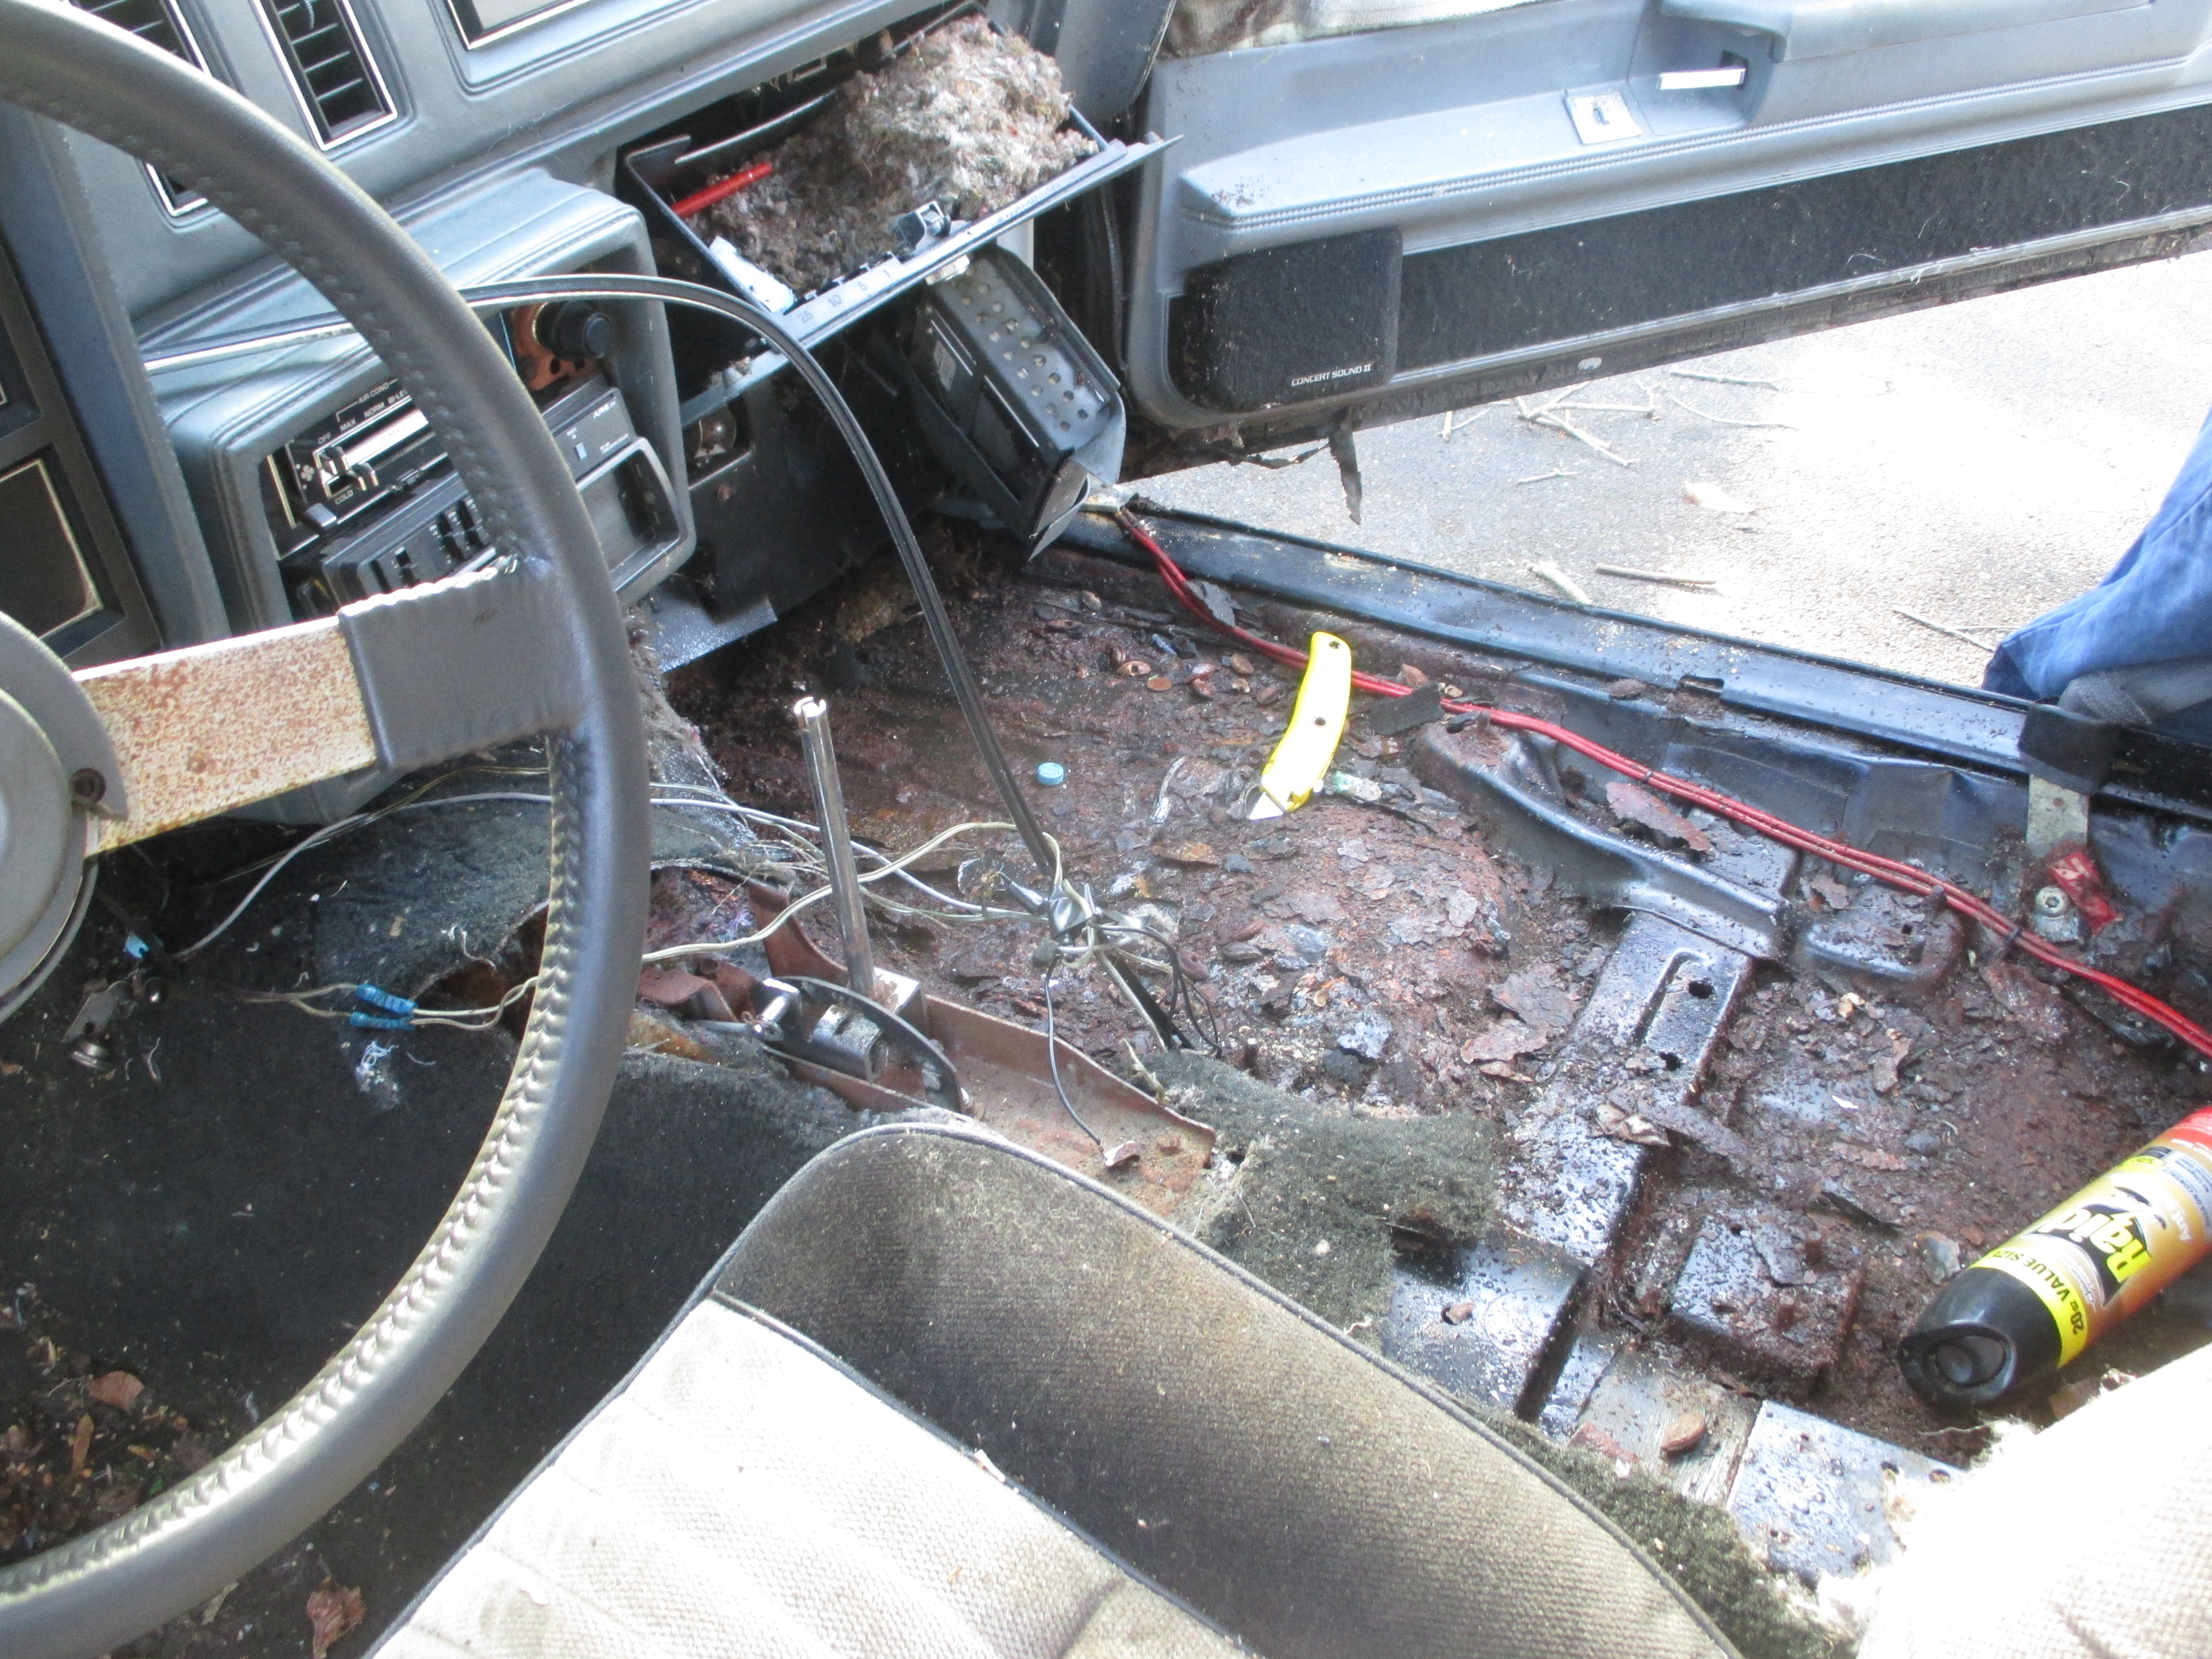
Lots of ants!!!
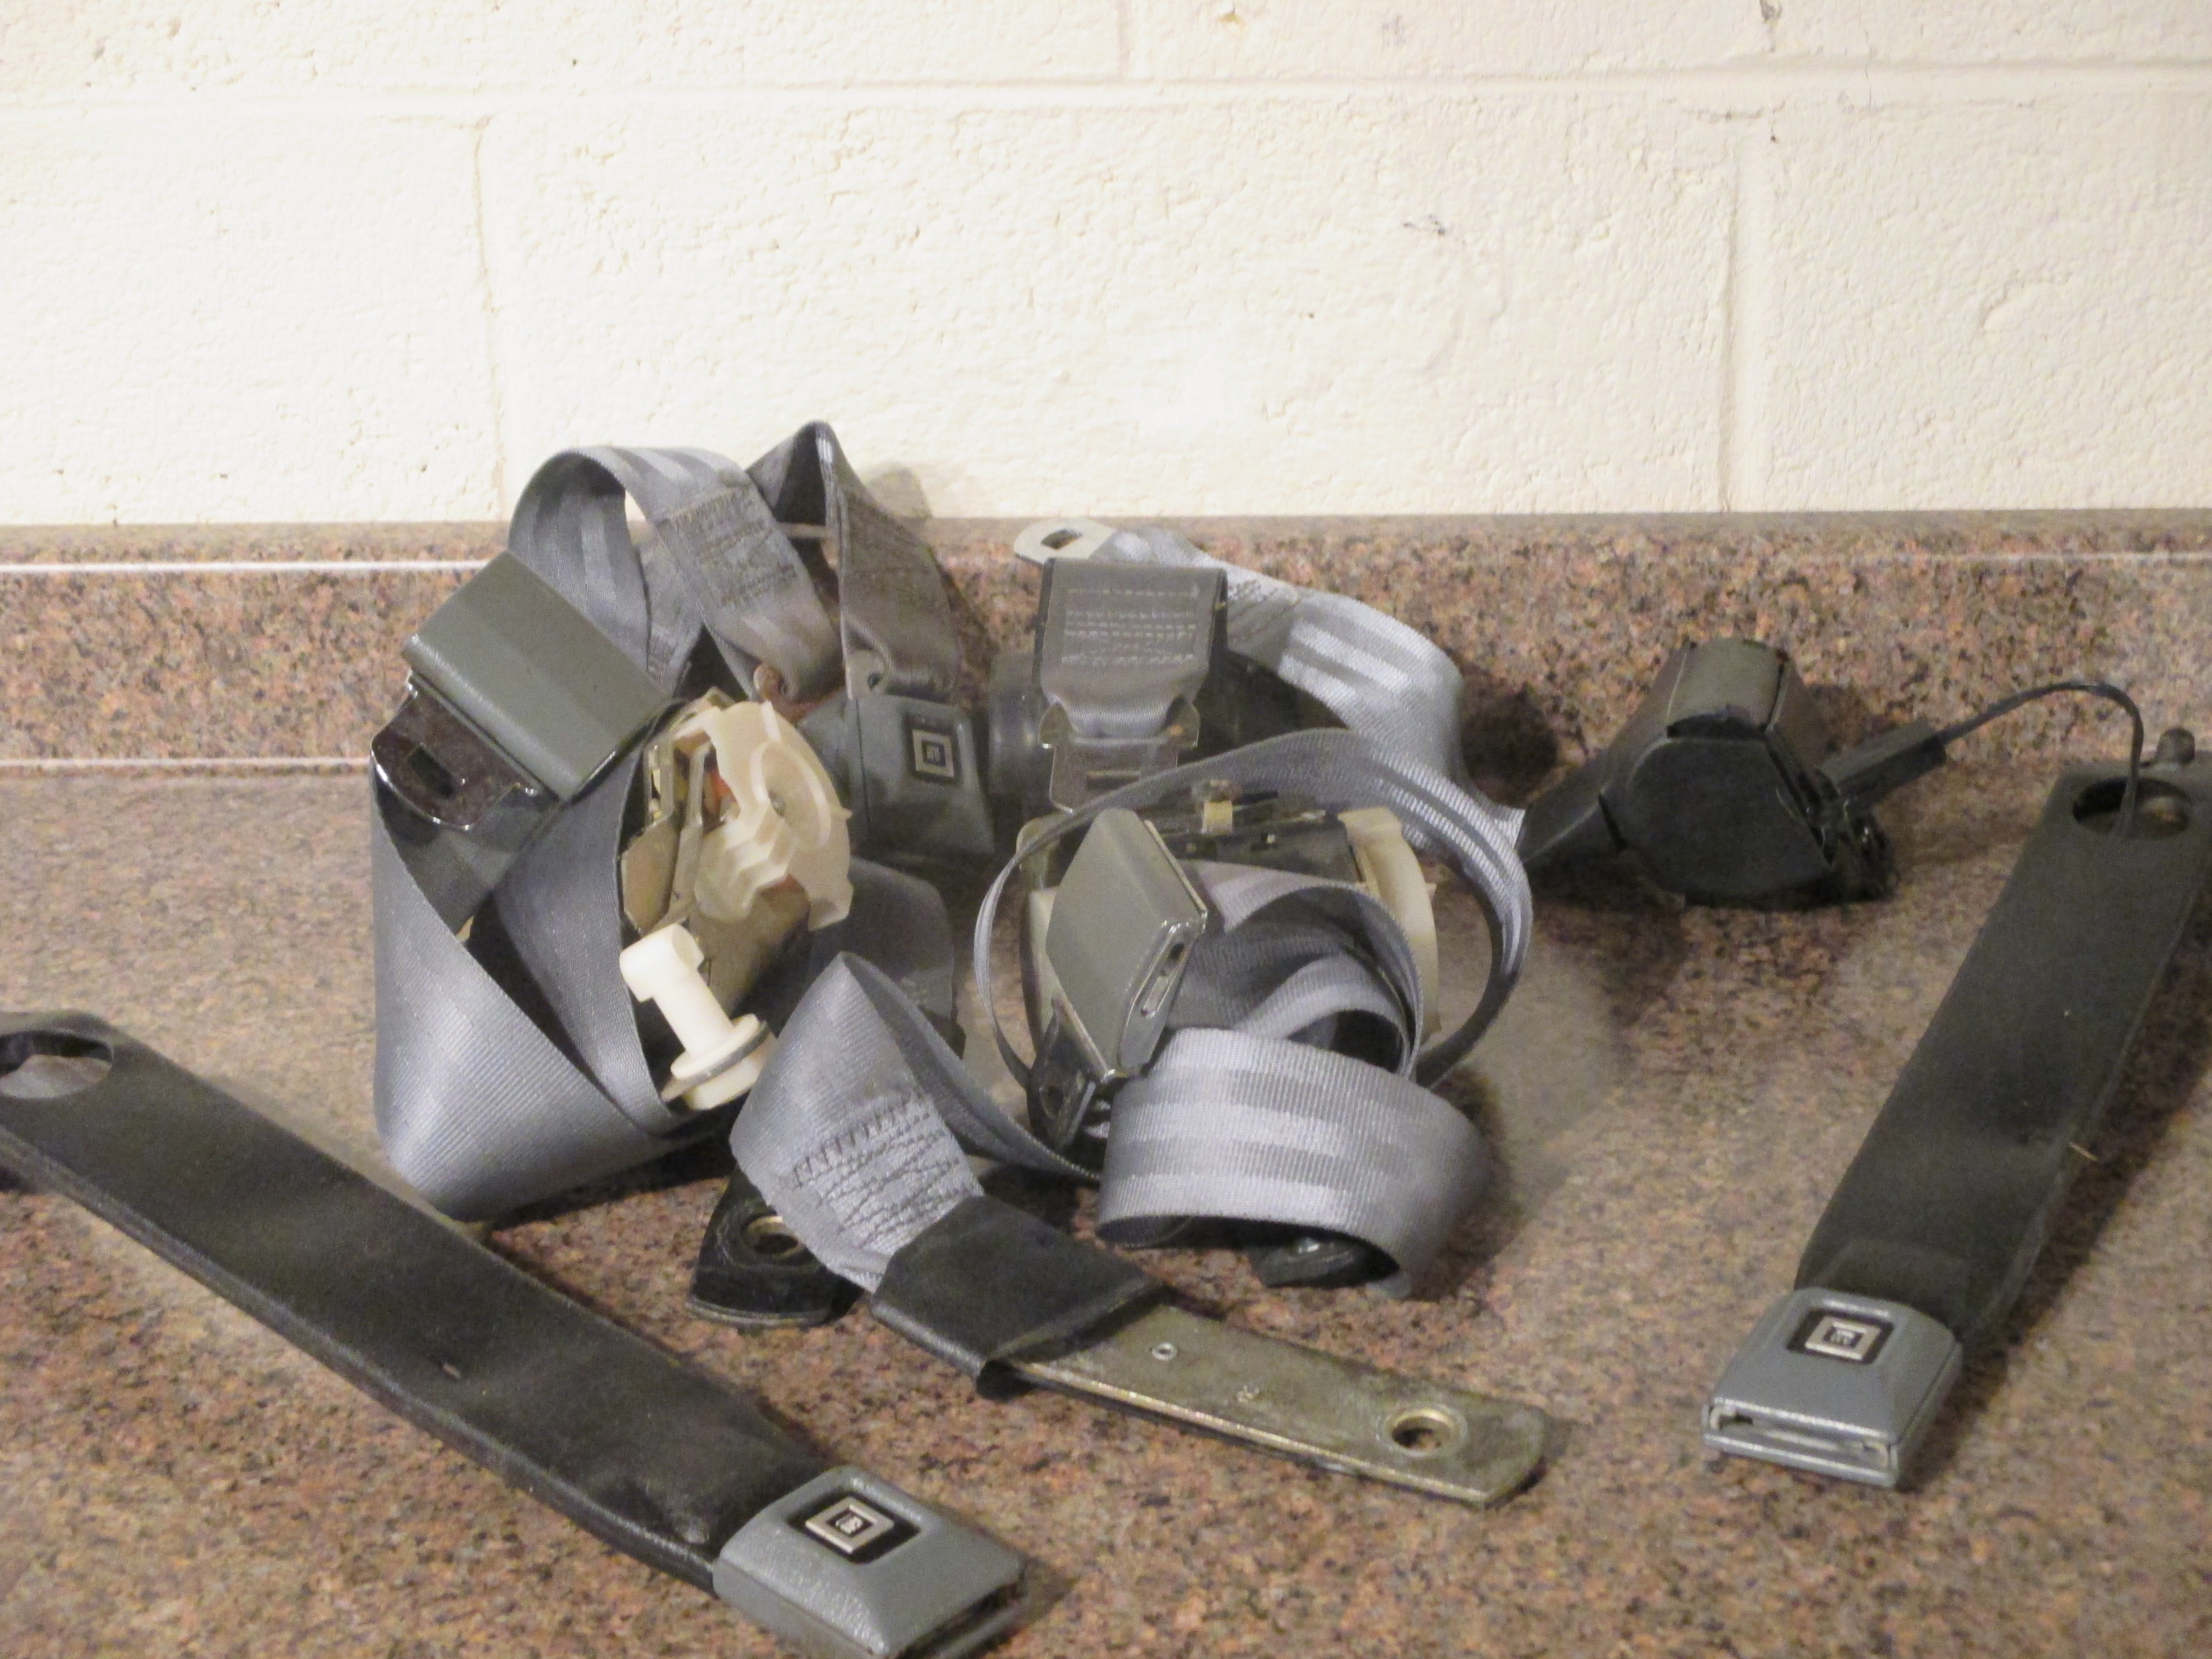
The car is complete very few missing parts
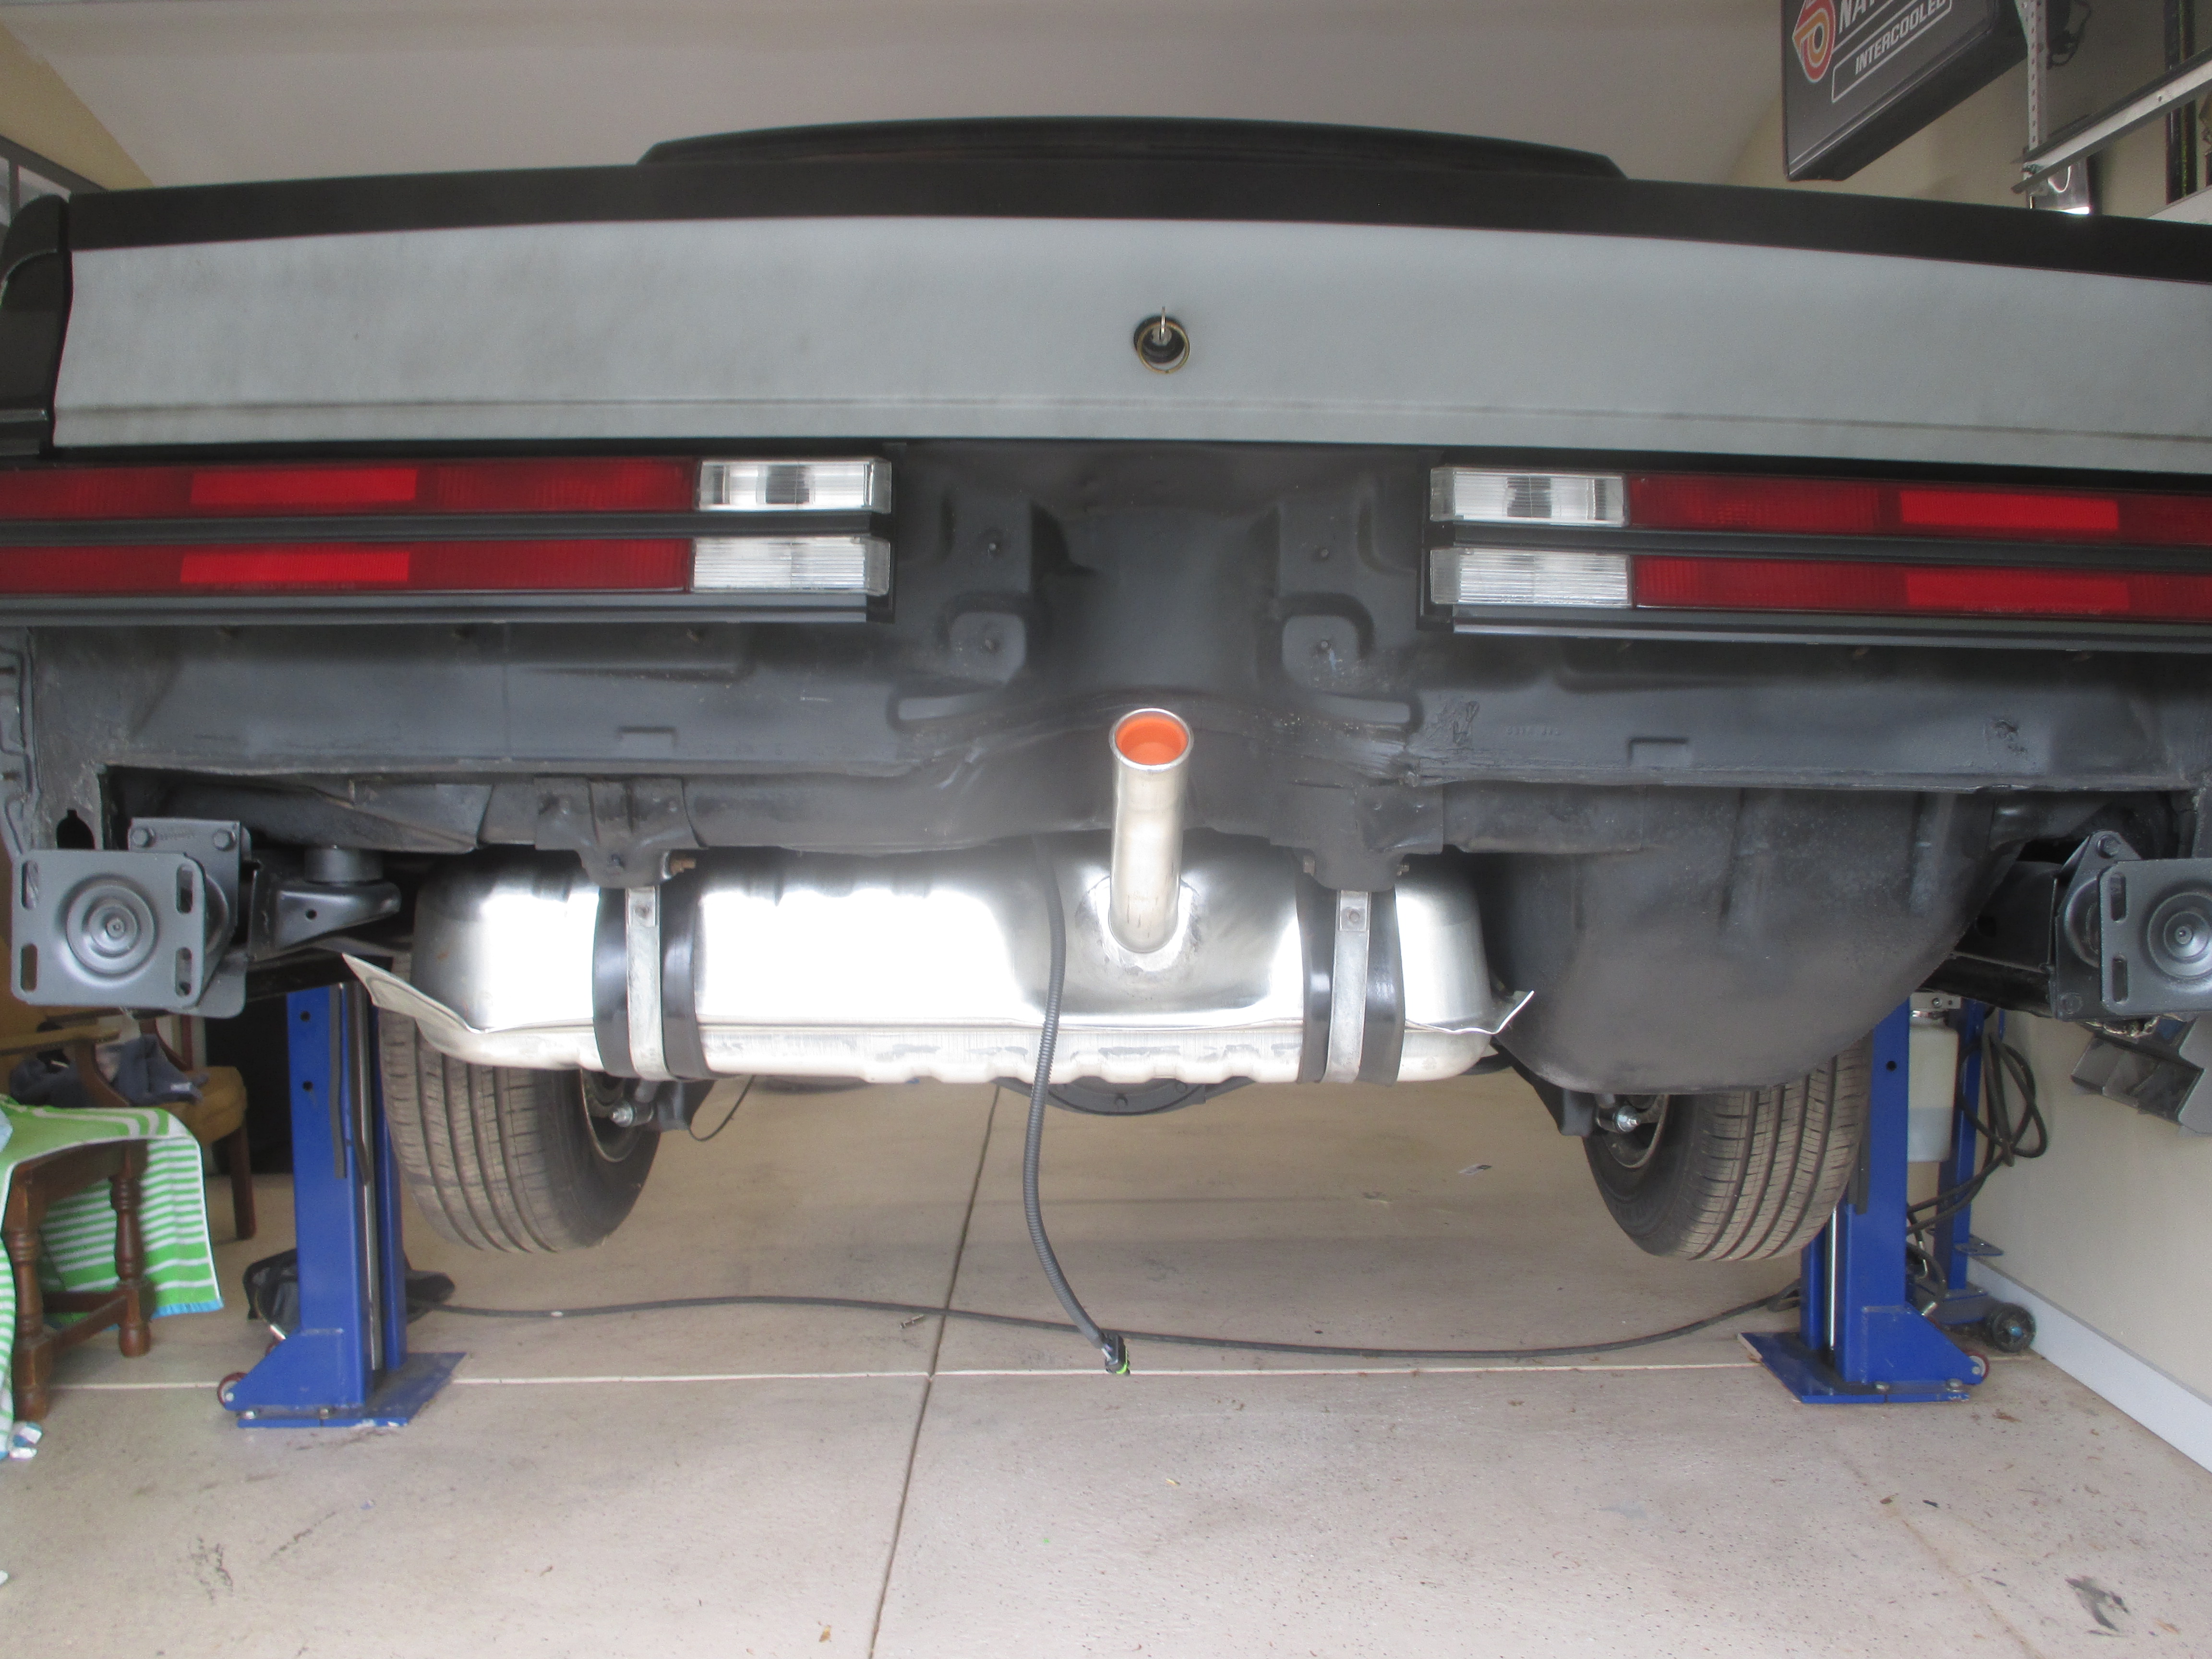
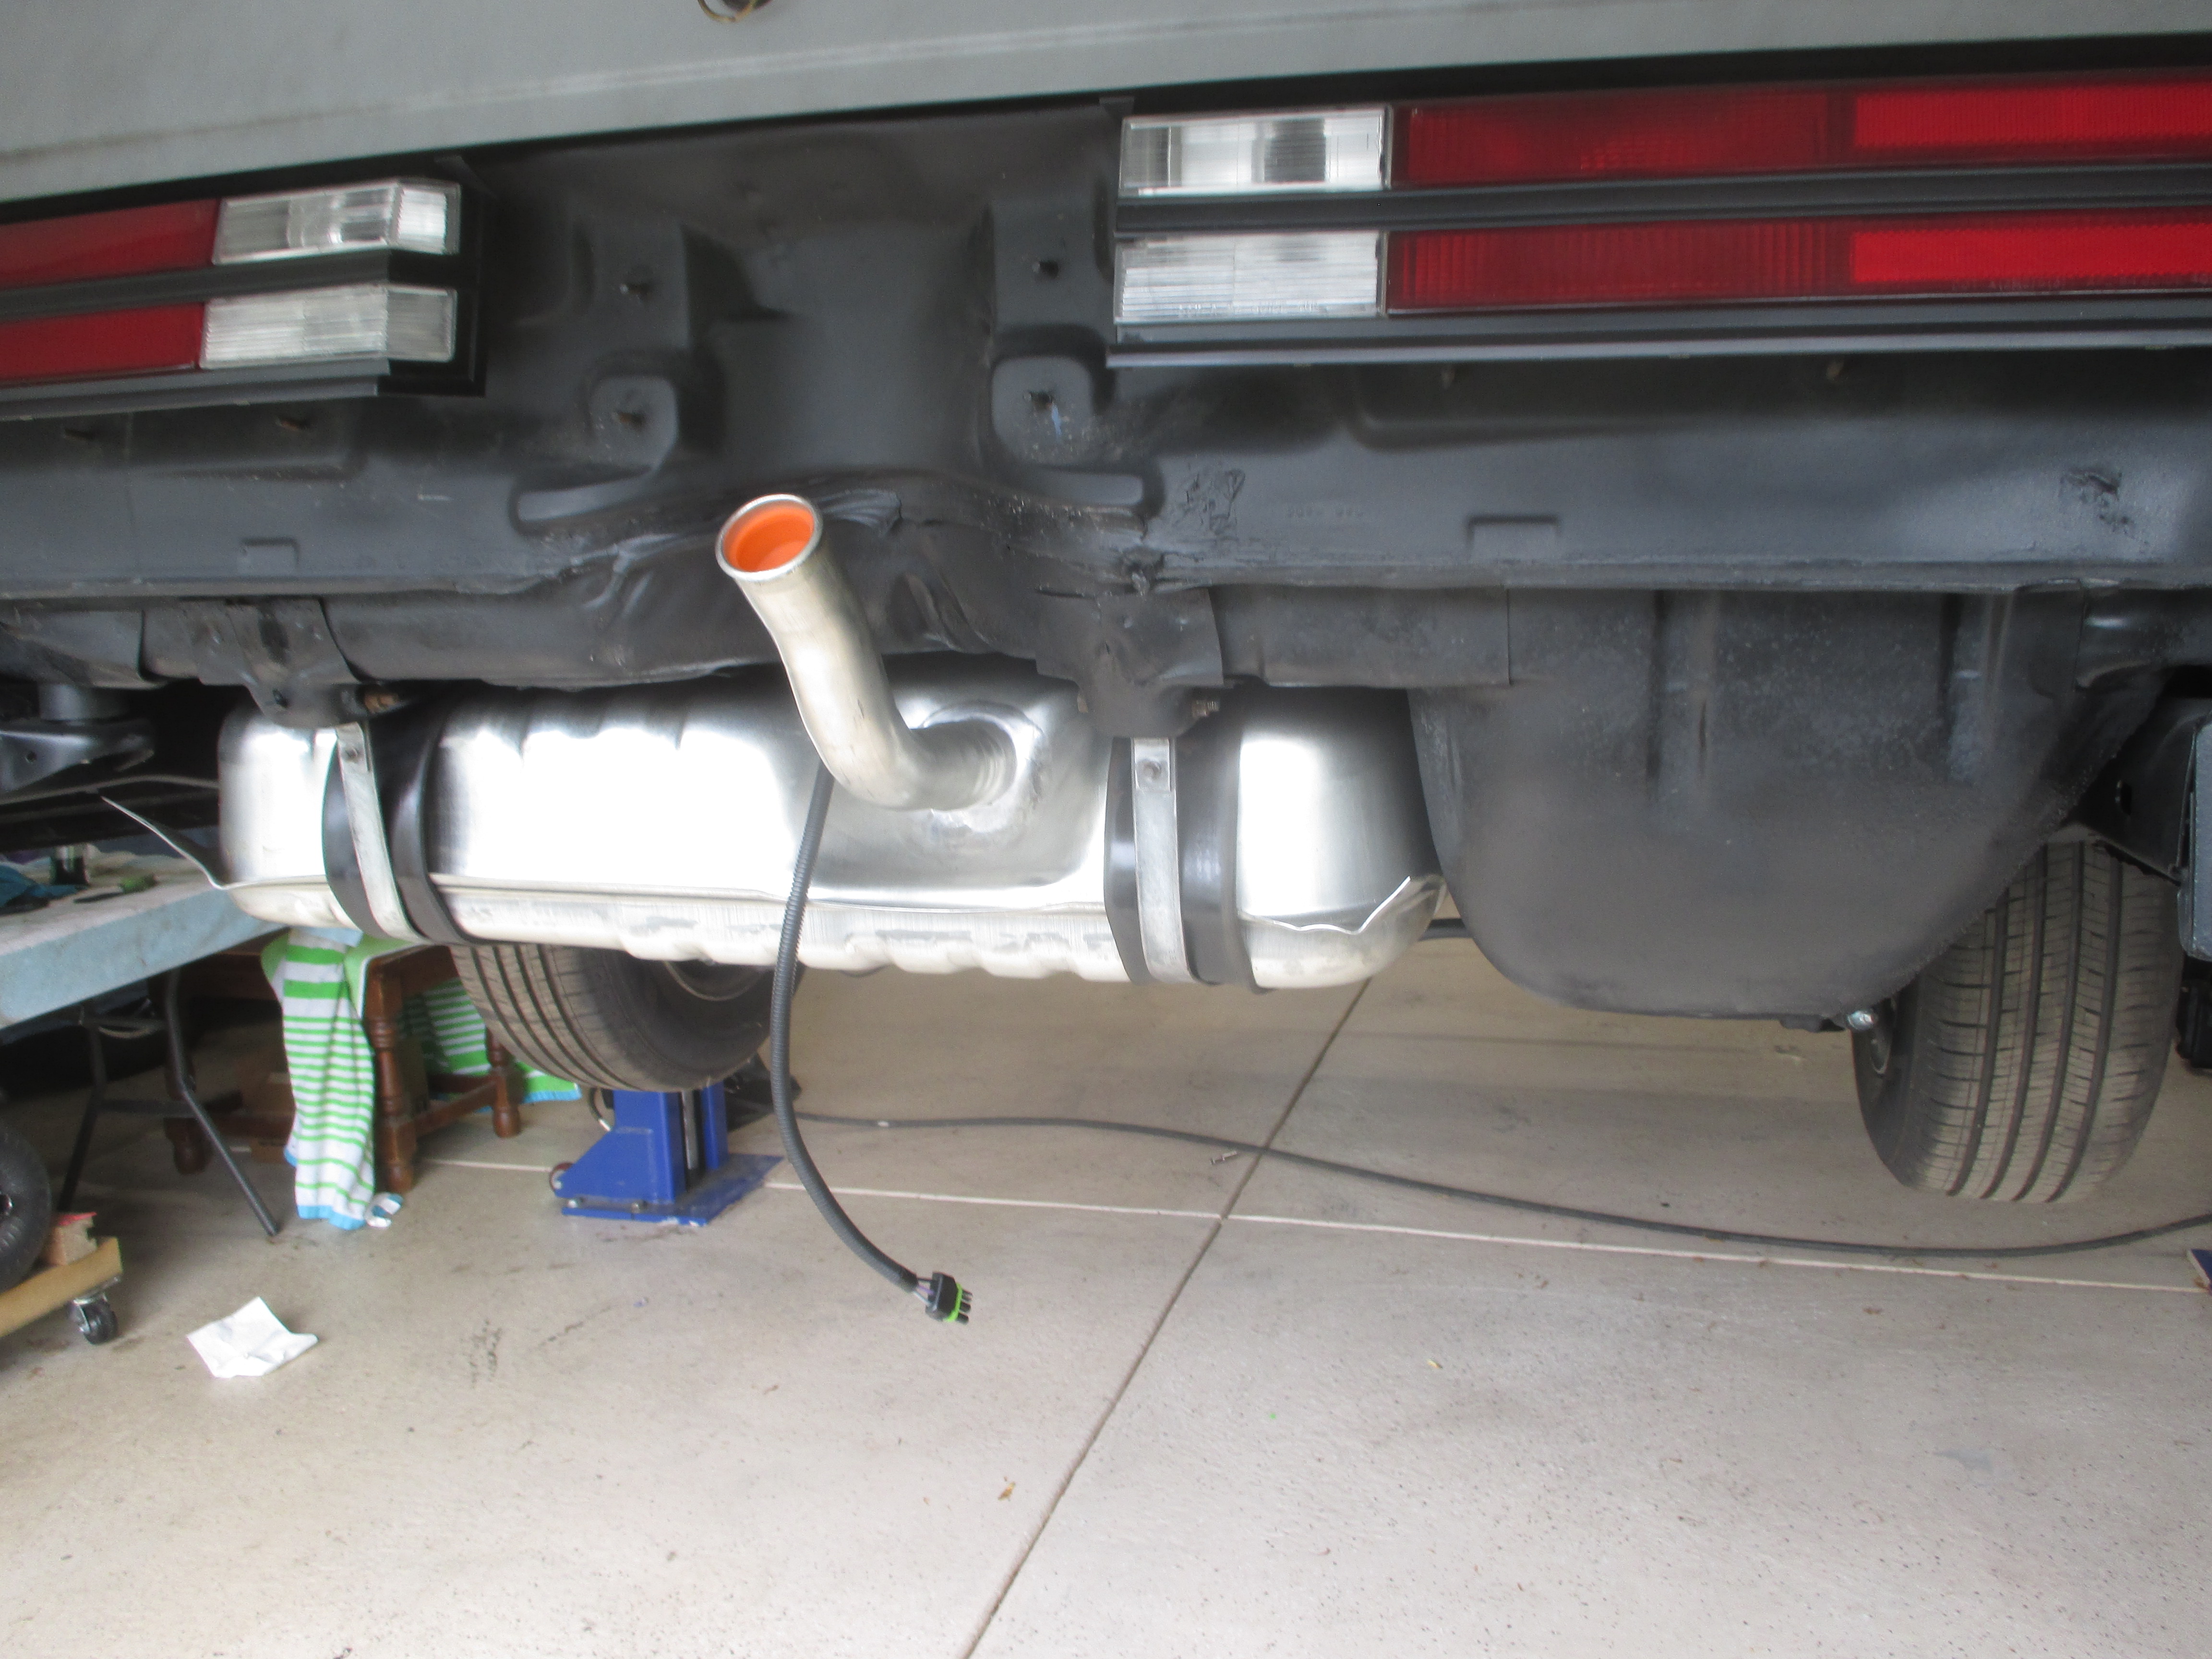
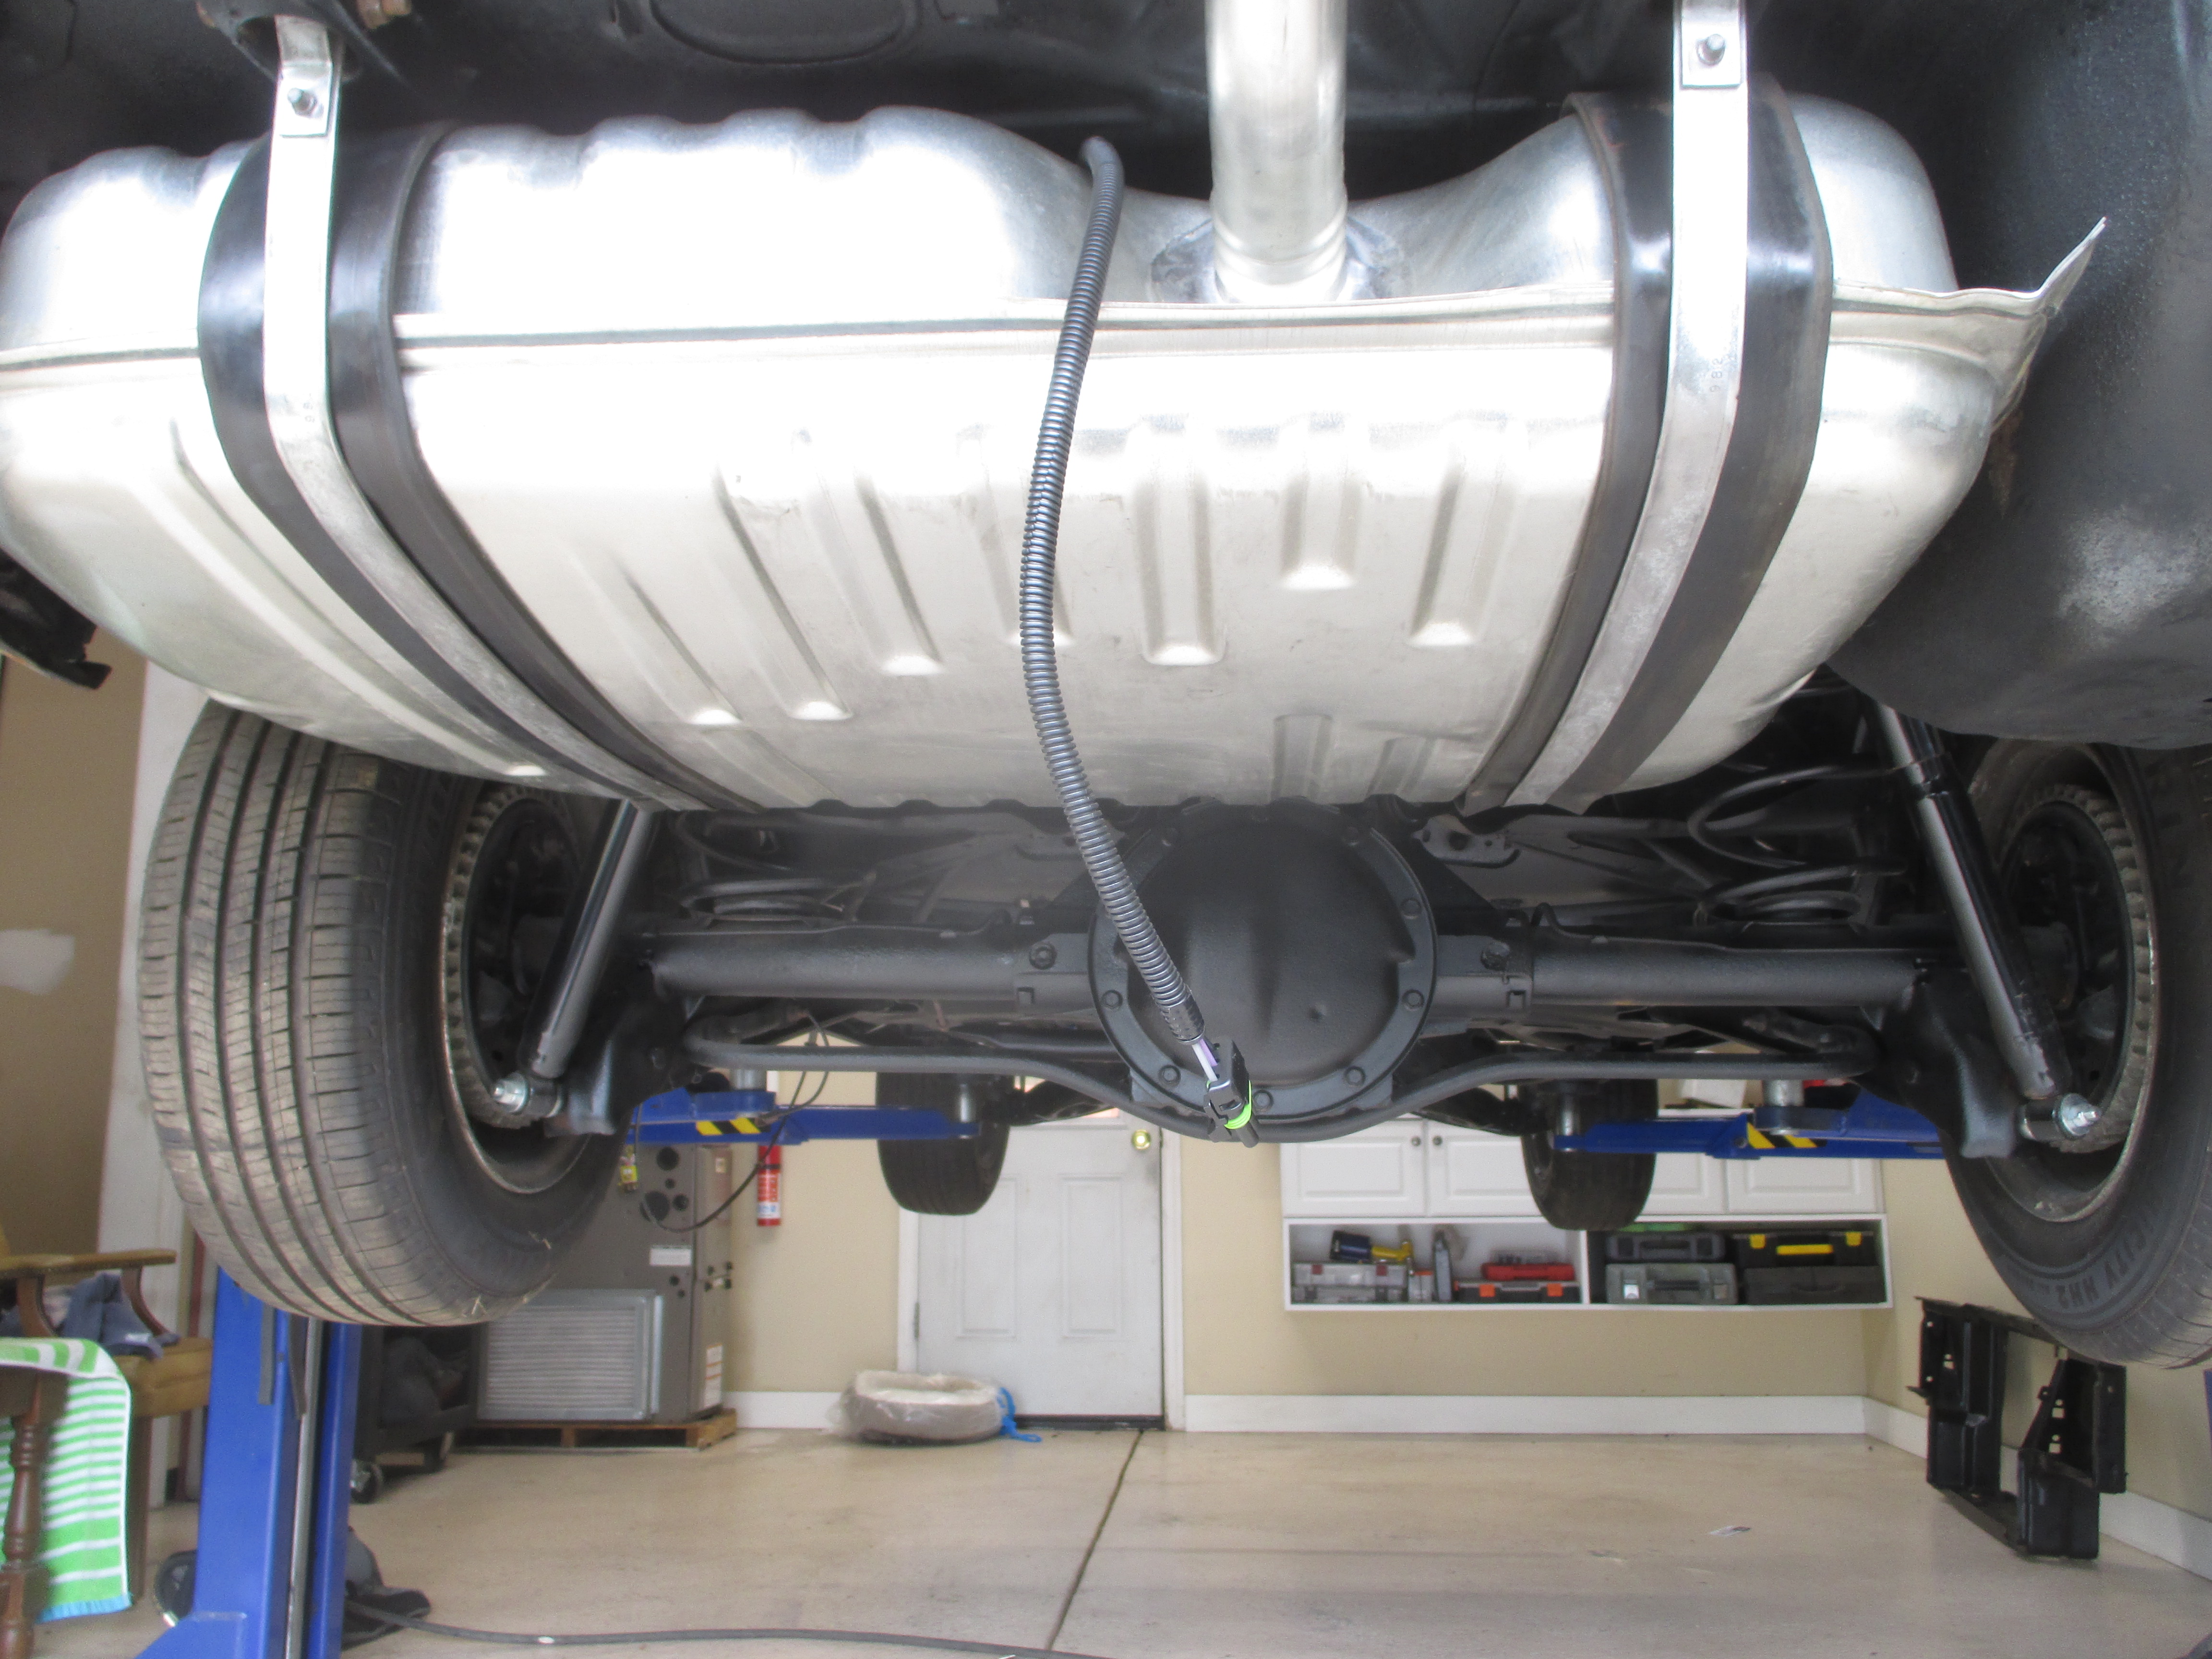
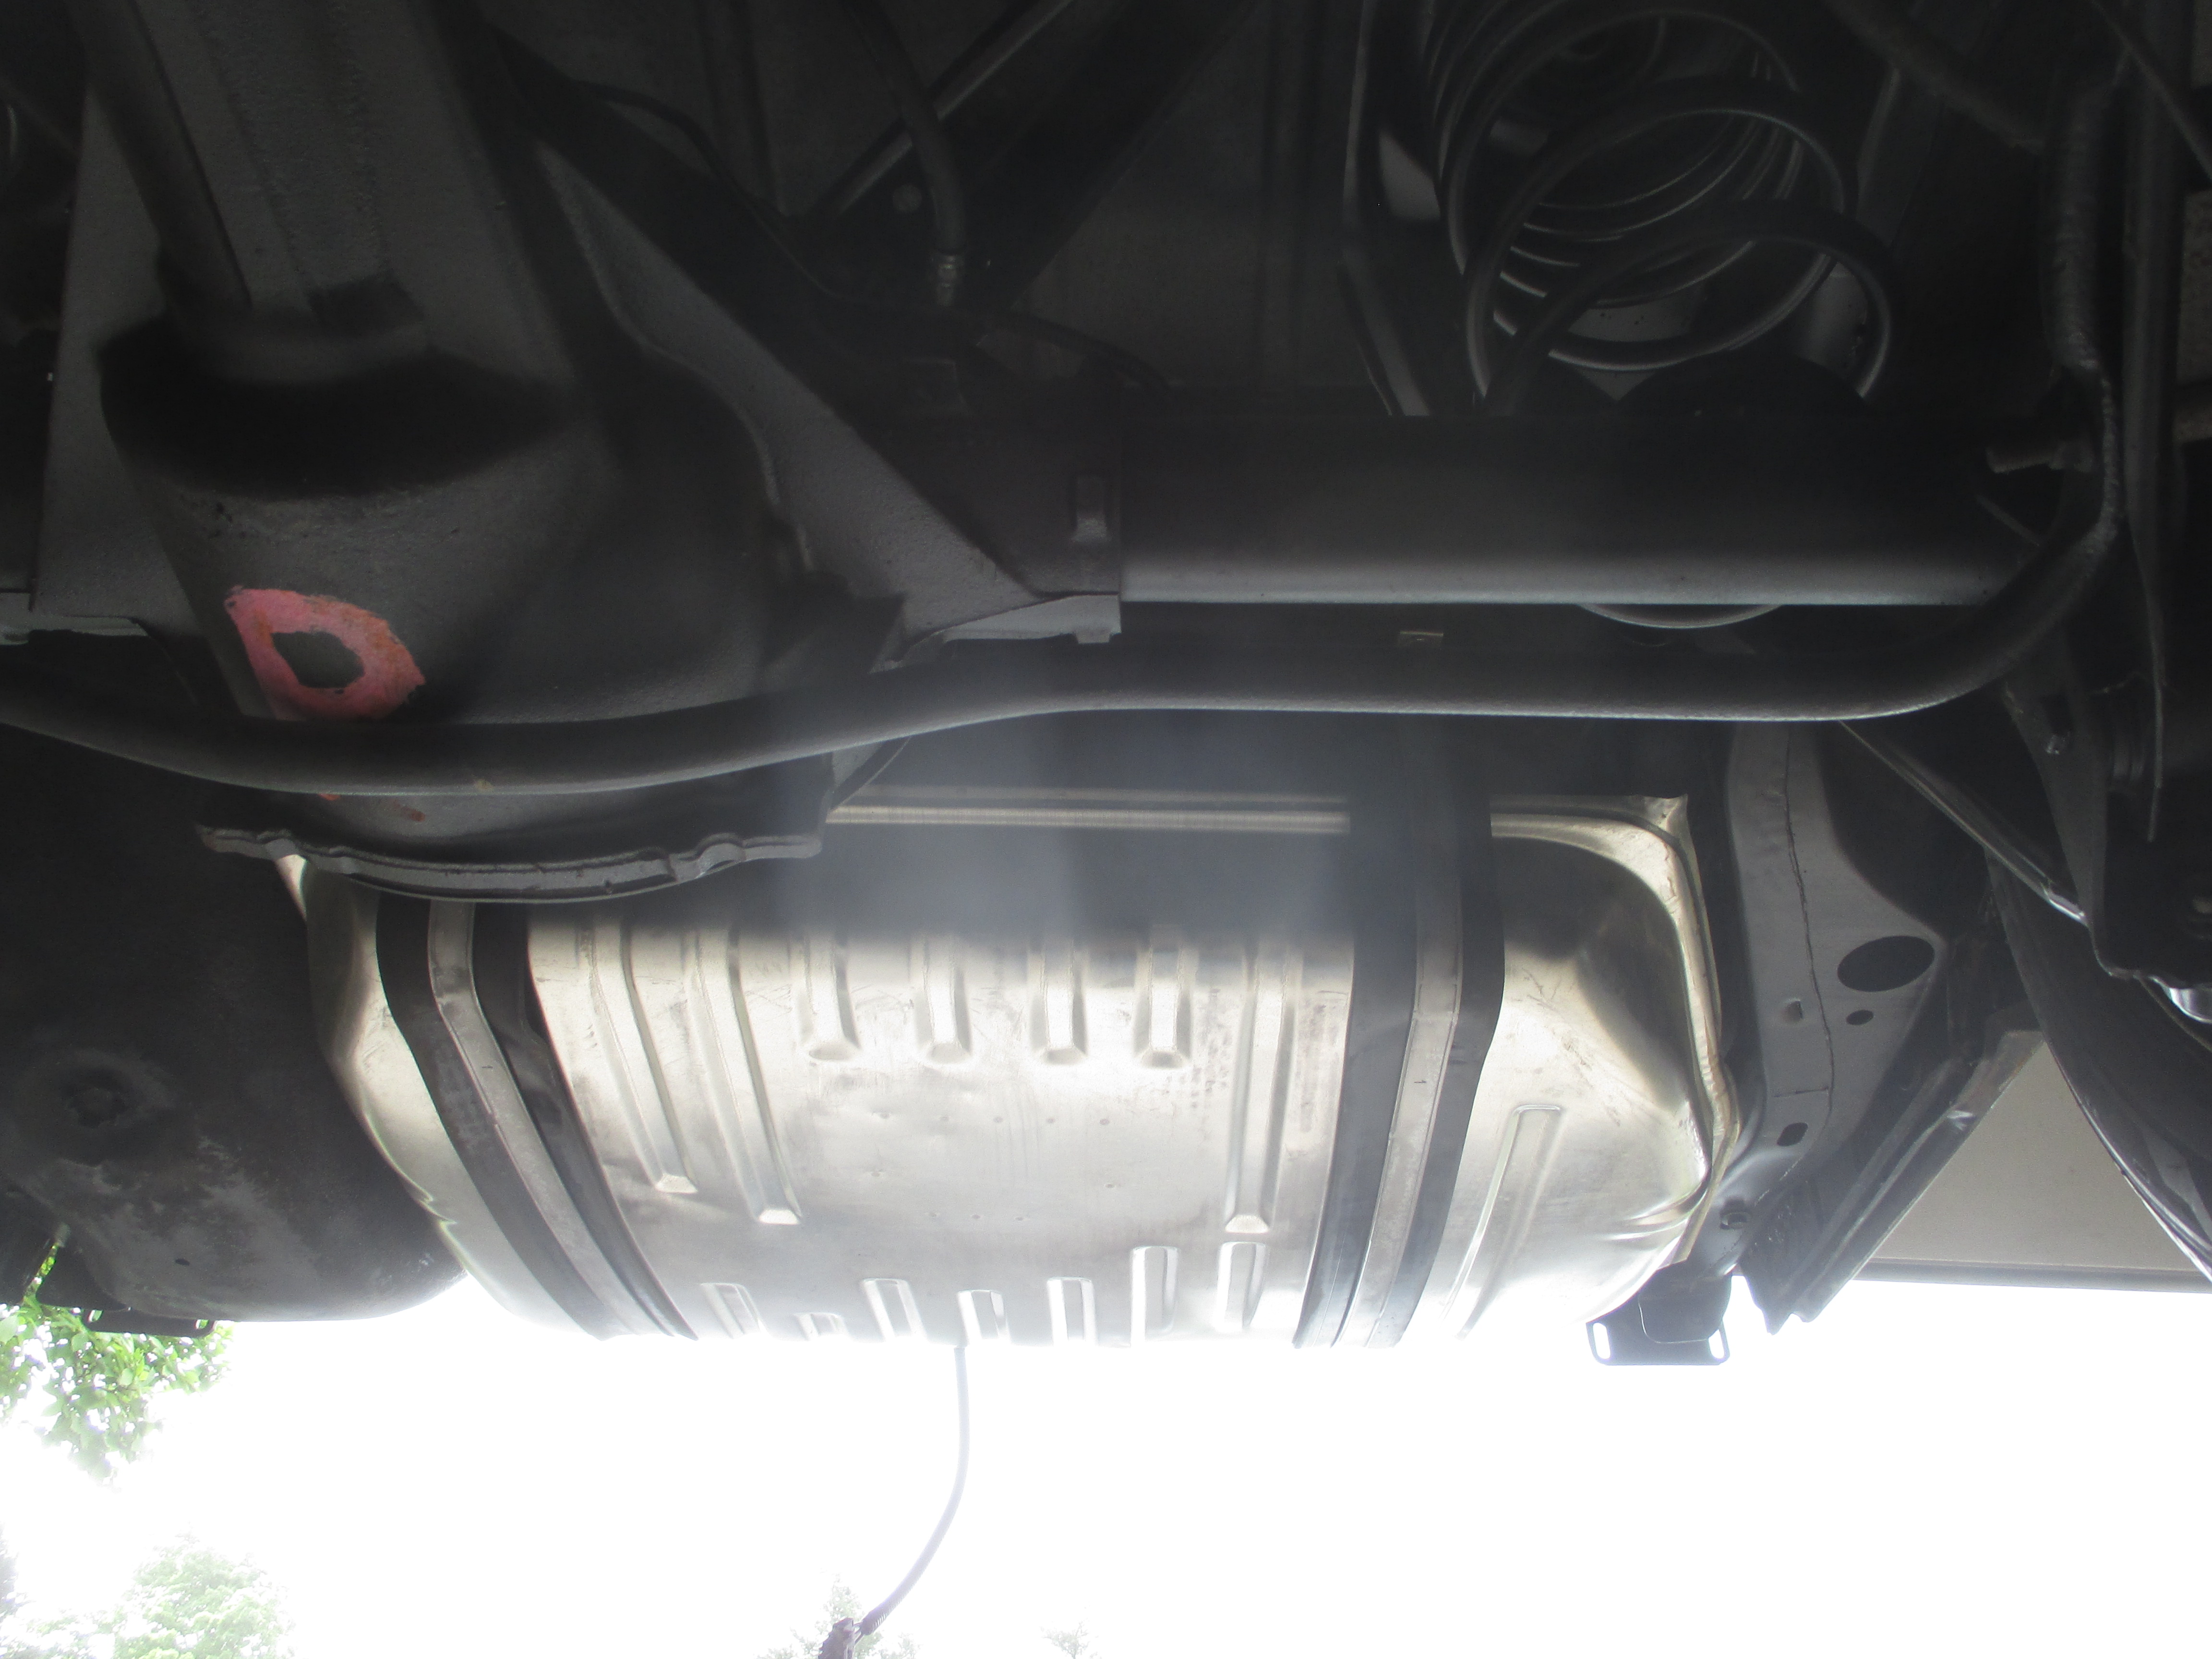
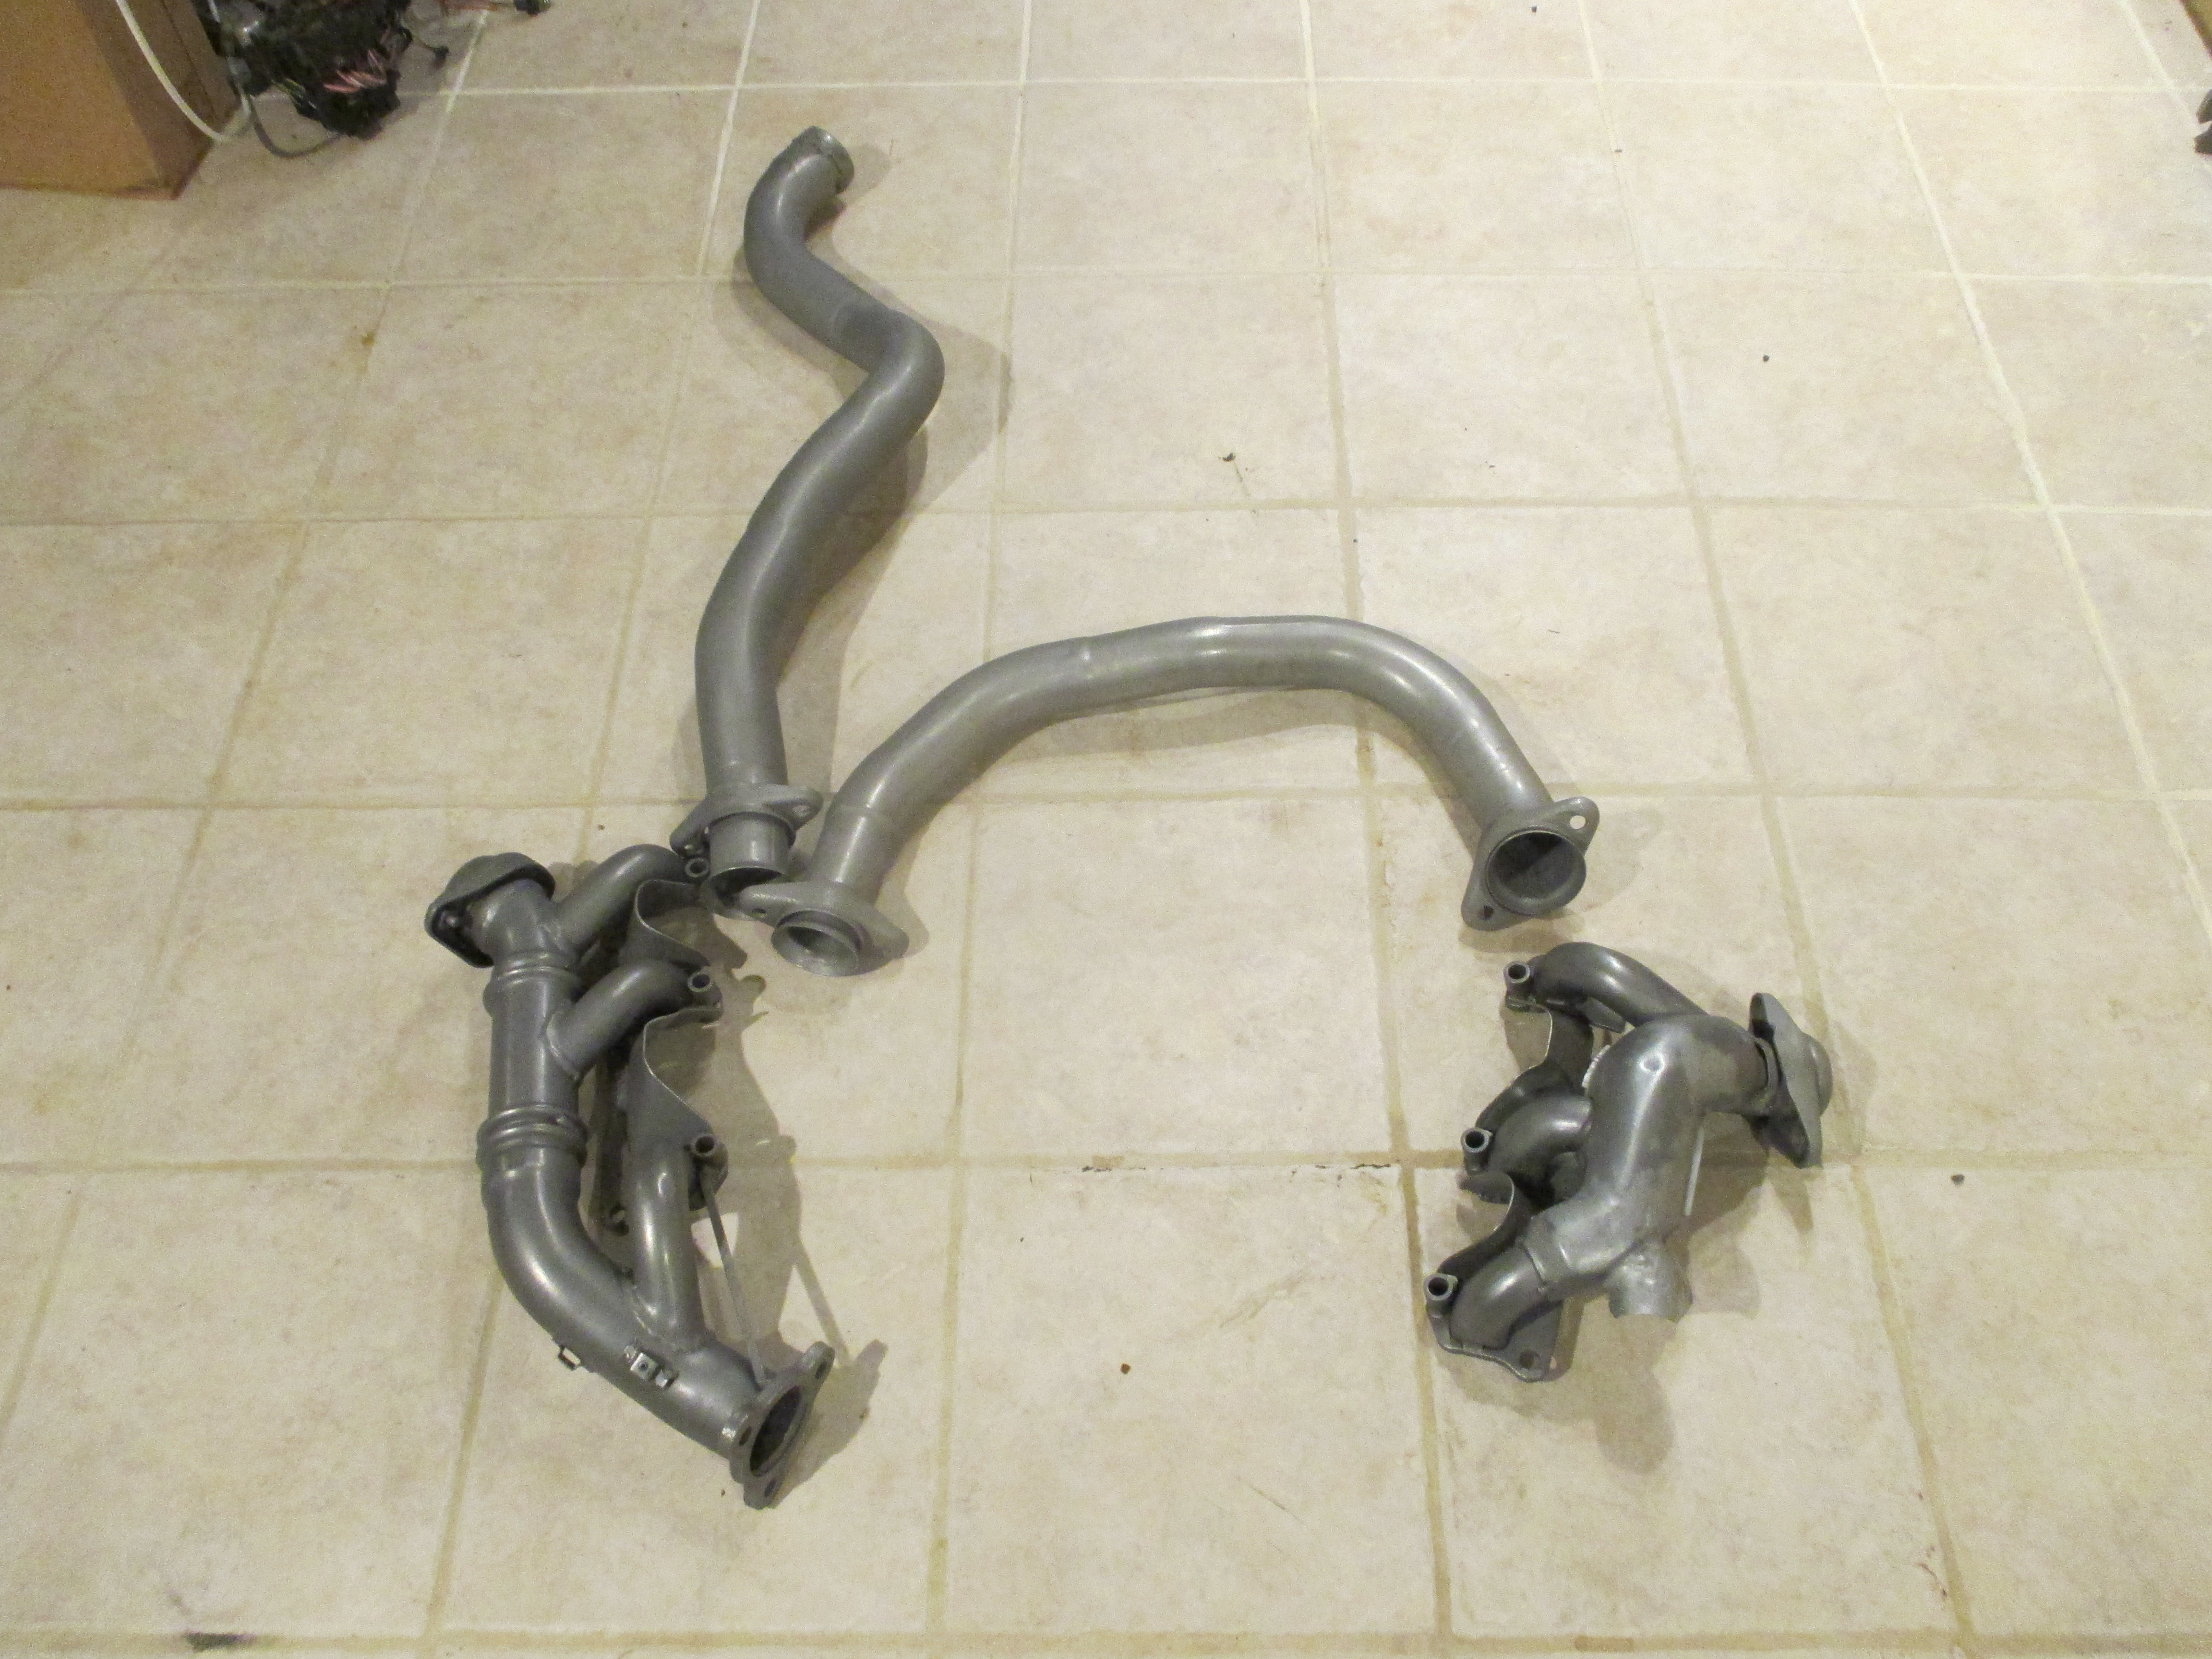
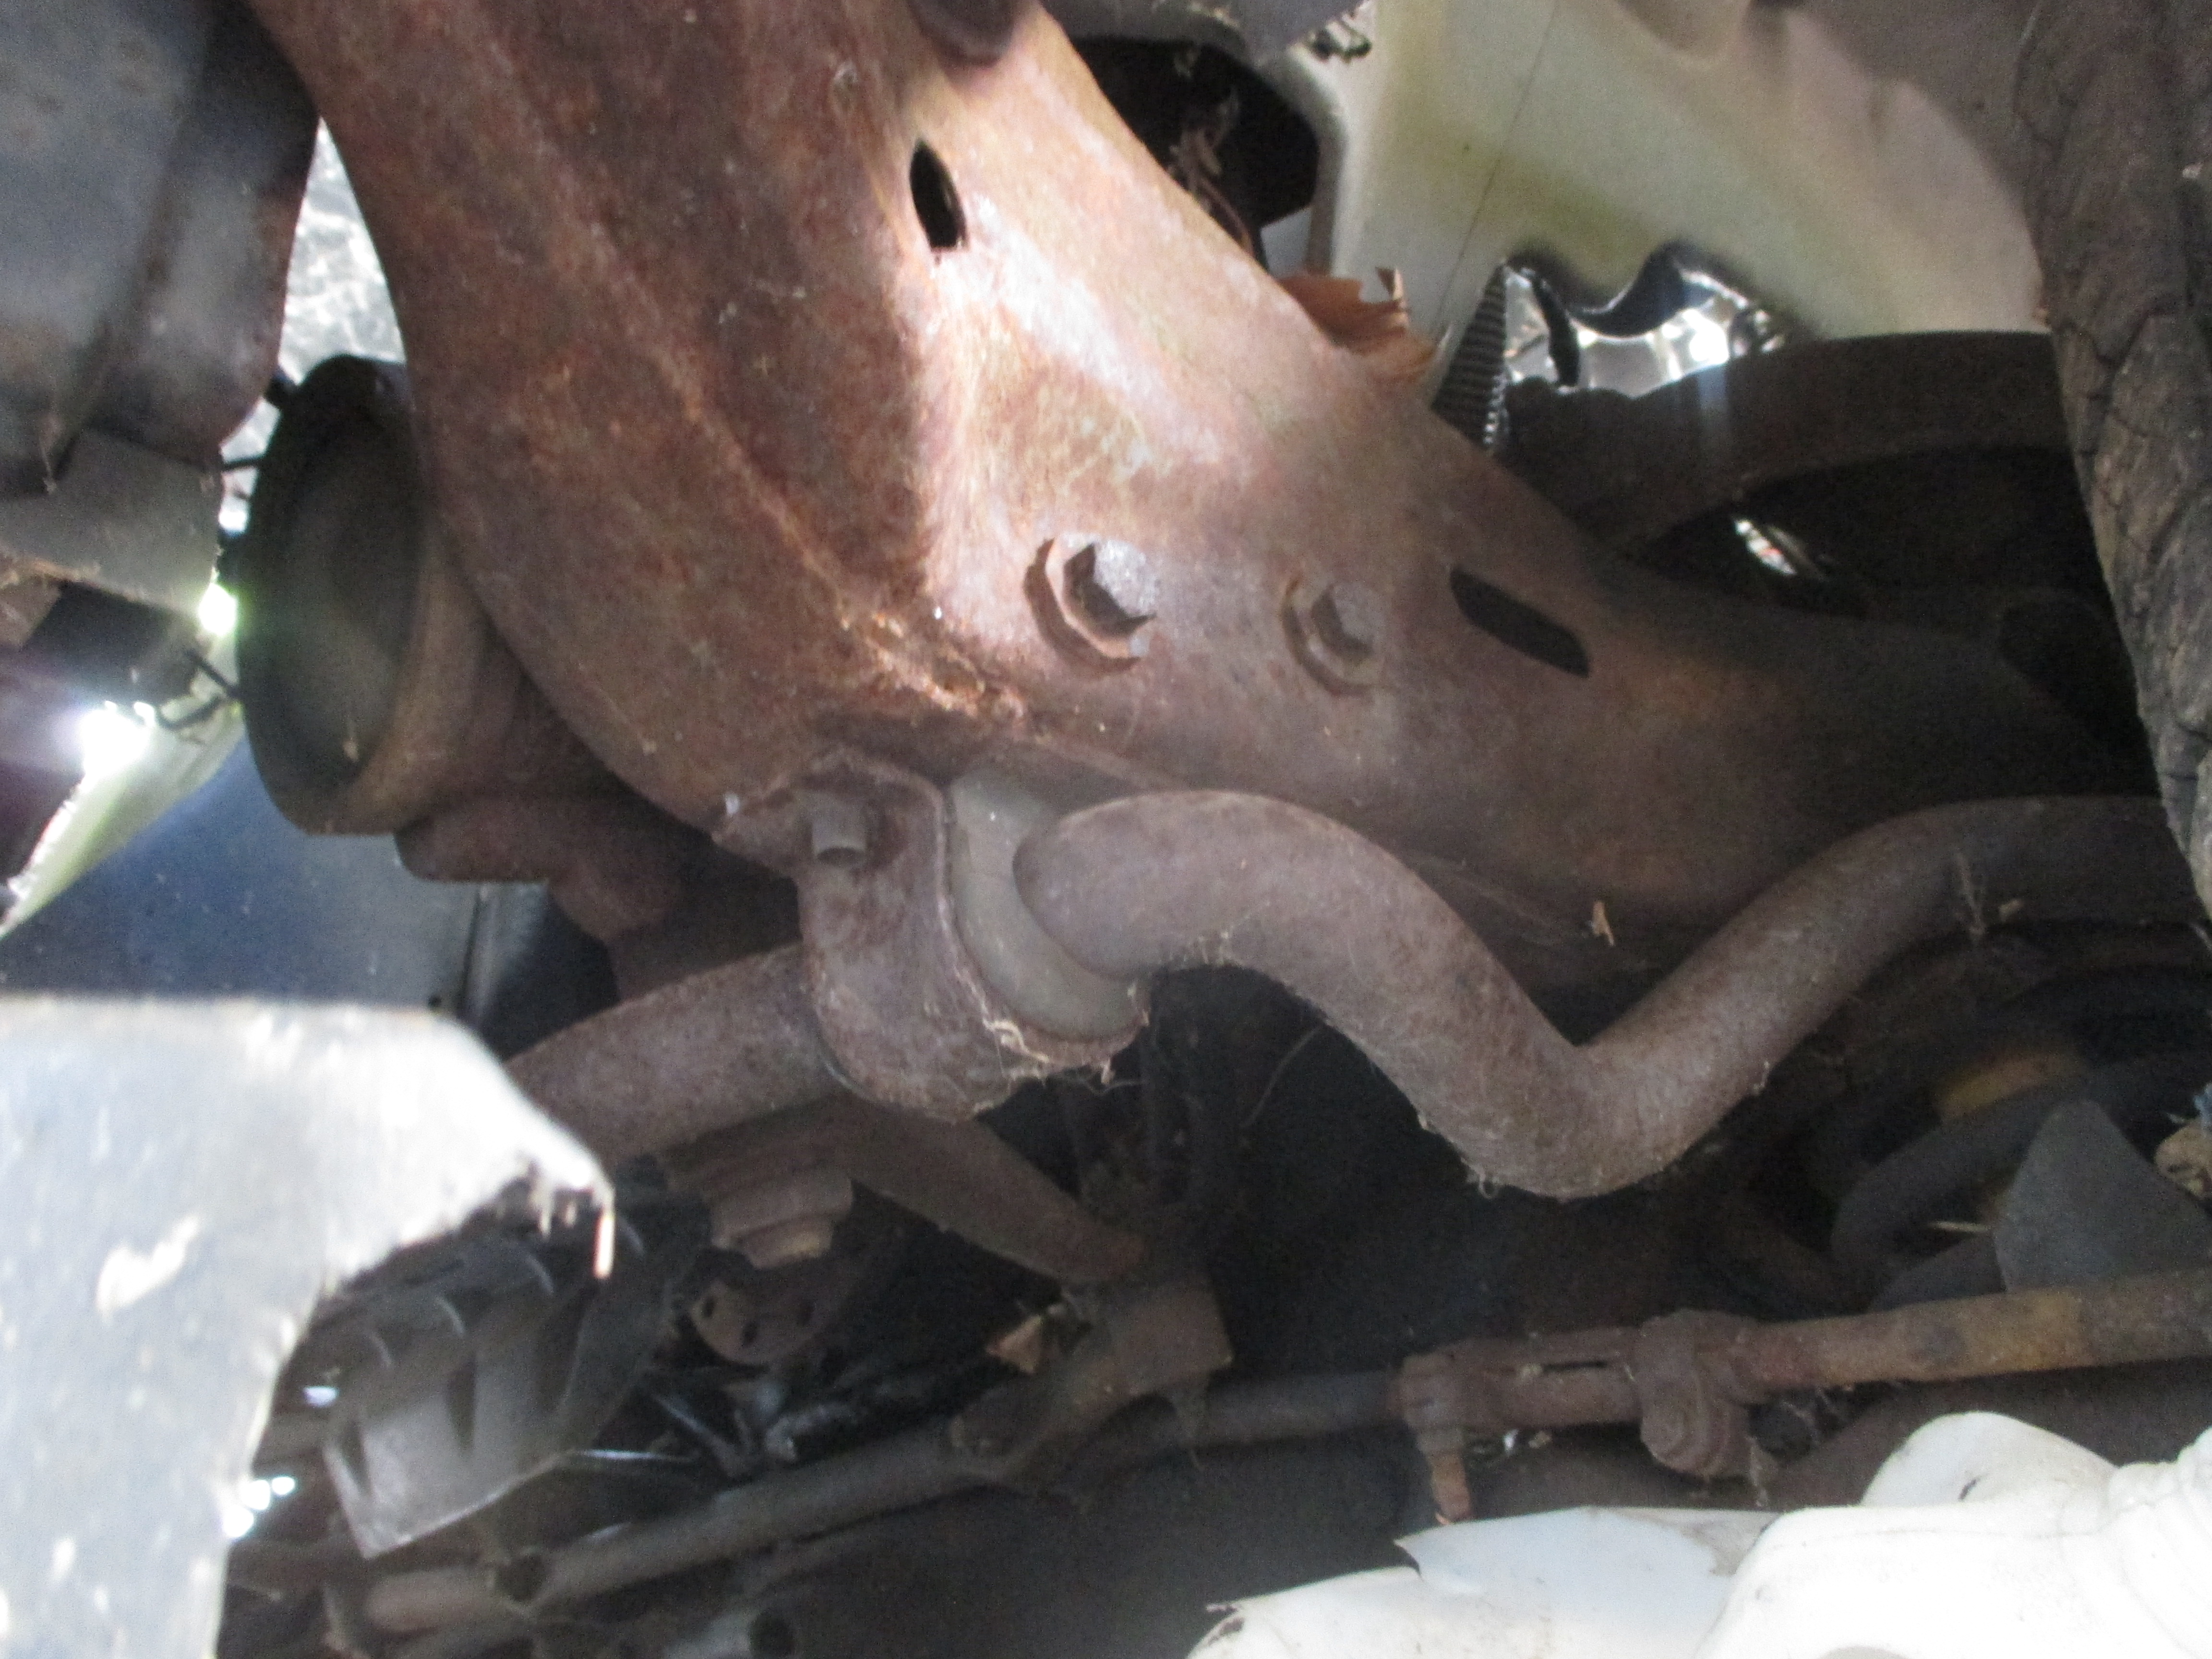
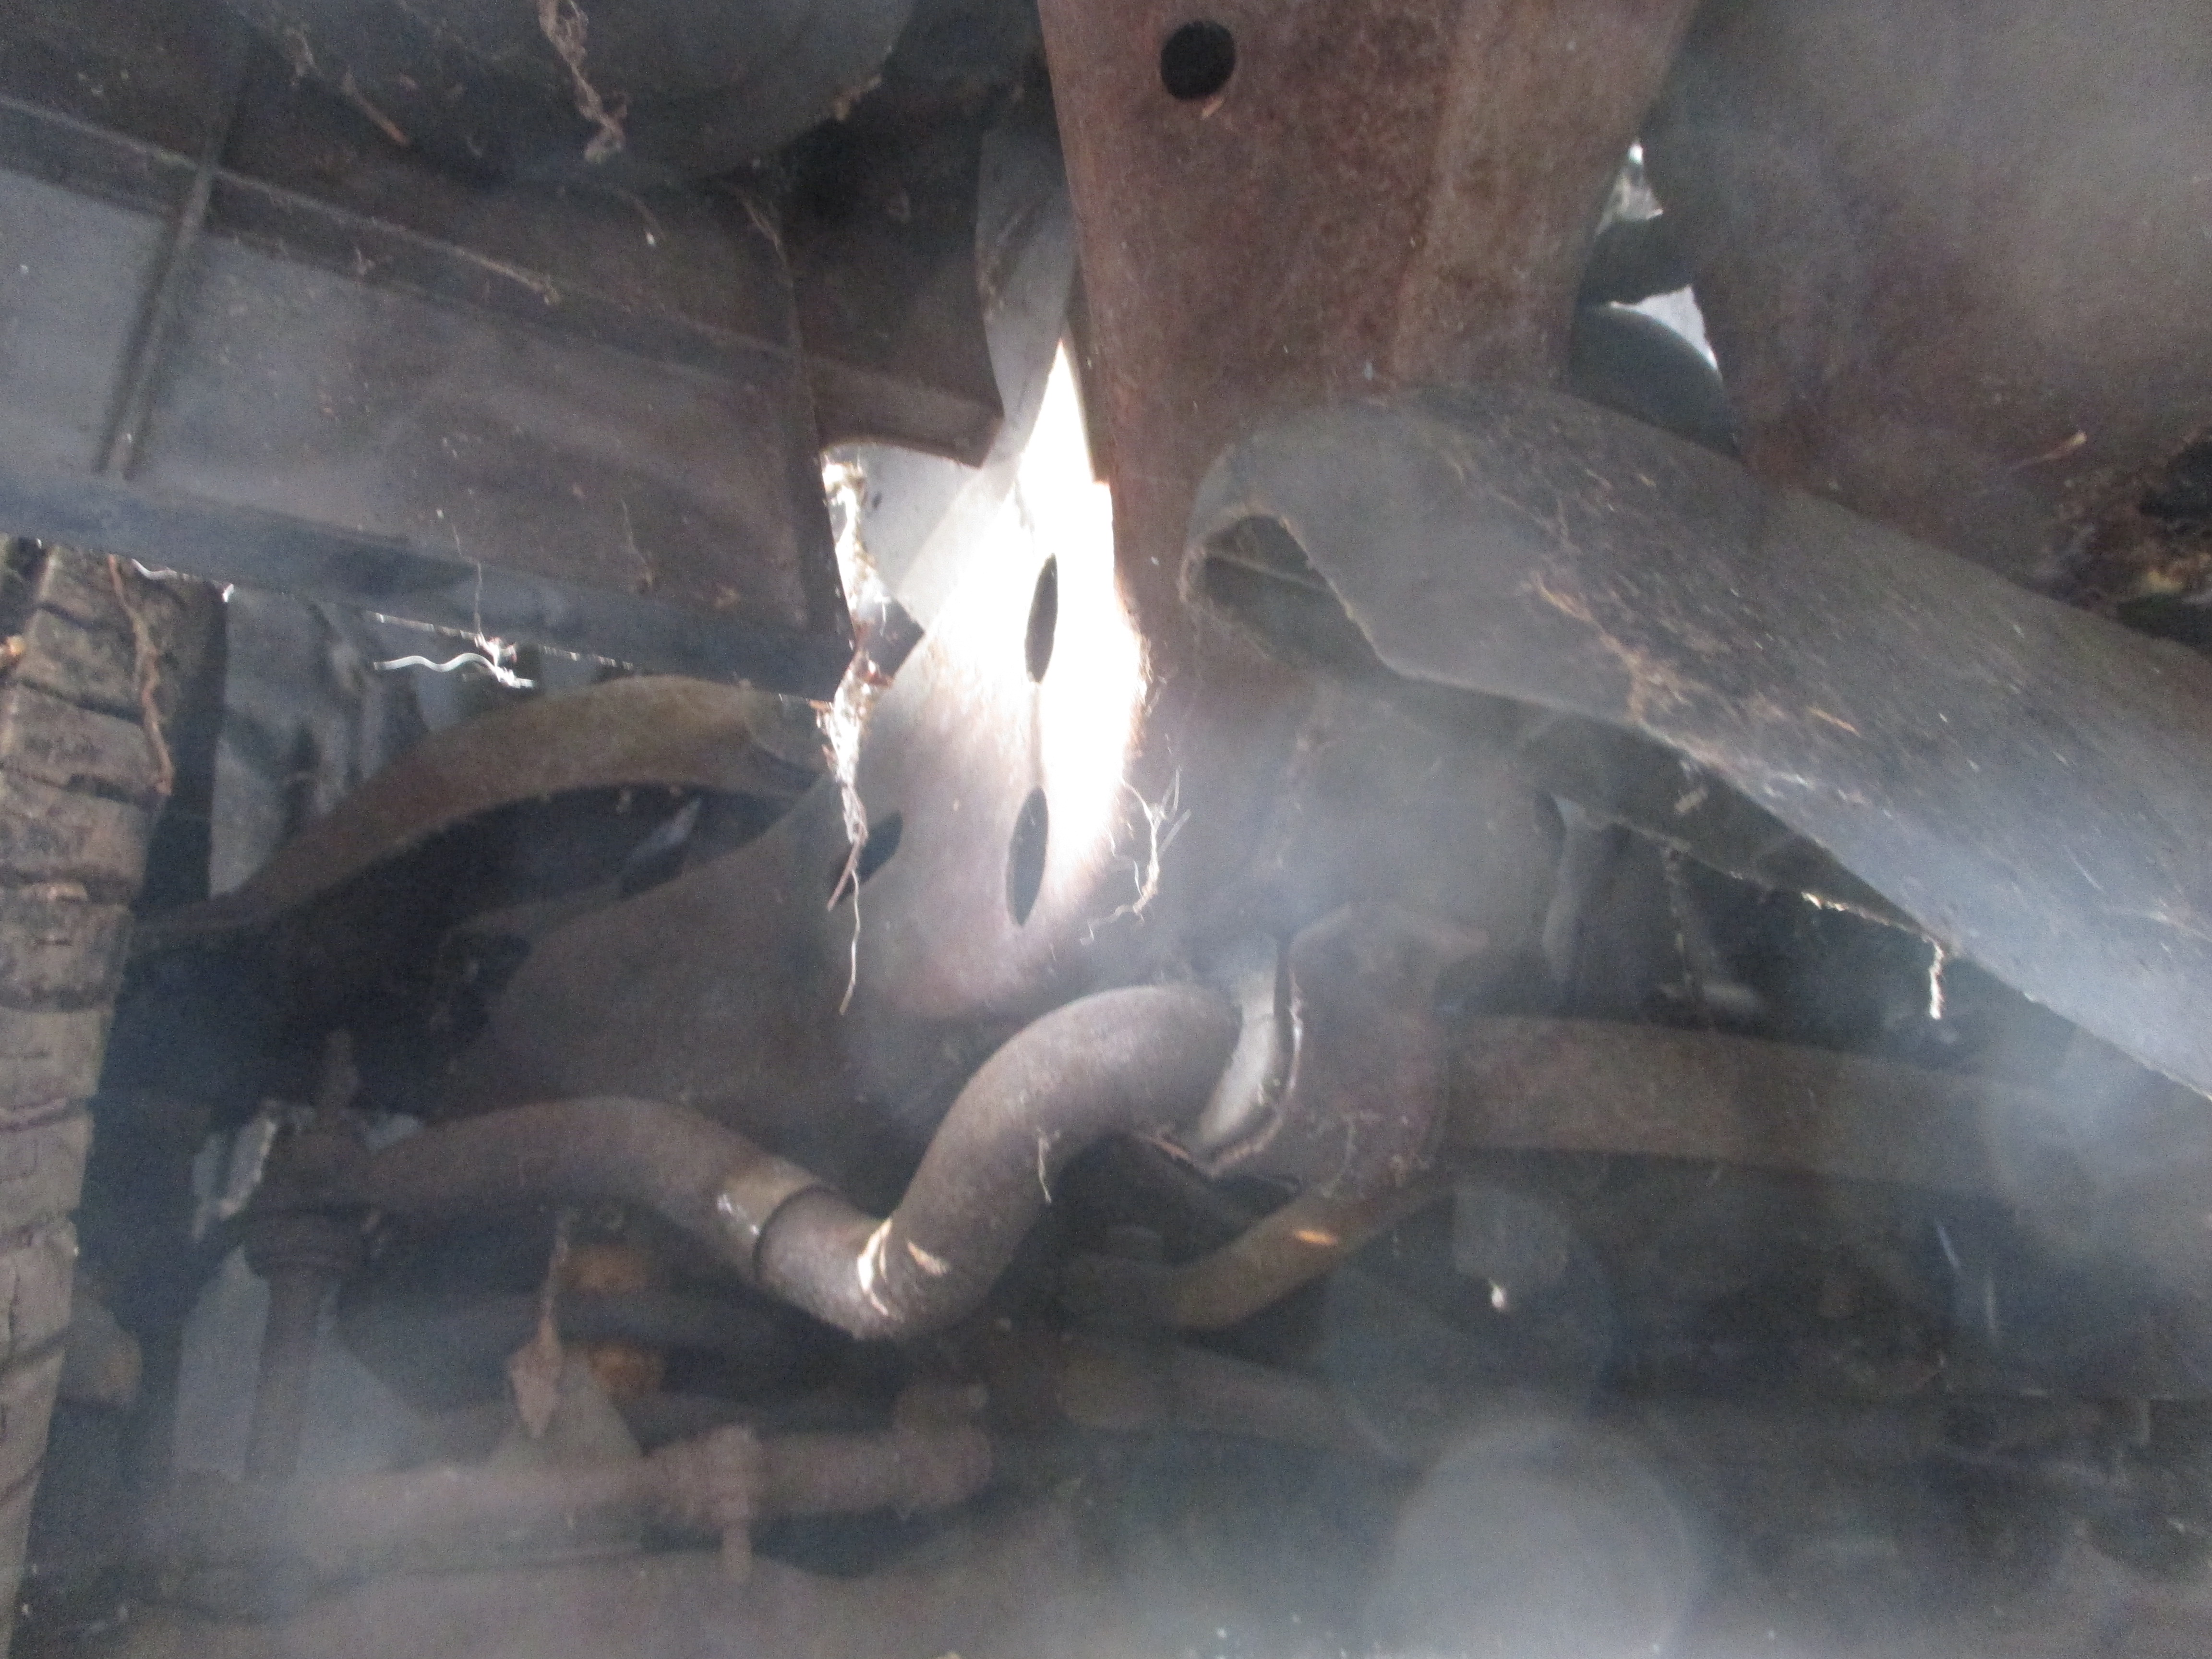
Original exhaust still in place